


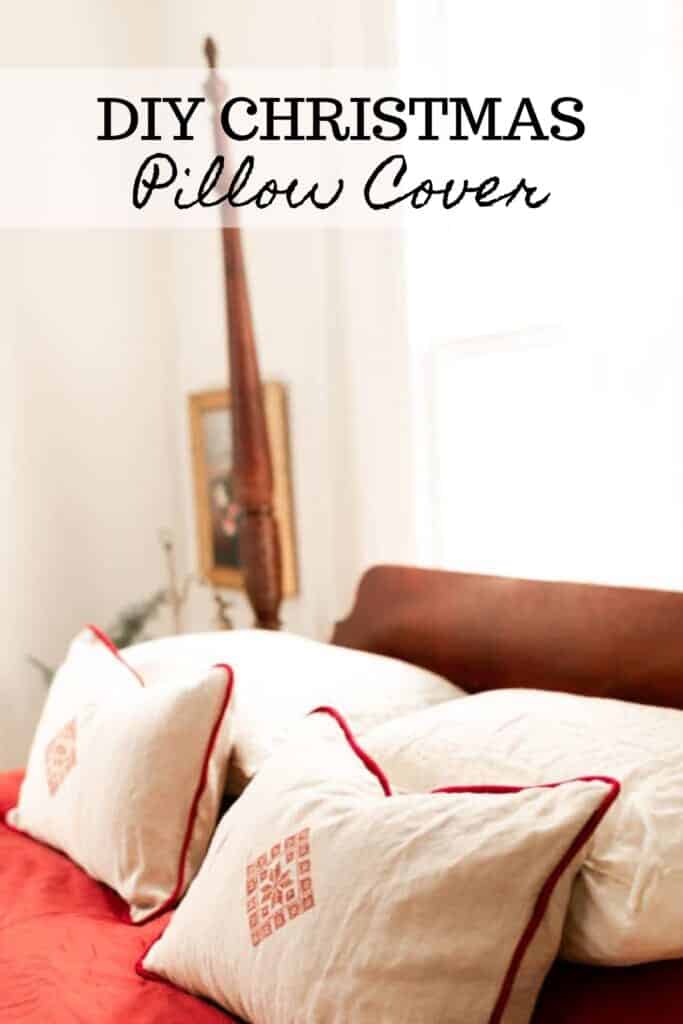
Learn how to sew a beautiful and easy DIY Christmas pillow cover that will warm up any space. Customized embroidery allows this pillow to be used all season long. It’s an easy way to add texture, color, and joy throughout winter, but especially during the Christmas season.

I wanted to create beautiful and cozy Christmas decor for our bedroom, and what better way to do that than decking the halls with greenery, festive-colored linen, and ribbons.
To add an extra level of coziness, I created two beautiful DIY Christmas pillows. I brought a thrift store antique chair back to life with new linen and a lovely, embroidered decal in blue.
Since I had already purchased the decal pattern, I thought it would add a lovely touch to the bedroom.
I always like to add a handmade detail to my spaces, something custom and unique so they are not like everyone else’s. It’s just a way of adding my own personal touch.
And as you always hope the case will be, this turned out way better than I could have imagined. It’s a balanced blend of holiday feels without being too overly Christmas, allowing it to be used the entire winter season – which I think is the best part.
While I would never blame a girl for heading to Hobby Lobby or even Pottery Barn to add a finished look to your decor, creative ideas like this one can really add a depth of sentiment to this festive season.
Our home decor speaks volumes about who we are, from our unique color palette to the duvet cover on our guest bed. Allowing my home to reflect myself and my family is really quite satisfying, which is one of the many reasons why I go to homemade decor.
At the same time, being that this is the easiest DIY Christmas pillow I’ve yet to attempt, it’s also a go-to for friend and family gifts, because who doesn’t love new pillows?
This time of year is simply made for visits to the craft store, plaid fabric, and Christmas tree pillows. So check out the simple steps below.
Why you will love this project:
Perfect gift idea: Great way to bring the holiday spirit to friends and family.
Simple project: This is a pretty beginner level project, one that just about anyone can do. If you can sew a straight line, you can totally make these cute Christmas pillows .
Festive pillow: Great for holiday decor.
Watch The Tutorial
Tips For Making A DIY Christmas Pillow
- This adds a wonderful touch to your own home decor, but it’s also an excellent handmade gift for a friend.
- If you are new to sewing, make sure to check out my Simple Sewing Series where I show you all the sewing basics. If you are more of a beginner sewer, I would suggest pinning the piping to the front of the cover and sewing. If you are more experienced, you could sew all the front, back, and piping together at the same time.
- You can totally customize your own pillow cover. Add pom poms, tassels, or festive trim.
This post contains affiliate links, which means I make a small commission at no extra cost to you. See my full disclosure here.
FAQ
What can you stuff a homemade pillow with?
Make the custom pillow covers to fit previous pillow inserts you already have, or you can stuff them with cotton, down inserts, or even fabric scraps. You can see how I make DIY pillow inserts here.
Do I have to have an embroidery machine?
No. After sharing this tutorial on my YouTube channel, a viewer created the same cover but used a stencil and fabric paint to create the center design, rather than an embroidery machine.
What is the best fabric to make throw pillows?
My favorite fabric to use is linen. It is wonderfully soft and has a beautiful texture. Cotton or linen-cotton blends also work very well.
Tools And Materials:
Sewing machine – I have this one.
Embroidery machine – optional. See note above.
Linen fabric – two colors. I used a cream and red linen.
75″ Cotton cording per pillow
Sewing scissors
Pins
Coordinating thread

How To Make A DIY Christmas Pillow:
Cut Materials And Embroider:
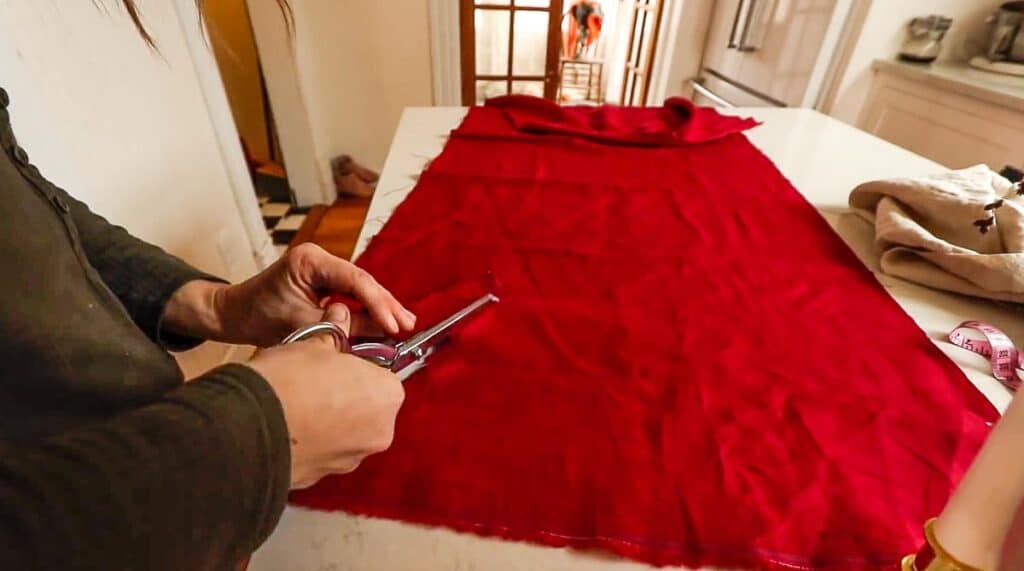
Cut the fabric to the size you want the pillow, plus add an inch on all sides for seam allowance. I cut the front piece 22″ by 15″ and two back pieces 15″ by 15″.
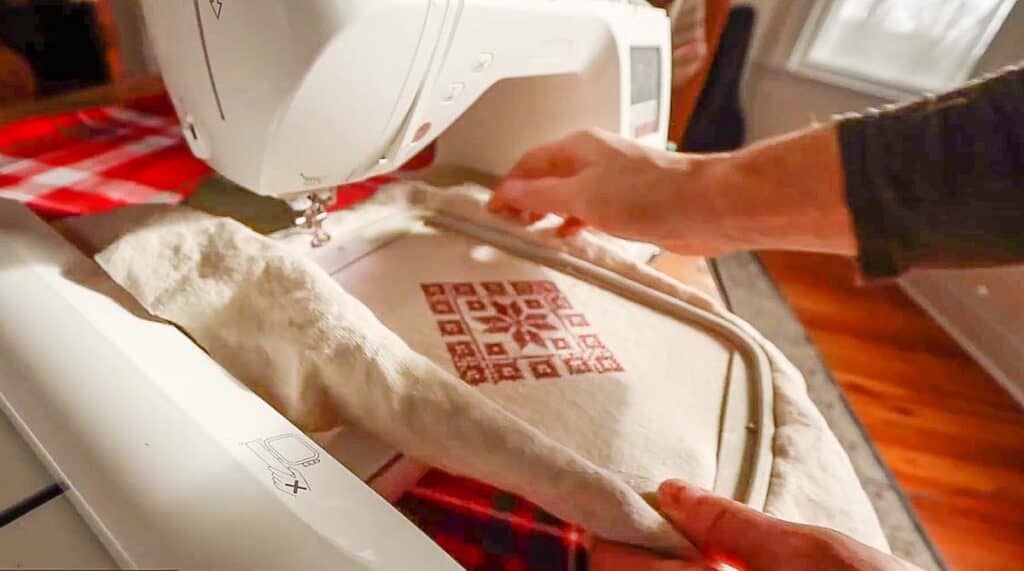
Place the main piece of fabric into an embroidery hoop and stitch the design in the middle.
Sew The Back
Taking the back fabric pieces, place on a table with wrong side facing you. Fold one short end over 1/2 inch, and then another half inch towards the wrong side to create a hem. Sew down the hem.
Repeat with the other back piece.
Make The Piping
Simply take your desired piece of fabric and cut a strip 3″-5″ wide.
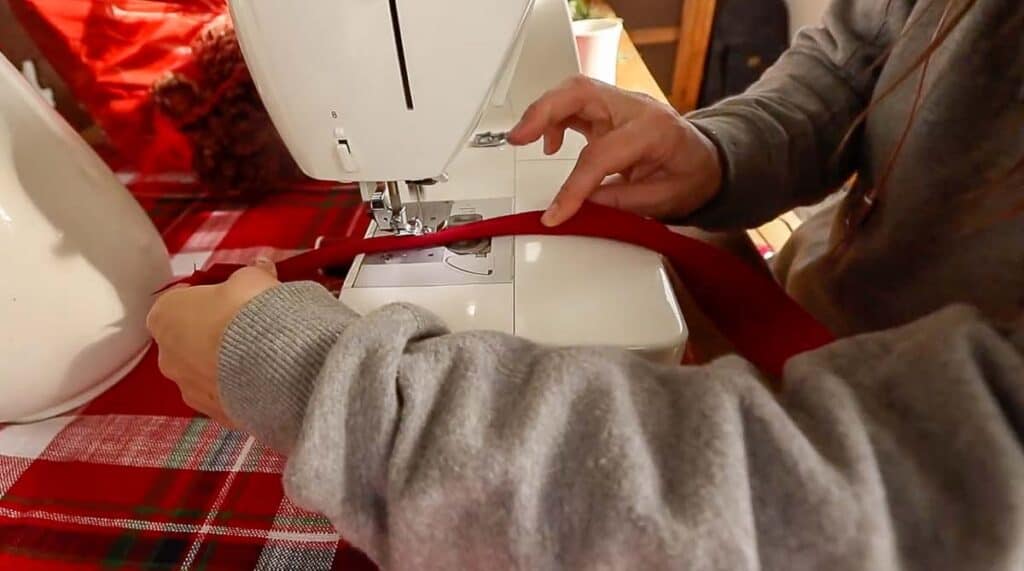
Fold the strip of fabric over the cording and place the fabric wrapped cording onto the sewing machine with the cording to the left.
Sew the cording into the fabric by using a zipper foot. Sew as closely to the piping as possible.
Lay the main front piece down with the front facing you. Place the piping on top of the main piece, lining up the raw fabric edges of the piping to the edge of the main fabric.
Pin down the piping around the main piece.
Around the corners, clip the fabric around the piping – that way it lays nicely around the edges. Continue pinning down the piping around the corners. If you are an advanced sewer, you could skip pinning the cording down and just sew it straight to the front.
When you get to the end of the piping, where it meets the other piping, just overlap them. This helps it to be less noticeable after you sew it on and turn it right side out.
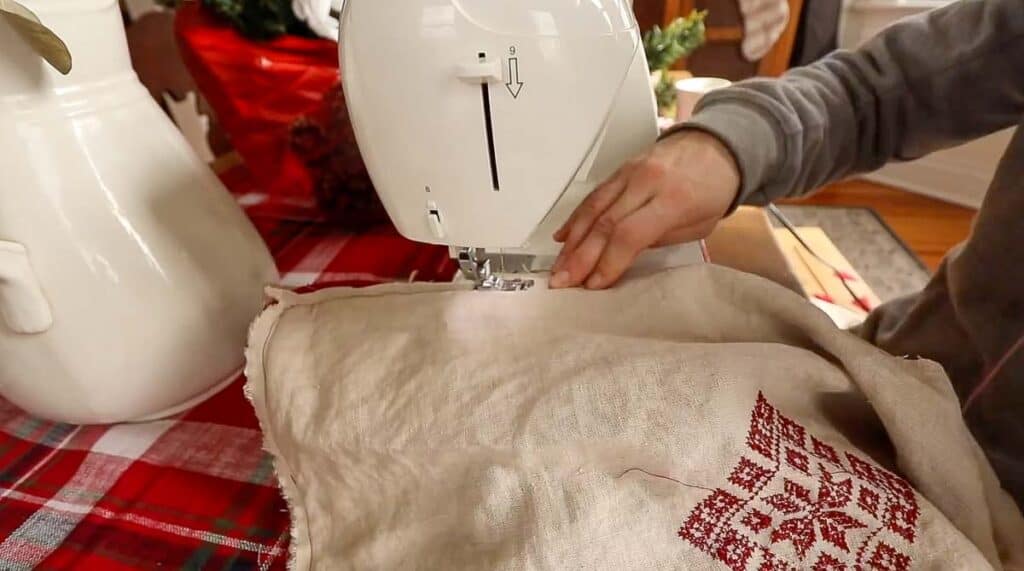
Sew the piping on to the front piece of the pillow cover using the zipper foot, getting as close to the piping as possible. Sewing it before you connect the front to the back pieces helps the piping stay in place and not shift.
Put The Pillow Together
Place the main piece down with the right side facing you, place the two back pieces down with the right side overlapping the two ends. The two hemmed sides of the back pieces should be in the middle.
Pin to the main piece and sew around the edges.
Turn right side out.
Stuff your DIY Christmas pillow cover with a pillow form, and find the perfect spot for it! Whether the living room, bedroom, or really any living space, this is a great way to add some fun pillows to the holiday season.
Find More Christmas Inspiration
- 10 Homemade Christmas Gift Ideas
- How To Make A Stocking For Christmas
- How To Make Beeswax Candles
- DIY Essential Oil Diffuser Ornaments
- Christmas Sweater Pillow
If you try this project and love it, I would appreciate if you could come back, comment on the post, and give it 5 stars! Thanks.

DIY Christmas Pillow Cover
Tools
- Sewing machine
- Embroidery machine
- Sewing scissors
- Pins
- Coordinating thread
Materials
- Linen fabric in two colors. I used a cream and red linen.
- 75″ cotton cording per pillow
- Coordinating thread
Instructions
- Cut the fabric to the size you want the pillow, plus add an inch on all sides for seam allowance.
Place the main piece of fabric into an embroidery hoop and stitch the design in the middle. - Taking the back fabric pieces, place on a table with wrong side facing you. Fold one short end over 1/2 inch, and then another half inch towards the wrong side to create a hem. Sew down the hem. Repeat with the other back piece.Simply take your desired piece of fabric and cut a strip 3"-5″ wide.
- Fold the strip of fabric over the cording and place the fabric wrapped cording onto the sewing machine with the cording to the left. Sew the cording into the fabric by using a zipper foot. Sew as closely to the piping as possible.
- Lay the main front piece down with the front facing you. Place the piping on top of the main piece, lining up the raw fabric edges of the piping to the edge of the main fabric. Pin down the piping around the main piece.Around the corners, clip the fabric around the piping, that way it lays nicely around the edges. Continue pinning down the piping around the corners.
- When you get to the end of the piping, where it meets the other piping, just overlap them. This helps it to be less noticeable after you sew it on and turn it right side out.
- Sew the piping on to the front piece of the pillow cover using the zipper foot, getting as close to the piping as possible. Place the main piece down with the right side facing you, place the two back pieces down with the right side overlapping the two ends. The two hemmed sides of the back pieces should be in the middle.
- Pin to the main piece and sew around the edges. Turn right side out.
Notes
- If you are more of a beginner sewer, I would suggest pinning the piping to the front of the cover and sewing. If you are more experienced, you could sew all the front, back, and piping together at the same time.
Audrey Buchanan says
Love your blog, podcast and YouTube channel! Do you know where you bought the embroidery design in the center of the pillow? I’ve looked for something similar, but no luck. Thanks!
Christy Lou says
I love this pillow idea!
Amy Beth says
I love the sewing tutorials. I believe this is how I first found you. Just watched your video where you were switching out your art. Some adorable winter prints. Would you consider sharing where you found those prints?
Brenda says
Can you provide the design for hand embroiderers?
Also, your link to your embroidery machine took me to a serger.
T V Dvrs says
Lovely pillow cover. I found the embroidery design and can’t wait to make a cover for my bedroom.
Lisa says
I’m sure it will turn out beautiful!
Tiffany says
I love this idea. I’m slowly working my way into a handmade home. I just completed a handmade wreath for our home with real magnolias. Making things by hand with what the Lord provides is beautiful. Thanks for sharing this.