Hi friends! I hope this post finds you well and you are enjoying the end of summer. Around here the air is getting crisp and it is starting to feel like fall. We’ve traded in our swimsuits and goggles for school books and blue jeans. Although most days we are sitting down to study history and math, I do plan to take the kids to the creek several times before the cold weather really settles in.
After a super busy month, launching a new website and going on a family vacation to Gulf Shores, I wanted to finally pop in here and give you an update on my favorite project we did this summer.
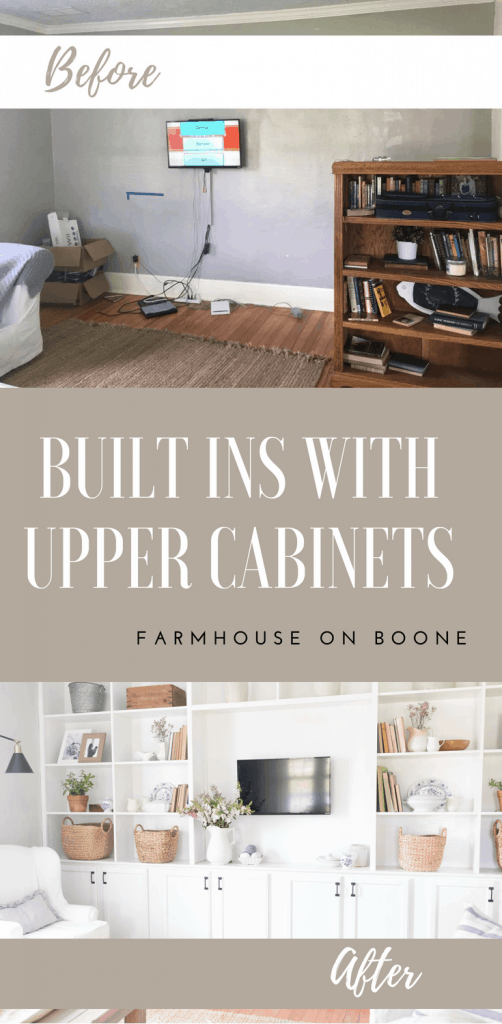
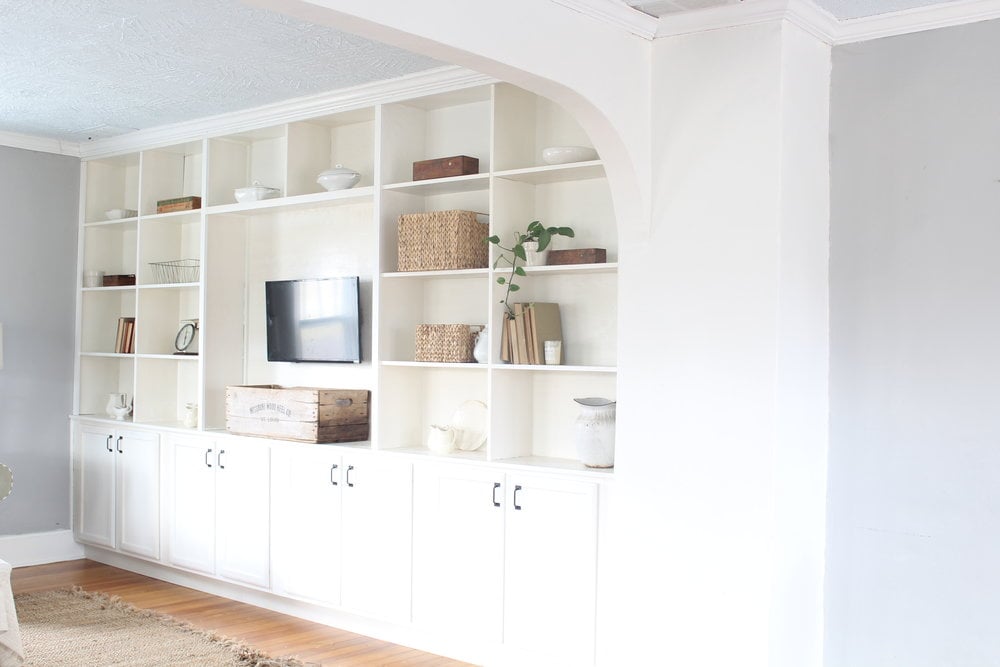
I have been thinking about these built ins for over a couple of years now, but I have to mull things over in my head for a really long time before I can commit. I probably searched built ins on pinterest twenty times. I pinned and repinned images. I thought about what I would put on them. I thought about, and I’m still currently thinking about, hardware. Basically, I was super afraid of building something so permanent and expensive and then not liking it.
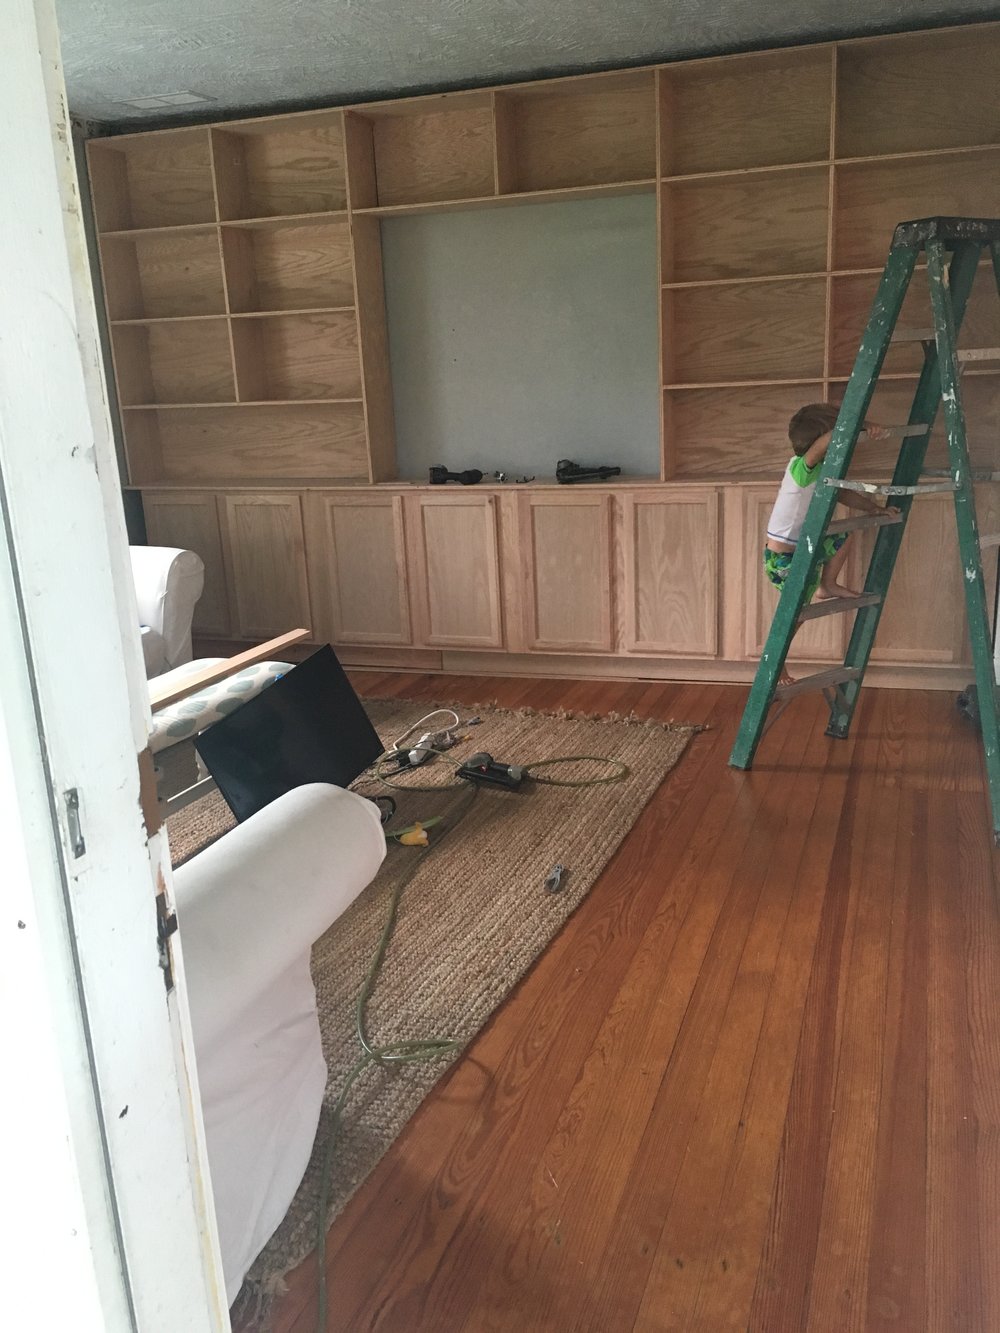
So, as I obsessively thought about what an entire wall of builts in would look like, our TV hung in the middle of the wall, with cords hanging down. Our DVDs and Nintendo Wii were stashed in a box in the corner.
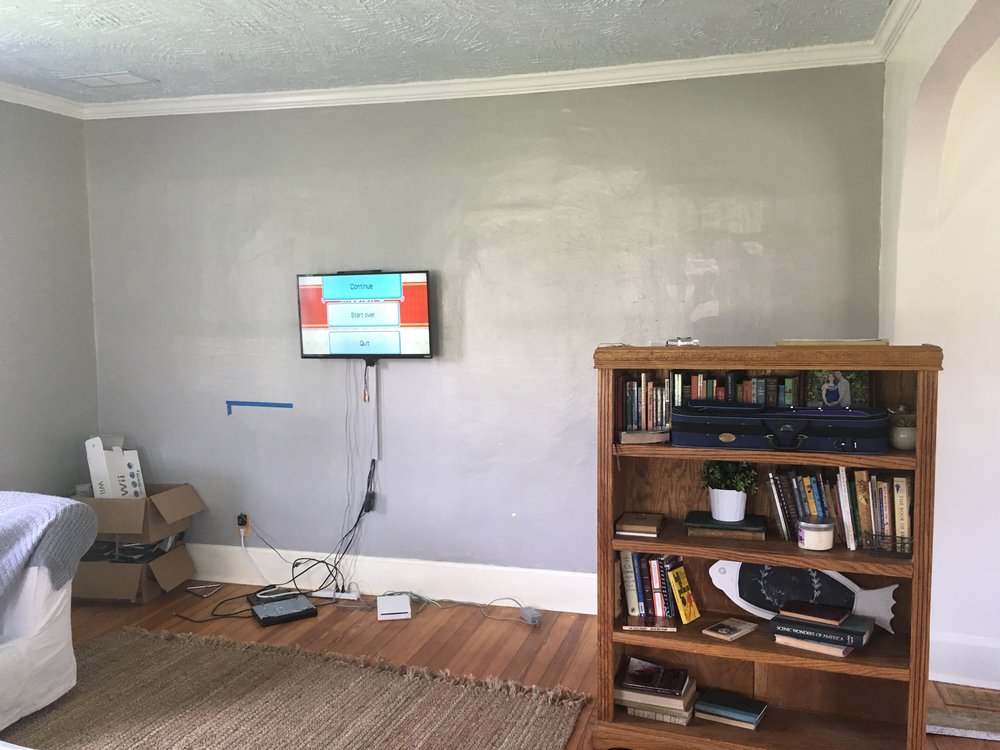
This totally drove me crazy, especially when the baby started crawling and was constantly in the boxes and the cords. And it, obviously, looked terrible too.
Once I got to the point where I couldn’t stand it any longer, I texted my favorite pinned image to my cousin, and asked when we could finally get them built.
We measured the entire area, wall to wall and floor to ceiling. We then met up with my cousin at Lowe’s and he helped us pick out all the lumber we would need to build them. I should mention that my cousin is a talented carpenter, so he could tell what we would need by looking at the picture.
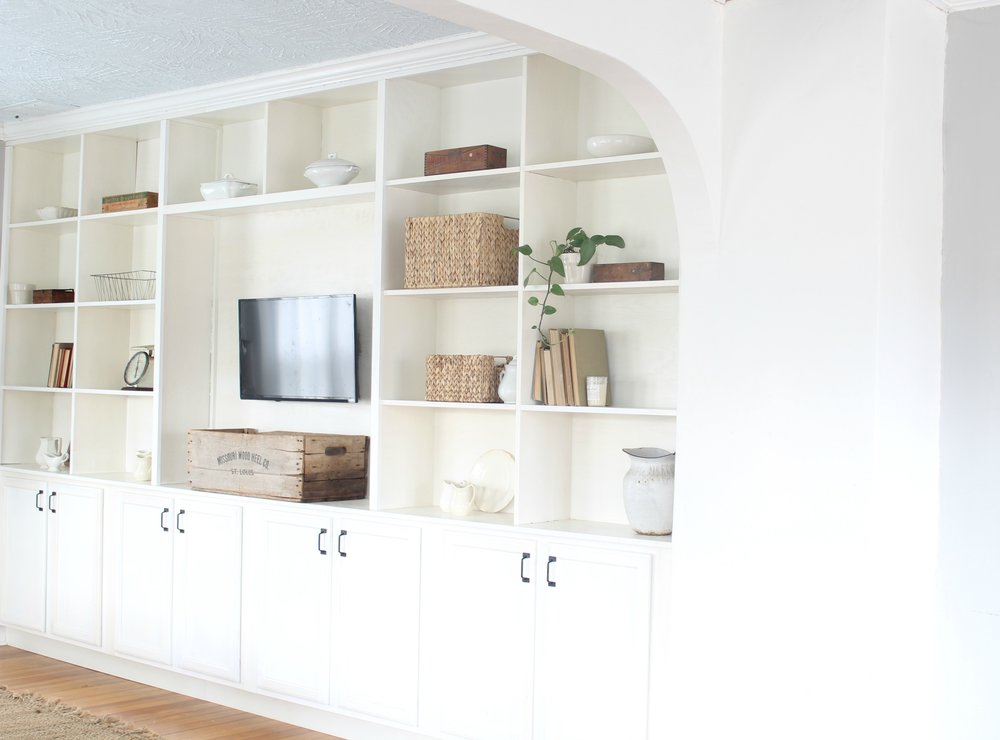
We bought basic unfinished oak upper cabinets for the base. They were only 12″ in depth, which I loved, because I didn’t want them to come out too far into the living room. We also bought oak lumber to built a stand for them to sit on. I believe he called that platform a toe kick. Then we picked out all the lumber to make the shelves, and a back, for the entire unit. Since our old plaster walls are wavy and uneven, it was crucial to put a back on to make the whole thing look even.
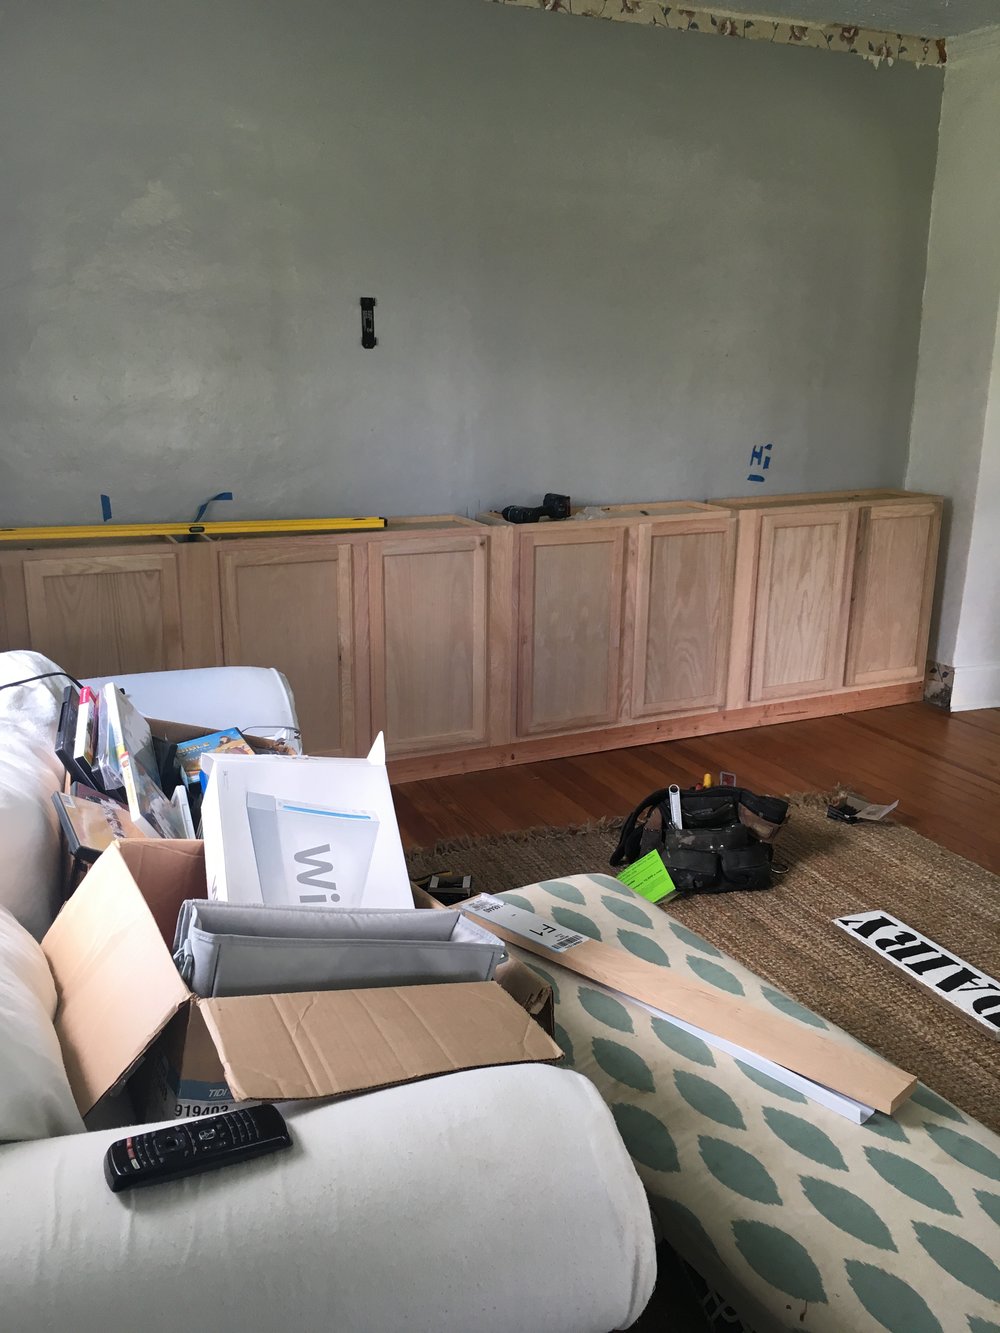
Before we started building, we had to rip out the baseboards and crown molding. The first thing my cousin built was the base for the cabinets to sit on. Then he installed the cabinets on the base. Since the measurements didn’t work out perfectly, he had to put spacers between every set of cabinets.

After the cabinets were installed, he started building the shelves. At this point, we had to decide if we were going to make the lines of the shelves line up with spaces between the cabinets, leaving a much larger TV opening, or make the TV opening just twice as wide as the outside shelves. I liked the second option, because I wanted more space to put all my pretty stuff, and less space for the TV.
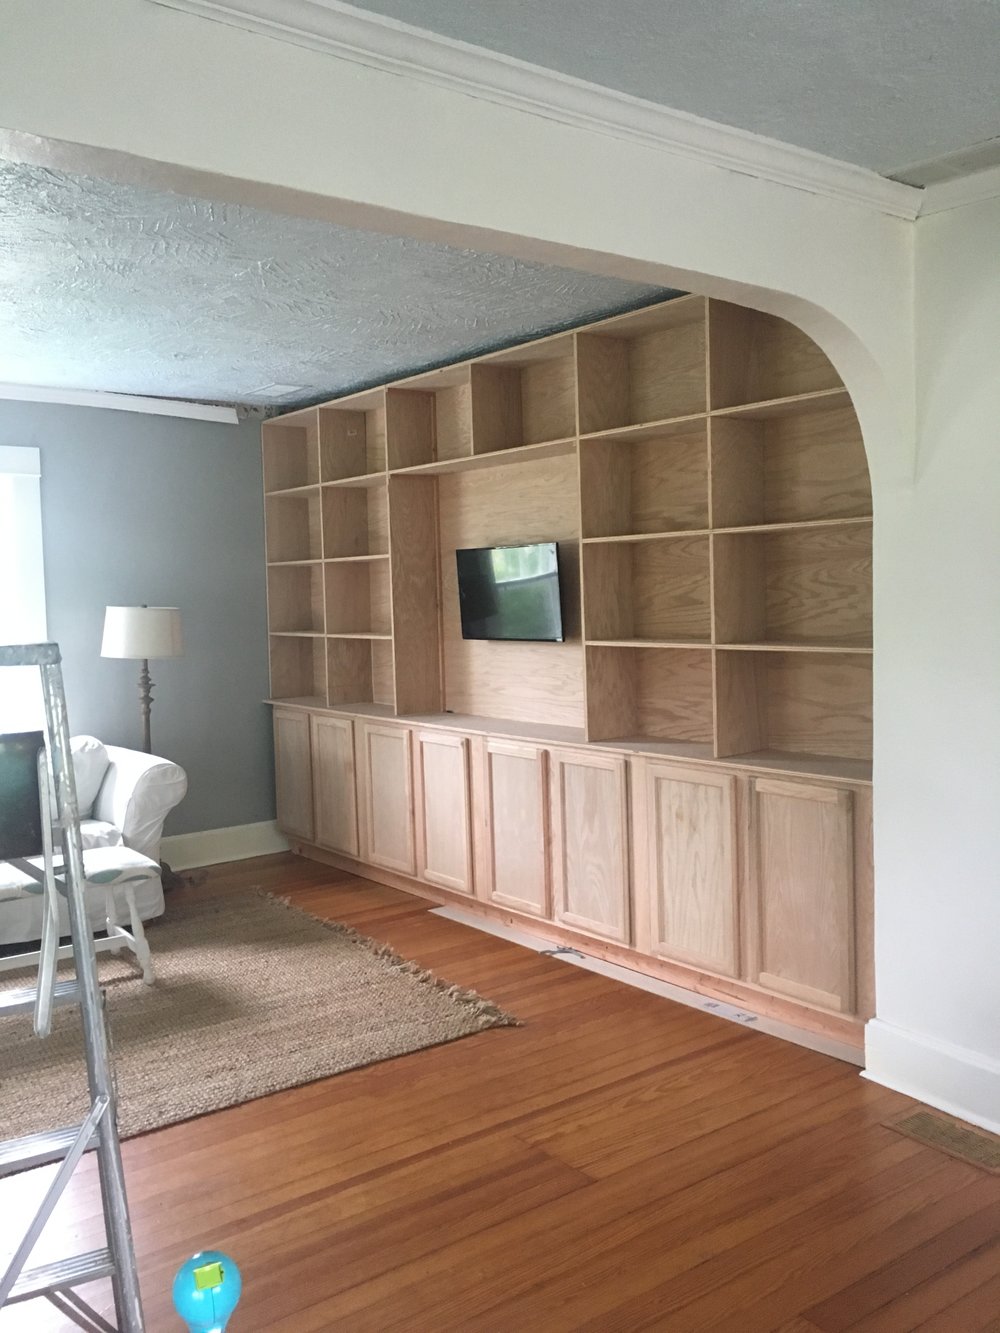
We hung the TV, hiding the cords behind the back of the built ins.
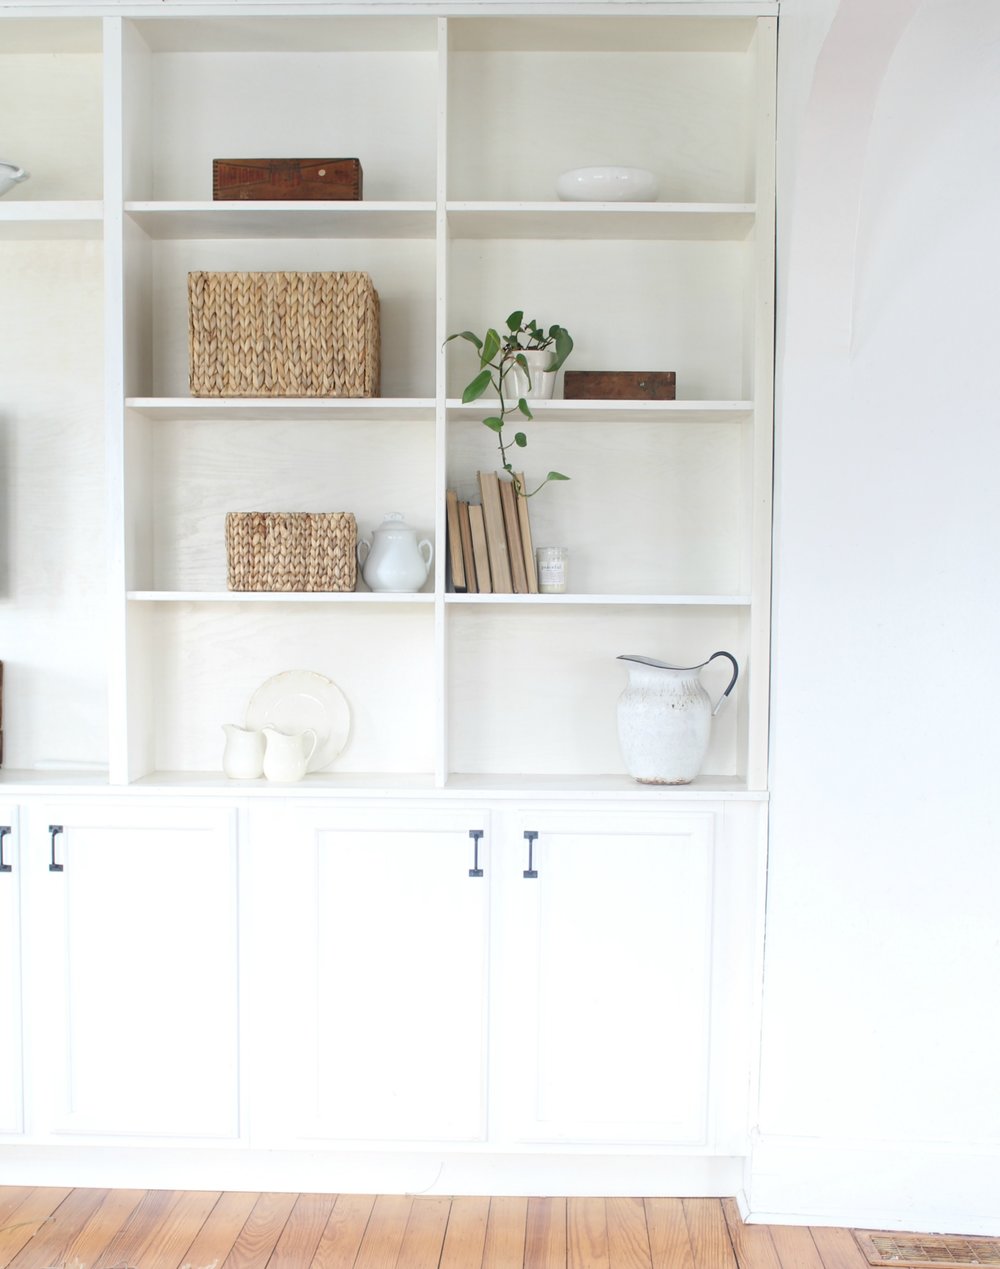
After the shelves were all built, he put some trim pieces over all the shelf fronts to make them look nicer and more finished. After that, he wrapped the crown molding back around the top. We gave it a couple coats of white paint and then I went to work adding all my pretty things.
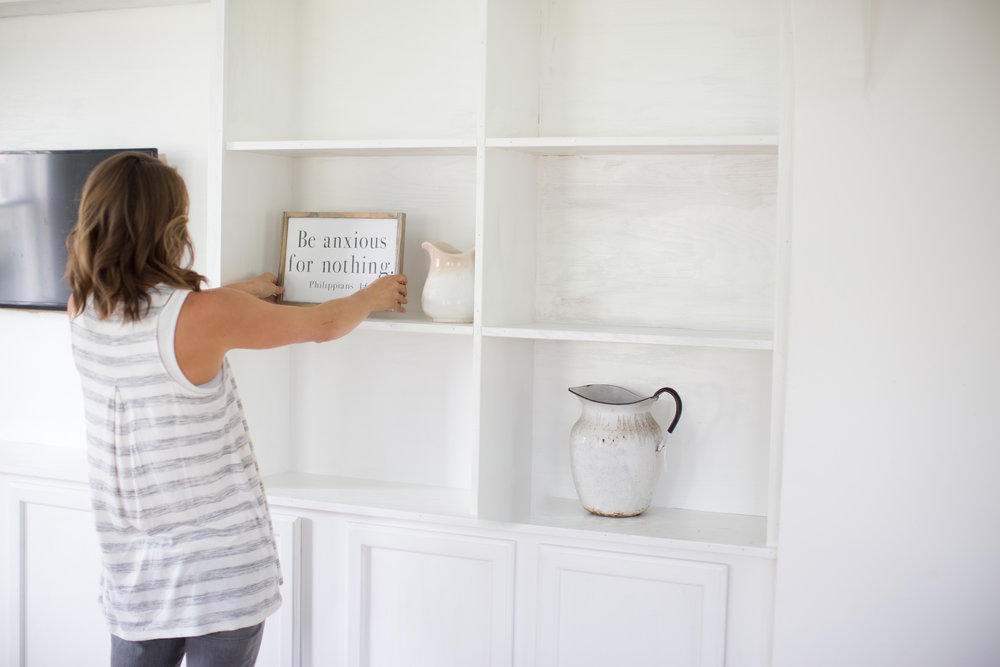
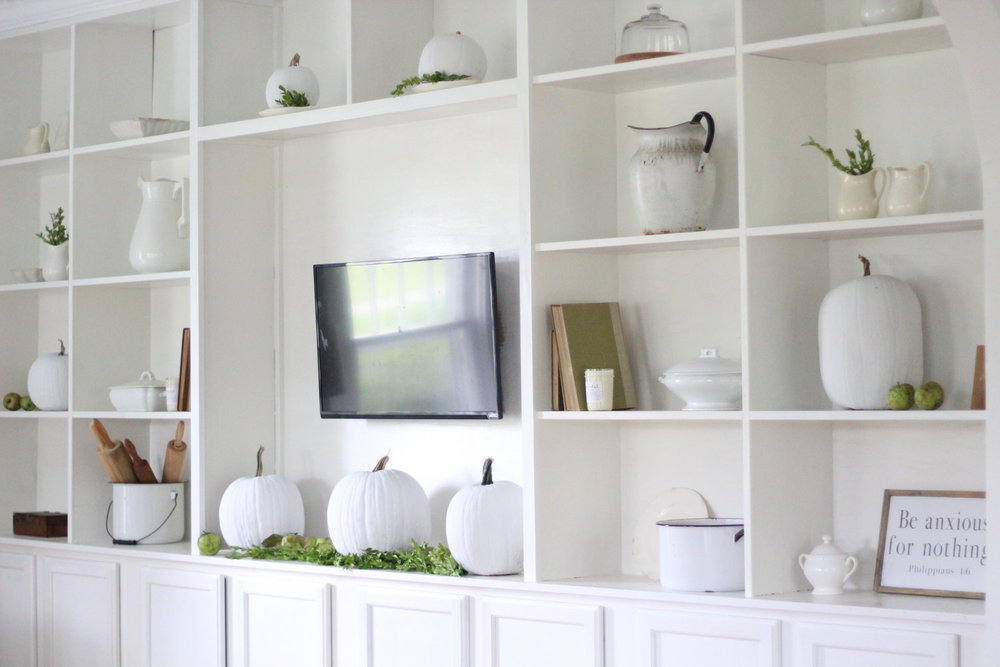
You can see my built ins all decorated for fall in My Early Fall Home Tour post. (Notice I didn’t have the hardware on yet at this point.)
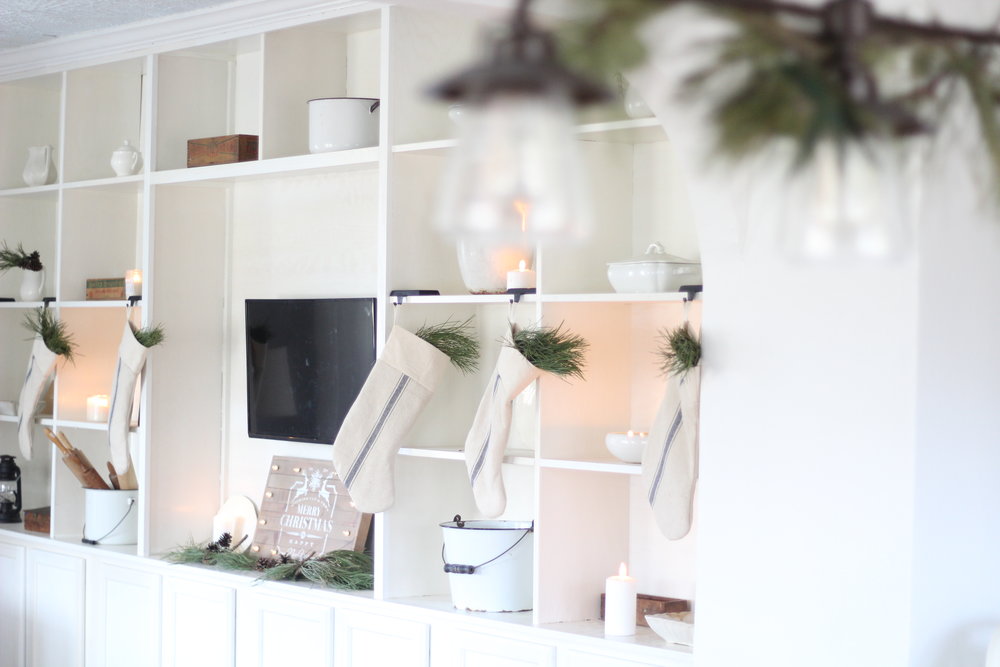
I added grain sack stockings and greenery for Christmas in my Farmhouse Christmas Home Tour post.
Thanks for stopping by!
Pin it for later