
Learn how to make lard for smooth, creamy, and neutral-flavored fat perfect for cooking, baking, and roasting. Lard is not only versatile, but shelf-stable, budget-friendly, and simple to make.
Up until the 20th century, rendered lard prevailed as the main fat for all kinds of cooking, baking, and roasting. It offered a high smoke point at a low cost, imparting a delicious flavor that canola oil simply cannot match. Years past often demanded resourcefulness, using all of the animal, not just the primary cuts. Bones became broth, organs offered rich nutrients, and fat was reserved for cooking and candlemaking.
In the last decade or so, lard experienced a resurgence. It works well in all kinds of recipes, from a flaky pie crust and sourdough fried chicken to crispy fried potatoes and whole wheat biscuits.
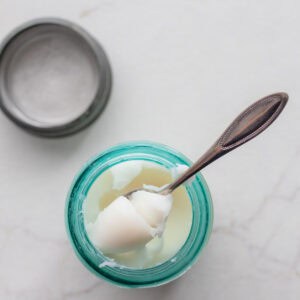
Through a simple process of melting, straining, and storing, that first jar of lard you make just might be the gateway to continued lard rendering and other homemade essentials, like homemade mayo, ranch dressing, marinara sauce, jalapeno jelly, cottage cheese, and yogurt.
Benefits of Lard
- Pork lard rendered from healthy, quality pork fat has good amounts of fat-soluble vitamins like A, E, D, and K.
- It offers a high melting point, helpful for recipes that have the fat cut into the flour, like einkorn pie crust and sourdough cheddar biscuits.
- Contrary to what modern marketing would have you believe, animal fats from quality, pasture-raised sources are considered healthy fats. Avoid commercial pig fat because toxins concentrate in the fat, and the feed and care quality aren’t trustworthy.
- Lard offers a moderately high smoke point of around 374 degrees F. While this is lower than olive oil, many people have great success using this fat for frying and other high-heat food prep techniques.
Different Types of Pork Fat
- Fatback – The most abundant form of fat, this comes from the back of the pig and has the strongest flavor. In the form of lard, it works well for savory recipes. Cook it at a low temperature for several hours to achieve the lightest flavor for versatile cooking and baking.
- Pork belly fat – Essentially bacon fat, pork belly fat contains more meat (it is usually what bacon is made of) compared to other kinds, maintaining a more savory flavor and more trimmings that do not render.
- Leaf fat – This leaf-shaped fat surrounds the pig’s kidneys and loin and renders into a fluffy, whiter lard than other types. Leaf lard works most seamlessly for baking due to its very mild flavor and texture.
Why You’ll Love This Recipe
Versatile and adds flavor – While a good lard smells and tastes pretty neutral, it greatly enhances the flavor of foods when cooked. It works well in many savory dishes, and the higher melting point makes lard excellent for baking, too.
Simple and resourceful – Cuts of meat with too much fat often result in trimming and discarding the excess. Lard offers a great way to use more of the animal in a simple, one-ingredient process. Using more of what you’ve already purchased saves you money, too.
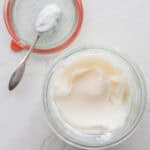
Long-lasting – When properly prepared, homemade lard lasts for a long time. Keep it in a tightly closed Mason jar at room temperature for easy access, or refrigerate or freeze it for long term storage.
Ingredients

Pork fat – Use quality pork fat, preferably organic and pasture-raised.
A full ingredient list with exact amounts can be found in the recipe card below.
How to Make Lard on the Stovetop
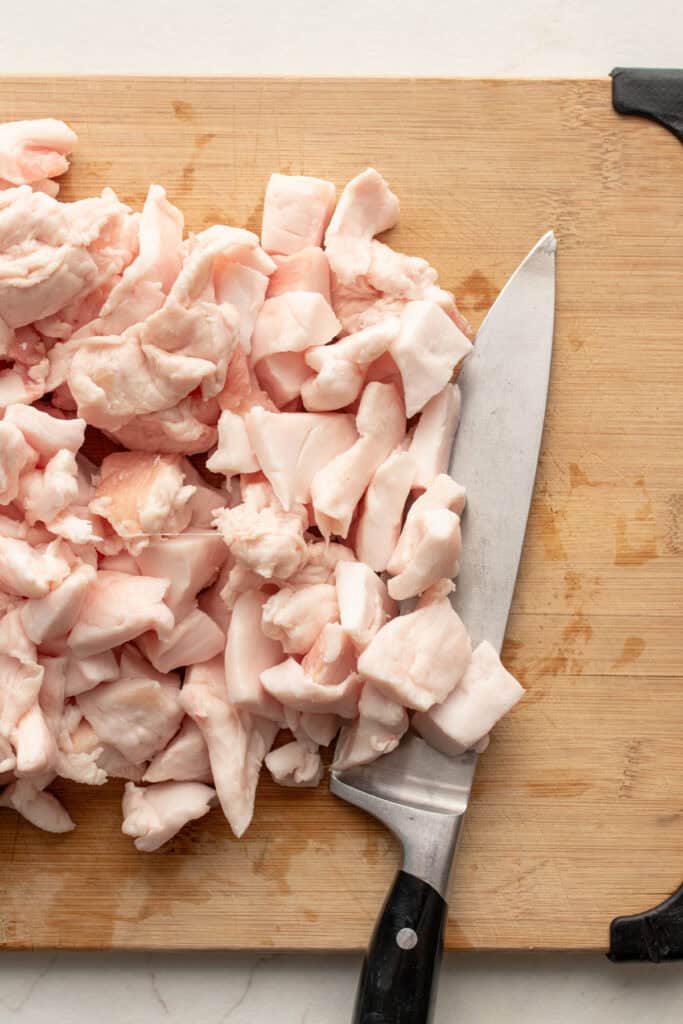
Step 1: With a sharp knife, cut pork fat into small pieces, about 1-2 inches long.

Step 2: Place the pieces into a cast-iron Dutch oven or heavy pot, cover with a lid, and place over low heat for about 1-3 hours, depending on the amount of fat. The longer and lower you cook, the more neutral the lard will turn out. Stir occasionally so nothing sticks to the bottom.

Step 3: When all the fat is in a liquid state and has separated from the meat, it is done. While still hot, carefully pour the rendered fat through a fine mesh strainer into a bowl or container. This filters out any bits. Filter a second time, if desired.
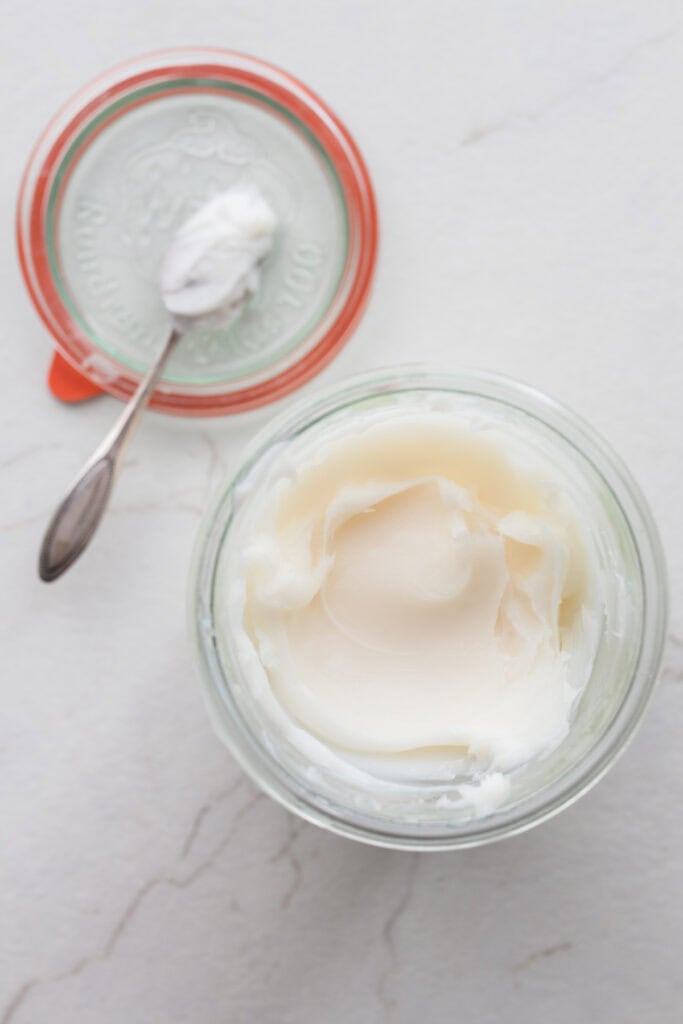
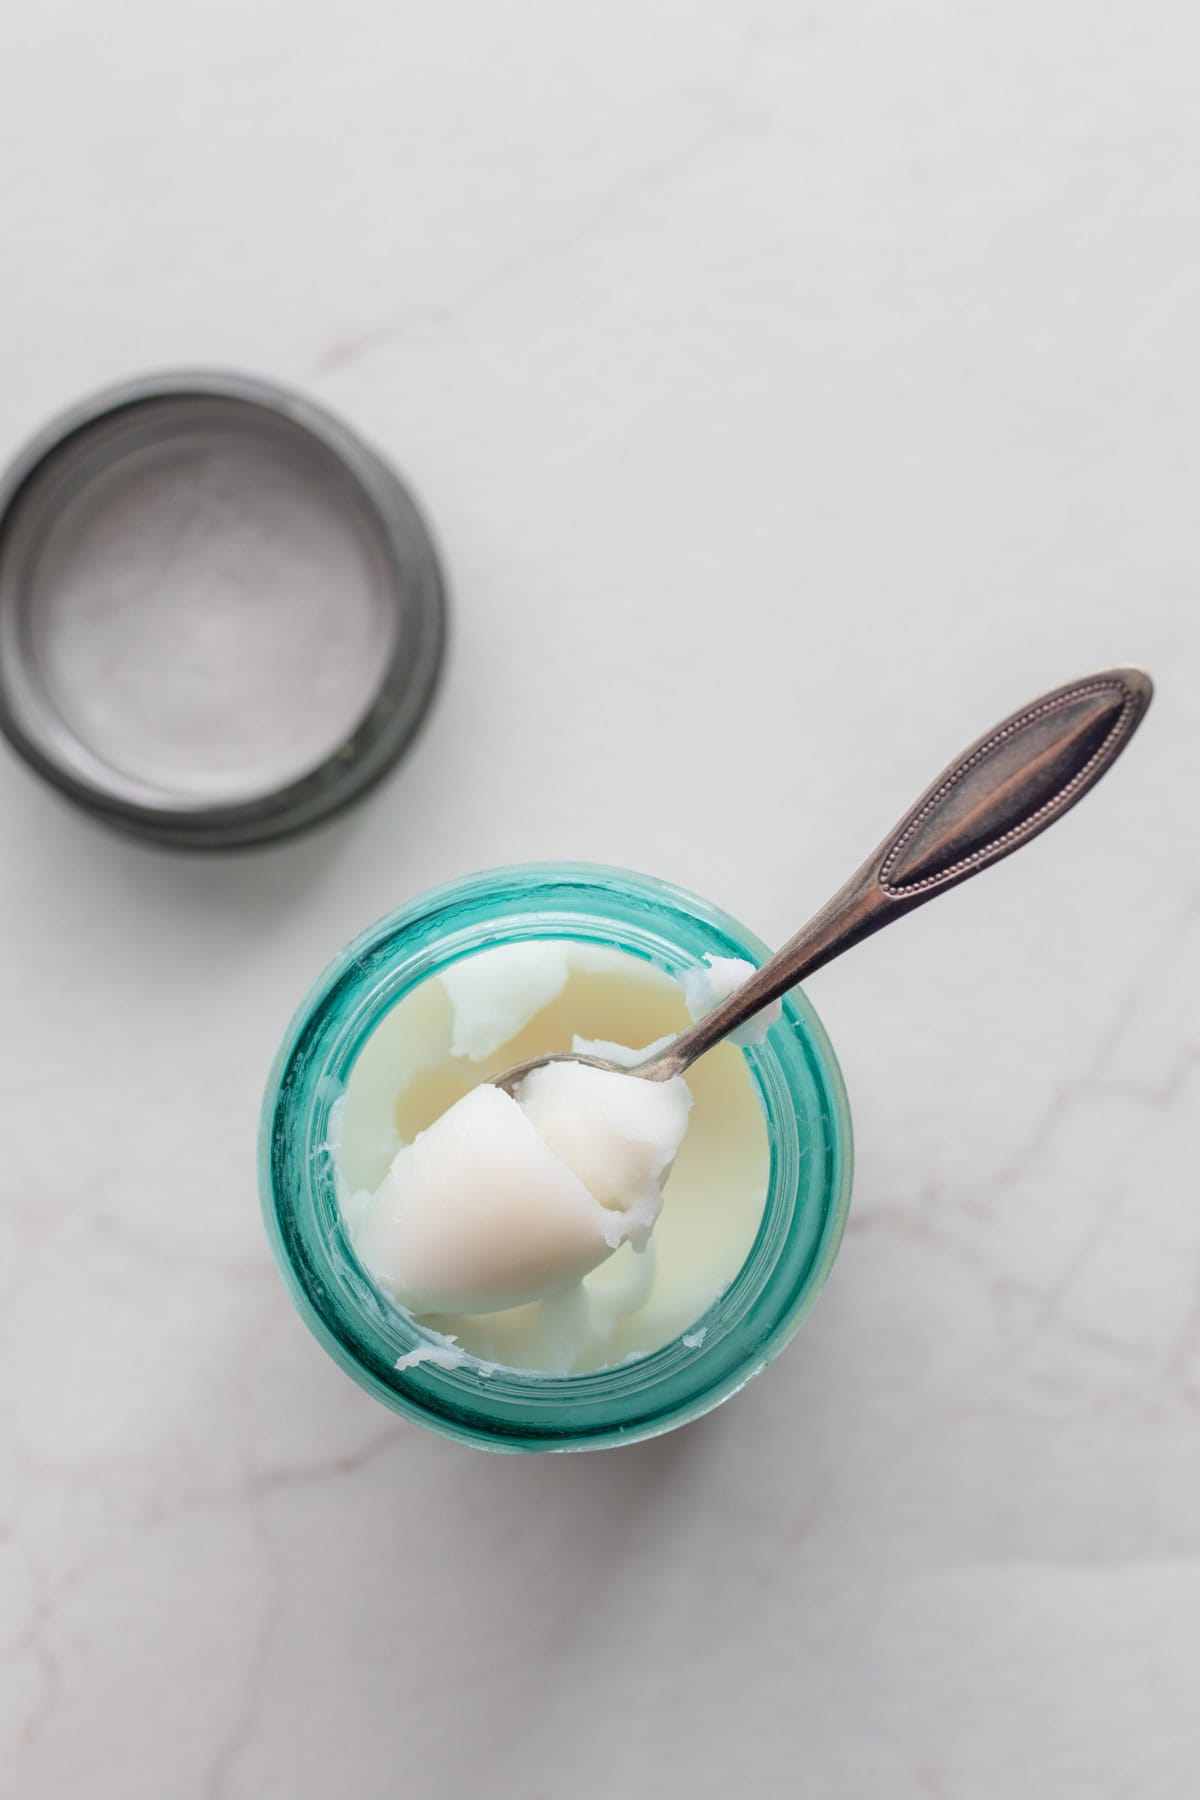
Step 4: Pour into glass jars and allow to cool at room temperature or in the refrigerator. It is now ready to use. Keep it in the fridge or freezer for up to a year, or leave it at room temperature for 4-6 months. Use a clean utensil each time to avoid introducing bacteria to the jar.
How to Make Lard in the Slow Cooker
Step 1: With a sharp knife, cut pork fat into small cubes. Place into a slow cooker on low heat and cook for 8-10 hours.
Step 2: Strain through a fine mesh strainer into glass jars.
How to Make Lard in the Instant Pot
Step 1: With a sharp knife, cut pork fat into small cubes. Place into the Instant Pot and use the warm function. Cover and cook on low for several hours until completely melted.
Step 2: Strain through a fine mesh strainer into glass jars.
How to Use Lard
Lard works well as a substitute for vegetable oil, shortening, butter, olive oil, or coconut oil. Use lard in baking, sautéing, grilling, and even deep frying.
Tips
- For easier cutting, freeze the fat pieces for about an hour before you plan to use them.
- This is best cooked low and slow for a few hours. High temperatures may burn the raw fat and produce a stronger flavor, less suitable for baking.
- Grind the fat pieces to speed up the rendering process.
- When cooking down the fat, some pieces will not render out. These leftover bits are known as cracklings, crunchy bits of pork full of salty, delicious flavor.
- I prefer to cool lard at room temperature to avoid steam being released while cooling in the fridge. This steam can get trapped on the lid and go back into the lard, potentially contributing to mold growth.
- Making beef tallow from beef fat is similar to rendering lard.
- Check with your local butcher for pork fat to render.
Recipe FAQs
No. Bacon is cooked at a much higher temperature, and the grease contains a lot more flavor than white lard. Lard is melted gently to maintain a mild flavor.
Technically, lard only comes from pig fat. Tallow is made from beef or lamb fat. They are very similar, just different types of animal fat.
In the refrigerator, lard will last up to a year; at room temperature, the shelf life is 4-6 months. Lard freezes well, too,
Lard produces a strong, unpleasant smell when rancid. I recommend keeping the lard in a cool place like the refrigerator, freezer, a cool basement, or root cellar. And while pure fat shouldn’t harbor mold, this can happen if bacteria are introduced by water being left in the lard, not cooking long enough, or not being strained. If you see mold, discard.
Leaf fat produces the highest quality of lard, which is spreadable and lightly flavored, ideal for many uses.
More Recipes from the Farmhouse
- Homemade Sweetened Condensed Milk
- Homemade Vanilla Extract
- Whole Wheat Tortillas
- Traditional Homemade Sauerkraut
- Sourdough Discard Crackers
If you try this recipe and love it, I would love it if you could come back and give it 5 stars! Tag me on Instagram @farmhouseonboone.
How to Make Lard
Ingredients
- Pork Fat, I used 1 1/2 pounds to make around 1 pound of lard
Instructions
- With a sharp knife, cut pork fat into small pieces, about 1-2 inches long.
- Place the pieces into a cast-iron Dutch oven or heavy pot, cover with a lid, and place over low heat for about 1-3 hours. The longer and lower you cook, the more neutral the lard will turn out. Stir occasionally so nothing is sticking to the bottom.
- When all the fat has separated from the meat, you will know that it is done. While it is still hot, carefully pour the liquid fat through a fine mesh strainer into a bowl or container. This filters out any bits. Filter a second time, if desired.
- Pour into glass jars and allow to cool at room temperature or in the refrigerator. It is now ready to use. Keep it in the fridge or freezer for up to a year, or leave it at room temperature for 4-6 months.
- For the slow cooker or Instant Pot method, see instructions in the blog post above.
Notes
Nutrition
Nutrition information is automatically calculated, so should only be used as an approximation.


When you use the instapot on the warm setting, do you put the lid on or leave it off? Thanks 🙂
I leave the lid on.
The only thing I would add to any of these recipes would be when you’re done straining it with cheesecloth or whatever form you choose to strain it with take that container put it in a sink with cold and put ice cubes around it and stir it till it starts getting white and you will have the purest whitest lard ever. This was from my mother-in-law who’s done it for years and taught me
I understand to cook under low heat. Is there a temperature that we should not exceed.
Also, is it a one-to-one ratio of pork fat to lard yeild? IE: I want to try it the first time so should i start with 1 Lbs or fat or 5 Lbs? How many jars of lard should I expect to yield from a basic 1 – 2 Lbs of fat as my starting point? How do i make sure there’s no water left in the rendering so that i will not get mold?
It’s very close to being a 1-1 ratio! The lowest temperature you can heat it, the better. I have even put it in my crockpot on low! The lower the temperature you use, the whiter the lard will be.
Hi Lisa. This is my first time making lard as I thought it was bad for us…shame on them!! I recently learned that most all of the oils recommended are terrible for us. I used pork belly as this is all I had on hand and used the crockpot for two days. The bits that are left I would like to make cracklings, but they are mushy…any recommendations? Thanks
I haven’t tried that personally!
Hey Lisa,
Did you do anything special to your mason jars before adding the hot lard? Did you have to heat the jars in any way?
No, I just make sure that they are sanitized beforehand.
I dont use jars. I use my mini meatloaf pans, etc. I lone with parchment paper for easy release. I do half cup portions and freeze when cooled. Then when I need some I can pull out pre measured pieces for baking. That’s for my leaf lard. Don’t worry to much about backfat as I won’t use it in an exact amount.