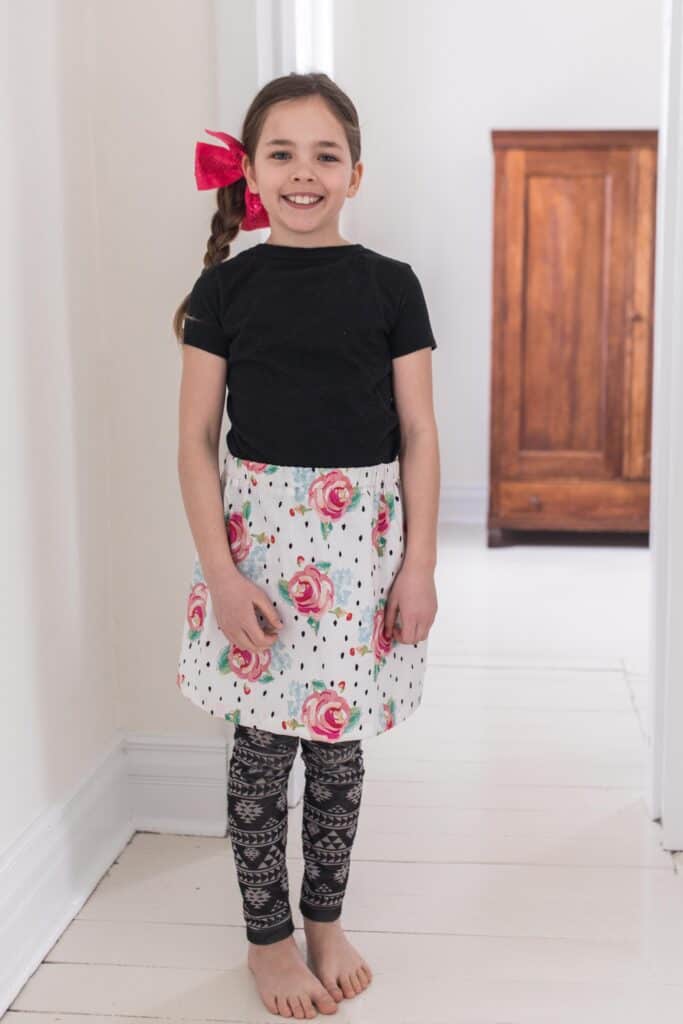
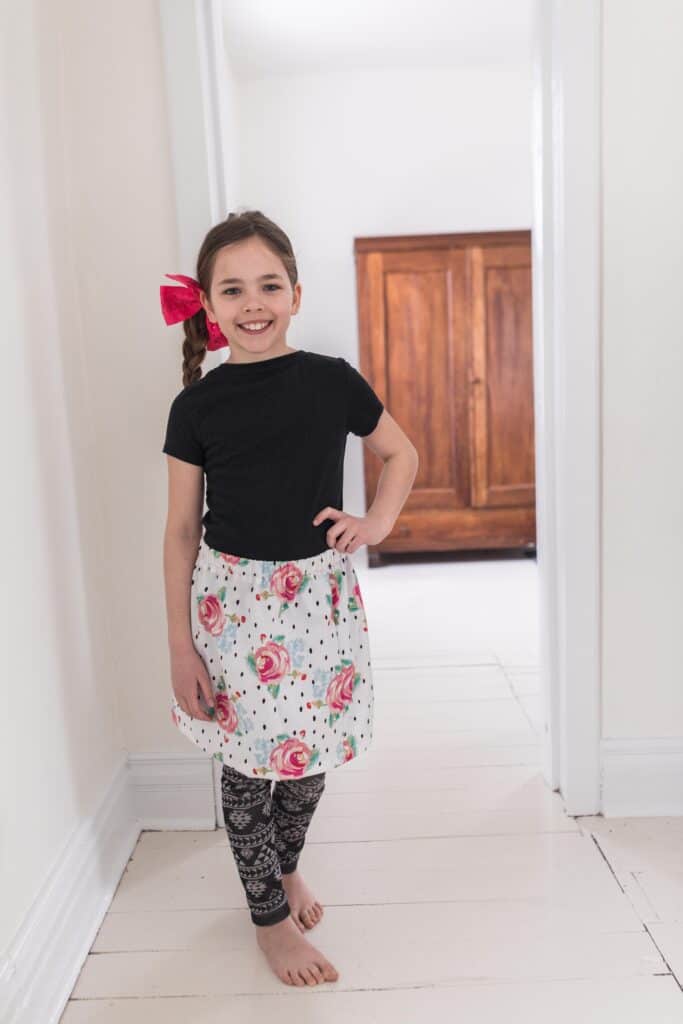
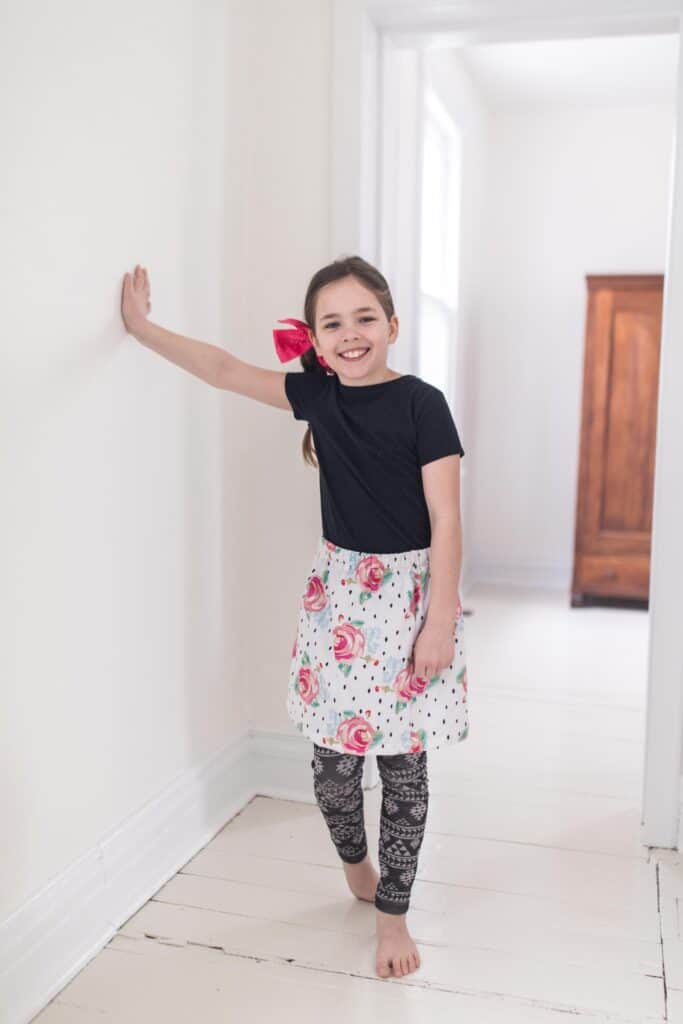
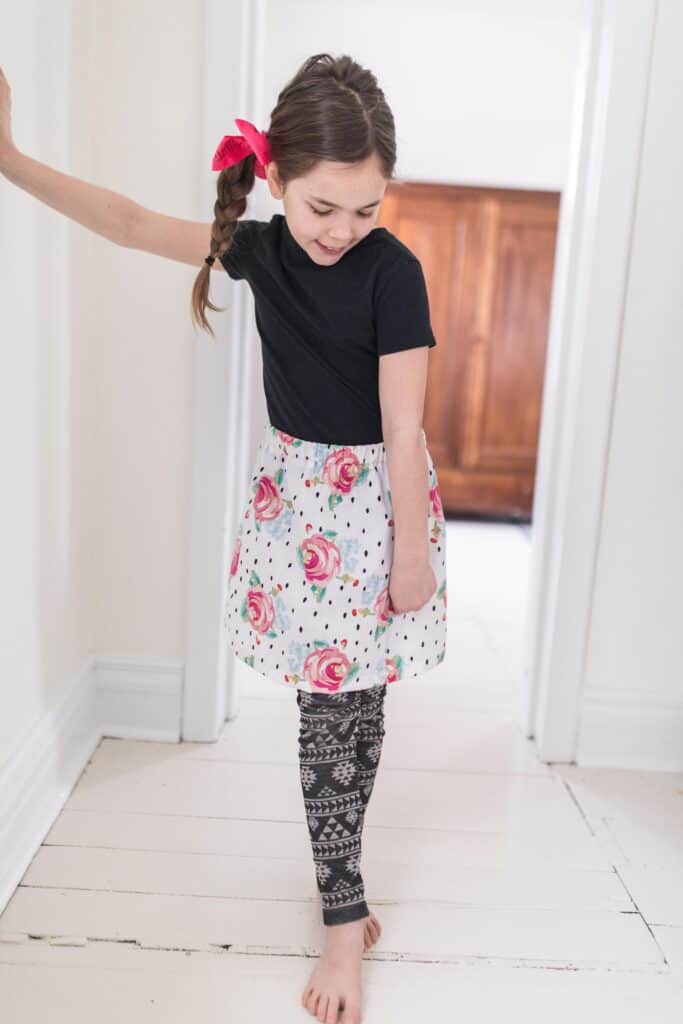
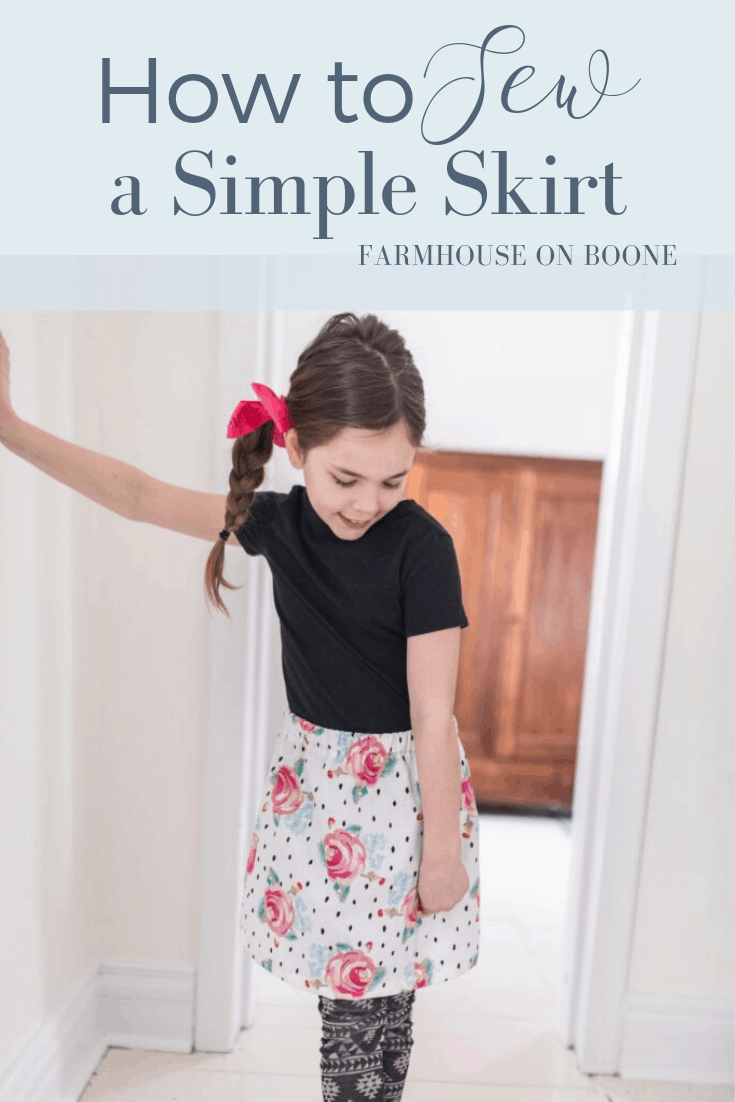
A skirt is one of the easiest article of clothing to sew. Learn how to sew a skirt without a pattern in this simple video tutorial.
Some links are affiliate links, which means I make a small commission at no extra cost to you.
So Many Variations
When I first started sewing trying to whip things up without a pattern, I soon realized how much you could customize a skirt with layers of ruffles and a different colored waistband. Once you get familiar with how to make a skirt, you are going to want to experiment by adding pockets, buttons, and ruffles.
Skirts are so easy to make because they are sewn similar to an apron because you do not have to have that perfect fit like you do with a dress.
If you are brand new to sewing, this is a great sewing project for you.
How to Sew a Skirt Video
How to Sew a Skirt
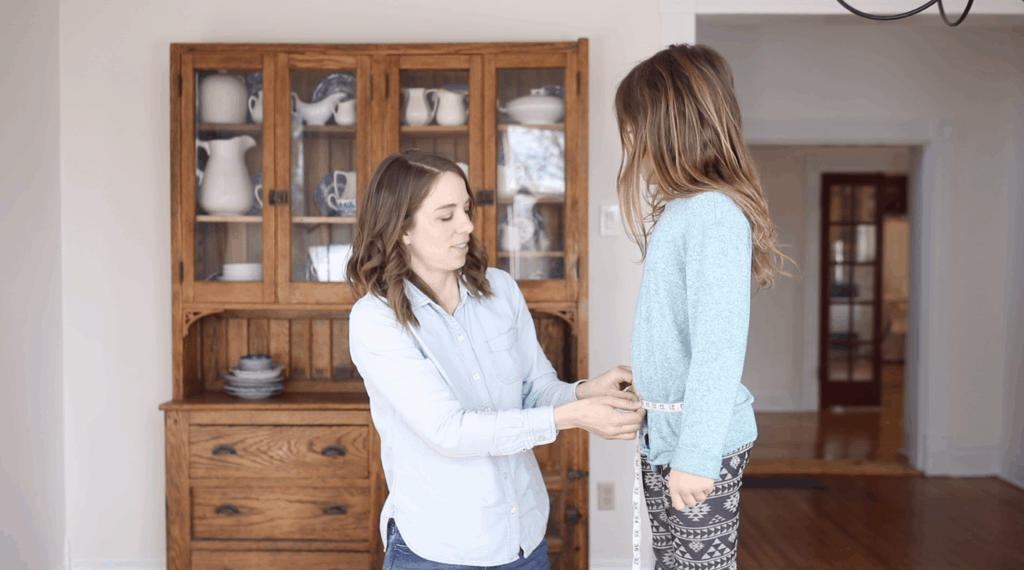
Finding the Measurements for the Waist and Elastic
The first step is to measure the person who will be wearing the skirt. You do this by measuring where you want the skirt to lay, such as the waist, and that is where you are going to measure to figure out the elastic. Remember, you do not want to pull the measuring tape to type because that is where you are going to put the elastic. Then measure the length they would like the skirt to be. For example, do you want it to reach the knee or just sweep the ground?
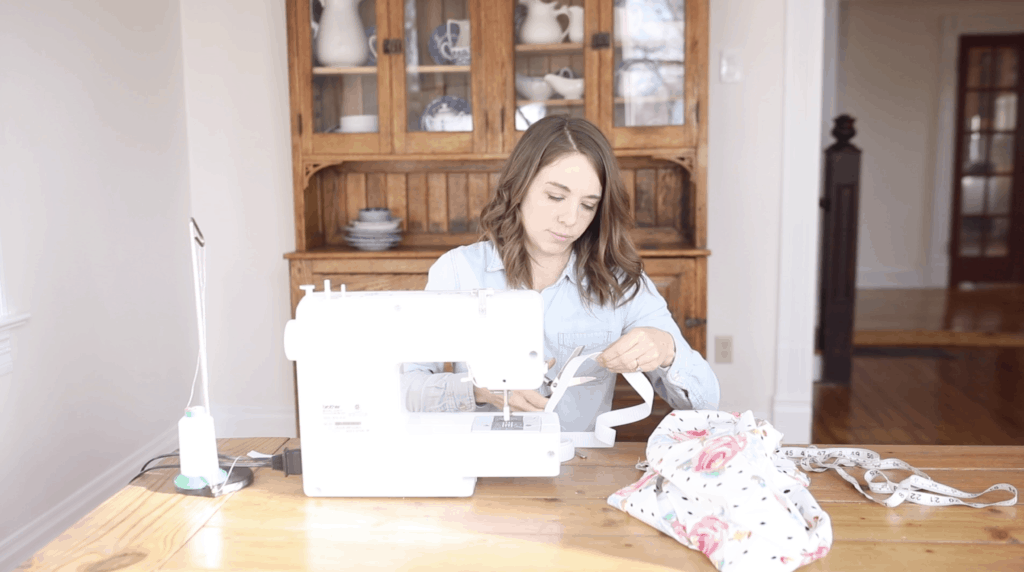
Cut the Elastic
The next step is to cut the elastic. For the skirt I am making for my daughter, I am using a 1 inch, non-roll elastic. It is basically an elastic that is made to not roll inside the waistband and be a little bit sturdier.
The goal is for the elastic to overlap, so what I did is add 1 inch to the waist measurement that I got from my daughter who I am making the skirt for.
Finding the Measurements for the Length and Width
My daughter, from her waist to just above her knee was 14 inches, so to account for the waistband at the top of the skirt, I added 2 and 1/2 inches to the length. This is so that when I sew in the waistband, I can create a casing for it by folding the fabric down 1 1/4 inches and then another 1 1/4 inches.
For the hem at the bottom of the skirt, I am going to add another 2 inches for a grand total of 18 and 1/2 inches for the length.
For the width, I am going to cut it at 20 inches.
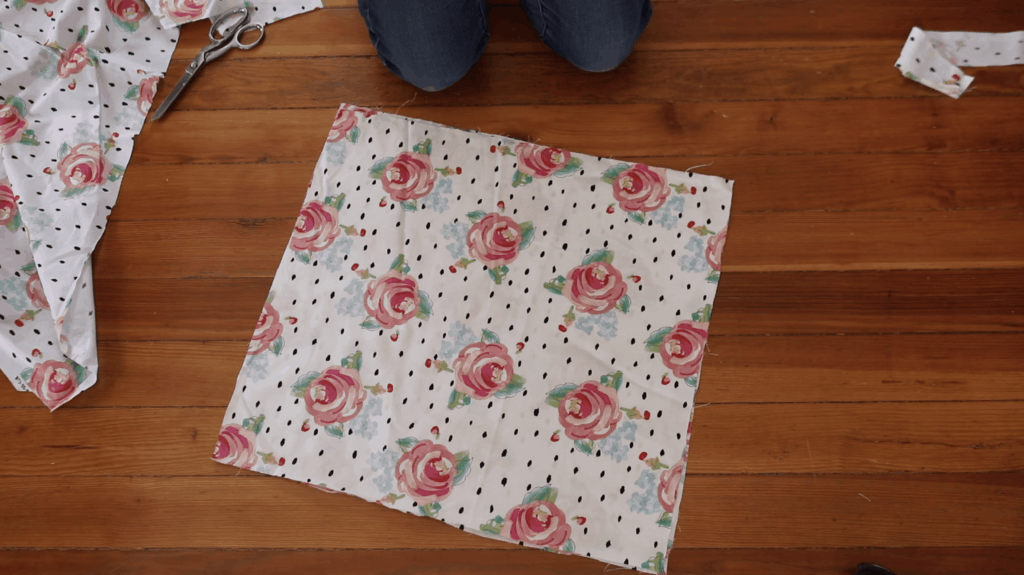
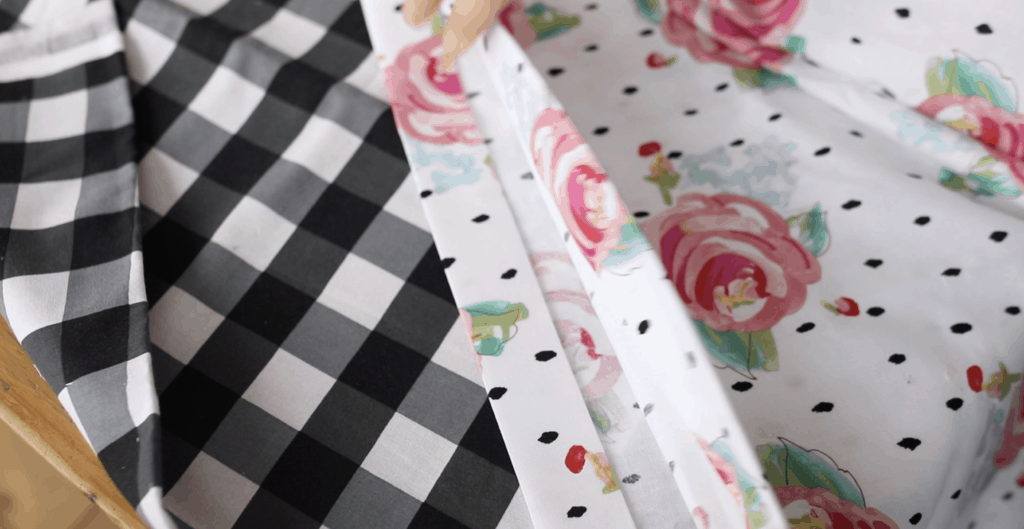
Cut the Fabric
I am cutting out 2 rectangular fabric pieces 20 inches wide by 18 1/2 inches long.
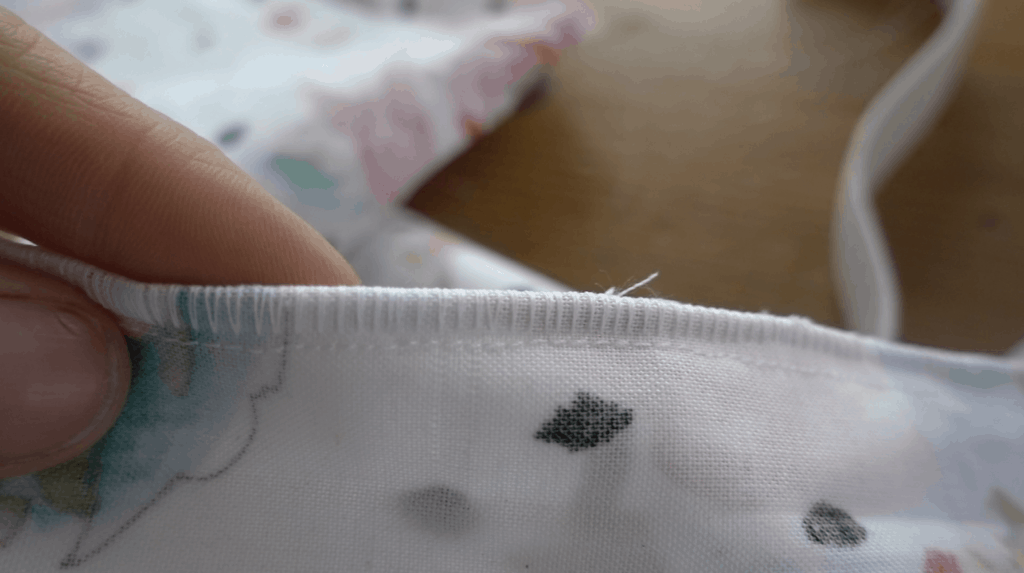
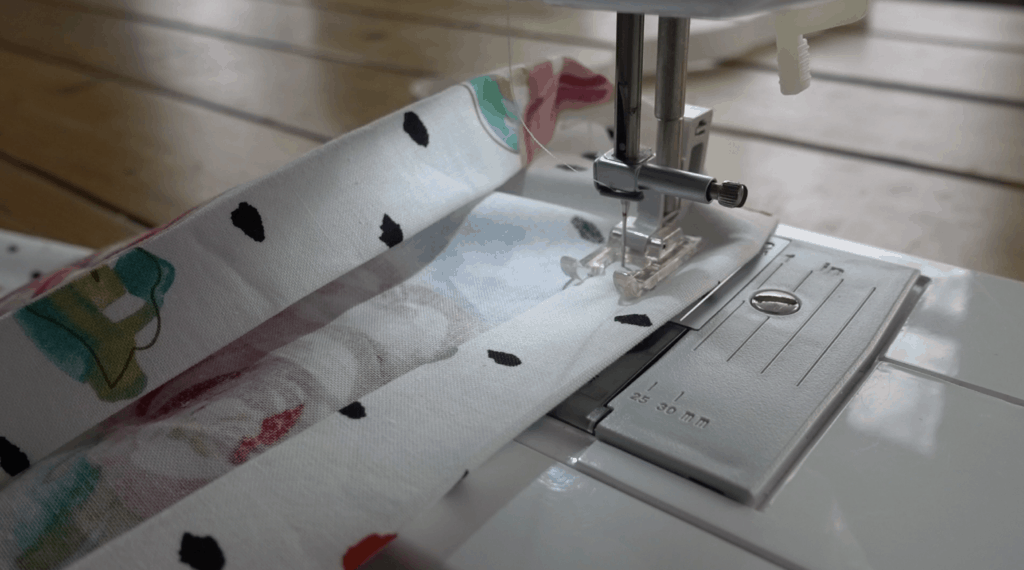
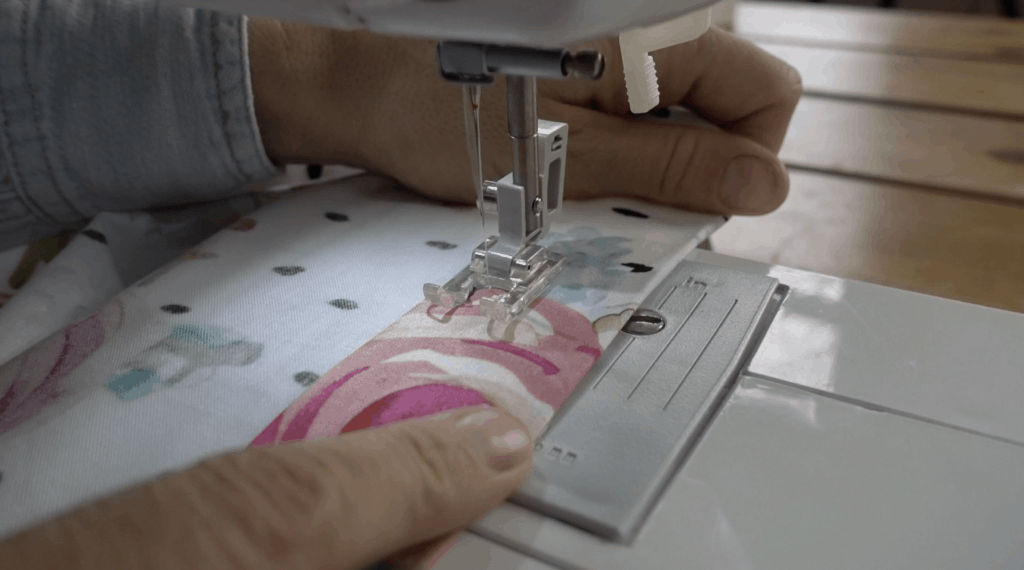
Sew a Seam and Finishing Stitch
The next step is to sew side seams down the two sides and also sew a finishing stitch with a tight zig-zag stitch over the seam. I show you how to do this in the How to Sew a Seam lesson.

Iron the Fabric for the Hem
The next step is to create a hem at the bottom of the skirt and a casing for the elastic in the waistband.
To do this, fold down the bottom of the fabric 1 inch and iron it down flat. Then fold the fabric over one more inch and iron it down flat.
For the casing at the top of the skirt, fold down the top part of the fabric 1 and 1/4 inches and iron flat. Then fold the fabric over again 1 and 1/4 inches and iron flat.
I show you how to sew a hem in the How to Sew a Hem lesson.
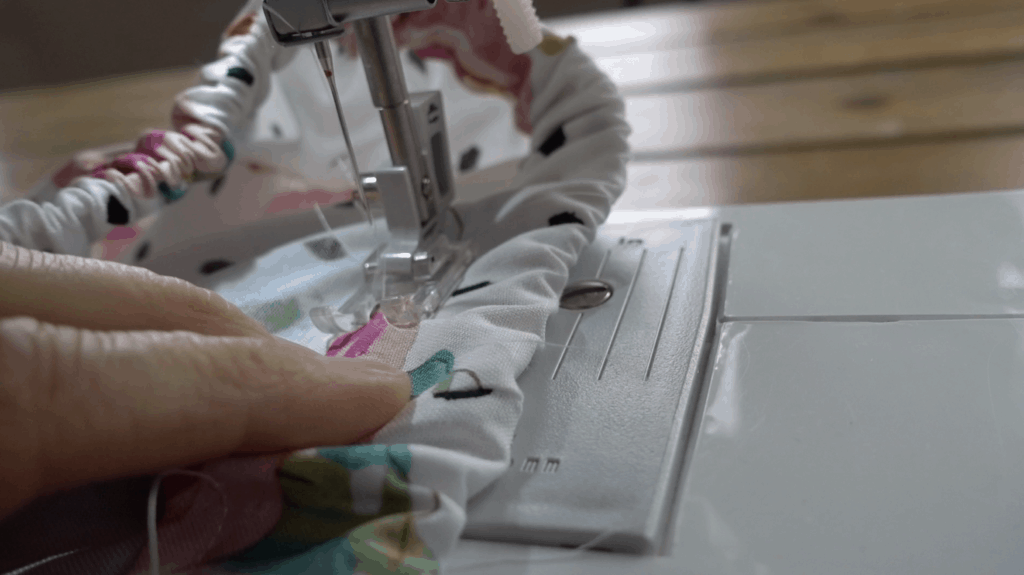
Sewing a Hem and the Elastic Casing
The next step is to sew a hem at the bottom of the skirt.
For the casing at the top of the fabric, you are are going to create a hem, but not sew all the way around the fabric. Sew almost all the way around the casing, but leave about 2 inches to make it easier to pull the elastic through the casing. Make sure that the casing is wide enough to fit the width of the elastic comfortably before sewing.

Pull the Elastic Through the Casing
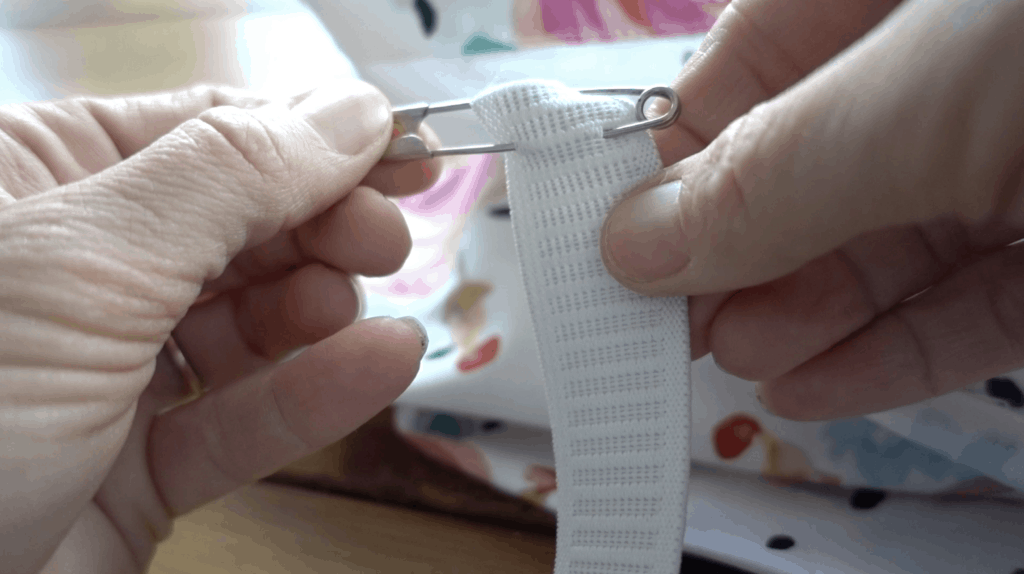
Next, take a large pin and poke it through the one side of the elastic band. Use the head of the pin to help pull the elastic through the casing. Make sure that the other end of the elastic stays outside of the casing so that you do not have to fish it out later.

Sewing the Two Ends of the Elastic Together
The next step is to sew the two ends of the elastic pieces together. You want them to overlap the ends of the elastic about 1 inch. Make sure to sew both ends of the elastic pieces, so that you have two seams for extra support. I like to back and forward stitch several times so that the thread is really locked in place.
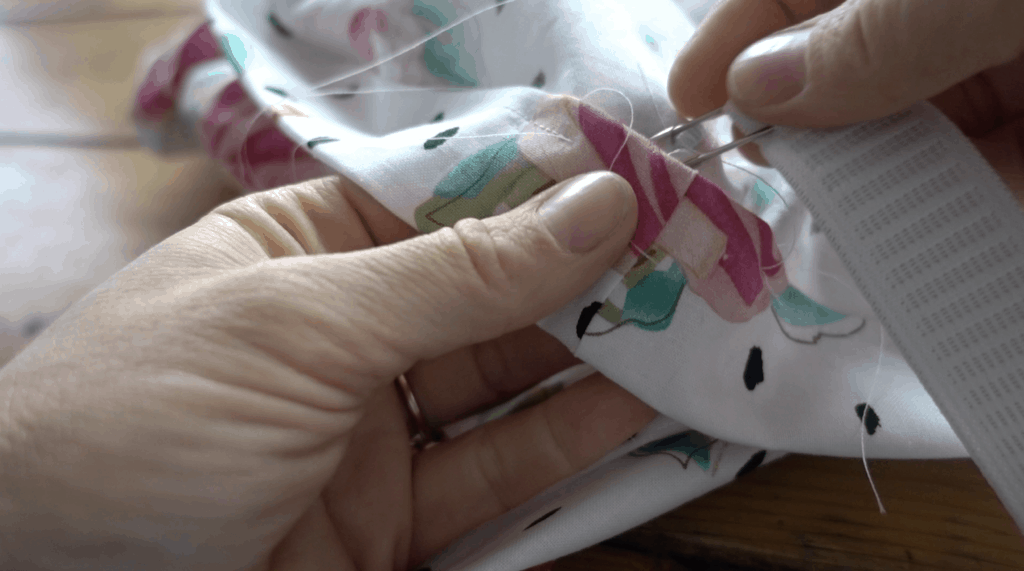
Sewing the Casing Shut
The last step is to sew the casing shut. Pull the top of the fabric to make it smooth for sewing the casing shut.
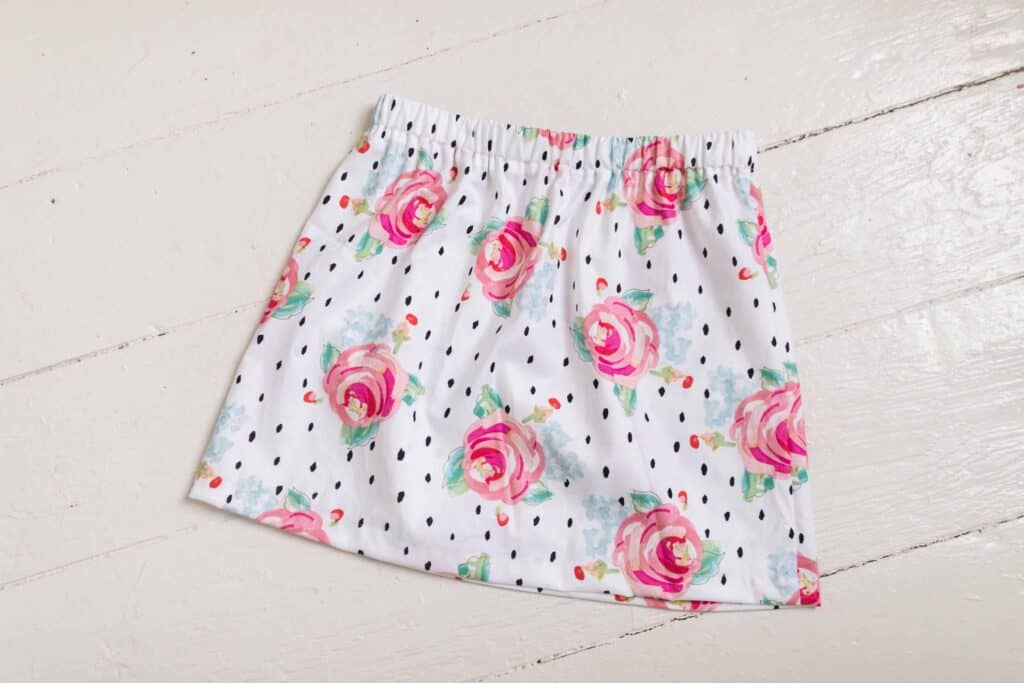
And that’s it!
Shop this Post
Other Simple Sewing Series Posts
Basic Sewing Essentials for a Beginner
How to Thread a Sewing Machine
How to Sew a Hem
How to Dye and Sew Drop Cloth Curtains
Pin it for later
Sarah says
Hey Lisa,
I love your style. It’s everything I want to incorporate in my own home. I’m wanting to start tackling a lot of your DIY projects for home and was wondering what sewing machine you would suggest starting with. I have some experience with my mom’s singer, and like to play with it at her house while she watches my 3 wild boys when we go to visit, but at the moment it’s broken. I was looking to invest in something myself to start protects while they are napping and such. What is the brand of the sewing machine you currently use? And sorry in advance if you’ve already posted on this and I missed it. Again love your style! Loads of inspiration! Thanks again! Sarah