Learn how to do macrame and create your own easy and beautiful macrame wall hanging, a project perfect for beginners.
This post contains affiliate links, which means I make a small commission at no extra cost to you. See my full disclosure here.
Macrame may look complicated, but I promise you it really is so simple, even for beginners. I will walk you through how to do macrame with this macrame wall hanging DIY tutorial.
We are working on doing a makeover in the girls’ room.
I have done a few other DIYs for the space, including making new duvet covers and fabric bunting.
I really wanted to bring in something else for wall art.
That’s when it occurred to me that a macrame wall hanging would be perfect.
The project was pretty inexpensive, coming in around $9 total.
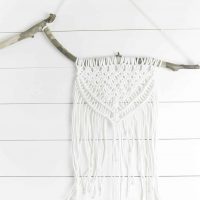
I used a sycamore tree branch (driftwood would also work great) from our yard for the hanger. I like the way the bark is peeling off in places. Also, the branch we chose is super sturdy.
For the macrame cord, I just grabbed some white clothes line from my local Walmart.
We don’t have a craft store in our area, and I was anxious to get this project going. So, I settled for what we do have: a Walmart with clothesline!
And it honestly worked great and was very budget-friendly.
Today, I’ll show you how to do macrame that is simple and works as the perfect woven wall hanging.
Tips For Doing Macrame
- Practice the different types of knots before just starting a project. This will help your projects go more smoothly.
- You can find a lot of free patterns on YouTube (like the one I’m going to show you) or find some inspiration on Pinterest.
- Most craft stores will have special cotton macramé rope, but you can use clothes line just fine.
- Once you start getting comfortable with the craft, you can add in other types of colored yarn and fiber textiles to your projects.
What is macrame?
Macrame is a craft and art form that uses textiles in a variation of knots to create a variety of textiles.
Is macrame easy to learn?
Yes. Although it looks challenging, it is a simple and fun craft that anyone can learn to do. Once you learn a few basic knots (don’t worry I’ll show you how to do some in the video), you will be able to create beautiful macrame projects like this one.
What is the easiest thing to macrame?
Jewelry like earrings, bracelets, and necklaces.
Small wall hangings like the one we are making today
Pot holders
…so much more!
Can I use yarn to macrame?
Yes. If you can create knots, you are able to use it for macrame.
How do I calculate how much cord I need for macrame?
Figure out what length you want your wall hanging or plant hanger to be, then multiply that length by at least 4 times. This is due to the fact that you will be folding the strings in half, and all the knots will reduce the length. It is always better to have extra length rather than not enough.
Macrame Supplies:
Stick
Scissors
Branch or drift wood. Something substantial and sturdy. You could even use a thicker doll rod or large metal ring.
Macrame For Beginners
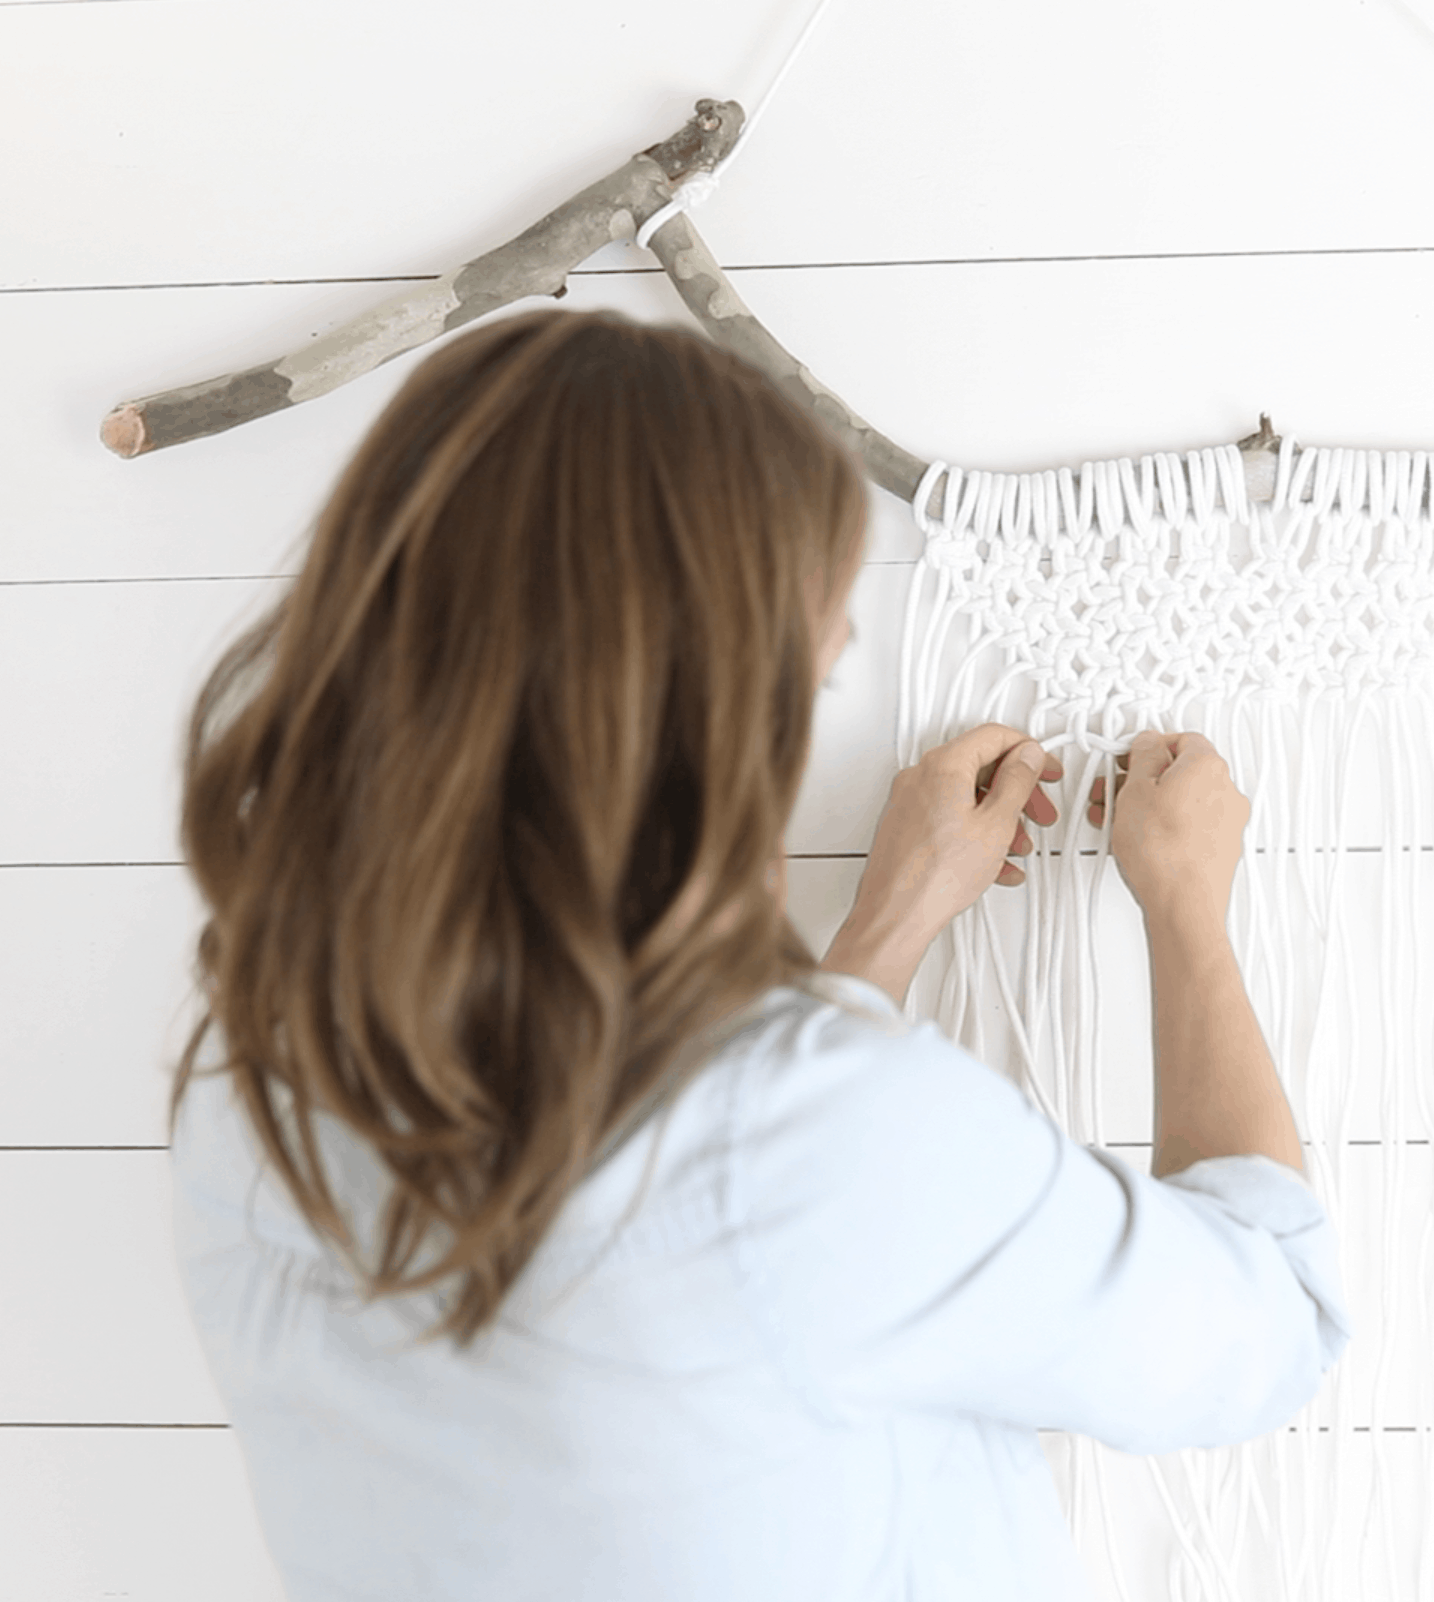
All you need to know to make this particular project are three simple macrame knots: the reverse larks-head knot, the square knot, and the half hitch knot.
Don’t let those fancy names scare you away. The larks head is nothing more than a loop used to secure the ropes to the stick. Easy peasy. The square knot and half hitch aren’t much more complicated than that.
I did a video tutorial for this DIY macrame wall hanging tutorial, just so you could see exactly how I made it.
3 Basic Macrame Knots:
Larks-head Knot:
Fold cord in half. Grabbing the middle part, place behind the rod (or stick) and fold it over.
Take the end strings and pull them through the loop and tighten.
This type of knot is by far the easiest and is a super easy way to start a macrame project.
Square Knot
Take four strings in your hand. Take one of the outside strings and cross it over the two middle strings, creating a backwards “D” and behind the other outside cord.
Next, take the other outside cord and put it over the left cord and behind the two middle cords, and then place the string up through the “D” by the left cord.
Pull to tighten.
Do the same thing on the other side with the opposite cord.
Now you have made a square knot.
Hitch Knot
Take two cords in your hands. Taking the end of the outside of the two cords, place it over the other cord and up through the loop created.
Pull to tighten.
Repeat that same step again, creating two knots.
Next, take the inner cord of the two cords you just used, and then grab the next adjacent cord. This makes the previous inside cord the outside cord of the next set.
Create two knots again, using the same steps as above, using your new set of cords.
Continue working down the wall hanger at an angle.
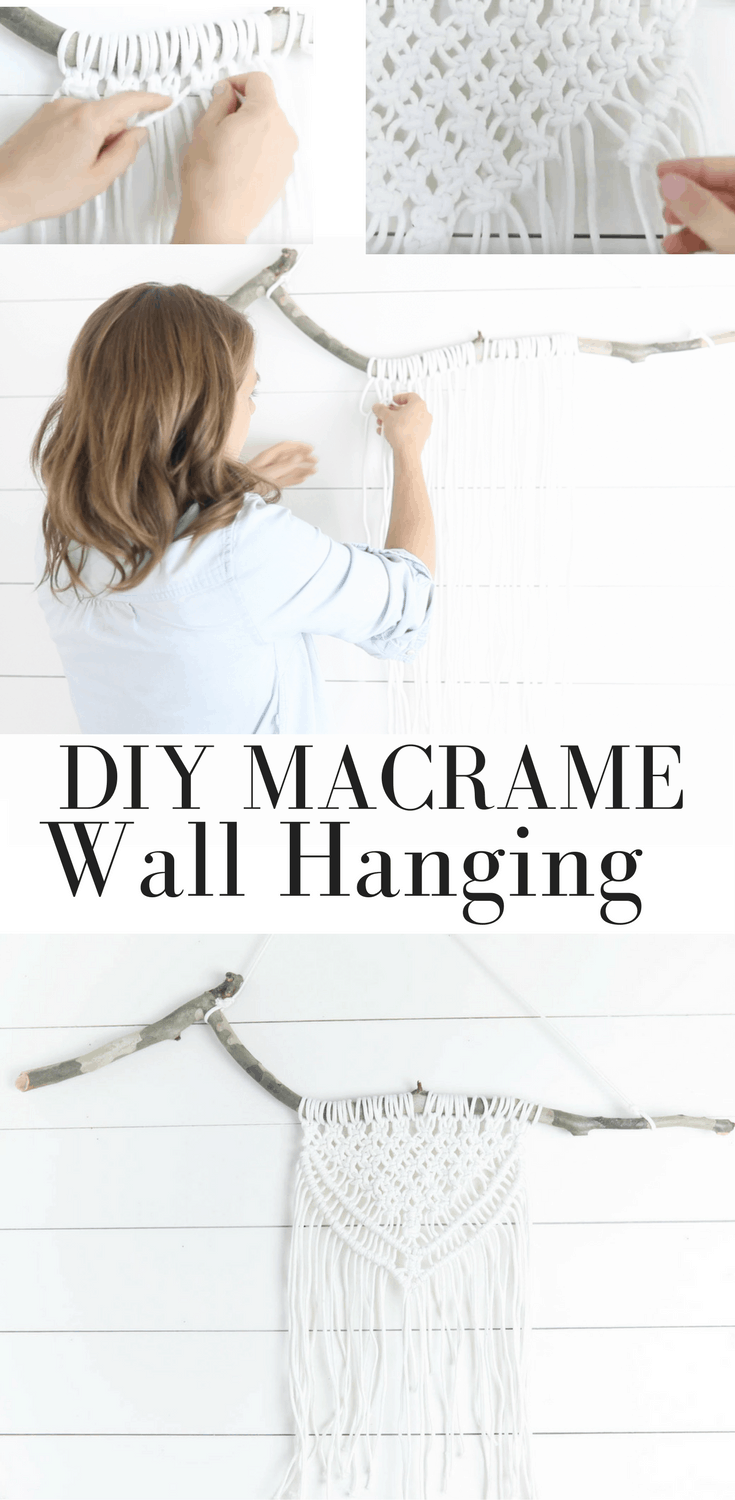
How To Do Macrame – Making A Macrame Wall Hanging
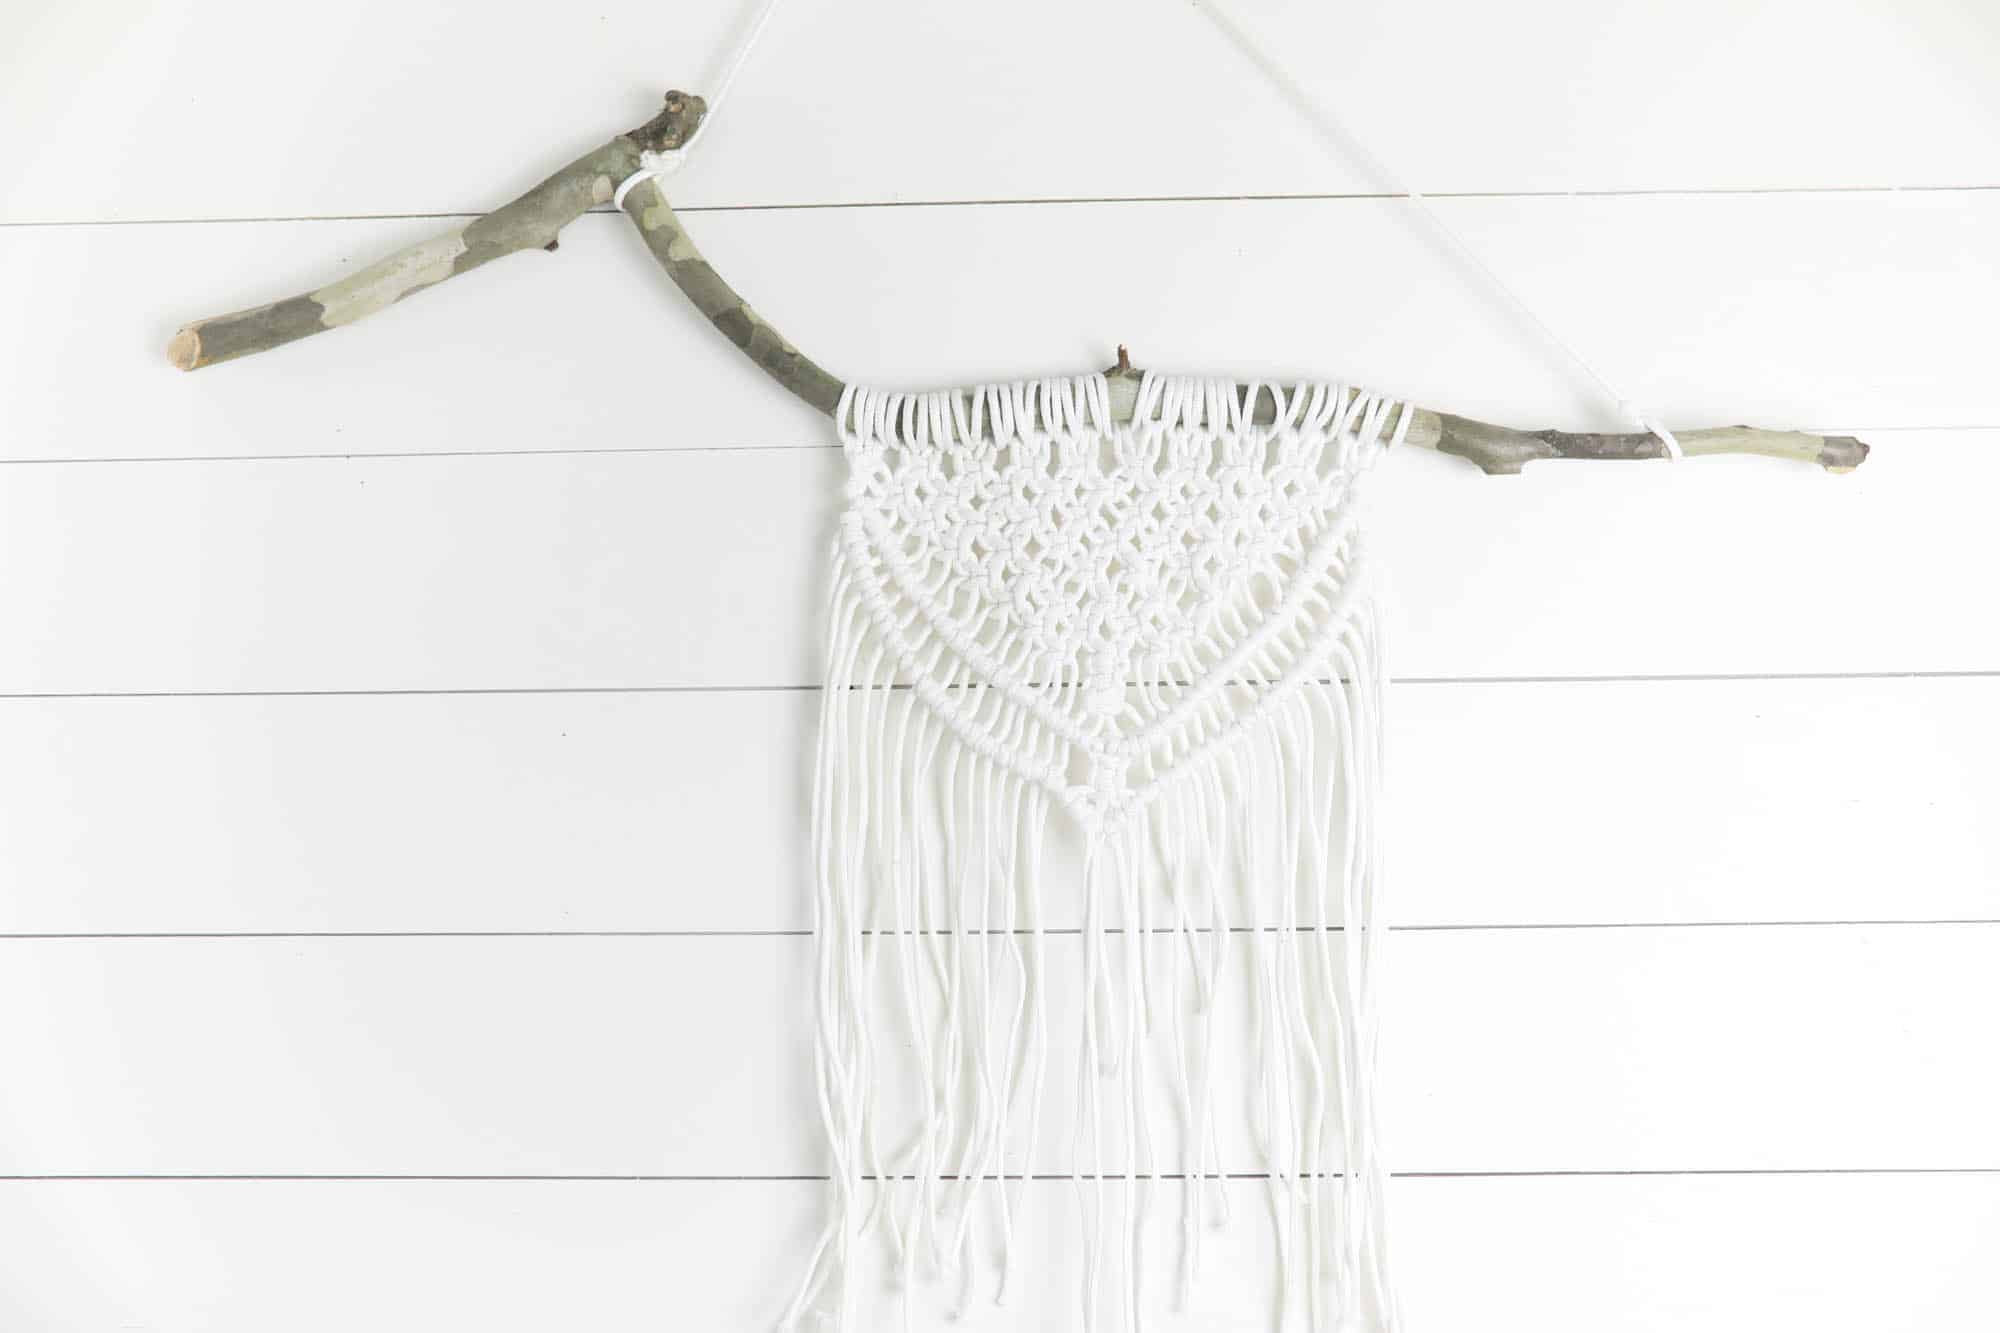
Step 1: Cut The Rope And Tie On The Branch
- I started by cutting 20 pieces of rope seven feet long.
- Next, I secured the ropes to the sycamore branch with a reverse larks-head knot. Watch the video tutorial to see exactly what I’m talking about.
- Since the ropes are folded in half to attach them to the branch, I ended up with 40 strings hanging down at three and a half feet long.
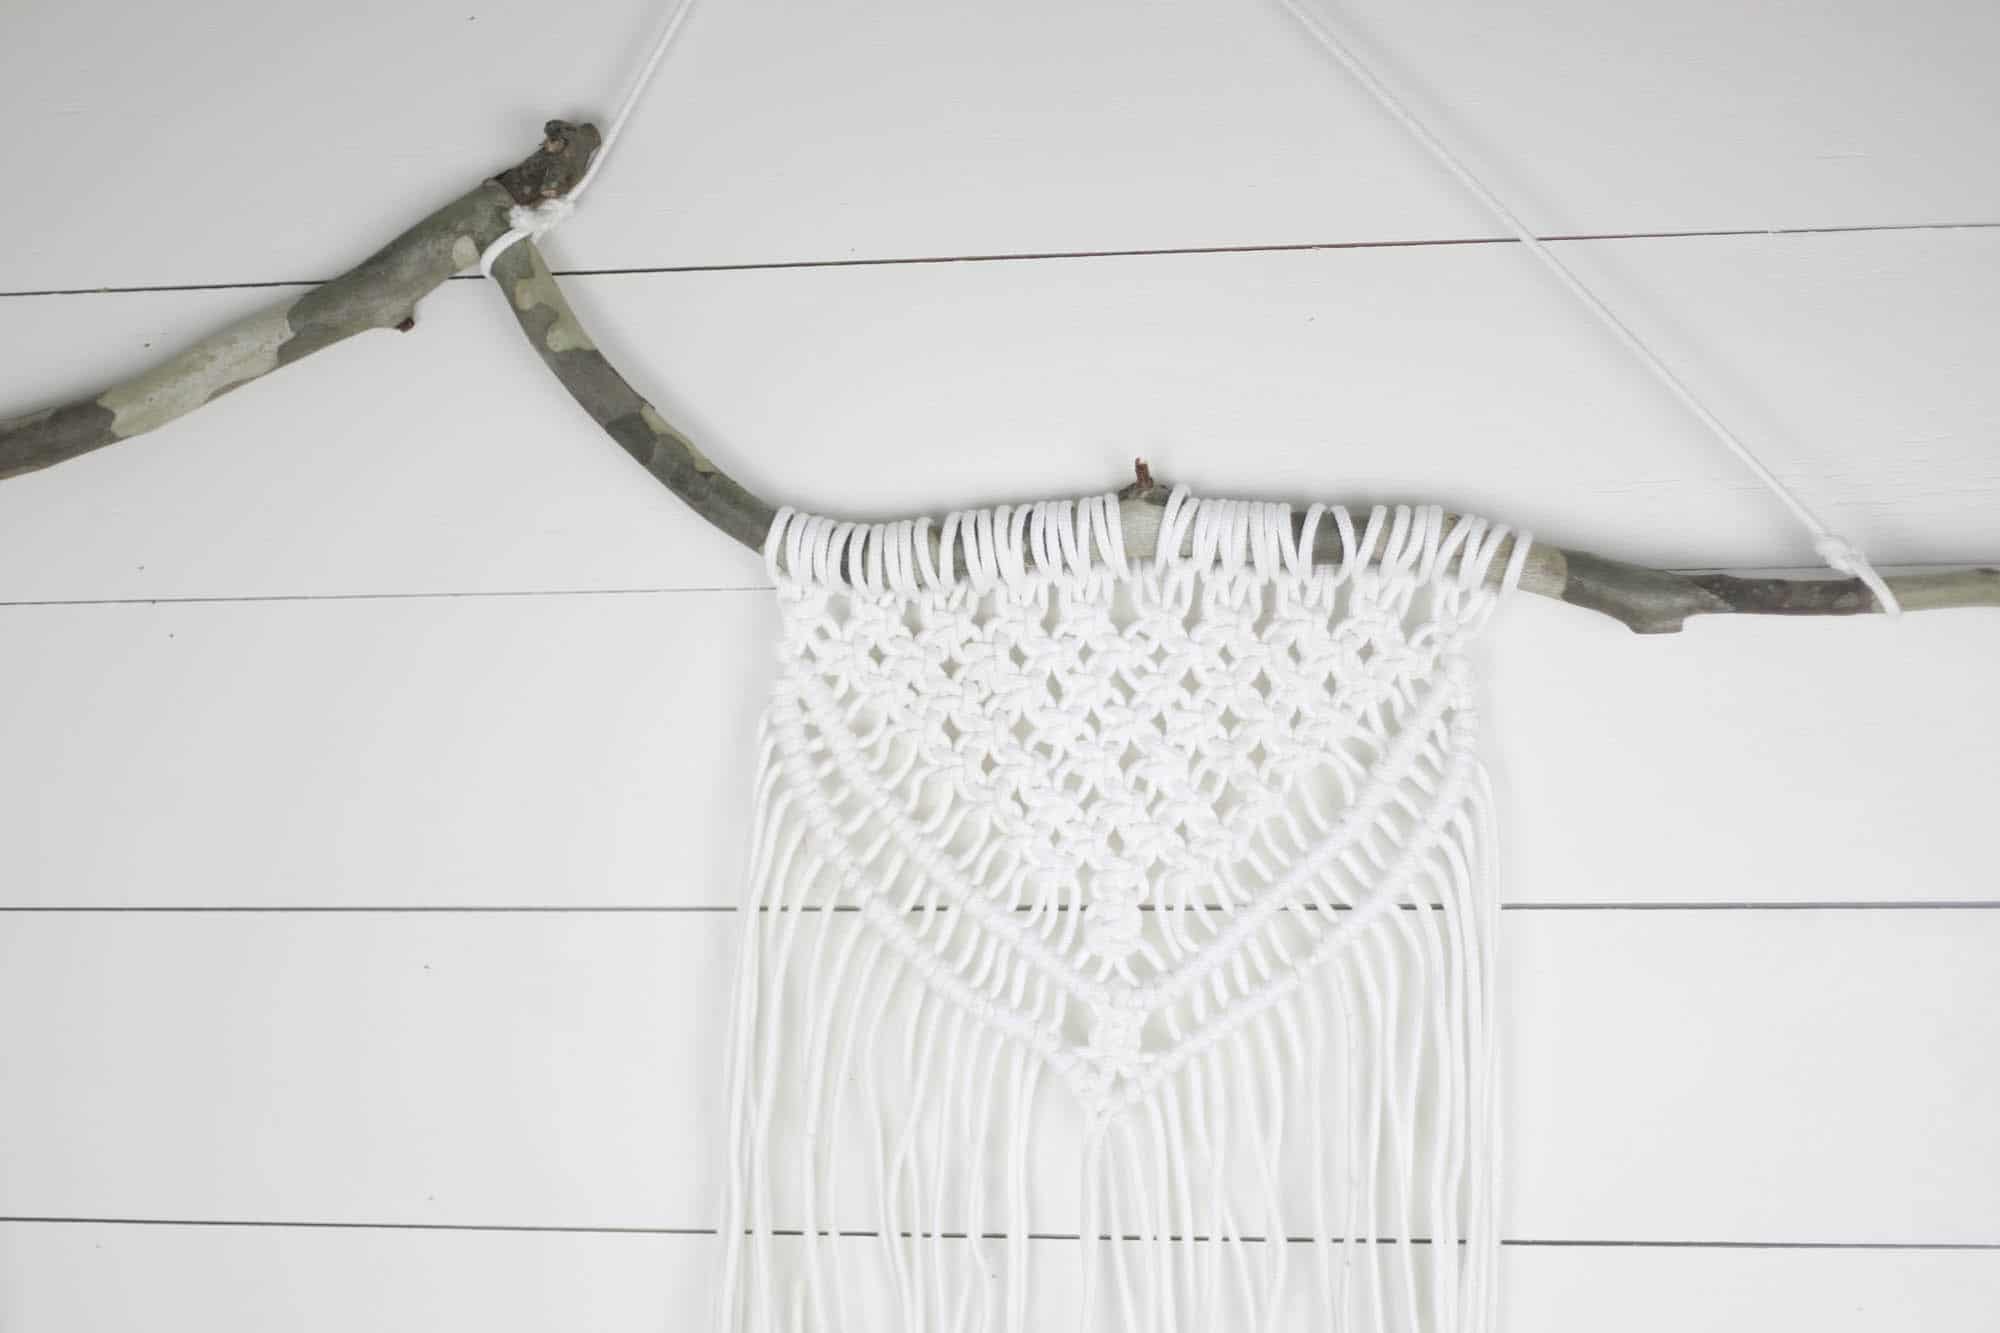
Make A Triangle Using Square Knots
- To do this, I made a whole row of square knots on the first row.
- On the second row, I left out two on each side, and then made square knots with the remaining 36 ropes.
- I continued to leave out two more on each side. So, on the third row, I left out four on each side, leaving me with 32 remaining ropes with which to make square knots.
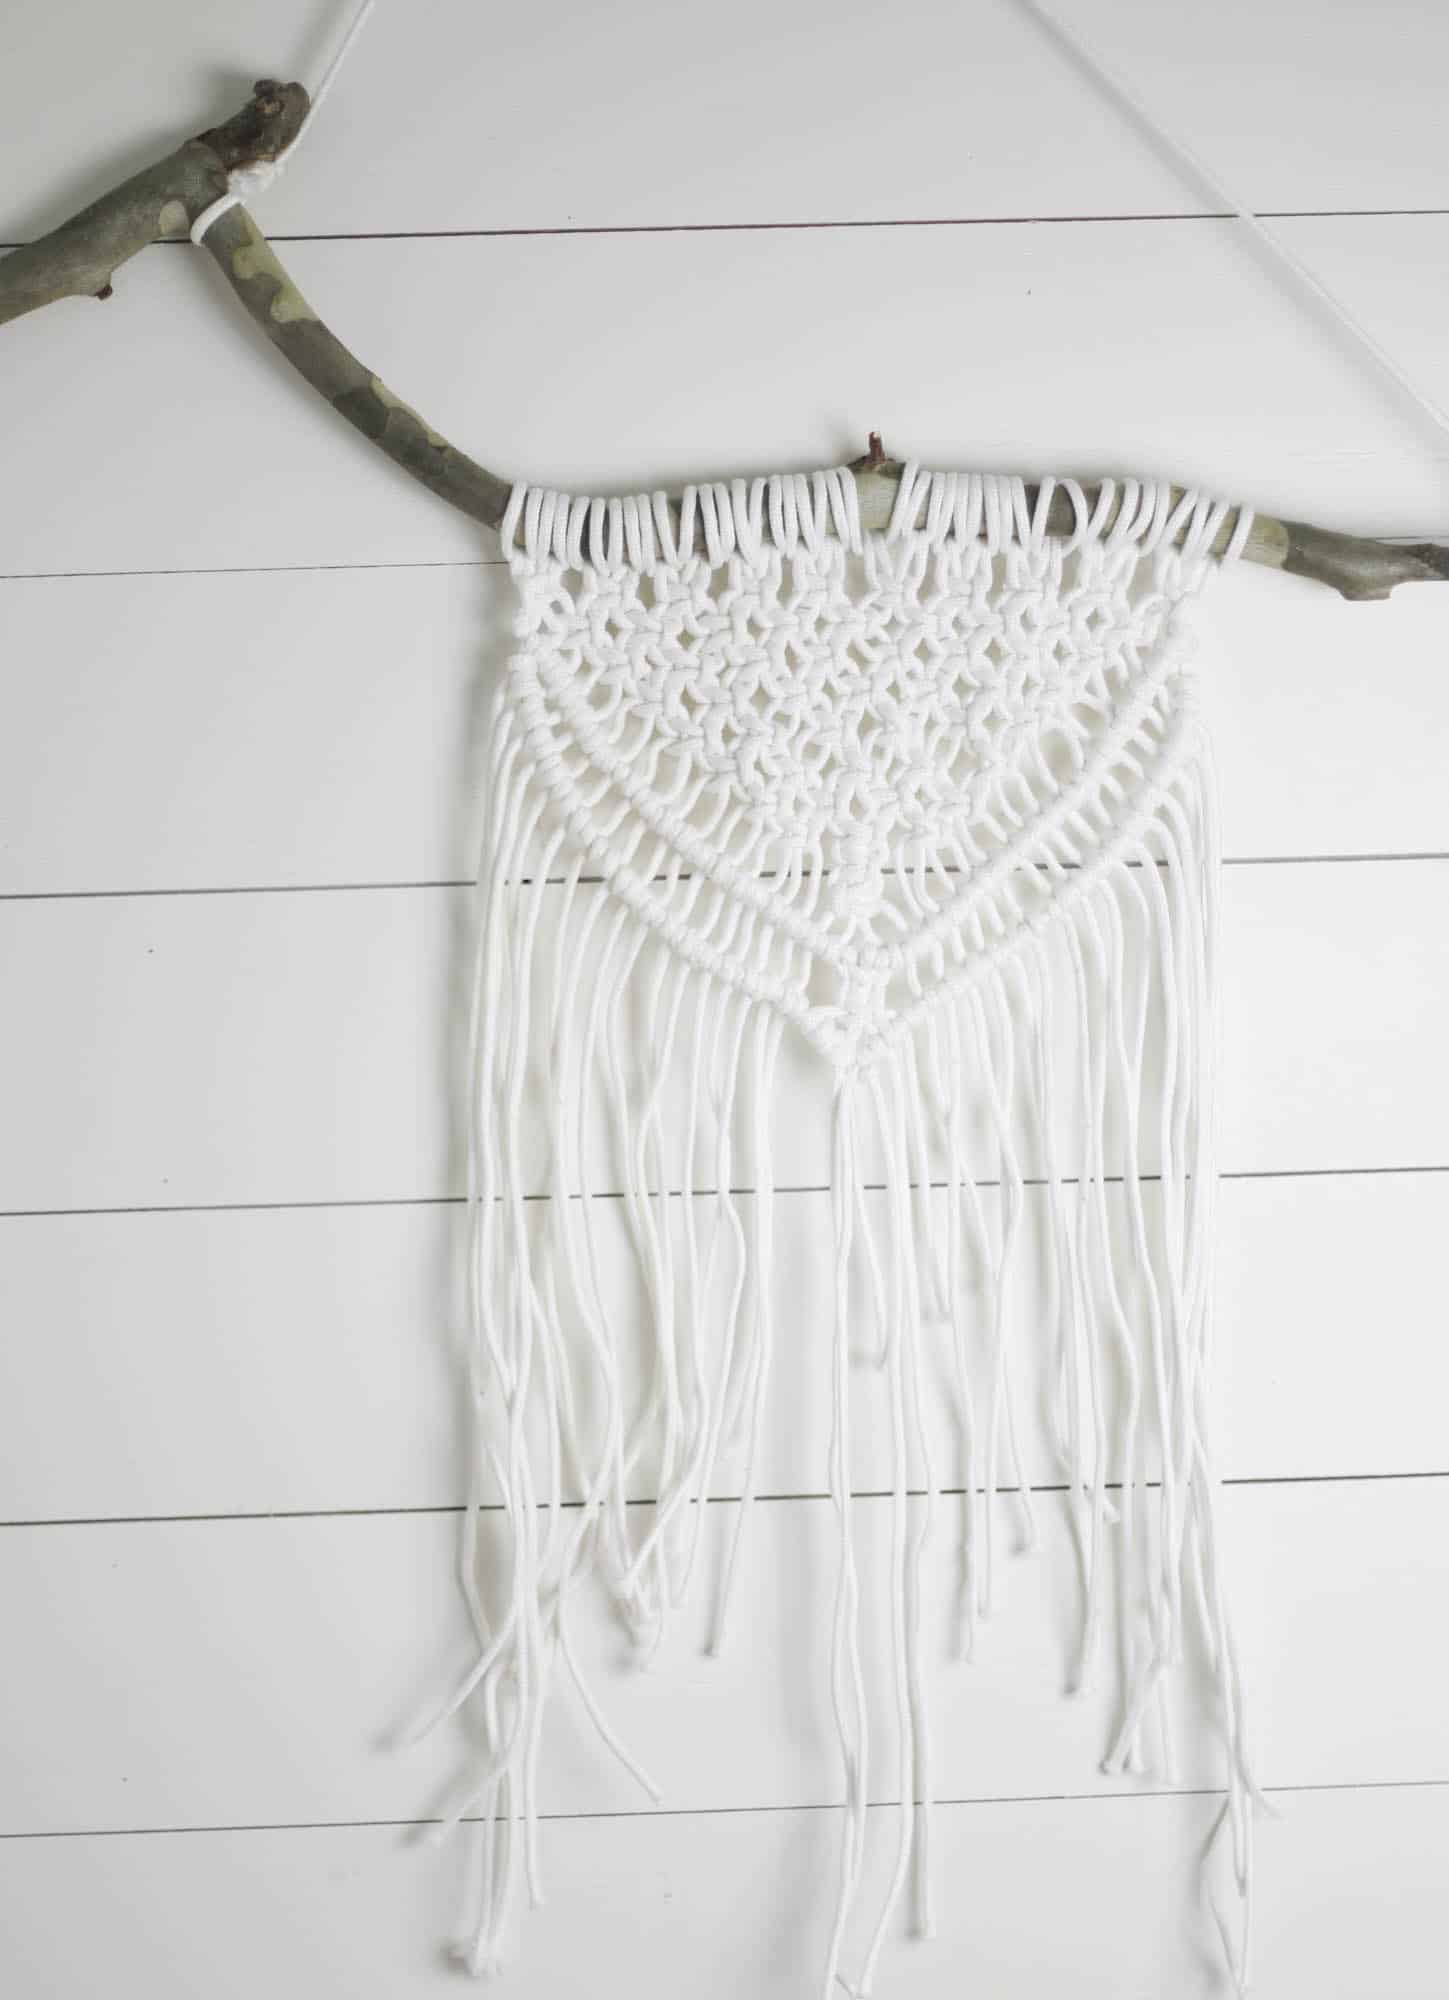
- I continued that on until I had only four ropes left in the middle to make the last square knot with. At the bottom of the triangle I made four square knots.
- Next, I used the half hitch knot, pulled diagonally, to create the lines that run down along the triangle.
Since all of this is very difficult to explain in text, I highly recommend watching the video.
I promise this project is super simple. Even if you are a total beginner, you should give it a try!
Fine More Of Our Favorite DIY Projects
- Simple DIY Macrame Plant Hanger for Beginners
- DIY Concrete Planter
- How to Make a Lavender Wreath DIY Farmhouse Decor
- DIY Ticking Stripe Curtain Sewing Tutorial
- DIY Pot Holders
- How To Make A Staircase Gallery Wall
If you try this project and love it, I would love if you could come back and give it 5 stars!
Macrame Wall Hanging DIY
Tools
- stick (driftwood/tree branch are awesome hanger options!)
- Scissors
Materials
- Macrame cord
Instructions
- Start by cutting 20 pieces of rope seven feet long.
- Next, I secured the ropes to the sycamore branch with a reverse larkshead knot. Watch the video tutorial to see exactly what I’m talking about.
- Since the ropes are folded in half to attach them to the branch, I ended up with 40 strings hanging down at three and a half feet long.
- Next, I made a triangle using square knots.
- To do this, I made a whole row of square knots on the first row. On the second row, I left out two on each side, and then made square knots with the remaining 36 ropes. I continued to leave out two more on each side. So, on the third row, I left out four on each side, leaving me with 32 remaining ropes with which to make square knots.
- I continued that on until I had only four ropes left in the middle to make the last square knot with. At the bottom of the triangle I made four square knots.
- Next, I used the half hitch knot, pulled diagonally, to create the lines that run down along the triangle.
- Since, all of this is very difficult to explain in text, I highly recommend watching the video. 😉
I promise this project is super simple. Even if you are a total beginner, you should give it a try!
Video
Notes
- Make sure and use the correct cord so it will lay correctly when completed.
Pin it for later
Barbara says
Hi, Lisa, I have never done macrame before and really haven’t had an interest up until now. Seeing you create something unique and pretty has encouraged me to give it a try. Thank you!!!
Peggy Baker says
I Lisa…I did macramé many yrs ago for hanging baskets…love doing it n now will start back using your tutorial…thank you for posting…n so love your creations…many yrs ago I made clothes for my 2 older daughters…n it was very cost saving…1/4 yd. of material could make a pair of shorts n many patterns for dresses I have used…may need to get the machine out of the closet n start some small projects…retirement is supposed to be about accomplishments planned…
wilhelmina says
This is such a cool project! You make it so easy!
Sophia says
Using white rope on a white background caused your lens to be unable to focus.. this made it extremely difficult to follow as a first timer. Consider reshooting… it looks like a fun project and I would love to finish mine!
Mandy says
I totally agree. The piece was beautiful and … but shooting most from far away or out of focus here and there and it went way to fast … then you would fast forward when a beginner it would have been helpful to see close up repetition .. the video is awesome if you are not a beginner. Haha with that being said , this is a free video so I can’t complain , just wanting to help with feed back if your goal was for beginners it would have to be shot more close up and slower . Thanks for making this ! You have inspired me to make some projects this weekend
Bee says
I love this video but that was my first thought too ~ the white rope against a white background. I haven’t tried macrame in a very long time so hoping I can try this as my first one!!
Lata Hemdev says
Hi.This is Lata Hemdev.I would like to learn how to make macrame curtains.Can you pls help me to learn.
Regards.
Lata
Neil says
Hi Lisa,
I need to make or have some curtain tie backs made for a boat.
I have seen some macrame blue cord/rope with balls made from the same cord on either end.
These would be cheap to make and provide a nautical touch.
Maybe using 8mm rope with a 35mm ball on either end.
Have you any tips or instructions on how to make balls on the ends please?
Thanks
Neil