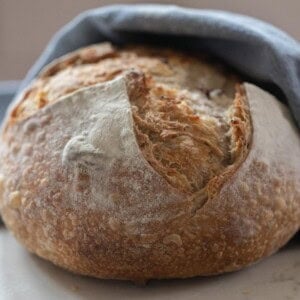
Garlic Sourdough Bread brings together sweet, freshly roasted garlic flavor and classic sourdough tang, producing a great multipurpose, long-fermentation loaf for all of the garlic lovers.
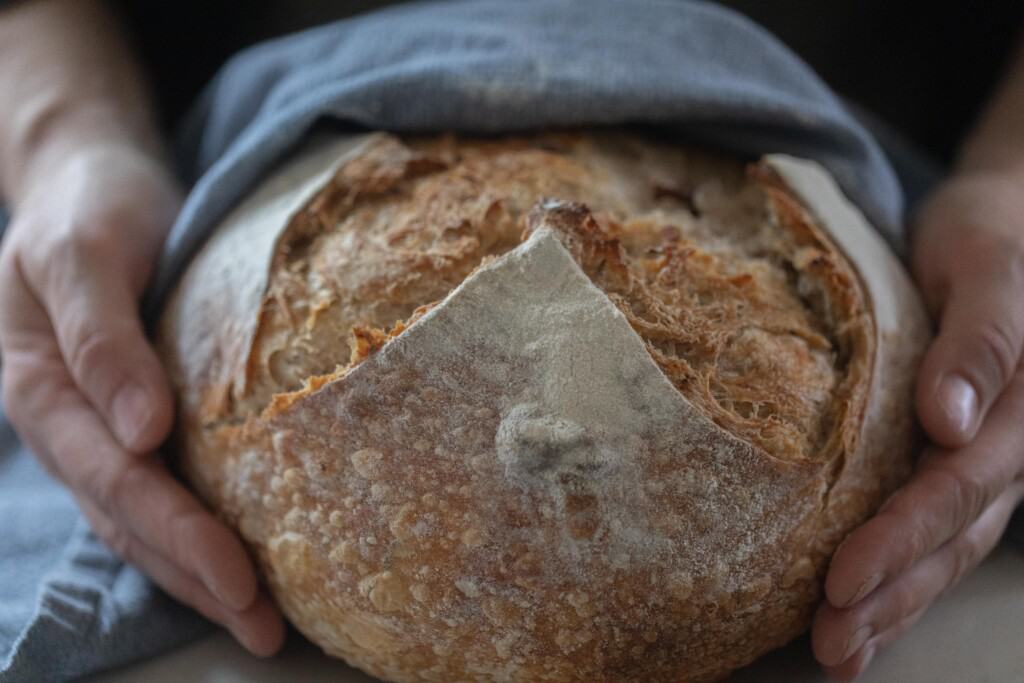
We love garlic. It’s a staple in our home, and a spice that we add to nearly everything.
Garlic can be used as a whole clove in fermentations, or it can be used sliced, chopped, minced, or pressed in most any dish. My garlic press is one of the most used tools in my kitchen, pressing out the robust interior and leaving behind the papery skin.
While I love garlic raw, I also cook it in most of our savory dishes.
In this great recipe, garlic is roasted beforehand, lending a sweet and savory flavor to this delicious loaf of bread.
I also added rosemary for its woodsy, mildly spicy taste, but there are all kinds of garden herbs you can add in. Not only are they delicious, but they look beautiful mixed into the dough.
Why You’ll Love This Recipe
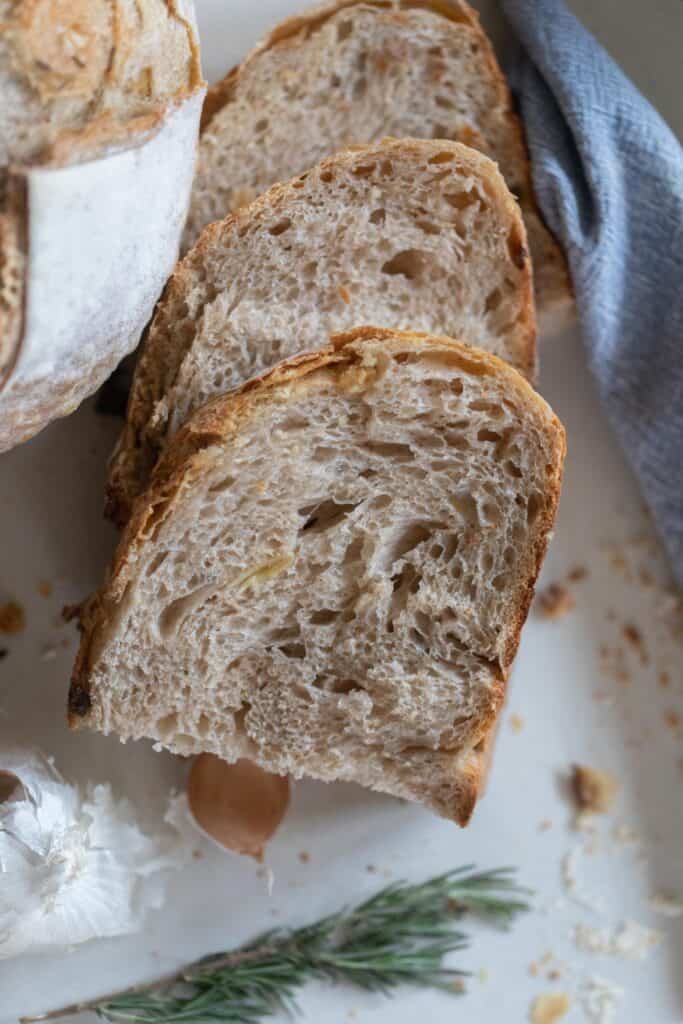
Depth of flavor: Roasted garlic cloves paired with classic sourdough tang give this loaf the best flavor, as well as an incredible aroma throughout your home.
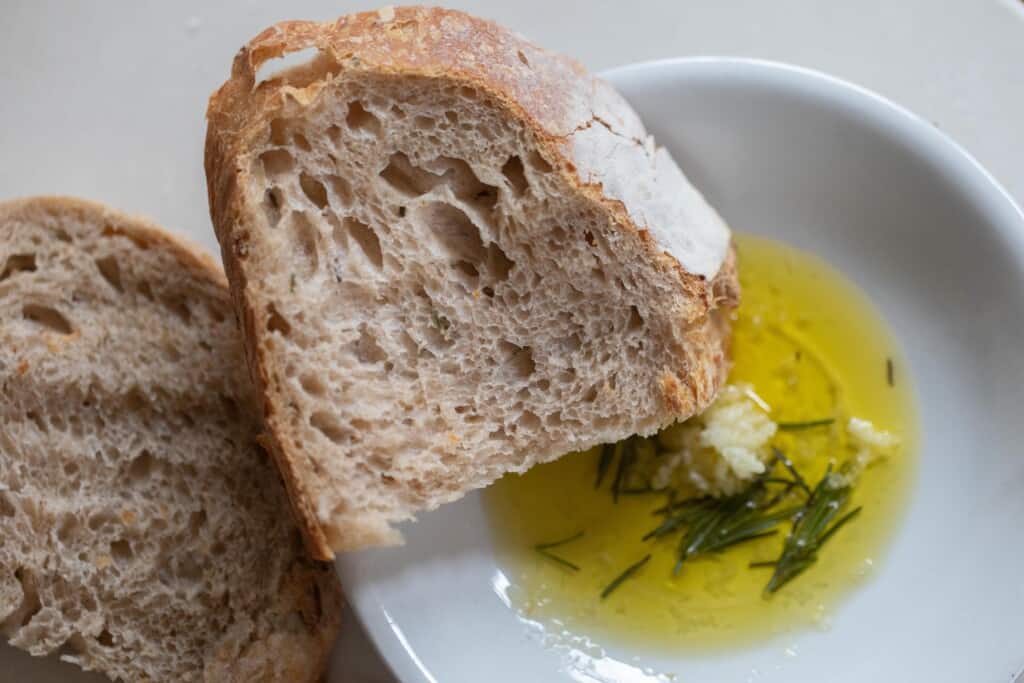
Versatile: Garlic sourdough is easily used as an accompaniment to soup, a carrier for your favorite sandwiches, or a perfect side dish when paired with garlic herb butter. It can work so well in so many ways!
Simple ingredients: A blend of flours, active starter, water, salt and fresh herbs – this bread is simple, but delicious.
Healthy: Long-fermented and risen without commercial yeast, you’re enjoying more than just good flavor, but also more readily absorbed nutrients and garden fresh components.
This post contains affiliate links, which means I make a small commission at no extra cost to you. See my full disclosure here.
Tips
- If you don’t have fresh garlic, you can substitute garlic powder, though it won’t have as vibrant a flavor. For best results, try toasting the garlic powder with olive oil in your skillet for a short time, as this brings out a deeper flavor.
- Roasted garlic is different than raw, chopped garlic when it comes to sourdough. Raw garlic is powerful and can actually negatively impact your rise, making doubling difficult to achieve. It has a sweeter, toned down bite, which simply doesn’t overpower your rise like raw garlic can.
- A faster rise will occur in a warmer location. You can place your bowl up high (top of the fridge, top of a cabinet, etc, where warm air collects) or near a heat source. During the winter, a fireplace hearth works wonderfully, or in the summer, a sunny window. Alternatively, if you’re going for a slower rise and longer ferment, a cool, dark pantry is perfect.
- A kitchen scale is super helpful in producing a consistent loaf with the most accurate measurements.
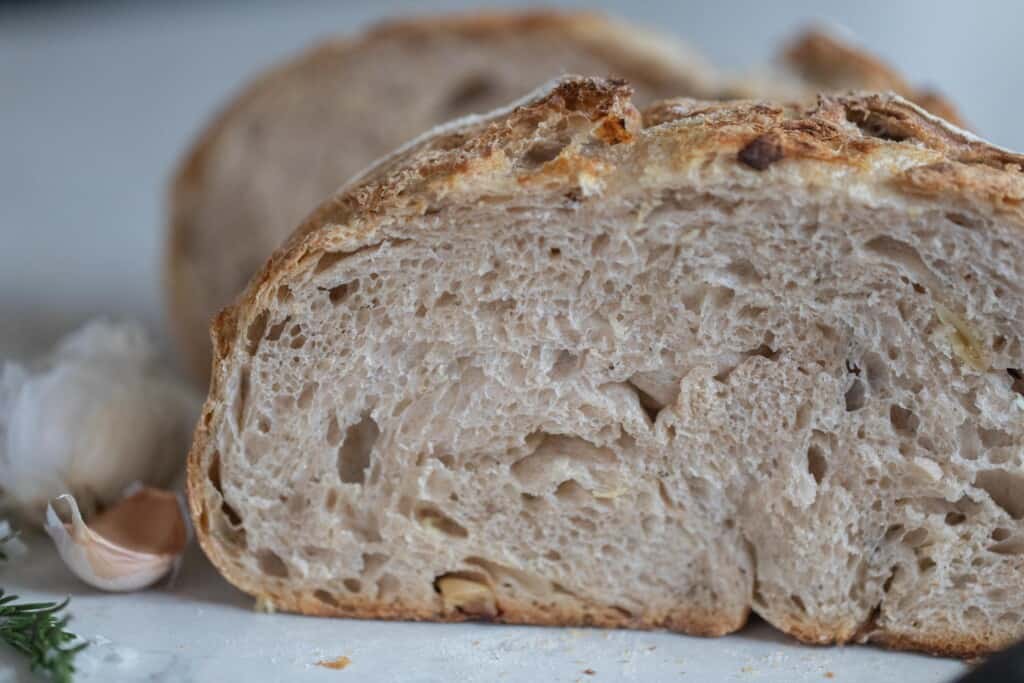
- The long rise in the refrigerator is necessary for achieving a beautiful scoring pattern. The chilled dough is more firm and receives the scoring more readily. If you are wanting a speedier loaf, you can skip the chilling and let it double on the counter for 3-4 hours (or longer if your house is on the cooler side).
- Learn to make your own sourdough starter here.
Ingredients
All purpose flour – Unbleached or organic are best.
Whole wheat flour – I love the fresh, nutty flavors and added nutrition of freshly milled wheat flour.
Bread flour – Go for unbleached or organic flour, if possible.
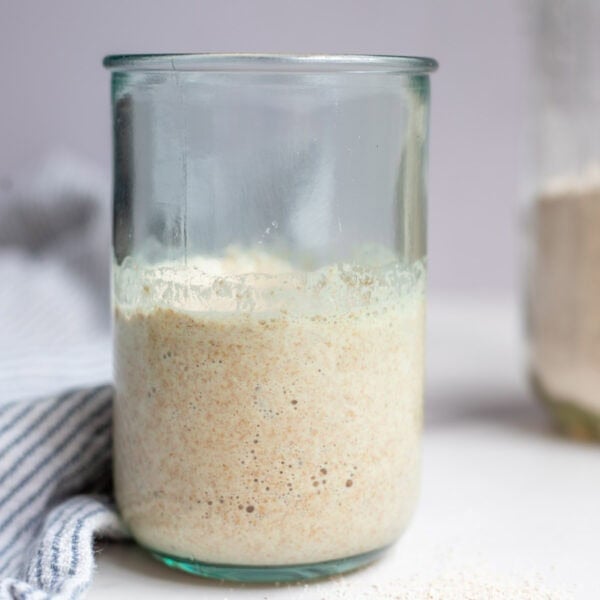
Sourdough starter – Bubbly and active, recently fed. Should be about doubled in size and pass the float test.
Water – Filtered water at room temperature.
Salt – Sea salt is our favorite.
Roasted garlic – Roasted cloves of garlic are important here, to be differentiated from fresh or raw garlic. More on that in the Tips section with instructions below.
Fresh rosemary – A tablespoon of fresh rosemary adds so much personality to this bread. You could try other fresh herbs, as well, such as chopped basil, thyme, or fresh parsley.
Tools
Large bowl
Banneton or a large bowl with tea towel
Sheet pan
How To Make Roasted Garlic
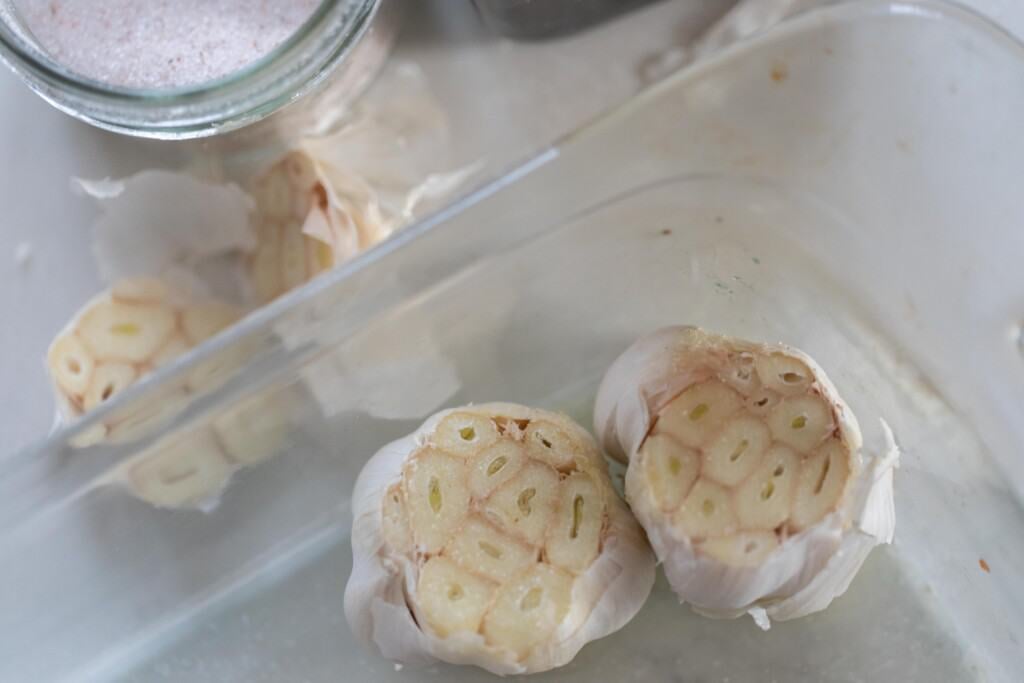
Preheat oven to 375 F and prepare a baking tray lined with parchment paper. Alternatively, you can wrap the cloves inside foil on your tray.
Remove the tops of your heads of garlic with a sharp knife, revealing the cloves inside.
Placing the cloves on the tray, drizzle with olive oil.
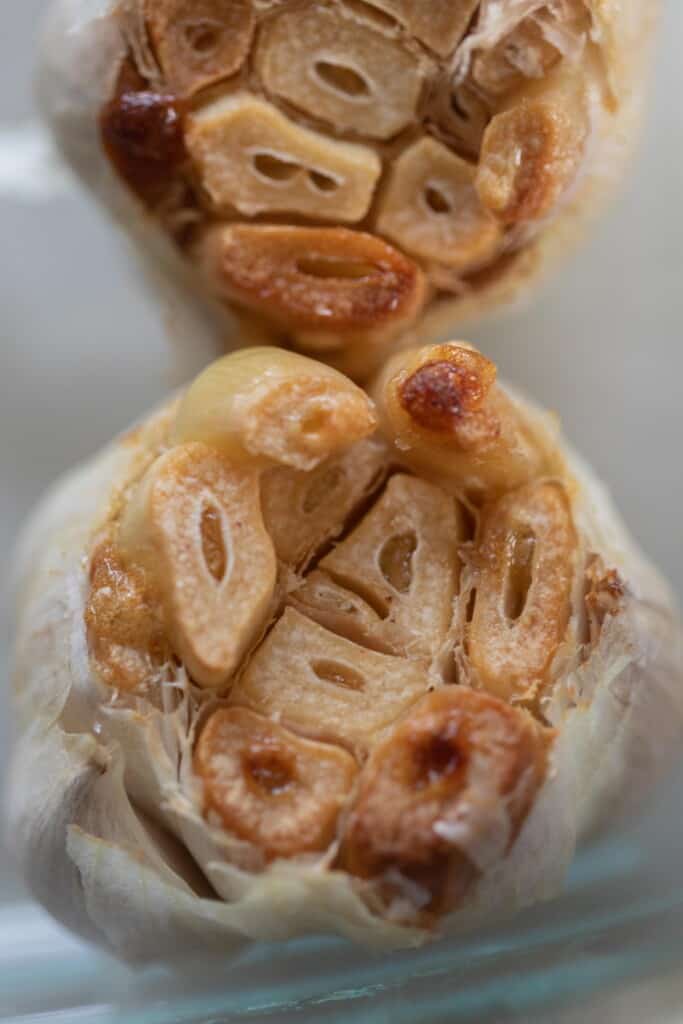
Bake until soft, around one hour.
Squeeze the papery lining of the garlic to pop out the soft cloves inside, then allow to cool.
How To Make Garlic Sourdough Bread
Feed your sourdough starter around 4-12 hours before beginning this recipe, letting it become active and bubbly.
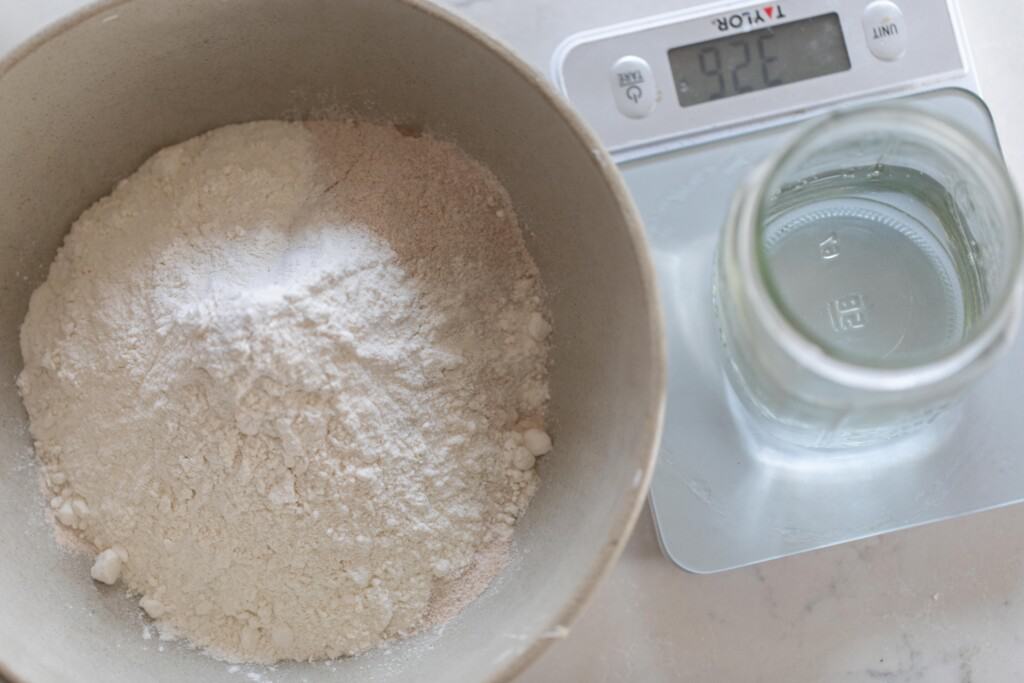
Mix warm water and flour, then let it rest for 30 minutes to autolyse, which is the process of the water hydrating the flour.
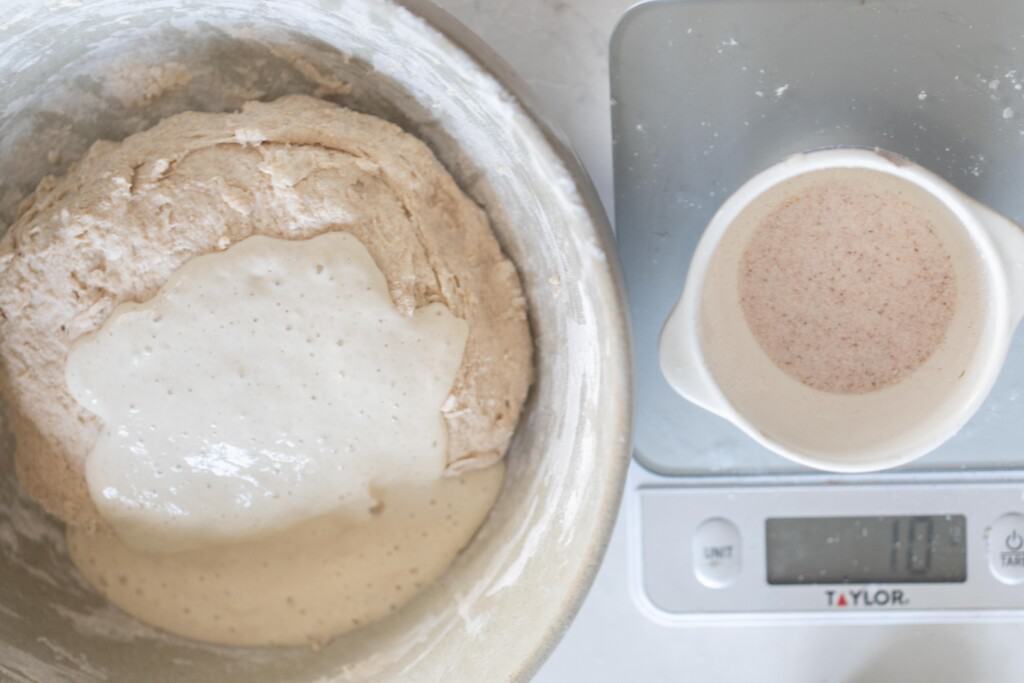
Gently add in your sourdough starter, sprinkling the salt on top.
Mix for about 5 minutes with your hands to combine all the ingredients.
Cover with a damp tea towel or plastic wrap and allow to rest for 30 minutes.
Stretch and Fold
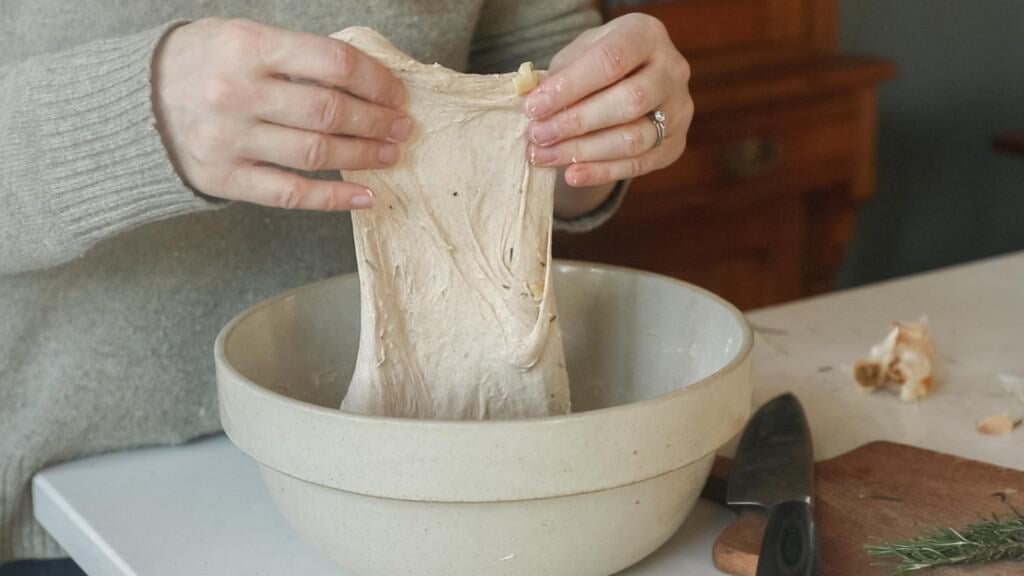
We will use a series of six stretches and folds to develop the gluten for a nice rise.
After the 30 minute rest, keep your dough in the bowl and pull the nearest edge of the bread dough firmly upwards, then folding it back into the center. Turn your bowl a quarter turn, then stretch and fold again. Repeat this once or twice more to complete your first round. If the dough is too sticky, you can dip your hands in water.
Repeat this process five more times, according to the times listed below.
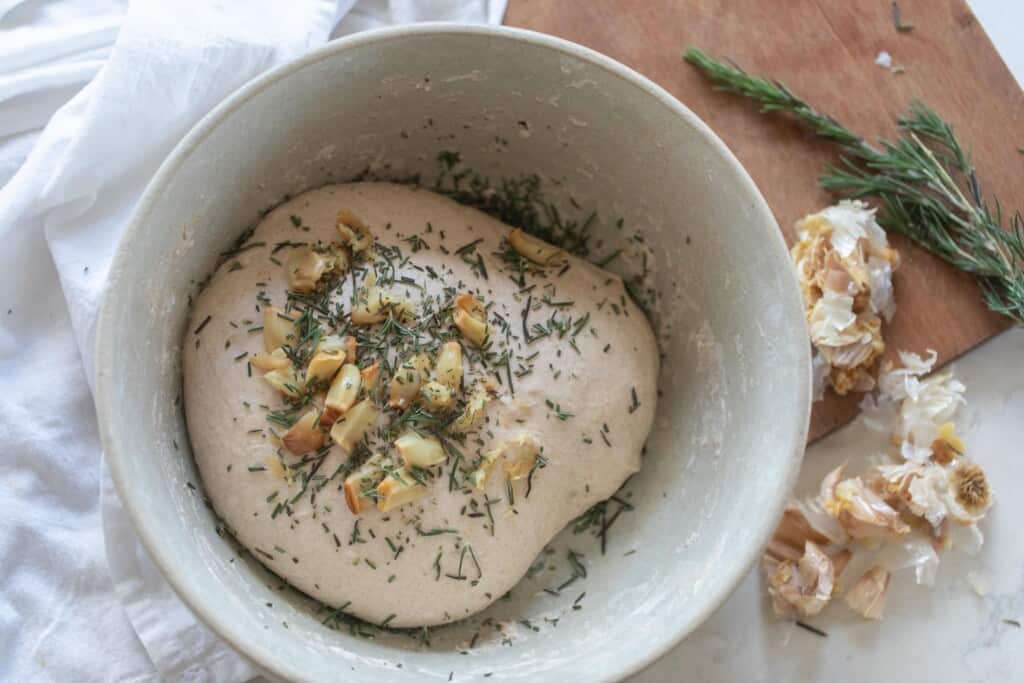
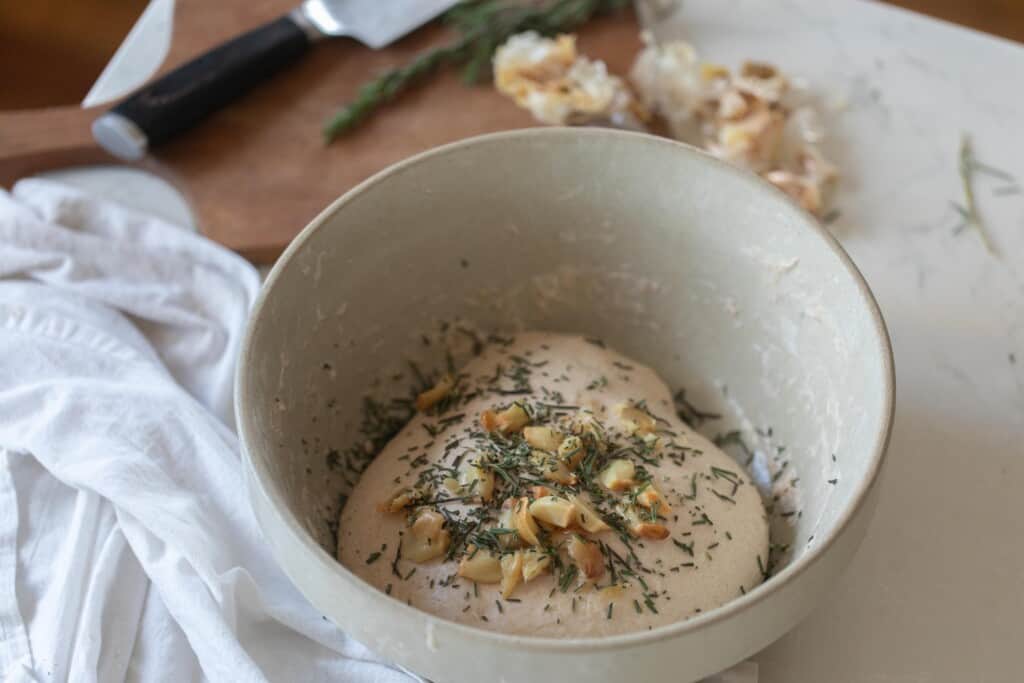
*During the second to last stretch and fold, you’ll add roasted garlic and rosemary. These will be worked into the dough during the succeeding stretch and folds.*
First 3 stretch and folds: every 15 minutes.
Last 3 stretch and folds: every 30 minutes.
After completing the stretch and folds and having added the garlic and rosemary, cover the dough with a wet towel or plastic wrap and proceed to the bulk fermentation.
Bulk Fermentation
The timing will depend on several factors, including the temperature where the rise takes place and the maturity of your starter. A more mature starter will bring about a shorter rise time, and a warmer environment will also speed up the rise.
The aim is to double the size of the dough, and for more health benefits, you can simply let the dough rise longer (although you will want to be careful not to over-ferment the dough).
After the bulk rise, there will be bubbles on top of the dough, and it should have doubled in size.
Shape into a ball by gently spinning the dough toward you on a lightly floured work surface.
Let the dough rest uncovered for 15-20 minutes so the surface can develop a skin. This will keep it from sticking to the towel during the next rise.
Shape into a boule, by transferring to a floured banneton (or bowl lined with a floured tea towel) with the smooth side (the side you just left up to form a skin) facing down. Pull the sides up to the middle and pinch together. Do this a few times to create more tension.
Cover with a tea towel or plastic wrap and refrigerate for 12-15 hours. Or if you are in more of a hurry, you can leave it at room temperature until doubled (about 3-4 hours).
Bake
Set oven temperature to 500 degrees and preheat your Dutch oven for one hour.
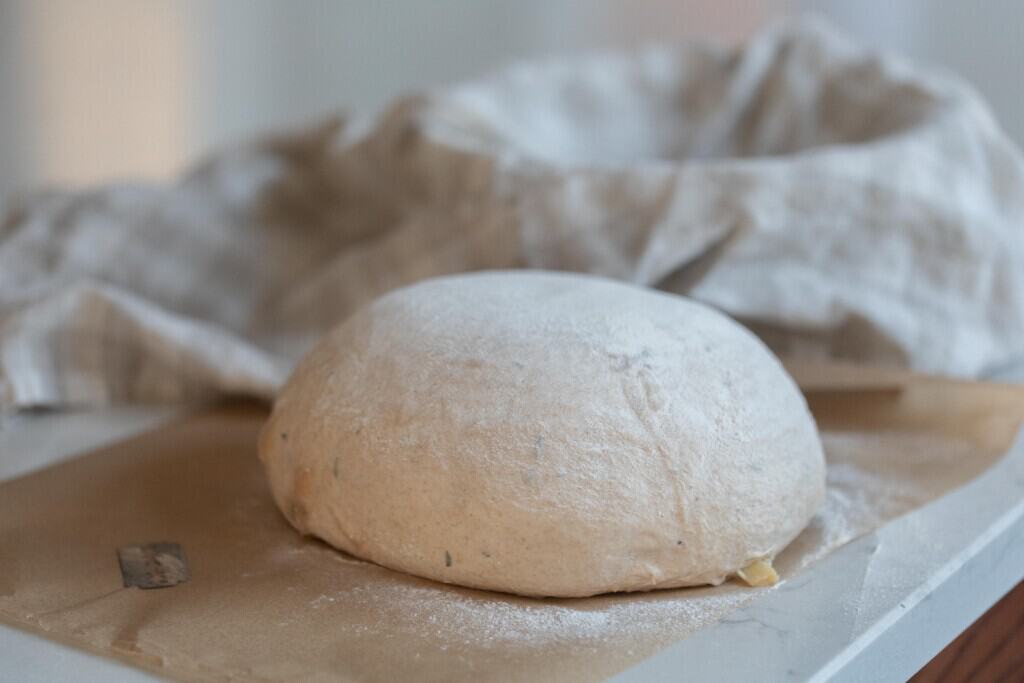
Remove dough from refrigerator and place seam side down on a piece of parchment paper.
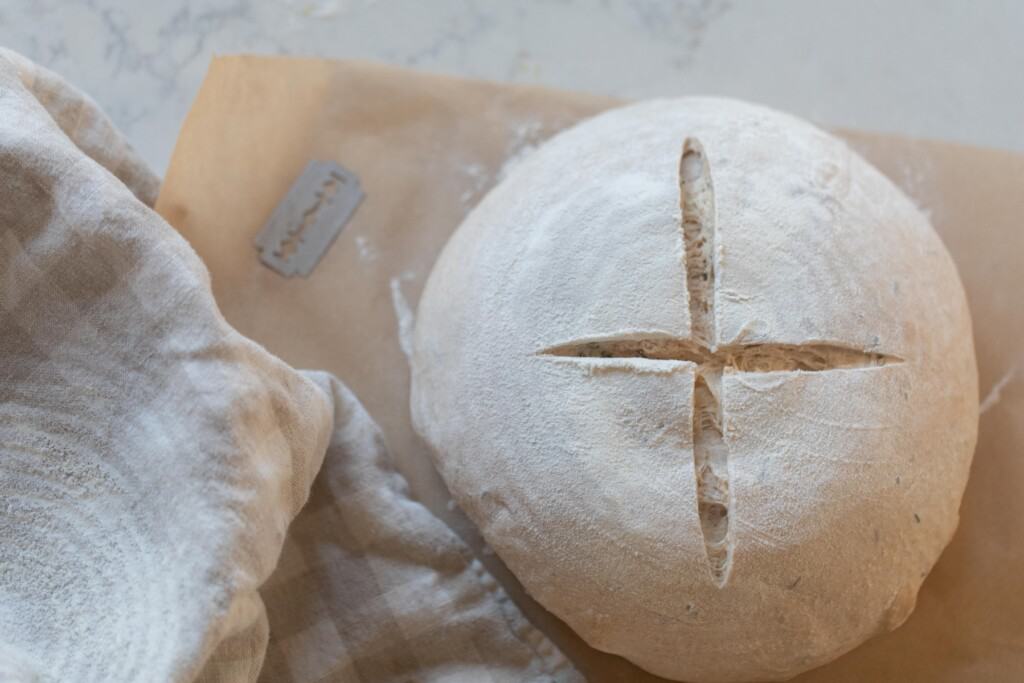
Lightly dust with flour on top, and score with a razor blade or lame.
Place the still-cold dough with parchment paper inside the very hot Dutch oven.
Bake with lid on at 500 degrees for 20 minutes.
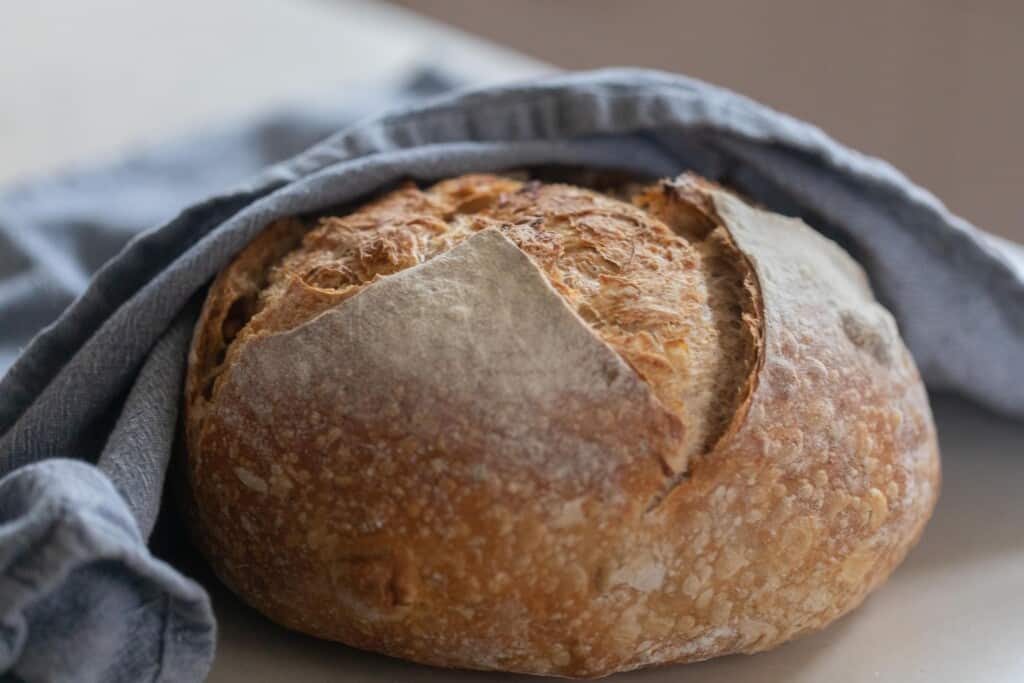
After 20 minutes, remove the lid and reduce the temperature to 475, baking an additional 25 minutes or until golden brown.
Cool on a wire rack completely before slicing.
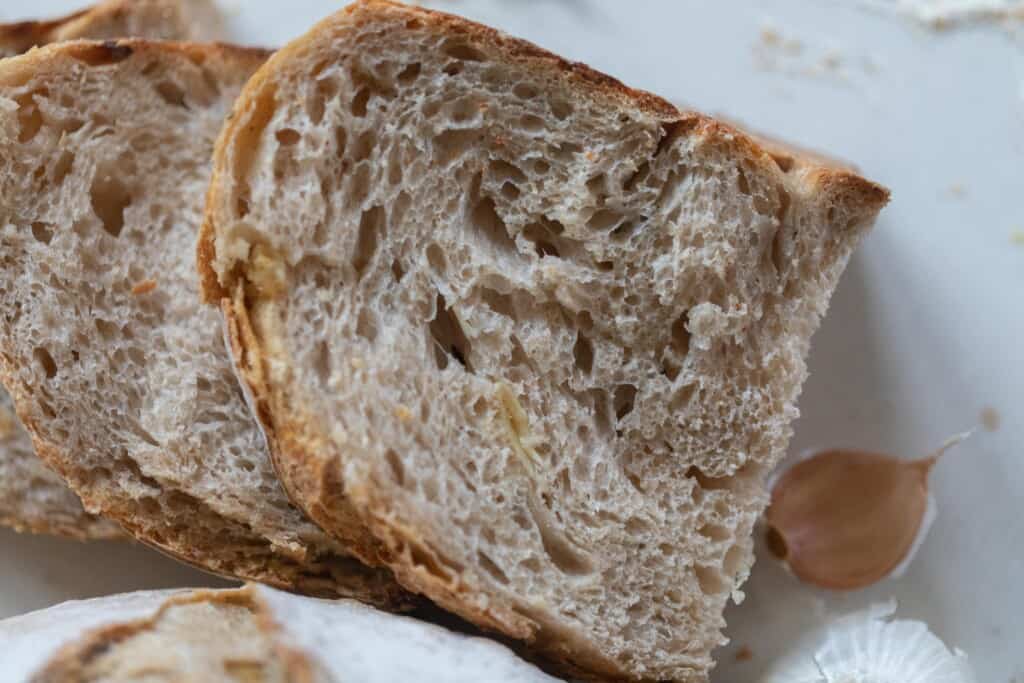
Storage
It’s best to store your cooled loaf on the counter top, tightly wrapped or in an airtight container. For longer storage, freezing it as a whole or in slices works well. Simply thaw the whole loaf at room temperature or reheat frozen slices in a toaster or toaster oven.
FAQ
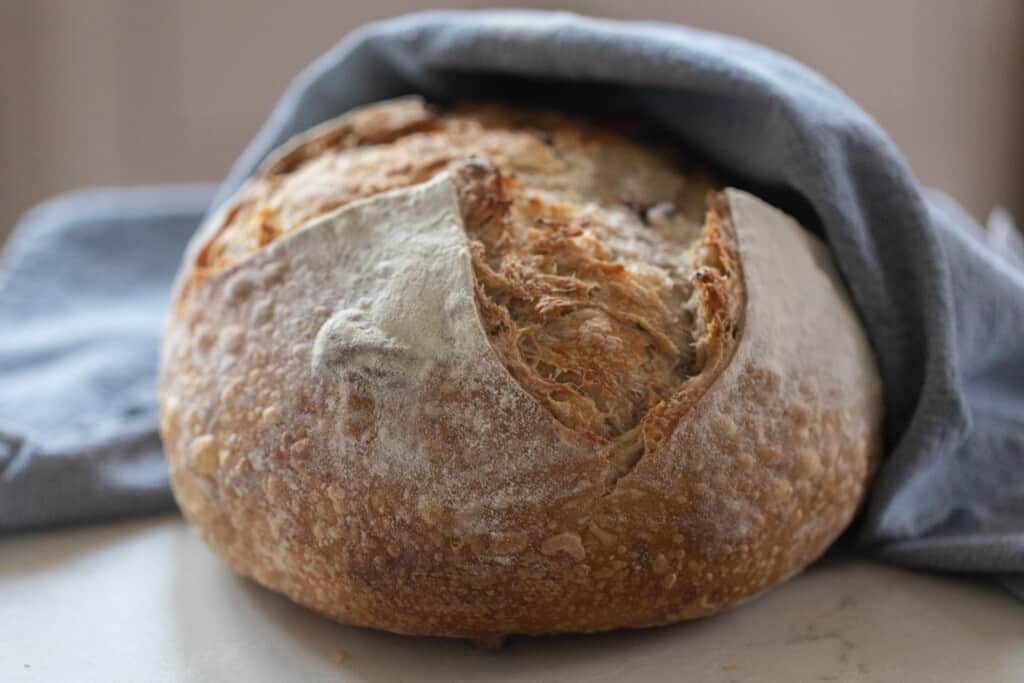
I know we’re just spinning some words around, but this recipe for garlic-flavored sourdough is a garlic-flavored loaf, whereas sourdough garlic bread refers to a sourdough version of your typical cheese-topped, garlic butter-topped French bread that would traditionally accompany spaghetti.
Sourdough bread is naturally risen with wild yeast and a process called fermentation. This process involves the good bacteria, naturally found everywhere, but encouraged in a sourdough starter which is then used in recipes.
It acts as a prebiotic, supporting gut health, while also breaking down gluten and making many long-fermented, sourdough options a good choice for those with mild gluten sensitivities.
It might seem new or trendy, but sourdough has been around for ages!
I’ve stored it in a sealed container for several days in the refrigerator with no problem. You could also store in the freezer for a couple months.
You can! It’s very potent, so keep your breath in mind around others. I enjoy it best when it’s added to another food or even used as a topping, but it’s delicious on its own!
Garlic is known to boost your immunity with its antiviral properties, as well as improving digestion and reducing inflammation and blood pressure. It contains antioxidants that may help in reducing the risk of Alzheimers and dementia (source).
Garlic is very flavorful and nutritious, and it can be successfully added to so many everyday dishes!
More recipes:
- Sourdough Lemon Poppyseed Muffins
- Homemade Brioche Donuts with Vanilla Custard Filling
- Sourdough Skillet
- Easy Sourdough Dumplings
- Sourdough Cheddar Waffles
Garlic Sourdough Bread
Ingredients
- 250 grams all purpose flour
- 100 grams whole wheat flour
- 125 grams bread flour
- 100 grams sourdough starter, bubbly and active
- 325 grams water
- 10 grams salt
- 2 heads roasted garlic, cooled
- 1 tablespoons fresh rosemary, finely chopped
Instructions
Roast The Garlic
- Preheat oven to 375 F and prepare a baking tray lined with parchment paper. Alternatively, you can wrap the cloves inside foil on your tray.
- Remove the tops of your heads of garlic with a sharp knife, revealing the cloves inside.
- Placing the cloves on the tray, drizzle with olive oil.
- Bake until soft, around one hour.
- Squeeze the papery lining of the garlic to pop out the soft cloves inside, then allow to cool.
Make The Bread
- Feed your sourdough starter around 4-12 hours before beginning this recipe, letting it become active and bubbly.
- Mix warm water and flour, then let it rest for 30 minutes to autolyse, which is the process of the water hydrating the flour.
- Gently add in your sourdough starter, sprinkling the salt on top.
- Mix for about 5 minutes with your hands to combine all the ingredients.
- Cover with a damp tea towel or plastic wrap and allow to rest for 30 minutes.
- We will use a series of six stretches and folds to develop the gluten for a nice rise.
- After the 30 minute rest, keep your dough in the bowl and pull the nearest edge of the bread dough firmly upwards, then folding it back into the center. Turn your bowl a quarter turn, then stretch and fold again. Repeat this once or twice more to complete your first round. If the dough is too sticky, you can dip your hands in water.
- Repeat this process five more times, according to the times listed below.
*During the second to last stretch and fold, you'll add roasted garlic and rosemary. These will be worked into the dough during the succeeding stretch and folds.*
First 3 stretch and folds: every 15 minutes.
Last 3 stretch and folds: every 30 minutes.
After completing the stretch and folds and having added the garlic and rosemary, cover the dough with a wet towel or plastic wrap and allow to double in size. This could take anywhere from 6-12 hours (or longer). - Shape into a ball by gently spinning the dough toward you on a lightly floured work surface.
- Let the dough rest uncovered for 15-20 minutes so the surface can develop a skin.
- Shape into a boule, by transferring to a floured banneton (or bowl lined with a floured tea towel) with the smooth side (the side you just left up to form a skin) facing down. Pull the sides up to the middle and pinch together. Do this a few times to create more tension.
- Cover with a tea towel or plastic wrap and refrigerate for 12-15 hours. Or if you are in more of a hurry, you can leave it at room temperature until doubled (about 3-4 hours).
- Set oven temperature to 500 degrees and preheat your Dutch oven for one hour.
- Remove dough from refrigerator and place seam side down on a piece of parchment paper. Lightly dust with flour on top, and score with a razor blade or lame.
- Place the still-cold dough with parchment paper inside the very hot Dutch oven.
- Bake with lid on at 500 degrees for 20 minutes.
- After 20 minutes, remove the lid and reduce the temperature to 475, baking an additional 25 minutes or until golden brown.
- Cool on a wire rack completely before slicing.
Notes
- The timing of the bulk rise will depend on several factors, including the temperature where the rise takes place and the maturity of your starter. A more mature starter will bring about a shorter rise time, and a warmer environment will also speed up the rise. The aim is to double the size of the dough, and for more health benefits, you can simply let the dough rise longer (although you will want to be careful not to over-ferment the dough)
- The long rise in the refrigerator is necessary for achieving a beautiful scoring pattern. The chilled dough is more firm and receives the scoring more readily. If you are wanting a speedier loaf, you can skip the chilling and let it double on the counter for 3-4 hours (or longer if your house is on the cooler side).
Nutrition
Nutrition information is automatically calculated, so should only be used as an approximation.

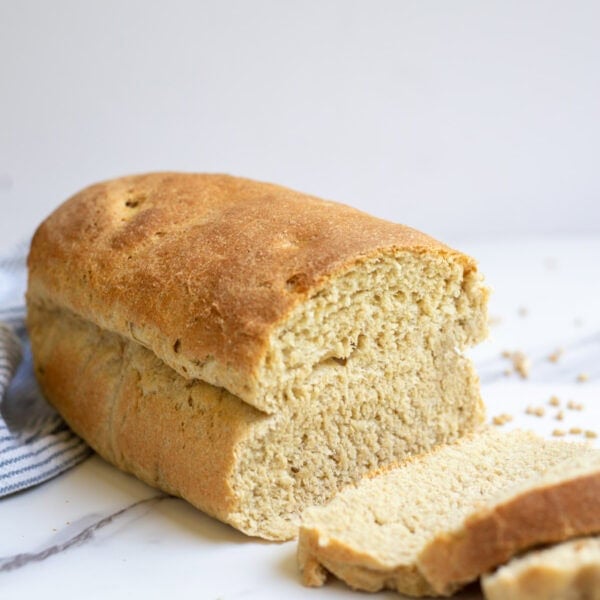


This is PHENOMENAL. My house has never smelled so good as this!
I actually messed up a bit and it was still good. I made it too late for it to rise before the fridge, I had to go to sleep. So I put it in the fridge after only an hour rise, and then this morning let it rise for two outside the fridge. Next time I’ll follow directions exactly. But it is still completely delicious.