Learn how to make beeswax candles with just a few supplies. These homemade beeswax candles have an amazing aroma on their own, but you can play around with different essential oil scent combinations to create many unique varieties.
This post was updated June 2019
This post contains affiliate links, which means I make a small commission at no extra cost to you. See my full disclosure here.
I Love Being a Homemaker
I guess I am a maker in every sense of the word.
Even when I know I can get something relatively inexpensively at the store, I still find so much satisfaction in learning how to make it myself at home.
Being a maker allows me to add my own creative spin on everything and enjoy the process of seeing pieces and ingredients become finished things.
Sure, I can buy handmade dresses for my girls on Etsy, but adding an extra ruffle here, and little ties there, is such a rewarding experience for me.
Even though I can get a knitted hat for my baby boy at the Dollar Store, nothing can replace the love a mama puts into making it.
There is so much more value in a handmade piece. Love, care and creativity are behind every item.
I want to see my kids have the same love for creating that I do.
I want to see them bake the bread, knit the hat, sew the dress and arrange the flowers.
Their homes will be richer for it.
This week I added something new to my handmade repertoire.
How to Make Beeswax Candles Video Tutorial
It All Starts With a Hunk of Beeswax
I had a hunk of beeswax, that my mom brought home, from a beekeeper that comes into their farm store. Seeing it laying around made me think of candles.
I had been wanting to pour my own for quite some time. So, I finally had an excuse to try!
For my local beekeeper beeswax, I just put it in a glass bowl over a pot of boiling water with a little bit of coconut oil. Out of laziness I didn’t even grate it down. It did eventually melt and make a beautiful candle.
For my next go round, I bought these beeswax pellets on Amazon. Until I can get more wax from the local beekeeper, this is the route I will go.
They were so easy to work with and inexpensive.
Homemade Beeswax Candles Are Super Simple to Make
To be honest, there isn’t a whole lot to this whole candle making.
It’s basically; melt the wax, add the wick, pour it in.
I will get a little more detailed in the instructions to make it feel like I’m really teaching you something here, but there isn’t a whole lot to it.
But, trust me, if you make these for gifts, your family and friends will be super impressed.
I made vanilla one year for Christmas, and everyone was so surprised by my skills.
I may do a post on it one day, but here is the process: Add vanilla beans to vodka.
Amazingly simple, and delicious results.
Many Variations
For a batch of beeswax candles, just to experiment, I added a few hunks of cocoa butter, to my next batch.
And, oh my word, what a heavenly scent of honey and chocolate!
I can’t decide which candles I like more.
That is what I love so much about DIY. You don’t have to follow the instructions so rigidly. Experiment and see where your creativity can take you.
Next time I plan to add quite a bit more cocoa butter and lavender essential oil. Doesn’t that sound like a relaxing combination?! Lavender and chocolate, oooooh, or orange and chocolate, or maybe a holiday candles with pine and cinnamon, or honey lemon, or …….
I can see I am going to have a lot of fun with this candle making business! 🙂
Tips For Making Homemade Beeswax Candles
- Secure the wicks to the bottom of the jars using hot glue so they stay secured.
- Play around with essential oils for scents. Candles will need a lot of essential oils to get a stronger smell. But also, don’t expect these beeswax candles to smell like artificial candles.
- If your beeswax begins to harden, just remelt it over a double boiler or if it is in a oven safe dish, place it in the oven at 350 until its melted again.
- Use different kinds of jars, thrifted jar, mason jars, old tin cans, or tea cups for the candle holder.
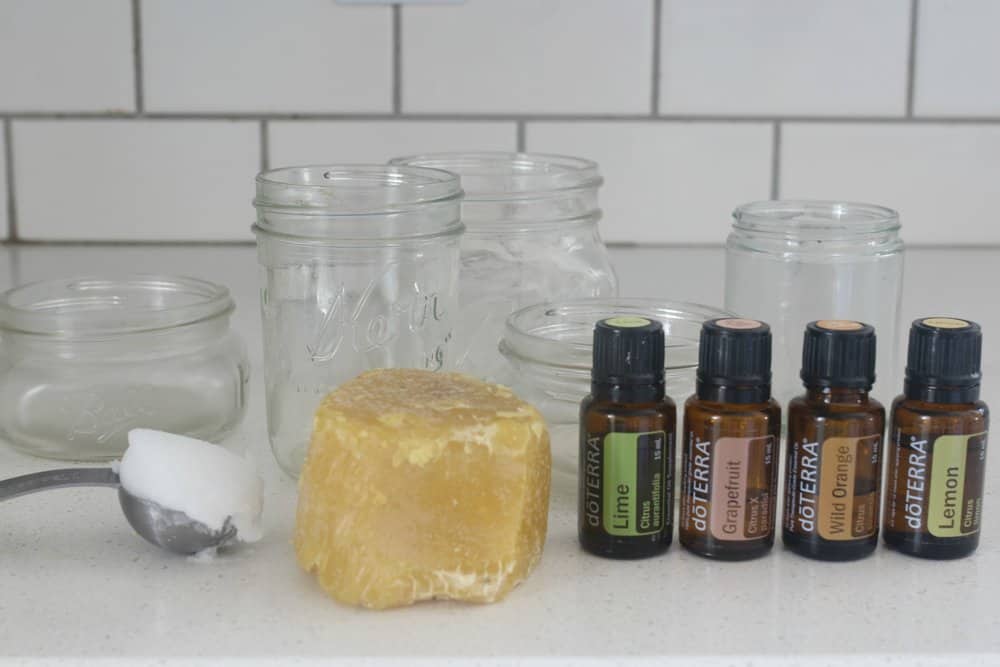
Homemade Beeswax Candle Ingredients and Supplies
- 1 pound of beeswax pellets
- 1/2 cup coconut oil
- candle wicks
- various sized mason jars
How To Make Beeswax Candle Instructions
Step 1. I added the one pound package of beeswax pellets and 1/2 cup coconut oil to my double broiler set up.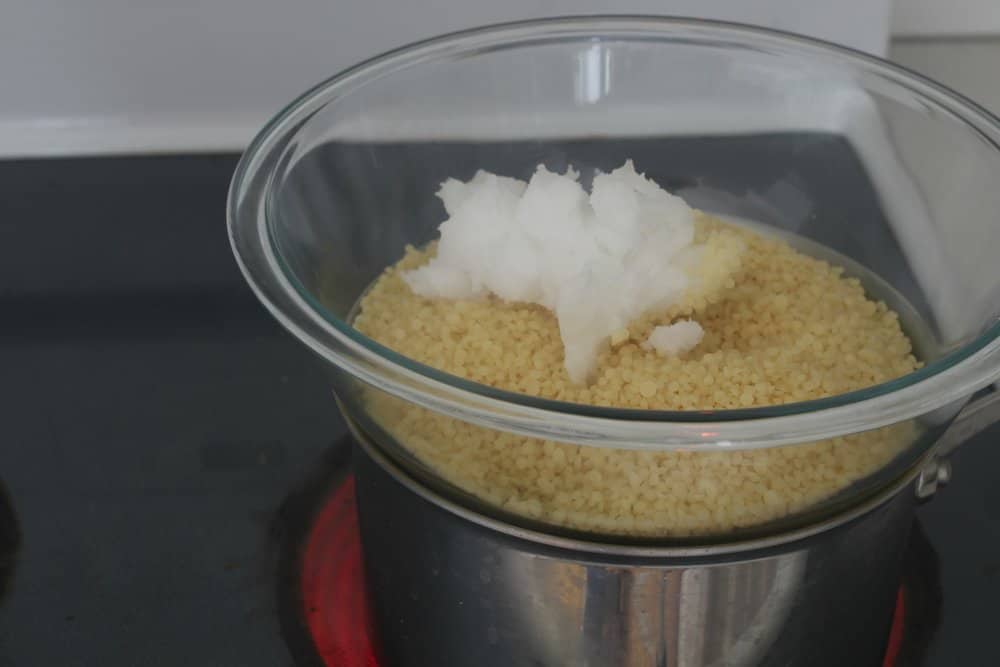
Step 2. I used hot glue to secure the wicks to the bottom of the jars, doing my best to center them as much as possible. I bought these wicks on Amazon.
To keep the wicks centered, I wrapped them around skewers, that I laid on top of the jars.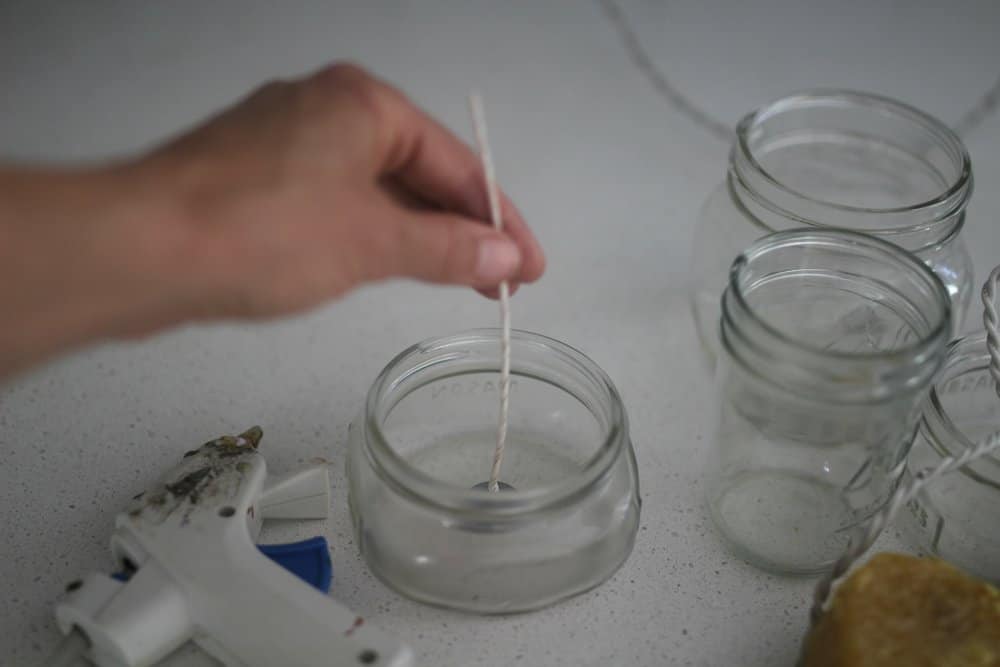
Step 3. After the beeswax and coconut oil were fully melted, I added essential oils. This step is totally optional.
Beeswax smells delicious all on its own, but I wanted to experiment with some different scents.
I decided to make citrus candles, so I added five drops each of lemon, lime, wild orange and grapefruit.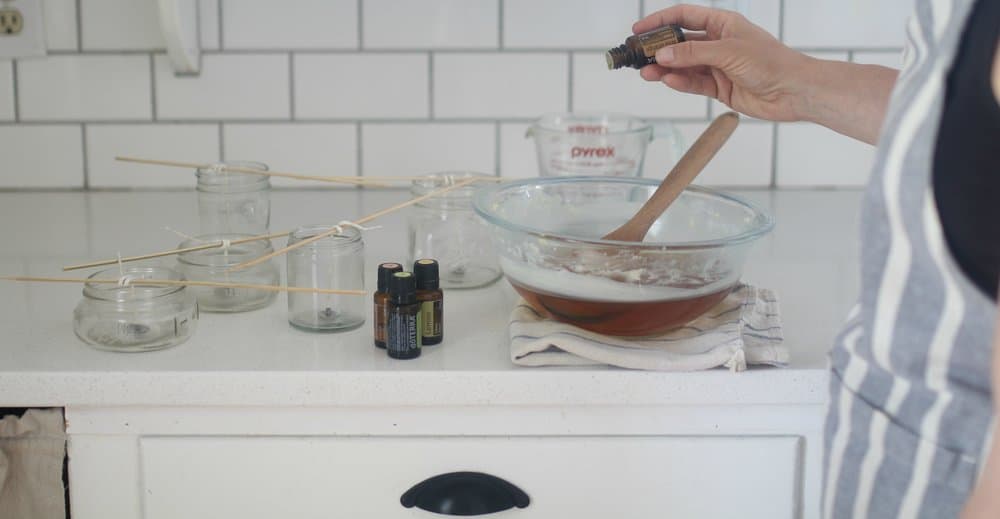
Step 4. Now, here is where it can get a little tricky, especially if you stop to take pictures for your blog. ;).
This stuff hardens VERY quickly, so don’t take your time filling the jars.
If you do, just return the bowl to the double broiler.
Since I had poured my wax in a measuring cup for easy pouring, the wax was sticking to the sides of it. I just put the measuring cup in the oven for a few minutes on 350, and it was liquid again.
Due to blog picture taking, and kids underfoot, I had to return to the oven and double broiler several times during this process.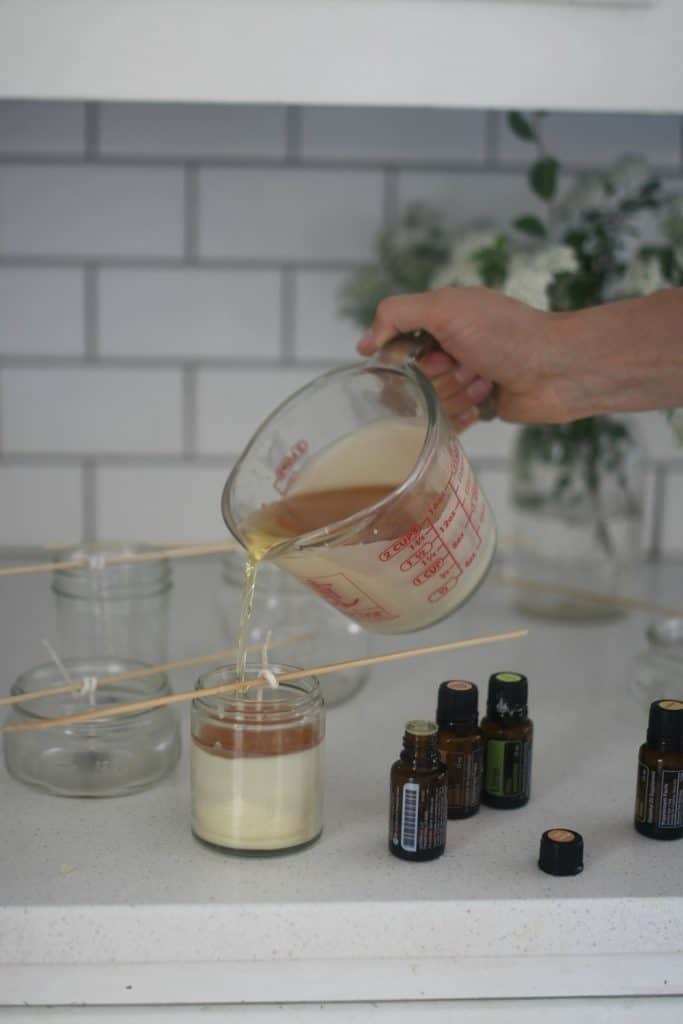
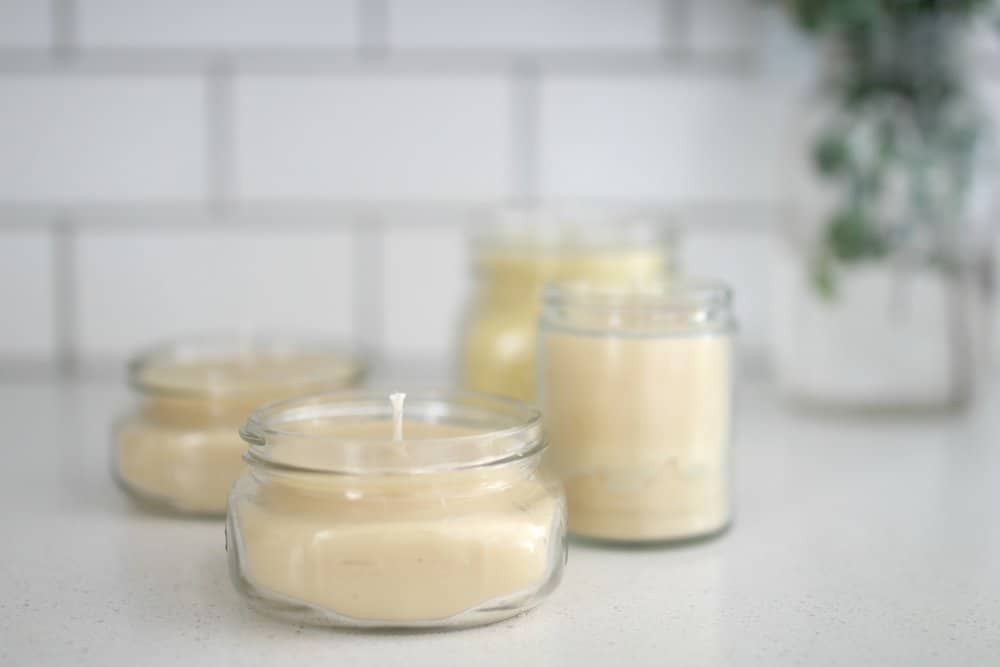
Step 5. It took the larger candles about 5-10 minutes to set up completely.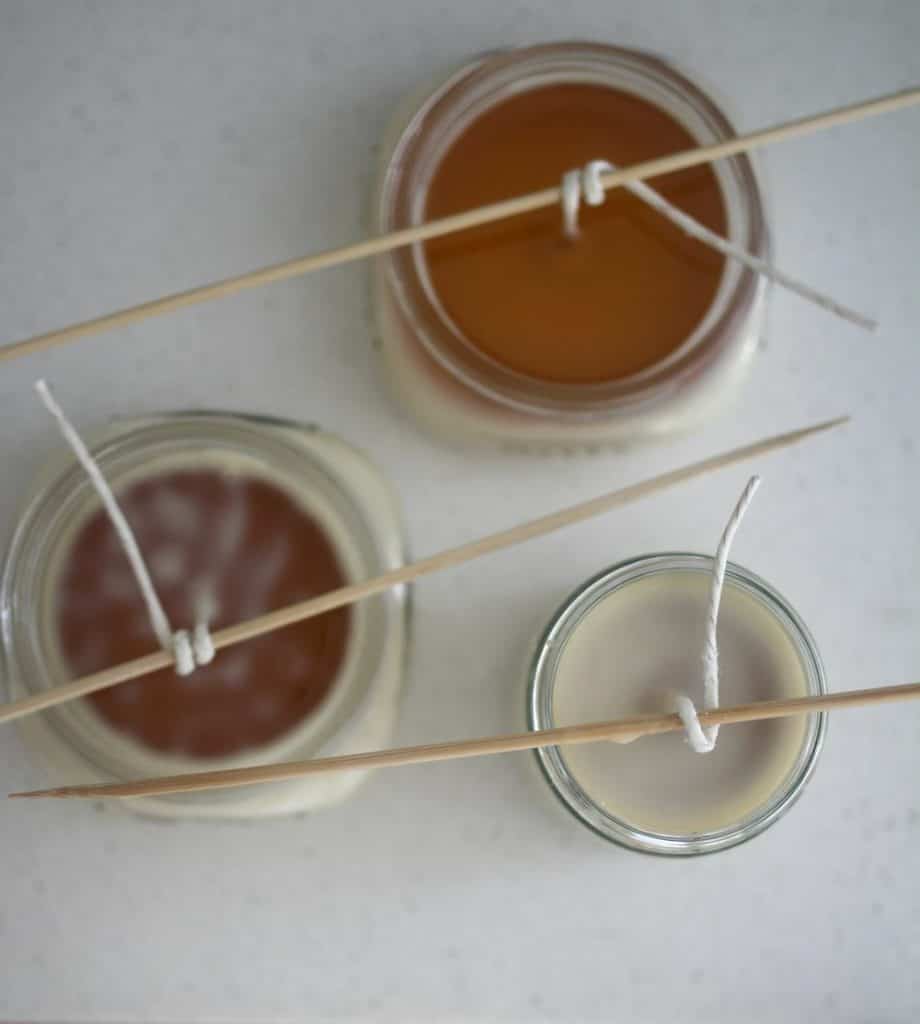
Shop the supplies to make beeswax candles
Watch my FREE essential oils class HERE.
Pin it for later:
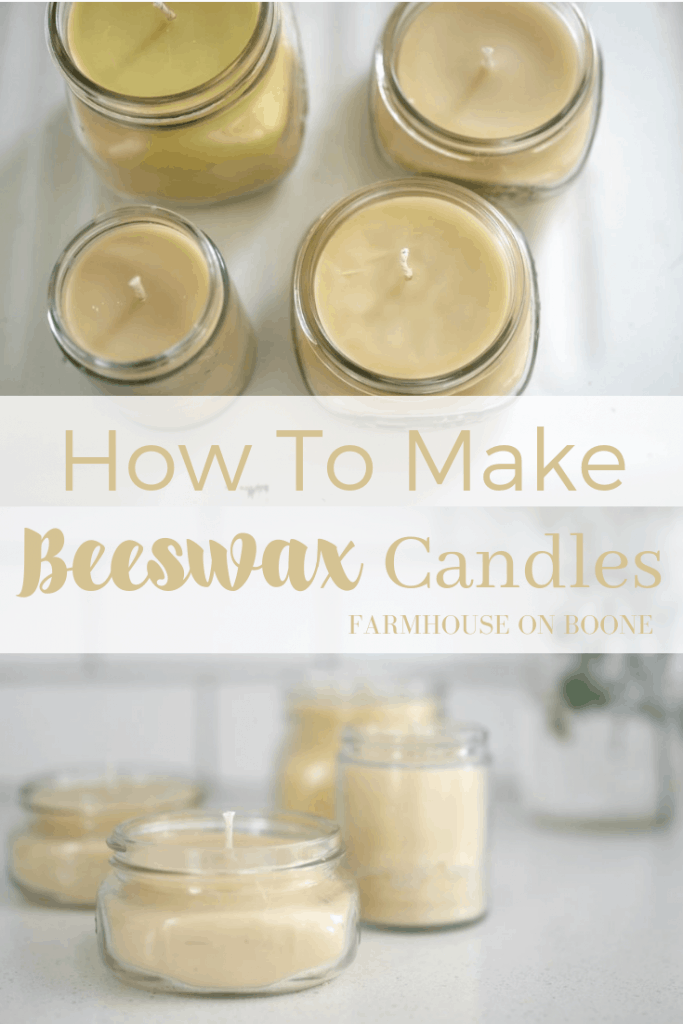
How to Make Beeswax Candles

Video
Equipment
Ingredients
- 1 pound of beeswax pellets
- 1/2 coconut oil
- candle wicks
- various sized mason jars
- skewers
Instructions
- Add the one pound package of beeswax pellets and 1/2 cup coconut oil to a double broiler set up.
- I used hot glue to secure the wicks to the bottom of the jars, doing my best to center them as much as possible. I bought wicks on Amazon.
- (To keep the wicks centered, I wrapped them around skewers, that I laid on top of the jars.)
- After the beeswax and coconut oil are fully melted, you can add essential oils. This step is totally optional.
- Beeswax smells delicious all on its own, but I wanted to experiment with some different scents.
- I decided to make citrus candles, so I added five drops each of lemon, lime, wild orange and grapefruit.
- Start filling the jars. This stuff hardens VERY quickly, so do this step as fast as you can!
- If it hardens, just return the bowl to the double broiler.
- (Since I had poured my wax in a measuring cup for easy pouring, the wax was sticking to the sides of it. I just put the measuring cup in the oven for a few minutes on 350, and it was liquid again.)
- Leave candles to harden. It took the larger candles about 5-10 minutes to set up completely.
Notes
- Secure the wicks to the bottom of the jars using hot glue so they stay secured.
- Play around with essential oils for scents. Candles will need a lot of essential oils to get a stronger smell. But also, don’t expect these beeswax candles to smell like artificial candles.
- If your beeswax begins to harden, just remelt it over a double boiler or if it is in a oven safe dish, place it in the oven at 350 until its melted again.
- Use different kinds of jars, thrifted jar, mason jars, old tin cans, or tea cups for the candle holder.
Nutrition information is automatically calculated, so should only be used as an approximation.


How do you fill the tall jars without it sinking in the middle? My jars would harden on the outside and then the middle would sink because it cooled slower. I tried to pour more wax in there but it never really burned properly.
If that happens, you can heat your jars on a low temp in the oven and this helps to prevent them from sinking.
I’d love to make these for some friends this year. Did you use unrefined coconut oil or refined?
No 2nd pour? No time to cure? Beeswax takes a while to setup. It will get solid fast, but don’t use the candle for a week or two.
Wish I had read the reviews. The wick burned all the way down and made a tunnel in my candle in 10 minutes. No more wick to light.