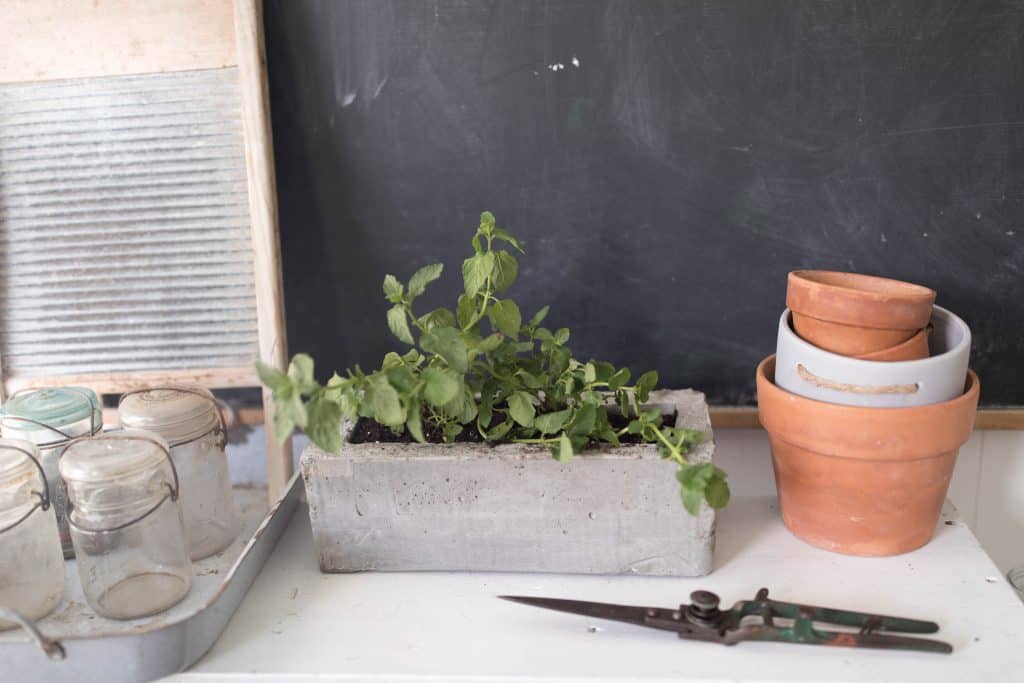
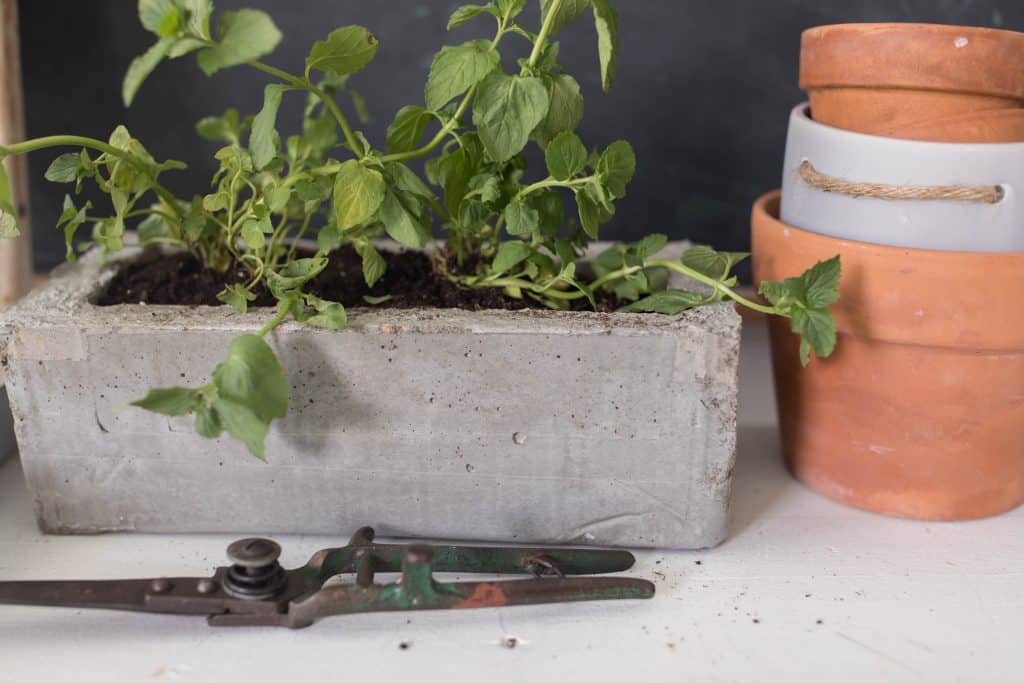
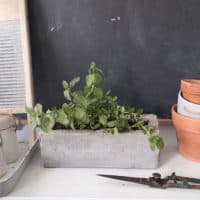
We made this DIY concrete planter with cardboard forms and packing tape. No fancy equipment and super inexpensive! It looks pretty in our farmhouse laundry room as an herb planter.
This post contains affiliate links. See my full disclosure here.
I’ve been a little concrete obsessed lately. I made a bowl a few weeks ago, and now this planter.
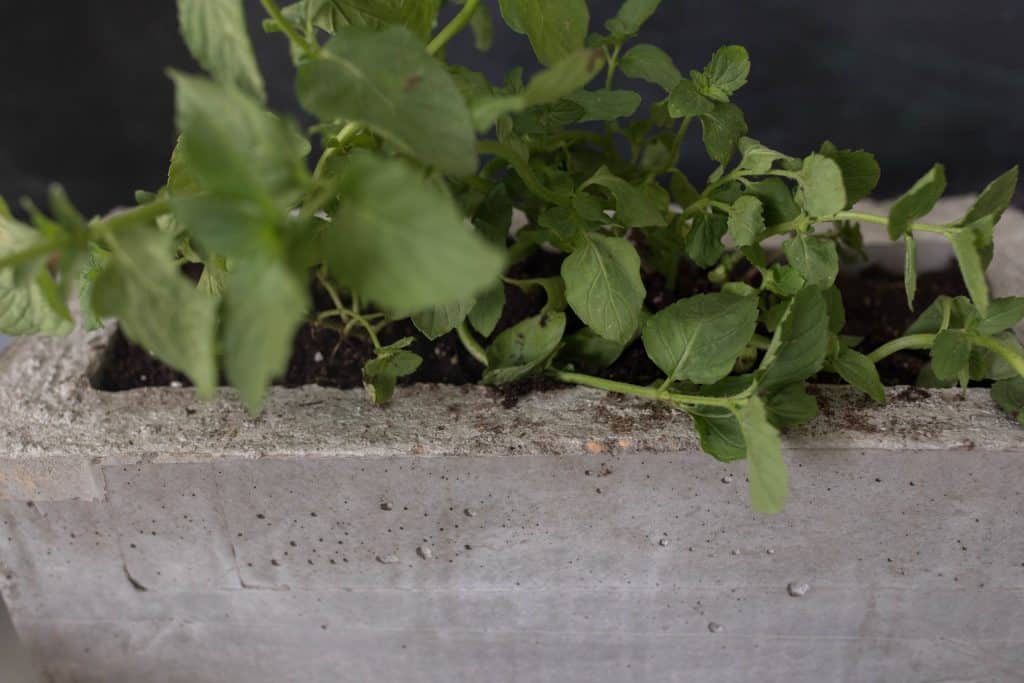
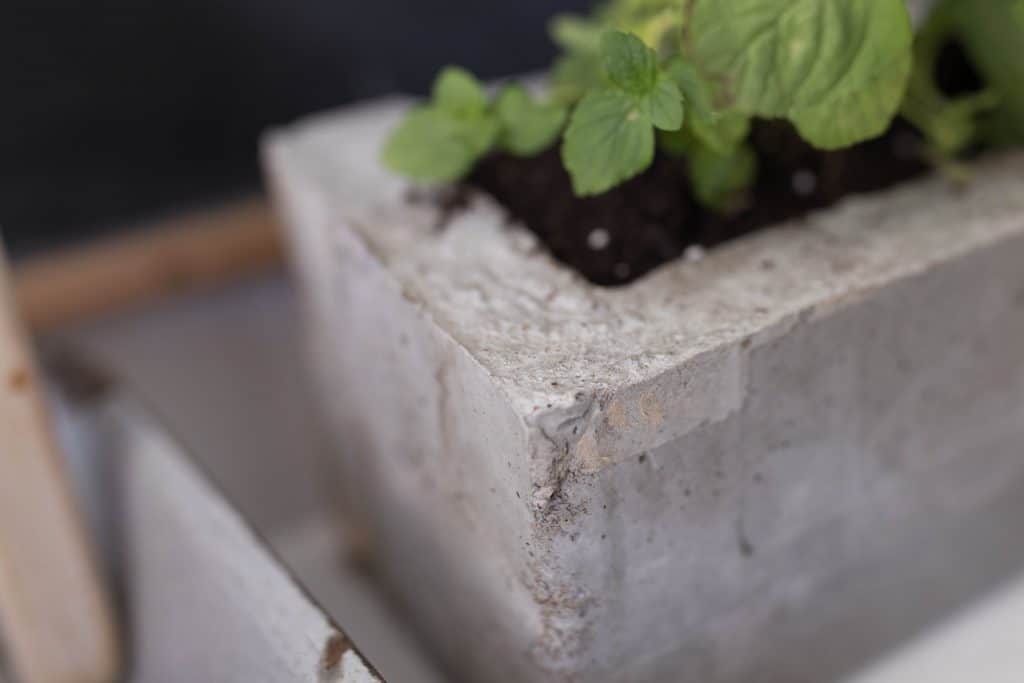
I just love the organic color and rough texture that it has. It lends itself well to my simple farmhouse style vibe.
My husband reminds me that he has a book on making concrete projects, and was crafting them long before they were cool. Its true. We have a planter on our porch the shape of a wicker waste basket to prove it.
Creating DIY concrete projects is also super easy and inexpensive. Both of the items we made were less than $5 and we still have concrete left. We will have to come up with something else to make, although I probably won’t share it on here unless its truly revolutionary.
I mean how many times can I say, mix up the concrete, add it to a mold, remove it from the mold? It really is that simple.
DIY Concrete Planter Video
I put this video on my Youtube channel as a collaboration with my dear friend Cami from the blog Tidbits. We did a little garden theme collab. On her channel she made DIY wooden garden markers. I want to make some now to throw in my planter. They will look so cute together! Make sure to go check out her video HERE.
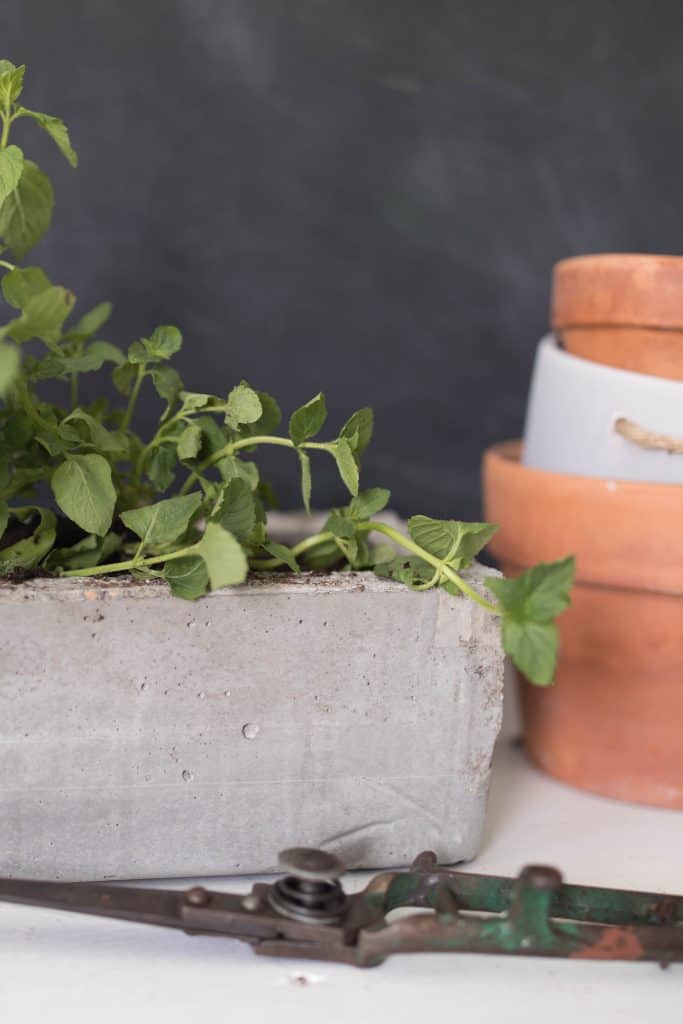
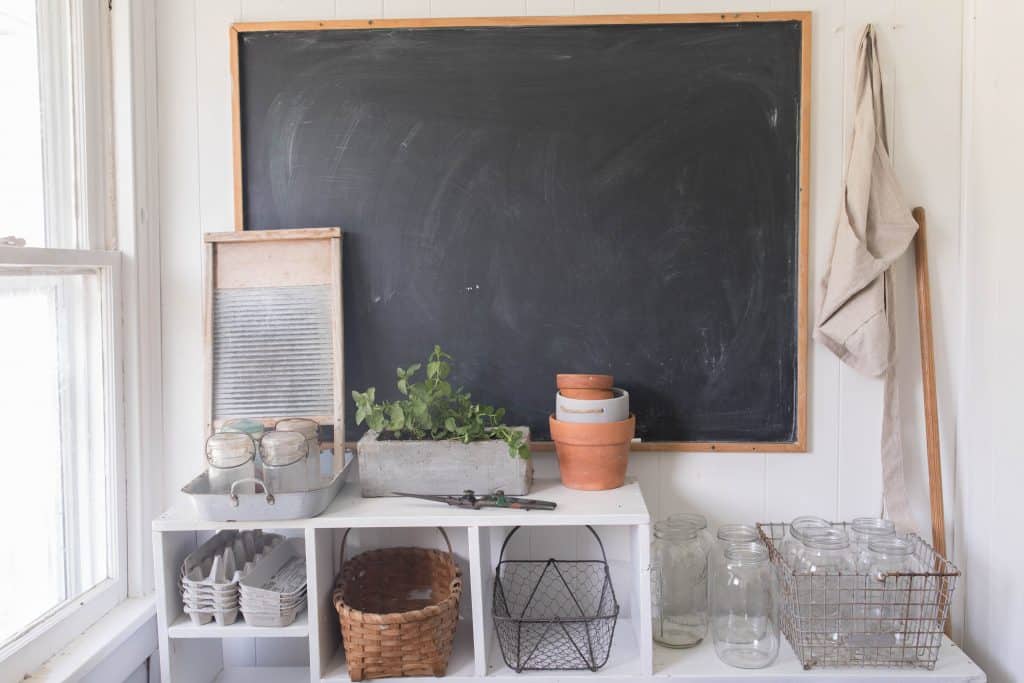
I put my DIY concrete planter in my mud room. This room is where we keep all our shoes, tote bags and milk jars for our weekly trip to the dairy.
It is also our laundry room. So, just to the right of this picture is the cabinet that I made over in this post: Farmhouse Laundry Room Organization Cabinet Makeover
I love the way the concrete planter looks in this room. Organic, neutral, simple. Just my style.
DIY Concrete Planter Instructions
Materials Needed
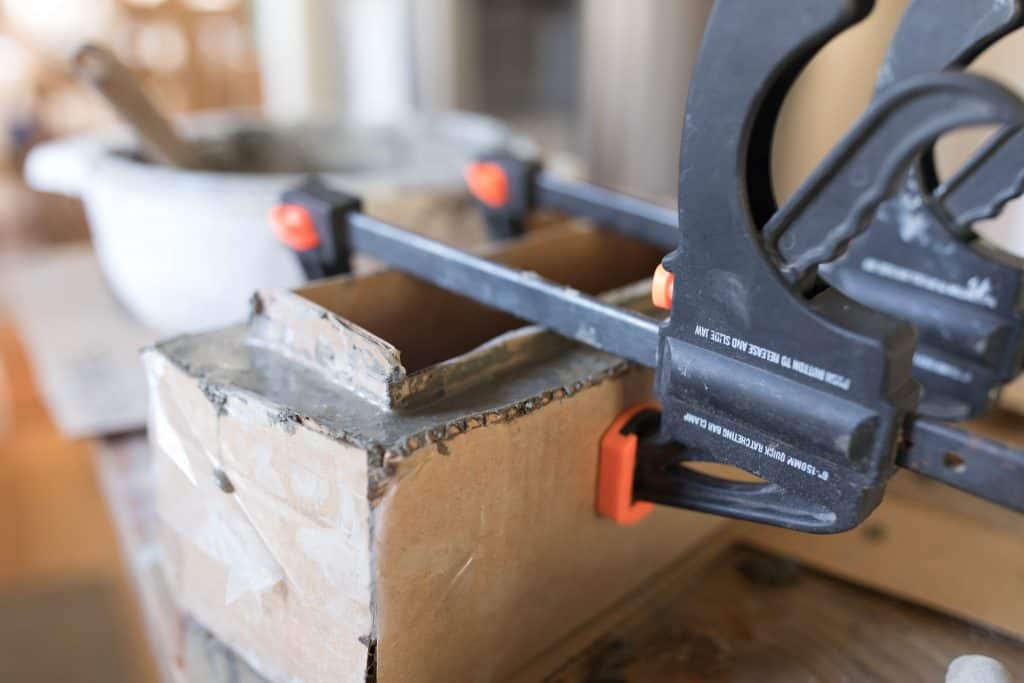
- Make the molds by folding cardboard into the size you want, and securing with packaging tape. We made our large mold 13″ long by 6″ wide by 4″ tall and our small mold 11″ long by 4″ wide by 3″ tall. This gave the concrete a thickness of 1″ all the way around.
- Mix concrete powder with water until it reaches the consistency a little thicker than pancake batter. We actually had quite a bit of Quickcrete leftover from the concrete bowl we made a few weeks ago, so thats what we used. Since that kind has pretty large rocks in it, we used a large plastic strainer to get sift off most of that. I wanted the finished planter to have a smooth finish.
- Cover the outside of the small mold, and the inside of the large mold, with packing tape. This gives it a nonstick surface. We weren’t sure how necessary this step was, but when we went to unmold the planter the areas that hadn’t been covered with tape did stick to the cardboard quite a bit. So, this is definitely a necessary step!
- Fill the large mold about 3/4 of the way full.
- Press the small mold into the large mold.
- Add a weight to the small mold, to hold it down during the drying process.
- Top off the concrete, so that the top of it is level with the top of the molds.
- Use 2 clamps on opposite sides of the molds to hold them together. This prevents the cardboard from bowing.
- Allow the concrete to sit undisturbed for about 24 hours.
- Cut the cardboard molds away with a utility knife.
Have you ever made any DIY concrete projects, or do you plan to? Let me know in the comments below!
Thank you so much for stopping by the farmhouse!
Pin it for later
DIY Concrete Planter
Tools
Materials
- Concrete powder
- Packing tape
- Utility knife
- Mini bar clamp
Instructions
- Make the molds by folding cardboard into the size you want, and securing with packaging tape. We made our large mold 13″ long by 6″ wide by 4″ tall and our small mold 11″ long by 4″ wide by 3″ tall. This gave the concrete a thickness of 1″ all the way around.
- Mix concrete powder with water until it reaches the consistency a little thicker than pancake batter. We actually had quite a bit of Quickcrete leftover from the concrete bowl we made a few weeks ago, so thats what we used. Since that kind has pretty large rocks in it, we used a large plastic strainer to get sift off most of that. I wanted the finished planter to have a smooth finish.
- Cover the outside of the small mold, and the inside of the large mold, with packing tape. This gives it a nonstick surface. We weren’t sure how necessary this step was, but when we went to unmold the planter the areas that hadn’t been covered with tape did stick to the cardboard quite a bit. So, this is definitely a necessary step!
- Fill the large mold about 3/4 of the way full.
- Press the small mold into the large mold.
- Add a weight to the small mold, to hold it down during the drying process.
- Top off the concrete, so that the top of it is level with the top of the molds.
- Use 2 clamps on opposite sides of the molds to hold them together. This prevents the cardboard from bowing.
- Allow the concrete to sit undisturbed for about 24 hours.
- Cut the cardboard molds away with a utility knife.
Video
Notes
- Once you have this technique down, you can make any size and shape!

Shirley says
I just started making concrete /cement planters and I am an advid gardener. Are you aware that concrete is very alkaline and can leach into the soil in your planter? The info that I’ve been able to gather suggested that the planter be soaked for a few days, rinsed out several times and then washed out with dish detergent and rinsed again. I made a lg. planter and after I soaked it and rinsed it, it was still spilling grayish water and then about the third rinse it all of a sudden started to rinse clear. Just thought I’d share that with you
Susan says
I’ve made hypertufa containers and we used plastic bags inside the mold to pour mixture into. Does that work with the concrete also?
Julie Blanner says
Love this! Can’t to make it in the spring for my flowers.
Toni says
This is such a fun idea! An awesome project for me and my kids!
Sam says
Such an easy to follow DIY guide. I made this following your steps and it turned out exactly the way it looks in the picture. I have many more to do, but now that I have everything it will be a fun weekend project during the holiday season. Thanks for sharing.
Sam says
Love to follow you, but so frustrated with pop-ups. They make it hard to read any of your posts
jan says
I am excited to try this project. Do you need to seal the concrete? I know that raw concrete can have an issue with turning water basic when water comes in contact with concretee for an extended period of time.