


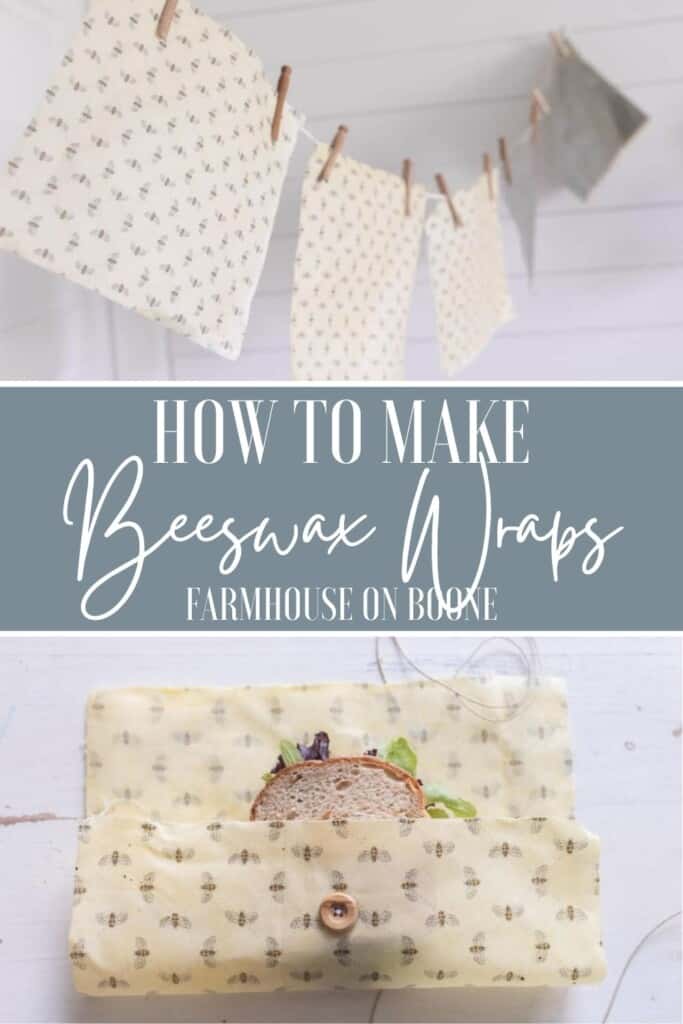
Learn how to make simple DIY beeswax wraps that are a perfect, eco-friendly way to store and transport food. These wraps are great for sandwiches, covering dishes, wrapping up loaves of bread, and much more.
All you need for all-natural food storage are a few glass storage containers and a small collection of beeswax wraps.
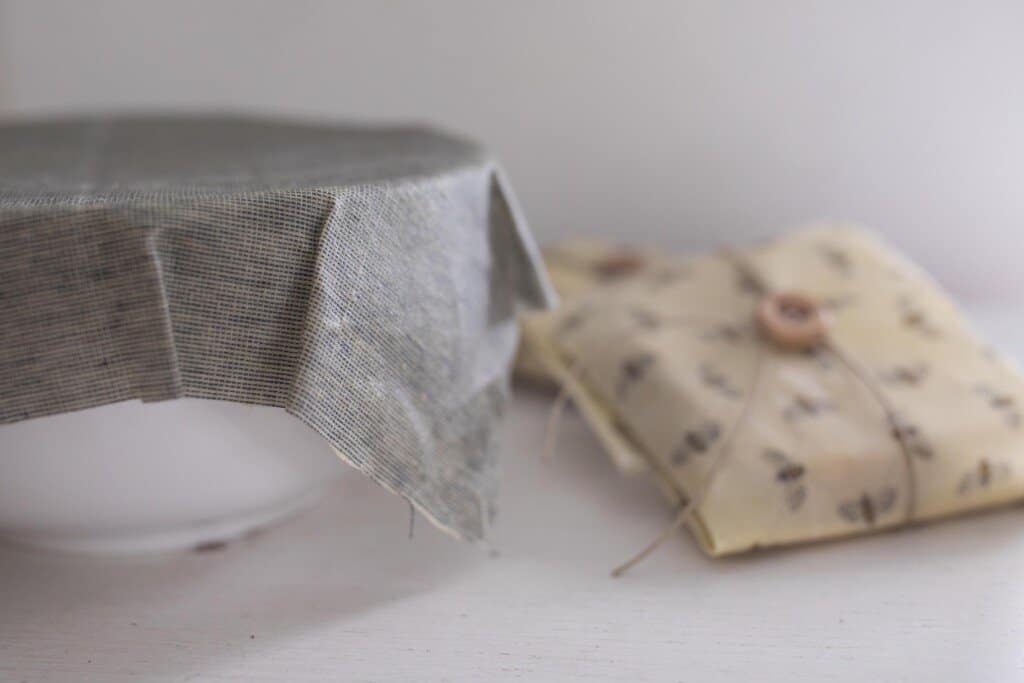
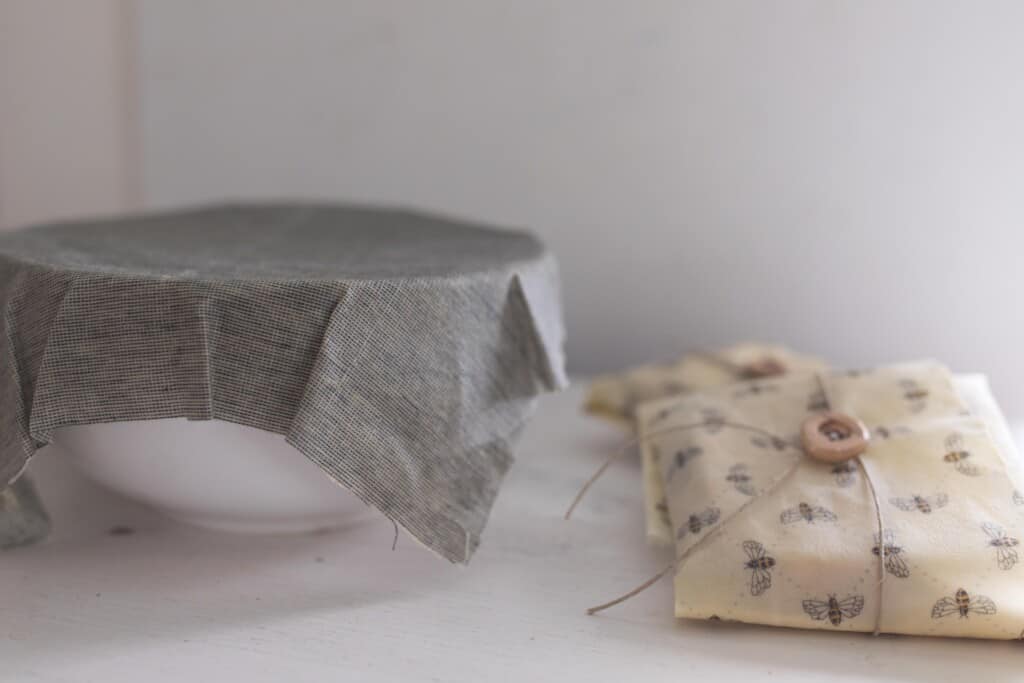
These are a great, reusable alternative to plastic wrap. Use them to cover a plate or bowl that doesn’t have a lid.
With the warmth of your hand, the beeswax molds to whatever shape you need and creates an almost airtight seal, so that the food inside can stay fresh.
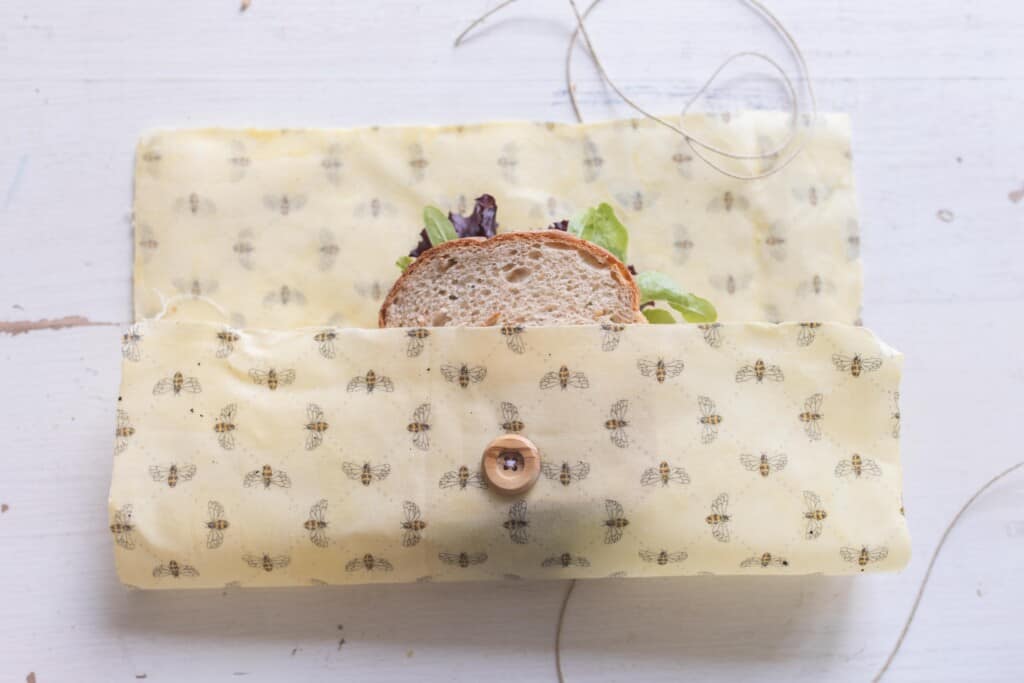
These are great to wrap sandwiches, blocks of cheese, sliced veggies, or that half-eaten apple your toddler left on his highchair that you know they will want later.
Tips For Making Beeswax Wraps
- Put the paint brush on the baking sheet, into the oven with the wraps, so the wax doesn’t harden on the brush between batches.
- The wax will stick to the brush and will be very hard or impossible to remove, so make sure to use a cheap brush you don’t mind tossing.
- It is tempting to turn the oven higher that 170 degrees to melt the beeswax faster, but beeswax is flammable and melts at 147, so a low temperature is suggested.
- The wraps need a place to dry. Make sure to get that set up before starting the project.
This post contains affiliate links, which means I make a small commission at no extra cost to you. See my full disclosure here.
Benefits of Using Reusable Food Wraps
Eco-friendly: Since they can be used over and over again, they are a great eco-friendly option.
Help reduce plastic use: Plastic is such a problem in today’s world, so swapping out plastic wrap for these reusable food wraps is one way to reduce plastic.
Save money: Instead of spending money over and over again on plastic wrap, swapping out for this reusable option can help you save money.
Compostable: Once your wrap has seen better days and needs replacing, rather than toss it in the trash, you can put it in the compost as long as you use 100% cotton.
Keeps food fresh: Which in turn saves you money. Less food wasted, less money spent, and in today’s day and age, we all could use some help spending less on food.
FAQ:
What kind of fabric should I use?
Cotton fabric should be used. I’ve also tried it with flannel, but it was pretty much impossible to spread the wax.
Do you need pine resin to make beeswax wraps?
No. I’ve made these multiple times and just use beeswax. No pine resin necessary.
How much beeswax is needed to make a wrap?
About 1 oz of beeswax per wrap. This tutorial uses 5 oz of beeswax to make five 12″x12″ wraps.
How long will these last?
These beeswax wraps will last for up to one year with proper care and cleaning.
Can beeswax wraps go in the microwave?
No. Since beeswax melts, it is not recommended for use in the microwave as you will ruin the wraps.
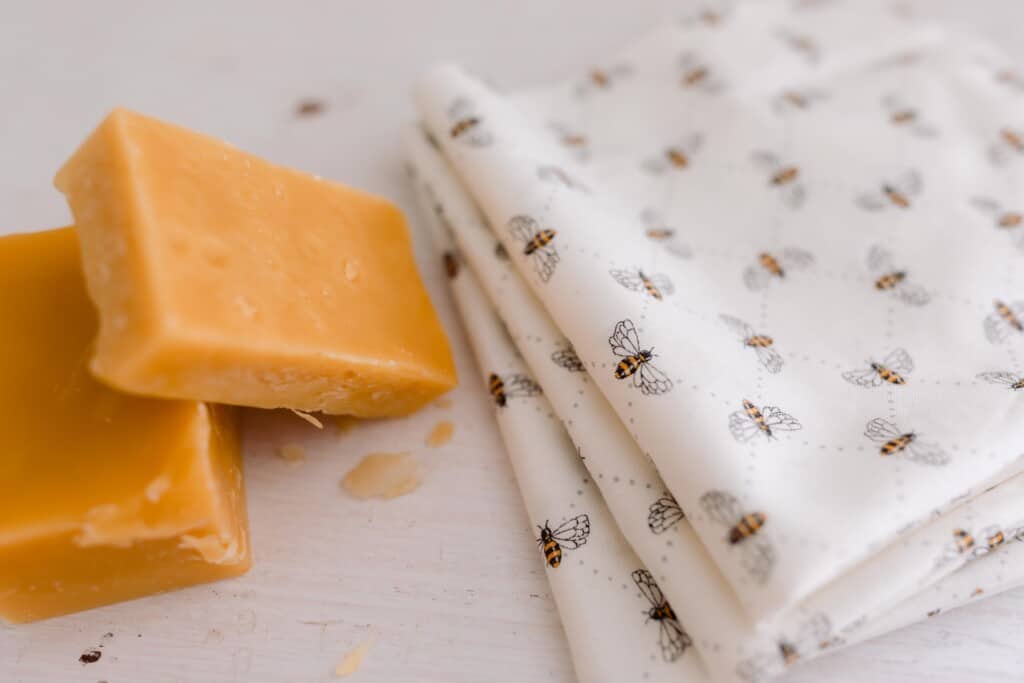
Materials you will need:
1 yard 100% cotton fabric
5 ounces beeswax, grated or pellets
Parchment paper
Tools you will need:
Baking sheet
Small paint brush – a cheap one you don’t mind tossing
Iron (if using the iron method)
Tools for hanging the wraps – I like to string up some twine and use clothespins.
How To Make Beeswax Wraps
Wash and dry fabric before starting this project.
Preheat oven to 170 degrees.
Cut out fabric into 12″ by 12″ squares, or whatever size you would like. This tutorial will make 5 12″ by 12″ square wraps.
Iron fabric so it is nice and flat.
Place one square piece of fabric on a parchment lined baking sheet.
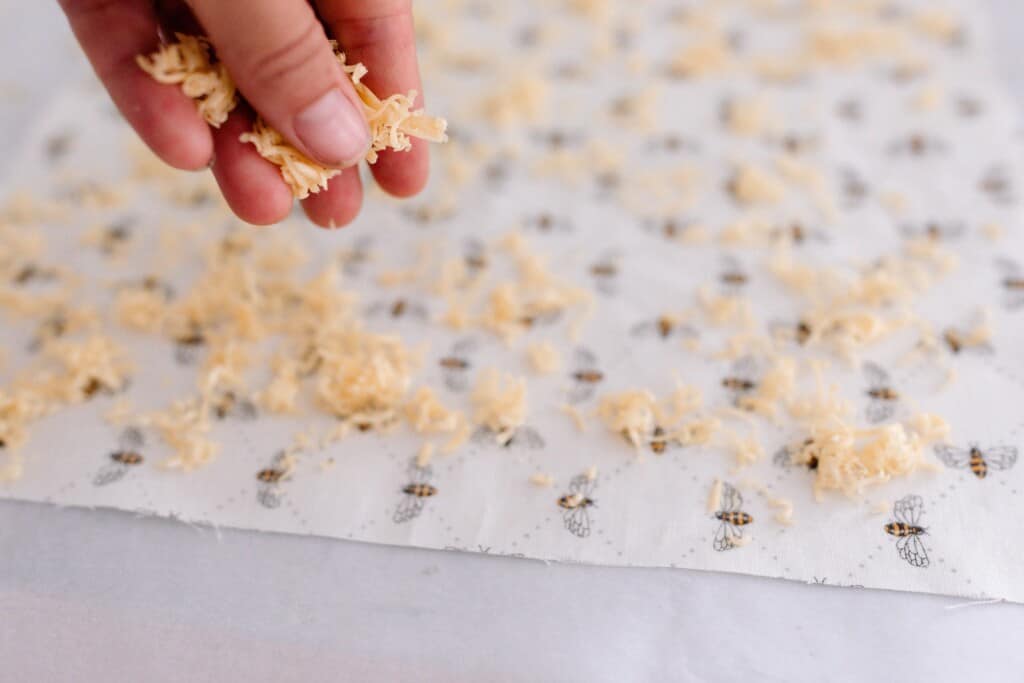
Sprinkle the fabric with grated beeswax or pellets.
Bake in the oven for about 7 minutes or until melted.
With a paint brush, wipe the melted beeswax around the fabric to cover any spots that aren’t coated with beeswax yet. Use a cheap paint brush that you don’t mind tossing, because the beeswax will stick to the brush, and it is nearly impossible to remove.
Put the baking sheet back in the oven for another couple of minutes to ensure that everything is melted evenly.
Once melted, immediately remove the wrap from the baking sheet so that the beeswax doesn’t harden and stick. Don’t wait, because it will happen pretty much instantly.
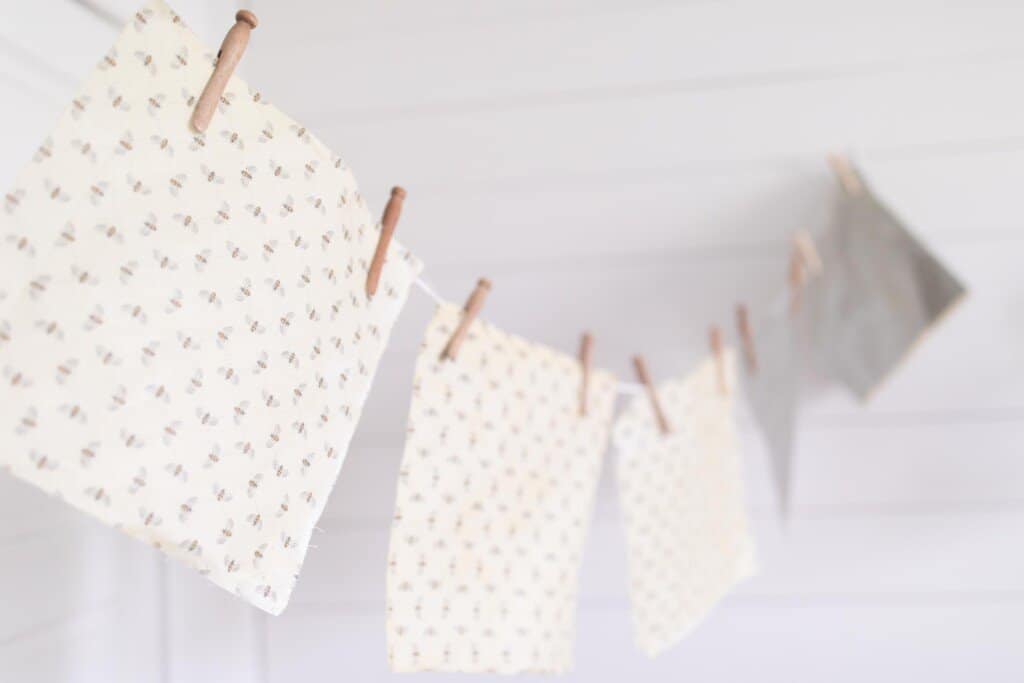
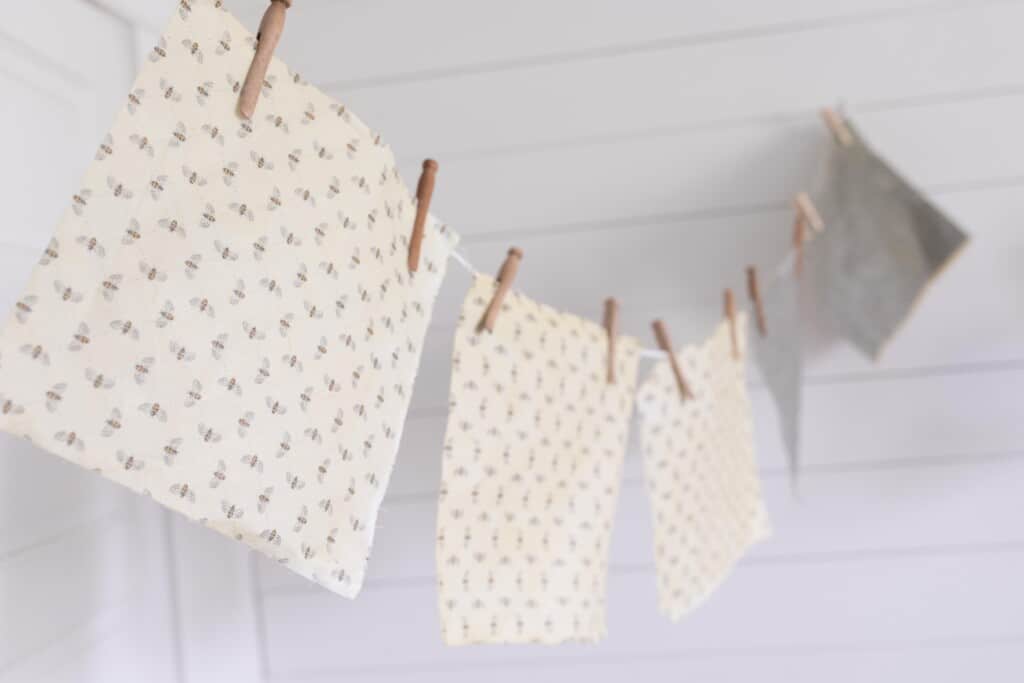
Hang the beeswax fabric on a clothesline for a few minutes, or until the wax has fully hardened.
Repeat the process with all five fabric pieces.
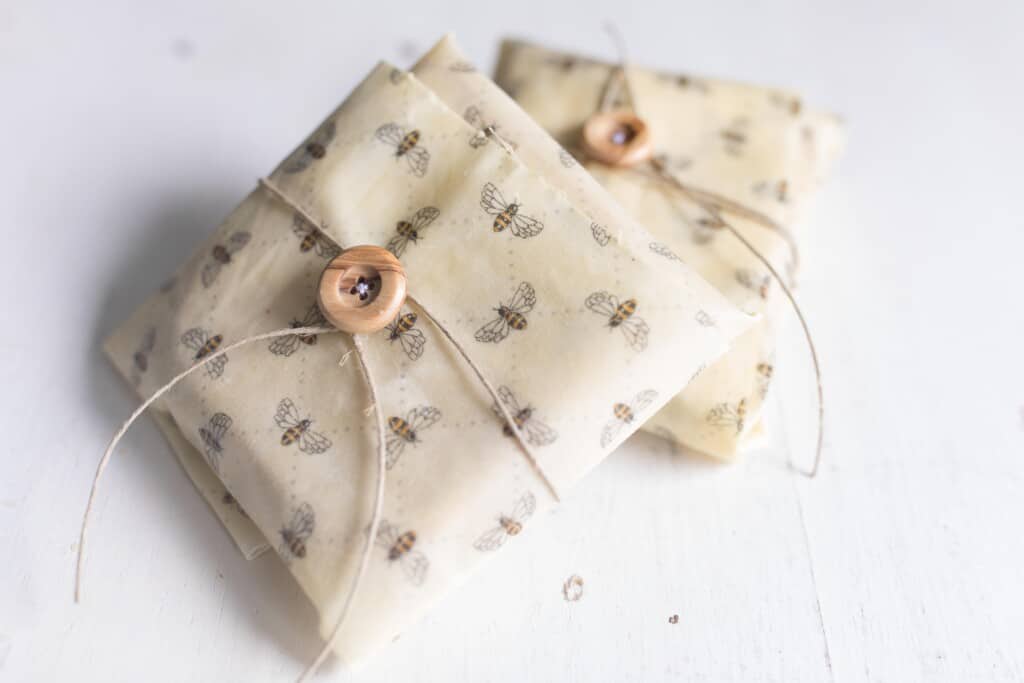
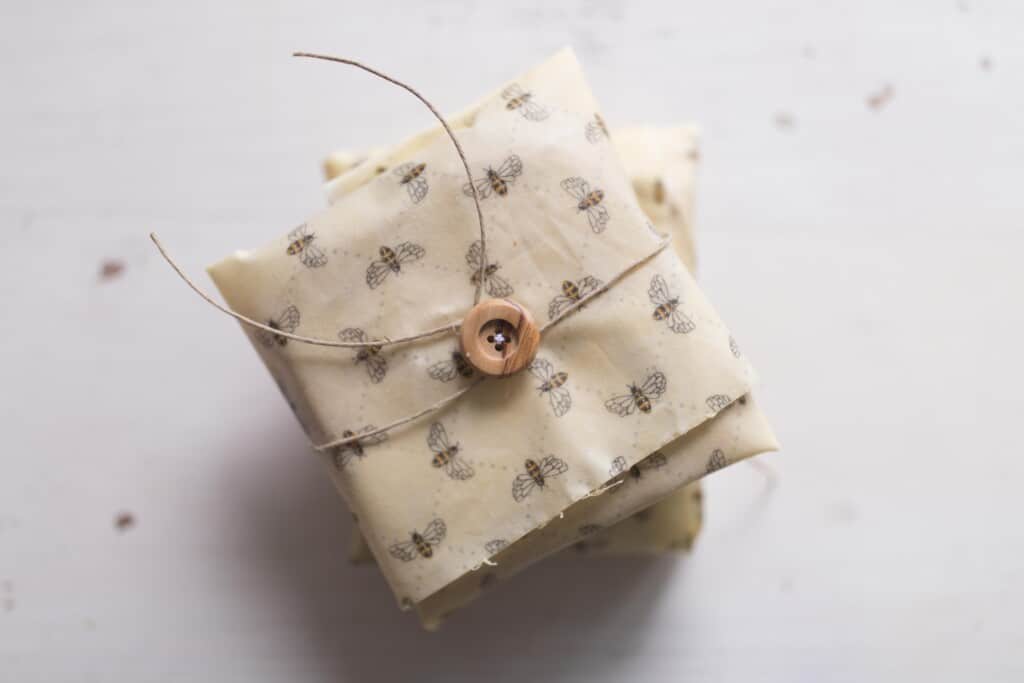
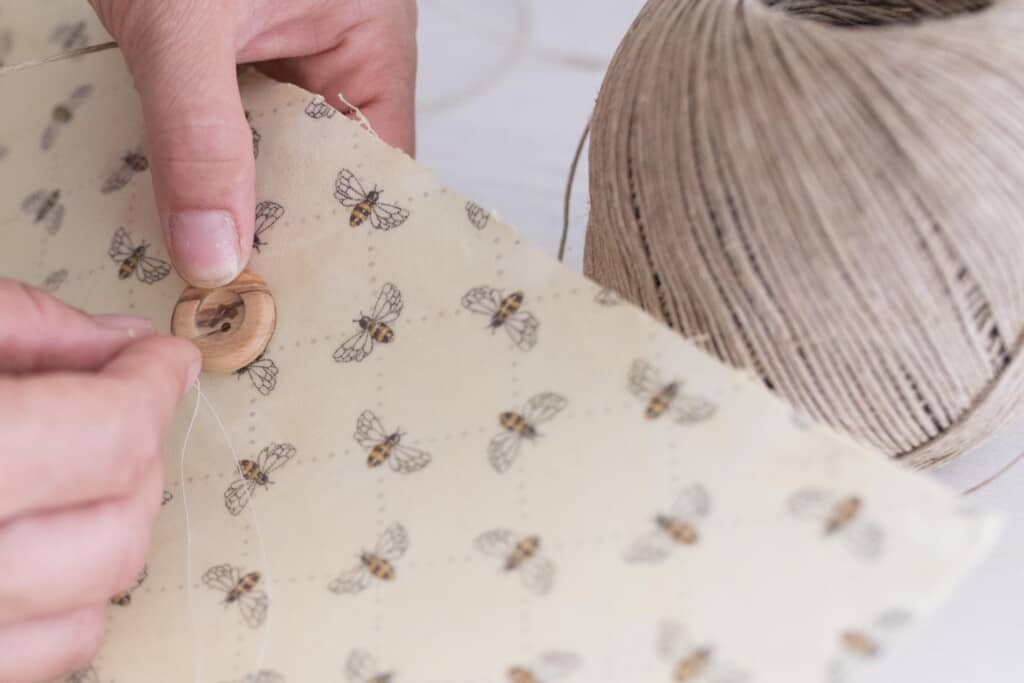
Optional: To create airtight sandwich storage, sew a large button near the top-center area of one of the wraps. Fold it around the sandwich and secure shut with jute twine.
How to Make Beeswax Wraps with an Iron:
Wash and dry fabric.
Cut to desired size.
Turn the iron on the cotton setting.
Place a piece of parchment paper (a few inches larger on all sides than your fabric) down on an ironing board.
Place the fabric on top of the parchment paper.
Sprinkle the grated beeswax over the fabric as evenly as possible. It does’t have to be too precise.
Add a second piece of parchment paper over the fabric and beeswax. It needs to be larger than the fabric because you do not want beeswax leaking out from behind the parchment and getting stuck on the iron.
Place preheated iron on top of the parchment paper, beeswax, fabric and parchment paper sandwich. Allow the iron to melt the beeswax into the fabric for a few seconds before moving it to the next section.
Continue moving the iron around slowly until all the beeswax is melted. You can use the iron to push the beeswax around, as well.
Once all the beeswax is melted, check under the parchment paper to see if any parts of the fabric are missing beeswax.
Sprinkle beeswax on any areas without, cover once more with the parchment paper, and melt with the iron, repeating the same process.
Peel the wrap off of the parchment paper and hang to dry for just a few
Caring, Cleaning, and Maintaining Beeswax Wraps
- Wash the wraps in cold water with a mild soap. Never use hot water, as the beeswax will melt and break the airtight seal on the fabric.
- Allow to dry before each use.
- Beeswax may discolor with contact with food and it’s totally normal.
- Not recommended for direct contact with super acidic foods, as it can break down the beeswax.
Find More Handmade Home Projects:
- How To Make Beeswax Taper Candles
- DIY Pot Holders
- Japanese Apron Tutorial With Free PDF Pattern
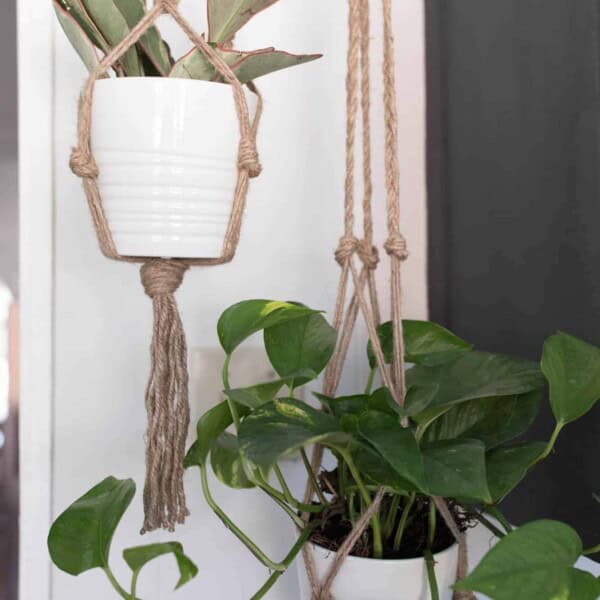
- Macrame Plant Hanger DIY
- DIY Dried Orange And Eucalyptus Wreath


Can I use Candelilla wax? I have a beeswax allergy. I have used it in other applications and it has worked well. Any thoughts??
Thanks!!
Yes, that should work.
Can I use a blend of organic cotton/spandex/jersey for this project? Nature’s Fabrics carries this with some nice patterns and safe dyes. Or should I use an interlock cotton?
I would use a cotton only! You will have better luck with the beeswax coating the fabric.
My daughter is trying to make these, and the few we tried do not seem to be molding well to the containers. Any tips or tricks? It is normal for the beeswax to leave a little stickiness behind on a container?
Also- it is hard to tell from the photos but we can see some of the hardened beeswax on our fabric. Does that mean we are using too much? Thanks for your time!!
You can try purchasing pine resin and adding a little bit of that to the melted beeswax!
For the beeswax wrap do you need to do both sides of fabric or will the wax naturally melt thru fabric? Thanks
It naturally melts through the fabric, as long as you coat it well enough.
I just made the wax wraps. So excited to use them! I was wondering if you could tell me the best way to store them between use?
Sometimes I will keep them in a bag with a piece of parchment paper between them.