


Bypass the overpriced jars in grocery stores and learn how to make ghee at home. Its high smoke point, rich buttery flavor, and long shelf life make it a great addition to your cooking and baking.

Ghee and clarified butter are often used interchangeably, but true ghee has a darker color and deeper flavor. The color change and rich flavor result from cooking the milk solids long enough to brown at the bottom, developing a robust, nutty taste similar to that of caramel. Clarified butter is much lighter in color and flavor because of the different methods.
This homemade ghee recipe is very simple to make and much cheaper than store-bought ghee. Its benefits include easier digestibility for those with a slight dairy sensitivity, a bold flavor, a higher smoke point, and a long shelf life.
While ghee is a traditional ingredient in Indian kitchens, it’s also a versatile ingredient for any kind of cooking or baking. It’s also a delicious spread for toasted whole wheat bread or a slice of sourdough cranberry-banana bread!
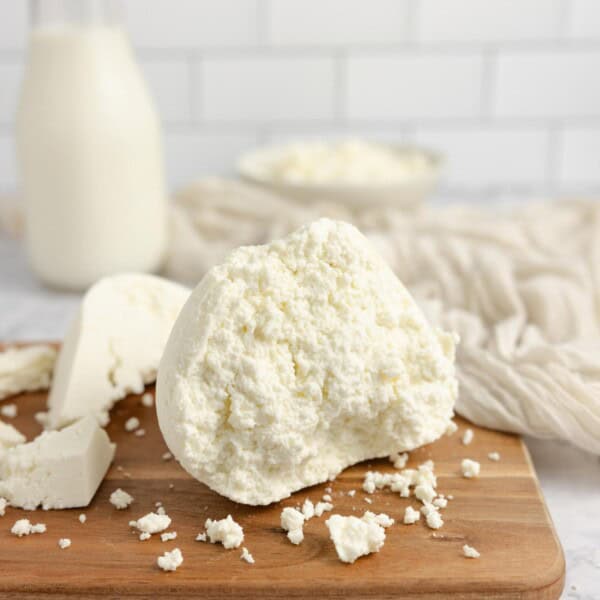
For other great kitchen staples, try this avocado oil mayo, homemade ranch dressing, cream cheese, sour cream, basil walnut pesto, and Greek yogurt.
Why You’ll Love This Recipe
Rich, nutty flavor – The flavor is full and indulgent, perfect for baking, cooking, or topping your dishes.
High smoke point – With the milk solids removed, ghee has a very high smoke point compared to regular butter, making it great for searing, sautéing, or even frying up some fresh eggs.
Long shelf life – Ghee lasts a long time! It will keep for months at room temperature and up to a year in the refrigerator. You’ll probably use it up long before that, but it’s a great option to have!
Ingredients
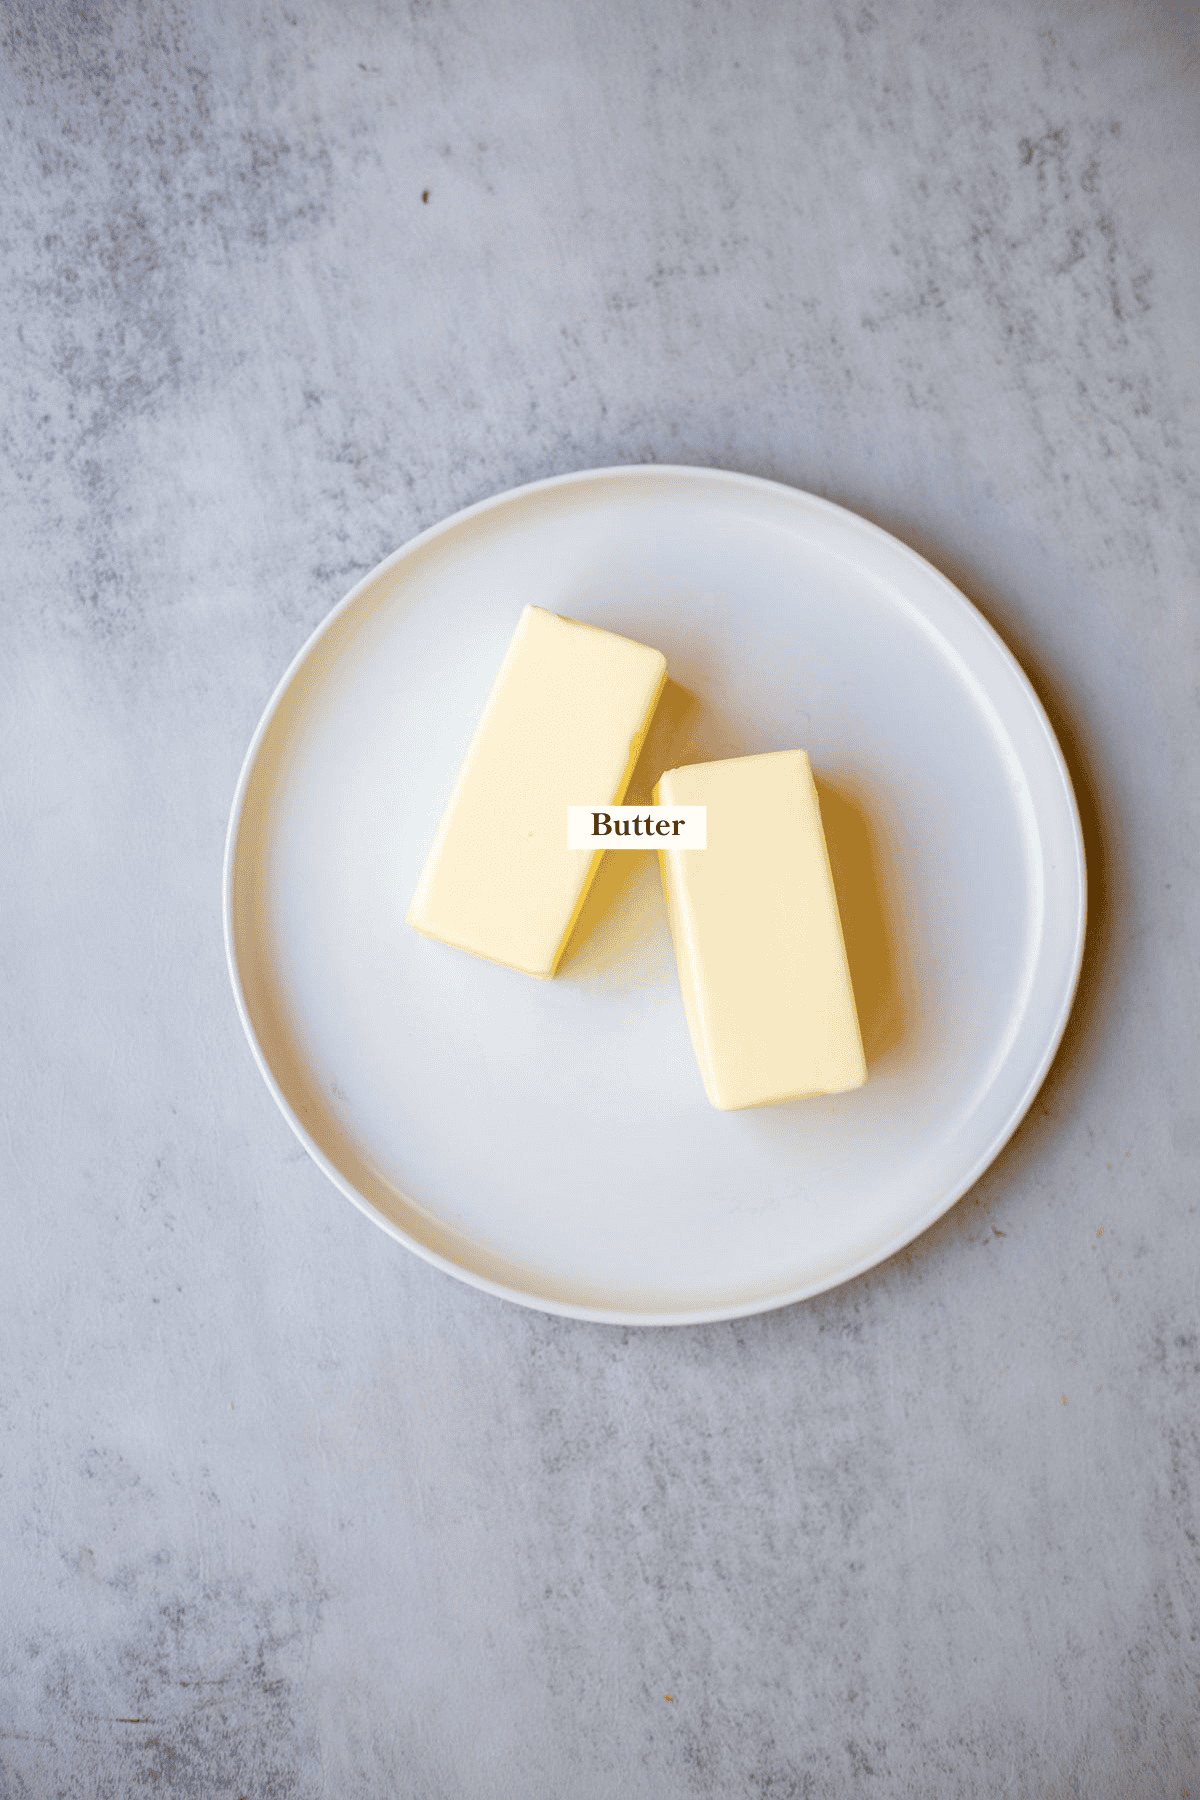
Unsalted butter – Choose a high-quality organic butter and/or grass-fed butter for the best flavor. You can also make ghee from your own raw milk butter.
A full ingredient list with exact amounts can be found in the recipe card below.
Tools You May Need
Cheesecloth, nut milk bag, or similar – For straining milk solids out of the melted butter.
How to Make Ghee
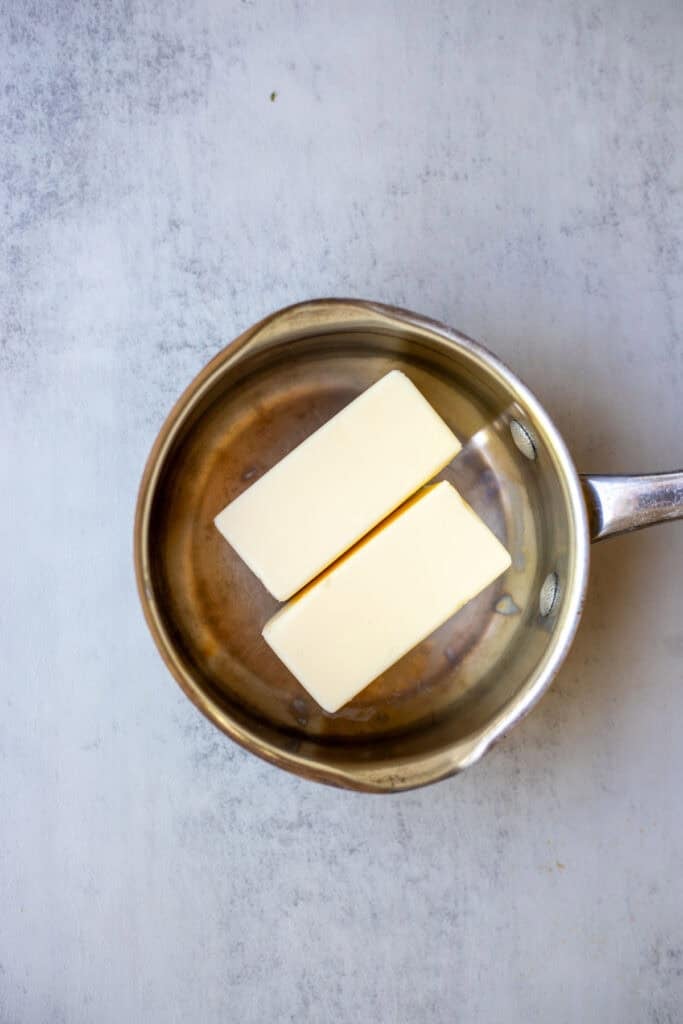
Step 1: Cube the butter and add it to a small, heavy-bottomed pan over low heat.
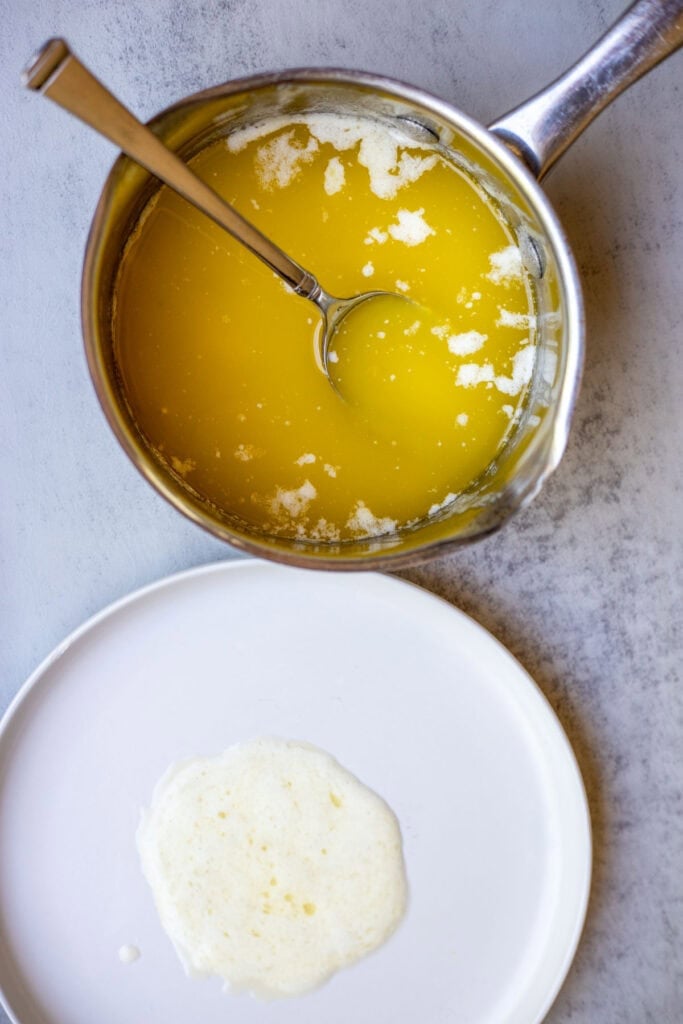
Step 2: Melt the butter, allowing it to reach a controlled simmer. Foam will develop on top of the melted butter, which you can scoop off and discard. Continue scooping with a spoon until you don’t see any more.
Step 4: With the foam removed, continue cooking the butter at a low heat for approximately 10 to 15 minutes or until the butter is a golden color, produces a nutty aroma, and is translucent. The bottom of the pan will have browned butter solids, which give the ghee its rich, nutty flavor.
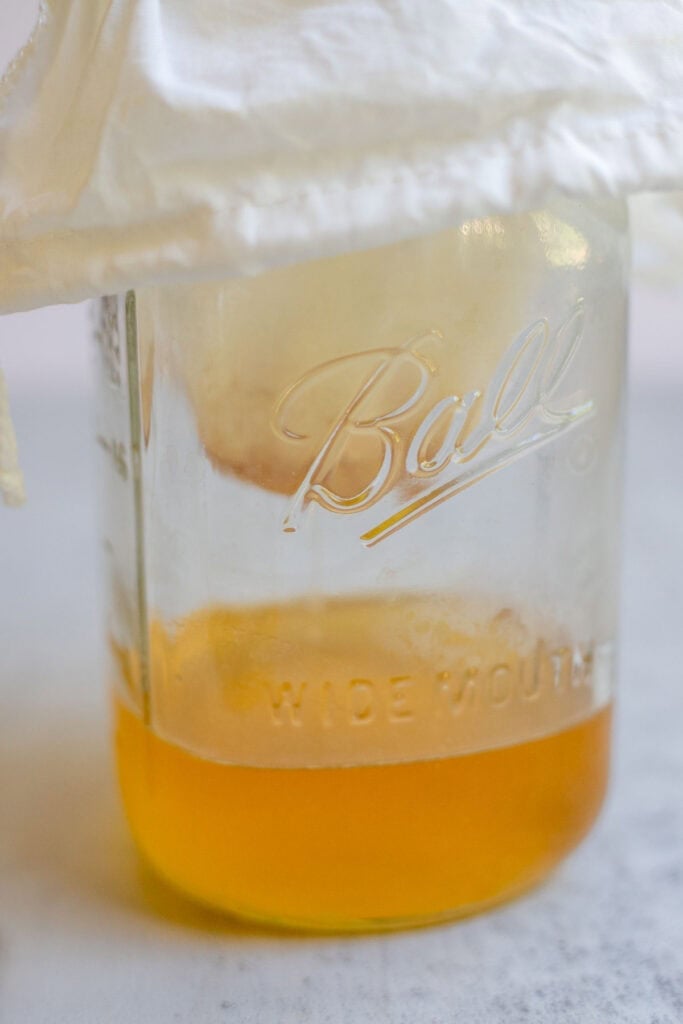
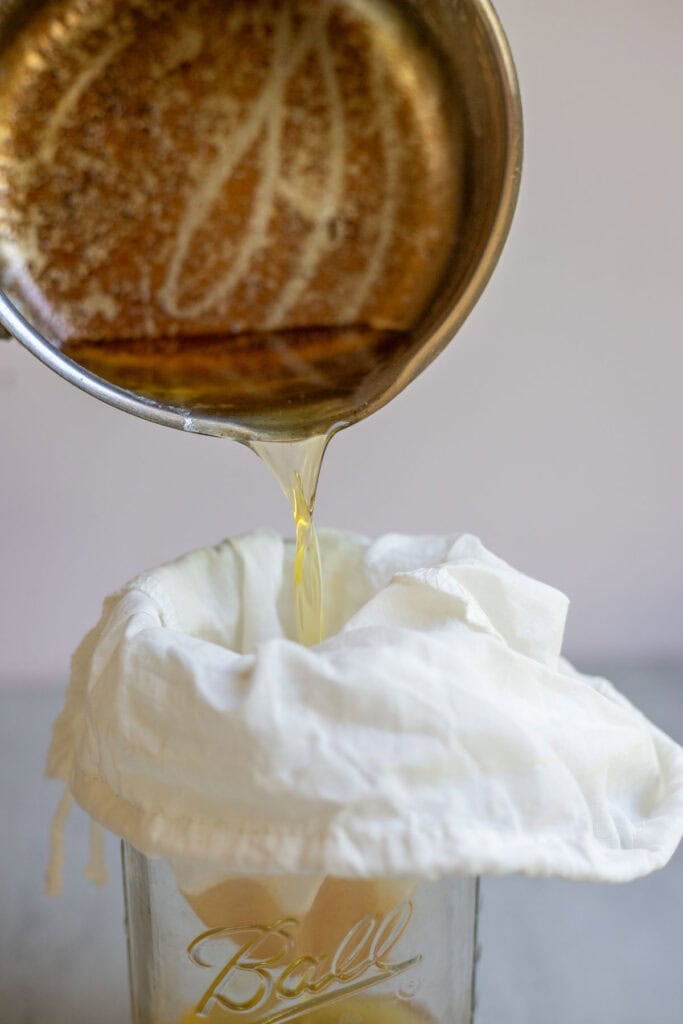
Step 5: Remove the pan from the heat and allow the ghee to cool for a few minutes. Strain the hot ghee through a cheesecloth, nut milk bag, or fine-mesh strainer into a glass jar to catch the browned milk solids.
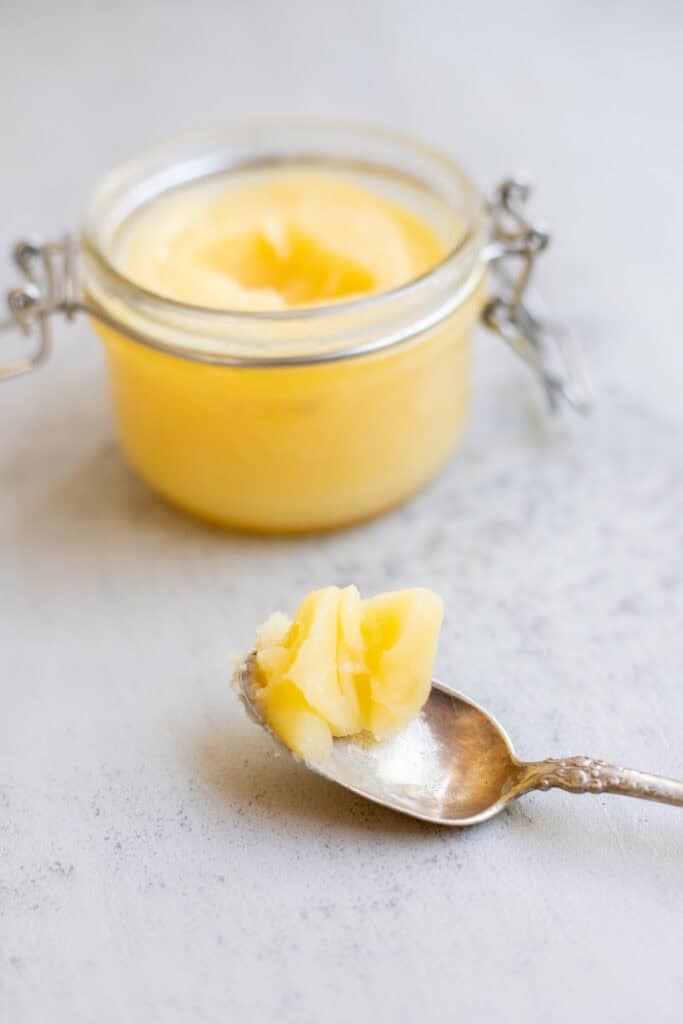
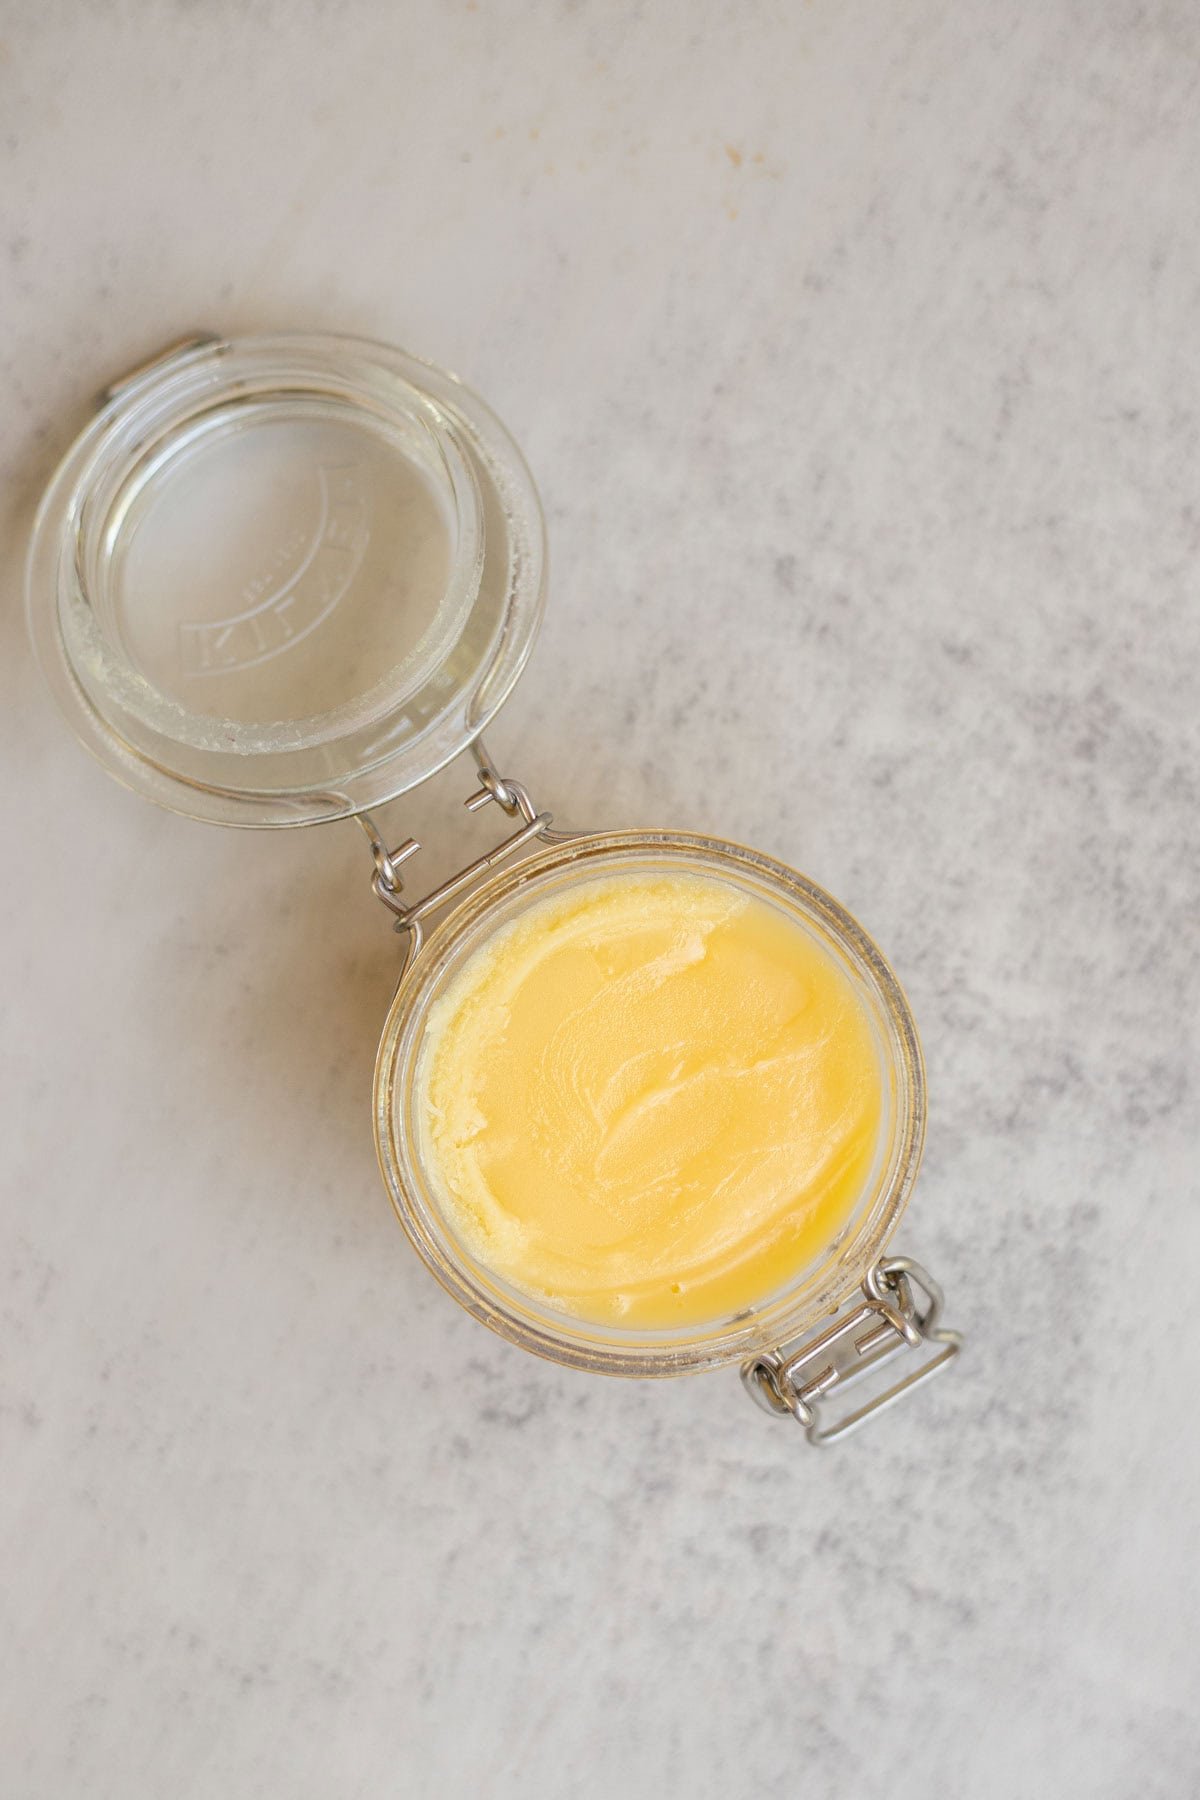
Step 6: Cool to room temperature and notice how it transforms into a golden, soft spread of pure fat. Store at room temperature out of direct sunlight for up to 3 months, or refrigerate for up to a year.
Tips
- Use a good quality butter for a better finished product.
- Don’t rush; keep the heat low so the butter doesn’t burn. The cooking process only took me about 10 – 15 minutes on low heat, but that time may vary depending on your stove.
- Use a clean utensil each time you use the finished ghee to avoid contamination.
Recipe FAQs
Store in an airtight container in the refrigerator for up to one year, or at room temperature for up to 3 months.
Ghee and butter have similar fat and calorie contents, but ghee is known to be more easily digested, particularly for those with dairy sensitivities.
It is! For the price of a block of butter, you can make a jar of your own ghee that would cost you $10 to $20 in a store.
Ghee has the rich, nutty, buttery flavor of caramelized brown butter due to the milk solids browning in the bottom of the pot. It’s savory and naturally has a somewhat grainy consistency.
One pound of butter makes roughly one cup of ghee after cooking off much of the water content and removing the milk proteins.
More Recipes from the Farmhouse
- Sourdough Garlic Bread
- Sourdough Cornbread
- Whole Wheat Sourdough Dinner Rolls
- Sourdough Discard Naan Bread
- Whole Wheat Biscuits
If you try this recipe and love it, I would love it if you could come back and give it 5 stars! Tag me on Instagram @farmhouseonboone.
How To Make Homemade Ghee

Equipment
- 1 cheesecloth
Instructions
- Cube the butter and add it to a small, heavy-bottomed pot over low heat.
- Melt the butter, allowing it to reach a controlled simmer.
- Foam will develop on top of the melted butter, which you can scoop off and discard. Continue scooping with a spoon until you don’t see any more.
- With the foam removed, continue cooking the butter at a low heat for approximately 10 to 15 minutes or until the butter is a golden color, produces a nutty aroma, and is translucent. The bottom of the pan will have browned butter solids, which give the ghee its rich, nutty flavor.
- Remove the pan from the heat and allow the ghee to cool for a few minutes. Strain the hot ghee through a cheesecloth, nut milk bag, or fine-mesh strainer into a glass jar to catch the browned milk solids.
- Cool to room temperature and notice how it transforms into a golden, soft spread of pure fat. Store at room temperature out of direct sunlight for up to 3 months, or refrigerate for up to a year.
Notes
Nutrition
Nutrition information is automatically calculated, so should only be used as an approximation.


Thank you for this fabulous recipe. I tend to get overwhelmed with new skills and you break it down so that I can easily accomplish them.