
If you’re interested in expanding your skillset to home food preservation, this water bath canning beginner’s guide is for you. Below you’ll find canning basics, a list of helpful tools, and a detailed step-by-step process to help simplify home canning.

Water bath canning originated in the early 19th century as a method of heating prepared foods in boiling water for a specified time to kill harmful bacteria. With the bacteria killed and the jars finished with an airtight seal, canned food is ready for long-term storage. It’s a technique that many of us may be familiar with, having grown up with mothers and grandmothers who preserved seasonal fruits and produce in this manner.
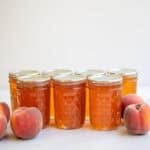
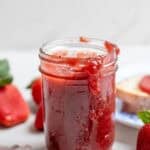
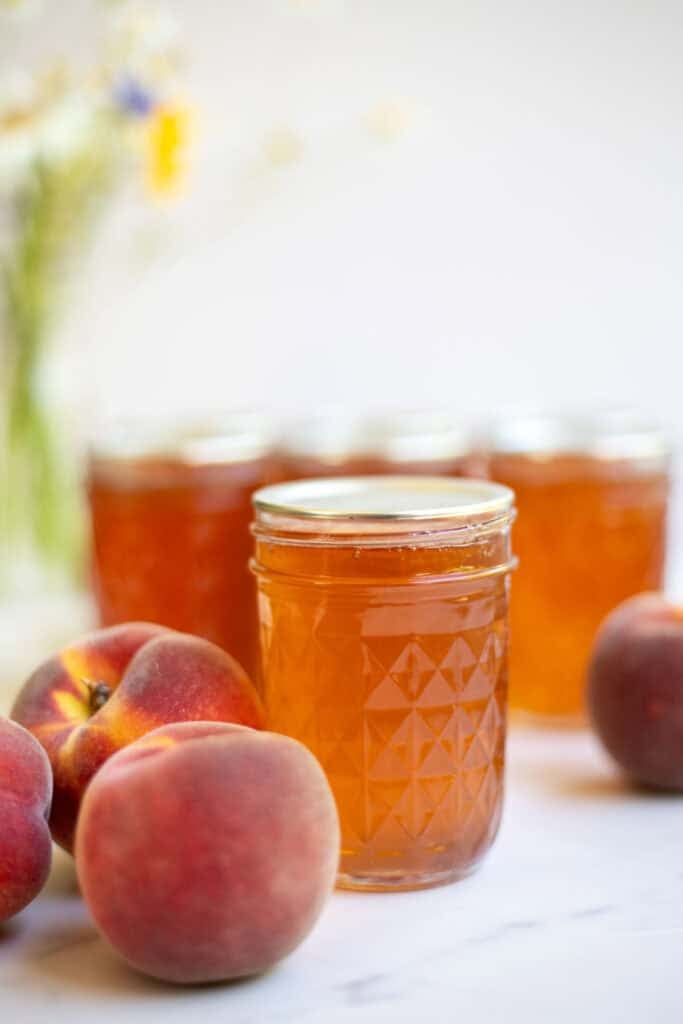
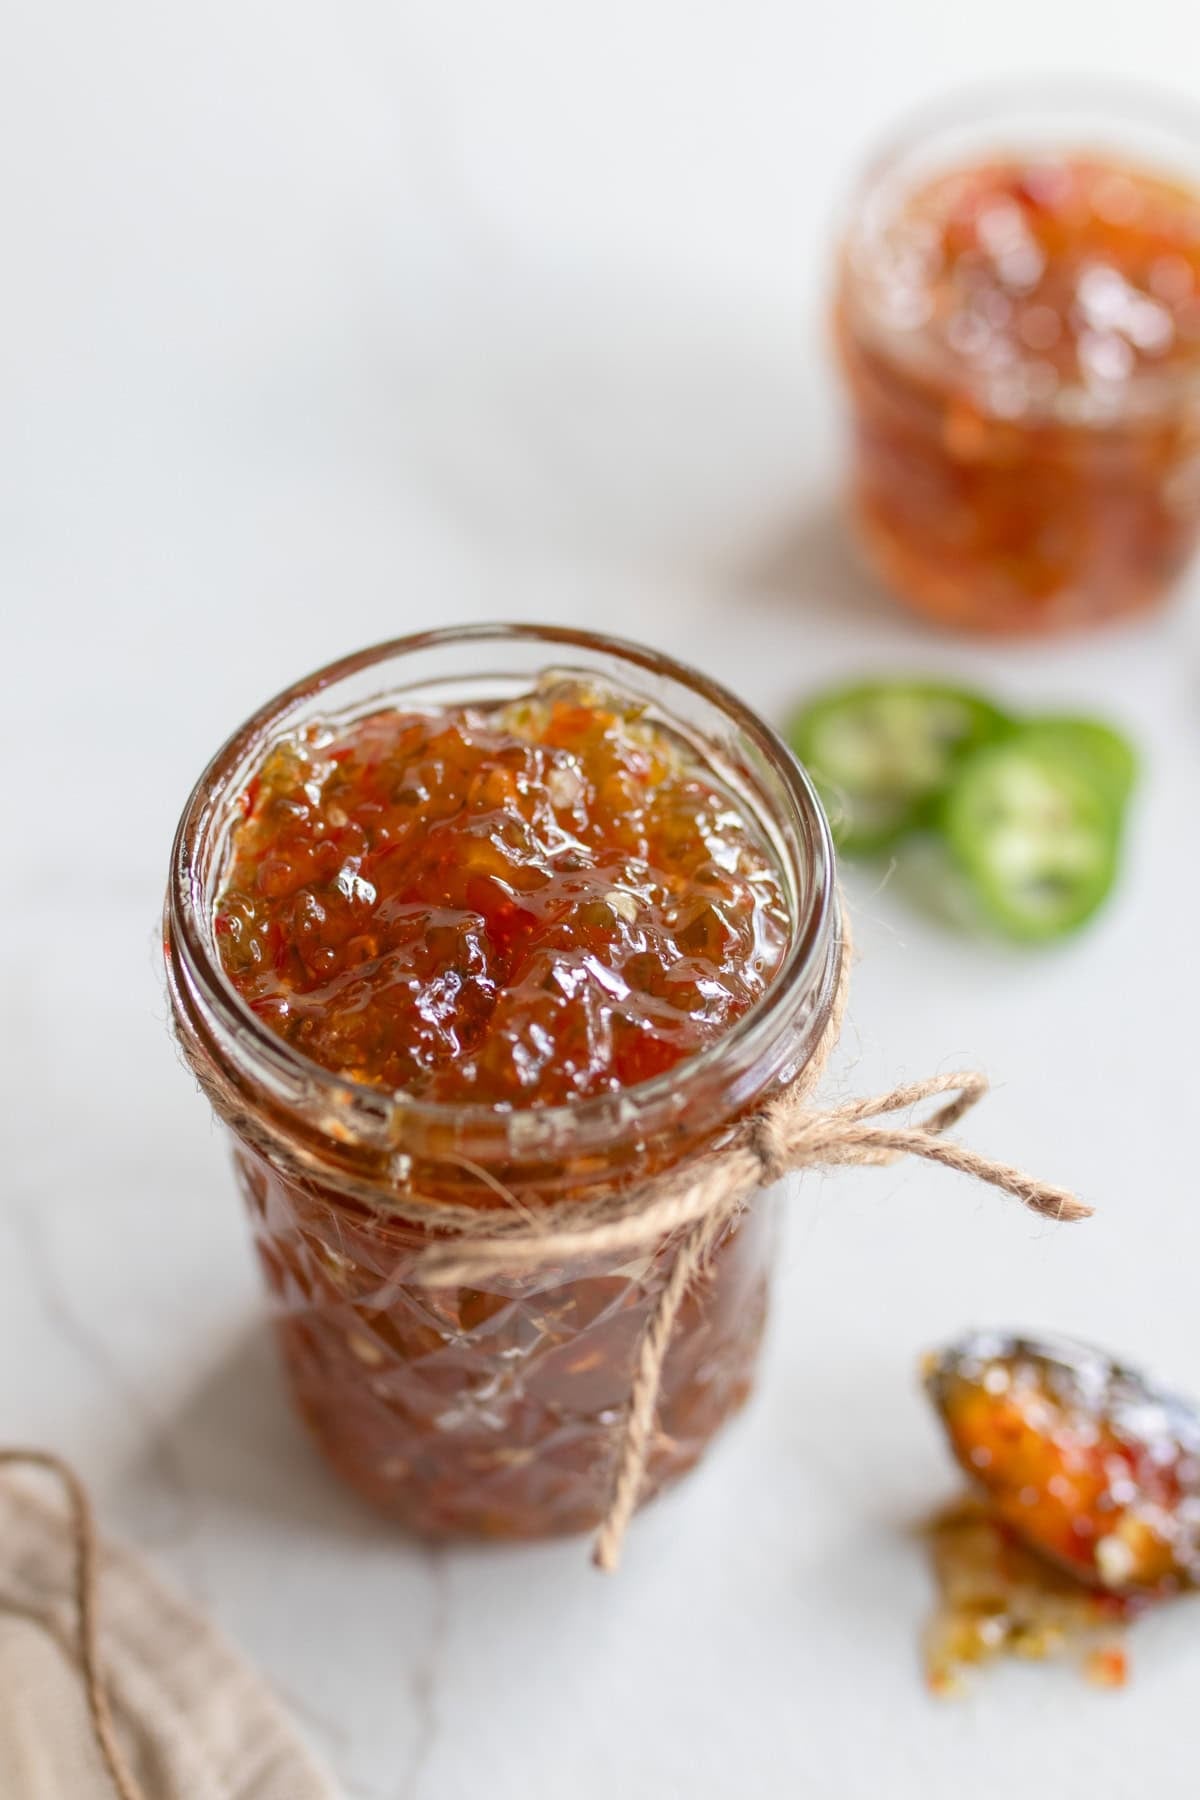
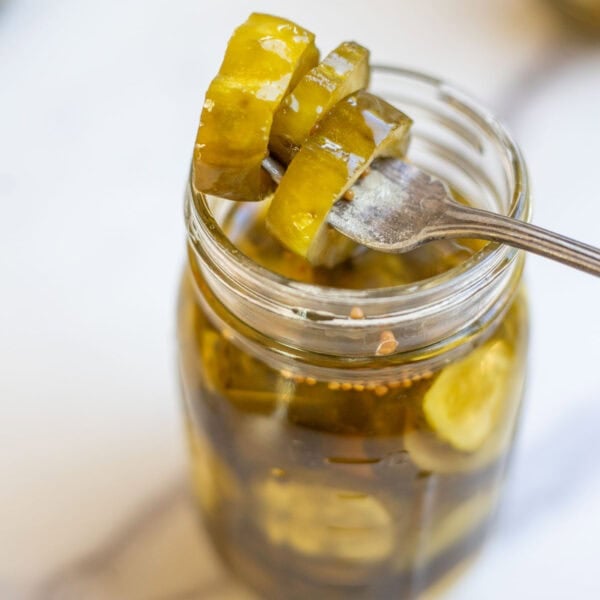
Water bath canning is suitable for high-acid foods or recipes that include an acidic component like vinegar. Fruit jams and jellies, whole peaches or pears, pickles, marinara sauce and even sauerkraut are all common examples of high-acid foods perfect for the water bath method. It’s a simple and effective way to keep these delicious foods on hand out of season and year-round.
Low-acid foods such as fresh corn, green beans, carrots, meat, and some fruits are only suitable for canning with a pressure canner. Because of their lower acidity, they require a higher temperature to safely kill all bacteria.
While it does require some special equipment and planning, water bath canning is a reasonably simple method for shelf-stable food. And seeing jars of food lining your pantry shelves is more than worth the time and effort.
Precautions
- You’ll need a trusted source for recipes, as the right recipes will include thorough instructions, precise processing times, and hopefully a handful of tips.
- Use high-acid foods and water bath-specific recipes for water bath canning. Low-acid ingredients will need to be preserved via pressure canning.
- Having the right tools can prevent accidental injury from hot jars, hot contents, and boiling water.
- Altitude can significantly impact the processing time for canning. Living above sea level will equate to lower boiling points, which will require an extended processing time. See the Ball and Mason jars website (or your favorite trusted website) for a helpful chart for adjusting time based on altitude.
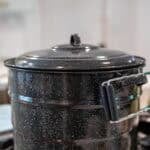
- Be cautious of the steam when removing the lid on the canner. Steam burns can be worse than boiling water burns.
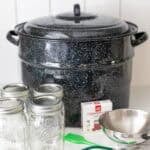
Tools Needed For Water Bath Canning
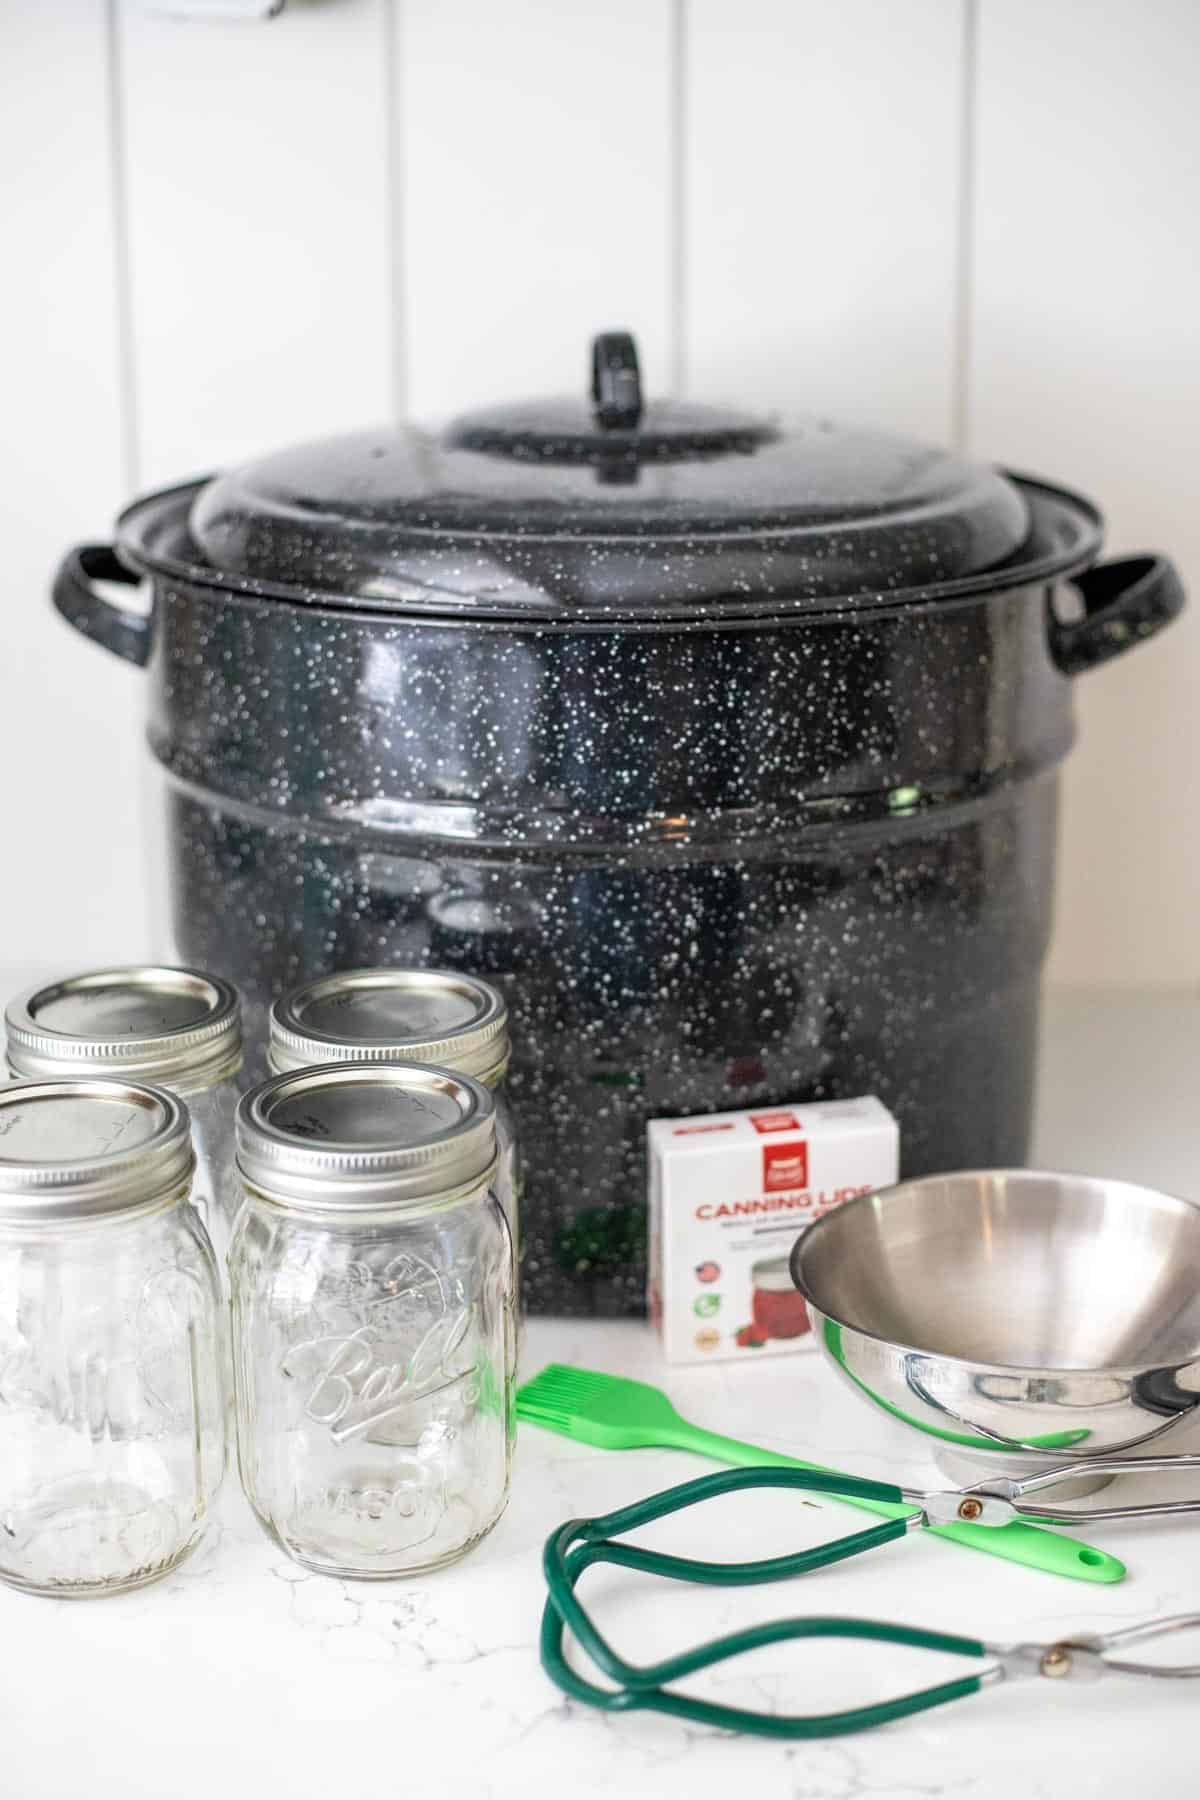
Water bath canner – A water bath canner is a large pot for boiling canning jars. Most canners are stainless steel, enamel-coated stainless steel, or aluminum, with a size ranging from 21 to 33 quarts. The larger the canner, the more jars it can hold, with the standard 21-quart canner holding 7 quart-sized jars and 8-9 pint jars. Canners must be deep enough to accommodate your jars sitting on the canning rack with enough water to cover the jars more than one full inch.
Trivet – If you have a large stockpot, you might be able to use it in place of a canner. Check to see if it is deep enough for the water level to stand one inch above your jars. If so, you can purchase a trivet to place at the bottom of the pot to set the jars on. Jars may not be placed directly at the bottom of the pot or they may break from the direct heat, and the water circulation will not be complete, creating uneven heating.
Canning funnel – A funnel allows you to fill jars neatly and easily. They can be made of plastic, stainless steel, or even glass and come in standard and wide-mouth sizes.
Jar lifter – A jar lifter helps you remove hot jars from boiling water safely and smoothly, allowing for even handling and reducing the likelihood of the jars being tipped or tilted during transfer.
Headspace tool – This tool helps to pack the food in the jar thoroughly while releasing air bubbles. With the notches provided at the end of the tool, you can also measure from the surface of the food to the top of the jar to ensure enough space is left.
Glass jars – Glass canning jars come in several different sizes, with the option of wide-mouth or regular-mouth.
Canning lids – Start with new lids when canning. Rims can be reused, but the lids are only meant to be used once when canning. You can use them for storing other items in your jars, but not for sealing. There are, however, some lids made now that are intended specifically to be reusable.
Lid lifter – Many of the all-in-one canning sets also include a lid lifter, which has a magnet for grabbing the lids and placing them on the jars.
Terms to Know
Hot packing refers to canning foods that have been cooked ahead of time.
Raw packing refers to canning foods that have not been cooked ahead of time.
Headspace refers to the unfilled space left in the jar between the food or liquid and the underside of the jar lid. It is necessary for a proper seal and to avoid contamination, discoloration, and siphoning.
Siphoning is when the liquid in your sealed jars leaks out around the rim of the jars into the canner during processing. This can happen without proper headspace, with sudden temperature changes, or with excessive jostling or tilting of the jars.
How to Preserve Food with Water Bath Canning

Step 1: Ensure you have the tools that you need, including new lids, and that jars and bands are in good condition. Consult the recipe and prepare the ingredients by cleaning, chopping, or cooking, depending on whether this is a raw or hot-packed recipe.
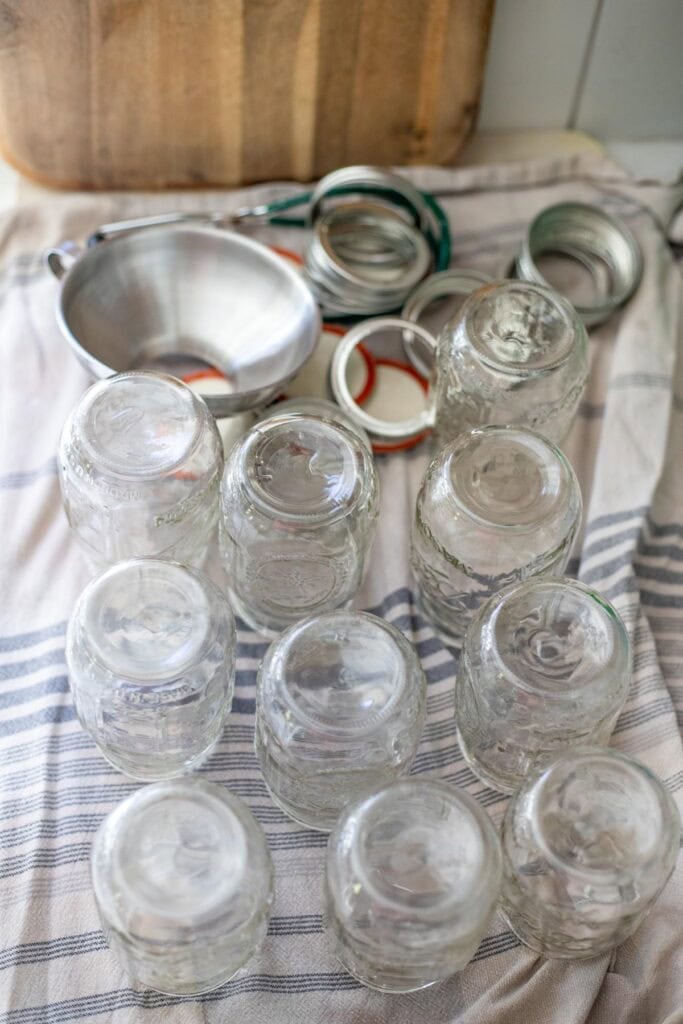
Step 2: Wash the jars, lids, and screw bands in warm, soapy water. After rinsing, keep the jars warm in a separate large pot of hot water until you’re ready to fill them. Leave the lids and bands in the hot water or place them on a clean towel. This hot water will be on hand if your canner runs low on water during processing. Sterilize jars only when a recipe processes for less than 10 minutes. If this is the case, sterilize the jars in boiling water for 10 minutes before filling.
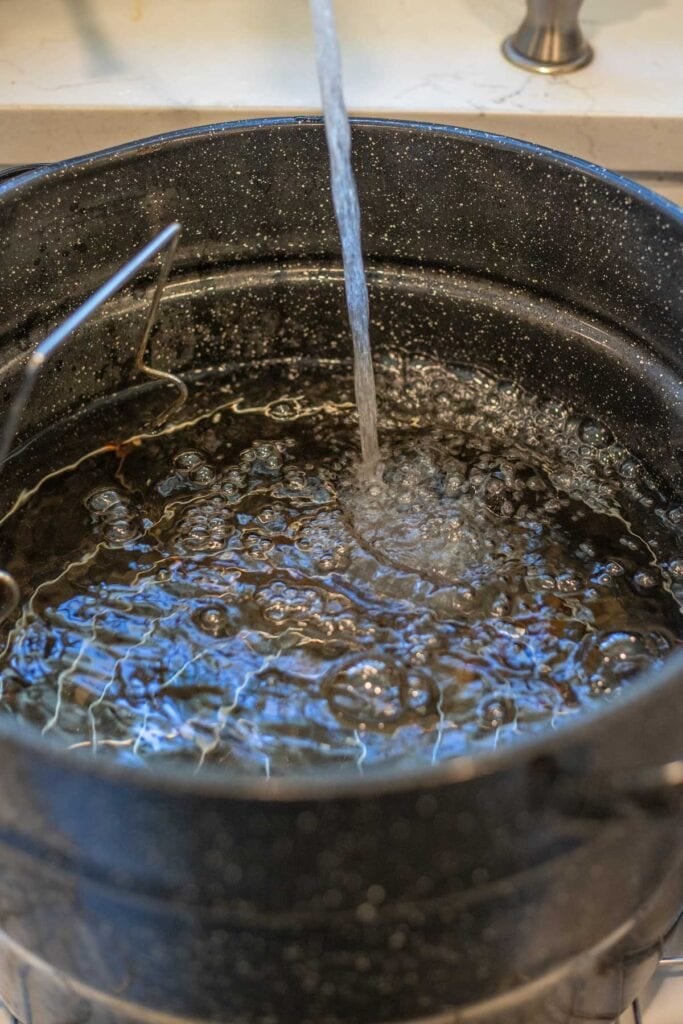
Step 3: Prepare your canner by placing the rack or trivet in the bottom and filling the pot halfway with water. Bring the temperature up to 140°F for raw-packed foods and 180°F for hot-packed foods.
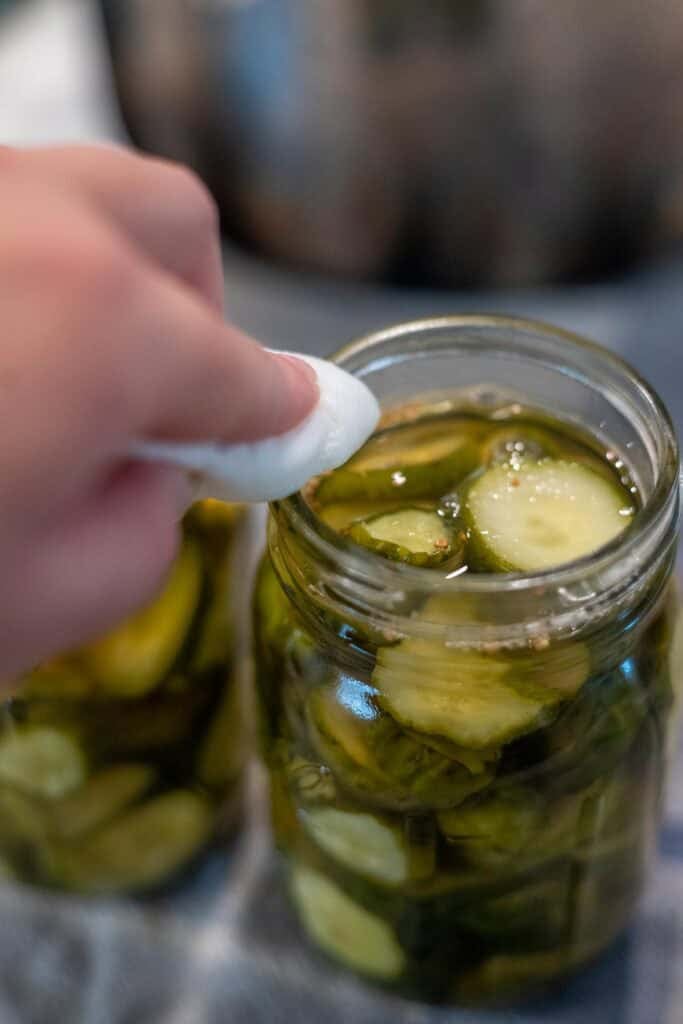
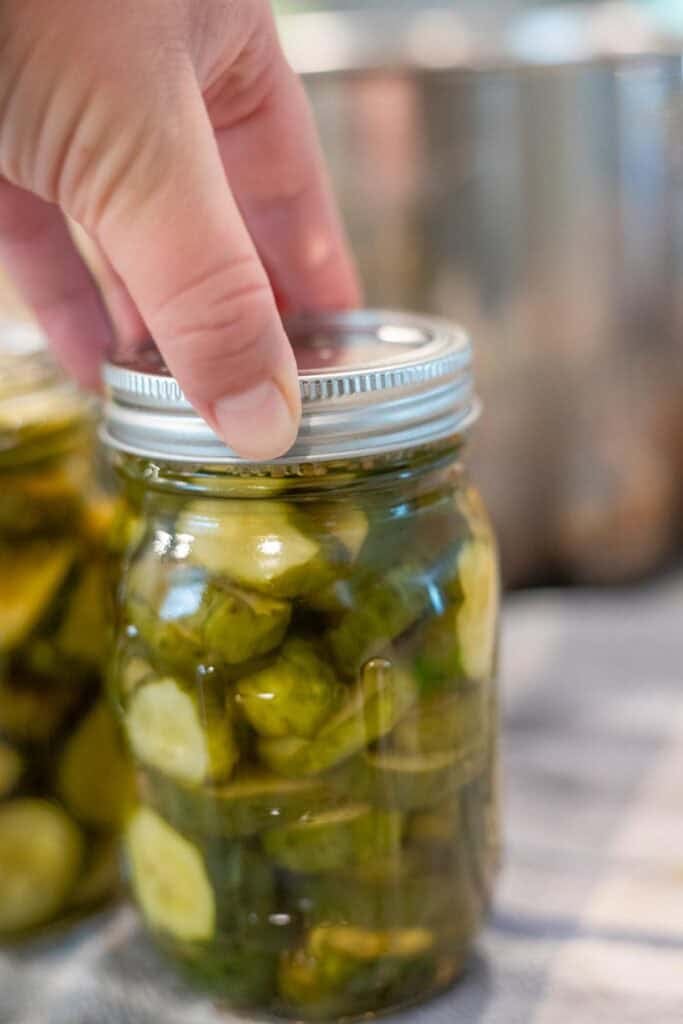
Step 4: Begin filling the jars one at a time. Using a jar lifter, carefully remove a jar from the hot water. Place the funnel on top and fill with the prepared food. Release trapped air bubbles from the jar by inserting a non-metal utensil along the inside of the jar, bringing it up and down. Check the headspace level before wiping the rim of the jar clean with a damp, clean towel. Set a new flat lid in place and hand-tighten the band with a towel or oven mitt.
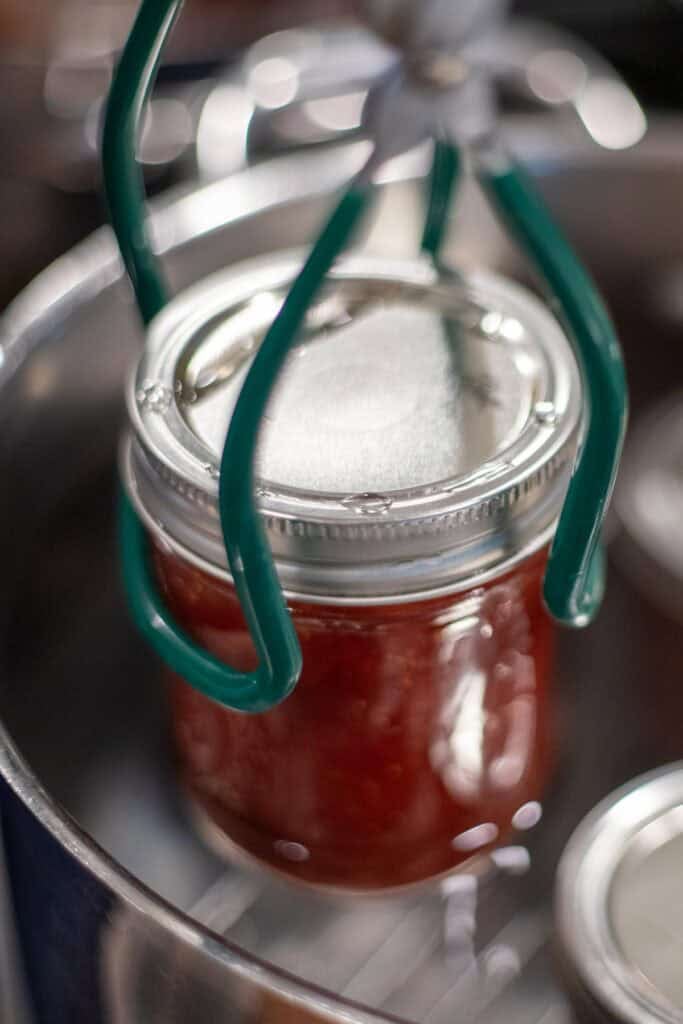
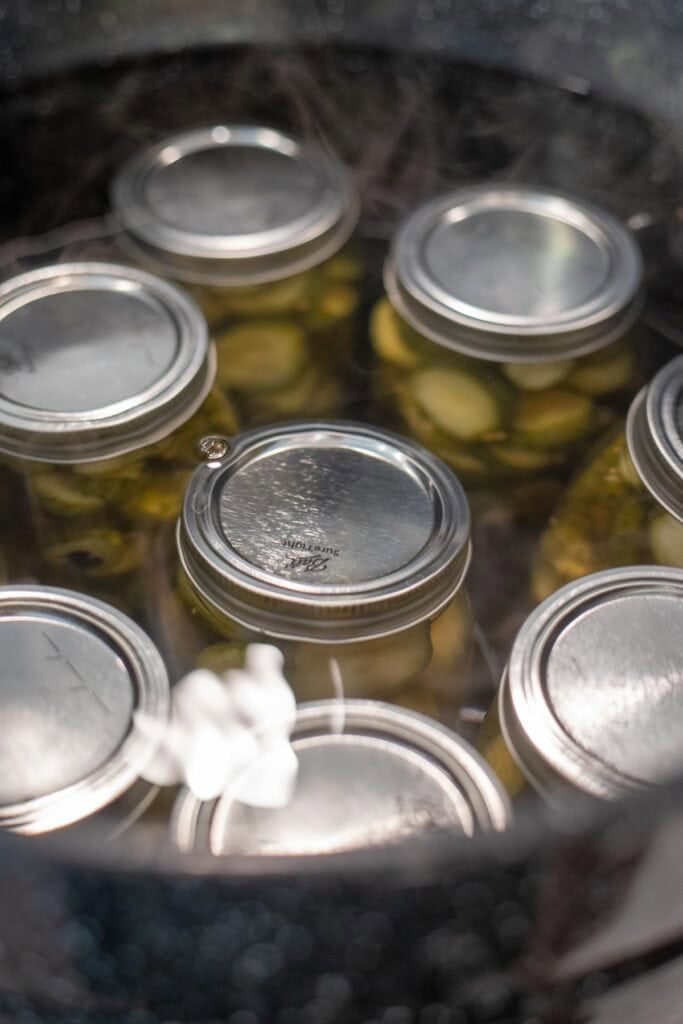
Step 5: Using the jar lifter to keep the jar upright, carefully place the filled jar into the canner of boiling water. Repeat the process with all the jars. Start the processing time once every jar is in the canner and the water reaches a full boil. Keep at a full rolling boil for the entire processing time.
Step 6: After processing, turn off the heat and let the jars sit in the canner for 5 – 10 minutes. This waiting will ease the transition of the jars going from hot water to room temperature.
Step 7: After the rest period, remove the jars from the hot water slowly, placing them on a heat-safe surface to remain undisturbed for 12 – 24 hours. During this time, you may hear a pinging sound as the lids seal, though they don’t always make a noise.
Step 8: Don’t check for a seal before the 12-hour mark. After 12 hours, the jar is sealed if the center stays pushed in and doesn’t pop when pressed. Remove the bands, wipe down or wash jars to remove any residue, and add labels. Store in a cool, dark place out of direct sunlight.
Before You Start (Preparation Tips)
- Assemble tools and ingredients before starting.
- Do not reuse flat lids. The sealing compound weakens with repeated use because manufacturers design canning lids for one-time use.
- Keep the water level in the canner 1+ inches above the tops of the jars the entire time for even heating. Add hot water from the extra pot if the levels look low. Use a lid to keep the water from splattering on you or others.
During & After Processing (Canning Safety Tips)
- Remove hot jars carefully from the pot of water and pour out excess water before filling. The jars do not need to be dry.
- Don’t over-tighten or under-tighten the ring bands.
- Use a timer set for the processing time rather than eyeing the clock. Precise times are important for food safety.
- Handle the hot jars gently when removing from the canner. Set on a heat-safe surface out of reach of little hands.
- If you’re not sure whether a jar has a good seal, you can pop it in the fridge and use it up within a few days or you can repeat the canning process, starting at wiping the jar rim in step 4.
- Even if your jars start sealing before the processing time ends, you must complete the full processing time to eliminate bacteria.
FAQs
No, water bath canning is specifically for high-acid foods. Maintaining a boil for a set amount of time safely eliminates the bacteria.
However, low-acid foods require pressure canning, which uses steam pressure in a pressure cooker to reach a higher temperature. It effectively eliminates harmful bacteria in lower-acid foods like meats and certain vegetables. Low-acid ingredients require a hotter temperature to kill bacteria.
When kept in a cool, dark place, canned goods with a proper seal will generally last one year. Always inspect the jar for signs of contamination or spoilage.
Clean and warm your jars before canning. Sterilize them only if your recipe requires a processing time of less than 10 minutes. If the processing time is more than 10 minutes, the jars will boil long enough to sterilize during processing.
If your jar doesn’t seal, you can reprocess it within 24 hours of the first canning. Remove the band and lid, wipe the rim clean, and place a new lid and clean band on the jar. If outside of that 24-hour window, just use up the contents of the jar and store leftovers in the refrigerator.
Use canning lids only once. The sealing compound on the underside works for a single use and can weaken or break down if reused. Reuse the ring bands as often as you like, but always purchase new flat lids for each canning session. Used canning lids are fine to use on glass jars for storing other foods or goods that don’t need a vacuum seal for preservation purposes.
We call it a false seal any time a jar looks sealed but isn’t actually airtight. The middle of the lid will appear pressed, but either right away or over a short amount of time, the lid will become loose. Store jars without ring bands so you can easily identify false seals if they occur.


Perfect instructions. I always admire you because one you’re not a rebel canner teaching dangerous canning procedures. And there is a lot of that out there! Two I love your recipes.
Do you use a lid on the pot, once all of the jars are filled, lidded and put back into canner?
Using steam as the indicator for the boiling process has started? Thank you for this article, Lisa.