
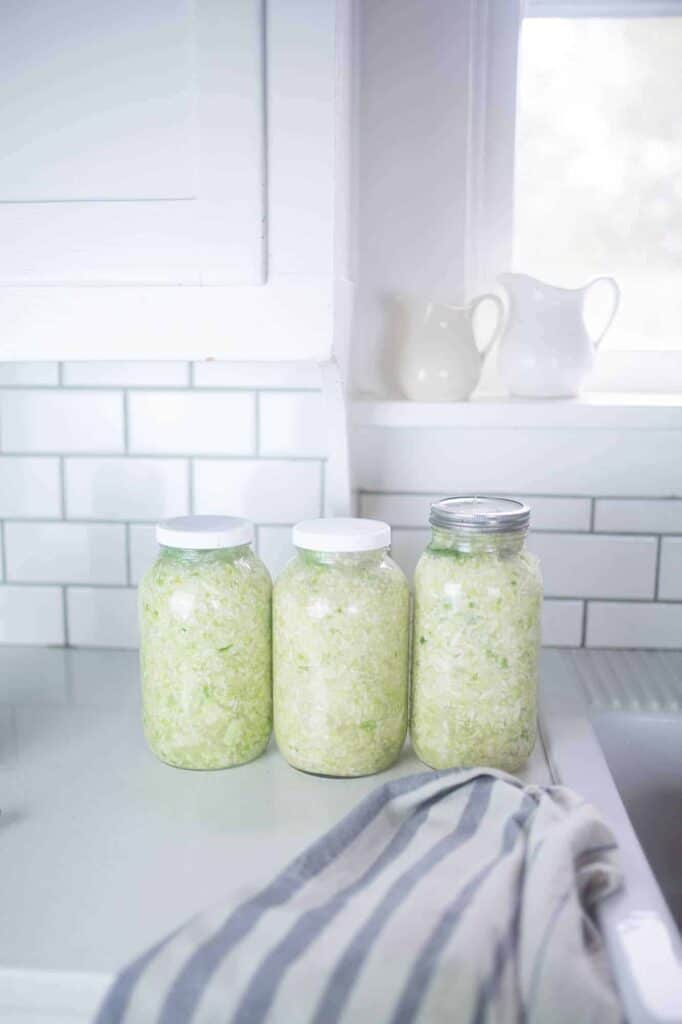
This homemade sauerkraut recipe is an easy way to get gut healthy probiotics in your daily diet. Enjoy it as a side to a meal or add it to your favorite sandwich.
Now more than ever we are seeing the importance of gut health to our overall well-being. Probiotics play a big role in the state of our gut.
You could spend $50 a month or even more on supplements, or you could incorporate fermented food into your daily diet instead!
Making your own batch of sauerkraut is a great way to reap probiotic benefits. It only takes about 15 minutes of hands on time and a little patience waiting for it to ferment in a salty brine.
Some of our favorite ways to enjoy this fermented food are adding it to a cold cut sandwich wedged between two slices of sourdough rye bread, on top of a grilled hot dog on a sourdough hot dog bun, or in sauerkraut soup with sausage. Your gut and taste buds will thank you!
Why You’ll Love This Recipe
Easy and delicious – All you need are two simple ingredients – salt and cabbage – to make this tangy, crunchy dish.
Inexpensive – True fermented raw sauerkraut at the grocery store is pricey. Making a large batch yourself is a fraction of the price.
Packed with gut-healthy probiotics – When salt and cabbage are massaged together and allowed to sit for a few days, lactobacillus bacteria (the good kind also known as probiotics) starts to populate. Regular consumption of fermented foods have been shown to have many health benefits, including improved digestion, increased immunity, and reduced inflammation (source).
Ingredients
Salt – Choose sea salt, kosher salt, or pink Himalayan salt. Do not use iodized salt as it can affect fermentation.
Cabbage – I typically use green cabbage, but you can use other varieties. I also try to buy organic cabbage if I can.
A full ingredient list with exact amounts can be found in the recipe card below.
Tools You May Need
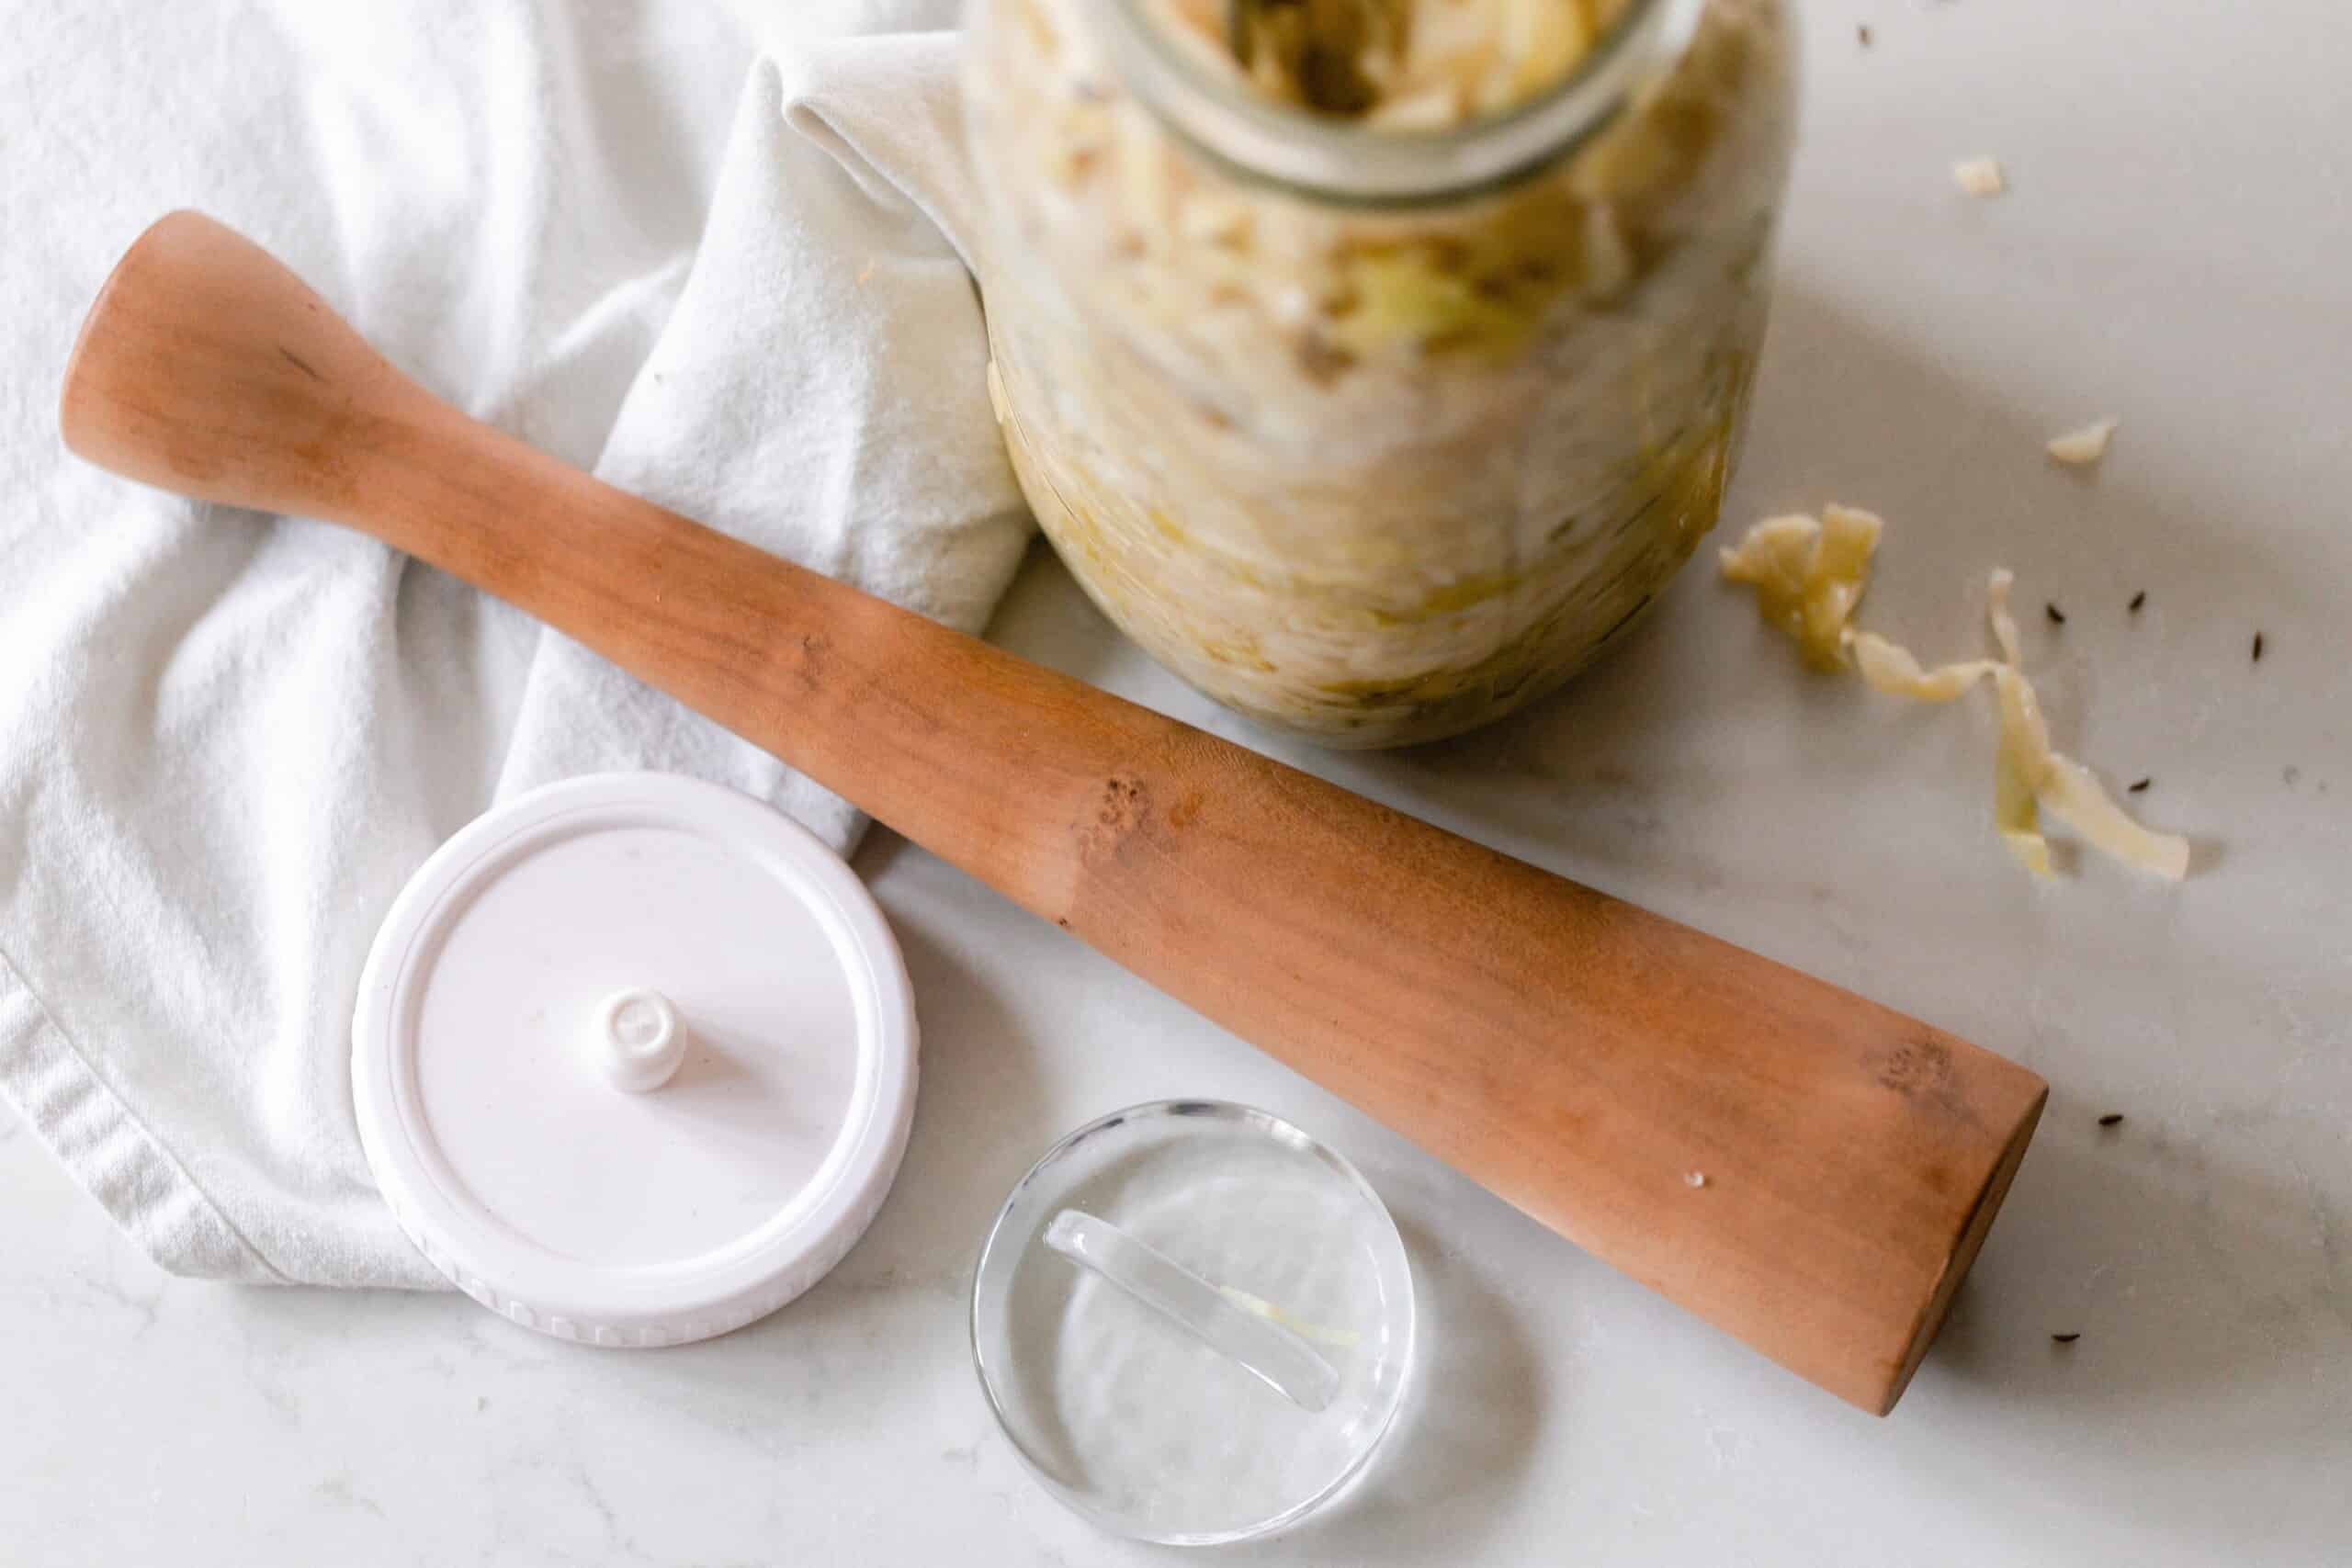
Fermentation kit – You can get away without one, but if you plan to do a lot of fermenting, this really comes in handy!
Glass jar or fermentation crock – I usually just use a large mason jar, 1/2 gallon or quart jars work great.
Homemade Sauerkraut Variations
You can add in a variety of ingredients to add flavor to your sauerkraut. Here are a few of our favorites:
- Caraway seeds
- Juniper berries
- Dill
- Shredded fennel or fennel seeds
- Beets – Also try my fermented beets recipe.
- Garlic – Try my fermented garlic recipe.
How To Make Homemade Sauerkraut
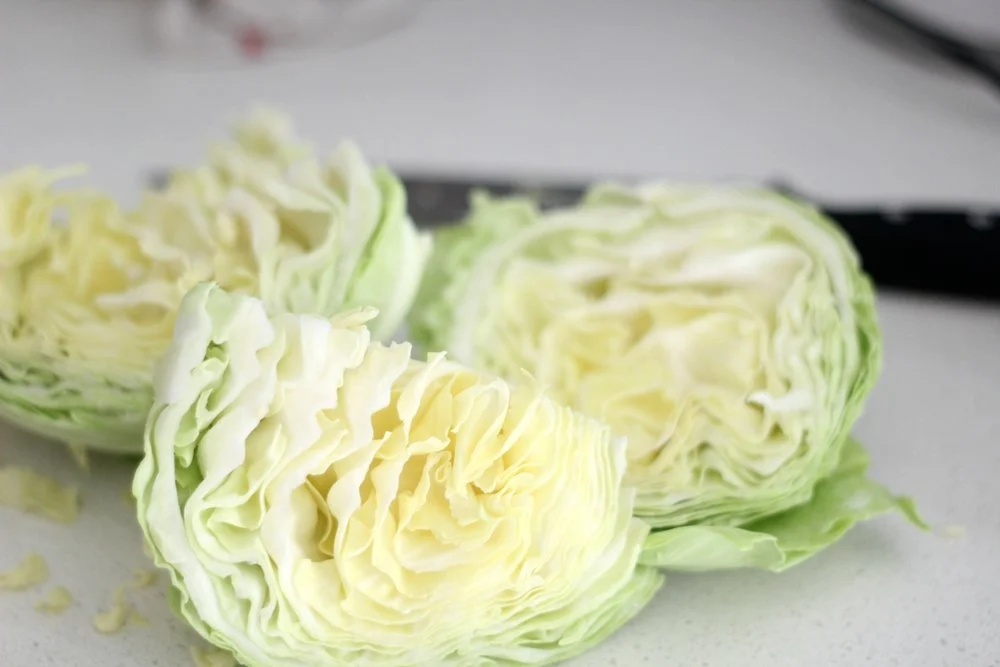
Step 1: With clean hands, pull off a few of the outer leaves of the cabbage and set aside for the last step.
Next, core the cabbage and cut it into pieces small enough to fit in your food processor. If you do not have a food processor, just cut it into shreds or grate with a box grater. If you do have one, this part will go a little faster.
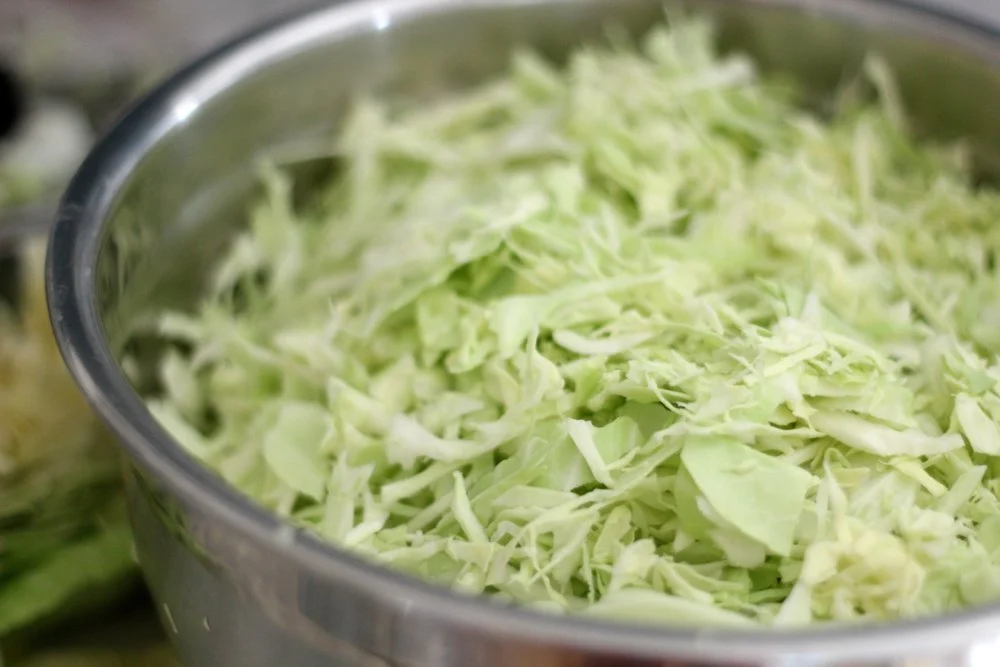
Step 2: Put the shredded cabbage in a large bowl and sprinkle the top of the shredded cabbage with the salt.
For 5 pounds of cabbage, use 3 tablespoons of salt. I had 3.5 pounds, so I used 2 tablespoons.
Work the salt in with your hands until it starts to produce a juicy brine. You may have to work it for several minutes before you have enough brine to move onto the next step. You can also use a wooden spoon to do this.
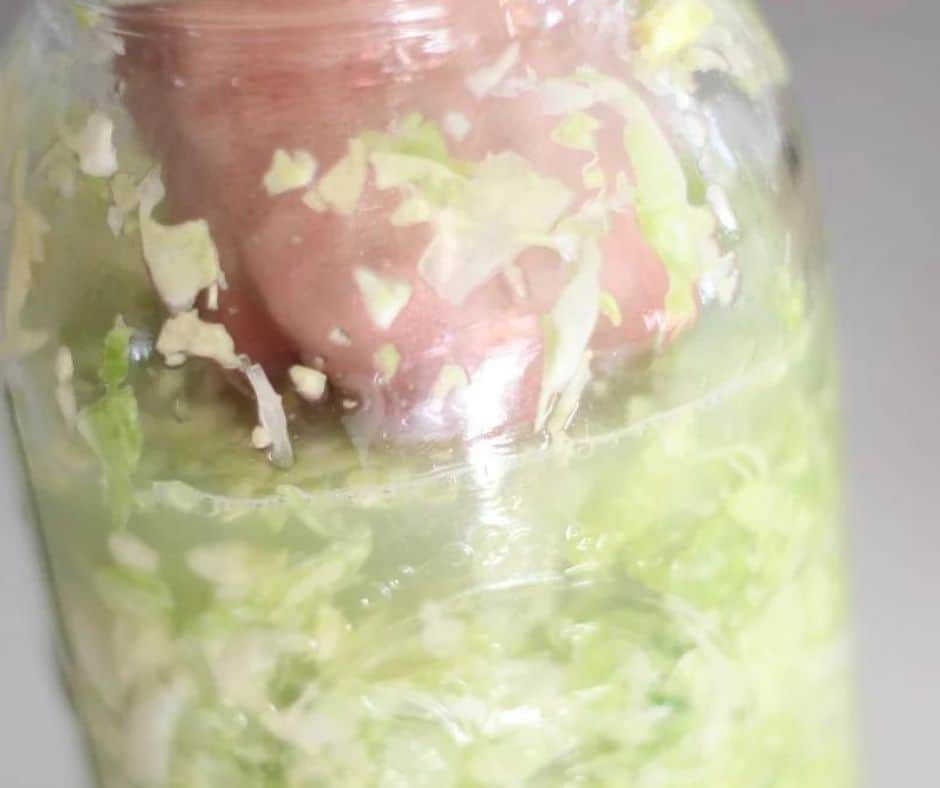
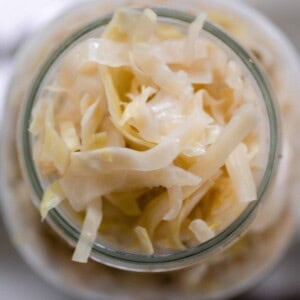
Step 3: Next, put all the cabbage and the brine into a clean jar (you could use a fermentation crock, half gallon, or quart jars). Punch it down until all the cabbage is submerged beneath the brine.
Fold up the cabbage leaves you reserved earlier and place on the top to keep all the cabbage down beneath the brine.
Step 4: Place a fermentation weight on top of the folded cabbage and press it down until all of the cabbage is submerged in the brine. Place a lid on loosely or add a fermenting lid.
Step 5: Leave it out on the counter at room temperature for 5 days-3 weeks, preferably out of direct sunlight. It will just become more pungent as it sits. If this is your first time trying homemade sauerkraut, it may be better to ferment it for less time.
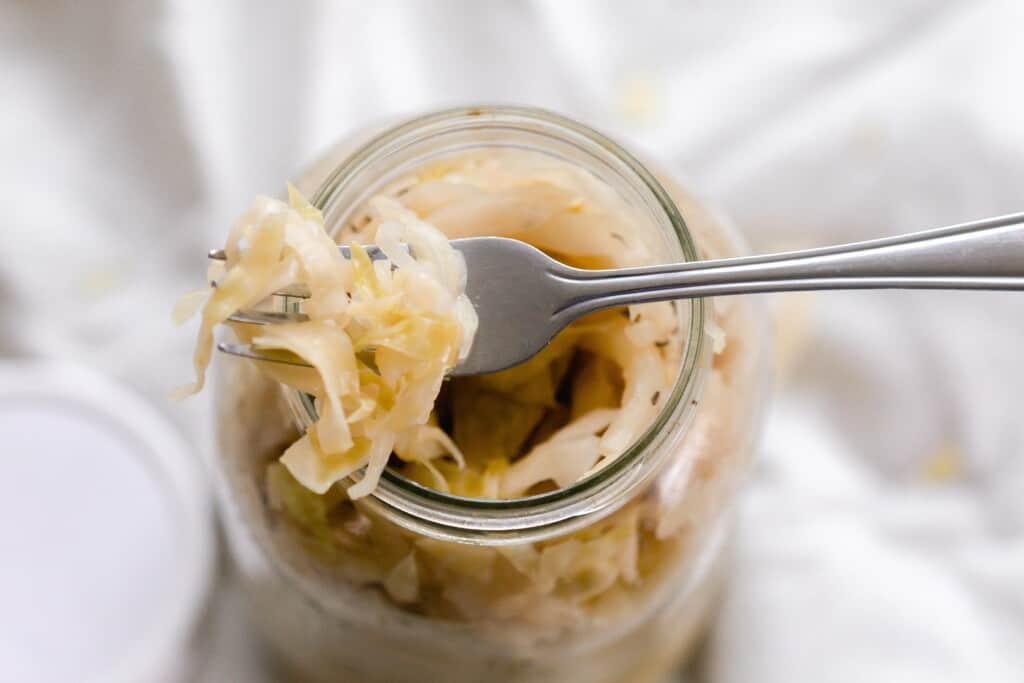
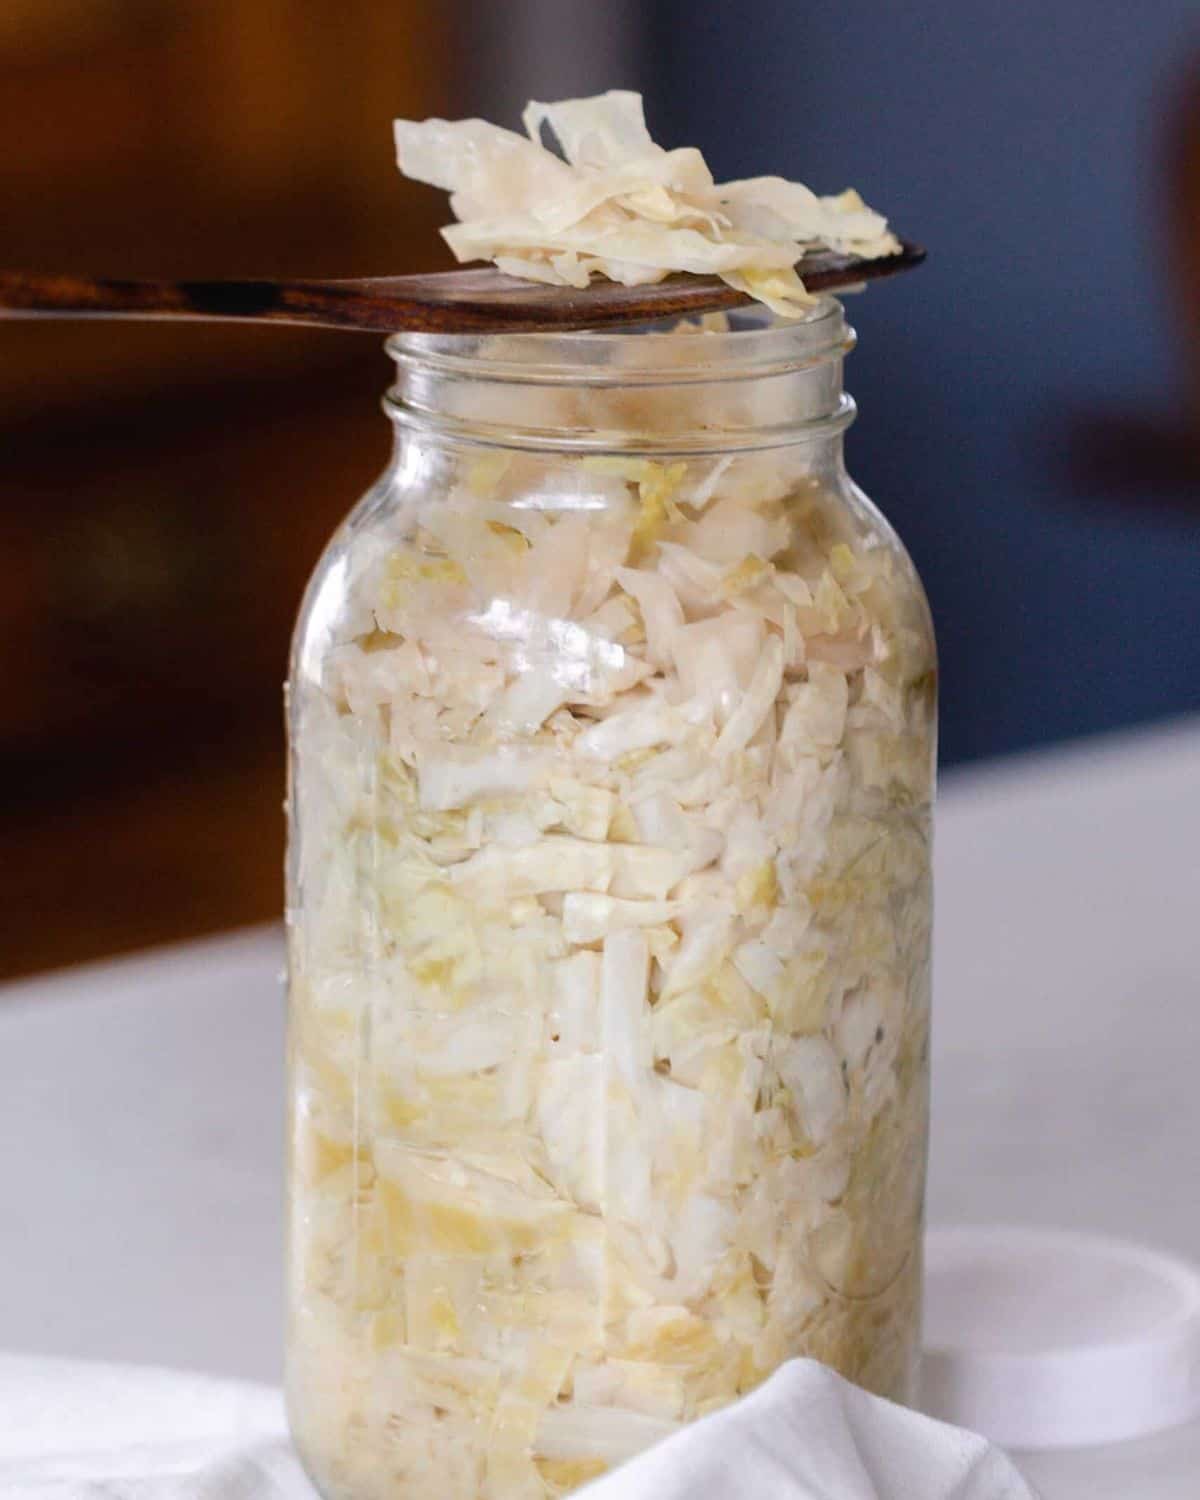
Step 6: Remove the weight and folded up cabbage leaves, screw the lid on the jar and store in the fridge.
Tips For Making Homemade Sauerkraut
- If not using a fermentation lid, be sure to burp the jar (open the lid every day while fermenting to release air bubbles) and to make sure the cabbage stays below the surface of the brine. If any cabbage is above the liquid, it will be exposed to oxygen and possibly mold, so that is why it is so important to keep it under the liquid.
- You may want place the jars on a pan or baking dish just in case the brine spills over.
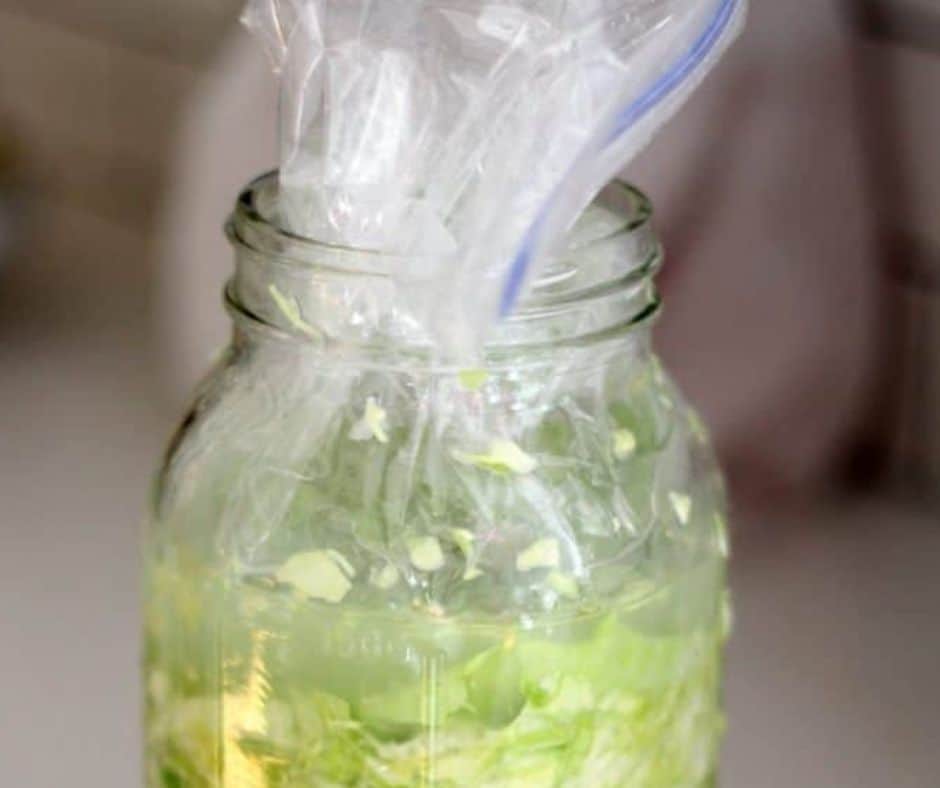
- I love using glass fermentation weights, but if you don’t have any you can use clean rocks in a sealed ziplock bag, as long as the bag is able to be fully submerged beneath the brine.
- Those who are new to sauerkraut may want to try fermenting for 3 days at first before any longer fermentation period. Taste your sauerkraut after the initial 3 – 5 days and stop fermenting or continue on longer based on your taste preference.
- A food processor makes this process really simple, if you don’t have one you can just chop it as finely as possible.
- Not using enough salt may cause harmful bacteria to grow. The point of the salt is to keep the unwanted bacteria out and only allow the good bacteria to flourish. For every 5 pounds of cabbage, use 3 tablespoons of salt.
Recipe FAQ’s
Sauerkraut is sliced cabbage that has been fermented. Regular sauerkraut from the store may not have been fermented as long or has been canned, killing a lot of the beneficial lactic acid bacteria. In my opinion, the best sauerkraut is homemade.
It can take 5 days to 3 weeks for sauerkraut to ferment. It will depend on the environment and temperature during the fermentation process. Warmer conditions speed up the fermentation.
Once fermented and when properly prepared and stored in a dark cool place (like the refrigerator), the shelf life of finished sauerkraut is around 6 months.
Look for any signs of mold growth, even color throughout, and that it still looks edible. Make sure to keep the storage lid tight in refrigeration storage (after the fermentation process).
Use your nose to see if it still smells as it should. It shouldn’t smell off and make sure the texture is still good, and not mushy. Lastly, give it a little taste to make to make sure it tastes good.
You can eat fermented kraut warm or cold, but for probiotic purposes you should eat it cold since heating it can destroy the beneficial bacteria. Here are a few ways to enjoy it straight from the fridge:
– As a side to lunch or dinner. It is especially good on nights we serve my homemade meatloaf recipe or sourdough fried chicken.
– As a topping to a salad, sandwich, or hot dog.
– As an additional topping to a freshly baked sourdough pizza. It may sound odd, but I promise it is really yummy.
– Served with easy salmon croquettes.
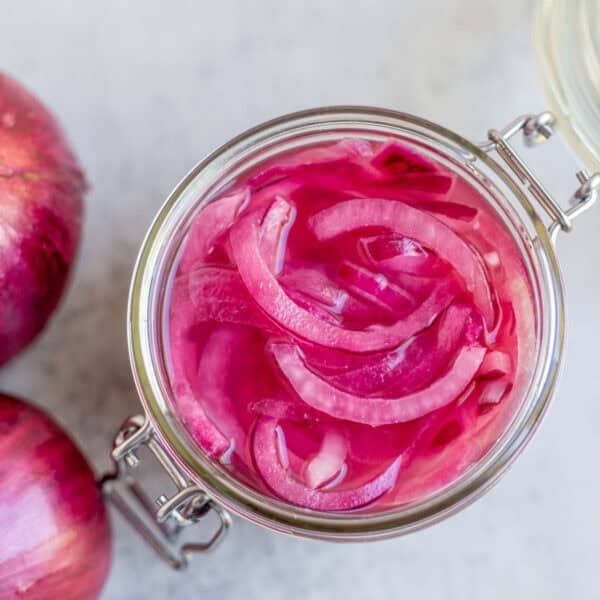
More Fermented Foods From The Farmhouse Kitchen
If you try this recipe and love it, I would love it if you could come back and give it 5 stars! Tag me on Instagram @farmhouseonboone.
How To Make Sauerkraut
Equipment
- 1 Glass Fermentation Weights optional
Ingredients
- 3 heads cabbage, about 5 pounds
- 2-3 tablespoons salt
Instructions
- With clean hands, pull off a few of the outer leaves of the cabbage and set aside for the last step.
- Next, core the cabbage and cut it into pieces small enough to fit in your food processor. If you do not have a food processor, just cut it into shreds or grate with a box grater. If you do have one, this part will go a little faster.
- Put the shredded cabbage in a large bowl and sprinkle the top of the shredded cabbage with the salt.
- For 5 pounds of cabbage, use 3 tablespoons of salt. I had 3.5 pounds, so I used 2 tablespoons.
- Work the salt in with your hands until it starts to get produce a juicy brine. You may have to work it for several minutes before you have enough brine to move onto the next step. You can also use a wooden spoon to do this.
- Next, put all the cabbage and the brine into a clean jar (you could use a fermentation crock, half gallon, or quart jars). Punch it down until all the cabbage is submerged beneath the brine.
- Fold up the cabbage leaves you reserved earlier and place on the top to keep all the cabbage down beneath the brine.
- Place fermentation weight on top of the folded cabbage and press it down until all of the cabbage is submerged in the brine. Place a lid on loosely or a add a fermenting lid.
- Leave it out on the counter at room temperature for 5 days-3 weeks, preferably out of direct sunlight. It will just become more pungent as it sits. If this is your first time trying homemade sauerkraut, it may be better to ferment it for less time.
- Remove the weight and folded up cabbage leaves, screw the lid on the jar and store in the fridge.
Notes
- If not using a fermentation lid, be sure to burp the jar (open the lid every day while fermenting to release air bubbles) and to make sure the cabbage stays below the surface of the brine. If any cabbage is above the liquid it will be exposed to oxygen and possibly mold, so that is why it is so important to keep it under the liquid.
- You may want place the jars on a pan or baking dish just in case the brine spills over.
- When fermenting sauerkraut, the ideal temperature is a room around 65-70 degrees Fahrenheit.
- I love using glass fermentation weights, but if you don’t have any you can use clean rocks in a sealed ziplock bag, as long as the bag is able to be fully submerged beneath the brine.
- Those who are new to sauerkraut may want to try fermenting for 3 days at first before any longer fermentation period. Taste your sauerkraut after the initial 3 – 5 days and stop fermenting or continue on longer based on your taste preference.
- A food processor makes this process really simple, if you don’t have one you can just chop it as finely as possible.
- Not using enough salt may cause harmful bacteria to grow. The point of the salt is to keep the unwanted bacteria out and only allow the good bacteria to flourish. For every 5 pounds of cabbage, use 3 tablespoons of salt.
Nutrition
Nutrition information is automatically calculated, so should only be used as an approximation.


I used iodized sea salt without realizing that is not recommended. Should I throw out and start over??
Yes.
Hello!
First timer with this recipe and super excited to try the sauerkraut on day five.
Question- is it necessary that the top of the plastic bag must be submerged under the brine or is just the weight in the bag under the brine ok? Just realized the whole bag is not entirely under the brine but 90% is.
Yes, that should be fine.
Thank you for this recipe. I made this and my cabbage leaf at the top was sticking out of the liquid just a bit. After 4 days it had some black spots on the top of the leaf. I removed it and put the jar in the fridge. Is it safe to eat the shredded cabbage that was submerged beneath it?
Hi, I have made this recipe countless times and we love it! But this last time I made a batch of regular cabbage and one of purple cabbage. On about day two or 3 the brine turned thick and almost gelatinous. It tastes and smells fine. Is it ok to eat? I have tasted it but dont want to feed it to my one and a half year old if its bad
That can happen with purple cabbage! It’s okay to eat. Just make sure there’s no mold or anything of that nature.
Thank you so much for replying! No mold whatsoever. Is it ok if the batch with green cabbage did the same thing? Just strange that they both got thick brine but i never had it happen before.