
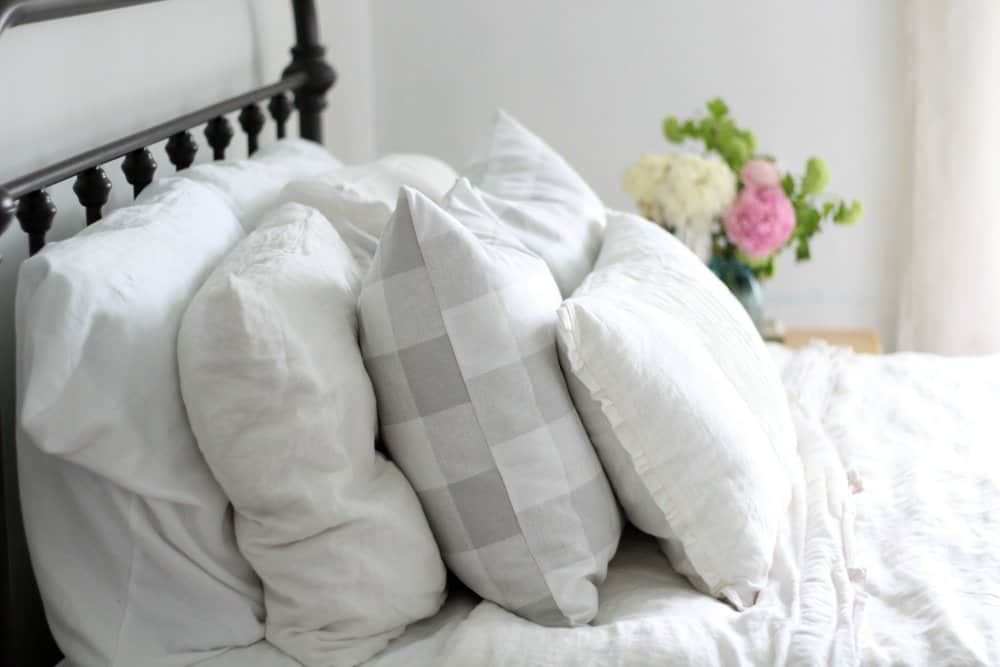
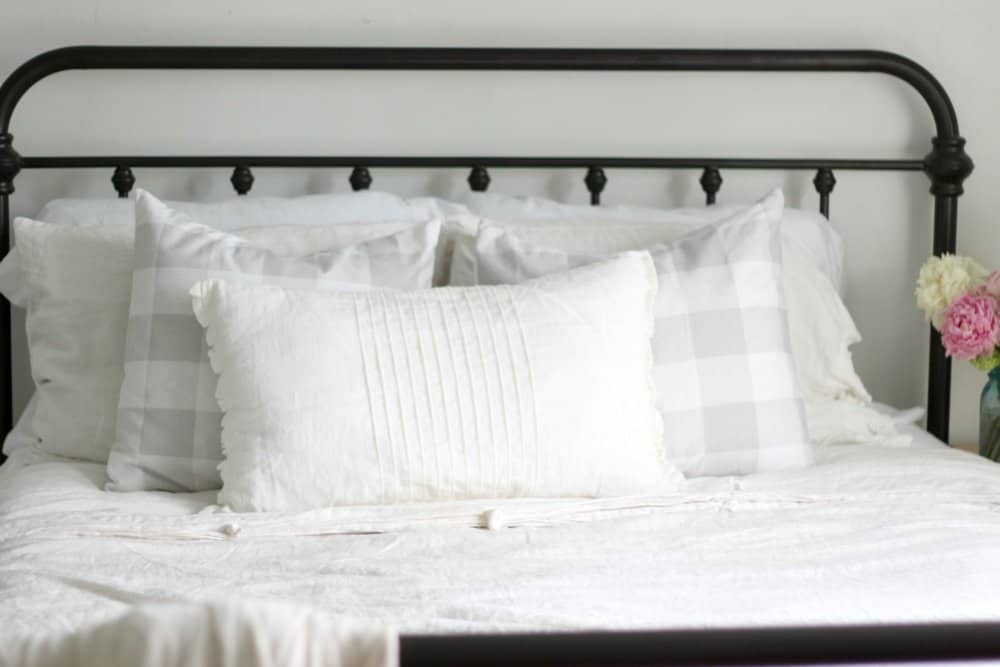
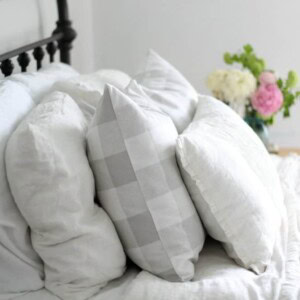
Being a neutrals girl, I love any pattern that isn’t too busy, like stripes, plaid or buffalo check.
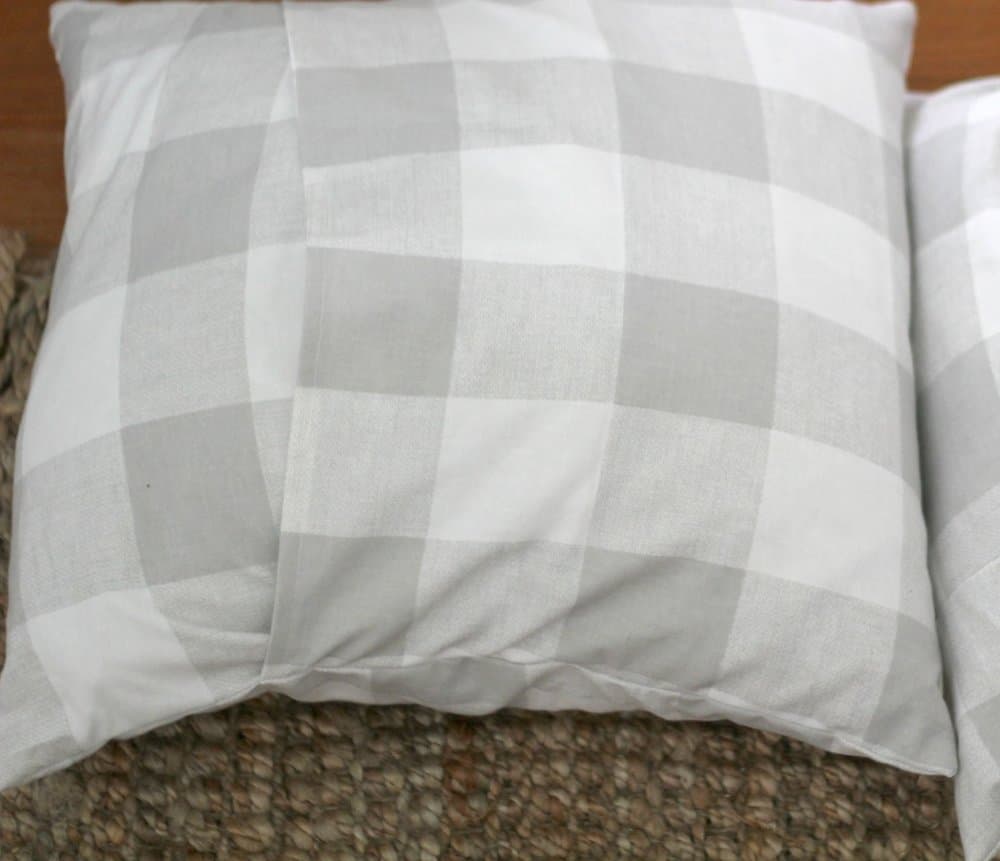
This particular fabric by Premier Prints is one of my favorites. I love the larger scale buffalo check and the subtle gray color.
I made these pillow covers for our bedroom last Spring, but since moved them upstairs to the girls’ room. I like to switch things up. Often.
Sewing simple square pillow shams is one of the easiest sewing projects and perfect for beginners.
Simple DIY 20″ Buffalo Check Pillow Covers Supplies
1-yard fabric (I used Premier Prints Anderson Check Fabric in French Gray)
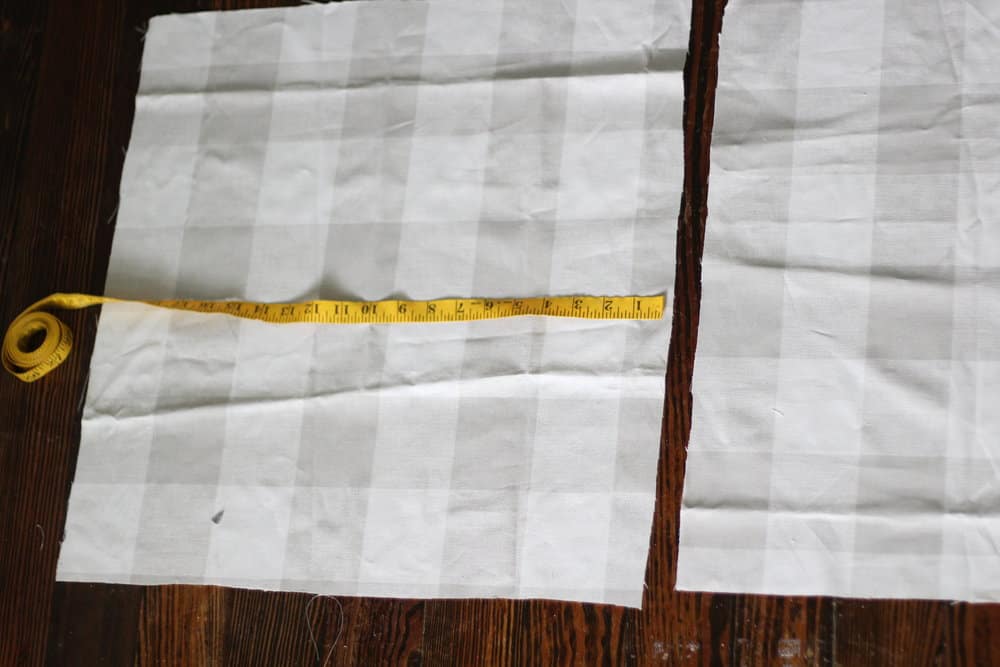
Cut:
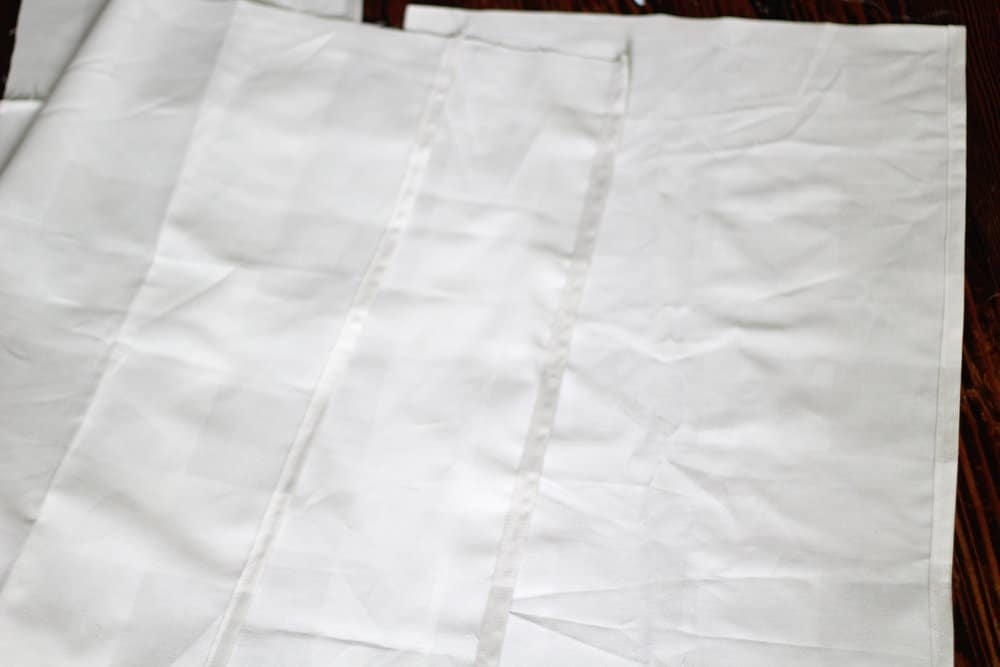
Two – 20.5″ by 20.5″ pieces
Four – 20.5″ by 13″ pieces
Simple DIY 20″ Buffalo Check Pillow Covers Instructions
First, we are going to hem the back pieces.
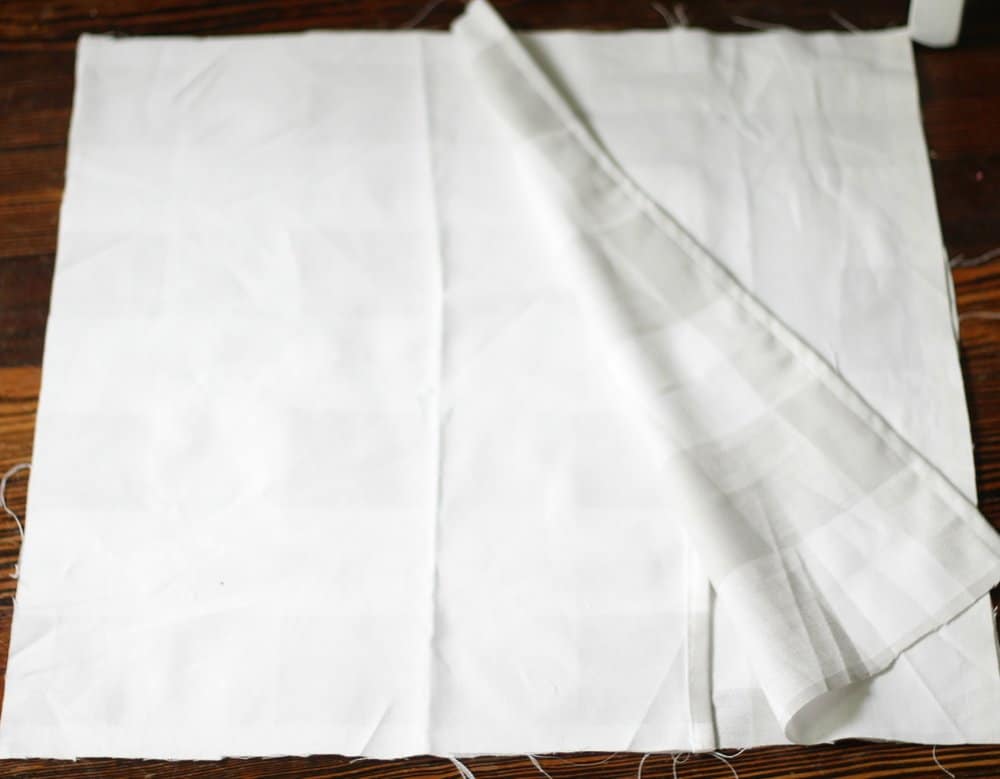
Take one of your 20.5″ by 13″ pieces and fold it over 1/2″ on the 20.5″ side. Iron it in place.
Next, fold over the 20.5″ side another 1/2″ and iron in place, hiding the raw edge inside.
Repeat for the other three 20.5″ by 13″ pieces.
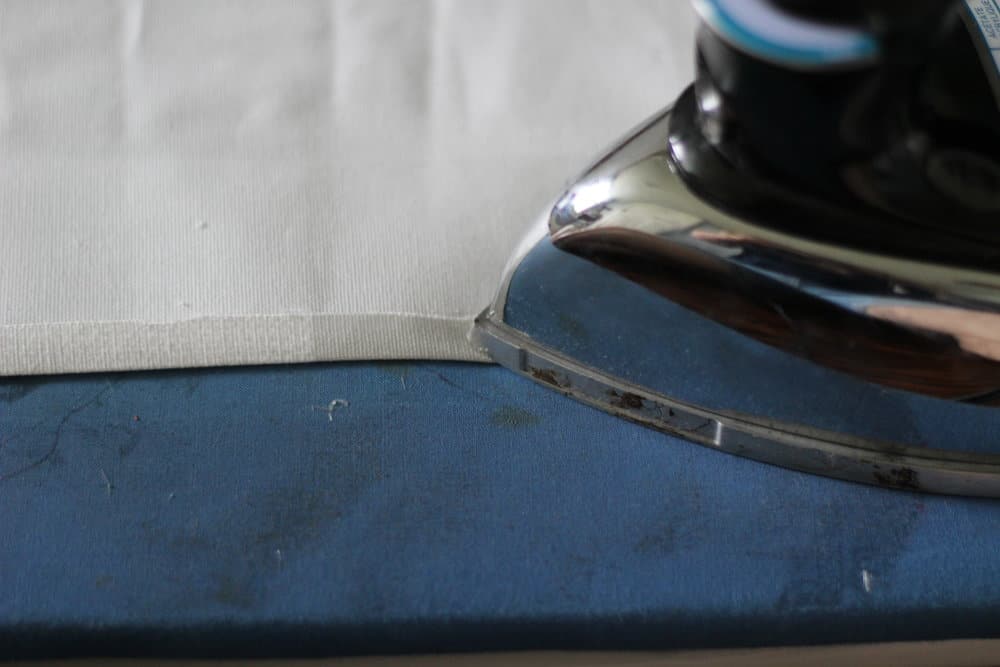
Once you have folded all the 20.5″ edges over twice and pressed, hiding the raw edge inside, stitch the hems all the way down, with a 1/4″ seam.
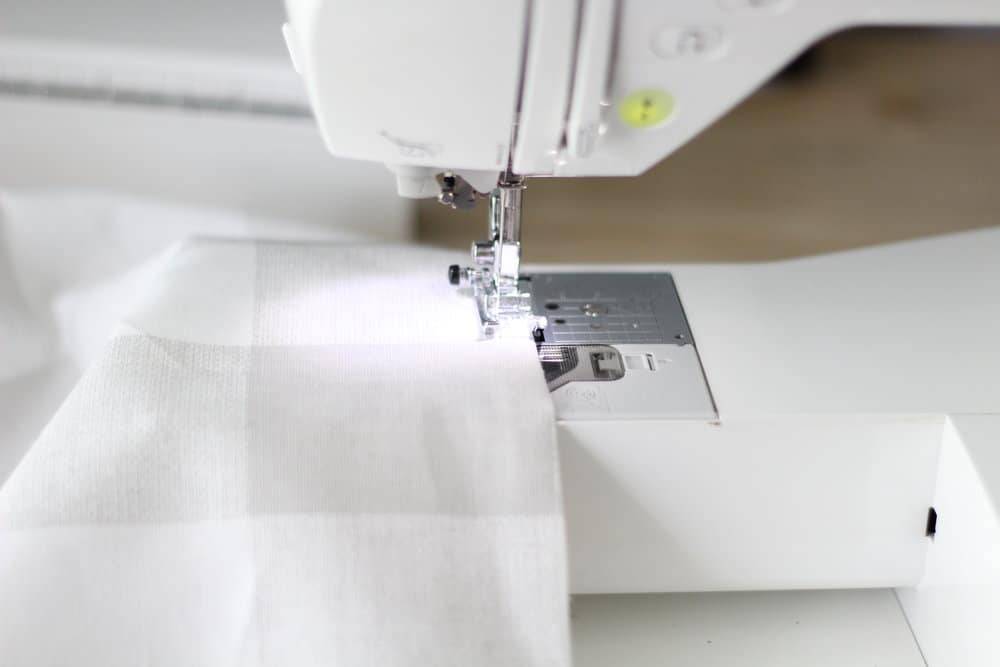
Next, put your 20.5″ square piece down with the “right” side of the fabric facing up. (The “right” side is the one that has the print, and not the back (white) side)
Overlap the two back pieces. This is what will create the envelope for your pillow to be slipped in later.
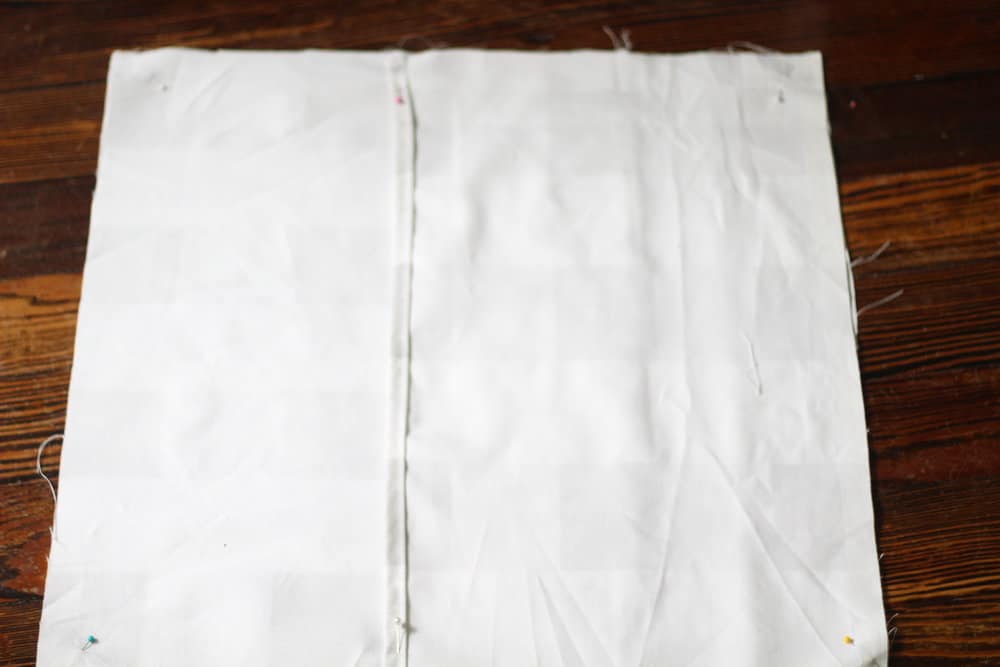
Pin everything in place.
Repeat for the other three pillow covers.

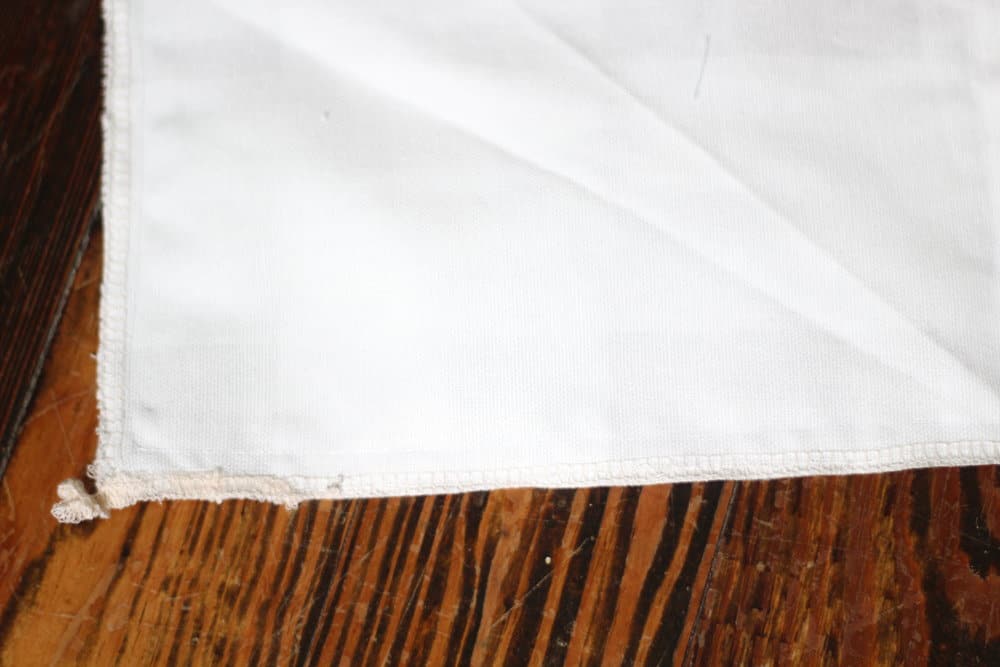
Sew all the way around with a 1/4″ seam.
If you have a serger you can finish the outside edges with it. If not, go all the way around with a zigzag stitch.
These pillow covers are so simple.
If you just got a new sewing machine and have been afraid to try it, this is the perfect project to bust that thing out!
You will be so surprised at how simple they truly are.
Check out these tips for finding pillow covers to mix texture and patterns with your handmade wares.
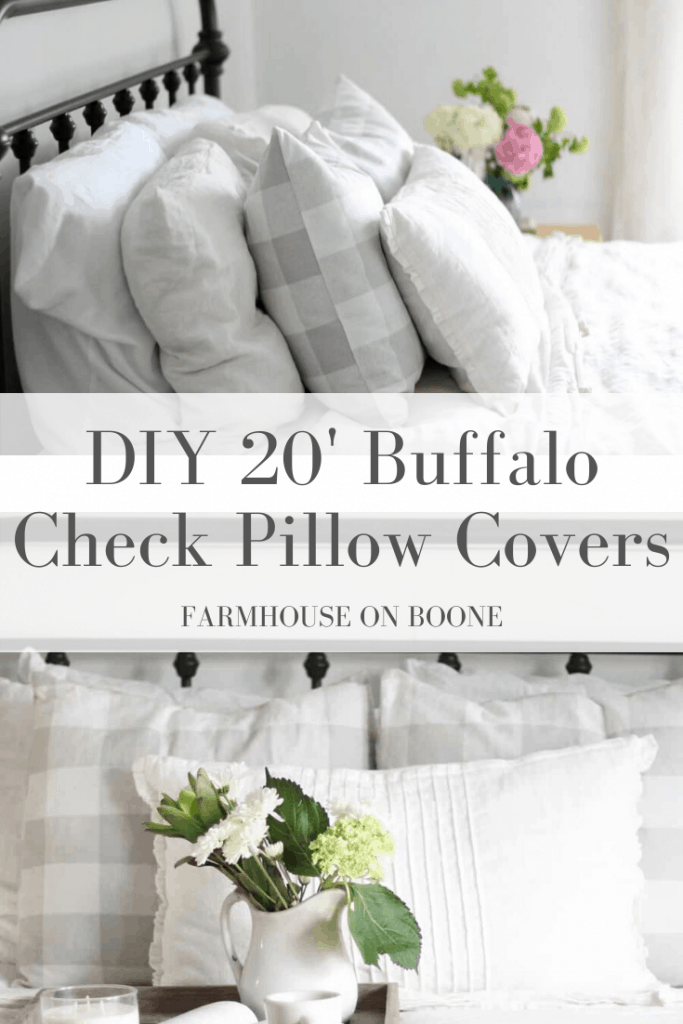
Simple DIY 20" Buffalo Check Pillow Covers
Equipment
Ingredients
- 1 yard fabric
Cut:
- Two – 20.5″ by 20.5″ pieces
- Four – 20.5″ by 13″ pieces
- sewing machine
Instructions
- First, we are going to hem the back pieces.
- Take one of your 20.5″ by 13″ pieces and fold it over 1/2″ on the 20.5″ side. Iron it in place.
Next, fold over the 20.5″ side another 1/2″ and iron in place, hiding the raw edge inside.
Repeat for the other three 20.5″ by 13″ pieces. - Once you have folded all the 20.5″ edges over twice and pressed , hiding the raw edge inside, stitch the hems all the way down, with a 1/4″ seam.
- Next, put your 20.5″ square piece down with the “right” side of the fabric facing up. (The “right” side is the one that has the print, and not the back (white) side)
- Overlap the two back pieces. This is what will create the envelope for your pillow to be slipped in later.
- Pin everything in place.
Repeat for the other three pillow covers. - Sew all the way around with a 1/4″ seam. If you have a serger you can finish the outside edges with it. If not, go all the way around with a zigzag stitch.
Notes
- Take the time to line up the pattern at the seams!
Nutrition information is automatically calculated, so should only be used as an approximation.


Does this pattern make 1 or 2 pillowcases?
I love it all! I was having the hardest time with pillow covers!!! I kept using one long piece of fabric and I kept getting confused! Nice simple instructions! Thank you!
What a great tutorial! I feel confident I can do this.
It turned out great! Really amazing! Thank you!
I’m totally into buffalo check lately but love the light colors because they go with my bedroom!
Very nice!
Thank you!