


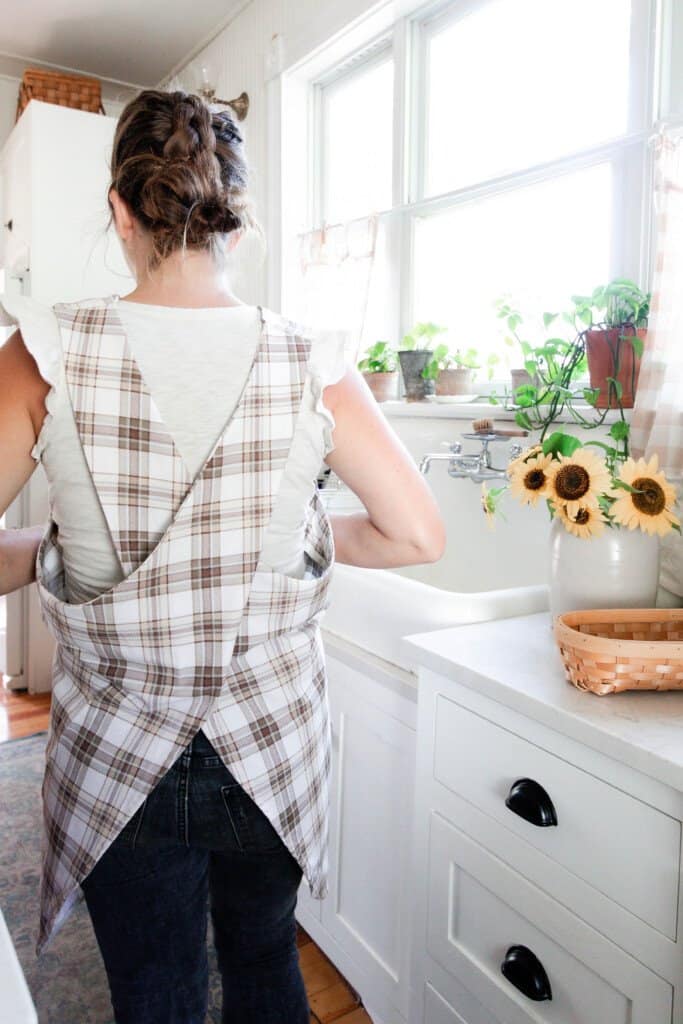
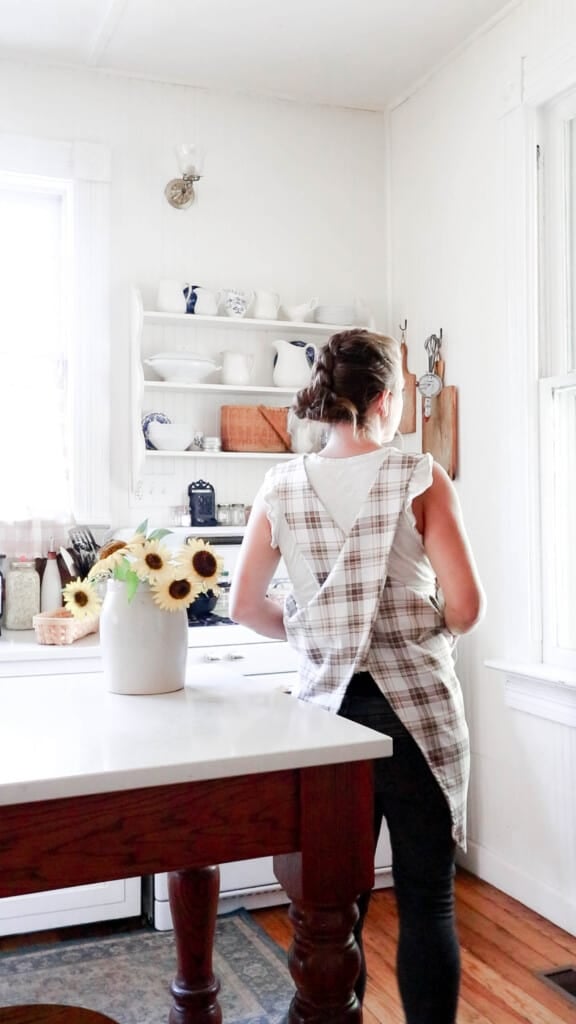
Learn in this post how to make a beautiful, Japanese apron with cross-back straps. This apron is perfect for fall, displaying cozy fall colors and patterns. It’s an easy project, resulting in a lovely apron with large, practical pockets.

It is definitely starting to feel like fall around the farm. This morning when I went out to do the chores, I had to throw on a sweater. However, the garden is still blooming, as we haven’t had a frost yet.
We are starting to make more recipes with bone broth and comforting ingredients like root vegetables, meats, and creamy additions. Pumpkin spice has started to make an appearance as well, with a pumpkin chai in the afternoon. The house is starting to shift from summer to a cozier fall atmosphere.
The whole house got a fluffing to bring in those textures, colors, and the indoor warmth of fall. We rearranged all of the bedrooms to fit our current life circumstances. Our bedroom was moved to what was the living room. It is so nice to have a door in our bedroom that leads out to our side porch, to enjoy coffee in the mornings. So while I was making the bed and fluffing the linens, the screen door allowed that fall breeze to blow through.
It’s the beginning of the cozy, dreamy fall season.
This post contains affiliate links, which means I make a small commission at no extra cost to you. See my full disclosure here.
Creating A Fall Inspired Japanese Apron
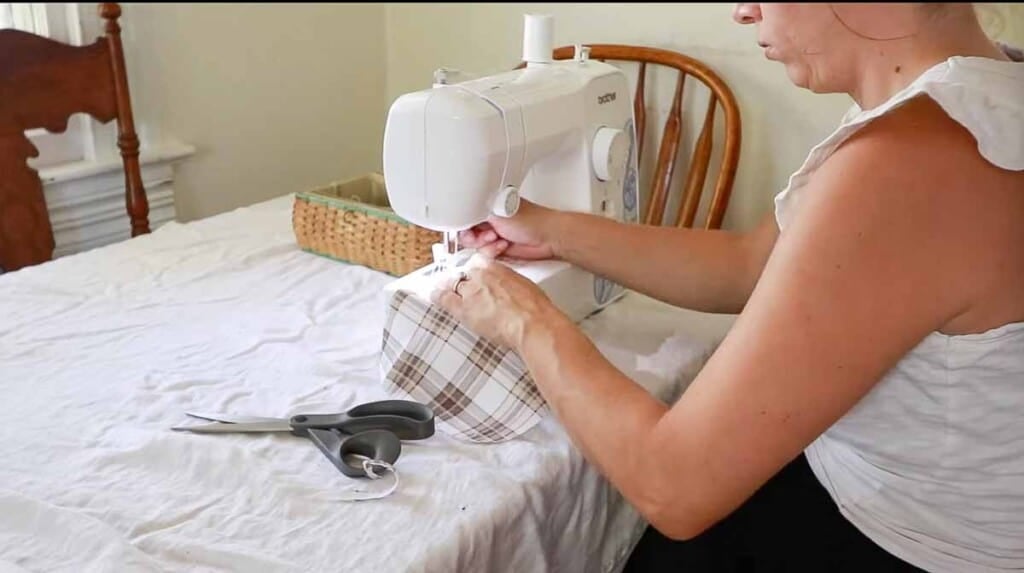
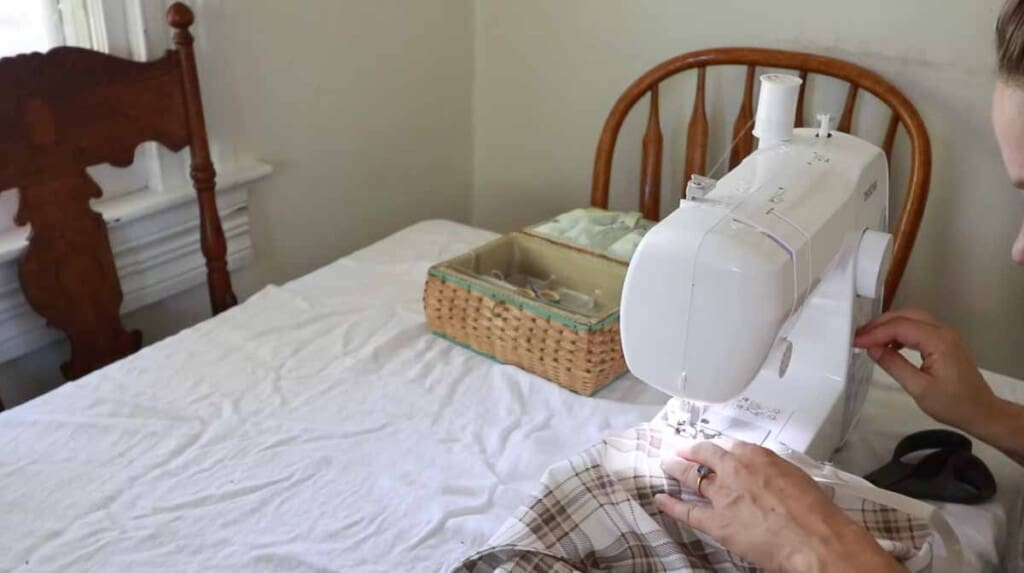
One thing that I wanted to do was sew a new Japanese style apron to hang on the wall with those lovely fall colors. So I headed to Walmart and picked up some fabric from Better Homes and Garden.
They have this Brother sewing machine that I have purchased for two of my children and for myself. They also have Better Homes and Garden two-yard, pre-cut fabric and a wide variety of fabrics. I’ve been purchasing fabric from Walmart for many, many years.
In our old town, we didn’t have a fabric store for 30 miles. Walmart was the only place nearby to purchase all the things needed for sewing projects, for which I was super grateful.
I actually created a Japanese apron printable pattern for you to be able to easily print it off and create this project. You can either print it off at home and tape it together, or take it to a print shop and print it off on a large piece of paper. It ended up costing me about $6 to get it printed.
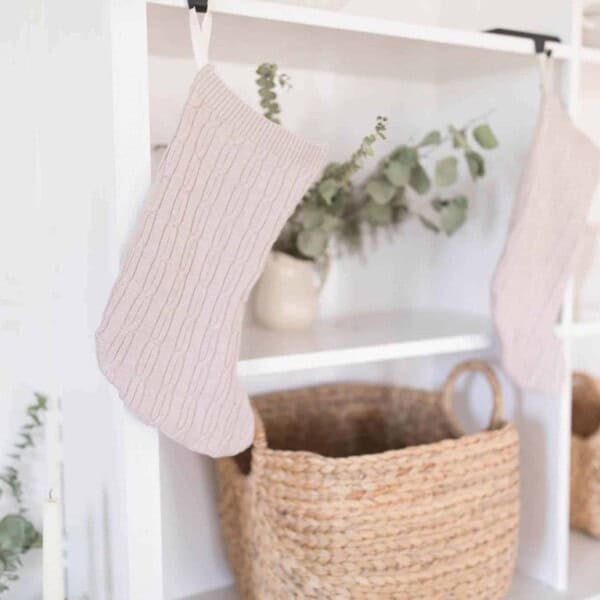
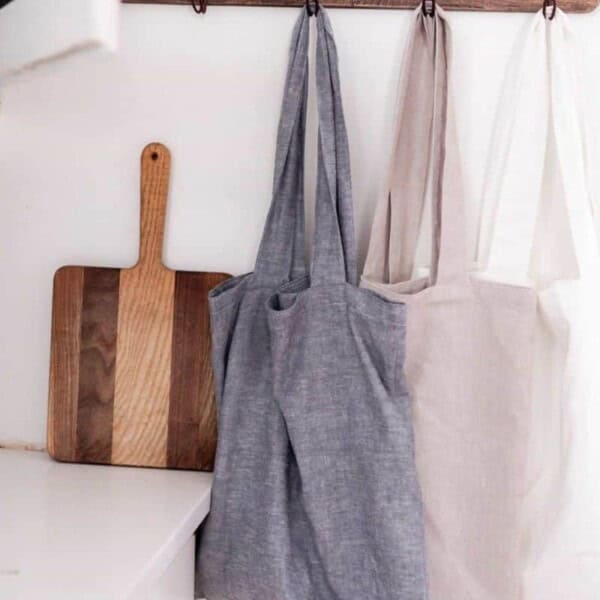
This was a really simple project, and if you love the farmhouse style like I do, hanging aprons out on hooks compliments wicker baskets, pitchers of flowers, and wooden cutting boards. And so for me, aprons are part of the decor. If I have any leftover fabric, I’ll use it to create a tea towel, or have my daughter make a hot pad, just to display more of that cozy fall fabric.
Tools you may need:
Brother full size sewing machine
Better Homes & Gardens 100% Cotton 72″ x 45″, 2 Yard Precut Fabric Plaid Color
Dritz long pearlized pins, size 24
Bias tape
All purpose white thread
Sewing scissors
Cordless iron
Another great fall plaid fabric option
How To Make A Japanese Apron – Cross-Back Apron
Click HERE to download the pattern in full size.
Click HERE to print the pattern on your home printer.
Pattern for home computer
Pattern for print shop
Cut out the paper pattern.
Wash, dry, and iron fabric. This is good to do before sewing any project, to prevent the fabric from drying funky after the project has been made.
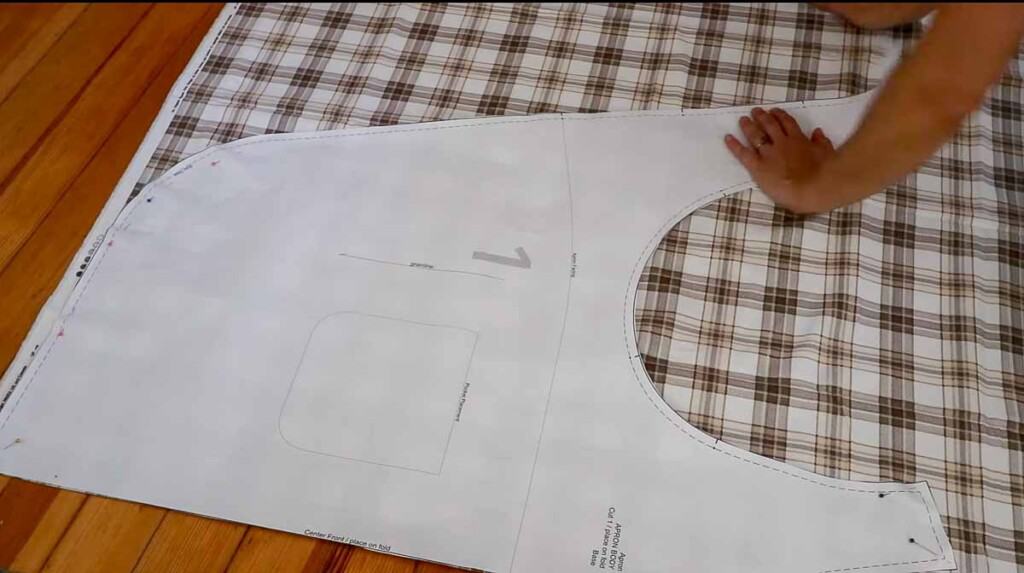
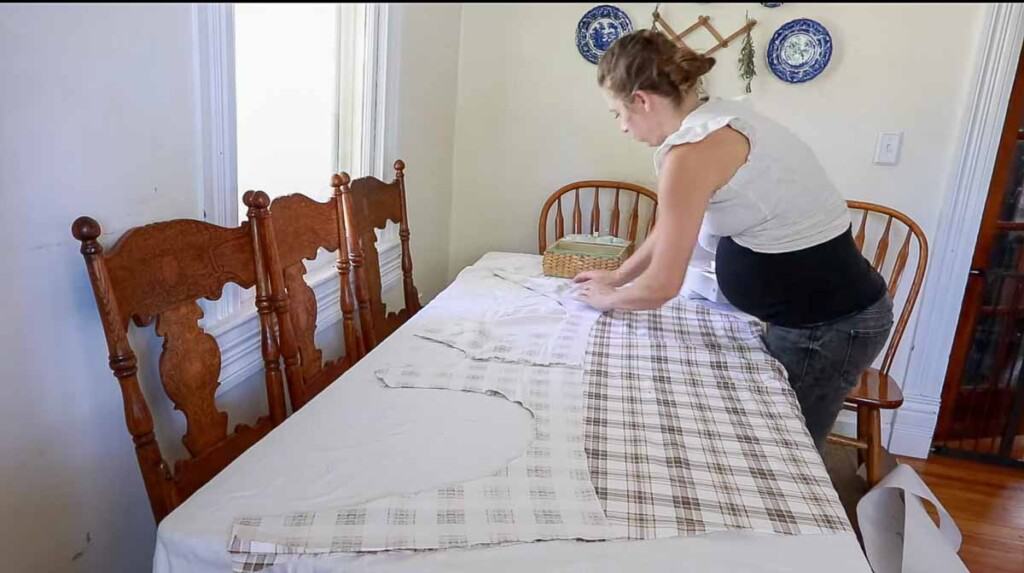
Fold the fabric in half and place the large, main section of the pattern along the fold and pin in place. You have to place the pattern very strategically so that it fits a two-yard piece of fabric.
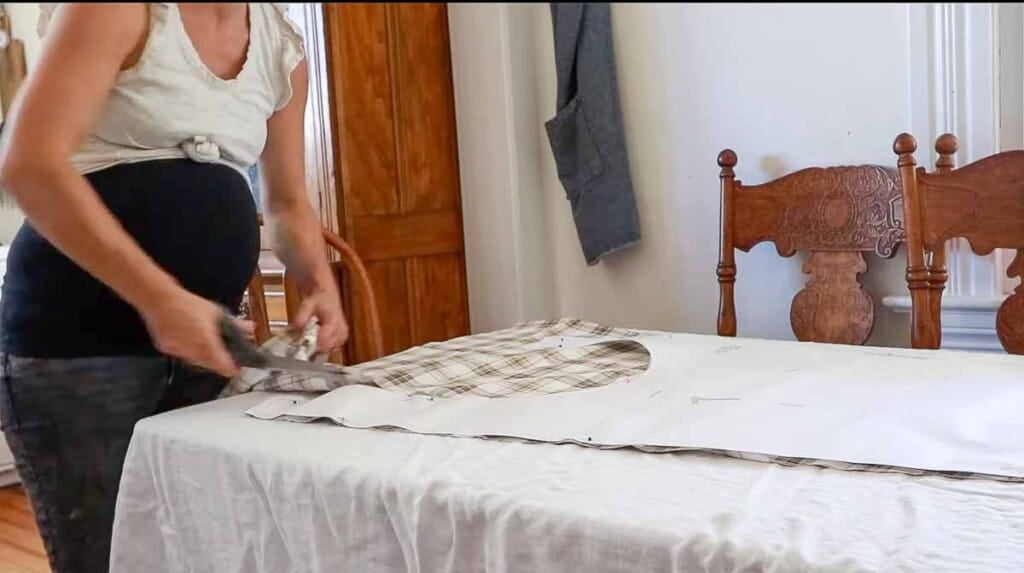
Cut out the pattern. If you are only using two yards, you will have to cut the interfacing in two spots rather than on the fold, adding a little extra fabric to one side in order to sew it together down one side.
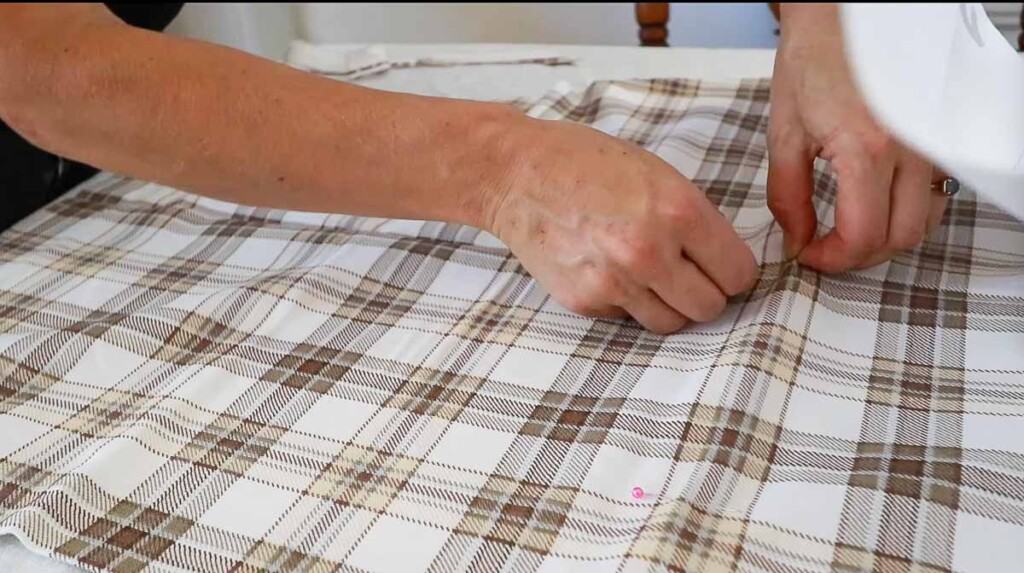
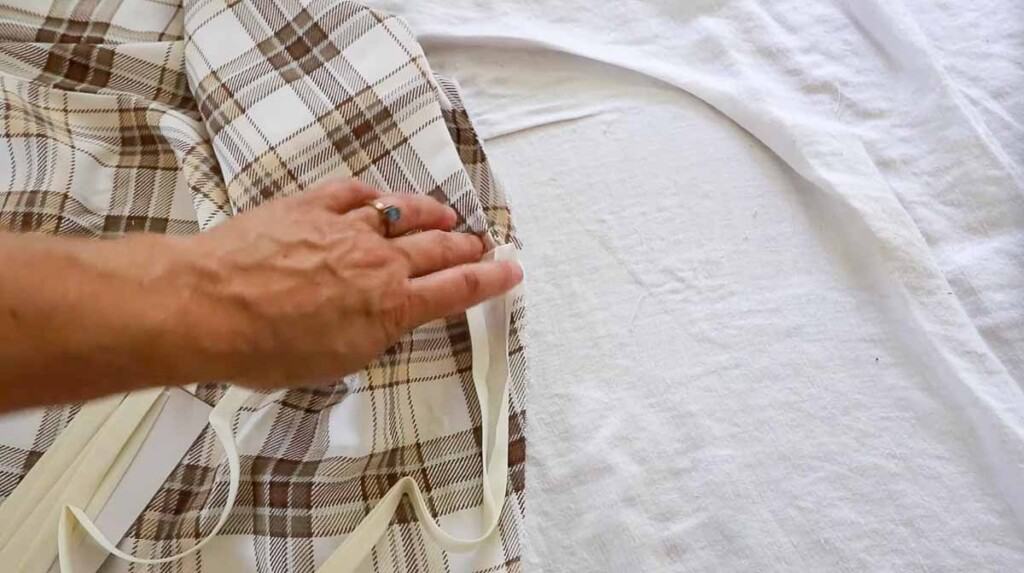
While the pattern is still somewhat pinned on, place pins to mark where the pockets belong. I added four pins at the corners to mark it.
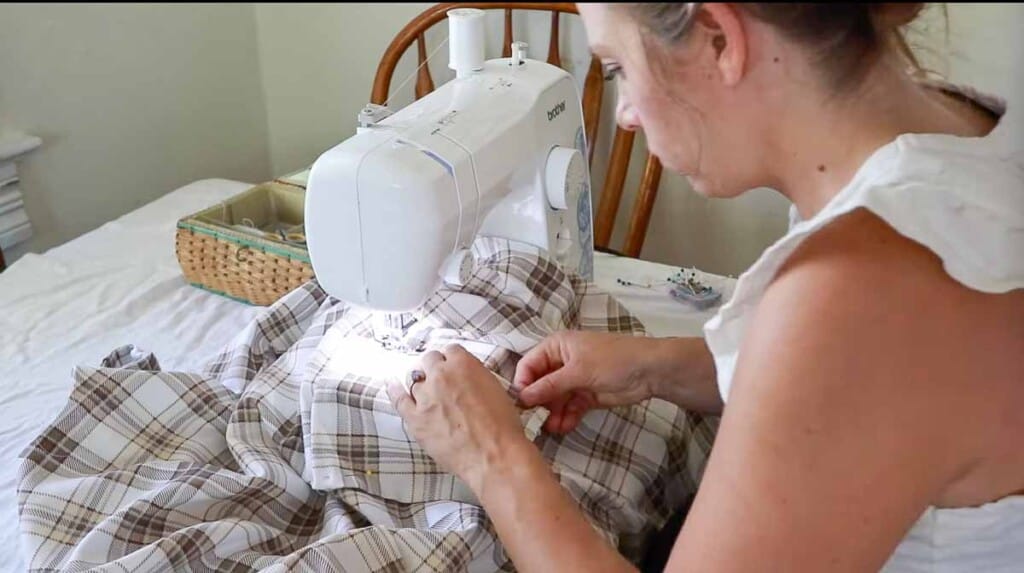
Lay the main apron piece down on a table or flat surface, pattern side up. Place the interfacing piece right-side down, matching up with main piece and pin.
Sew all the way around, leaving the tops of the straps and the bottom open.
Around all the curves of the straps and neckline, cut little slits just around the curves. Don’t cut into the seam line. This will help it lay flat.
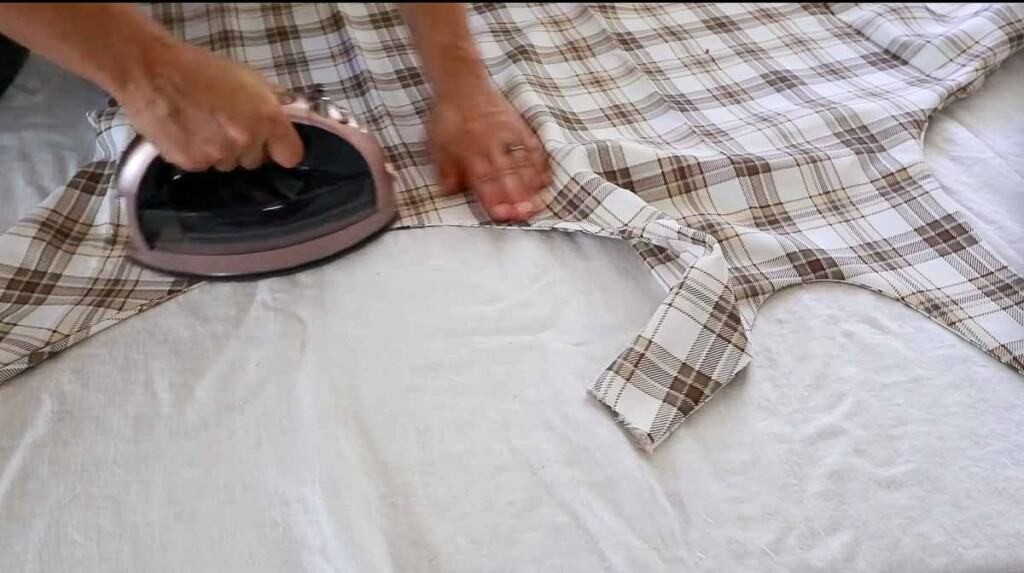
Turn the straps right side out and press flat.
Turn the raw edge on the open straps inward about 1/2 inch and press.

Create the cross by taking the strap from one side and attaching to the strap on the other side. Just place one of the straps into the opening of the other strap, pin, and stitch across to secure.
Create the Pockets
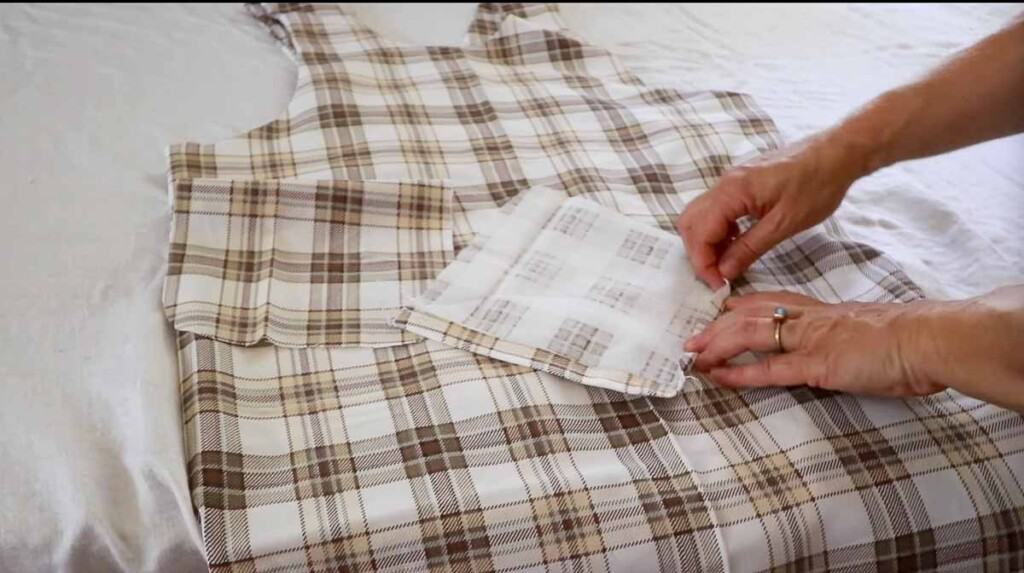
Take the pockets and fold over the top about 1/2 inch, then another 1/2 inch, press, and hem. Repeat with both pocket pieces.
Fold over the sides of the pockets about 1/4 inch (there is a guide on the pattern, but I usually just estimate).
Place pockets in position and sew around the three sides, leaving the top opened.
Finish The Raw Edges
To finish off the apron, we need to finish the raw edges. You have two choices: you can hem it by folding it over 1/4 inch, then another 1/4 inch, and sewing, or you can use bias tape.
I decided to go with bias tape because of the curve.
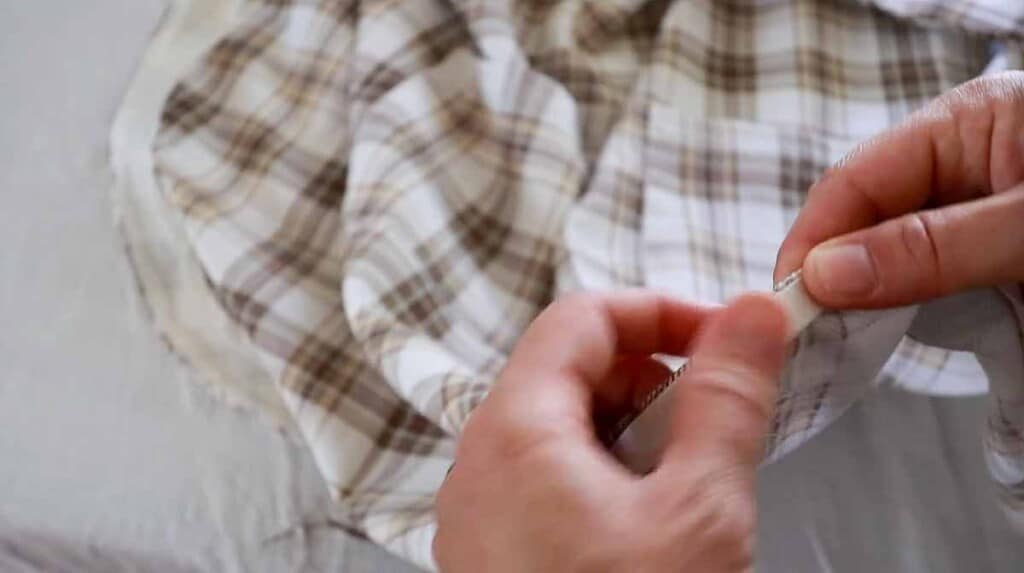
To add bias tape, first sew a stay stitch about 3/8 of an inch from the raw edge. This is just a regular stitch that acts as a guide for the tape.
Starting on one edge, fold over the end of the bias tape about 1/4 inch, then pin it with the folded part of the bias tape around the stay stitch on the right side of the fabric. Pin it in place, then sew on the fold.
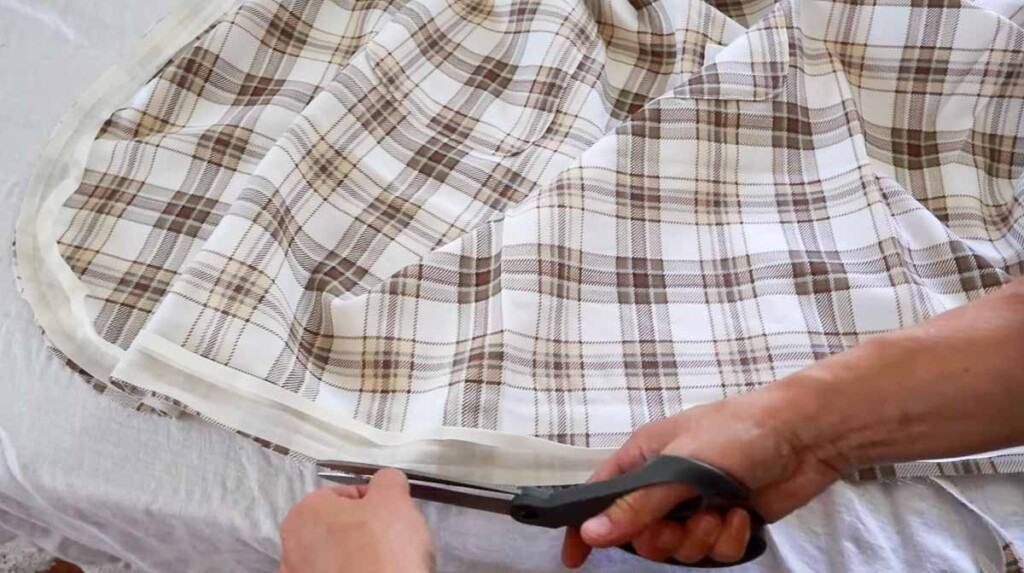
Trim any extra fabric to the edge of the bias tape.
Sew bias tape following along the fold of the bias tape.
Fold over the bias tape and top stitch all the way around.
Repeat the same process on the raw edge of the interface.
Press, if needed, and you project is ready to go.
Print the pattern
Click HERE to download the pattern in full size.
Click HERE to print the pattern on your home printer.
Find More Sewing Projects:
- Ruffle Linen Pillow Cover Sewing Pattern
- How to Sew a Skirt
- DIY Ticking Stripe Curtain Sewing Tutorial
- DIY Tank Top – How to Sew a Tank Top
- Easy Girls Dress Sewing Tutorial- Bow in the Back Summer Dress
If you try this project and love it, I would love if you could come back and give it 5 stars!
Japanese Apron Tutorial With Free PDF Pattern

Equipment
- Sewing machine
- Sewing scissors
- Pins
- Iron
Ingredients
- 2 – 2 1/2 yards of fabric
- Coordinating thread
- Bias tape
Instructions
- Cut out the paper pattern.
- Wash, dry, and iron fabric.
- Fold the fabric in half and place the large, main section of the pattern along the fold and pin in place.
- Cut out the pattern.
- While the pattern is still pinned on, place pins to mark where the pockets belong. I added four pins at the corners to mark it.
- Lay the main apron piece down on a table or flat surface, pattern side up. Place the interfacing piece right-side down, matching up with main piece and pin.
- Sew all the way around, leaving the tops of the straps and the bottom open.
- Around all the curves of the straps and neckline, cut little slits just around the curves. Don’t cut into the seam line. This will help it lay flat.
- Turn the straps right side out and press flat.
- Turn the raw edge on the open straps inward about 1/2 inch and press.
- Create the cross by taking the strap from one side and attaching to the strap on the other side. Just place one of the straps into the opening of the other strap, pin, and stitch across to secure.
- Take the pockets and fold over the top about 1/2 inch, then another 1/2 inch, press, and hem. Repeat with both pocket pieces.
- Fold over the sides of the pockets about 1/4 inch (there is a guide on the pattern, but I usually just estimate).
- Place pockets in place and sew around the three sides, leaving the top opened.
- To finish off the apron, we need to finish the raw edges. You have two choices: you can hem it by folding it over 1/4 inch, then another 1/4 inch, and sewing, or you can use bias tape.
- To add bias tape, first sew a stay stitch about 3/8 of an inch from the raw edge. This is just a regular stitch that acts as a guide for the tape.
- Starting on one edge, fold over the end of the bias tape about 1/4 inch, then pin it with the folded part of the bias tape around the stay stitch on the right side of the fabric. Pin it in place, then sew on the fold.
- Trim any extra fabric to the edge of the bias tape.
- Fold over the bias tape and top stitch all the way around.
- Repeat the same process on the raw edge of the interface.
Press, if needed, and you project is ready to go.
Notes
- You have to place the the pattern very strategically so that it fits a two-yard piece of fabric. If you are only using two yards, you will have to cut the interfacing in two spots rather than on the fold, adding a little extra fabric to one side in order to sew it together down one side.
Nutrition information is automatically calculated, so should only be used as an approximation.


I absolutely loved the Japanese apron tutorial! The design is so versatile and perfect for both cooking and crafting. Thank you for providing the free PDF pattern; I can’t wait to try it out. Your instructions are always so clear and easy to follow. Keep up the amazing work!
Thank you for this great post. I was thinking of adding a piece of 2” eyelet trim around the bottom. If I do this I am not sure how far to go up the back. Any advice?
Hello Liza
I love the Japanese Apron you use
Can I please ask for the pattern?
I normally use a 4XL for my patterns
Thank you so much
Annalize
There’s a pattern included in the post!
I love the pattern.
Was wondering how I could enlarge it since my sister is a 3X?
You would probably want to add 6 or so inches on each side. The shoulder straps will likely need 2-5 inches added.
Need to update this pattern to state finished approximate size.
I made this and tried it on and thought I would never get out without choking myself (death by crafts is an embarrassing way to die).
I am a size 16 and the front sit directly on my neck like a choker necklace. I thought about cutting away fabric at neck or adding to the straps but fear the bottom hem & pockets would be too low.
Agreed, this is child size for the straps. They need at least 6” added to the top straps at least.
I absolutely love this Japanese apron tutorial! The design is so charming, and I can’t wait to try out the free PDF pattern. Thank you for sharing such a detailed and easy-to-follow guide. I’m excited to add this to my sewing projects!
Thank you for the free pattern
This Japanese apron tutorial is amazing! I love the free PDF pattern – it makes it so easy to follow along. I can’t wait to try making one for myself. Thank you for sharing this creative project!