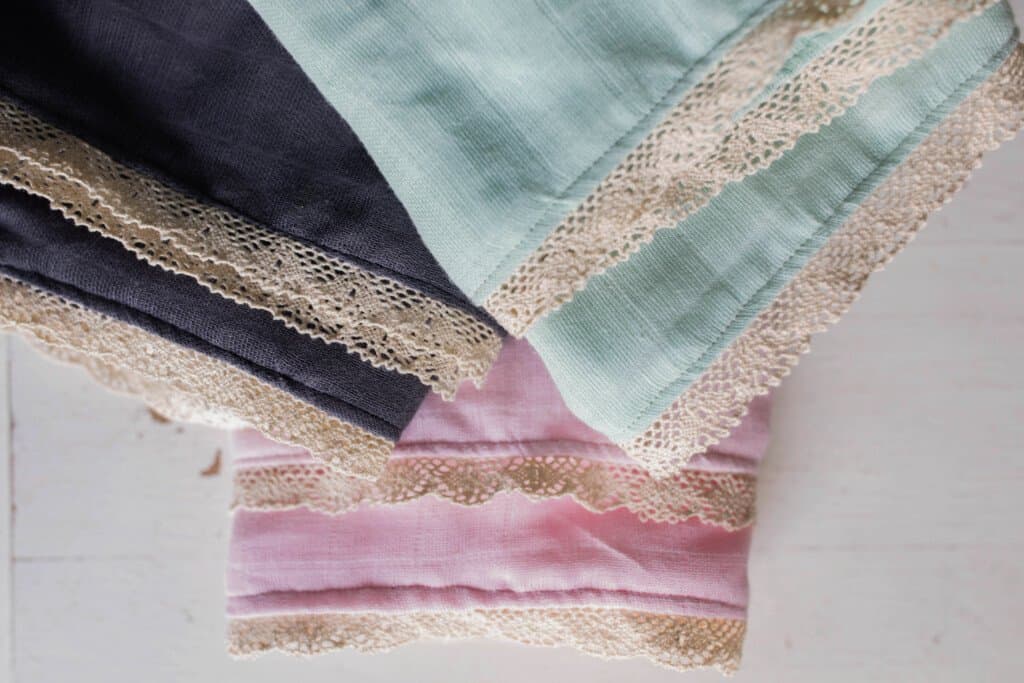
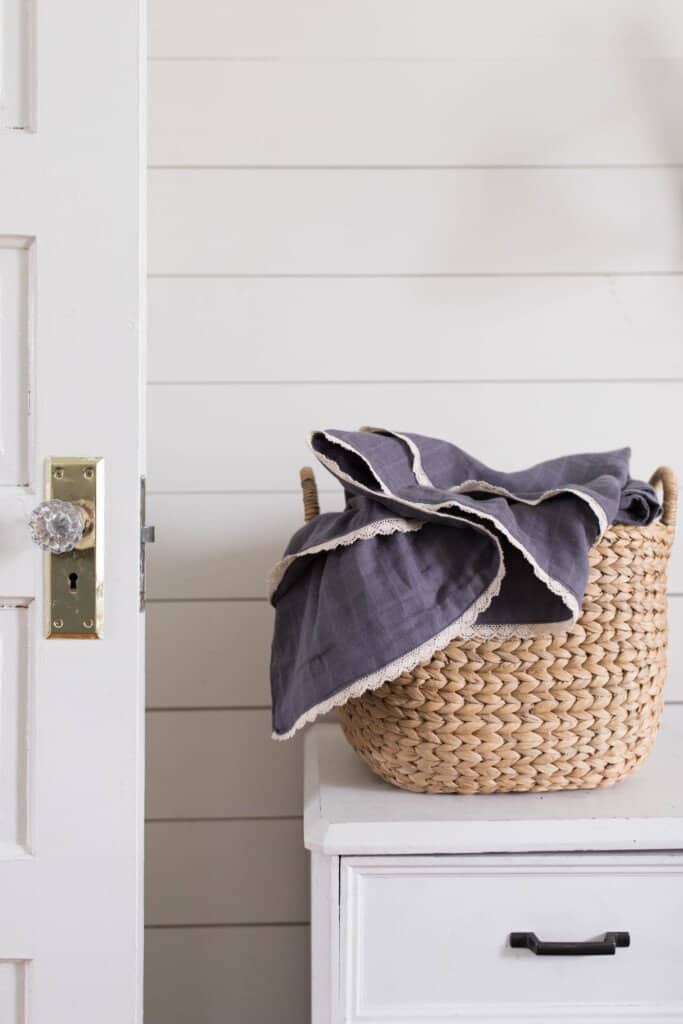
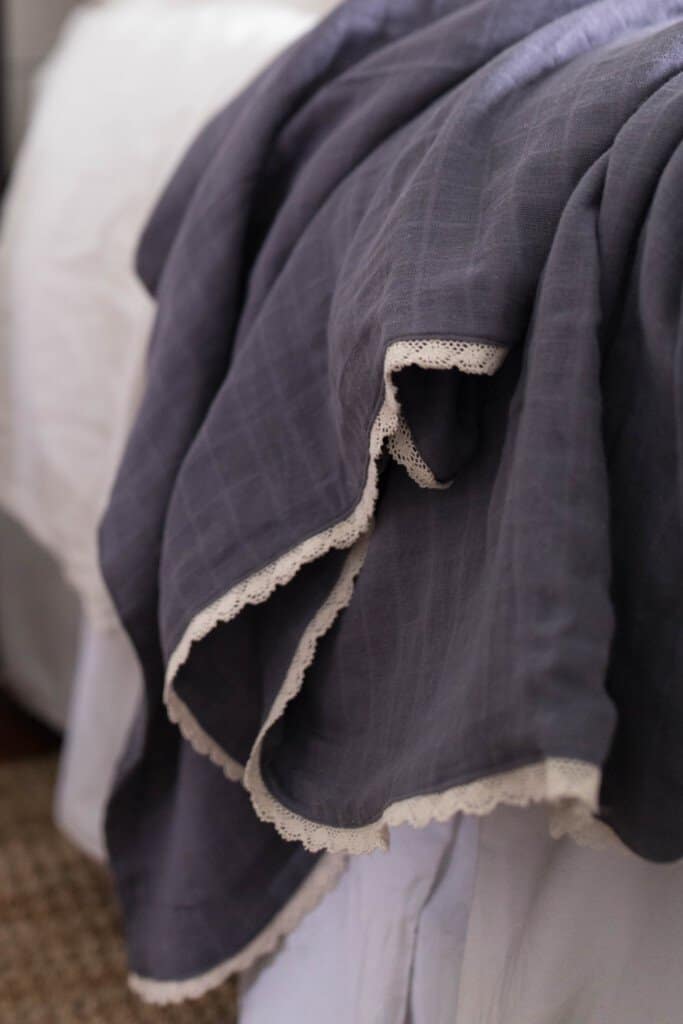
This cotton DIY Gauze Baby Blanket features a soft crochet detail to give it an antique heirloom feel. It is a simple and quick project that will be enjoyed for years to come.
Spring and summer are fast approaching, which inevitably bring with all of the projects. We spend a good portion of our time working on our long check list.
From gardening to updating the little blue cottage, and from fencing to making pathway and more, it seems as if it is neverending. The good kind of neverending, of course.
Sometimes, though, you just want to come back inside, sit at your sewing machine, and create something beautiful with your hands, like this DIY gauze baby blanket with vintage inspired trim.
I love sewing and being able to sit down for a short time to create something from scratch. If you are new to sewing and want to learn all the basics you need to know to get creating, make sure to check out my free sewing course.
This is the perfect project if you have a baby, or even as a baby shower gift. These gauze blankets are big enough to get that perfect swaddle your baby needs.
This post contains affiliate links, which means I make a small commission at no extra cost to you. See my full disclosure here.
Why I love gauze swaddles:
Stretchy: Gauze has a little give and stretch to it, so when you swaddle your baby, you can get it nice and tight.
Lightweight: It is the perfect summer material because it is lightweight and airy. This blanket is a double layered version, making it a little warmer than standard muslin blankets.
Buttery soft: Once the fabric is washed a few times, it turns into the most buttery soft fabric you could ever cuddle into.
Beautiful: Like a lightweight linen, it has a beautifully soft drape and wrinkles in the most perfect way.
Gauze Baby Blanket Tips:
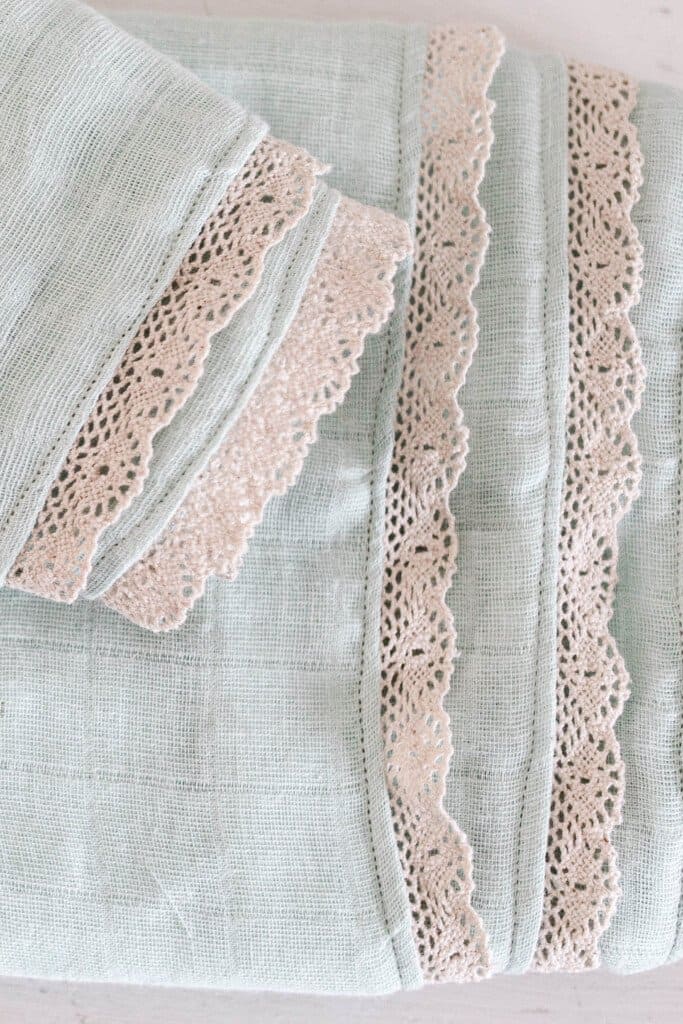
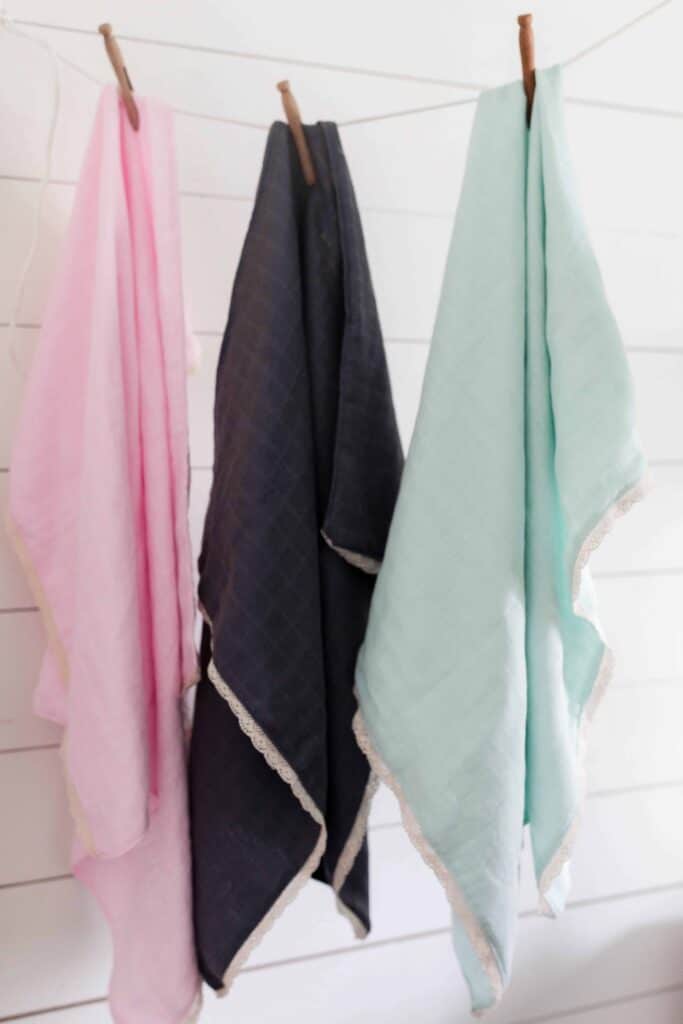
- You can also make a smaller version of this for a matching burp cloth, like the picture of the teal set above
- The trim adds a delicate and beautiful addition, but if you can’t find trim you like, you can skip it.
- Gauze tends to shrink quite a bit, so make sure to wash, dry, and iron the fabric before starting your project.
- If you are new to sewing, make sure to check out my free course that gives you the basics you need to start.
Materials And Tools:
- 2 yards 52” wide double gauze fabric
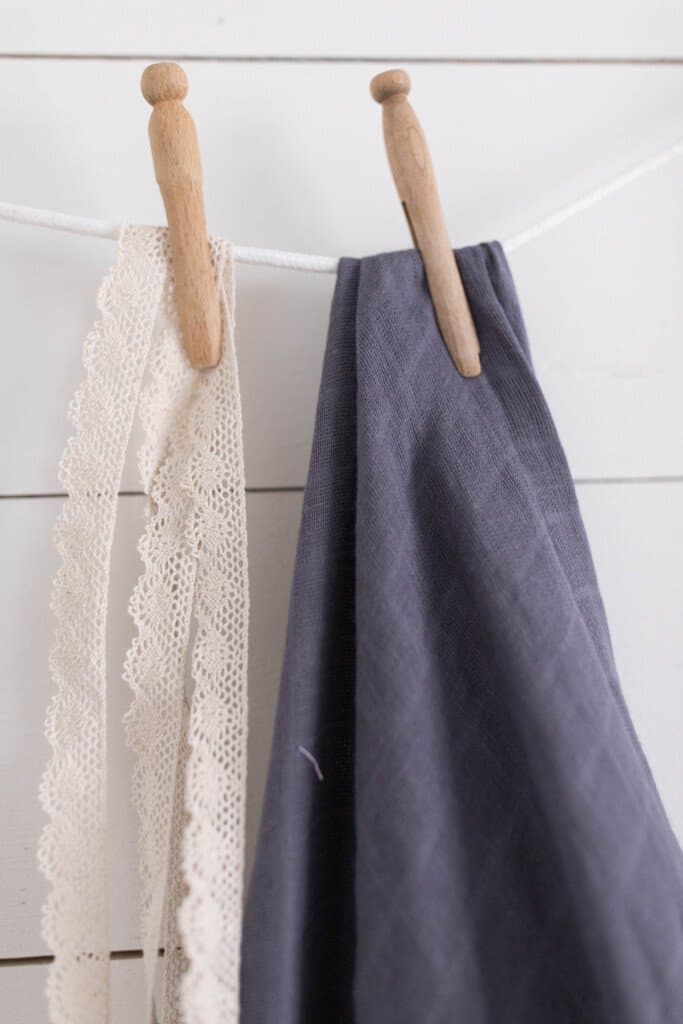
- 3 yards crochet cotton lace trim
- Measuring tape
- Sewing machine
- Sewing sheers
- Coordinating thread
- Pins
How To Make A DIY Gauze Baby Blanket
Before cutting, make sure to wash and dry the fabric. Gauze fabric has a tendency to shrink, so don’t skip this step.
Once it has been washed and dried, iron it flat. The fabric tends to wrinkle up quite a bit and can be very challenging to sew and cut. Once you iron it and complete the project, you don’t have to worry about having to iron it again. The wrinkles add whimsy.
Cut Out The Pieces
Mark and cut two square pieces of gauze with sewing sheers. The size will depend on the width of your gauze after you wash and dry it. For 52″ wide gauze, the fabric will likely shrink to about 50″ inches, making the end width about 50″. If so, cut your pieces to 50″ by 50″.
Cut the crochet cotton lace trim into two 54” pieces. (If your gauze fabric was wider than 54″, you will need to add a little length to the trim. Make sure the lace trim is slightly longer than the width of your blanket pieces.)
Lay the gauze fabric piece on a flat surface with right sides facing up. Pin the edge of the trim ⅜” from the edge of the fabric, right sides together.
Do the same with the other piece of trim on the other side of the same gauze piece.
Place the other piece of fabric on top of the trim piece, right sides together (wrong side facing up). The lace trim pieces will be sandwiched in between the two pieces of fabric.
Sew The Baby Blanket Together
- With a ½” seam, sew all the way around the blanket leaving a 4” opening on one side of the blanket in order to be able to turn it right side out. Make sure to round the corners when sewing to make sure that the trim pieces are secured and the wrong edges are not sticking out beyond the seam.
- Turn right side out by pulling the blanket through the hole created.
- Topstitch all the way around the blanket to finish it off, make the lace more secure, and to close up the 4” spot that was left open.
Find More Fun Sewing Projects:
- How To Make A Baby Bonnet
- How To Make A Mei Tai Baby Carrier
- The Best Nursing Cover Tutorial
- Linen and Flannel Ruffle Throw Blanket Tutorial
- Toddler Dress Pattern
If you try this project and love it, I would love if you could come back and give it 5 stars!
DIY Gauze Baby Blanket With Lace Trim

Equipment
- Sewing machine
- Pins
- Sewing cheers
- Tape Measure
Ingredients
- 2 yards 52” wide double gauze fabric
- 3 yards crochet cotton lace trim
- Coordinating thread
Instructions
- Before cutting, make sure to wash and dry the fabric.
- Once it has been washed and dried, iron it flat.
- Mark and cut two square pieces of gauze with sewing sheers.
- Cut the crochet cotton lace trim into two 54” pieces.
- Lay the gauze fabric piece on a flat surface with right sides facing up.
- Pin the edge of the trim ⅜” from the edge of the fabric, right sides together.
- Do the same with the other piece of trim on the other side of the same gauze piece.
- Place the other piece of fabric on top of the trim piece, right sides together (wrong side facing up).
- With a ½” seam, sew all the way around the blanket leaving a 4” opening on one side of the blanket.
- Turn right side out by pulling the blanket through the hole created.
- Topstitch all the way around the blanket to finish it off, make the lace more secure, and to close up the 4” spot that was left open.
Notes
- Cut the blanket to the width of your fabric. If you have a 54″ wide fabric than cut the sqaure 54″. If it is only 50″ wide, cut it 50″ wide.
- If your gauze fabric was wider than 54″, you will need to add a little length to the trim. Make sure the lace trim is slightly longer than the width of your blanket pieces.
- Make sure to round the corners when sewing to make sure that the trim pieces are secured and the wrong edges are not sticking out beyond the seam.
Nutrition information is automatically calculated, so should only be used as an approximation.




The measurements for this blanket have me rather confused, but as a seamstress I will get it figured out. If you only buy two yards of fabric, that is not enough to make a 50-54″ square blanket. So mine will be smaller. And you will need nearly twice the amount of lace that is suggested.
I think the yardage on this is a little off. If we want two squares of 50″ length and width to sew together, we would need 100″ total which is more like 3 yards, not two. Right?
If the square is 50 x 50, the total length around the square is 200 inches. Take 200 and divide by 36 (36 inches to a yard) and the total yardage would be 5.56 yards. This would be enough to go completely around the blanket. If you only want to go on two opposing ends, then 3 yards would be enough.
You are correct. The instructions have the wrong measurements.
How do you figure out the amount of trim? And how is it only 3 yards? My fabric is 42” wide. Would I want to get 3 yards? Or is two yards enough for a baby blanket?
Can you please share where you buy your lace and what length it is?
What a beautiful tutorial! Just one question- I can’t for the life of me figure out how to get the lace to smoothly round the corners without puckering. Did you cut curved corners or somehow fold it so it rounded the corners? I’m so confused!
Where do you buy your cotton lace and how wide is it? Thank you.
Could you share where you buy your cotton lace?
Made this today and it turned out quite nice. My first time working with trim. It wasn’t as hard as I was thinking it would be. thanks for the project!!!