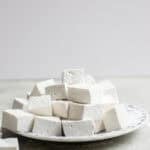
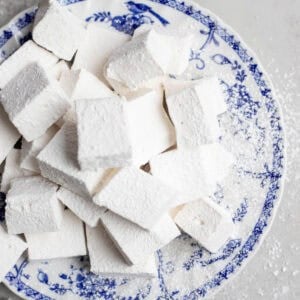
Homemade marshmallows are fluffy, sweet, and so simple to make. Toast them for s’mores, pop them on top of hot chocolate, or serve them as a standalone dessert!
Years ago, the original marshmallow recipe didn’t use gelatin or egg whites, but rather, sap from the roots of the marsh mallow plant. This sap was the thickening agent, but the name stuck even though now we use gelatin for that puffy, sticky, bouncy consistency.
The process for making marshmallows is easy, and the ingredients are simple. Altogether, it’s far less difficult than you would expect. Just have your ingredients ready and follow the steps. The hardest part is waiting for them to set up before cutting into them!
And I would argue that homemade marshmallows don’t have a set time of year where they belong. They are just as summery when roasting over a bonfire with squares of chocolate and homemade sourdough graham crackers as they are wintery when popped on top of a mug of healthy hot chocolate.
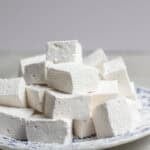
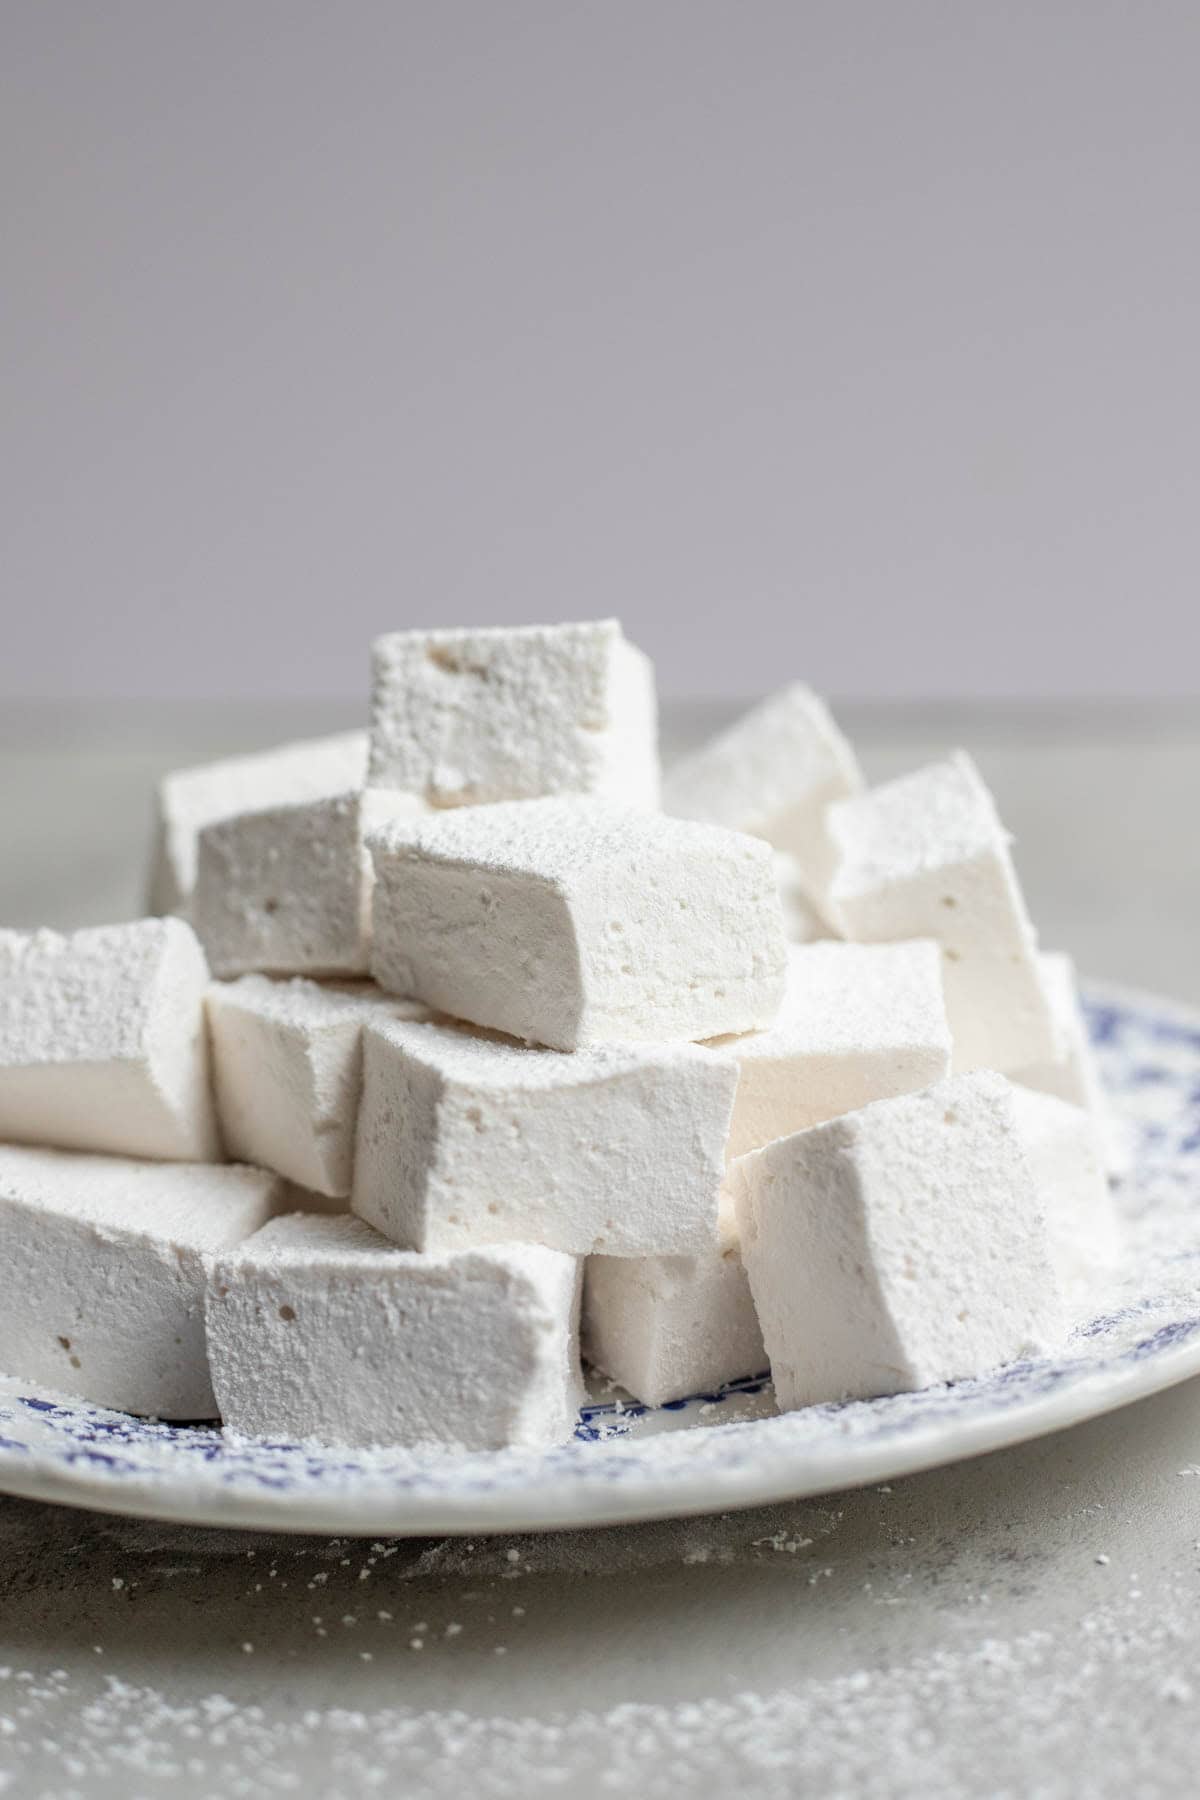
Homemade marshmallows are thick and fluffy, with more flavor and chew than the ones you buy in a bag. With a touch of salt and vanilla, they don’t stand out as cloyingly sweet, but warm in flavor, nostalgic, and magical for the kids. Because they seem somehow unrealistic to make from scratch, they always earn reactions of disbelief and a hint of amazement. You made these? Which, honestly, is always fun.
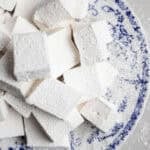
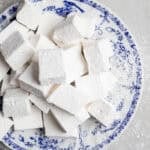
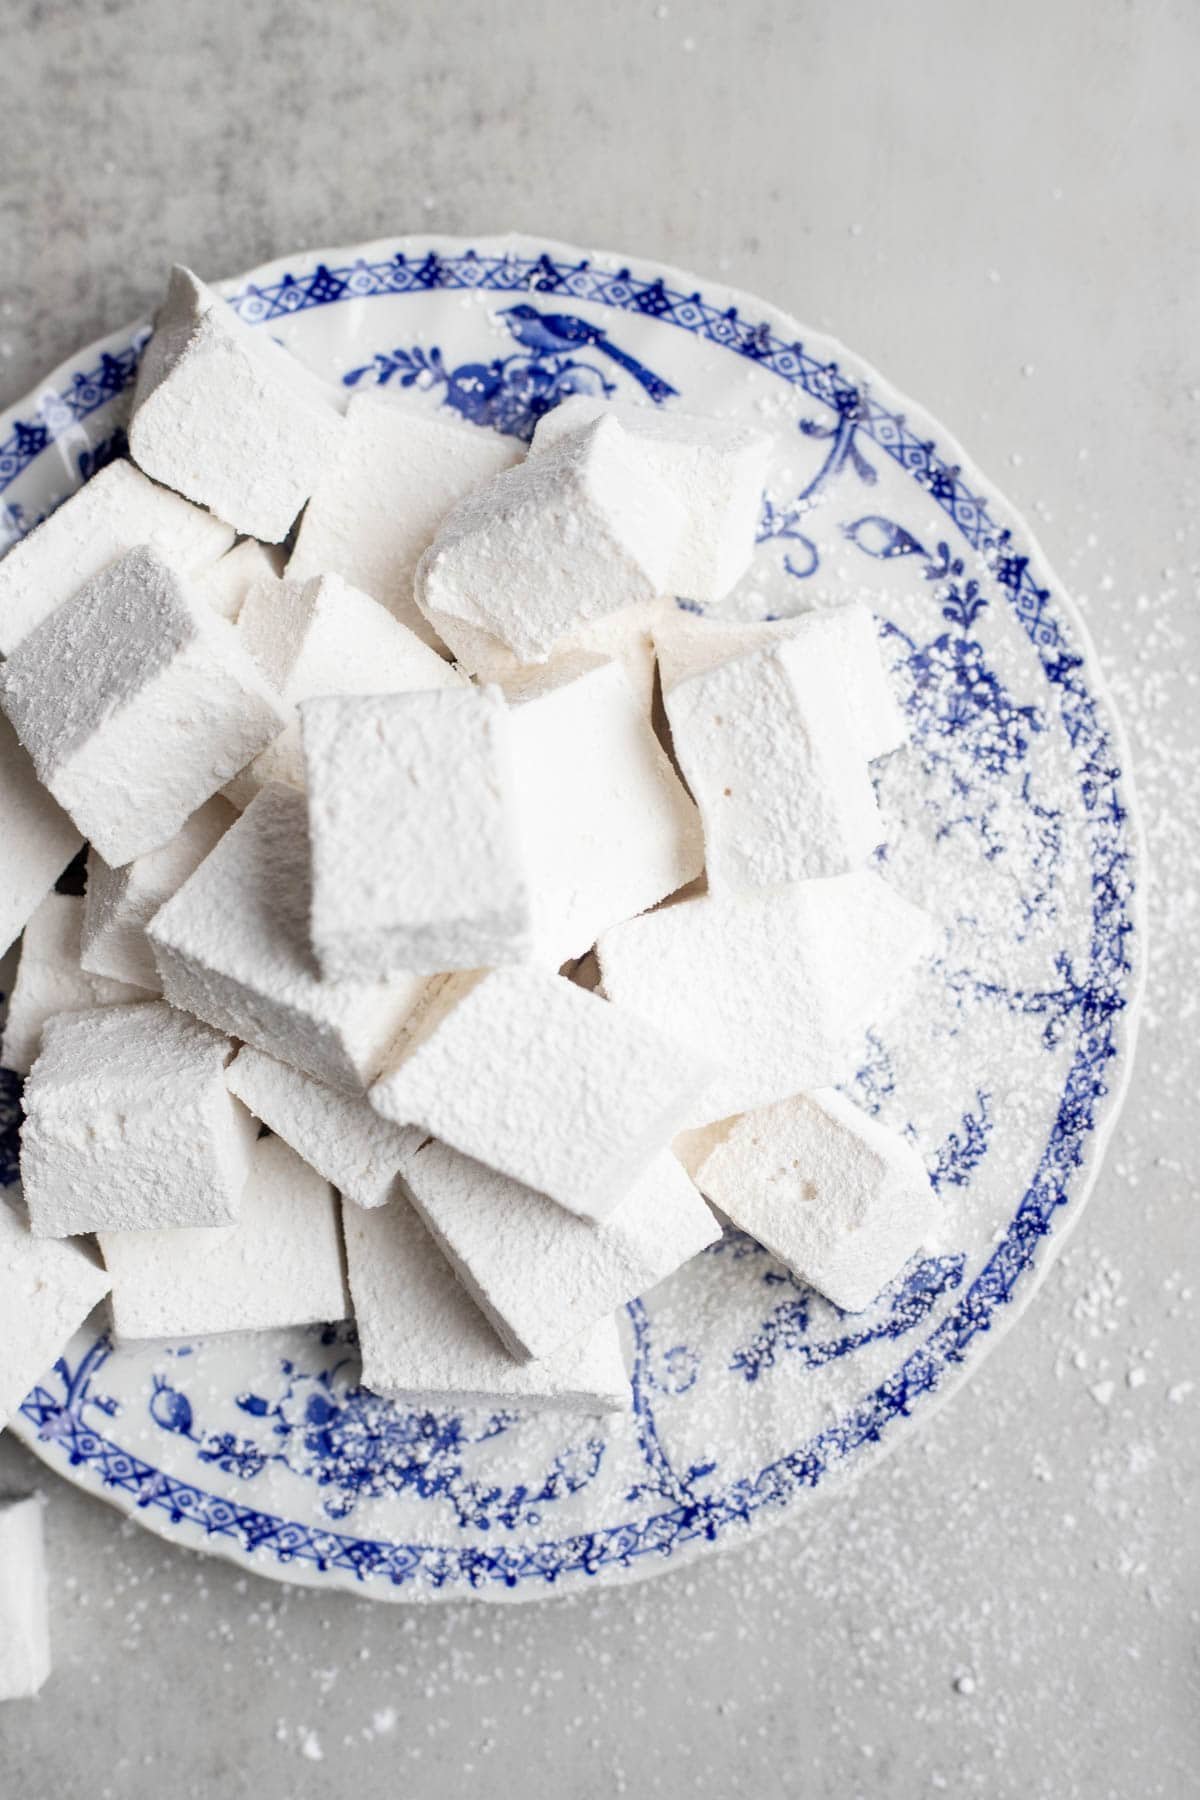
Generously powdered with sugar and corn starch, these soft, chunky marshmallows make a thoughtful, lovely, unique gift when placed in a little bag tied with a string.
Why You’ll Love This Recipe
Soft, chewy, and delicious – The texture is velvety and smooth, pleasant to chew, and warmly flavored.
Simple and inexpensive – Made with common pantry items, this recipe is not only frugal but also easy to make.
Sweet, homemade gift – It’s the thoughtfulness and effort behind homemade items that adds the most value. This one also gets extra points for being unique and really fun to eat.
Ingredients
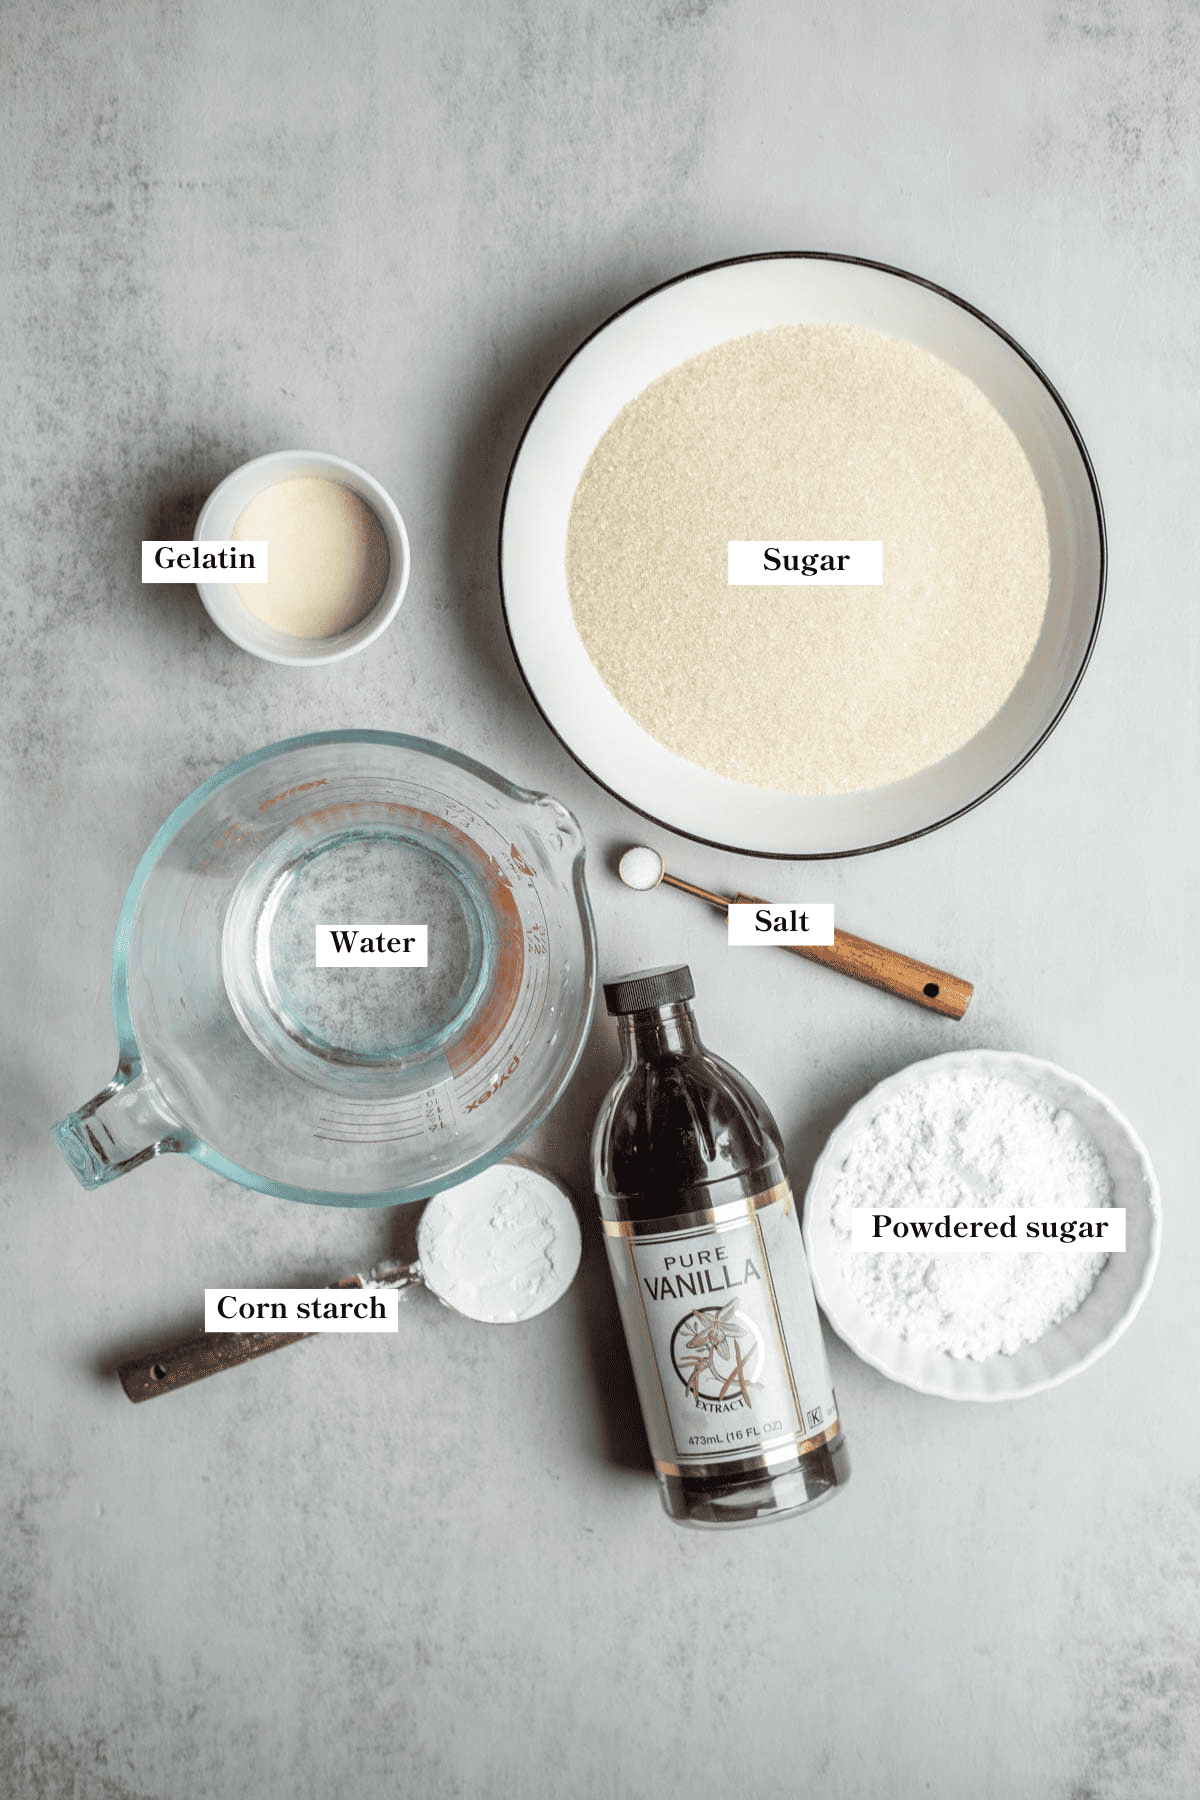
Gelatin – Use a plain, unflavored gelatin. Ensure it is fresh and has only a mild scent when blooming.
A full ingredient list with exact amounts can be found in the recipe card below.
Tools You May Need
Candy thermometer – A candy thermometer is really helpful for bringing the sugar syrup to the right temperature.
How to Make Homemade Marshmallows
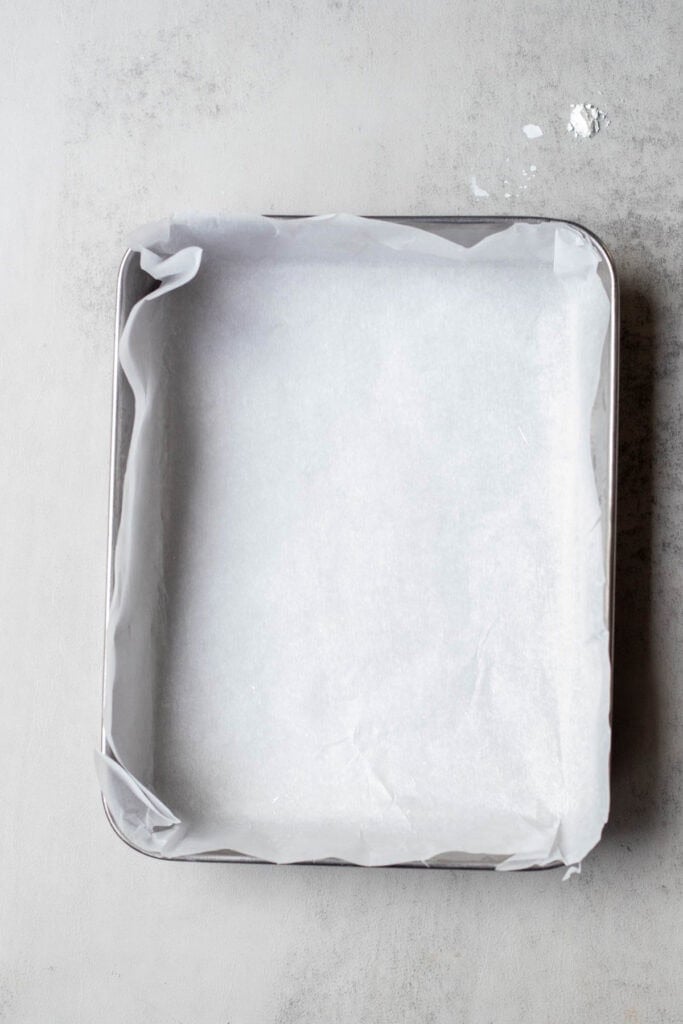
Step 1: Lightly grease a 9×9 or 10×8-inch baking dish and line it with parchment paper. In a stand mixer bowl with a whisk attachment or a large mixing bowl with a hand mixer, pour in 1/2 cup of cool water. Sprinkle the gelatin evenly over the top and whisk. Let it sit for about 10 minutes to bloom (soften and absorb the water).
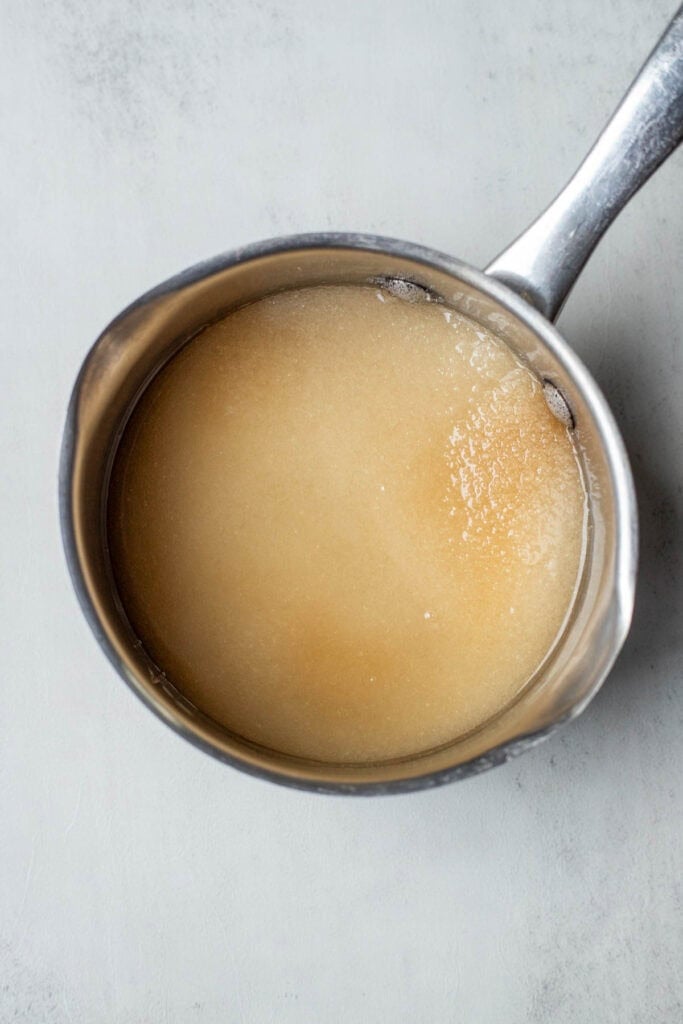
Step 2: In a medium saucepan, combine the sugar, salt, and remaining 1/2 cup of water. Heat over medium heat until the sugar dissolves, then increase to medium-high.
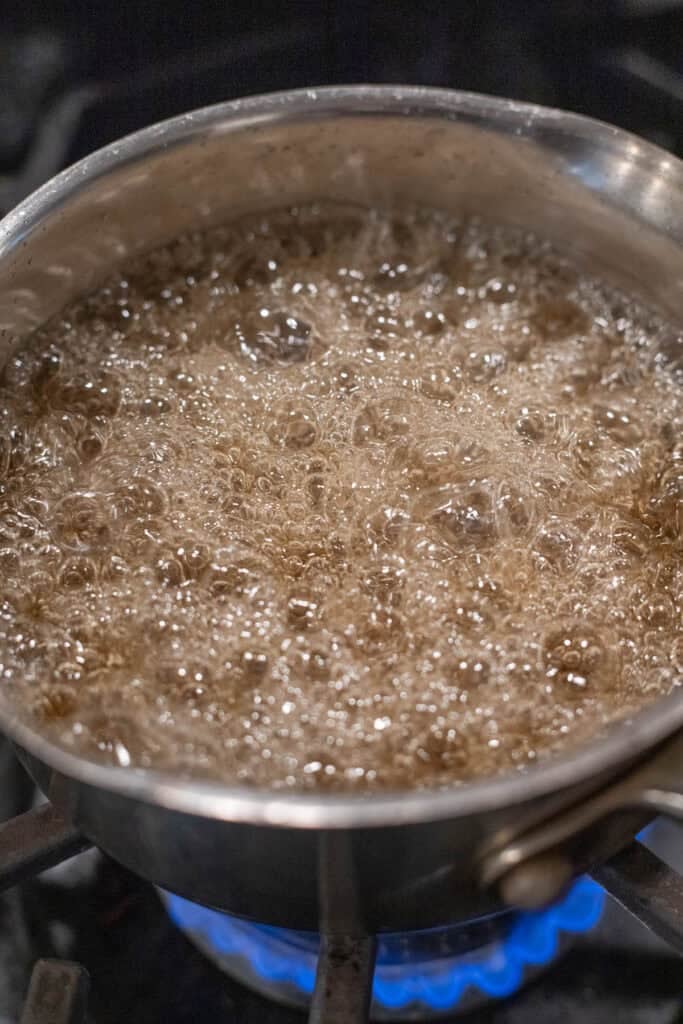
Step 3: Bring to a gentle boil, without stirring, until it reaches 240°F (known as the “soft ball stage”) on a candy thermometer.
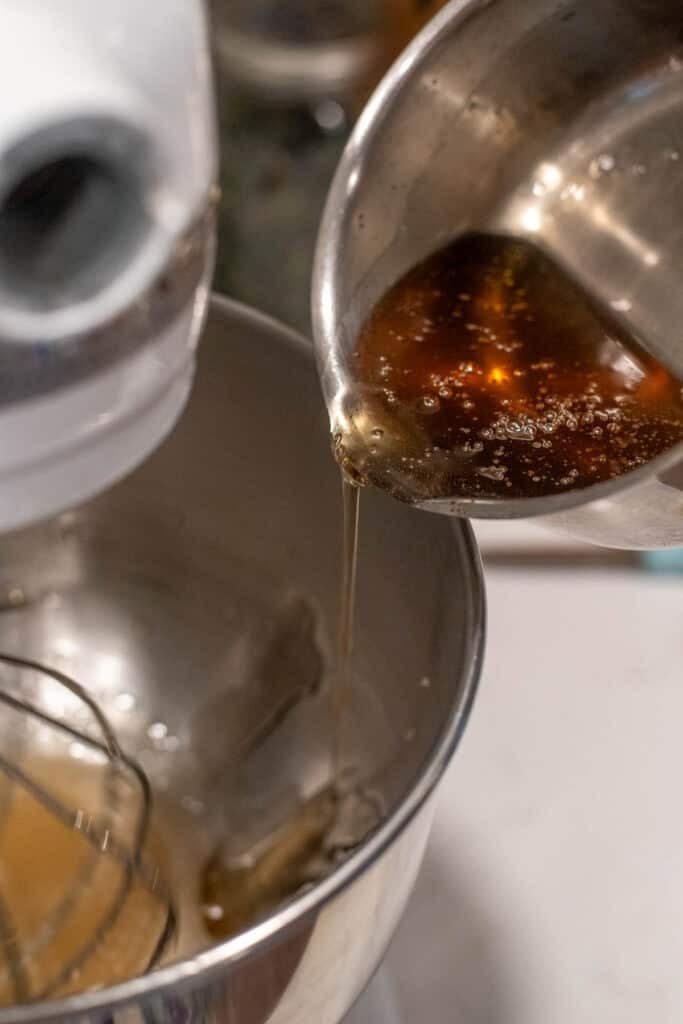
Step 4: Once the syrup reaches temperature, carefully pour it into the bloomed gelatin while mixing on low speed. Gradually increase to high speed and beat for 8 – 10 minutes until the mixture becomes thick, glossy, and tripled in volume.
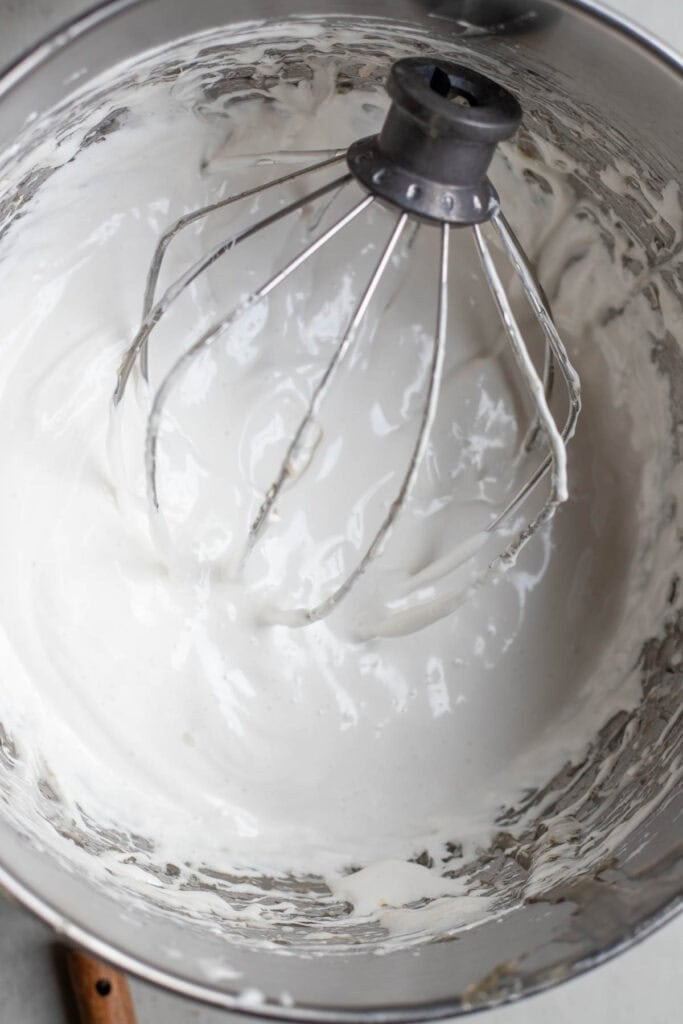
Step 5: Add the vanilla extract and beat just until combined. In a separate bowl, combine cornstarch and powdered sugar.
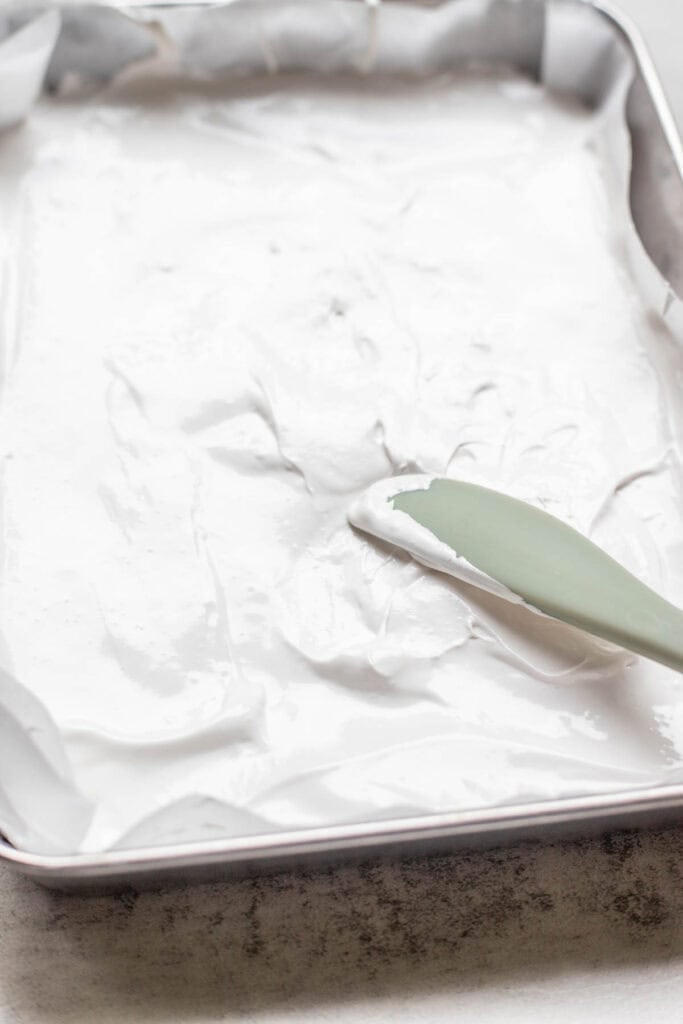
Step 6: Quickly pour the marshmallow mixture into your prepared pan, spreading it evenly with a greased spatula. Dust the top with the cornstarch and sugar mixture, then let it set at room temperature for at least 3 hours, or overnight, until firm.
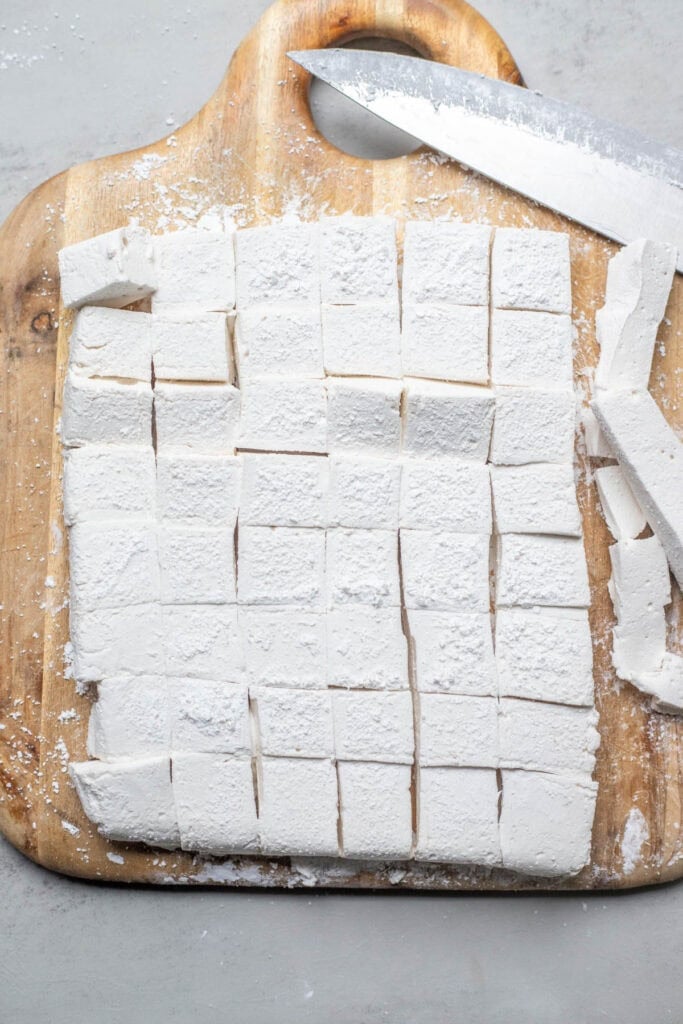
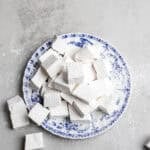
Step 7: Once set, turn it out onto a cutting board, peel off the parchment, dust more cornstarch mixture over the top, and cut into squares using a sharp knife or kitchen scissors.
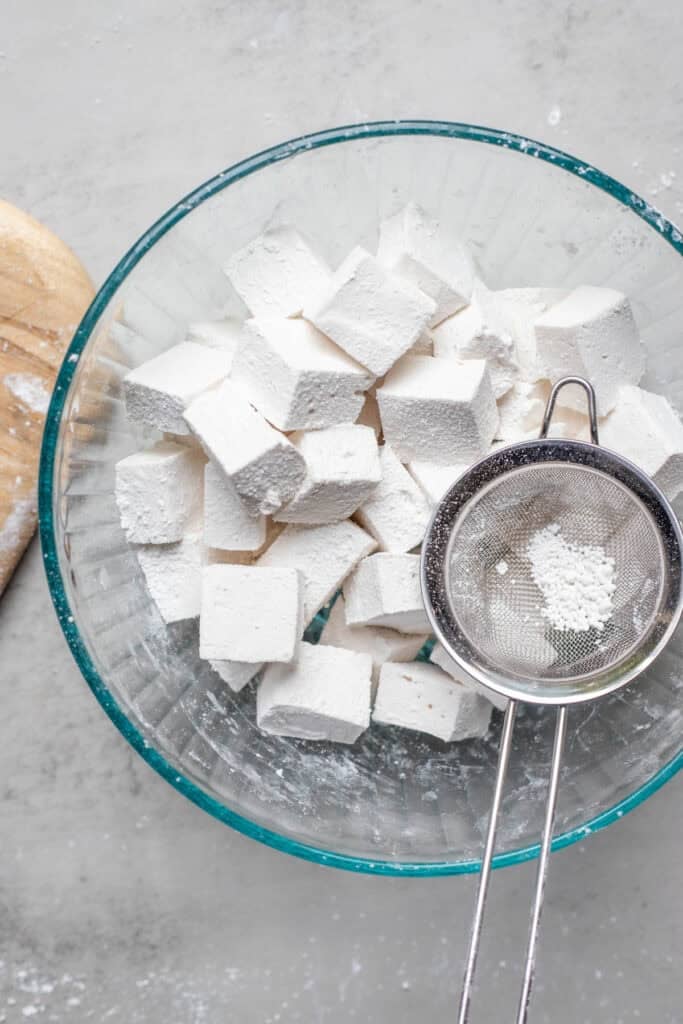
Step 8: Place in a bowl and dust again, tossing to coat, to prevent the marshmallows from sticking. Store in an airtight container at room temperature.
Tips
- Use fresh gelatin. If the gelatin has an off odor when blooming, that may be a sign it is old, and old gelatin doesn’t always set well.
- Do not stir the sugar syrup as you are bringing it to a boil. Without corn syrup in this recipe, the hot syrup can crystallize more easily, and agitating the sugar mixture is one way to unintentionally cause crystallization.
- Be careful not to overmix during the whipping stage, or it can become hard to spread into your dish as it cools.
- Add peppermint or lemon extract at the end of mixing for some different flavors, or a couple of tablespoons of cocoa powder into the powdered sugar before dusting for a chocolate spin. You can even add some drops of food coloring for a little tint of color.
- The marshmallows will be very sticky, which can make cutting them difficult. Using a sharp knife is important, but it’s also helpful if the knife is hot. You can run hot water over the knife, dry it, then cut the marshmallows, repeating the process if the knife stops cutting easily.
- Give the marshmallows sufficient time to set up before cutting.
Recipe FAQs
Once set, store marshmallows for up to 3 weeks layered between sheets of parchment paper in an airtight container at room temperature.
Freezing homemade marshmallows changes the texture significantly, so I don’t recommend freezing them.
When mixing, air is added to the hot sugar and gelatin mixture, making it fluffy and light. However, if you mix for too long, the ingredients will begin to cool, which creates stiffness and makes it difficult to spread the marshmallow into the pan.
While they don’t spoil like other foods with odor or bad taste, you’ll notice marshmallows becoming stale and hard over time.
More Sweet Recipes from the Farmhouse
- Baked Apple Cider Donuts
- Sourdough Oatmeal Cream Pies
- Homemade Pop Tarts
- Sourdough Sugar Cookies
- Chai Ice Cream
If you try this recipe and love it, I would love it if you could come back and give it 5 stars! Tag me on Instagram @farmhouseonboone.
Healthy Homemade Marshmallows Recipe
Equipment
- 1 Candy thermometer
Ingredients
- 1 cup cold water, separated
- 2 tablespoons gelatin
- 1 1/2 cups sugar
- ¼ teaspoon salt
- 1 tsp vanilla extract
- ⅓ cup powdered sugar
- ⅓ cup cornstarch or arrowroot starch
Instructions
- Lightly grease a 9×9 or 10×8-inch baking dish and line it with parchment paper. In a stand mixer bowl with a whisk attachment or a large mixing bowl with a hand mixer, pour in 1/2 cup of cool water. Sprinkle the gelatin evenly over the top and whisk. Let it sit for about 10 minutes to bloom (soften and absorb the water).
- In a medium saucepan, combine the sugar, salt, and remaining 1/2 cup of water. Heat over medium heat until the sugar dissolves, then increase to medium-high.
- Bring to a gentle boil, without stirring, until it reaches 240°F (known as the “soft ball stage”) on a candy thermometer.
- Once the syrup reaches temperature, carefully pour it into the bloomed gelatin while mixing on low speed. Gradually increase to high speed and beat for 8 – 10 minutes until the mixture becomes thick, glossy, and tripled in volume.
- Add the vanilla extract and beat just until combined.
- In a separate bowl, combine cornstarch and powdered sugar.
- Quickly pour the marshmallow mixture into your prepared pan, spreading it evenly with a greased spatula. Dust the top with the cornstarch and sugar mixture, then let it set at room temperature for at least 3 hours, or overnight, until firm.
- Once set, turn it out onto a cutting board, peel off the parchment, dust more cornstarch mixture over the top, and cut into squares using a sharp knife or kitchen scissors.
- Place in a bowl and dust again, tossing to coat, to prevent the marshmallows from sticking. Store in an airtight container at room temperature.
Notes
- Please double-check amounts when using the multiplying feature in the recipe card.
- Use fresh gelatin. If the gelatin has an off odor when blooming, that may be a sign it is old, and old gelatin doesn’t always set well.
- Do not stir the sugar syrup as you are bringing it to a boil. Without corn syrup in this recipe, the hot syrup can crystallize more easily, and agitating the sugar mixture is one way to unintentionally cause crystallization.
- Be careful not to overmix during the whipping stage, or it can become hard to spread into your dish.
- Add peppermint or lemon extract at the end of mixing for some different flavors, or a couple of tablespoons of cocoa powder into the powdered sugar before dusting for a chocolate spin.
- The marshmallows will be very sticky, which can make cutting them difficult. Using a sharp knife is important, but it’s also helpful if the knife is hot. You can run hot water over the knife, dry it, then cut the marshmallows, repeating the process if the knife stops cutting easily.
- Give the marshmallows sufficient time to set up before cutting.
Nutrition
Nutrition information is automatically calculated, so should only be used as an approximation.


Can these be used to make fudge?
Yes, but the fudge could set up a bit softer.
Have you ever tried dipping these in chocolate? I was thinking maybe they could be dipped if you skipped the step of tossing all the sides in the corn starch mixture. But maybe the chocolate would just slide off or get muddled or not set correctly? I can experiment but thought I could avoid the mess if you’ve already tried this before. Thanks!
Okay, these were fantastic and so easy! My kids and I thought these tasted just like store bought marshmallows. My husband thought they tasted like rice pudding but with the exact same texture as a marshmallow. Everyone was a fan! I will say I tried to put these on top of a sweet potato casserole for Thanksgiving and it ruined it! The marshmallows turned merengue texture and the sweet potato casserole that had been fine turned liquidy. My husband still loved the casserole but in my opinion it was a failure! Lisa if you could figure out a way to make sweet potato casserole work with homemade marshmallows that would be amazing! I’d hate to be destined to throw toxic marshmallows on-top of an otherwise healthy treat every Thanksgiving. Thank you!!
The instructions were easy to follow, and the marshmallows turned out AMAZING! I made these in a sheet pan so they would be thinner, and cut them into mini marshmallow size. It easily produced about a regular bag size of mini marshmallows.
Just made these – they’re delicious and came out in good shape! Looking forward to roasting them at our next bonfire! 😊
I’m excited to try this and just wondering if you have ever tried steeping marshmallow root in the water and using that in your marshmallows? Or using maple syrup as the sweetener? I think it could be fun for me to just experiment with the recipe and try it a couple ways! I would love to try these in bone broth hot chocolate.
I’ve made healthy marshmallows with maple syrup (need to get more) + honey (but feel badly heating raw honey up so high), and this recipe is great! A nice squishy, stiff marshmallow without corn syrup, artificial flavor or colors, like or blue 1.
Love this idea! But what is healthy about them?
They are made with gelatin, which helps to support gut health, joints, skin, and hair. The big kicker is that these marshmallows do not contain any high fructose corn syrup, artificial flavors, or preservatives!
How long, if prepped properly, do you think these will keep? I’m sure an air tight container would be the ticket for preserving freshness, but for how long?
2-3 weeks if stored properly! I like to dust them with powdered sugar to prevent them from sticking to each other.
I thought you would use honey in a healthy marshmallow recipe. Not to be picky, but it was surprising to see white sugar. We do love a good homemade marshmallow in hot cocoa, but I’ve never roasted them over a fire for smores!