
Learn how to mill your own flour at home. Milling whole grains adds a ton of nutritional value to whatever you bake, and you can do it in a few simple steps!
About 8 years ago, I bought my first countertop flour mill. I became interested in milling my own grains after I heard that over even a couple of days, milled whole grain flour from the grocery store looses a ton of its nutritional value as it sits in the cupboard.
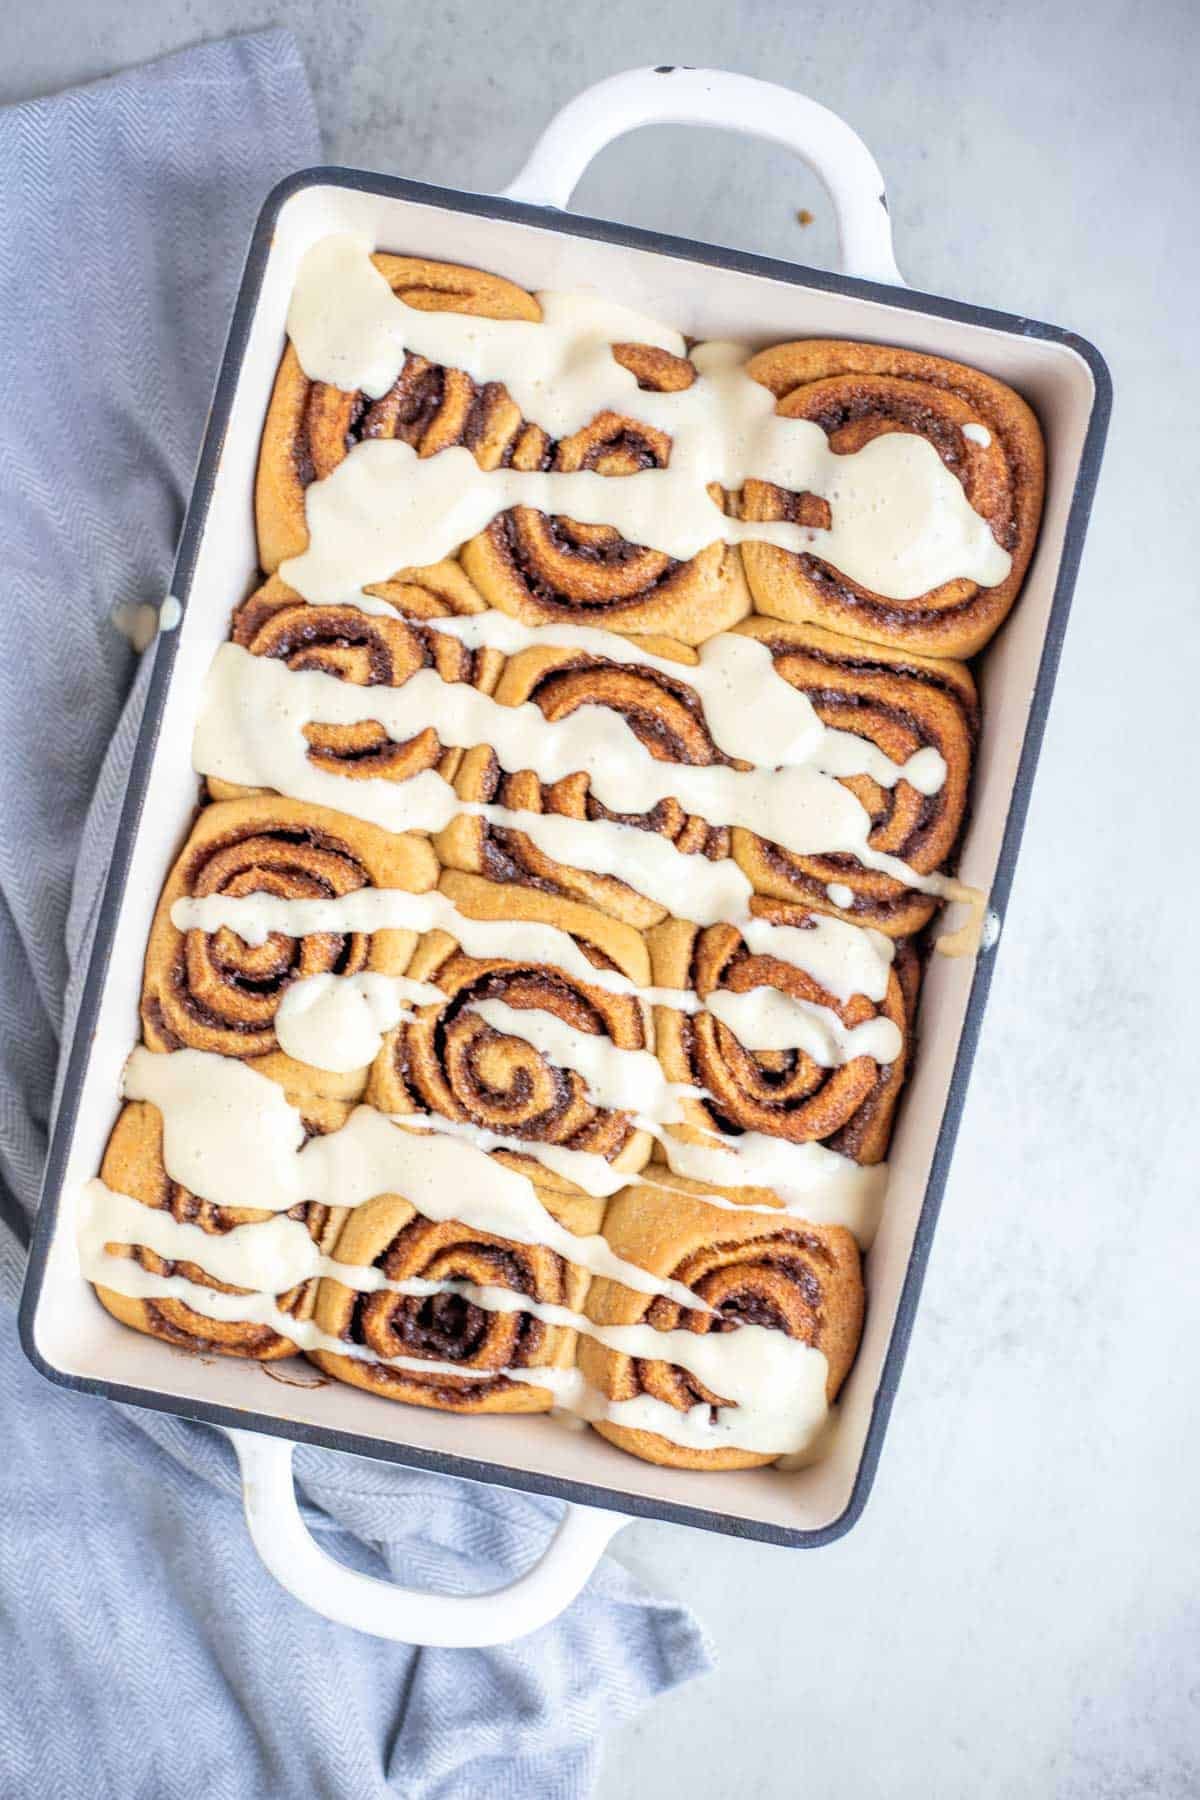
Ever since then, I have been supplying my family with super nutritious breads and homemade baked goods made with whole grain, fresh-milled flour. From 100% fresh milled sourdough bread and whole wheat biscuits, to whole wheat cinnamon rolls, whole wheat brownies and chocolate chip cookies with freshly milled flour. There are a number of delicious recipes to enjoy once you learn this skill.
If you are interested in milling your own flour at home, this overview is the perfect place to start.
Today, I want to share all about how to mill your own flour at home, so you can start enjoying freshly milled creations as well.
Why You’ll Love Milling Your Own Grains
Health Benefits – Commercial flour has little to no nutrients compared to fresh flour. Regular flour from the store is the result of commercial milling which removes the bran and germ, the most nutrient dense part of the grain. When milled at home, your flour will contain vitamins (vitamin E and vitamin B), minerals, fiber and enzymes. Freshly milled flour contains 40 of 44 essential nutrients that we need daily. It is also easier to digest!
Quality – Even if you are buying flour from your local store that says it is freshly ground, it still probably wasn’t ground that hour, that day or even that week. Milling at home allows you to control the quality of the grains that you use and leaves you with fresh, high-quality flour every time.
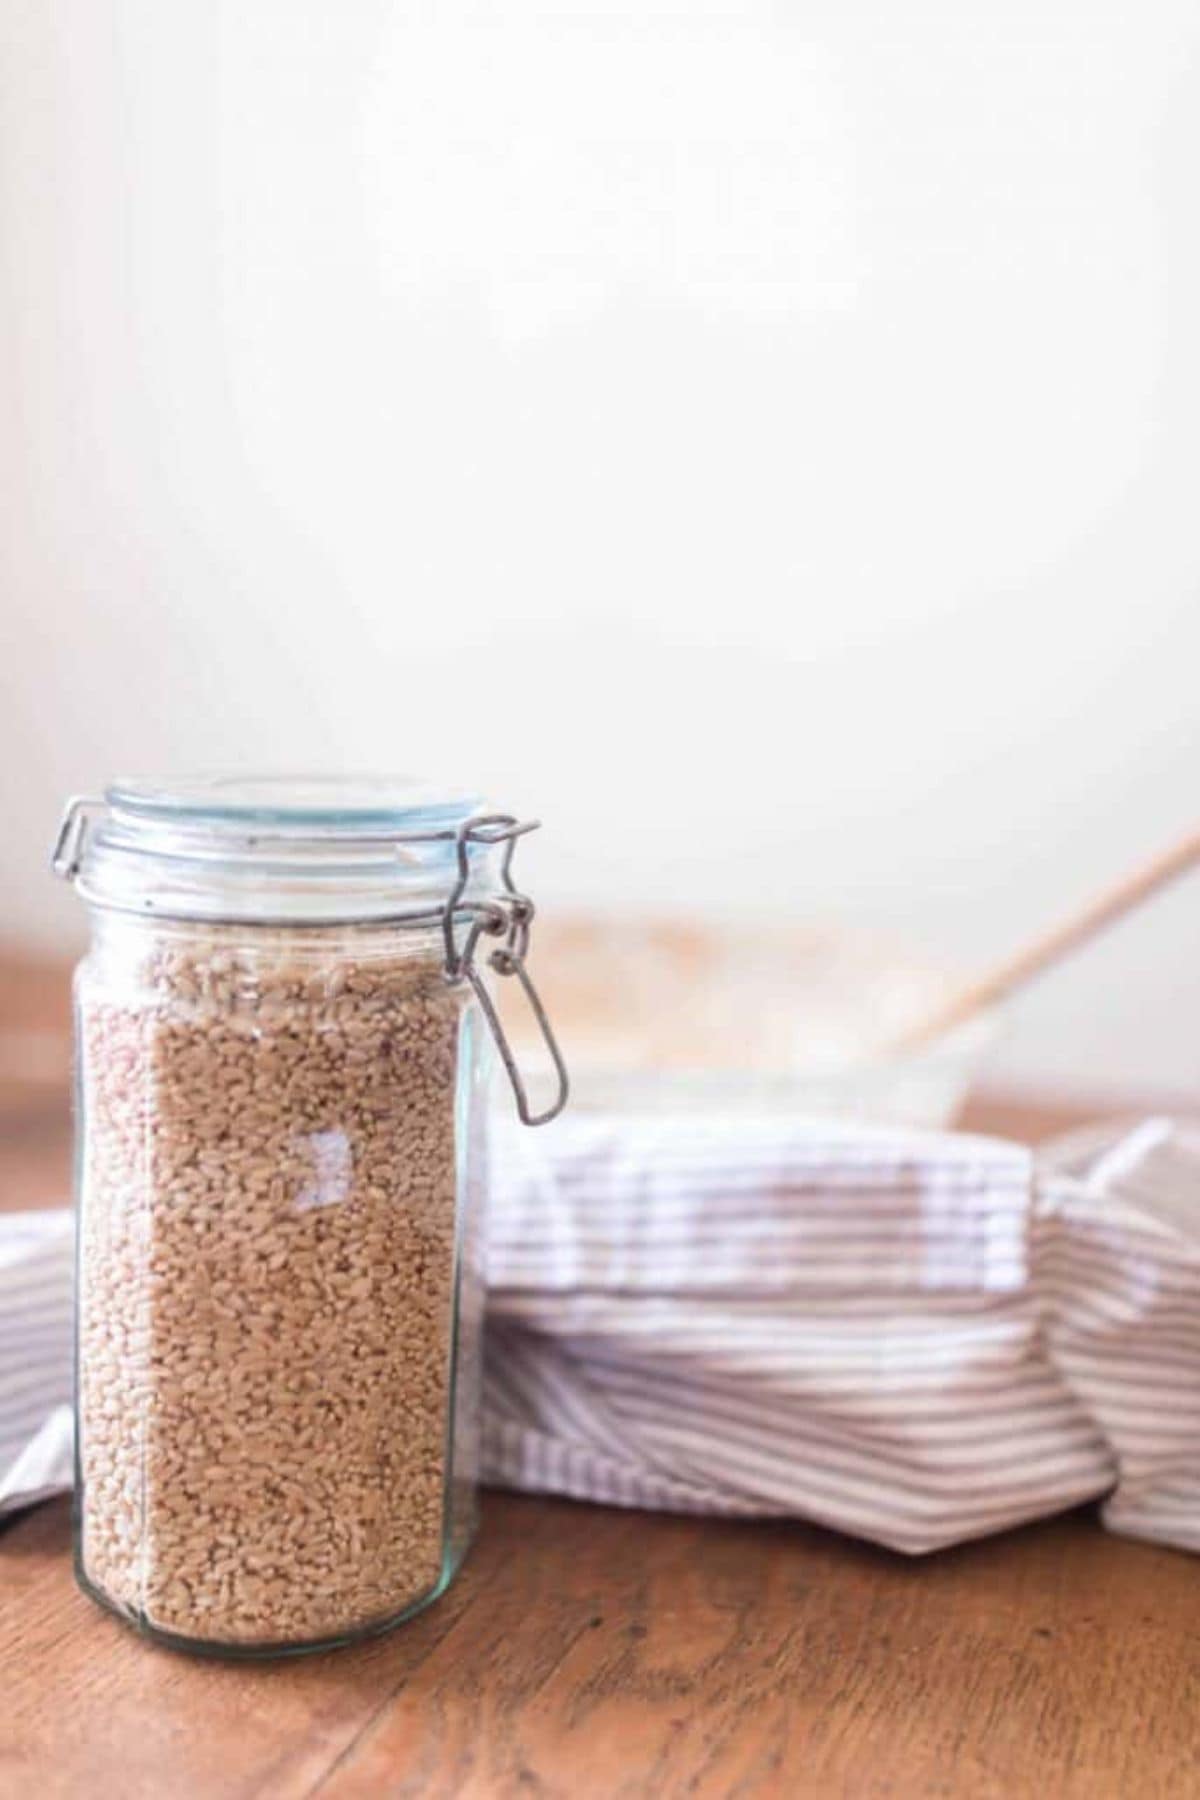
Shelf life – Wheat berries can last 20+ years which makes it a great option for long-term food storage However, freshly milled flour only lasts a few days at room temperature, so milling as you need it for recipes is the best way to go.
Budget-friendly – Buying wheat berries in bulk can help save money in the long run, especially if you like to purchase specialty or organic flours.
Superior flavor – Freshly milled flour has a slightly nutty flavor and overall a much fuller and complex flavor than store-bought flour.
Greater variety of grains – Not only can you grind your typical hard wheat berries or soft white wheat, but you can also grind other grains like brown rice, quinoa, oat flour and more. I love the fact that I can mill harder to find ancient grains like einkorn or kamut, that can be quite expensive when purchased as pre-ground flours.
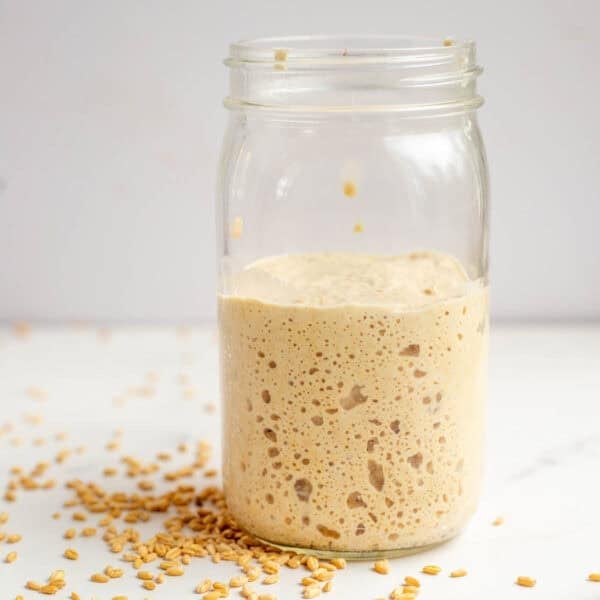
Great for sourdough – It is really great for making your own sourdough starter. The hard red or white wheat is what I use to feed my sourdough starter and keep it healthy and active.
Types of Mills
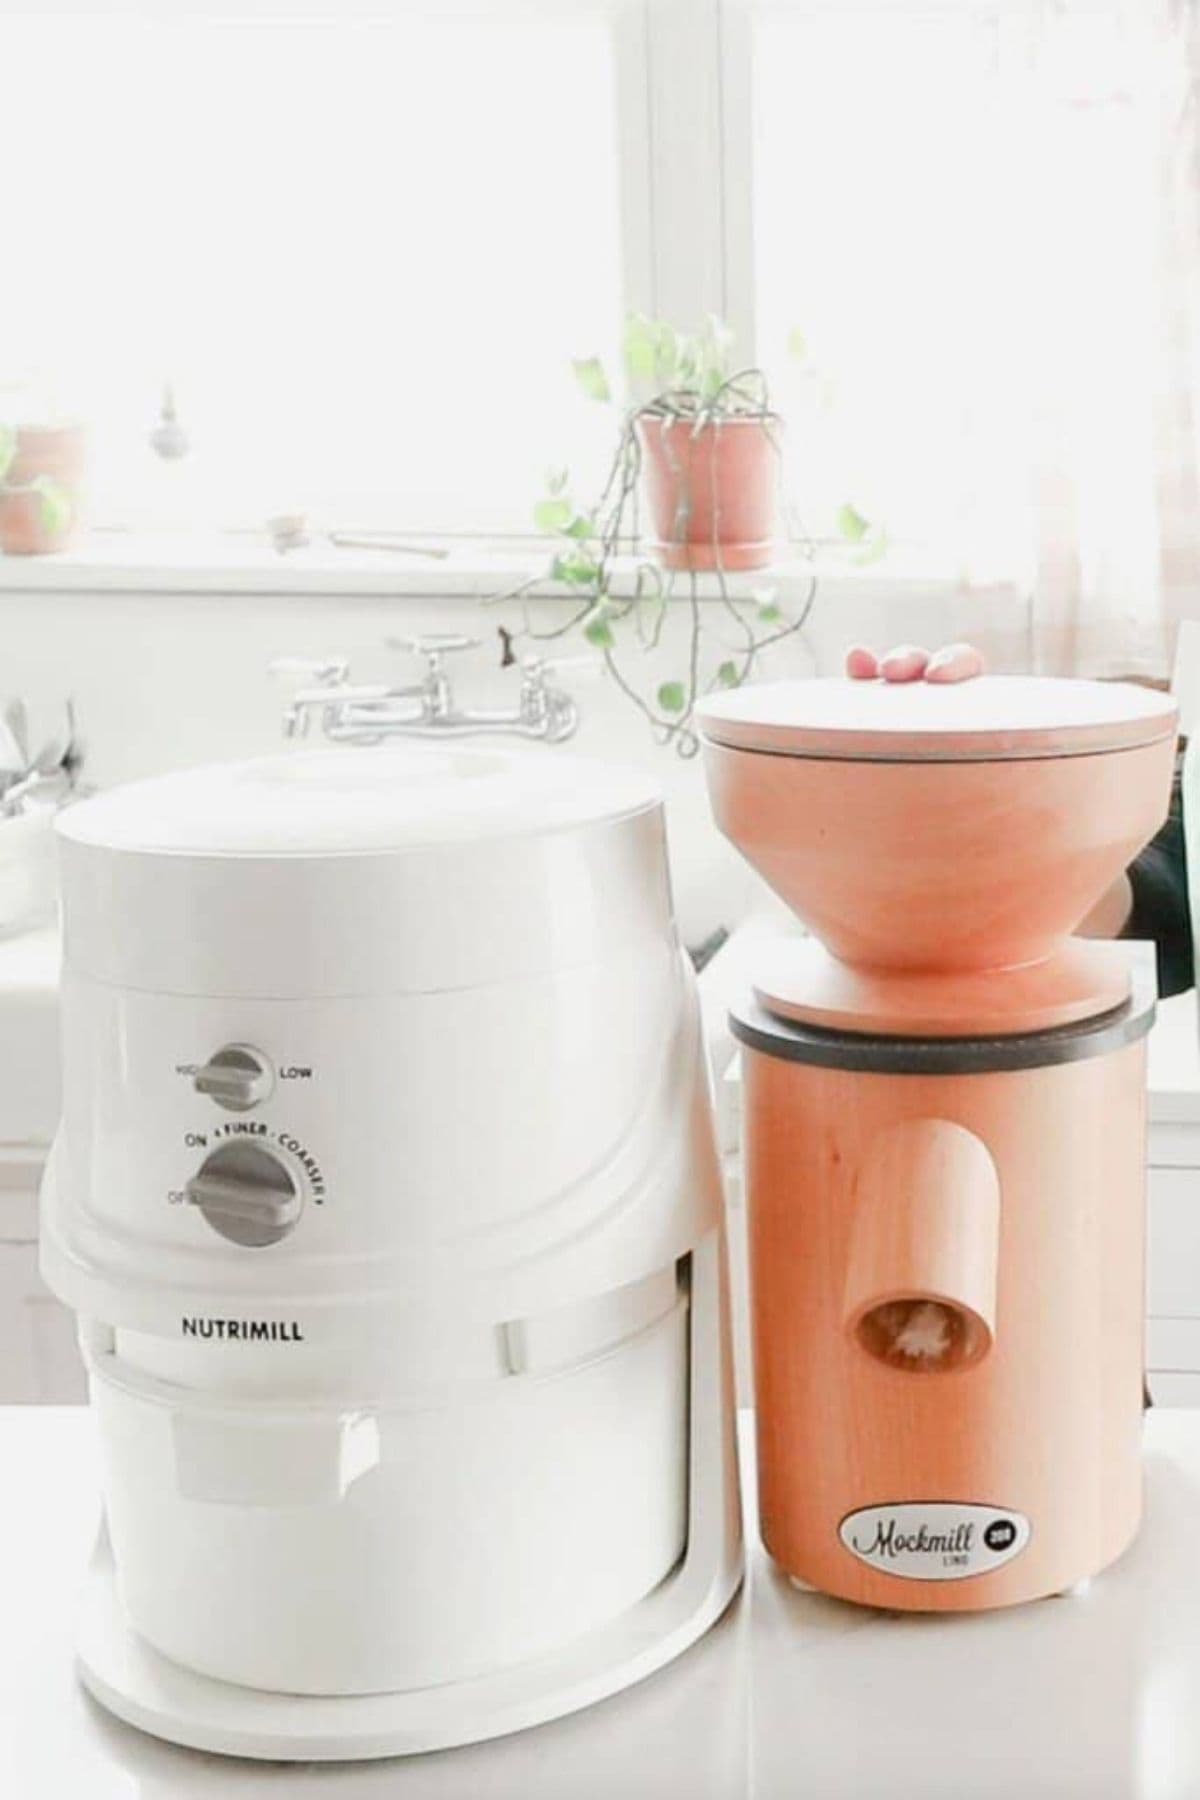
Electric mills – Such as the Nutrimill, Mockmill, or even mill attachments for stand mixers.
Hand mills – Hand crank manual grain mills are a fun option today. No electricity is needed, and it comes with an arm workout.
Other – This would include options like coffee grinders, high-powered blenders, or food processors.
How to Mill Your Own Flour at Home: Three Ways
There are multiple types of electric grain mills on the market today, and buying your own mill is a big decision. I have personally used the NutriMill and the Mockmill. You can read my in depth comparison of the NutriMill and Mockmill in this post.
How to Use a Nutrimill
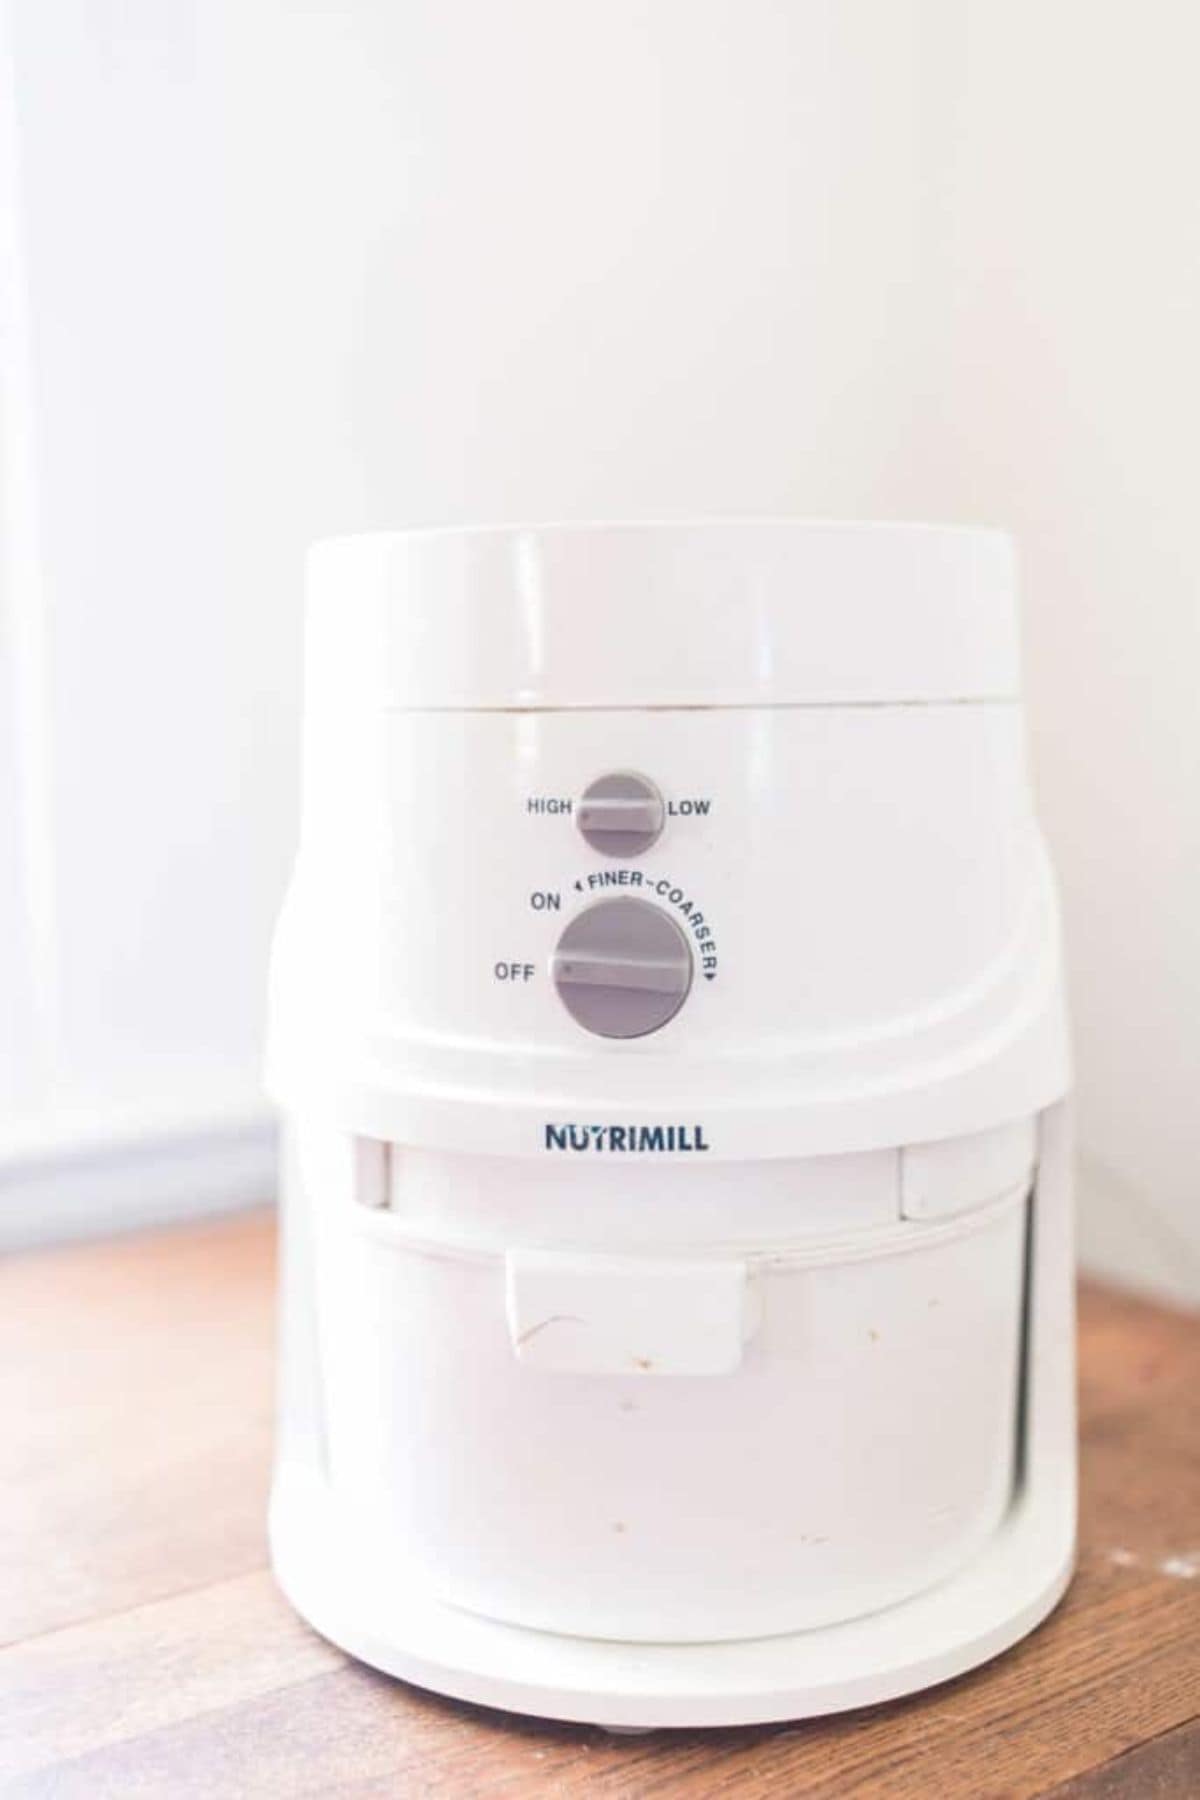
On the NutriMill, there is a lid that goes on the very top that you can take off. Inside is a place where you pour in the grains. They will flow down through two holes and into a bowl at the bottom of the NutriMill.
Simply use the handle to pull the bowl out from under the NutriMill, twist the lid, and there will be flour inside.
The two knobs on the front allow you to choose the coarseness of the flour, and also how fast the grains will be ground.
The bottom knob controls the coarseness and the top knob controls the speed.
How to Use the Mockmill

Grasp the hopper and adjust to the desired coarseness (if using the original Mockmill, you would simply adjust the lever). The lower the number, the finer the flour.
Place a bowl under the dispenser.
Turn on the electric mill.
Add wheat berries to the hopper and watch it work its magic.
If the flour is too coarse for your liking, adjust the level and re-mill to your preferred texture. I prefer a finer flour for baking as it gives the best texture and end result in my baking.
How to Make Flour with a Blender and Other Options
If you have a high-powered blender like a Vitamix, you can also grind your own whole-grain flour at home. Add whatever variety of wheat berries you have to the blender.
Start the blender on low speed, then quickly move to high speed. Grind for 60 seconds. Keep blending until the desired consistency is achieved. The longer you grind the grains, the finer the flour.
This could also work with a high-powered food processor or coffee grinder, but I would not try this with a regular blender or food processor. It could easily burn out the motor – an expensive mistake.
Determining the Coarseness of the Grains
For my sourdough recipes, I use the medium-coarse setting to grind my whole-grain wheat. I use this setting for almost everything.
When I am making cornbread, I will use the coarsest setting to make cornmeal.
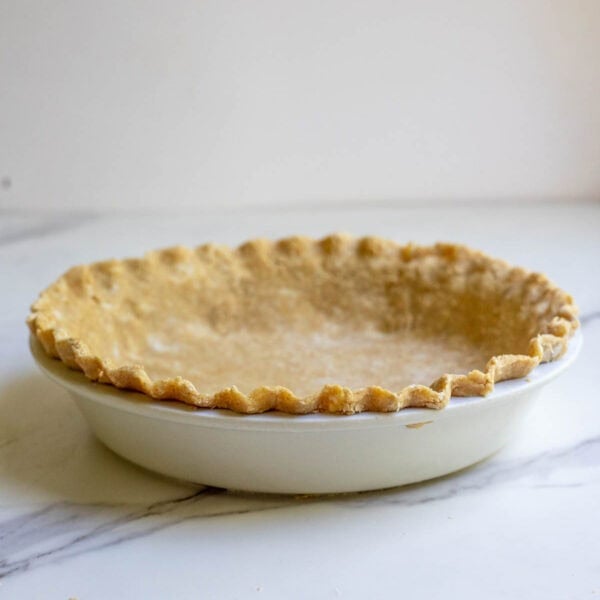
Using the finest setting is great if you are using the flour to make pastries, cakes, cookies, or pies. A finer flour will give you a lighter result and often yield a better texture in your bakes.
The finer you want the grain to be, the longer it will take to mill.
How to Store Homemade Flour and Bulk Grains
Freshly milled flours only stay fresh for a few days at room temperature, so I recommend only milling what you need. If you do have extra, you can store it in the fridge for up to a week in an airtight container or in the freezer for up to six months. Freezing does remove some of the moisture and can give the grains an off flavor.
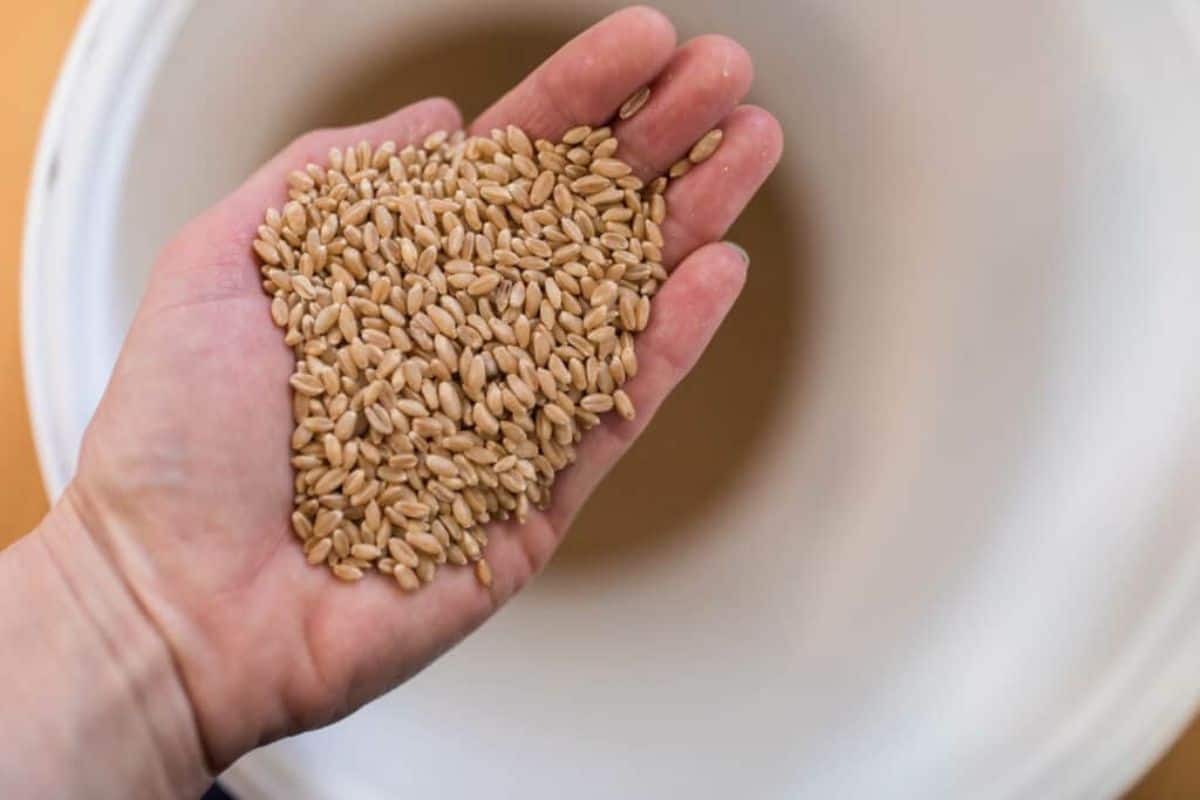
When I buy bulk whole grains, I simply transfer them from the bag they came in into a 5 gallon bucket with a twist-top lid. All I have to do is twist off the lid to get to the whole grains and twist the lid back on to keep the grains airtight and safe from mice and other small animals. Ask me how many flour bugs I found in my wheat when I thought just rolling up the bag was sufficient. Trust me – the bags are not sufficient, especially for long-term storage!
Types of Whole Grains
The different grains that can be milled at home are endless. Here are a few of my go-to’s.
- Hard White Spring Wheat – The most common grain I mill is Hard White Spring Wheat. You can buy Soft White Spring Wheat and even Soft Red Spring Wheat. Soft wheat is great for pastries, such as cakes and biscuits. It has a lower gluten content, so the flour is not suited for bread.
- Einkorn – I also really love to mill whole grain einkorn. Einkorn is an ancient wheat grain that is easier to digest and healthier than modern wheat. It is a good source of protein, iron, fiber, and B vitamins. Modern wheat has been genetically altered for higher yields and more gluten. Most people can’t digest modern wheat very well but can digest ancient grains like einkorn much easier.
- Popcorn – The other grain that I mill is popcorn. I know it is a little unusual, but years ago I read you can mill popcorn. Now, I am hooked. I love to mill popcorn into cornmeal to use for homemade cornbread.
There are many places to purchase bulk grains. Check out my post on where to buy wheat berries and other bulk grains for more information.
How to Use Fresh Milled Flour
Freshly milled flour is a little different than regular whole wheat or all-purpose flour. It absorbs less liquid than all-purpose and it takes longer to absorb that liquid, so you will want to decrease the amount of flour added into a recipe by 2-3 tablespoons per cup of flour.
I also recommend always weighing your flour if using freshly milled. Grain mills vary greatly – some create very fine and fluffy flour, while others are a little more coarse. This makes volume measurements unpredictable. Using a kitchen scale and calculating the grams is much more reliable, ensuring you end up with a delicious end product.
It can take time to adjust to freshly milled flour. I started out by slowly introducing it and using half freshly milled and half store-bought all purpose.
For an in-depth tutorial on all things freshly milled flour, check out my self-paced online course, Freshly Milled Grains.
In four modules, I walk you through every detail you need to know to be successful with milling your own flour and baking with it. Learn more and enroll in the course here.
FAQs
Flour should just be made from wheat. Because commercial flour loses its natural nutrients, many are typically added back in a synthetic form, such as folic acid.
First, grind your wheat berries. Work the fresh flour through a fine mesh sifter into a bowl. Place what is left in the sifter to the side.
Place the sifted flour back into the sifter and run it through one more time. There are machines for this, too. You can also find recipes for adding cornstarch to freshly ground flour to make all-purpose flour.


hello, I see you say that we can feed our sourdough starter with soft or hard red berries?
I only have soft and hard white berries, can I use one of those two? If so, which one do you recommend?
thank you
I just purchased your “Daily Sourdough” book and I’m excited about trying several of the recipes. You also inspired me to start grinding my own flour. Where I’m stumped is how to substitute my fresh milled flour in your recipes, and, how to know which grain takes the place of which flour?? Thank you for all the fantastic info you provide to our farmhouse 🙂
It can be a little tricky! For simplicity, you could use hard white wheat for everything. For baked goods though, I like to use soft white wheat. I do have a course on Freshly Milled Grains!
Will you be updating any of your all purpose flour recipes to use fresh milled flour?
Thinking about trying, my baby sister can help me learn , but I’m sure I’ll be hollering for help😊❤️
Do you have to sprout the berries before you grind them? I read about sprouting them on the Azure website but I’m not sure why/when you would sprout them. What is the purpose for sprouting them?
Hi Lisa!
How many lbs of wheat berries typically fit in a 5 Gallon bucket?
Around 25-30lbs!
Do you ever sift your flour to make all purpose flour?
I had a question; at the end of your post you mention that fresh milled flour absorbs less liquid that store bought, so you use less of it. Shouldn’t it be more? If a cup of store bought absorbs a cup of water, then a cup of fresh milled will absorb less than 1 cup of water; so I feel like you would need more flour to absorb the same amount of water.
No, you just need to give it more time to absorb everything.
I love learning about sourdough from you! Using your sd starter instructions, I started my own this past fall and am enjoying cooking bread and brownies most of all. We’re going to start milling out own wheat, so with my starter, do I need to start over with fresh milled grains from scratch or would you recommend using my current starter and just feeding it with fresh flour when my mill arrives? I’ve been using organic unbleached AP flour. Thank you so much! Your recipes and insights have been such a blessing to me and my family!
Absolutely keep your current starter!!
Lisa,
I live in Montana, and I wanted to share a website with you about buying their grains in bulk. I, have too ordered from Azure and if I did my math correctly with estimates, Montana is about $.10 a cup cheaper. It all adds up in the end!
Website : Montanaflour.com.
I recently (this morning) started researching a lot about grains – it’s overwhelming with Hard, Soft, Spring, Winter, Red, White! Thank you for your free receipes- I have shared with people over here in Montana!
P.s. I have not tried these myself yet, but they are in the cart! :o)
Danae, I too live in Montana! Thank you for the heads up for local grains….Lisa, thank you for your recipes. I use a lot of them….diane
Any opinions about the Kitchen Aid All Metal Grain Mill Attachment? Might be less expensive but do no know about the quality. Thank you!!