Learn how to build a raised garden bed for less than $22 per box. With just a few materials and a little bit of time, you can put together these cheap raised garden beds.
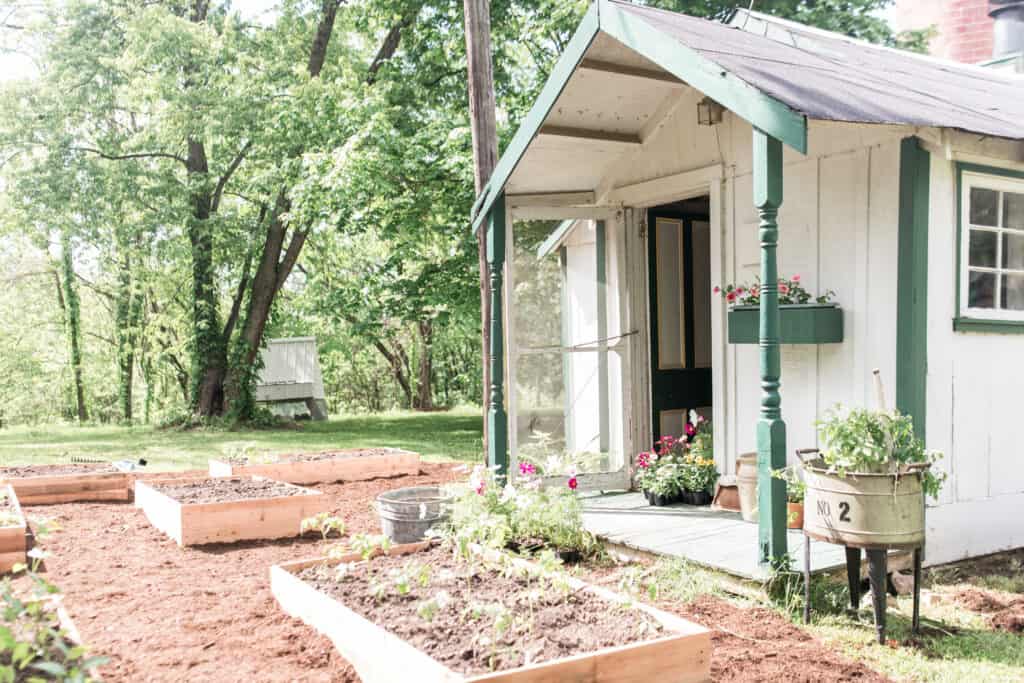
Table of Contents
- Cheap Raised Garden Bed
- Benefits of a Raised Garden Bed
- What kind of wood should be used for raised beds?
- What can you plant in raised garden beds?
- How deep should a raised garden bed be?
- Materials Needed to Build Raised Garden Beds:
- How To Build A Raised Garden Bed Tutorial
- Other Homestead Projects Around The Farmhouse
- How To Build A Raised Garden Bed For Cheap Recipe
- Benefits Of Raised Beds
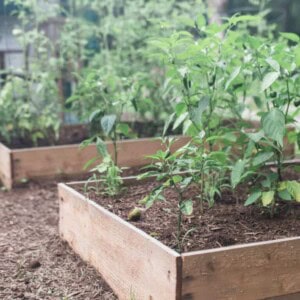
Today I’m going to show you how to build cedar raised beds. If you have been following along in our gardening journey so far, you may have seen our vlog all about our cottage garden and have gotten a sneak peek at the cedar raised beds we built.
These raised beds were so easy. In one day, we were able to get the beds together and get them filled and planted. And we did six of them! I was surprised by how easy the process was.
When we moved to the farm in January, we knew the garden would be a project we would tackle in year one. We love being able to grow a lot of our own food, and we’re excited to continue to expand it each year.
There is something so satisfying about learning, growing, and enjoying the food you produce on your own land, knowing what went into the soil, the kinds of seeds, and all the hard work.
But that hard work is so worth it when you get to bite down on a crunchy sweet pepper or into a home-grown, juicy tomato. Truly, there is nothing like it.
I love how much the kids get out of it, too. You can often find them in the garden chomping away at the vegetables.
This post is being updated in 2024. Now, while prices have risen a bit, you can still totally make a raised bed garden for cheap. Back when I originally built these, pickets were only $2 apiece.
Today you’ll find similar ones at Home Depot for $3.15. So each bed will cost about $22. That’s still fairly inexpensive.
Cheap Raised Garden Bed
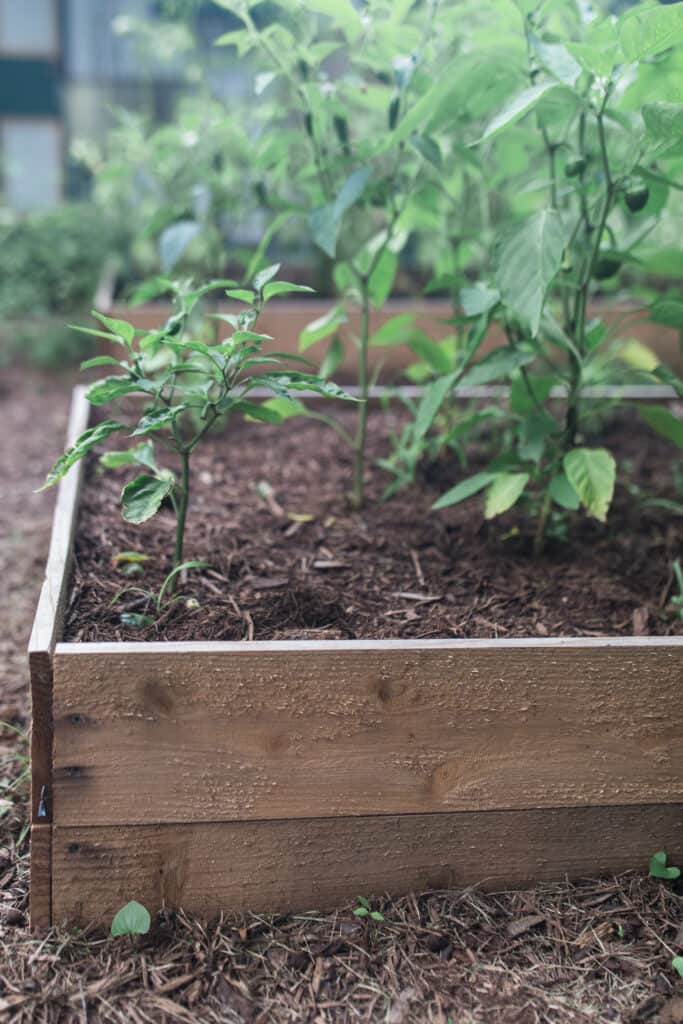
You’ll need six cedar fence posts for one raised bed. The reason we went with cedar fence posts is that it was the only affordable cedar that our local lumber yard had on hand. Plus, it’s just a cheap way to go. The posts cost around $3.15 each, making each cedar raised bed cost less than $22 total. We also repurposed some lumber we had on hand to join the corners.
Now, we went with cedar because it is naturally rot-resistant, and we didn’t want to purchase treated lumber because we didn’t want that treatment leaching into the garden, the soil, and our food.
So let’s grab some lumber and your tools, and let’s get to building these cheap raised garden beds.
This post contains affiliate links, which means I make a small commission at no extra cost to you. See my full disclosure here.
Benefits of a Raised Garden Bed
- Kids don’t run on top of the soil (which compacts it), or get into your veggies as much.
- Less weeding than traditional gardens planted right in the ground.
- You can fill them with whatever soil you can find. Get good soil and add lots of it!
- Space-saving: you don’t have to garden in rows. The boxes themselves create the rows.
- The square-foot garden is a great way to grow a lot of food in small spaces.
- It is much easier to get in the garden to harvest and weed because they are raised.
What kind of wood should be used for raised beds?
Cedar wood is the most affordable and is a naturally rot-resistant wood due to natural oils.
Redwood is very expensive but is rot-resistant and has great longevity.
Douglas Fir is a very affordable option, but won’t last as long as redwood or cedar in terms of longevity.
While pressure-treated wood could technically be used, it could also potentially leach chemicals (like fungicide and copper) into the soil and is not approved for organic use.
What can you plant in raised garden beds?
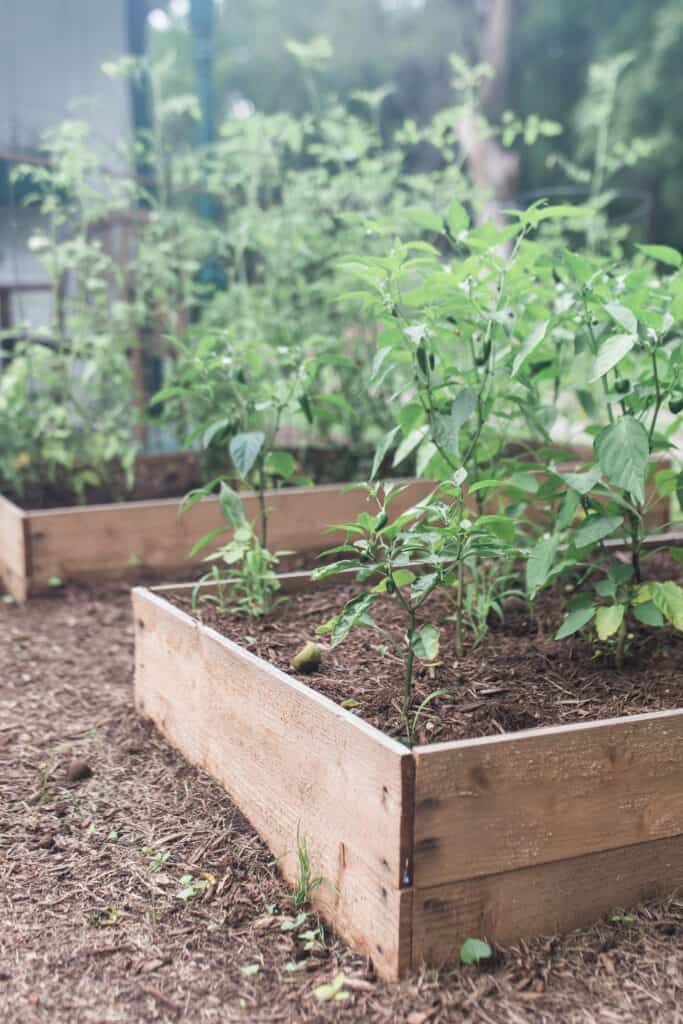
You can plant most vegetables, herbs, and flowers in a raised bed. Some ideas include:
- Asparagus
- Tomatoes
- Peppers
- Carrots
- Leafy greens
- Herbs
- Potatoes
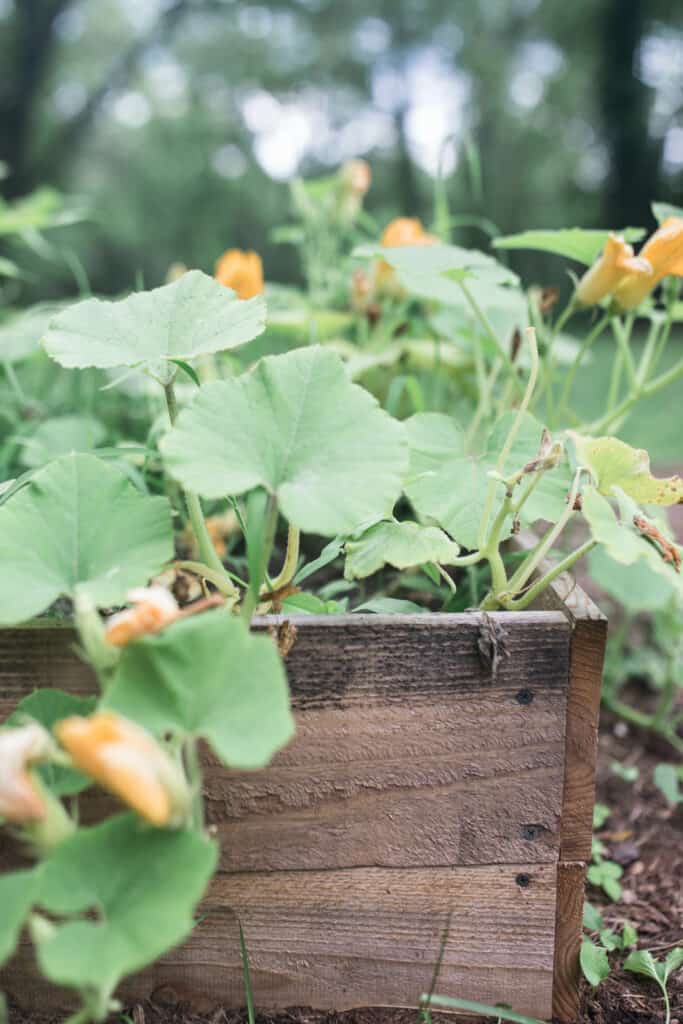
- Squashes
- Beans
- Peas
- Broccoli, cauliflower, brussels sprouts.
You can also grow some fruits like strawberries, watermelon, melons, currants, raspberries, blackberries, and even blueberries.
How deep should a raised garden bed be?
A raised bed should be a minimum of 6-12 inches deep. This ensures there is enough room for your plants to develop a good, deep root system, but you can make the raised bed as deep as you would like. If your bed is not 12 inches deep, you could dig out a bit of the ground before adding the dirt to make it deeper.
Materials Needed to Build Raised Garden Beds:
This is for one raised bed. If you are planning to make six beds, then multiply the materials by six.
- 6 – 6 foot pieces of cedar – we used 6-foot long cedar fence posts
- 6 – 10 inch long 1x2s, or 2x4s ripped in half
- Screws
- Circular Saw
- Drill
How To Build A Raised Garden Bed Tutorial
- Cut off the top part of the cedar picket fence.
- This isn’t something you have to do; we just decided to square off the top to make it look a little cleaner.
- Measure the cedar fence pickets. Cut 2 boards in half.
- Each post was 6 feet long, so we cut each in half to make two 3-foot boards. These will be the ends of the wood frame for the raised bed.
- Take two of the long pieces of cedar, lay them next to each other, and line up the ends.
- Place one of the 10-inch long 2x4s cut in half (or 1x2s) to one of the ends of the long cedar boards and drill in.
- Stand it up with the cedar board touching the table; the ripped 2×4 is up and part of it is above the cedar.
- Place the short end piece next to the long piece, creating a 90-degree angle, and screw it into the ripped 2×4. Continue doing this until all four boards are attached.
- Add the second layer of cedar posts and screw them into the ripped 2x4s.
- In the center of the long side of the raised bed, screw in another ripped 2×4.
- This helps add support so it doesn’t bow out once the soil is added.
- Put them in place and add soil.
- When installing the raised beds, it is a good idea to allow enough space between each bed to make it comfortable to walk through and bend down.
- When adding the soil, it’s a great idea to add some other free or inexpensive materials before adding the soil. The right materials will be ones that will break down and add nutrients to the soil. This has been called the lasagna method. I like to start by laying cardboard down (this suppresses the weeds). Adding natural materials like sticks, leaves, unsprayed straw, grass clippings, etc, to each of the garden boxes before adding the garden soil will save you money from just filling it with expensive soil. These additions also have rich soil-building benefits and natural drainage built in.
Other Homestead Projects Around The Farmhouse
- How To Build A Chicken Tractor
- How To Build A Picket Fence
- Build A Arbor
- DIY Hearth Pad
- DIY Window Box
How To Build A Raised Garden Bed For Cheap
Video
Equipment
- Screws
- Circular Saw
- Drill
Ingredients
- This is for one raised bed. If you are planning to make six beds, then multiply the materials by six.
- 6 6 foot pieces of Cedar – we used 6 foot long cedar fence posts
- 6 10 inch long 1x2s, or 2x4s ripped in half
Instructions
- Cut off the top part of the cedar picket fence. This isn’t something you have to do; we just decided to square off the top to make it look a little cleaner.
- Measure the cedar fence pickets. Cut 2 boards in half. Each post was 6 feet long, so we cut each in half to make two 3-foot boards. These will be the ends of each raised bed.
- Take two of the long pieces of cedar, lay them next to each other, and line up the ends. Place one of the 10 inch long 2x4s cut in half (or 1x2s) to one of the ends of the long cedar boards and drill in. Stand it up with the cedar board touching the table; the ripped 2×4 is up and part of it is above the cedar.
- Place the short end piece next to the long piece creating a 90 degree angle and screw it into the ripped 2×4. Continue doing this until all four boards are attached.
- Add the second layer of cedar posts and screw them into the ripped 2x4s.In the center of the long side of the raised bed, screw in another ripped 2×4. This helps add support so it doesn’t bow out once the soil is added.
- Put them in place and add soil.When installing the raised beds, it is a good idea to allow enough space between each bed to make it comfortable to walk through and bend down.
Notes
Benefits Of Raised Beds
- Kids don’t run on top of the soil (which compacts it), or get into your veggies as much.
- Less weeding than traditional gardens created right in the ground.
- You can fill them with whatever soil you can find. Get good soil and add lots of it!
- Space-saving: you don’t have to garden in rows. The boxes themselves create the rows.
- The square foot garden is a great way to grow a lot of food in a small amount of space.
- It is much easier to get in the garden to harvest and weed because they are raised up.
Nutrition information is automatically calculated, so should only be used as an approximation.


What did you use for bottom of the beds? Fabric liner?
Yes, you can put that down to create a weed barrier.
I just built one of these today! I purchased 6-6’ cedar fence boards, 1-8’ 1×3” board for supports and 2” deck screws from Home Depot and it came to $32. I cut the fence boards for the long side to 70” and for the short side to 35”. Then I cut the 1×3” board into 11” pieces for the supports. I was able to put a support in each corner and in the middle of all 4 sides. It only took about 20 minutes and it is sturdy. Thanks for sharing your idea!
What size screws did you use?
Great article! I’ve been looking at metal raised beds and found this. You can’t find a 6’x3′ metal raised bed for $25, which would be the current cost to build one from cedar pickets. We have lots of scrap lumber to use for corners and center supports so that’s a win. I look forward to putting 7 of these together and get started filling them. We have weed barrier fabric we will place between the beds. Thanks for the easy-to-follow tutorial.