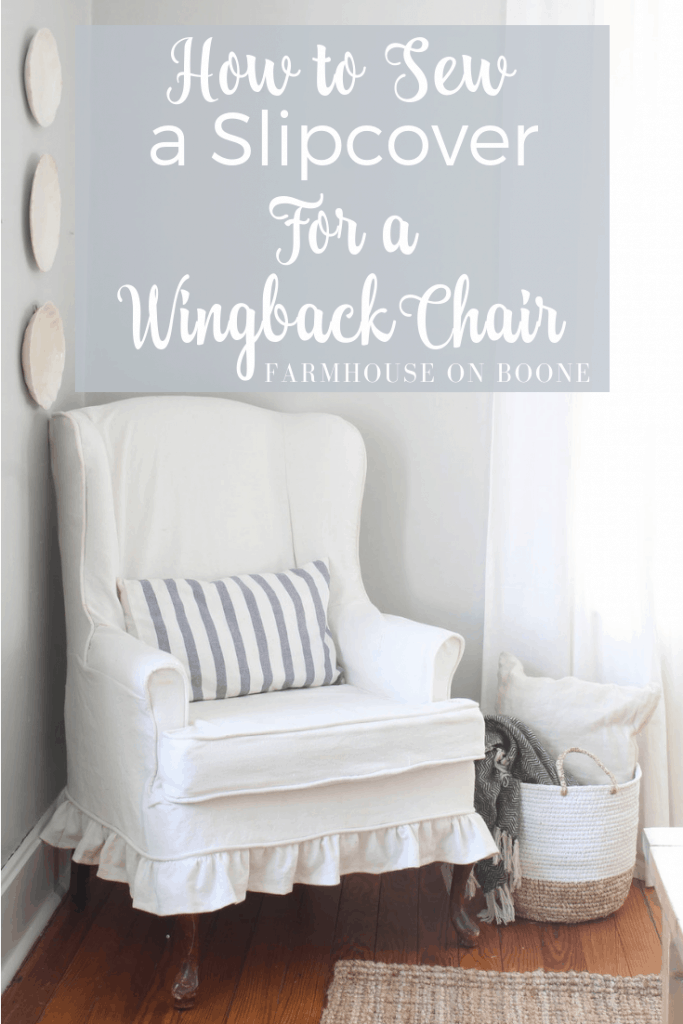
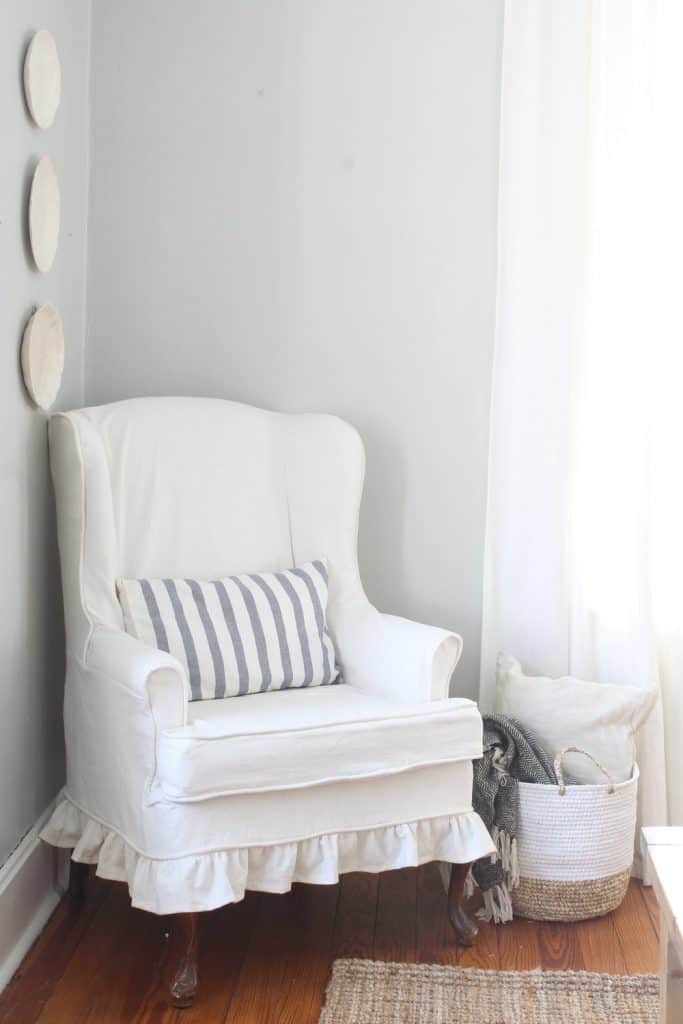
Learn how to sew a slipcover for a wingback chair with this step by step video tutorial.
This post contains affiliate links for your shopping convenience. See my full disclosure HERE.
A Challenging Project
I have been sewing simple things for years now; dresses for my little girls, pillows, curtains, throw blankets and even simple slipcovers for our living room couches.
But, I must admit, this project challenged me.
This project was hard, but with patience and perseverance (and a few choice words) totally doable!
How to Slipcover a Wingback Chair Supplies
For this slipcover I used painter’s drop cloth that I bleached, a process I described in this post.
The drop cloth I use can be found HERE.
UPDATE MUST READ: I have heard from several readers that the brand of drop cloth you buy makes all the difference. I did not know this, since I have only ever used this brand from Amazon. Other brands turns gray and off white.
UPDATE PART TWO: Thanks to Lori, a lovely reader of my blog, I now know why some other brands won’t turn white. The drop cloths I recommend from Amazon are 100% cotton, so bleachable. Some brands are made with 50% polyester, so unbleachable. I knew people were having trouble with other brands, but now I actually know why!
Slipcovering is more about the process than an actual step by step tutorial.
To slipcover anything you just need to follow these rules
1. Follow the original seams and lines of the chair/couch/love seat
2. If you are adding piping, use the original chair as your guide. Put it in all the places that the original maker of the chair put it.
3. Pin the fabric tightly to the chair
4. Use a lot of pins and sew often.
This is not a quick process. You will want your chair near your sewing machine, so you can continually go back and forth to make sure everything is fitting okay.
You never want to pin and sew several seams at one time.
Always pin a little, sew it, and return to the chair to pin a little more.
Taking care to go slowly will ensure an excellent fit!
How To Slip Cover a Wingback Chair Instructions
To begin, I made enough piping to get me through the whole project.
To do this, I sandwiched 6/32″ cotton cord inside a four inch strip of bleached drop cloth.
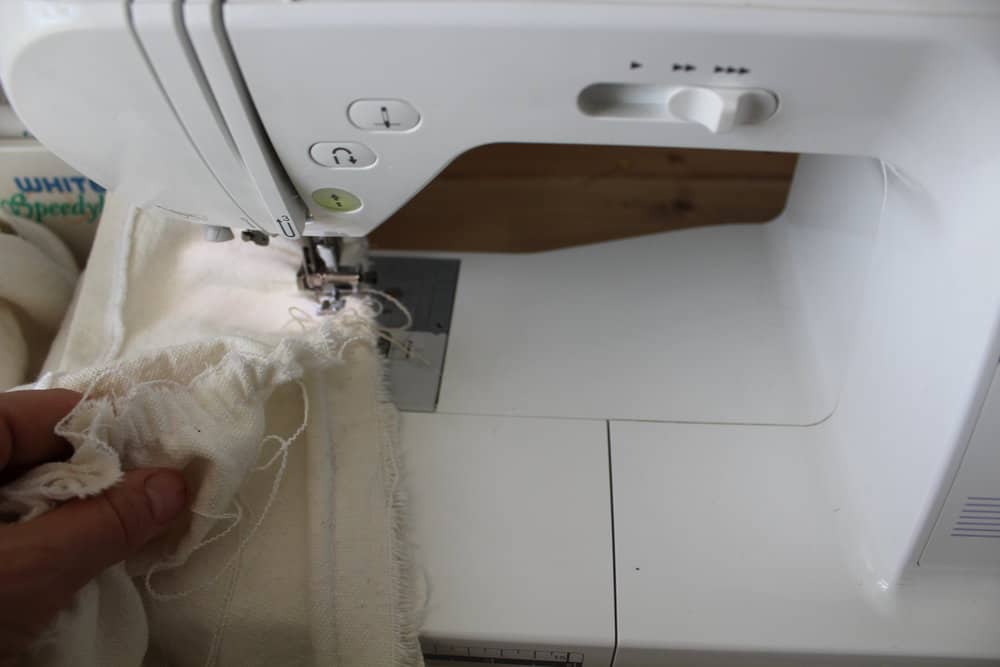
I used a zipper foot to get the needle as close to the cord as possible, without sewing over it.
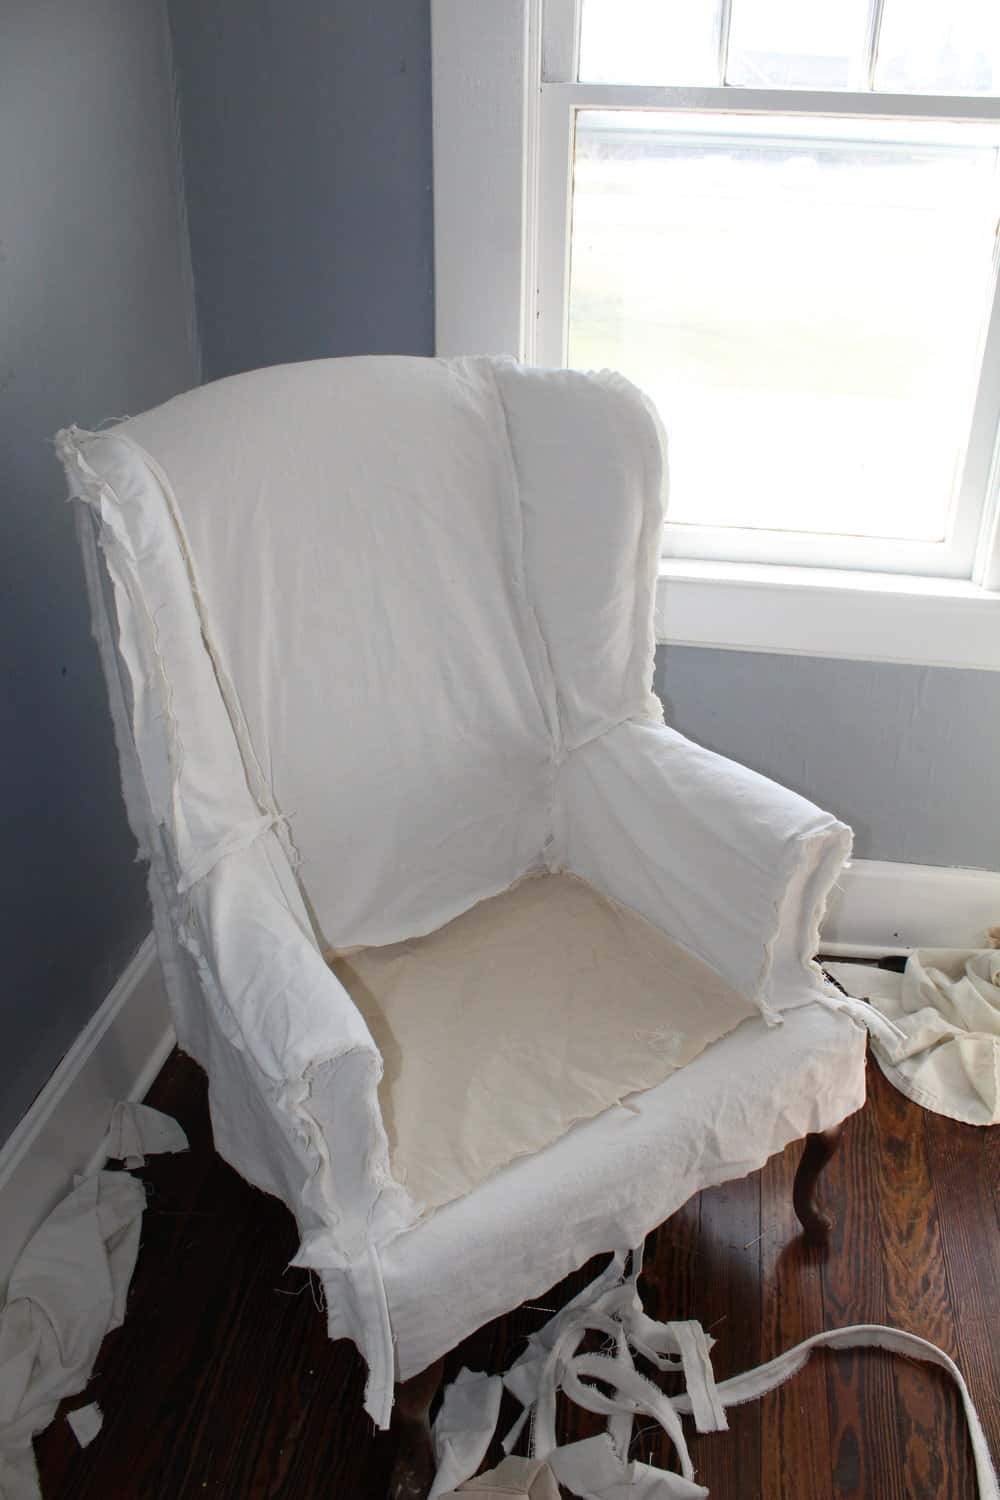
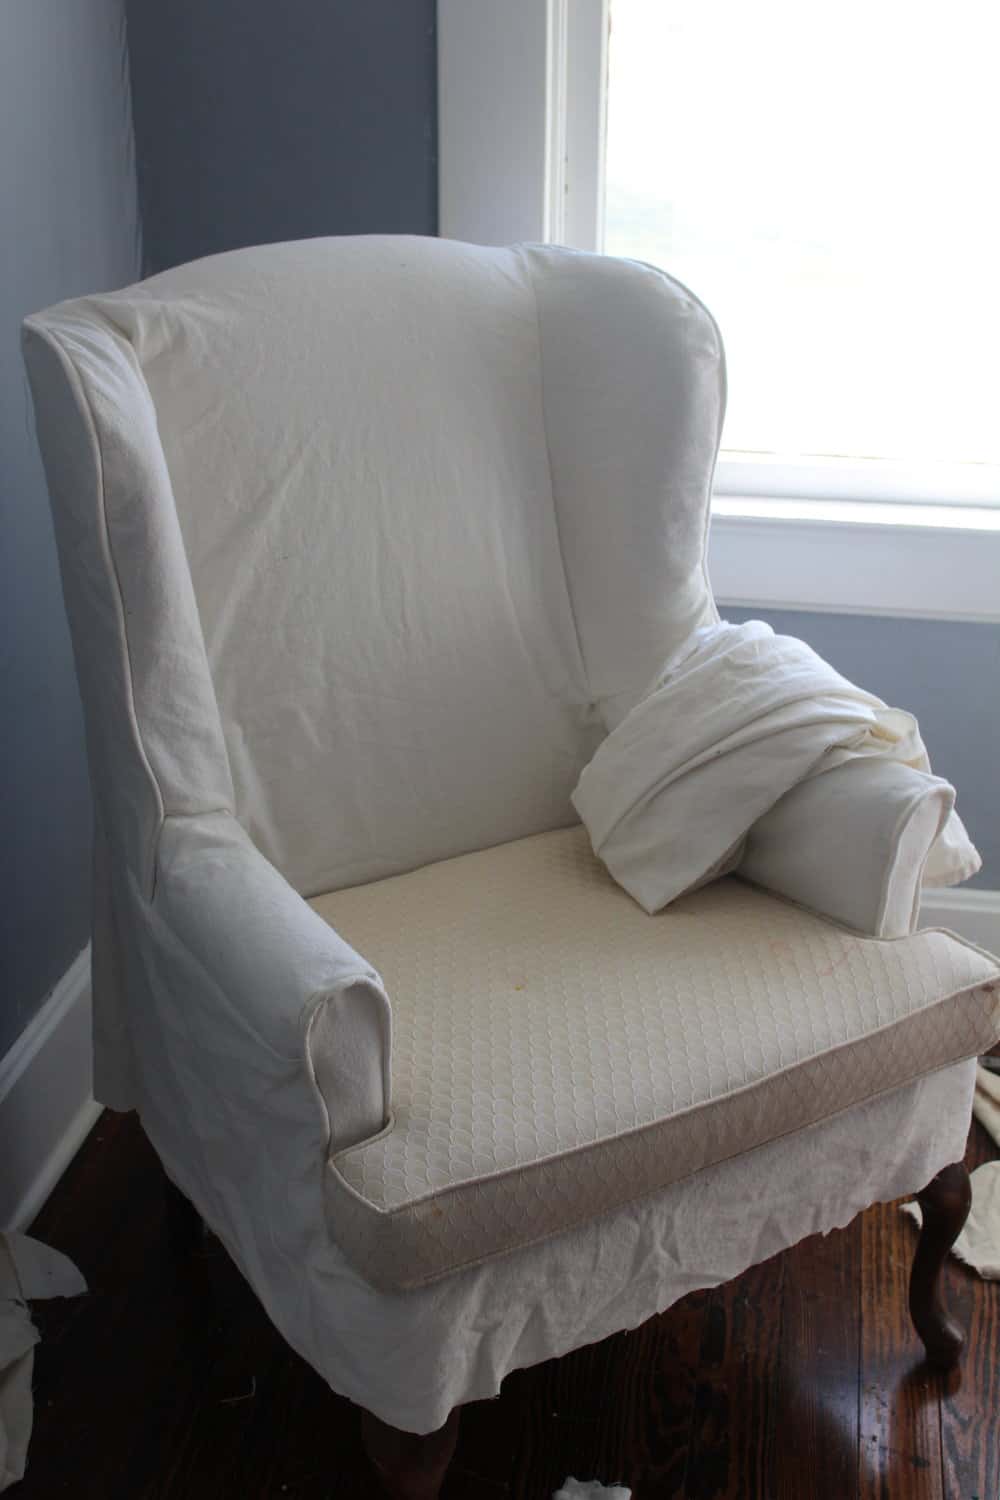
Next, I cut and draped all the pieces over the chair. (This will make waaay more sense in the video.) I cut pieces for the outside and inside of the wing, two pieces for the back, two pieces for the arms, two pieces for the front of the arms, two outside lower pieces, a piece for the front apron and a large piece for the front chair back (if that makes any sense at all).
I totally guesstimated all the sizes of the pieces.
Nothing has to be exact. The exactness will come with the pinning and sewing. 🙂
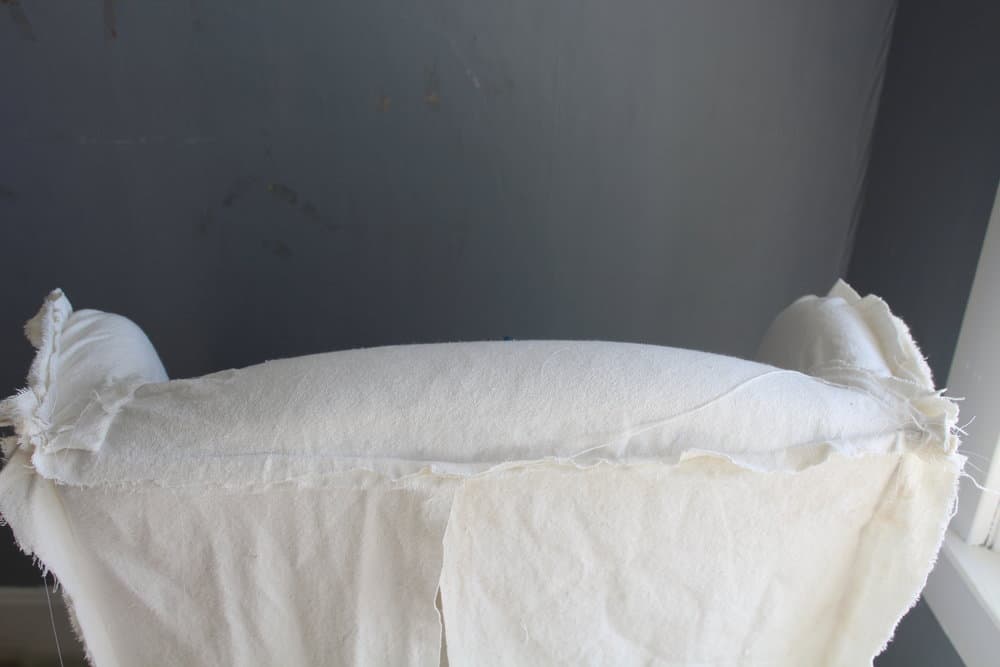
I started by overlapping the two back pieces and pinning them (right sides together) to the chair back piece.
It is really important to keep the chair back piece smooth and tight. It will the most visible in the finished slipcover.
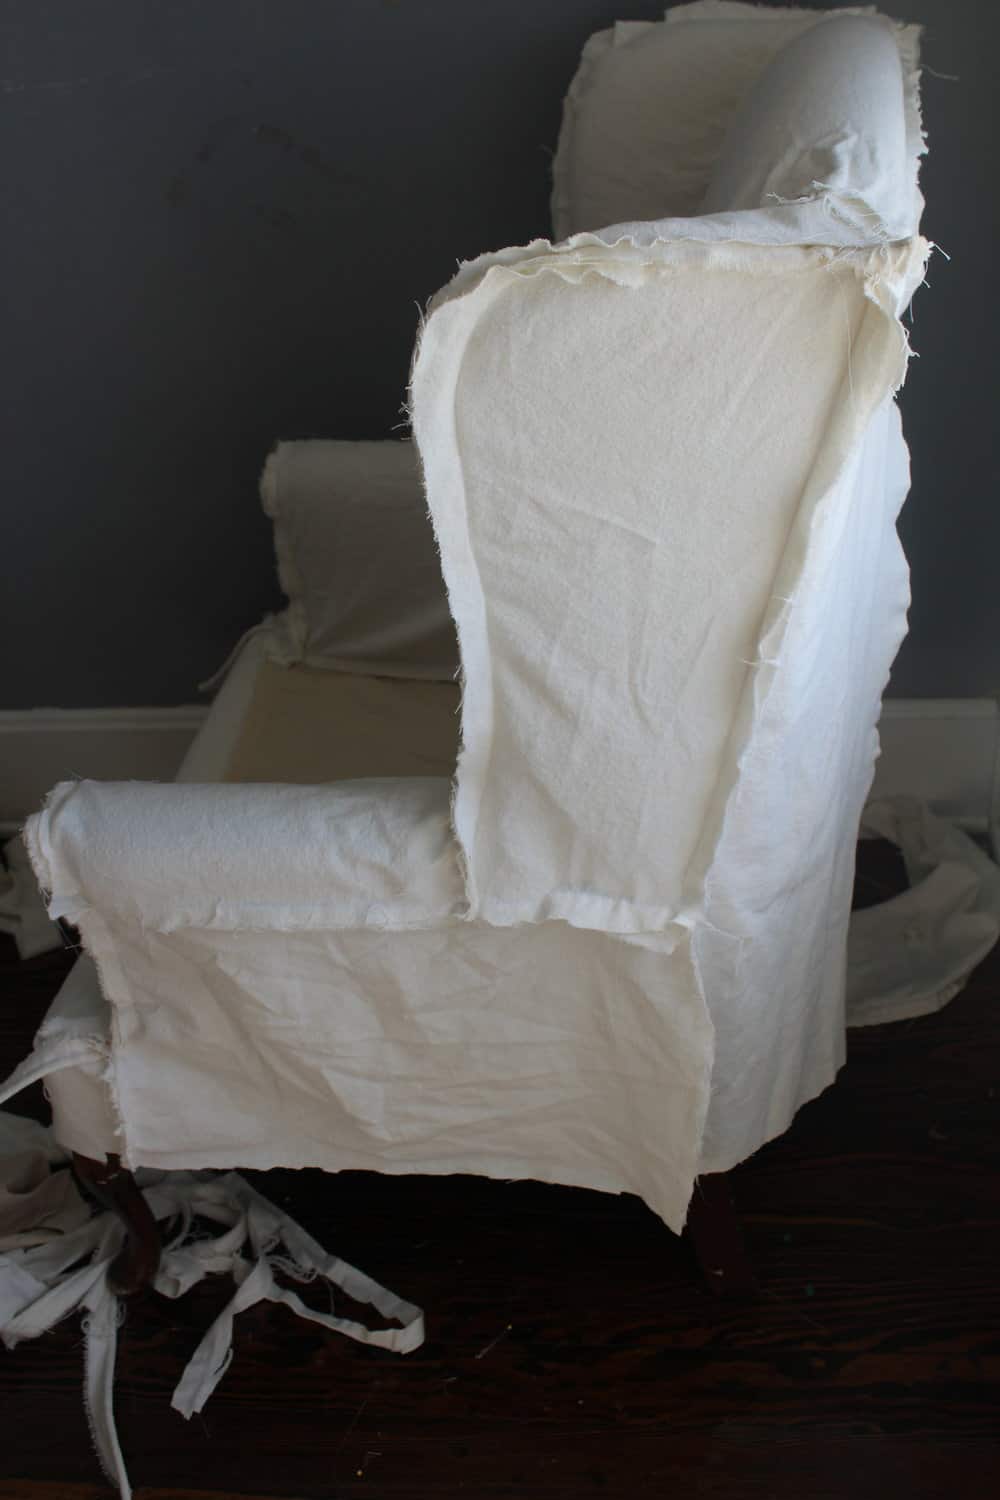
Following the lines and seams of the original chair, I pinned the outside wing pieces to the back and to the inside wing pieces, which I also pinned to the front of the chair piece.
Have I lost you? It will make sense in the video.
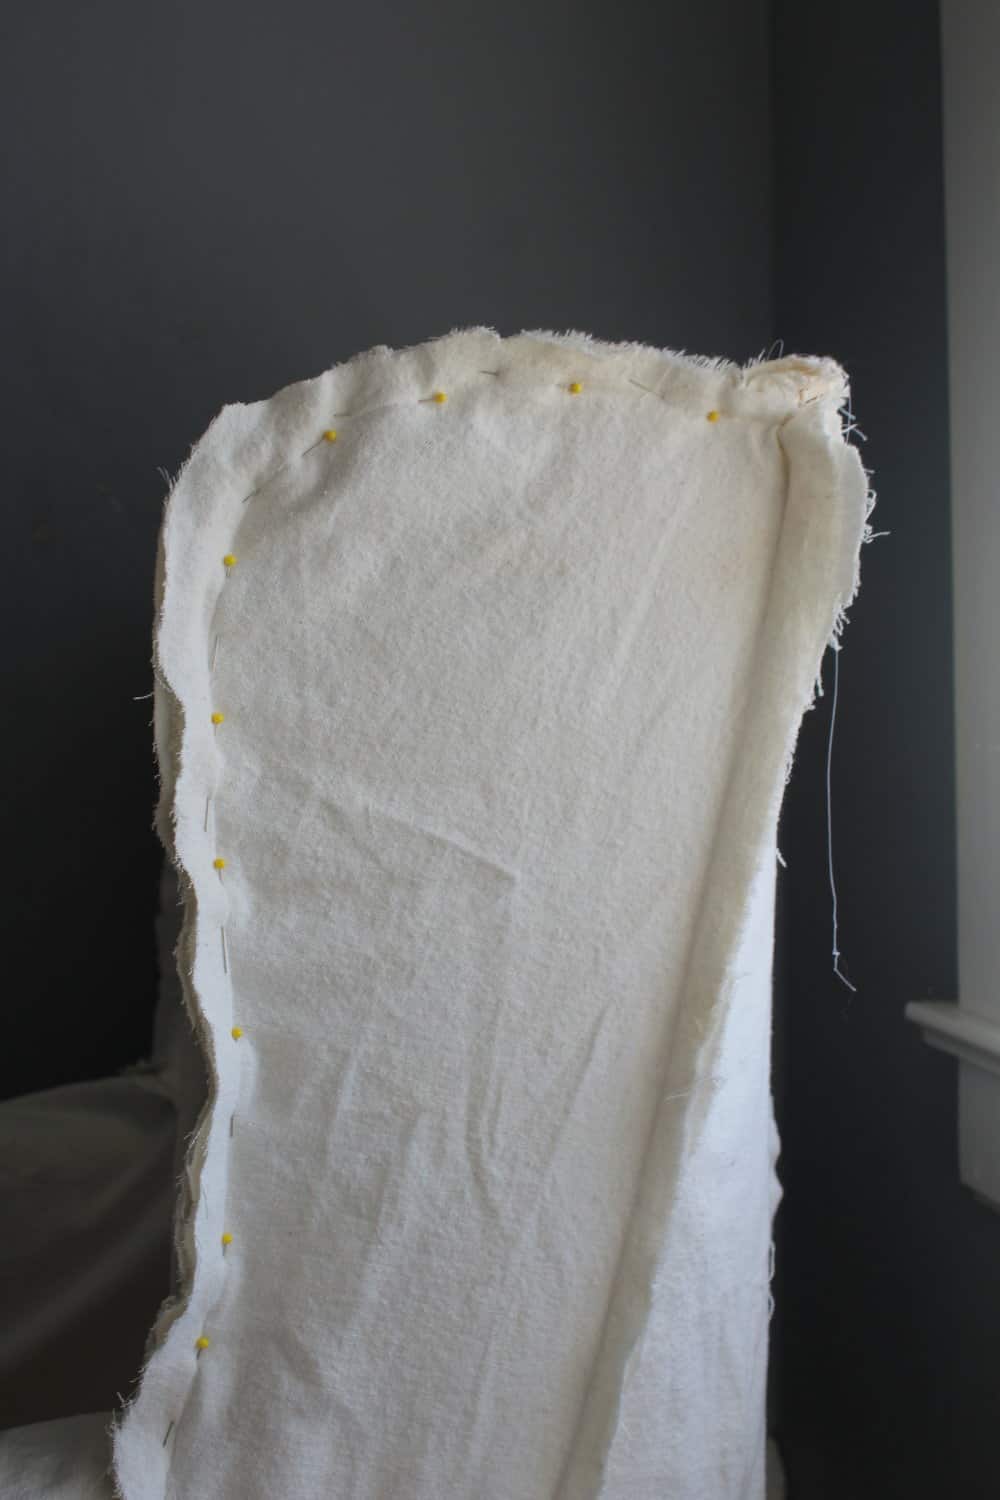
You can see how many pins I used in this process. I wanted to be sure they would follow the lines of the chair, ensuring a nice fit.
I made sure the pins created a line for me to sew along.
While slipcovering I stop several times to be sure everything is still fitting.
Sometimes things may appear a bit wonky but might actually turn out when you pull it taut at another seam.
And remember that mine looked like it wasn’t going well halfway through, but turned out totally fine!
I could tell that I wasn’t going to have quite enough bleached drop cloth to finish my project, so I used unbleached drop cloth for the portion that would be hidden underneath the cushion.
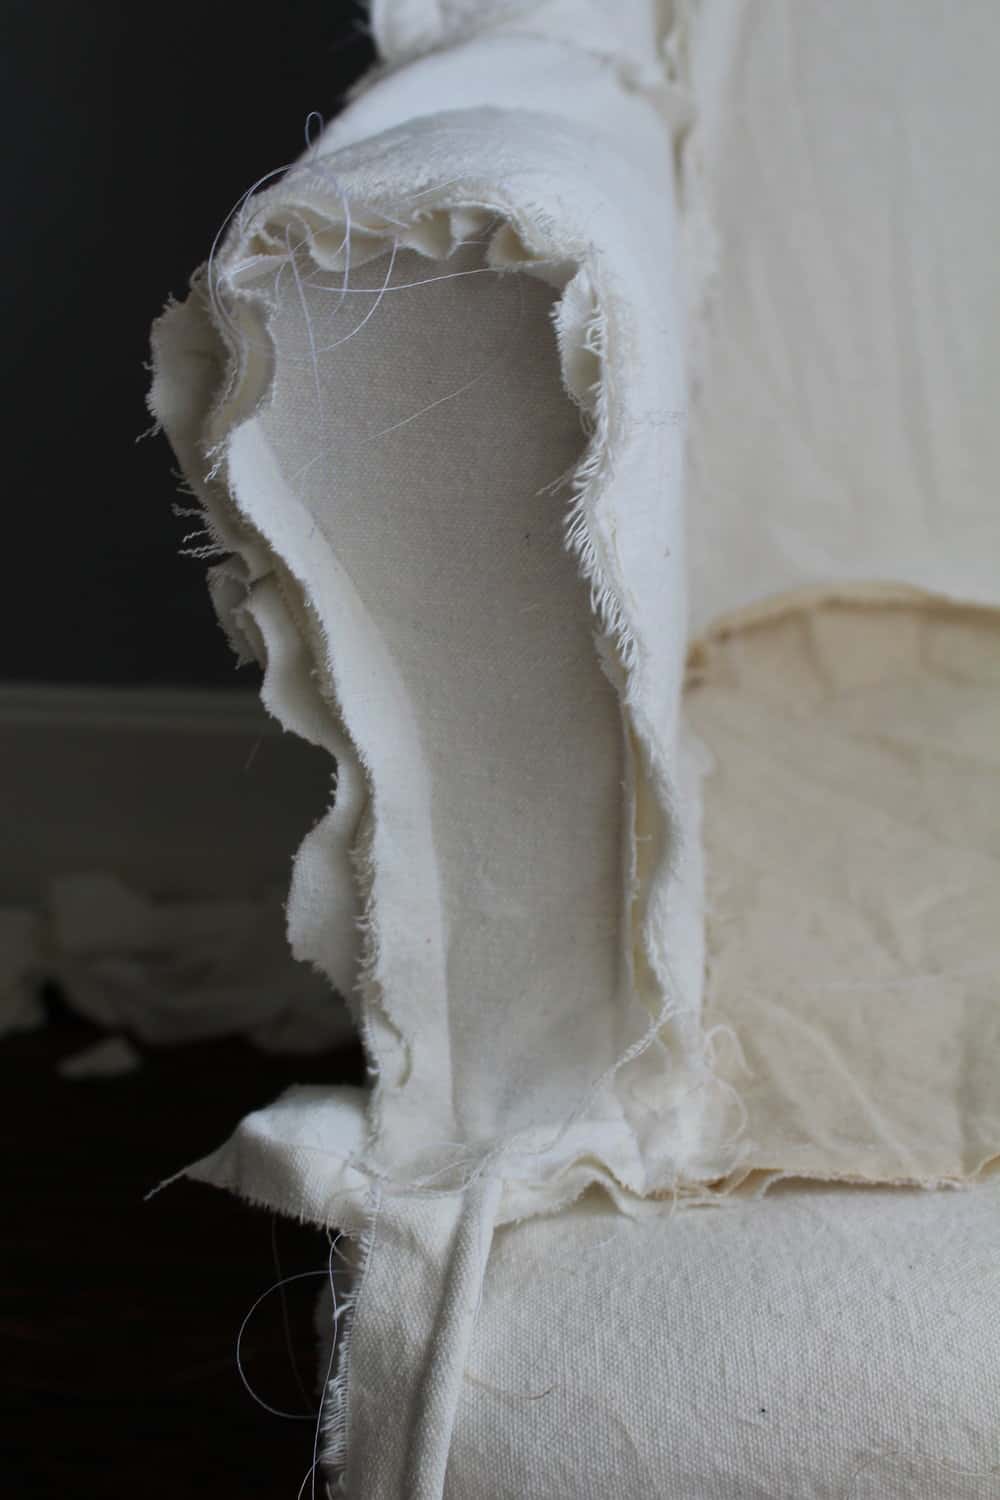
Notice in the photo below how all the seams of my slipcover are along the original seams of the chair.
Use the piece as your guide.
This will allow you to slipcover anything.
After the main portion of the slipcover was finished, I added a ruffle and piping to the bottom edge to finish it off.
For the cushion, I created an envelope style cover, as opposed to using a zipper.
To make the pattern, I traced the shape of the cushion onto the drop cloth, leaving about a half inch on all sides for seam allowance.
For the bottom part of the cushion I cut two pieces that would overlap each ther for the cushion to fit inside.
I also cut a long strip that would go around the center of the cushion to join together the top and bottom pieces, with piping sandwiched between.
If you are on the fence about trying this, I encourage you to do it! As long as you go slow and check the fit often, you can totally do this.
You will be so proud of yourself for tackling the slipcover. 😉
You got this!
How to Sew a Slipcover for a Wingback Chair

Learn how to sew a slipcover for a wingback chair with this step by step video tutorial.
Materials
- 100% cotton drop cloth
- sewing pins
- sewing machine
Instructions
For this slipcover I used painter’s drop cloth that I bleached (a process you can find on my blog!)
TO SLIPCOVER ANYTHING YOU JUST NEED TO FOLLOW THESE RULES
1. Follow the original seams and lines of the chair/couch/love seat
2. If you are adding piping, use the original chair as your guide. Put it in all the places that the original maker of the chair put it.
3. Pin the fabric tightly to the chair
4. Use a lot of pins and sew often.
This is not a quick process. You will want your chair near your sewing machine, so you can continually go back and forth to make sure everything is fitting okay.
You never want to pin and sew several seams at one time.
Always pin a little, sew it, and return to the chair to pin a little more.
Taking care to go slowly will ensure an excellent fit!
HOW TO SLIP COVER A WINGBACK CHAIR INSTRUCTIONS
To begin, I made enough piping to get me through the whole project.
To do this, I sandwiched 6/32″ cotton cord inside a four inch strip of bleached drop cloth.
I used a zipper foot to get the needle as close to the cord as possible, without sewing over it.
Next, I cut and draped all the pieces over the chair. (This will make waaay more sense in the video.) I cut pieces for the outside and inside of the wing, two pieces for the back, two pieces for the arms, two pieces for the front of the arms, two outside lower pieces, a piece for the front apron and a large piece for the front chair back (if that makes any sense at all).
I totally guesstimated all the sizes of the pieces.
Nothing has to be exact. The exactness will come with the pinning and sewing. 🙂
I started by overlapping the two back pieces and pinning them (right sides together) to the chair back piece.
It is really important to keep the chair back piece smooth and tight. It will the most visible in the finished slipcover.
Following the lines and seams of the original chair, I pinned the outside wing pieces to the back and to the inside wing pieces, which I also pinned to the front of the chair piece.
Have I lost you? It will make sense in the video.
You can see how many pins I used in this process. I wanted to be sure they would follow the lines of the chair, ensuring a nice fit.
I made sure the pins created a line for me to sew along.
While slipcovering I stop several times to be sure everything is still fitting.
Sometimes things may appear a bit wonky but might actually turn out when you pull it taut at another seam.
And remember that mine looked like it wasn’t going well halfway through, but turned out totally fine!
I could tell that I wasn’t going to have quite enough bleached drop cloth to finish my project, so I used unbleached drop cloth for the portion that would be hidden underneath the cushion.
Notice in the photo below how all the seams of my slipcover are along the original seams of the chair.
Use the piece as your guide.
This will allow you to slipcover anything.
After the main portion of the slipcover was finished, I added a ruffle and piping to the bottom edge to finish it off.
For the cushion, I created an envelope style cover, as opposed to using a zipper.
To make the pattern, I traced the shape of the cushion onto the drop cloth, leaving about a half inch on all sides for seam allowance.
For the bottom part of the cushion I cut two pieces that would overlap each ther for the cushion to fit inside.
I also cut a long strip that would go around the center of the cushion to join together the top and bottom pieces, with piping sandwiched between.
If you are on the fence about trying this, I encourage you to do it! As long as you go slow and check the fit often, you can totally do this.
Pin it for later
Lisa Bass says
I can’t wait to see yours Katie!! If you have any questions don’t hesitate to ask!
LoriS says
Hello Lisa,
I’m curious what type of thread and needles you use when sewing drop cloth?
I’m studying your simple sewing sessions! I’m so excited!
Lori
CA.
Beth A Greenberg says
hi Lisa, Is there a video or the tutorial.
Vanessa B says
Hi Lisa,
You did an amazing job on your slipcover and you make it sound so easy even though I know it’s not.
I’m working up the courage to make a slipcover for a wingback I found. But before I begin I have a couple of questions that hopefully you can answer.
1. How many drop clothes did you use for this project ?
2. When you bleach the drop clothes, does the bleach "break down" or weaken the fibers of the drop cloth ?
3. Did you finish the seams of the slip cover so it wouldn’t ravel when washed ?
Thanks for sharing your wealth of knowledge. Love, love, love your home and blog.
Vanessa B
Lisa Bass says
Hi Vanessa! Thank you for stopping by! I used two packages of the 9′ by 12′ drop cloth for this. I don’t notice that it breaks it down, but I’m sure it probably does do that a bit. I didn’t finish the seams, because of laziness, but I should have! Every time I wash my couch slipcovers, I get tons of strings. I really should run them through the serger! Thank you so much!
Marie says
Great tutorial – easy to understand and follow. I am currently making slipcovers for two wingback chairs.
I have a major question that I have researched for days and days, no answers anywhere that I can discover.
These are slipcovers and should just hang straight down toward the floor as I understand. Question: what
keeps the covers hanging properly since they cannot be secured underneath chair the way things are when
upholstered. Does the fit and the weight of the skirt do the job or is there something I should know about in advance? Any ideas, tips, suggestions most welcome. And then I may be overthinking this and it will not be a problem – who knows?
Lisa says
I don’t secure them to the chair in any way, so I guess it is just the weight of the fabric that keeps them down. I have never had a problem with that.
Lori says
Hi Lisa,
I enjoyed your tutorial on wingback slipcovers. I’ve reupholstered and slipcovered countless chairs in different styles. I know the answer to the problem of unsuccessful experiences bleaching slipcovers. The problem is fiber content. The drop cloths that you recommend from Amazon are 100% cotton and therefore are bleachable. The drop cloths that are sold in Home Depot by the brand Everbest are 50% cotton and 50% polyester, making them non-bleachable. Unfortunately, the fiber content is not listed on the packaging, but on a tag sewn into the hem of the cloth. Only 100% cotton fabric will bleach white and become soft from the process.
I hope this helps.
Lori
Lisa says
Wow, Lori! Thank you so much!! I had no idea what the difference was. That totally makes sense! I am going to add this to my posts!
Ashley says
Do you remember how many orders of drop cloth (or yards) you needed for this chair?
You did amazing!!
And I appreciate that you made your own piping as well! Great touch
Lisa says
Thank you so much! I’m pretty sure it just took right at one. 🙂
Lori says
Really fabulous and super helpful video! thanks, I feel so much more confident to try to make my own slipcover!
Lisa says
So glad this was helpful for you! Hope your slipcover process goes amazingly! 🙂
Annie says
Great tutorial. Thank you. How many metres of fabric would a wing back chair like that require?
Lisa says
I believe it took one package of drop cloth, if I remember correctly. I use the 9 foot by 12 foot. Not sure how many metres that is though!
Nancy says
It might be worth pursuing if one wanted a more taut fit to put velco strips at the bottom of the chair and at the underside bottom of the cover. Just a thought.
Betty says
Do you fasten the back pieces in any way or do you let them hang free.
Thank you for the tutorial.
michelle says
Hi, I love your slipcover look. Any chance if i provided pictures and measurements you would sew me a slipcover?
Michelle McQuillan
Lisa says
Hey Michelle! Sorry, but I am not taking on any orders for slipcovers. They are very custom to each individual chair, so I can’t go off measurements alone.
Hugh says
I’m thinking of trying this! What weight of 100% cotton canvas did you use? I see they come cotton thickness as low as 6 oz weight to a thicker 10 oz weight. Do you know what weight of cotton you used and if you would prefer a thicker (or thinner) material weight in retrospect?
Kristine says
Hi! I love this tutorial you have put together. I’ve just passed the bleaching stage and I’m getting ready to make my piping. Should I wash and dry the cording in advance as well? It says it’s 100% cotton. I was just curious if you did before sewing. Thanks!
Joan says
Your video or is helpful thanks for making it.
Sherri Powell says
I wish I could see a picture of the finished back of the chair.
Pat Hurley says
HI and thank you for the wonderful video which I have followed as much as possible making a “trial” slipcover out of a sheet set before I cut into the painters cloth..however I have a sloped front to the arm of my wing chairs and the cover for it doesn’t look right . Could you please give me some suggestions on how to fit the slipcover to the arm front to make it look good…o , also the front of the chairs arm is covered in the nail heads that are used to decorate furniture…I can send you a picture if you like. Thank you again….
Lisa says
If you add nail heads you are doing more of an upholstery project than slipcovering. Email the pic to lisa@farmhouseonboone.com and I’ll check it out!
S Thompson says
I am currently slipcovering my wingback chair. I’ve gotta tweak a few spots. I’m having trouble with the area where the wing meets the arms. I found that I didn’t need a zipper or opening to remove and put it on. 😊 Maybe since it’s pretty straight up and down. I saw on a site(maybe the slipcover maker) where she topstitched on each side of seam instead of cording. It’s a different look… I am liking it! It was so much easier! Thank you for your tutorial!
Kim says
Dear Lisa, My mom has a couch , loveseat and recliner that I would like to slipcover. Do you have videos for these pieces?
Thank you,
Kim Alexander
Lisa says
Hi Kim,
I actually use the exact same technique for the couch and, since everything on goes on custom, the tutorial for those pieces would be the same. 🙂
Rose says
Hi Lisa,
Thank You for your wonderful video tutorial. I am wondering how the slipcover stands up to dirt? I have teenagers and a dog that won’t stay off furniture. I’m assuming if there is visible dirt on the slipcover, one could use a product such as “shout” and bleach to remove the dirt or stain?
thanks,
Rose
Anonymous says
Wee sounds
Kathe says
Thank you for you tutorial video. Love the envelope idea for seat cushion. I’m still confused on how the back of the wing chair comes together. Thank you, Kathe
Gail says
Can you show me the back of the finished slipcover and how you fastened the two back panels together? Your video has inspired me to attempt making my own slipcover. However, in my space, the back of the chair is just as visible as the front.
Gail says
Thank you for the wonderful tutorial. You have inspired me to attempt making slipcover for my two wing back chairs. However, in my space, the back of the chairs are just as visible as the front. Could you show me the back of your finished chair, so I can see how you fastened the two halves of the back panel? I know there is more than one way to do it, but I would like to see how you did it. Thanks again for your through tutorial.
Gail says
Hi Lisa,
Thank you for your wonderful tutorial. You have inspired me to make slipcovers for my two wingback chairs. However the back of my chairs is just as visible as the front of my chairs in my space. Could you please show me the back of your chairs and how you fastened the two back panels together. I know there is more than one way to do it, But I would like to see how you did yours. Could you please show me a picture. Thank you very much
JoAnn says
Excellent video! I am going to follow you everwhere!
Sallie says
Thank you so very much for your excellent video. I am consumed with figuring out how to slip cover my sofa and yours is the best I have seen yet. Perhaps I have finally gained enough confidence to give it a try .
I’m going to have to see what else you’re up to excellent really excellent i’m going to have to see what else you’re up to . Excellent, really excellent and friendly approach. !!! 🙂
Jana says
Thank you so much for the wonderful video! I have been exploring slipcover tutorials and videos for a long time and yours was the first one that made sense to me.
My new wingback chair looks great and I am ready to slipcover everything in my house!
Thank you,
Jana
Judi says
You have a wonderful touch! Thank you so much for sharing this post. Now, on to my slantomatic singer machine, circa 1960…
Lisa says
Oh nice! Does it still sew well? I bet it’s a lot more sturdy than modern ones!
Carol Francis says
You inspired me to finally make a slipcover for our sofa. I had been putting it off because of the cost of fabric, then you came along and showed us the many uses of drop cloths. I didn’t bleach mine white but did add a few cups of bleach to lighten them up a little and washed/dried them 4 times. It was a challenge even for an experienced sewer as I am but in the end I am extremely pleased. Wish I could add a photo. Keep up the good work and inspiring others.
Wimberly says
After trying 4 different store-bought slip covers, I realize my wing chair is just too wide. I do sew, but I was trying to speed up a room makeover. I am SOOOO glad I found your blog in my search!
Did your 9 x 12 drop cloth cover your chair and your piping?
Also, I will have to use the “tub” method for bleaching, that you mentioned. I have a front loader.
Thank you again, for such descriptive instructions, and all your encouraging comments along the way!
Wimberly
Diane Hutchins says
Hi Lisa,
After seeing how much seamstresses charge ($400 and up) to have a custom made slip cover for a wing-back chair, I decided to look up instructions to see how to do it myself and I’m so glad I came across your tutorial. Your instruction are so easy to follow and you make it look so easy. I hope I can do it! I do have a question. Should I wash and bleach the drop-cloth before starting to sew, or do I just start cutting and sewing?
Thank you so much,
Diane
Lisa says
Yep, definitely wash and bleach first! So glad my tutorial is helpful for you!
LoriS says
I love this sweet blog.
Thank you for sharing your talent.
I may have missed it in other posts, I’m curious what type of thread and needle you use when sewing on drop cloth.
LoriS
Diane Hutchins says
Hello again Lisa,
Thank you for answering my question. I realized you had a tutorial about how to wash and bleach the drop cloth after I asked you the question. However I do have one more question. How do you use the straight pins as a sewing guide since you can’t sew over them? That part has me stumped. Don’t you have to remove them as you sew? I wish you could give a demonstration on that part.
Thank you,
Diane
Lisa says
I just take each one out right before I reach it with my sewing machine. that way I can still follow the line. Does that make sense?
Diane Hutchins says
Yes. Thank you so much!
Diane Hutchins says
Hi Lisa,
Update. I used your Amazon link to purchase my drop-cloth and followed your instructions. I ripped the piece in half down the seam. I filled my top loader machine using the extra large capacity with the hottest setting. Once filled, I added about a half a gallon of bleach and then the drop-cloth. I agitated it every so often and let it soak for about 7-8 hours. Since it was time, I pulled the knob and let if finish the cycle, but when I pulled it out to dry it, it was only white in some areas but still mostly beige. I read some of responses from other posts and it seems that this has happened to someone else so I’m not too worried. I see that you told her it was okay to do the process over again to the same piece, so that’s what I’m going to do. If it doesn’t come out completely white again, should I keep trying?
Thank you for all your help.
Diane
lucille m stevens says
Hi, I love your tutorial. You are excellent in explaining all the steps. You make slipcovers look easy to acomplish, and now I feel brave to tackle. So thank you so much.
Cara Fry says
You need your own show. I love redoing furniture and can’t wait to try a slip cover. I have been sewing since I was about 7. So over 50 years. You have such a great talent and I hope to see more of your blogs.
Donna says
Thanks so much for making your video! I found it very helpful and such a good visual aid in making slip covers for the first time. I have been sewing for many years, but I must say this was the most difficult thing I have done. I couldn’t have done it without the aid of your blog post and tutorial.
Lori Konecki says
You mentioned a video, in fact you mentioned it twice in your article~ but where’s the link to the video?
Could you provide a link to the video? thanks so much
Lauren Kelly says
These are such great tips! Thank you for this post. You make it look so easy.
Jenny says
Hey Lisa,
I just love your videos and style!! I’m completely hooked lol!! Your book is beautiful as well and I cannot wait until you have one out with your yummy recipes!
One day I was really pondering how to get affordable slipcovers for our 2 wingback chairs, and I came across your channel and this video. It was a good sign and just one of those little things God puts in our lives! 😉 my winged back chairs are in beautiful condition and well made. They were my Beba’s (Grandma’s). However, they are a very light pink and also recline. So I need to figure out how to make a slipcover that will “give” a little when reclined. Anyway, thank you for this! I know you have had your couch slipcovered for a long time. I’m just curious how you worked/sewed it to slip on and off. Does that make sense? Probably not lol. Too difficult to describe on here. God Bless and thanks again!!
Rae Ann says
Lisa, you mentioned you were going to apply ties to the back of the chair. Did you do that or did you change your mind? Also, I love using the envelope method for pillows but on slipcover pieces what’s the average amount you overlap on the back AND your cushion? That idea was brilliant and I’m doing it now but struggling with that particular issue. I’d love to hear back so I can continue sewing before I make a mistake. I’m using denim fabric and out of fabric! Dang!
Marla Singer says
Hi Lori,
When Lisa mentions a link to something such as a video I think she is referring to you-tube. She often says she will link something in the comments below, but then there are no corresponding links to be found. I came to the conclusion she is cross-posting these videos to a you-tube channel and that’s where the links are located. Maybe we need to locate her you-tube channel and follow her on there so we can access links.
-Marla
Bryn says
Hi! I’m trying to decide if a sip cover would be durable enough for a house full of little (and big) kids..how to do you feel like your chairs have held up? Thank you!
Lisa says
Several years later and we still have them! They’ve held up great!
yolanda pitcher says
Hi Lisa, I would like to make a slipcover for my sofa, do you have instructions for that? Or would I use the same guidelines for the wing back chair?
I have been following you for awhile. Love your style of life!
Lisa says
You just use the same exact process, no matter the shape/size!
Doreen G. says
Thank you for the armchair drop cloth slipcover pattern. I just finished making my drop cloth slipcover using your diy pattern and sewing instructions. It was difficult to make but worth it. I am so happy with it.
Betty Rogers says
Sometimes I use clothesline from the $1 store for piping. You get tons of it for $1.
Karen says
Quite charming and well done and GREAT instructions!
The beauty of the 100% cotton fabric is that it’s washable!
One emphasis I would include is to preshrink on hot water in the washmachine (with very little bit of detergent) for any 100% cotton fabric/cloth if not “bleaching”!
All the tedious work that goes into making a slipcover would be wasted if after the first wash it shrinks, which it will!! Be sure to dry on medium/hot for further shrinkage.
I’ve been doing slipcovers for 30 years and learned the hard way!
New to your vlog and love what you younger generation can create!
Ann says
Hi Lisa, I can’t seem to be able to find the video link for this tutorial? Is there a secret…?! 🤷🏻♀️😅
Lisa says
Sorry! You can find that tutorial here: https://www.youtube.com/watch?v=YPL8Uf0EBPI
Mary Ann says
Wow! You give me hope. Great job!
Gabrielle says
I have a set of these exact chairs and a camelback sofa that matches them. They were my mom’s and I’d love to slipcover all three pieces. Have you similarly slipcovered a sofa? PS- You did a great job!