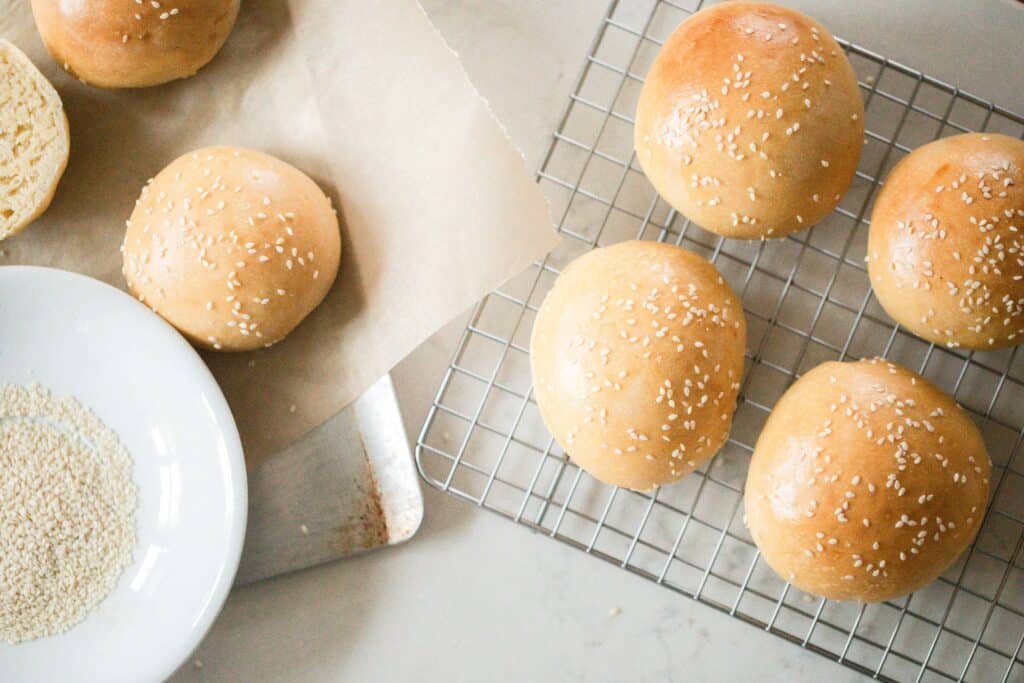
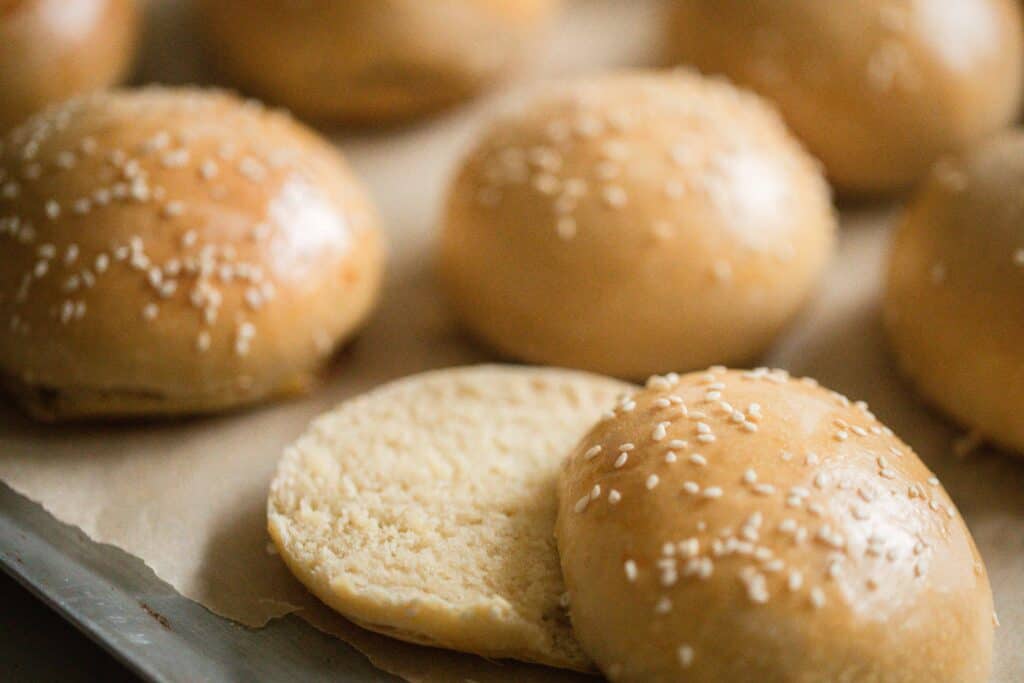
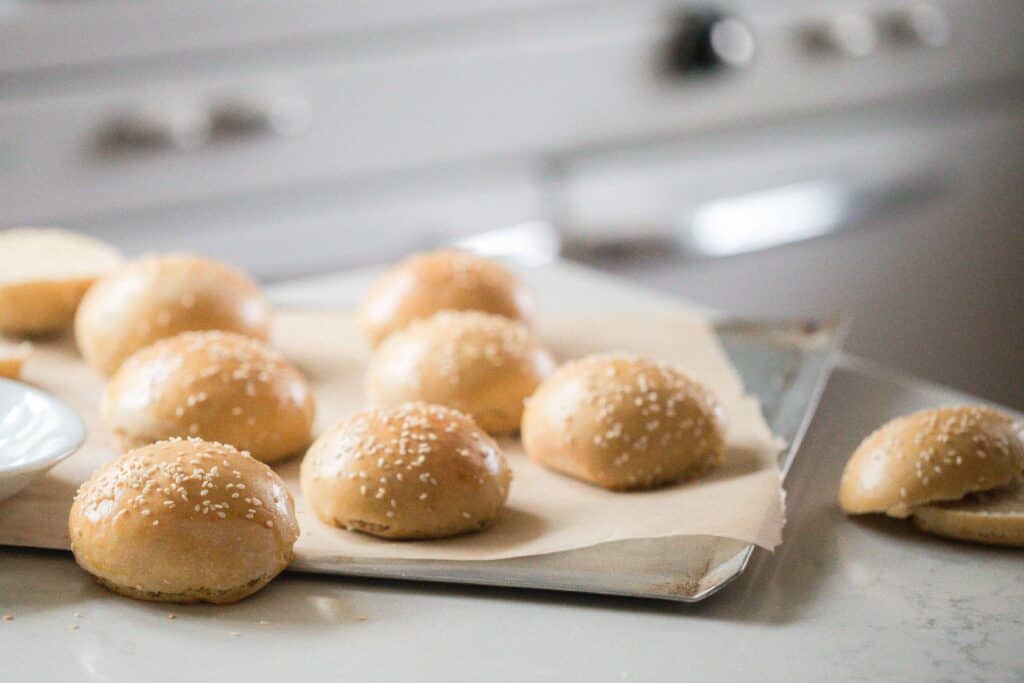
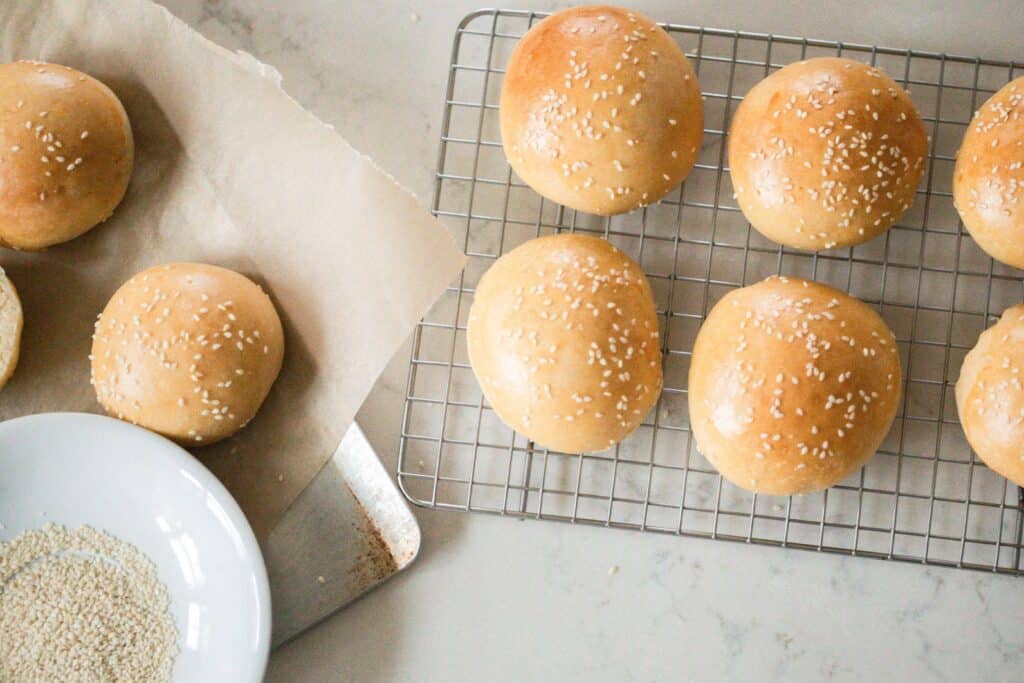
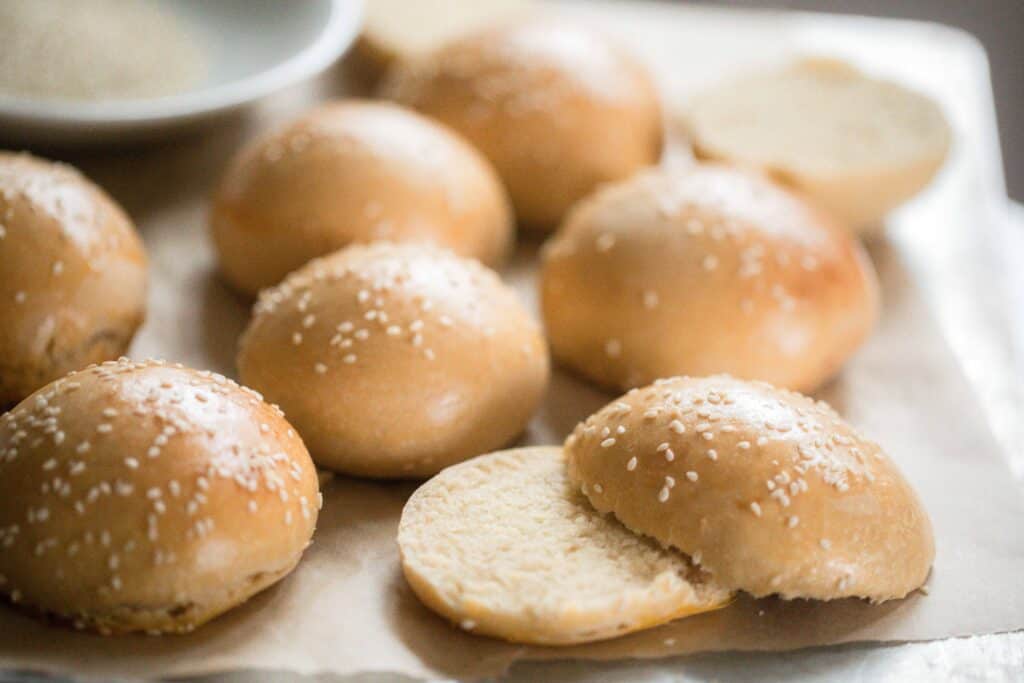
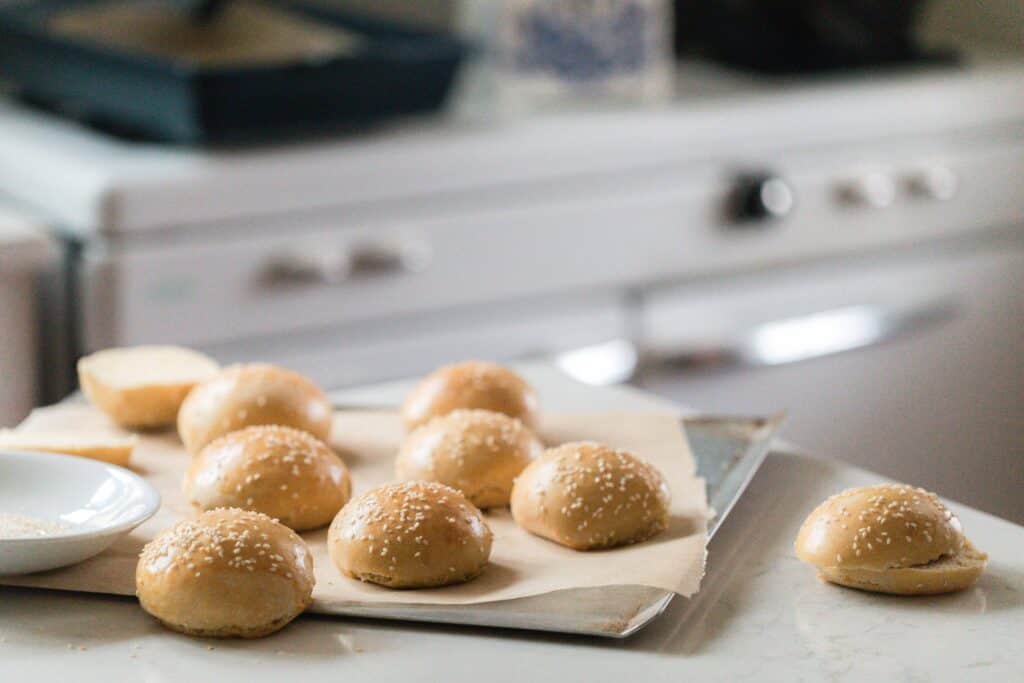
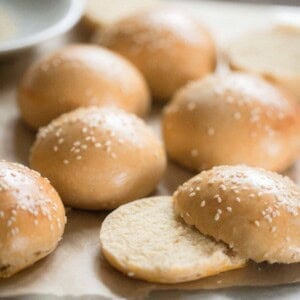
Soft and fluffy sourdough buns are perfect for sandwiches or your summer BBQs. These fermented rolls make great hamburger buns.
Summer is approaching, and between warm weather, a huge new garden, and an abundance of veggies that come with it, we couldn’t be more excited.
We recently tore down our garden cottage and built raised garden beds. This past week, Luke added a lovely picket fence to protect our soon-to-be prolific garden.
Something else that we look forward to every summer happens to be family barbecues.
There is nothing like a delicious, grass-fed burger on fluffy, sourdough hamburger buns, topped with a fat, juicy slice of homegrown heirloom tomatoes and some homemade pickles.
These would also make great sourdough dinner rolls, but I prefer this recipe for those.
Benefits Of Sourdough
Grains contain phytic acid. Phytic acid is an antinutrient found in grains, beans, and nuts that interferes with the absorption of certain nutrients.
Proper preparation of grains, like fermenting with sourdough, eliminates most, if not all, of the phytic acid.
This is the very reason traditional cultures soaked and fermented their grains, seeds, and beans.
Instead of using instant yeast packets, people in traditional cultures leavened their bread with a fermented starter that captured all the yeasts in the environment.
These days, we’ve lost that art, and so many people have a difficult time digesting grains. Let’s bring back the sourdough and fermented grains.
Tips For Making Sourdough Buns:
- Ferment the dough overnight for the most benefits, or make a quick version.
- If you are new to sourdough, make sure to see how to make your own sourdough starter and how to care for it.
- Adding an egg wash to the top gives them a beautiful golden color. This is an optional step. You can also use a little milk instead.
FAQ:
How do you shape a sourdough bun?
Place a small amount of dough on a floured surface and pull the dough up and fold it into itself 3-4 times until a ball forms. Place the dough seam side down.
Why is my sourdough bread so flat?
There could be a few reasons for this:
- The bread was not proofed enough. Allow the buns to double in size on the baking sheet before placing them in the oven.
- Over-proofing. Allowing the dough to proof too long can cause them to be flat. You can reshape them and proof again for a shorter period.
- The temperature was too low during baking.
Why does my sourdough not hold its shape?
If the dough was under kneaded, it may not hold its shape. To fix this, make sure to knead the dough well to improve gluten development.
If your house it too warm and/or you allow the dough to sit out too long, it can become over fermented. This can cause the dough to turn into a gloopy mess.
What does sourdough buns taste like?
Sourdough hamburger buns have a slightly tangy flavor from the fermentation process which is balanced out with a hint of sweetness. They are so delicious.
This post contains affiliate links, which means I make a small commission at no extra cost to you. See my full disclosure here.
Tools you may need:
Grain mill to grind fresh grain (optional)
Measuring cups
Parchment paper
Sourdough Hamburger Buns Ingredients:
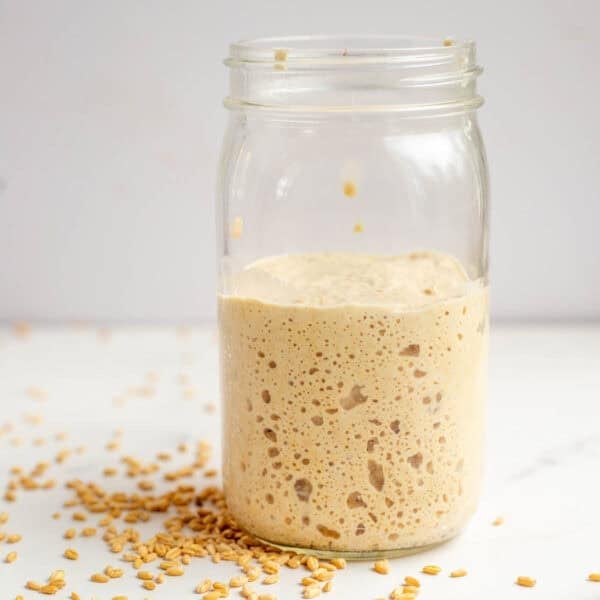
Sourdough starter – Active and bubbly. Your sourdough starter should be fed 4-12 hours before starting this recipe. It should be nice and active to give the hamburger buns their rise.
Warm water – The warm water really helps activate the natural yeasts in the starter. Make sure the water isn’t too hot or you risk it killing the starter.
All-purpose flour – Gives it a nice fluffiness. You could also substitute with up to 1/2 whole wheat flour. Water may need to be adjusted a little and the buns will not be as soft.
Coconut oil or butter – Both work. To make this recipe dairy free use coconut oil.
Honey – Or substitute with maple syrup.
Salt – Brings out all the delicious flavors.
Egg – This is considered an enriched dough since it includes eggs and butter. Makes it rich, fluffy, and delicious.
Egg wash (optional step)
- Egg yolk
- Water
How To Make Sourdough Buns
Day 1
- In a stand mixer with a dough hook, add sourdough starter, warm water, all purpose flour, melted butter or coconut oil, honey, salt and egg. Knead for 5-10 minutes with dough hook until smooth and elastic.
- Place dough in a greased bowl and cover with a damp towel or plastic wrap for 8 hours.
- Transfer the dough to the refrigerator and chill covered overnight.
Day 2
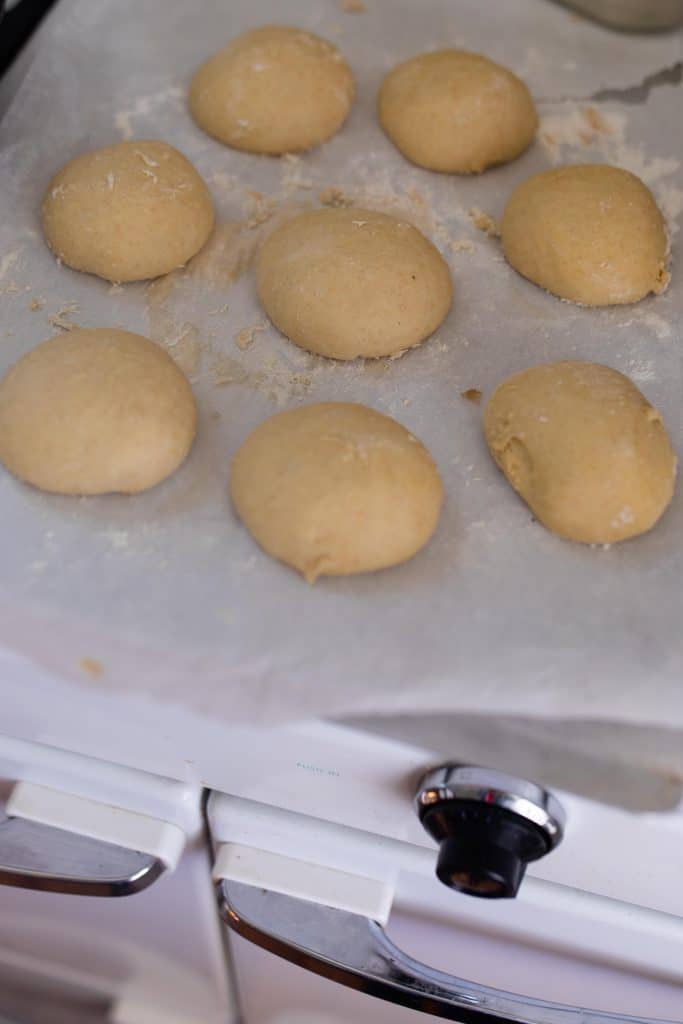
Divide the dough into eight equal pieces.
Shape the buns by creating a flat surface on top and tucking the remaining dough underneath. I also like to create a little tension by rotating each bun slightly on a lightly floured surface.
Cover the buns with plastic wrap or a damp tea towel and allow to rise until doubled.
Beat the egg yolk and water and brush the tops of the buns with the mixture.
Sprinkle with sesame seeds. (optional)
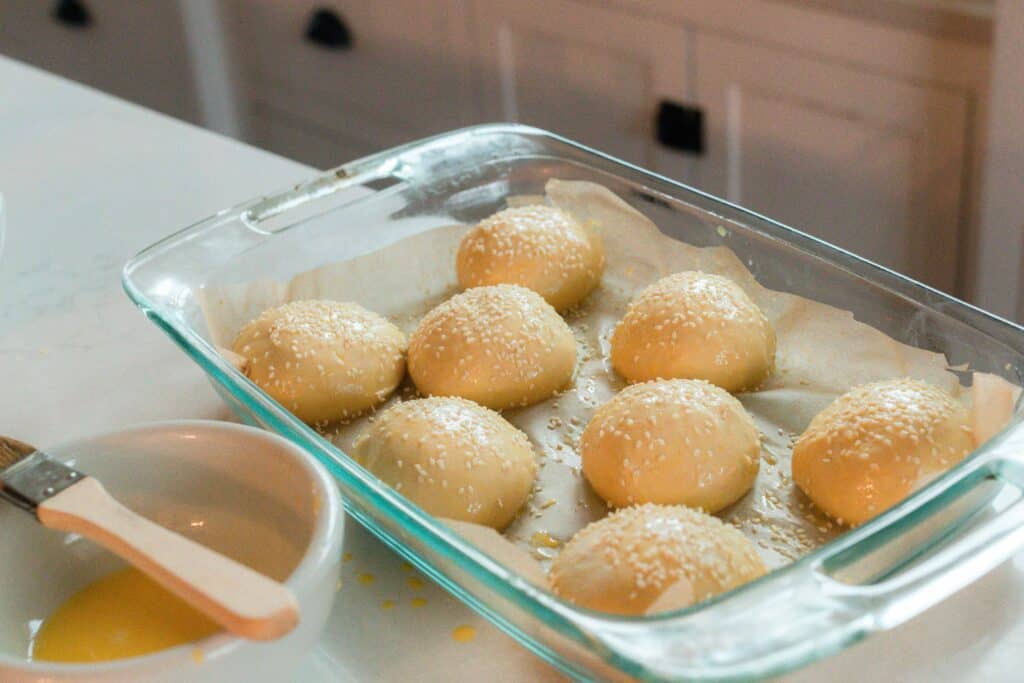
Bake the buns for 25-30 minutes at 350 degrees. You want them to be golden on top.
For Quick Buns
- In a stand mixer with a dough hook, add sourdough starter, warm water, all purpose flour, melted butter or coconut oil, honey, egg, and salt. Knead for 5-10 minutes with dough hook.
- Roll into eight balls and place about two inches apart on a parchment lined baking sheet. Let buns rise until doubled, approximately 1-2 hours.
- Beat one egg with milk and lightly brush tops of buns with egg wash, without deflating the risen dough. (optional)
- Bake in a 350 degree preheated oven until lightly browned on top, approximately 25-30 minutes.
- Let cool completely before serving these sourdough buns.
Storage:
Store in an air-tight container. Best if used within 3-4 days. Freeze for longer storage. I love freezing bread. Freezes so well and basically taste like fresh bread.
Baker’s Schedule:
8:00 am: Feed sourdough starter
12:00 pm: Start dough. Allow to rise for about 8 hours or until doubled.
8:00 pm: Place dough in fridge.
The Next Day:
8:00 am: (Or really any time the next day). Take dough out and shape. Allow to rise until doubled. Usually 1-2 hours.
10:00 am: Bake:
Find more of our farmhouse favorites:
- Sourdough Buckwheat Pancakes
- Homemade Sourdough Crackers
- Sourdough Cinnamon Rolls
- Long Fermented Sourdough Biscuits
- Best Chicken Pot Pie
Sourdough Buns
Equipment
Ingredients
- 1/2 cup sourdough starter, active and bubbly, 100 grams
- 3/4 cup warm water, 177 grams
- 3 cups all-purpose flour, 420 grams
- 1/4 cup melted coconut oil or butter, 56 grams
- 3 tablespoons honey, 63 grams
- 1 teaspoon salt, 5 grams
- 1 egg
Egg wash (optional step)
- 1 egg yolk
- 1 tablespoon water
- sesame seeds, optional
Instructions
- In a stand mixer with a dough hook, add sourdough starter, warm water, all purpose flour, melted butter or coconut oil, honey, salt and egg. Knead for 5-10 minutes with dough hook until smooth and elastic.
- Place dough in a greased bowl and cover with a damp towel or plastic wrap for 8 hours.
- Transfer the dough to the refrigerator and chill covered overnight.
- Divide the dough into eight equal pieces.
- Shape the buns by creating a flat surface on top and tucking the remaining dough underneath. I also like to create a little tension by rotating each bun slightly on a lightly floured surface.
- Cover the buns with plastic wrap or a damp tea towel and allow to rise until doubled.
- Beat the egg yolk and water and brush the tops of the buns with the mixture.
- Sprinkle with sesame seeds. (optional)
- Bake the buns for 25-30 minutes at 350 degrees. You want them to be golden on top.
Notes
- *If you plan to make this recipe without long fermenting you can add all the ingredients (including the egg) in a stand mixer, and skip the fermentation process.
Nutrition
Nutrition information is automatically calculated, so should only be used as an approximation.
Pin It For Later


I’d like to make the dough and bake the buns on a later day. Can I freeze the pre shaped buns and cook at a later time?
Yes, that’s fine!
Question: when you cold proof this recipe overnight should it stay in the glass bowl or be transferred to a banneton?
Either is fine.