


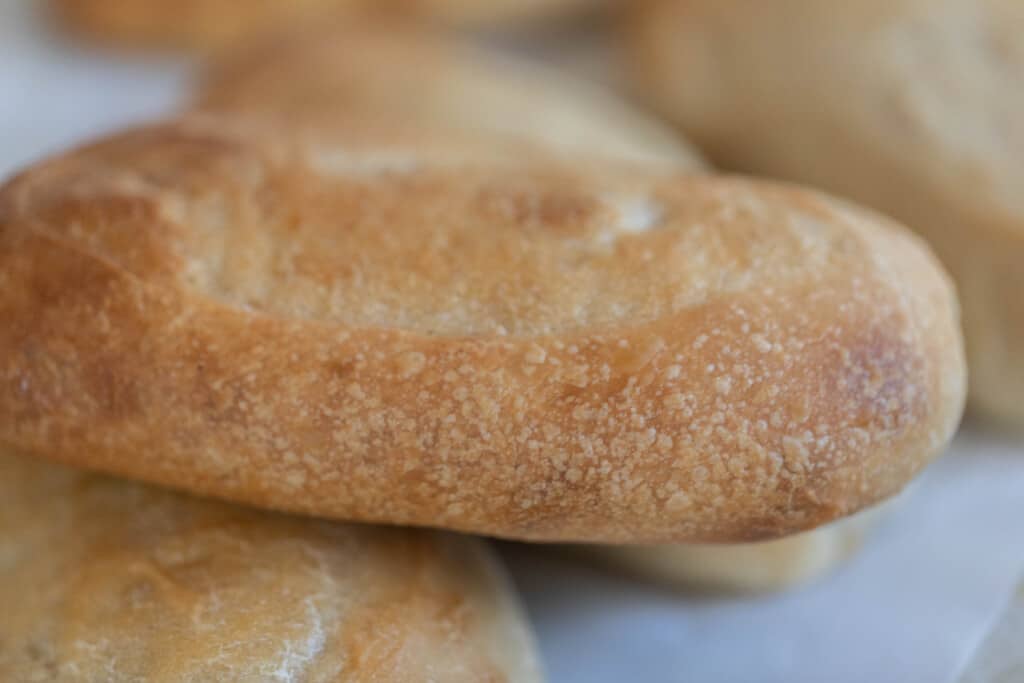
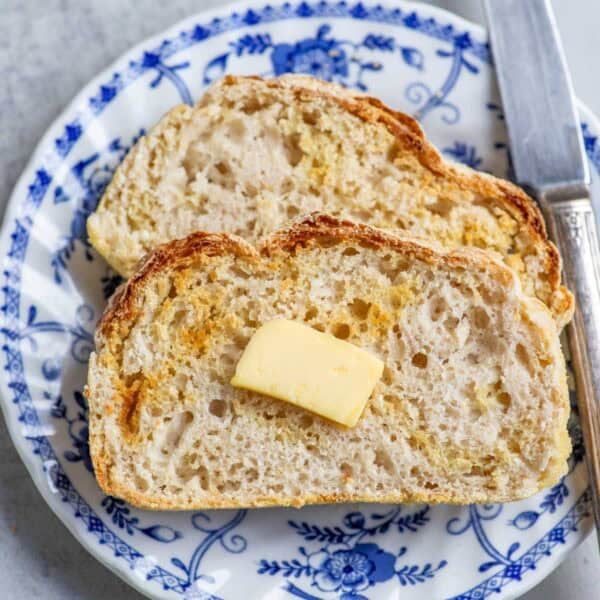
Large, fluffy, and buttery, these sourdough sandwich rolls are the perfect way to serve up your favorite sandwiches. Start them the night before, and you will have delicious, homemade sourdough hoagie rolls the next day.

Meal planning is not one of my favorite things. If I’m very honest, I almost never do it. I buy almost the same things every week, keep our pantry stocked with the staples, and our freezer stays full of pastured meat.
One thing that does take a little planning – and which I’m happy to plan for – is sourdough. I pretty well need to plan ahead by a full day for lunch or dinner, so that I have the time I need to get the sourdough started.
Don’t let that chase you away, though. It’s easy planning, and even if you change your plans, your sourdough won’t go to waste – it’s far too delicious for that.
Most of the time, I’ll plan to make some type of sandwich, start the bread the night before, and then peek in the fridge to come up with a plan.
When I first made these sourdough sandwich rolls, we had some frozen ground beef. So I placed it in the fridge to thaw, and the next day, made some meatball subs.
I mixed the ground beef with breadcrumbs made from sourdough bread, then added fresh milk, eggs, parmesan cheese, and plenty of seasonings. I cooked the meatballs in a cast iron skillet, then added a little bit of pasta sauce to each sourdough sandwich roll.
Topping them with the meatballs and a thick slice of mozzarella, I then baked the meatball subs for a few minutes until the cheese was melty and soft.
They were absolutely delicious. If you were in a pinch for time, you could easily make this meal ahead of time and just assemble and bake a different day.
Double the meatballs and you’ll be able to pull off spaghetti and meatballs one day, then make sandwiches a day or two later.
Why you will love this recipe:
Super simple. The stand mixer does most of the work. No hand kneading involved. Just knead, ferment, knead again, and shape.
Healthy. Fermented grains are much healthier than unfermented grains. The natural yeasts help break down the phytic acid, producing a more nutritious grain with vitamins and minerals that are easier to absorb than unfermented grains.
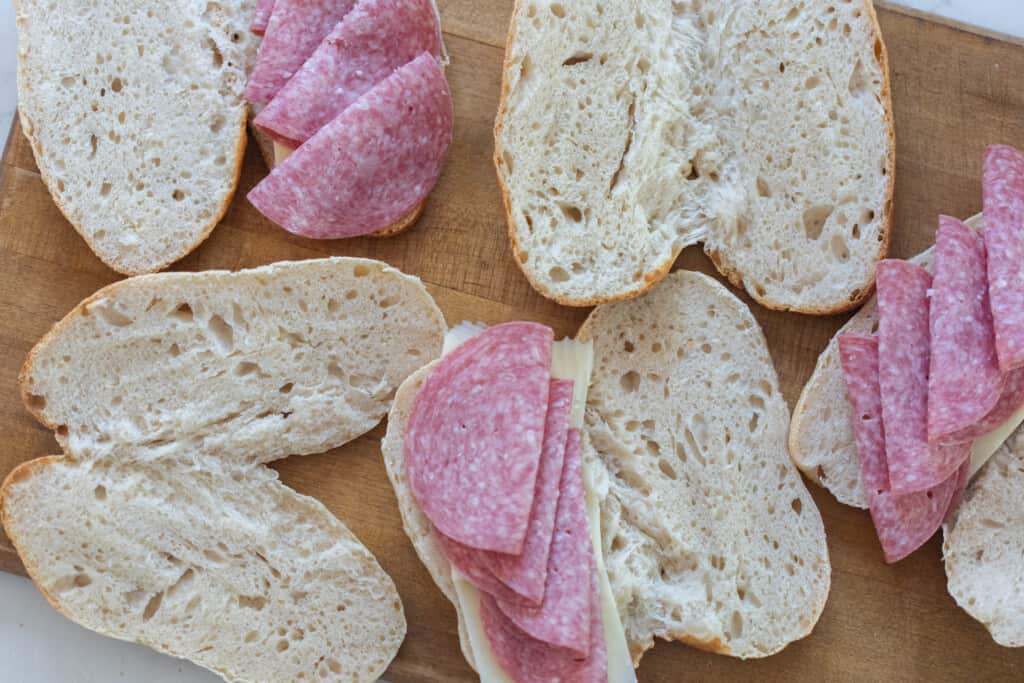
Perfect sandwich bread. These rolls make the perfect medium for any sandwich. Layer on your favorite meats, cheeses, salads, spreads, or more, and this buttery soft roll will take any sandwich up a dozen notches.

Tips For Making Sourdough Sandwich Rolls
- If you are totally new to sourdough, make sure to check out how to make a sourdough starter here.
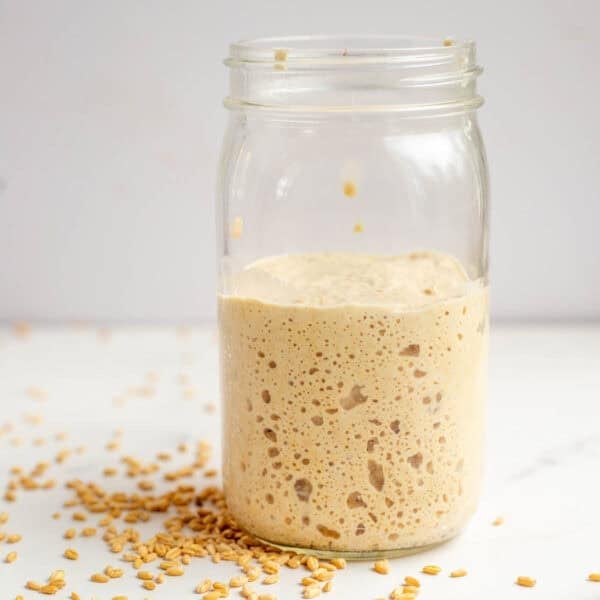
- You want to have a bubbly and active starter for this recipe. Make sure to feed your starter 4-12 hours before starting this recipe. You will know if your starter is ready to use if there are a lot of bubbles. Also, if you take a small spoonful of the starter and place it in a glass of water and it floats, then it’s ready.
- When fermenting dough overnight, make sure to cover the bowl with a tight cover like plastic wrap, beeswax wrap, or a bowl with a lid. If you cover your dough with just a towel and let it ferment for longer periods of time, you will often find yourself with a dry, hard skin that isn’t so pleasant.
- Spray the tops of them with water before baking and halfway during baking time. This make for a crispy outside and soft interior.
This post contains affiliate links, which means I make a small commission at no extra cost to you. See my full disclosure here.

Tools you may need:
Stand mixer with dough hook
Grain mill (optional, we just love our freshly milled grains)
Measuring cups and spoons
Parchment paper
Bench scraper (optional, but very helpful)

How To Make Sourdough Sandwich Rolls
The Day Before:
Feed sourdough starter 4-12 hours before starting your dough. It should be nice and bubbly before mixing the ingredients together.
When your starter is ready to use, it will be full of bubbles and at least double in size. You can also take a small spoonful of the starter and place it in a glass of water; if it floats, it is ready.
The Night Before:
In a stand mixer with a dough hook, add active sourdough starter, bread flour, water, butter, salt, and honey. Knead for 5-10 minutes, it should pull away from the sides of the bowl and be stretchy.
The dough should pass the ‘window pane’ test, which is when you take a small chunk of dough and, pinching and stretching it into something of a rectangle, you should be able to stretch it thin enough to see through it … like a window pane. If the dough breaks apart, it may need a little more kneading.
Place in a greased bowl and cover with plastic wrap, beeswax wrap, or a tight lid. You don’t want to cover breads with just a towel, because it can leave a hard, not-so-desirable skin on the dough.
Allow to ferment 8-12 hours at room temperature. You can place the in the fridge after the bulk ferment if you want to wait to bake the dough.
The Next Day
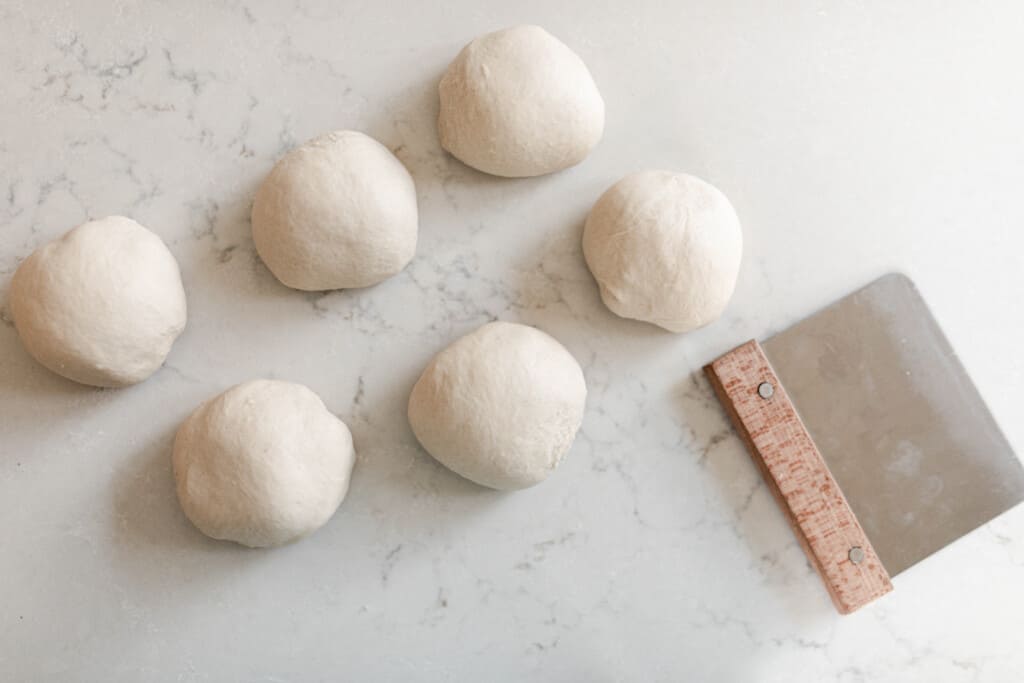
Divide into 6 equal parts and shape.
How to shape:
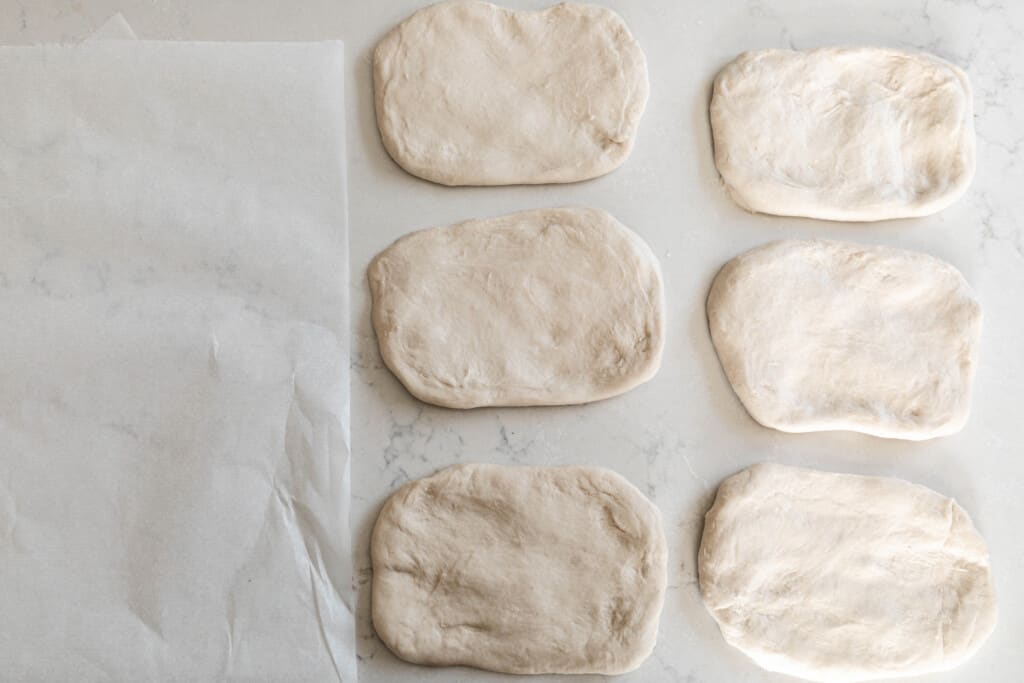
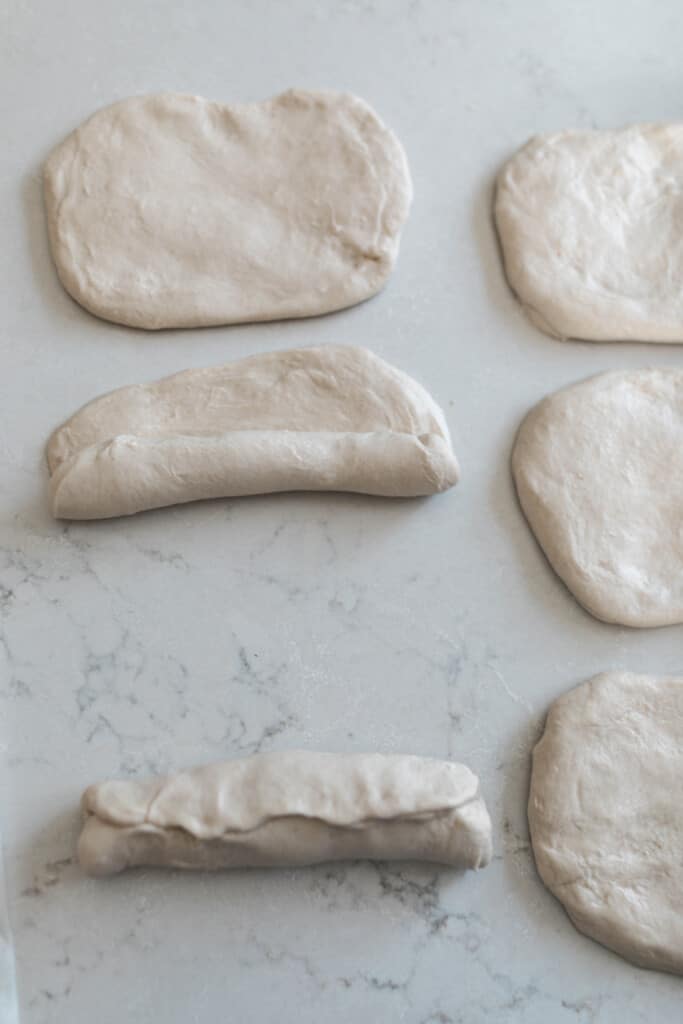
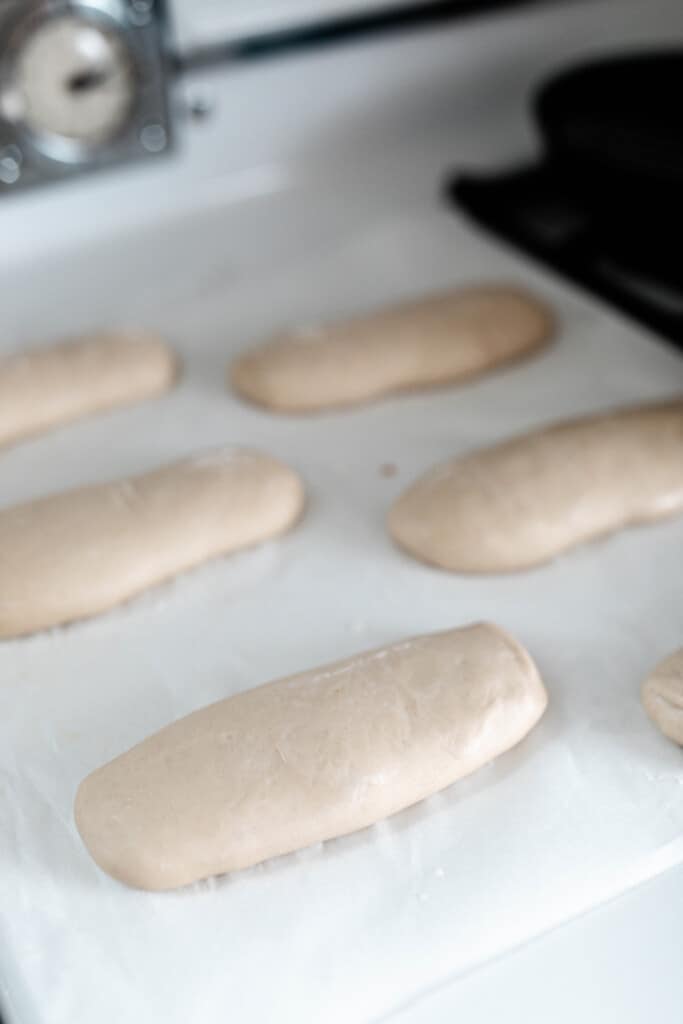
On a lightly floured surface, roll out each piece of dough into a rectangle, about 1/4 inch thick. Roll it up and pinch the ends closed.
Place the shaped rolls onto a parchment lined baking sheet (seam side down) and allow to double in size. Depending on the temperature of your house and how active your starter is, this can take 1-3 hours.
Once the rolls have risen, preheat the oven to 375 degrees.
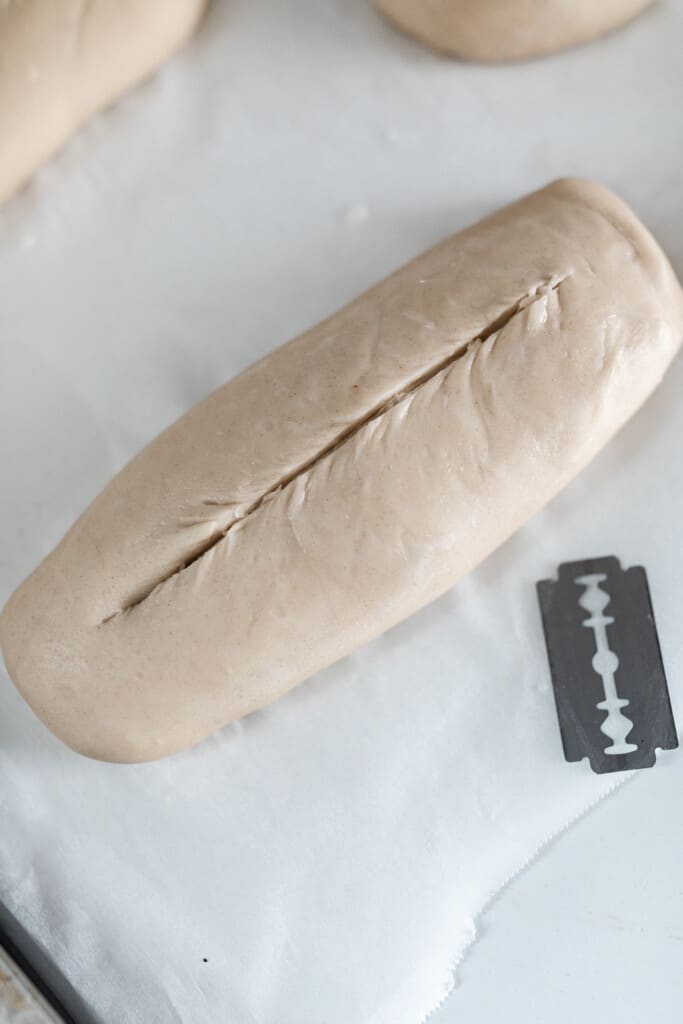
You can also slash with a razor (like I do in my sourdough bread recipes). Also optional.
Spray the tops of them with water before baking and halfway during baking time. This make for a crispy outside and soft interior.
Bake at 375° for 15-20 minutes until golden brown. Allow to cool, and enjoy.
Quick Sourdough Sandwich Rolls:
In a stand mixer with a dough hook, combine all the ingredients.
Knead until the dough is stretchy and passes window pane test. This will take about 5-10 minutes at medium speed.
Divide, shape, and rise until doubled … about 1-3 hours.
Bake at 375° for 15-20 minutes until they just start to turn golden brown.
Find More Delicious Sourdough Recipes:
- Einkorn Sourdough Bread
- Sourdough Chocolate Chip Cookies
- Homemade Sourdough Bagels
- Sourdough Breakfast Strata
- Sourdough Coffee Cake
If you try this recipe and love it, I would love if you could come back and give it 5 stars! Tag me on Instagram @farmhouseonboone
Sourdough Sandwich Rolls

Ingredients
- 1 cup sourdough starter, 200 grams, active and bubbly
- 3 cups bread flour, 420 grams, all purpose will also work
- 1 cup water, 236 grams
- 2 tablespoons honey, 42 grams
- 1 1/2 teaspoon salt, 8 grams
- 1/4 cup unsalted butter, 57 grams, room temp
Instructions
- Feed sourdough starter 4-12 hours before starting your dough. It should be nice and bubbly before mixing the ingredients together.
- In a stand mixer with a dough hook, add active sourdough starter, bread flour, water, butter, salt, and honey. Knead for 5-10 minutes, until it pulls away from the sides of the bowl and is stretchy. It should also pass the ‘window pane’ test.
- Place in a greased bowl and cover with plastic wrap, beeswax wrap, or a tight lid. You don’t want to cover breads with just a towel, because it can leave a hard, not-so-desirable skin on the dough.
- Allow to ferment 8-12 hours at room temperature. You can place the in the fridge after the bulk ferment if you want to wait to bake the dough.
- Divide into 6 equal parts and shape.
- On a lightly floured surface, roll each piece of dough out into a rectangle, about 1/4 inch thick. Roll it up and pinch the ends closed.
- Place the shaped rolls onto a parchment lined baking sheet (seam side down) and allow to double in size. This can take 1-3 hours.
- Once it has risen, preheat the oven to 375 degrees.
- Slash the rolls with a razor if desired.
- Spray the tops of them with water before baking and halfway during baking time. This make for a crispy outside and soft interior.
- Bake at 375° for 15-20 minutes until golden brown. Allow to cool, and enjoy.
Notes
- Find directions for a faster (not long-fermented version) in the post above.
- The sourdough starter used in this recipe should be active (very bubbly).
- Optional: To create a crispy crust, spray the tops of them with water before baking and halfway during baking time.
Nutrition
Nutrition information is automatically calculated, so should only be used as an approximation.


My buns are definitely taking so much longer than the bake time above, I’m on like 40 minutes and they are still not golden like yours
Question about the quick method–it look like there is no bulk ferment–is that correct? Just knead in mixer and shape? Does the dough not come out underproofed that way?
There’s an 8-12 hour ferment in a large mixing bowl before it moves on to the shaping process.
I had to make this loaf twice and both times the dough was wayyyy too sticky to work, almost like a thick batter. The first time I added way too much flour trying to make the dough more workable. I ended up with very dense loaves but the flavor was excellent.
The second time I made this recipe, I started googling and someone on a Reddit thread recommended mixing the dough for this recipe in 3-5 minute increments a few times with periods of rest in between to allow the gluten to relax. This really really helped. I had to mix 4 times but eventually it tightened up and I was able to get it to come away from the bowl and a workable consistency and my rolls came out perfectly and so soft!!
I also added an egg wash to the outside of the dough on my second batch. Might try brushing on melted butter the next time I make this recipe. I think it will become a staple recipe in my household!
If I wanted to make these for a crowd- quadrupling the recipe, would all the measurements stay the same? 800g of starter seems like a lot!
Correct.
Is this recipe possible to do by hand vs stand mixer?
Yes, you can.
My dough was very sticky and difficult to get out of the bowl. I had to use a lot of flour in order to shape them. Should I decrease my water? I am at sealevel and often wonder if that affects my recipes.
Yes, you could try adding a bit more flour or reducing your water.
Hi – I’m making these now and are we going for the dough to double in the bulk rise? Or is there not a specified amount, just if it’s domed and a certain amount of spring back?
Yes, should rise until doubled.
to clarify we are doubling with the BF then doubling again after shaped?
Correct.
If I want to make this ahead of time do they freeze and defrost well?
Yes, they do!
Excited to try this! Unfortunately, I am all out of honey… could I sub with sugar or maple syrup?
Yes, either!
If I make these and want to freeze them, do they freeze well?
Yes, they freeze really well.
Great sour dough recipes. Easy to follow