A spelt sourdough starter is a great option for those interested in implementing this flavorful and nutritious grain. In this post, you’ll learn more about spelt and how to make your own starter!
Spelt is an ancient grain with a pleasant texture and mild, nutty flavor. It’s a wheat variety untainted by modern farming methods. And while similar in many ways to whole wheat, spelt is not mass-produced and has not been hybridized.
While it has been around for a long time, it has experienced a rise in popularity with the more recent focus on healthy, organic options.
In most cases, a spelt sourdough starter can be made from scratch and ready for baking in as little as a week. It’s a simple mixture of flour and water that ferments over a matter of days with consistent feedings.
It’s essentially the same process as the whole wheat starter, only made with a different, though similar, flour.
You can also convert your current starter – whether all-purpose flour, whole wheat, etc. – to whole grain spelt flour with a series of feedings that gradually replace the previous flour.
Spelt sourdough starter can be used in all kinds of baking, and it doesn’t mean you have to bake with only spelt flour.
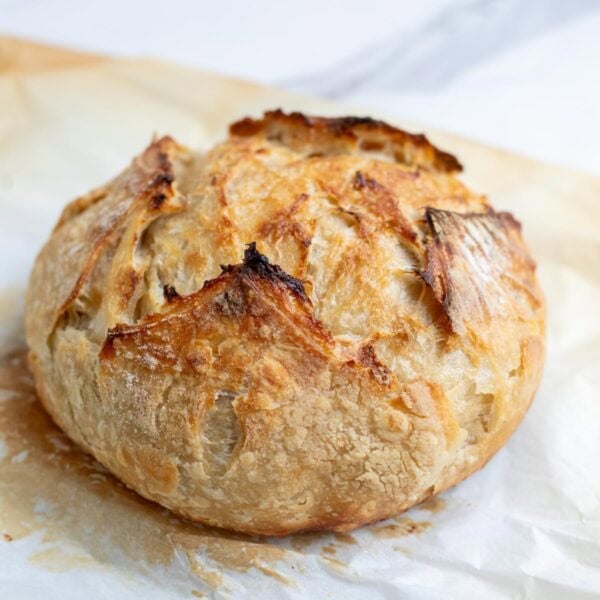
You can use a spelt starter in this no-knead sourdough bread or a boule of sourdough rye, or you can go all out with spelt flour and bake a loaf of whole grain spelt sourdough bread.
Why choose spelt for a sourdough starter?
Some of the biggest draws for spelt flour are the unique flavor, the lower gluten content, its nutritional qualities, and that it is not hybridized.
Spelt and whole wheat are similar in appearance, function, and flavor. You’ll find that where whole wheat is a bit more robust, spelt is usually a touch sweeter while still pleasantly earthy.
Retaining its bran, germ, and endosperm, whole grain spelt is nutritious and flavorful, plus it ferments more rapidly.
Spelt flour also produces a chewy crumb, while also being tender and moist.
Less gluten means that spelt may be more easily tolerated by those with gluten sensitivities, which is a big plus for some. Combine that with long fermentation, and the gluten presence may be pretty minimal.
Spelt grain also offers nutritional benefits such as higher levels of protein, as well as B vitamins, vitamin E, folate, zinc, magnesium, iron, and more.
You will find that it’s more expensive than modern wheat, largely due to its smaller-scale production, limited quantities, and the tough outer husk that must be removed during processing.
As with all whole grains, spelt also contains phytic acid, an antinutrient that interrupts your body’s ability to digest the grain. Fermentation breaks down the phytic acid, resulting in easier digestion and better nutrient absorption. This is the beauty of sourdough.
Sourdough Resources
If you’re unsure how sourdough works but interested in making your own sourdough bread, you may find some of my beginner resources helpful.
- How to Make a Sourdough Starter – Create your own or ask for a starter from a friend!
- Maintaining and Feeding a Sourdough Starter – Find your rhythm for feeding, discarding, and keeping your starter happy.
- How to Use Sourdough Starter – Now that you’ve gotten to know your starter well, let’s get you started with scratch recipes for bread, desserts, breakfast treats, and more.
- How to Store Sourdough Starter – Not all starter is kept on the counter. While room temperature is a great option for frequent sourdough baking, you can also keep it in the fridge with great success.
When Is My Starter Ready?
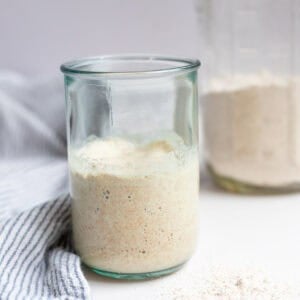
Your starter will tell you with visible signs of activity, like bubbles, a sweet smell, and doubling in size. You should expect a newly formed starter to have a much weaker response to feedings than a mature starter.
You can try the float test as an indicator of your starter’s readiness, keeping in mind that results are not foolproof. Remove a small amount of your starter and gently drop it in a glass of water.
An active sourdough starter produces small bubbles of carbon dioxide which cause the sample to float, indicating readiness. If the sample sinks, you may assume it will need more feedings to strengthen.
The weaker gluten structure of spelt means fewer trapped air bubbles, though, so the float test isn’t always the best way to determine readiness.
Why You’ll Love This Recipe
Distinct flavor – One draw of spelt flour is its distinct, nutty flavor. It’s pleasantly earthy with a mild, natural sweetness, similar to whole wheat.
Nutritious – Along with ample vitamins and minerals, spelt is also one of the least processed grains, retaining its nutritional components. It’s especially appealing that it’s not been genetically modified for higher yields.
Lower gluten content – The lower gluten content and weaker gluten structure means that spelt flour is more easily digested by the body, and potentially better for those with gluten sensitivities. However, it is still unsuitable for those with celiac disease.
Ingredients
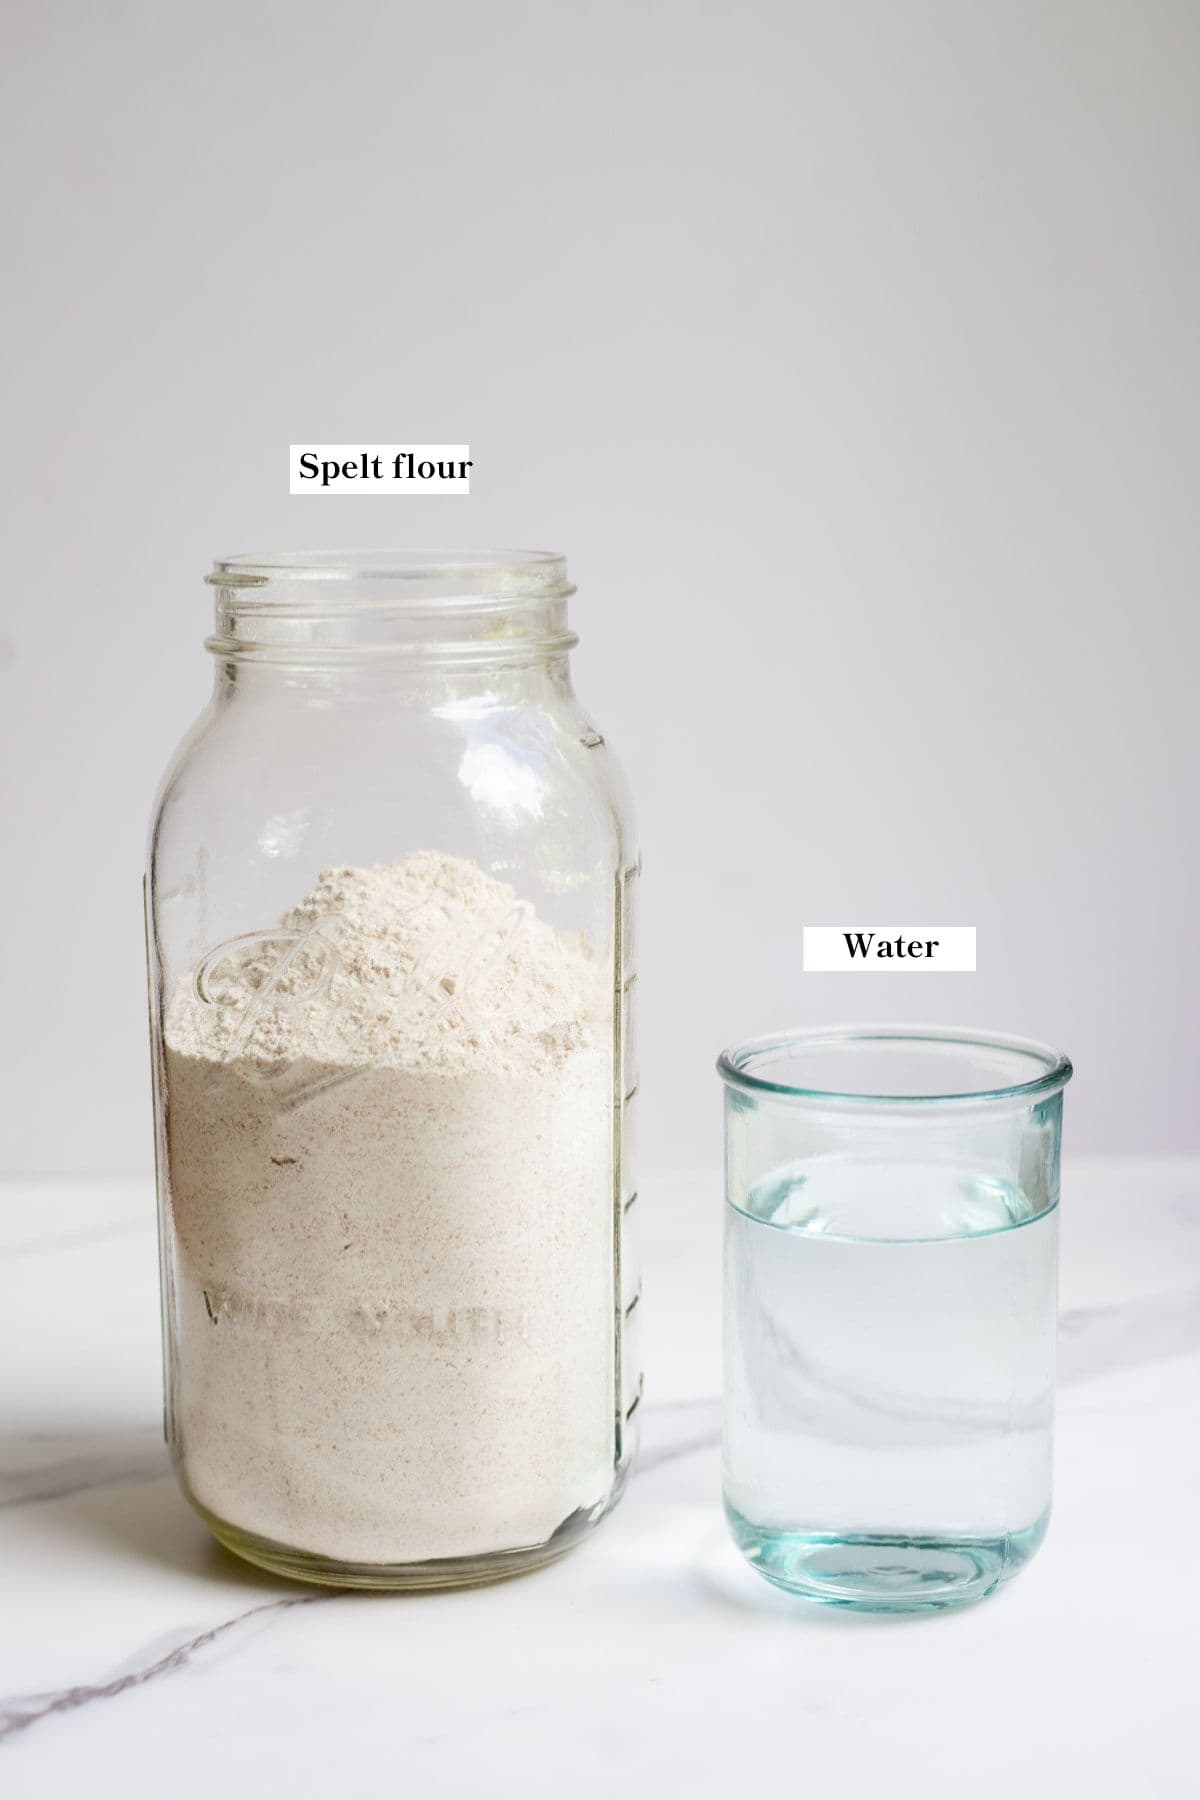
Spelt flour – Look for whole spelt flour, as it retains both the bran and the germ and the nutrients they provide. White spelt flour has had the bran and germ removed and leaves only the endosperm. This results in fine, white flour, but lacks the same nutrition. I would recommend organic spelt flour, if possible.
Water – Use filtered water to avoid chlorine, which can discourage the growth of natural yeast and beneficial bacteria.
A full ingredient list with exact amounts can be found in the recipe card below.
Tools You May Need
Glass bowl or jar – Your starter will be kept in this bowl for several days as it strengthens, so a non-porous material like glass is best.
How to Make a Spelt Sourdough Starter
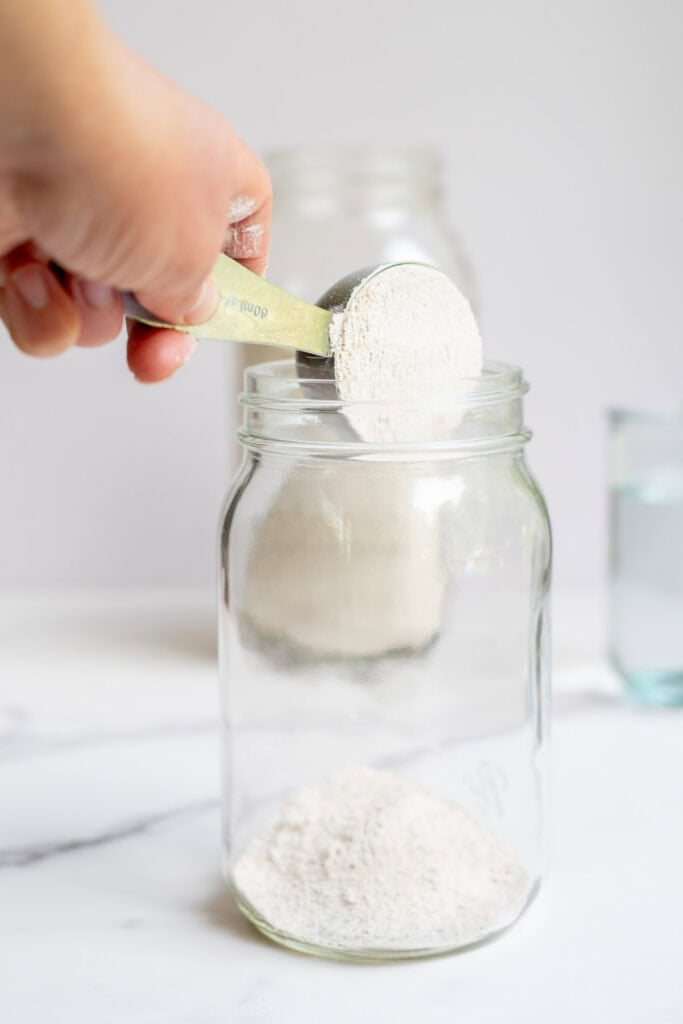
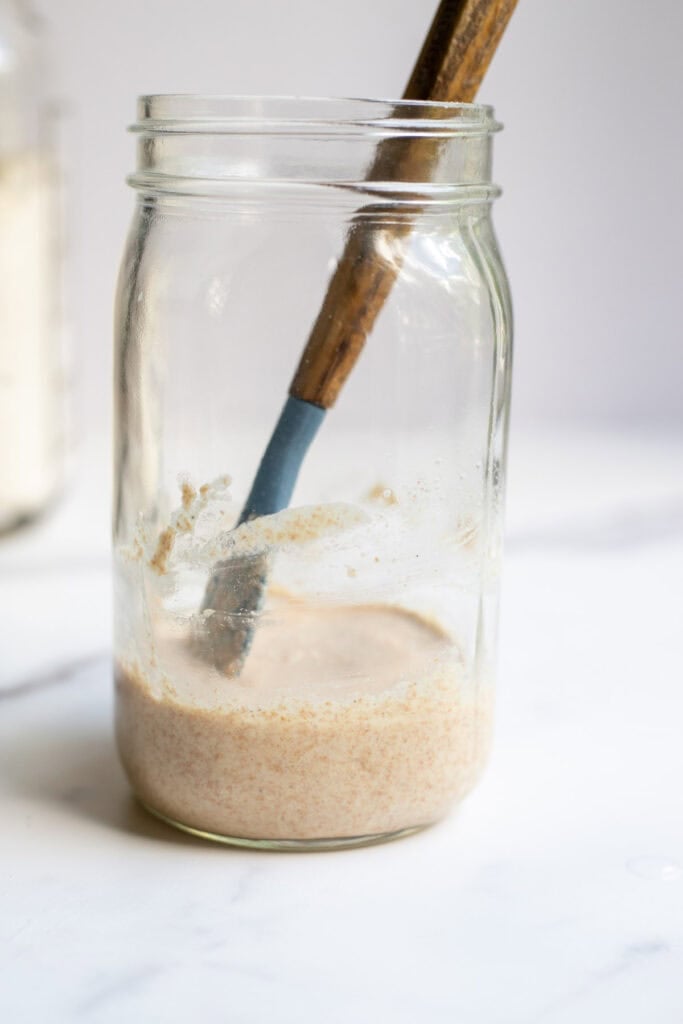
Day 1: Combine 1/2 cup of spelt flour with 1/2 cup of filtered water in a glass bowl. Stir well, scraping down the sides. Cover with a clean tea towel and let it sit at room temperature for 24 hours.
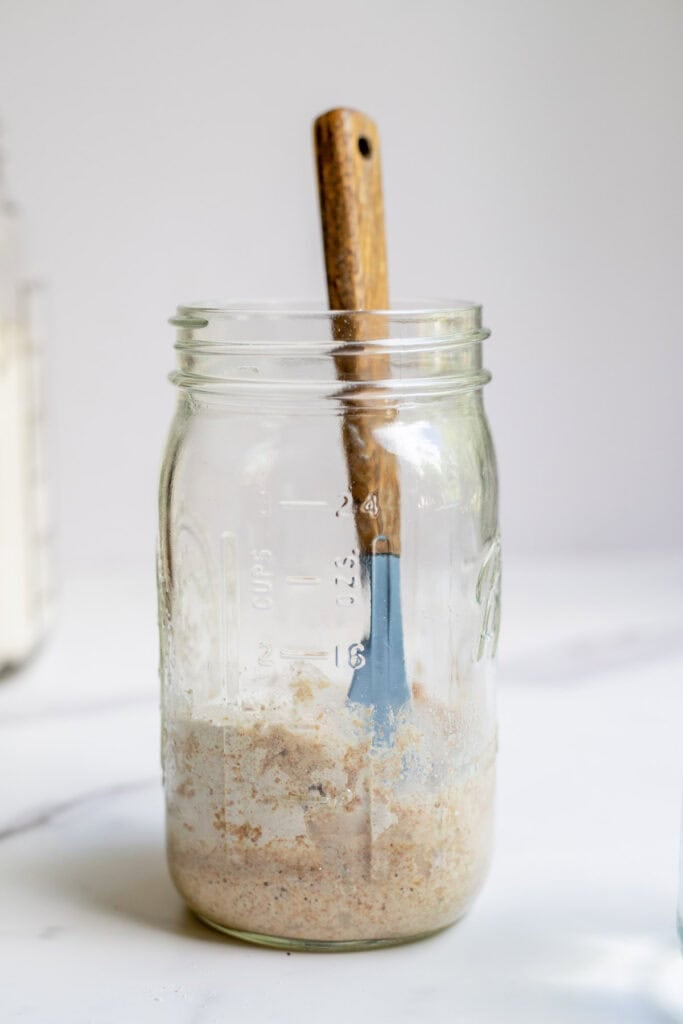
Day 2: On the second day, pour out and discard half of the flour and water mixture. Add 1/2 cup of flour and 1/2 cup of water, mix well, cover, and set at room temperature for 24 hours.
Day 3-5: For days 3 through 5, repeat the instructions from day 2. Discard, feed, stir, cover, and keep at room temperature for 24 hours.
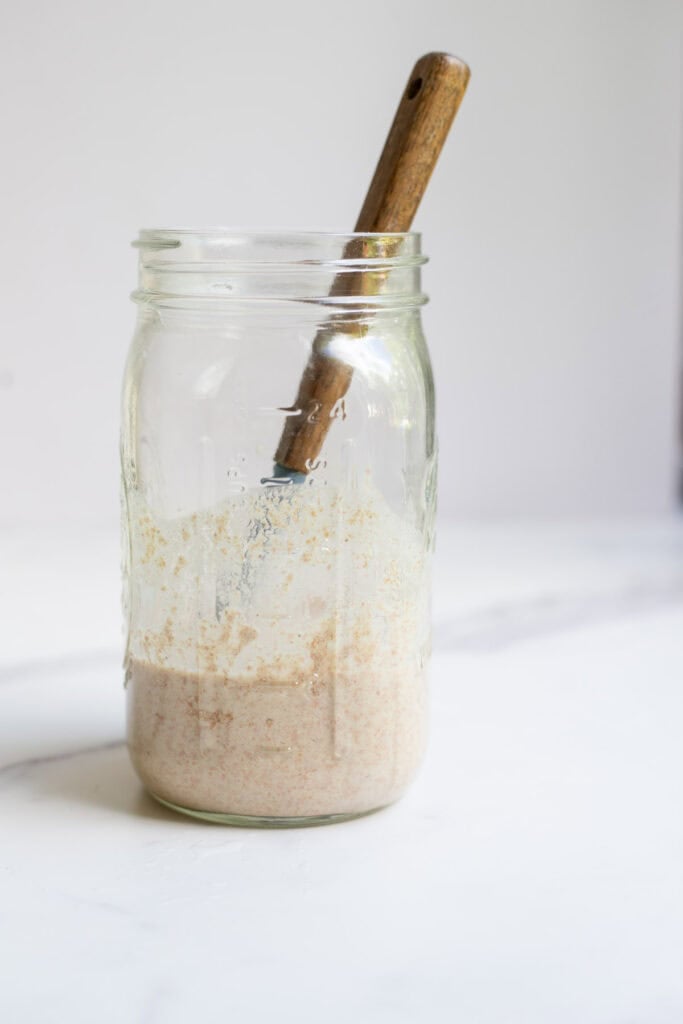
Day 6-7: Continue the steps from days 2-5, but begin feeding every 12 hours now, rather than every 24 hours.
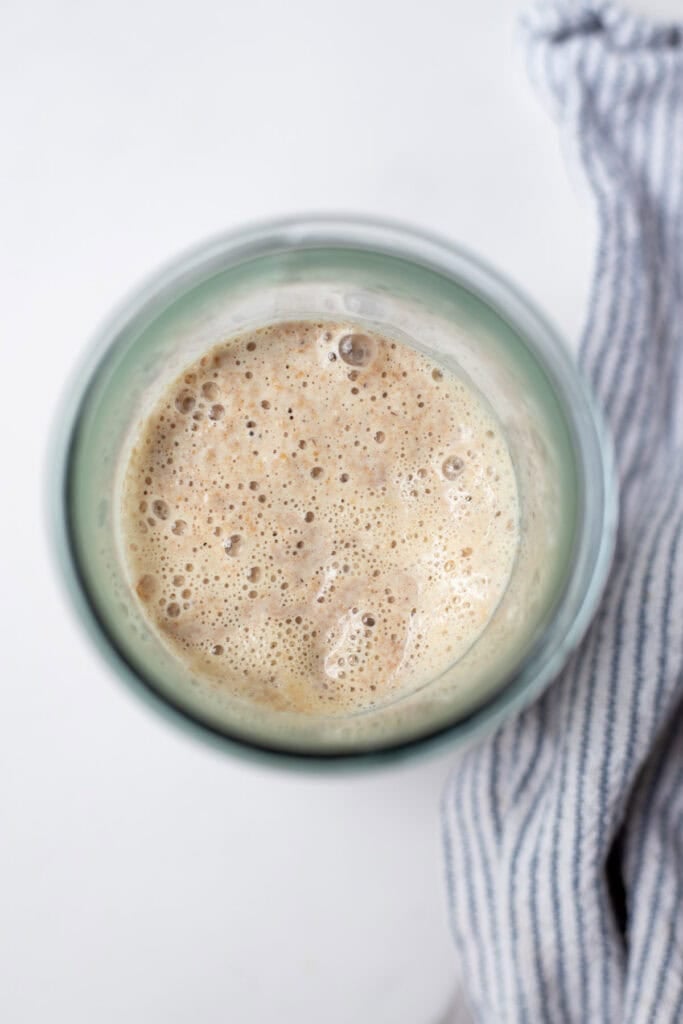
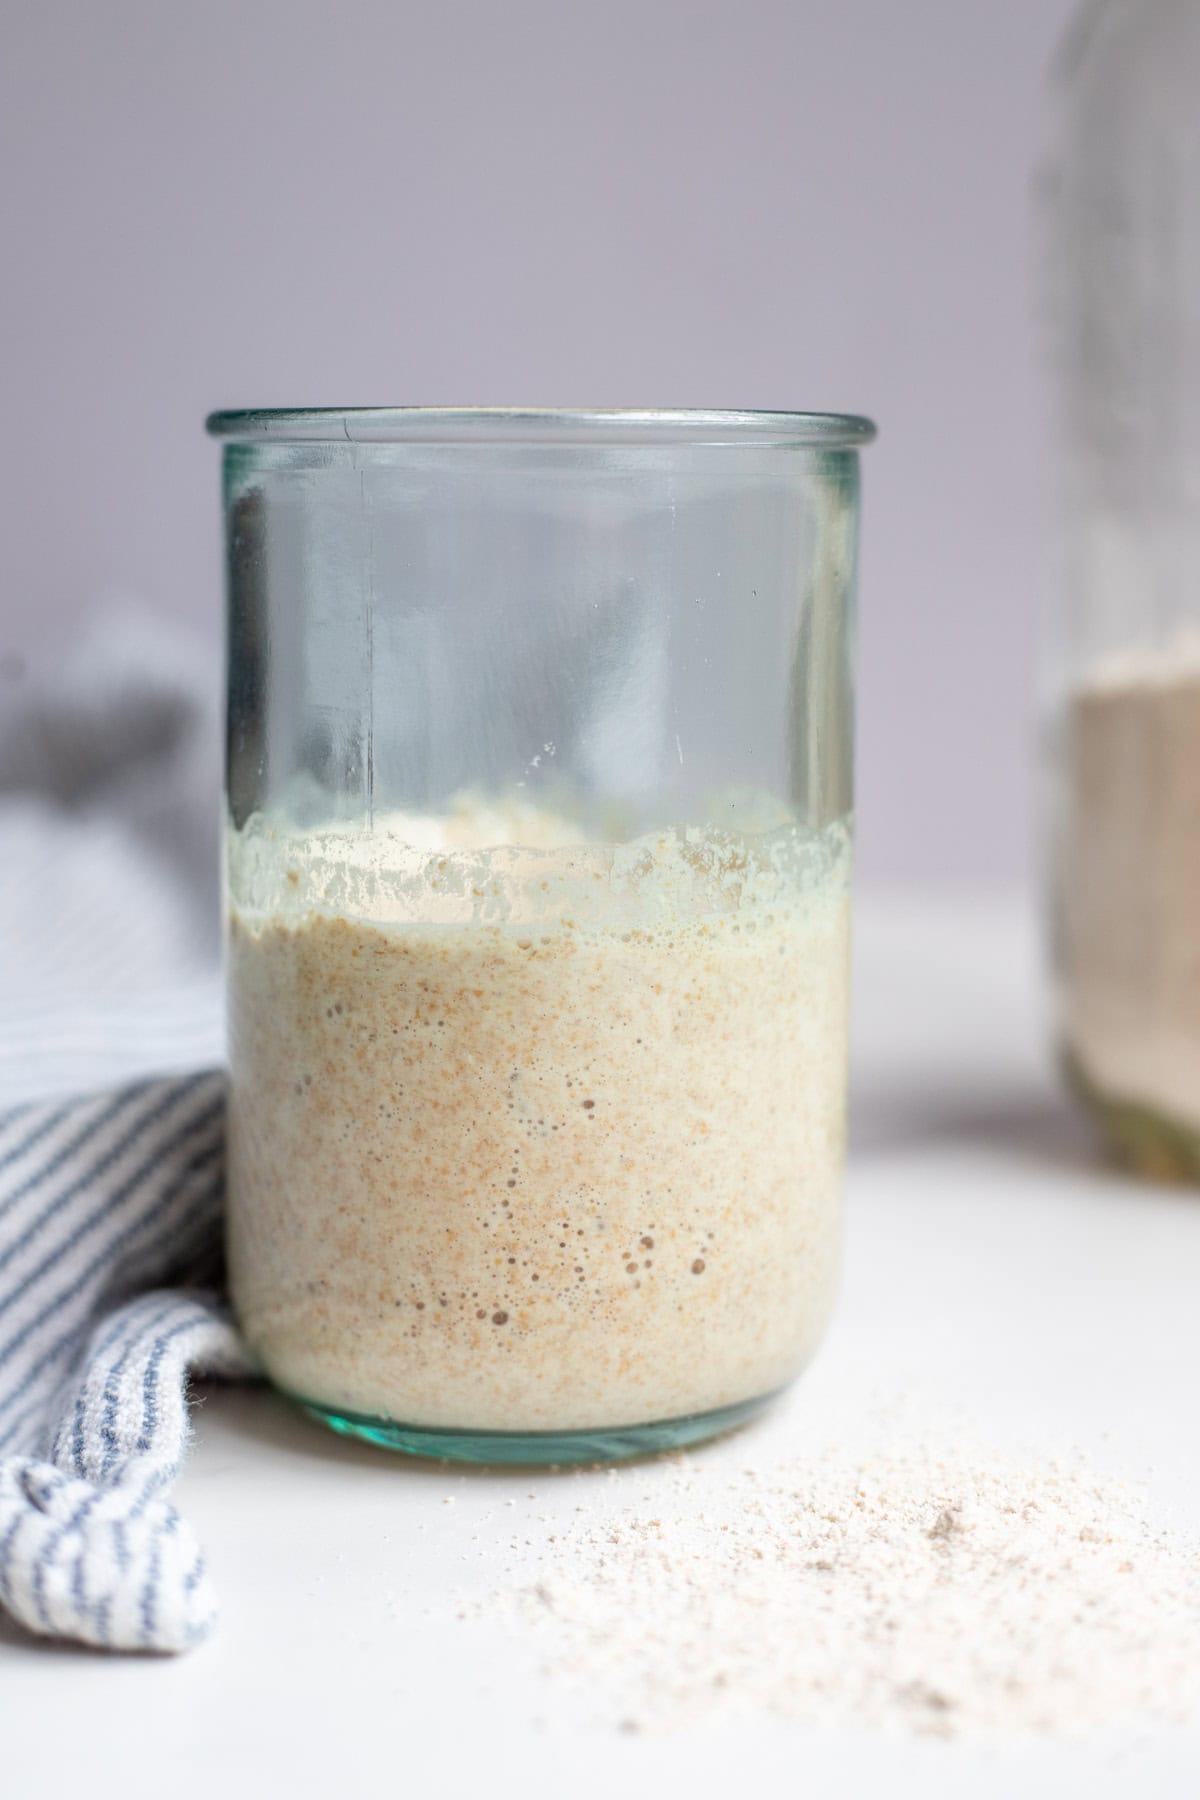
Day 7: After one week, you should be seeing signs of activity. With the feeding schedule and fermentation time, enough wild yeast and good bacteria should be present to attempt your first rise. Look for bubbly foam on top, airy bubbling throughout the starter, or doubling in size.
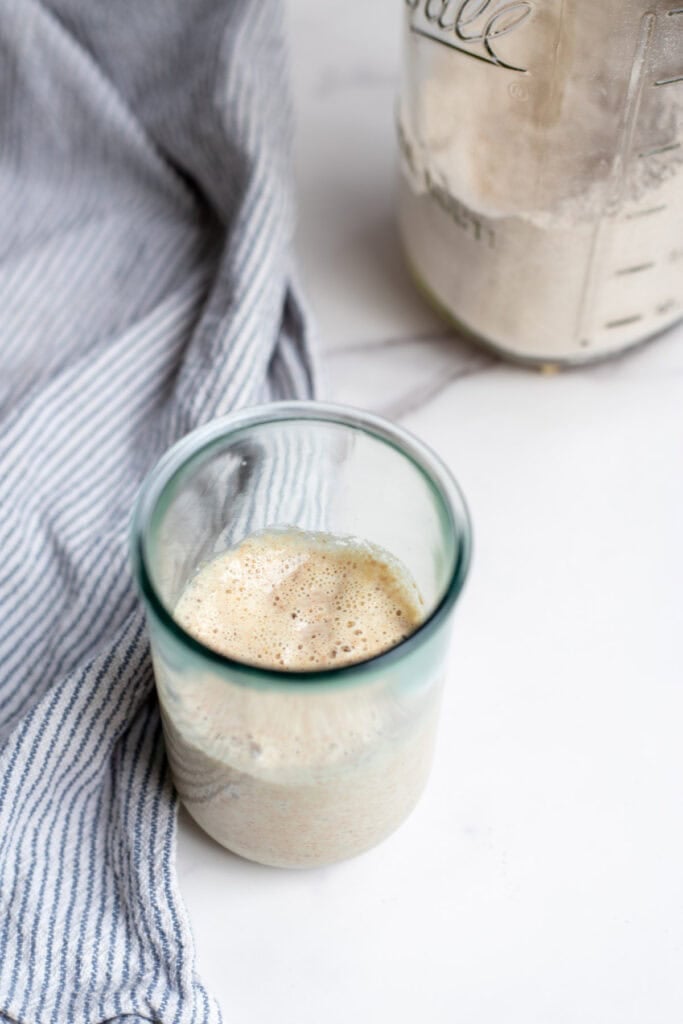
After day 7: Start baking with your sourdough starter, although it may not be strong enough for making a loaf a bread. Discard recipes would be a great option. Store in the fridge if not using daily. Feed once a week in the fridge or every 12-24 hours at room temperature. The ratio will be equal portions of the starter, water, and spelt flour, with perhaps some adjustment for the spelt flour as it can produce a thinner starter.
Tips
- A warm place will bring a quicker rise to your starter, whereas a cooler environment will slow it down.
- Spelt flour absorbs water a bit differently than whole wheat flour, so you might find your starter is thinner when using the typical 1:1:1 ratio of starter, flour, and water. It will seem thin right after feeding, but will thicken up a bit within a minute or so.
- Aim for a pancake batter consistency, which may mean you don’t use as much water during feedings.
- You can measure the growth of your starter by placing a rubber band around the jar at the beginning level of you starter. When the starter has risen past the marker, measure the growth and timing of your starter’s peak activity. This is often somewhere between 4 and 12 hours after feeding. Spelt starter may rise and fall quicker than other flours.
Recipe FAQs
A healthy starter smells pleasantly of yeast, responds quickly to feedings with bubbling and growth, and presents as an airy, thick, creamy batter.
Yes, you can. Simply begin feeding your starter the new type of flour, repeating the discard and feeding process for a few days, to fully transition your starter. If you’re afraid of ruining your starter, you can transition half of your starter to a new flour, reserving the other half as a back-up.
Crumbly bread is generally a result of too much flour. Those using a spelt starter often also use spelt flour, which produces a sticky dough and tempts you to add just a little bit more flour. This can usually be remedied with a longer fermentation or increased kneading instead, as extra flour may cause a crumbly loaf.
Since spelt so closely resembles whole wheat in taste and texture, spelt starter and spelt flour work very well for whole wheat recipes. On its own, a spelt starter bakes well in combination with most flours. Spelt flour, on the other hand, is not a perfect substitute for every flour, as its taste, texture, and gluten content differs greatly from lighter flours like all-purpose.
Your dough may not have been worked enough. More kneading strengthens the gluten, helping it to rise. Overproofing can also cause bread dough to collapse, which will negatively affect the rise.
More Sourdough Recipes from the Farmhouse
- Whole Wheat Sourdough Dinner Rolls
- Sourdough Discard English Muffins
- Honey Sourdough Bread Recipe
- Soft Multigrain Sourdough Bread
- Rosemary Sourdough Bread
If you try this recipe and love it, I would love it if you could come back and give it 5 stars! Tag me on Instagram @farmhouseonboone.
Spelt Sourdough Starter
Ingredients
- spelt flour, I used whole grain spelt
- filtered water
Instructions
- Combine 1/2 cup of spelt flour with 1/2 cup of filtered water in a glass bowl. Stir well, scraping down the sides of the bowl. Cover with a clean tea towel and let it sit at room temperature for 24 hours.
- On the second day, pour out and discard half of the flour and water mixture. Add 1/2 cup of flour and 1/2 cup of water, mix well, cover, and set at room temperature for 24 hours.
- For days 3 through 5, repeat the instructions from day 2. Discard, feed, stir, cover, and keep at room temperature 24 hours.
- Continue the steps from days 2-5, but begin feeding every 12 hours now, rather than every 24 hours.
- After one week, you should be seeing signs of activity. With the feeding schedule and fermentation time, enough wild yeast and good bacteria should be present to attempt your first rise. Look for bubbly foam on top, airy bubbling throughout the starter, or doubling in size.
- Start baking with your sourdough starter. Store in the fridge if not using daily. Feed once a week in the fridge or every 12-24 hours at room temperature. The ratio will be equal portions of the starter, water, and spelt flour, with perhaps some adjustment for the spelt flour as it can produce a thinner starter.
Notes
- A warm environment will bring a quicker rise to your starter, whereas a cooler environment will slow it down.
- Spelt flour absorbs water a bit differently than whole wheat flour, so you might find your starter is thinner when using the typical 1:1:1 ratio of starter, flour, and water. It takes a little longer for it to absorb the water. So one minute it will seem very thin and the next it will thicken up.
- Aim for a pancake batter consistency, which may mean you don’t use as much water during feedings.
- You can measure the growth of your starter by placing a rubber band around the jar at the beginning level of you starter. When the starter has risen past the marker, measure the growth and timing of your starter’s peak activity. This is often somewhere between 4 and 12 hours after feeding. Spelt starter may rise and fall quicker than other flours.
Nutrition information is automatically calculated, so should only be used as an approximation.


Hi there Lisa 🙂
Thank you for this lovely entry, it’s been really useful for me. I began a spelt starter about two weeks ago now and initially found a recipe which was just feeding the starter and not discarding anything, which was creating a super hungry and hooch-laden starter, but 5 days later I found another blog which explained how discard would help, and so for about 8 days I’ve been following this (total 12). My starter is super active, bubbly and happy, and I made my first loaf from it yesterday, but I’m wondering how I need to store this now if I want a mature starter? The other blog said to just feed it twice and leave it at room temp indefinitely, is this how I’d make my starter ‘mature’? If you have any insight it would be great, thanking you in advance 🙂
Thank you for this! Im on day 7 and I always notice some water sitting on top. Is this normal? Only rose to double on day 2 and never again.
That is just a sign that your starter is hungry and needs fed. Are you discarding the proper amount?
Why discard 1/2 the mixture each time ?
Otherwise you would have to double the amount you feed it the next day!
What happens if I add spelt to my regular starter in a separate container?
Thank you!