


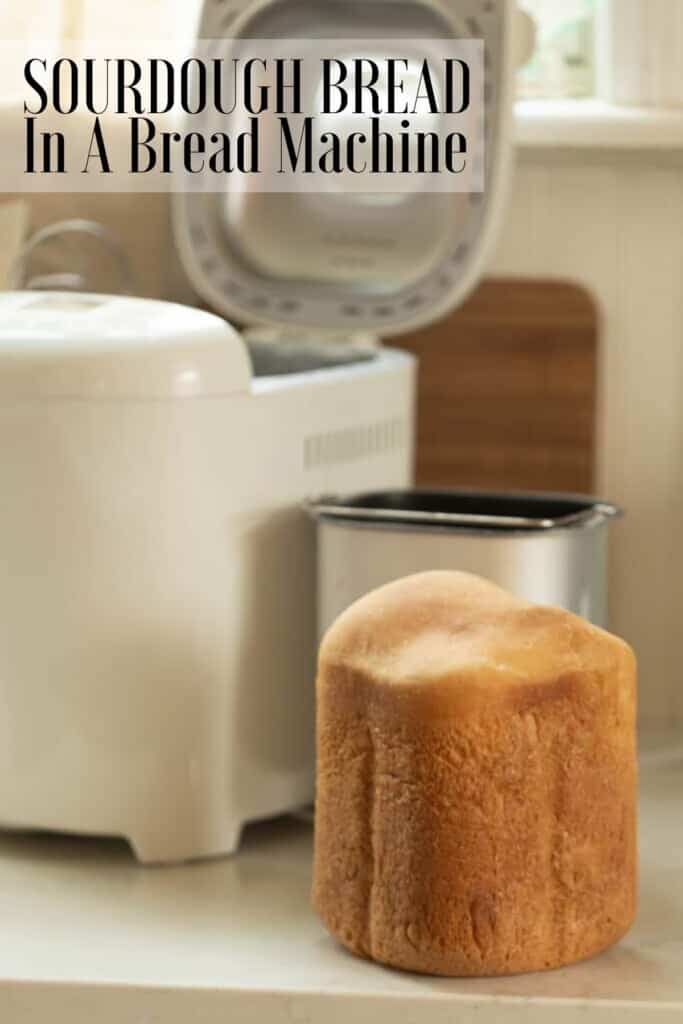
Soft, buttery sourdough bread made in a bread machine is the next best thing since, well, sliced bread. Super easy to make, you just dump the ingredients in and allow the bread machine to do all the work.
Recently, I’ve had some requests for a sourdough bread recipe in a bread machine. SoI bit the bullet and made one that is so delicious.
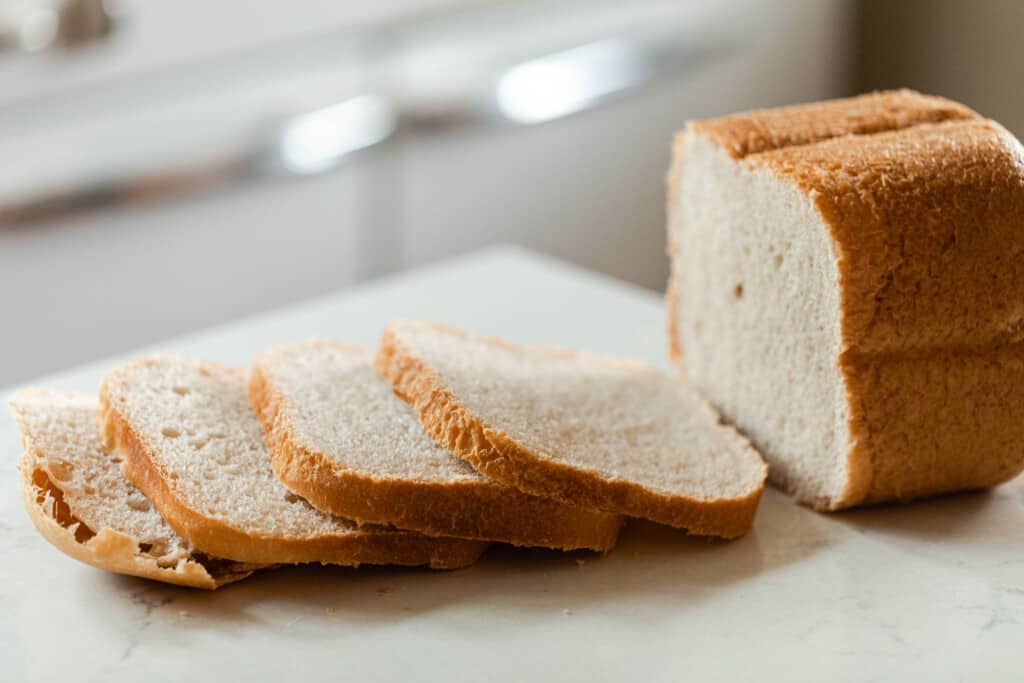
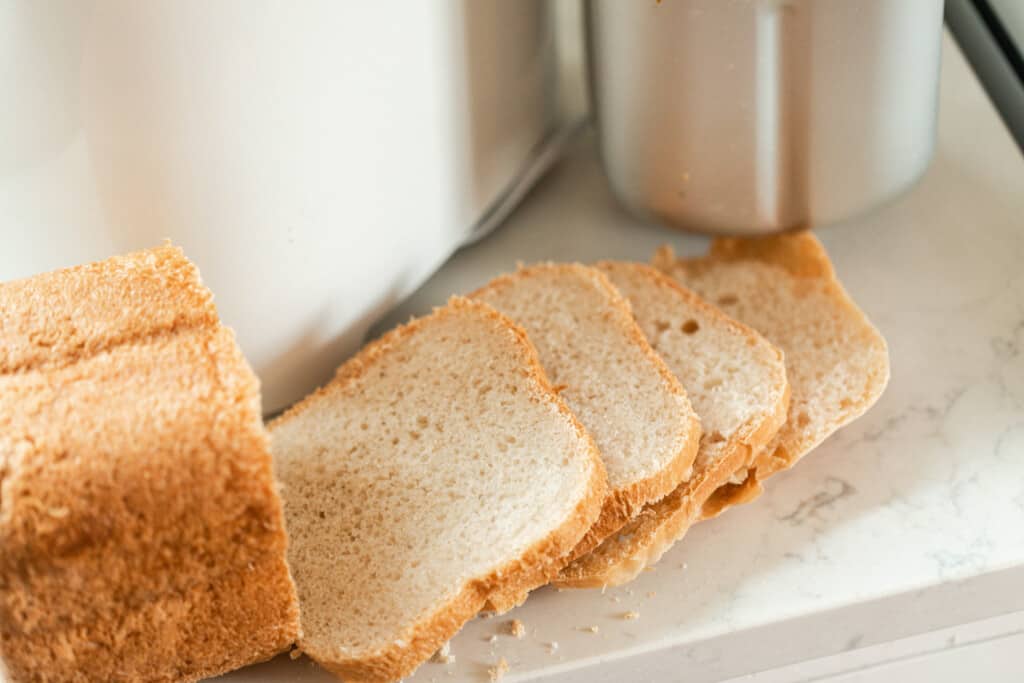
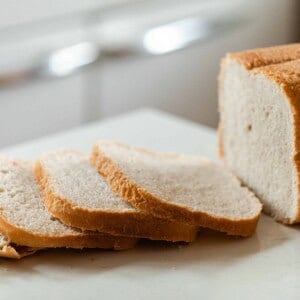
This bread is a take on my sourdough sandwich bread, but made to fit in the bread machine. It is super light, fluffy, buttery, and everything wonderful you want in a sourdough bread, but totally hands off.
The bread machine does all the work. After you dump in the ingredients, you push some buttons and it goes to work.
It really couldn’t be easier, and if you are wanting fresh baked bread for dinner or lunches (a great way to stretch the grocery budget if you ask me), then you have to try this recipe.
Why You Will Love This Recipe:
Hands off: This is a dump and go recipe. Add the ingredients and push the knead button. Kneading and baking all happens in the bread machine. So if you want fresh bread without yeast, but maybe don’t have the time or ability to make bread by hand, this recipe is a must.
Super simple: Goes along with the whole hands off thing. This recipe couldn’t be simpler.
Delicious: This recipe is one of my absolute favorites. It is so fluffy and buttery with a hint of sweetness. Any sandwich would be happy to have this as its main component.
Tips For Making Bread Machine Sourdough Bread:
- Although you can make this bread from start to finish without ever touching the dough, you have the option to remove the dough from the bread machine after kneading and remove the paddle. This will keep you from having to pull the kneading paddle out of the finished product.
- Though you could get away with just one knead cycle, I actually like to do it one more time. This ensures proper gluten formation for soft bread.
- Spritz the top of dough with water a few times to make sure the dough doesn’t dry out on top during rising. This is an optional step, but also helps the crust to turn golden in the baking step.
This post contains affiliate links, which means I make a small commission at no extra cost to you. See my full disclosure here.
FAQ:

Do all bread makers make sourdough?
Yes! Thought this will depend on the type of sourdough you are trying to make. It will make soft sourdough bread, but not that crusty, no-knead sourdough from start to finish. To get that crusty type boule, it will need to be baked in a dutch oven.
Can you use machine to knead sourdough?
Yes. You can definitely just use the bread machine to knead the dough, and then bake in the oven, if desired.
Is it cheaper to make your own sourdough?
Yes! Making sourdough bread is very inexpensive (about $.75-$1 a loaf by rough estimation using the cheapest organic flour I’ve seen at Costco). Buying a similar loaf at a bakery can cost you easily $7-8 or more.

Ingredients:
- Water – Preferably filtered.
- Unsalted butter – Using unsalted butter allows you to be able to control the salt in recipes.
- Bread flour – Bread flour yields a softer, fluffier bread. All-purpose can be substituted. Bread flour has a higher protein content, which allows more gluten strands to be produced giving you a fluffier bread.
- Granulated sugar – This helps feed the sourdough starter and gives it a slightly sweet flavor.
- Salt – Bread without salt is blah. I promise.
- Active sourdough starter – This is sourdough starter that has been fed within 4-12 hours and is super bubbly and active.
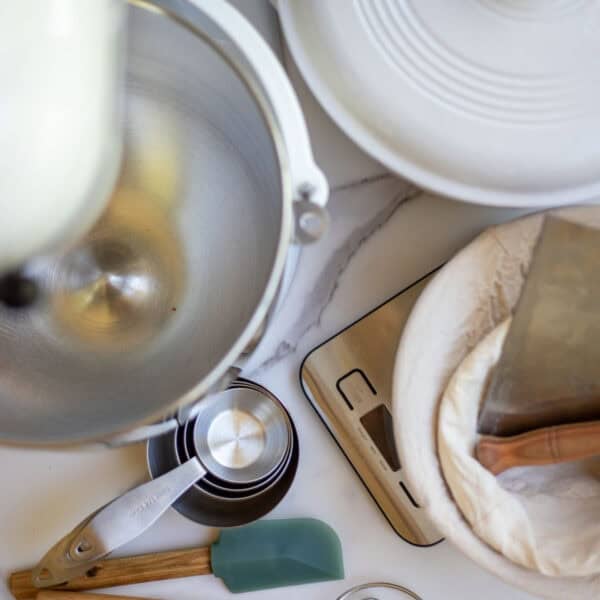
Tools you may need:
Measuring cups and spoons
How To Make Sourdough Bread In A Bread Machine
Add the water and melted butter to the bread machine.
On top of that, add the bread flour, sugar and salt.
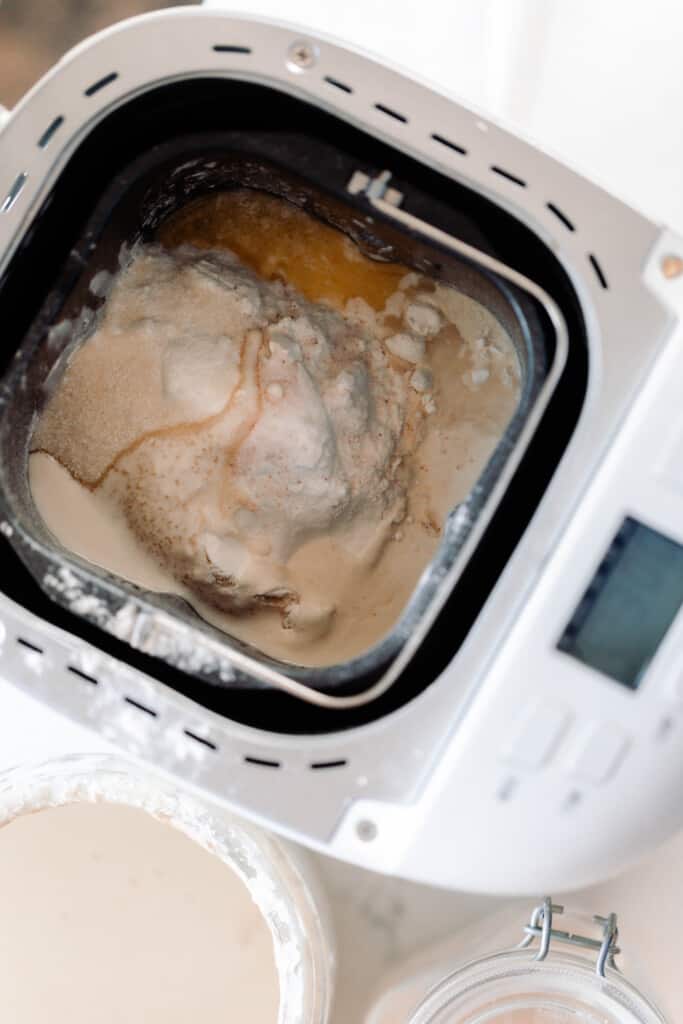
Lastly, add the sourdough starter.
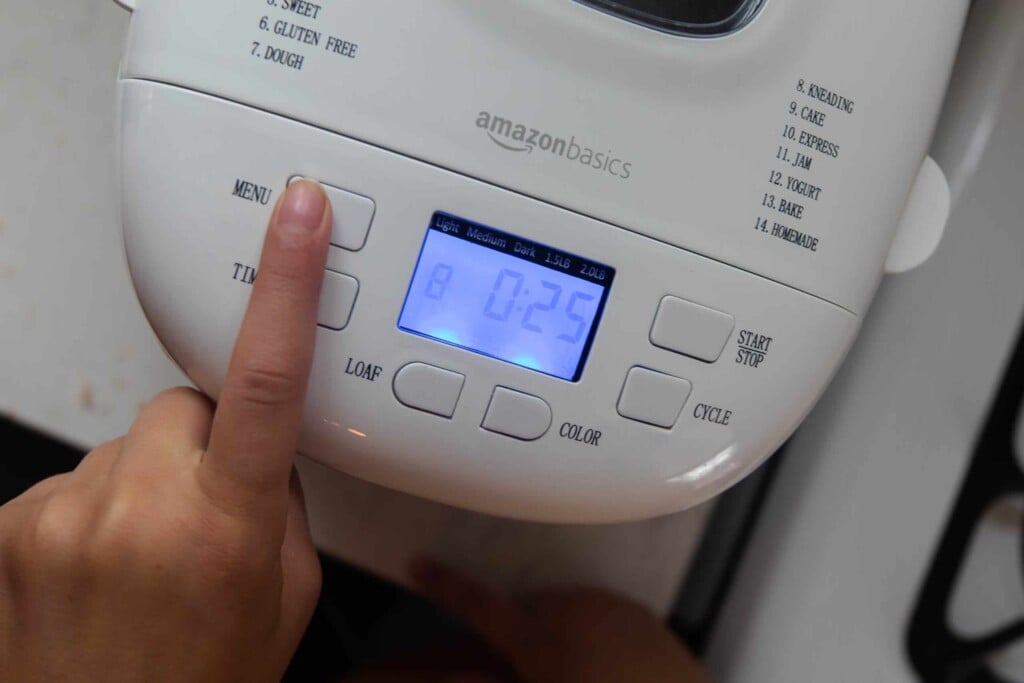
Use the kneading function on the bread machine (for my machine this is function 8). Mine is set to knead for 25 minutes. Though you could get away with just one knead cycle, I actually like to do it one more time.
After the first knead cycle finishes, I press the button again and let it knead the dough one more time, for an additional 25 minute cycle.
Next (optional), remove the dough from the dough machine and take out the paddles. That way you don’t have to pull them out later after baking.
Allow the dough to sit in the bread machine for about 6 hours, or until the dough nearly rises to the top of the bread pan.
I like to spritz the top with water a few times to make sure the dough doesn’t dry out. This is an optional step, but also helps the crust to turn golden in the baking step.
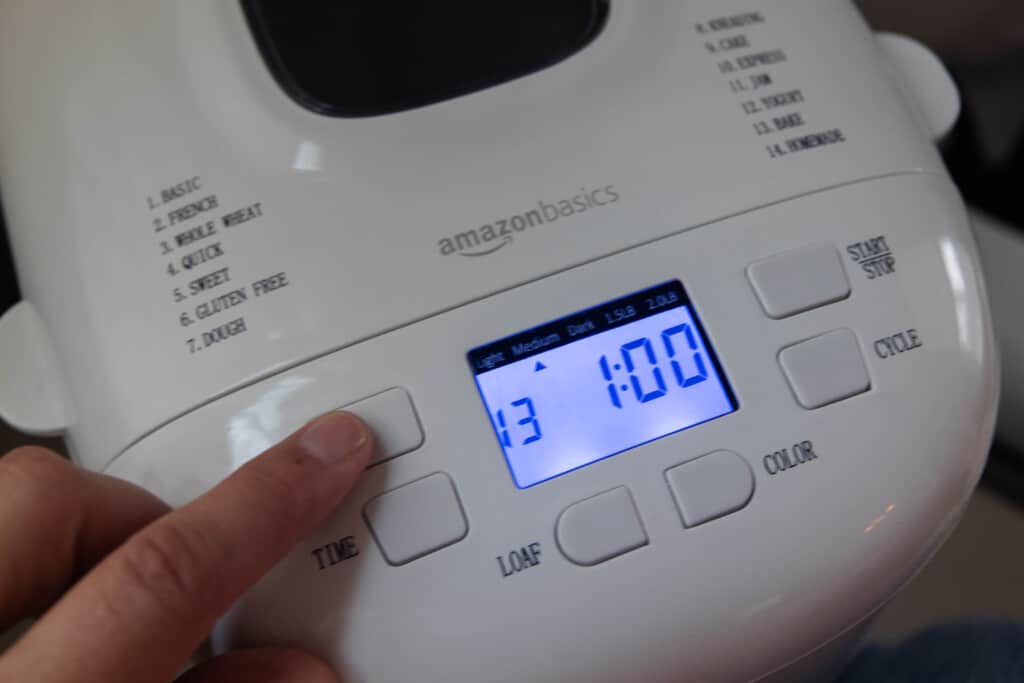
After the dough has risen for several hours, I go to the baking function (function 13 on my bread maker) and select the option for dark crust. This makes the bake time one hour.
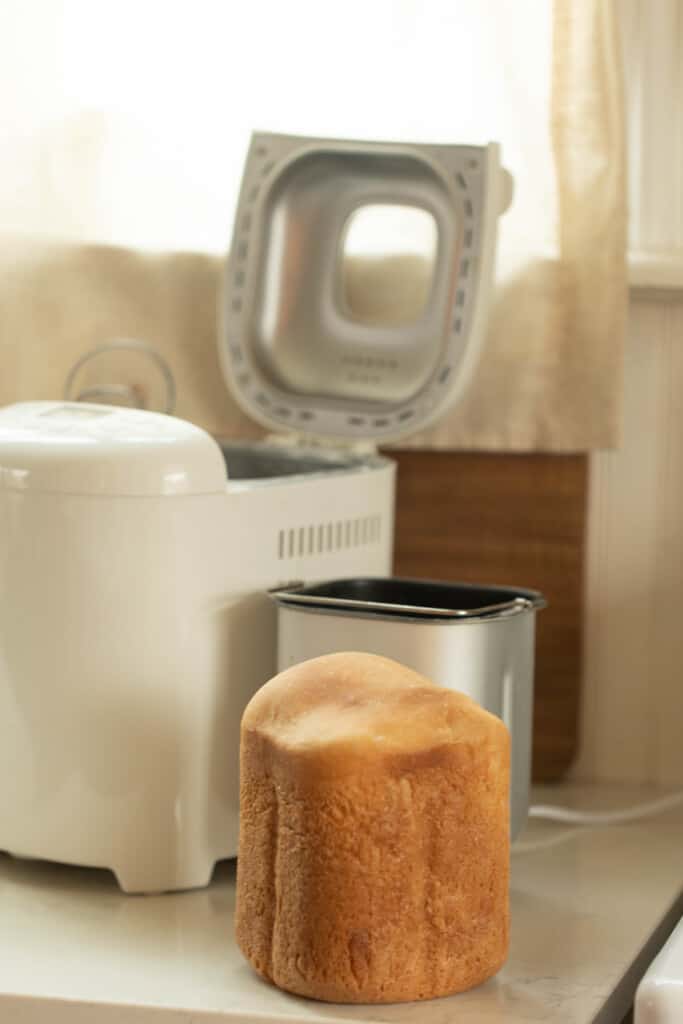
Allow the bread to cool, then remove from the pan.

Storage:
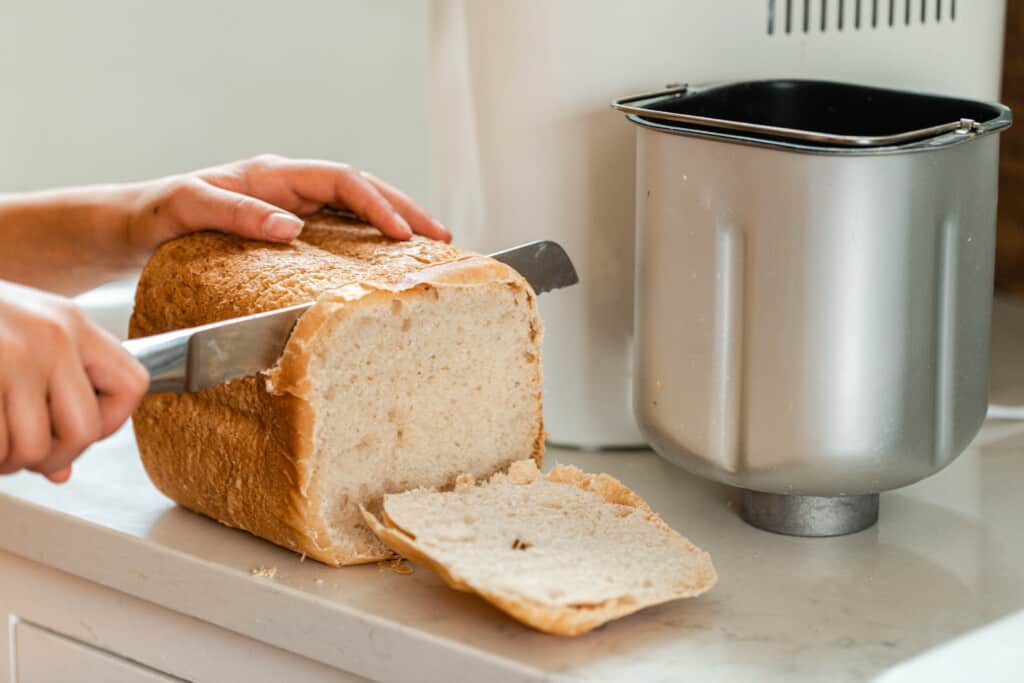
Unsliced bread can be stored in a paper or linen bag. Once cut, store cut side down on a cutting board lightly covered or in a storage bag.
Baker’s Schedule:
9 PM: Feed sourdough starter so it will be nice and active the next morning.
8 AM the next day: Add ingredients to the bread machine and allow it to work its magic. Do two rounds of kneading.
9 AMish: Allow the dough to rise for about 6 hours.
3-5 PM: Bake for 1 hour. Usually it will take 6-8 hours for your bread to double to be ready to bake.
6 PM: Slice and serve.
Find More Sourdough Recipes:
- Spelt Sourdough Bread
- Sourdough Oatmeal Cookies
- Best Sourdough Banana Muffins
- Sourdough Pizza Dough
- Sourdough Pumpkin Bread
If you try this recipe and love it, I would love if you could come back and give it 5 stars!
Sourdough Bread In A Bread Machine
Equipment
Ingredients
- 1 1/4 cups water
- 1/4 cup unsalted butter, melted
- 4 cups bread flour
- 2 tablespoons granulated sugar
- 1/2 tablespoon salt
- 1/2 cup sourdough starter, bubbly and active
Instructions
- Add the water and melted butter to the bread machine.
- On top of that add the bread flour, sugar and salt.
- Lastly, add the sourdough starter.
- Use the kneading function on the bread machine. (For my machine this is function 8) Mine is set to knead for 25 minutes.
- Optional: After the first knead cycle finishes, I press the button again and let it knead the dough one more time, for an additional 25 minute cycle.
- Next, I just allow the dough to sit in the bread machine for about 6 hours, or until the dough nearly rises to the top of the bread pan. I like to spritz the top with water a few times to make sure the dough doesn't dry out on top. (Optional , but also helps the crust to turn golden in the baking step.)
- After the dough has risen for several hours, I go to the baking function (function 13 on my bread maker) and select the option for dark crust. This makes the bake time 1 hour.
- Pull the bread out of the bread maker and allow to cool.
Notes
- Although you can make this bread from start to finish without ever touching the dough, you have the option to take out the dough from the bread machine after kneading and remove the paddle. This will keep you from having to pull the kneading paddle out of the finished product.
- Though you could get away with just one knead cycle, I actually like to do it one more time. This ensures proper gluten formation for soft bread.
- Spritz the top of dough with water a few times to make sure the dough doesn’t dry out on top during rising. This is an optional step, but also helps the crust to turn golden in the baking step.
Nutrition
Nutrition information is automatically calculated, so should only be used as an approximation.


I have been trying to find sourdough recipes that proofed and baked in the breadmaker and also didn’t require additional yeast. I have tossed countless loaves in the trash (compost) after trying different recipes. When I came across this one, I was doubtful because the measurements are by volume and not weight. Well let me tell you, this produced the most amazing, tangy, chewy loaf that’s going to be a staple at home. It proofed beautifully and the measurements worked out wonderfully. Thank you for sharing such an easy, well described recipe! Looking forward to exploring more on your site!
Made this recipe last night and it came out PERFECT! Soft crust. Light and fluffy! Already working on two more loaves. Printed this one off to save in my recipe book. ⭐️⭐️⭐️⭐️⭐️
I was making my sourdough bread with starter, and yeast in my bread maker using just the regular bread setting, but the sourdough flavor wasn’t as strong as I like it. I decided to try just kneading and letting it ferment in my bread maker before I baked it (using my bread maker). I had starting the kneading, and leavening process, when I ran accross you article. I was glad to see (aside from using yeast) that my idea wasn’t crazy, and I now had a tested guide. It gave me the flavor I was looking for, although the top of the loaf fell and was hard. I am now making it sans the yeast, hoping that will sove the fallen top of my loaf. Thank you, I have learned a lot from your articles, and am anxious to try some of the discard recipes. I hate wasting food of any kind and these make me happy knowing I have options.
I love all your recipes so much! Thank you for the gift of your time to share with all of us. What modifications would you need to make to this recipe to use fresh ground hard white wheat berries? Thank you so much!
No modifications needed!
Thanks for this follow up. The bread works out to a nice tasting loaf with the fresh milled flour. However, it is very crumbly. I was reading somewhere that adding Vital Wheat Gluten can help. Any other thoughts on what else might make it hold together and have a softer texture?
I bought the same bread maker that is shown. Can I knead it twice then take it out, form it into a round or oval shape and bake it at 500* in the oven?
I would only knead it once! You can let it rise and then shape and bake in the oven! That works too.
Yummy. My very first loaf of bread from my starter. Turned out great!!!
I love this recipe, but I also like the loaf without the paddle. But what a chore it is to take that paddle out. No matter wetting my hands, it still sticks to everything and the paddle just doesn’t want to let go. And I’m afraid the shape of the loaf will suffer also. Any tips to make this easier?
Hello! I tried this recipe but it over proofed and deflated. The only deviation I made from the recipe was that I let it proof 8 hours overnight instead of just 6. Would that have made a difference? I do live at a high altitude as well. (approx 6000 feet above sea level). Also my starter is frothy and almost soupy. I’ve been trying to make it a little thicker and I feed it extra flour with that in mind but then when I check it 12 hours later it is a frothy soup again.
It sounds like you are over proofing the bread, and even your starter. That is why it is getting soupy after 12 hours. It is losing its rise. I would cut back the fermentation time.
Put a little olive oil on the paddle.
So I took some of my homemade starter (“discard” from morning feeding) and made this recipe in my bread machine. I did the 2 kneads and 6ish hour rise in the machine after which it was getting late so I put it in my refrigerator overnight for a “cold proof” and used the bake only setting the next morning for 1 hour. The result was fantastic!
I have an Oster bread machine that is for a 2 lb loaf and this recipe appears to be for a 1 lb loaf, so do I double it to make a 2 lb loaf?
I think this recipe is for a 2lb load! Most 2Lb bread machines only hold 4 cups of flour. I just looked it up, thought I’d pass along that info!