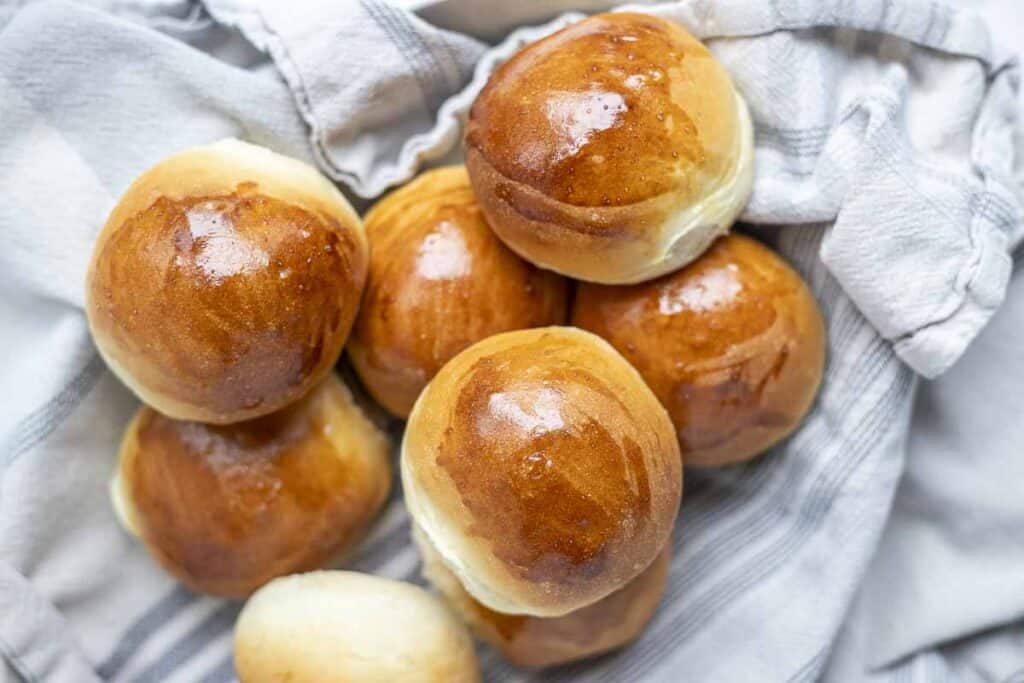
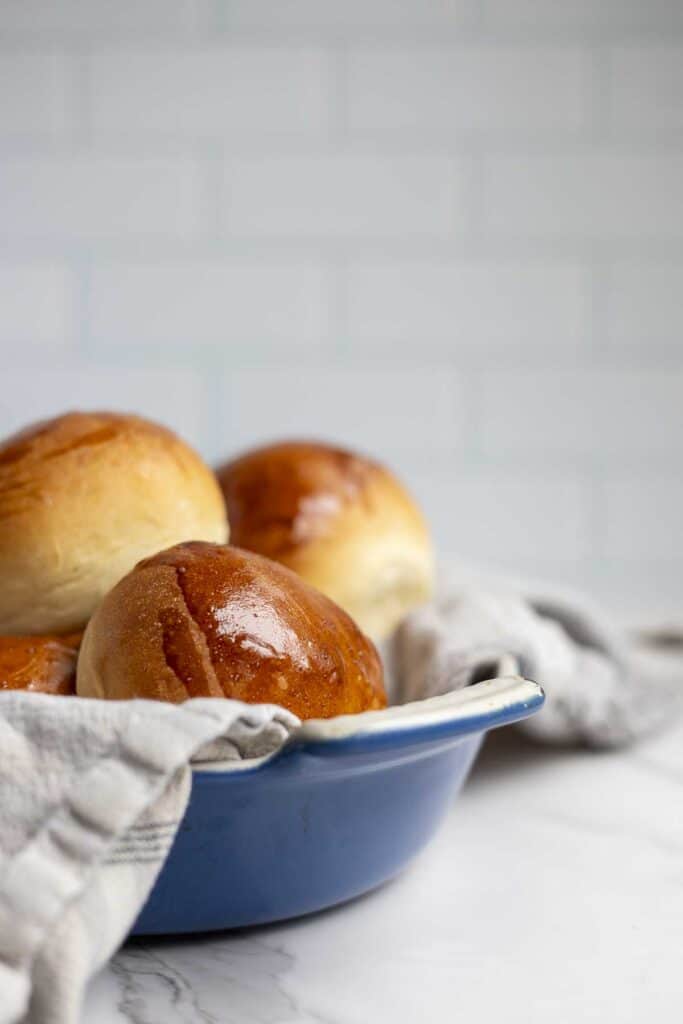
Sourdough discard rolls are the quicker version of my favorite sourdough rolls, taking a fraction of the time and offering a sweet flavor, tangy kick, and fluffy texture.
Dinner rolls are incredibly versatile. I love to put them together for soups and stews, as a hot, buttered side to many entrees, split as sandwich buns, or even smeared with jam at breakfast.
For some odd reason, dinner rolls always used to strike me as something that only worked out if you bought them in the store. As though they couldn’t be replicated without turning out rock-hard, sadly flat, bland little rolls.
Yet with my love of all things sourdough, of course, I couldn’t allow that.
So then emerged my wonderful sourdough dinner roll recipe, which is far, far better than any dinner roll the stores could tempt you with.
But let’s say you need these rolls just a little bit quicker than the aforementioned, long-fermented recipe.
Well then, these sourdough discard dinner rolls are your key to success. The longer fermentation is swapped out for a packet of active dry yeast to get these rolls on the table much sooner.
While I love the benefits of long-fermented fresh bread, there’s certainly a time and place for speeding things up.
These can be made and served the same day, without sacrificing the softness, fluffiness, or tangy sweetness you expect. Our family loves these delicious rolls.
Why You’ll Love Them
Rewarding: It’s hard to beat the feeling of accomplishment that comes with gracing the table with these soft dinner rolls. They almost need a little sign that waves, reading, “Yes. I made these. Aren’t they lovely?”
Delicious: They are so soft and fluffy, with a hint of sweetness from the sugar that complements the sourdough tanginess.
Simple: Made with basic pantry staples, they are uncomplicated and ready in just a few hours. They are also a great way to use up sourdough discard.
Tips
- This is a pretty quick recipe with an initial 60-90 minute rise, followed by a 30-60 minute rise.
- For best results, let the rolls get really puffy on that second rise. Around double in size.
- You can use either active sourdough starter or sourdough discard.
- One packet of yeast is typically 2 1/4 teaspoons.
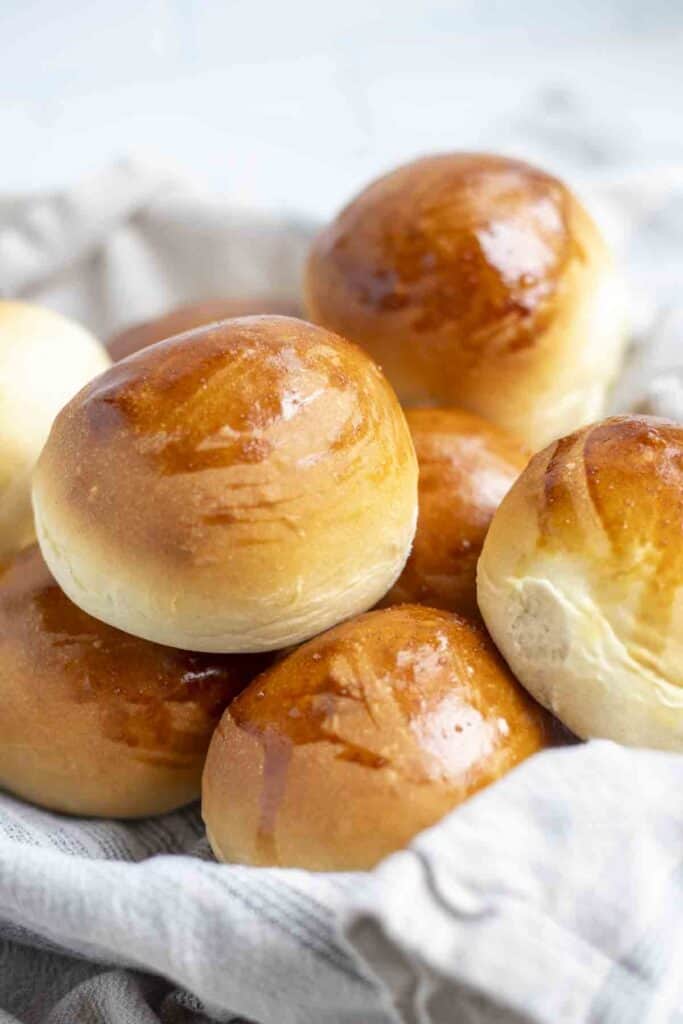
- Placing the shaped rolls close together or touching in your baking dish will yield more of a pull-apart dinner roll, whereas spacing them out will cause each to have a light, golden crust.
- While it’s optional, brushing the top of the dough with egg wash or a milk mixture will create a beautifully glossy, golden exterior.
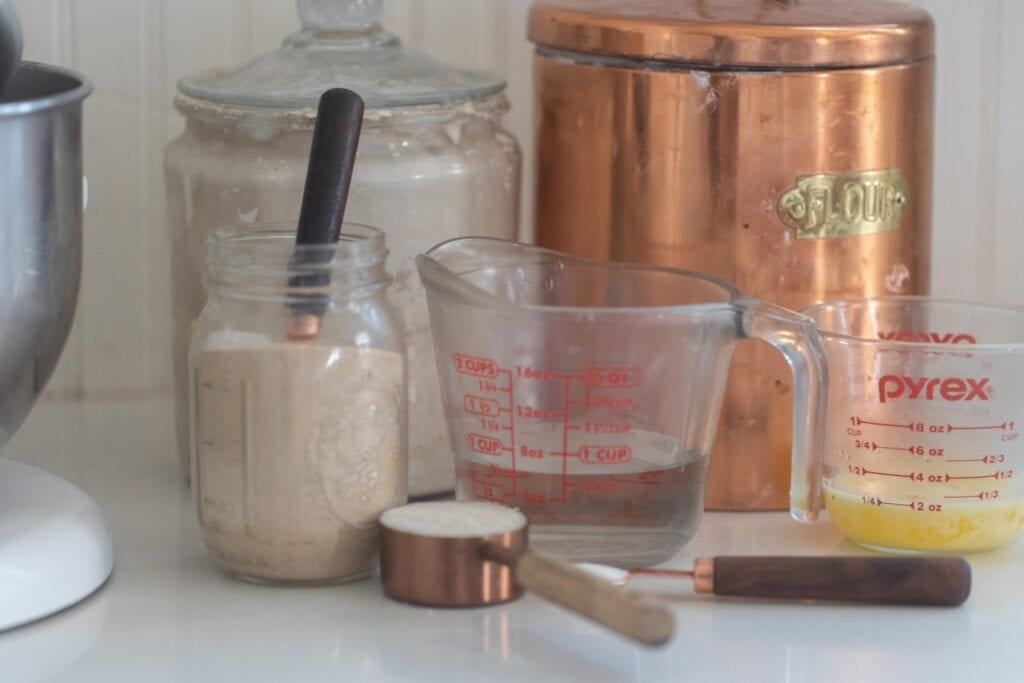
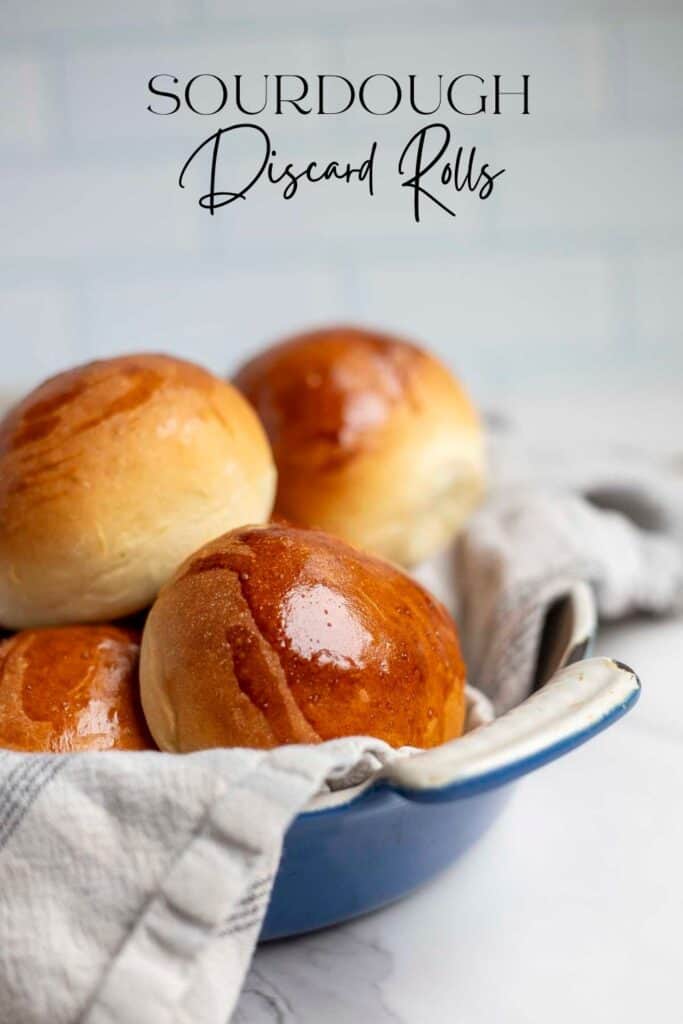
Sourdough Discard Rolls Ingredients
Active dry yeast: This commercial yeast is responsible for significantly speeding up the process.
Water: Filtered water, if possible.
Sourdough discard: This is a great way to use up your excess discard so that it doesn’t go to waste!
Sugar: Sugar adds a light sweetness. You can substitute brown sugar or honey, but honey will make the dough stickier and a bit more challenging to work with.
Butter: Melted, but cooled. You don’t want to combine hot butter with your yeast or starter, as your rise can be affected.
Salt: We love sea salt.
All-purpose flour: Use your favorite! All-purpose flour helps to keep these rolls super soft.
Egg (for egg wash): You can make this optional egg wash by mixing one egg yolk with one tablespoon of water.
Tools You May Need
Stand mixer with dough hook: A great tool, but still optional. You can easily knead the dough by hand and have the same great results!
Kitchen scale: This is the best way to get precise measurements.
Bench scraper: A bench scraper is a helpful tool for dividing the dough, as well as helping to lift it from the countertop.
Baking sheet: This is my favorite stainless steel baking sheets.
How To Make Sourdough Discard Rolls

Begin by whisking warm water and yeast in your stand mixer bowl.
Cover the bowl and let it sit for 5 minutes to give the yeast time to work. When you check back in, the mixture should be bubbly and foamy, showing that the yeast is active.
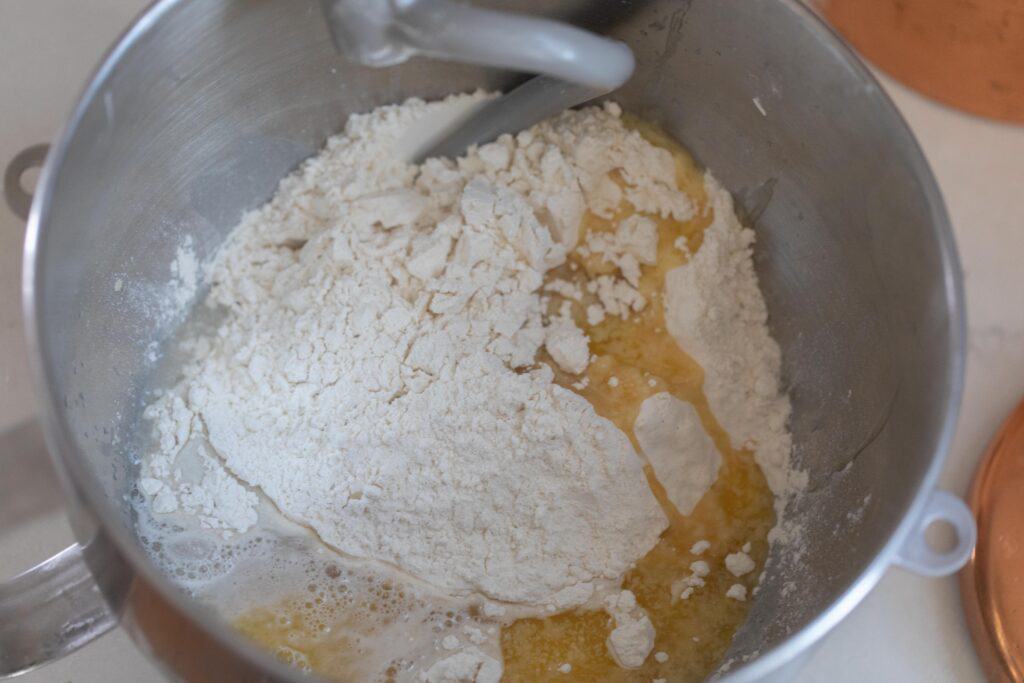
Add sourdough discard, sugar, cooled butter, salt, and flour.
Using a dough hook attachment, mix on low speed for 2 minutes.
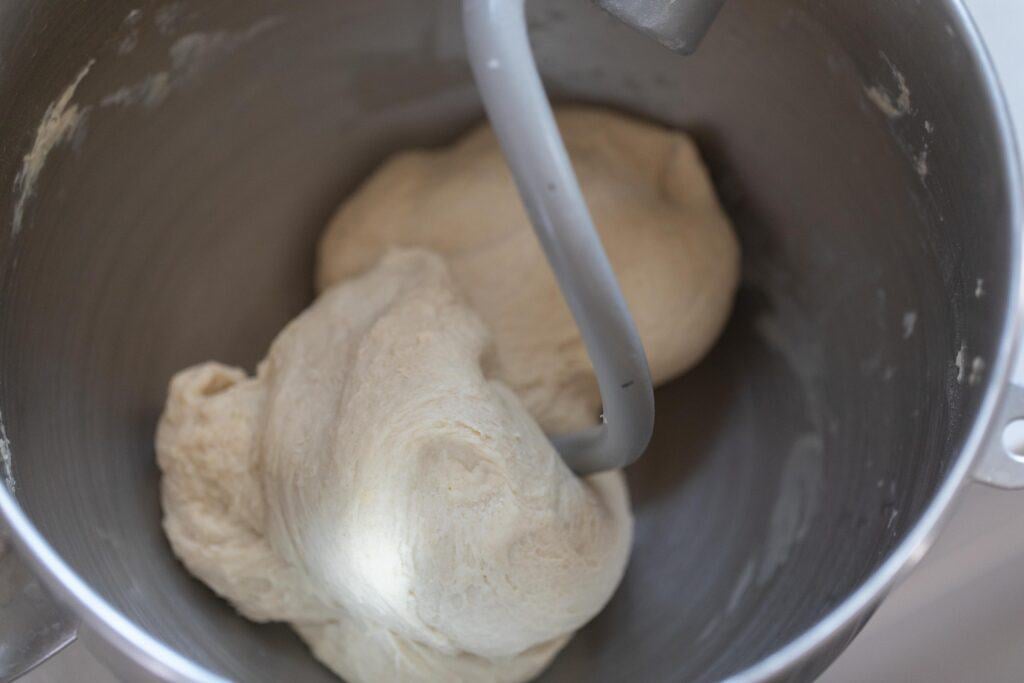
Increase the speed to level two, and continue kneading the shaggy dough until it starts to pull away from the sides of the bowl. It will develop a smooth and glossy appearance and should pass the windowpane test. This will take around 5-10 minutes.
You can also choose to knead by hand rather than using the mixer. To do so, knead the dough on a lightly floured surface for 5-10 minutes.
*The windowpane test involves taking a small piece of dough and stretching it into a rectangular shape, observing whether the stretched center rips or if it stretches thinly to allow light to pass through, much like a windowpane. This is an indicator of gluten development.*
First Rise
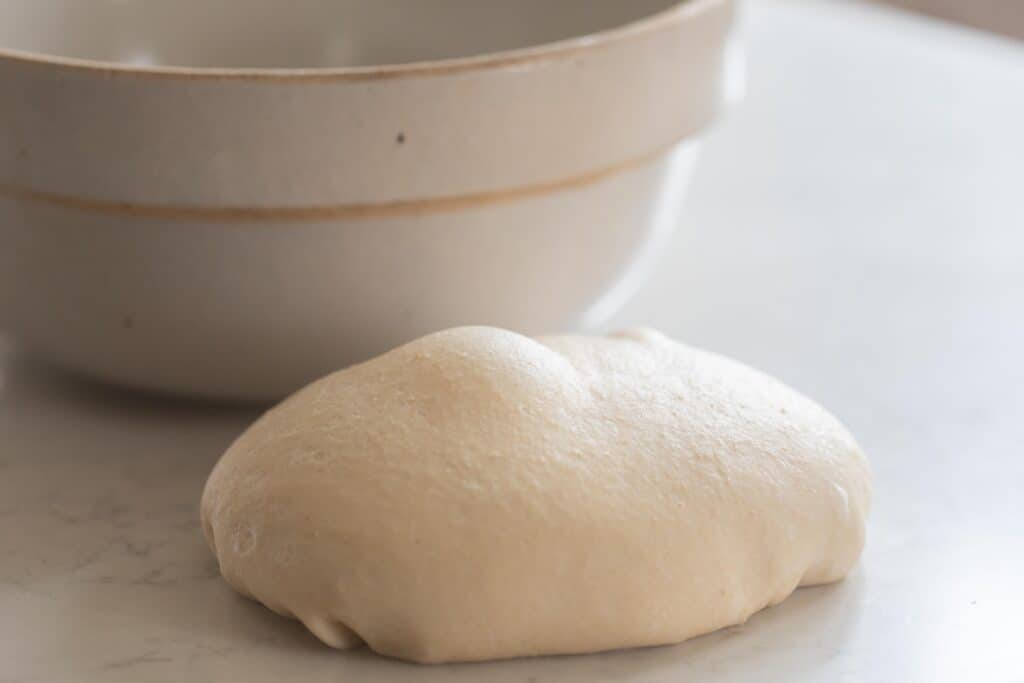
Transfer dough to a lightly greased bowl, covering with foil, beeswax or plastic wrap, or a damp tea towel. This will keep the dough from drying out on top and developing an unpleasant crust.
Let the dough rise at room temperature for 60-90 minutes or until doubled. This can happen faster in warmer kitchens, whereas the rising time may be longer if the dough isn’t in a warm place.
After this first rise, turn out the dough onto your counter and divide into 8 equal pieces. I use my bench scraper for this part. It also makes cleanup a breeze.
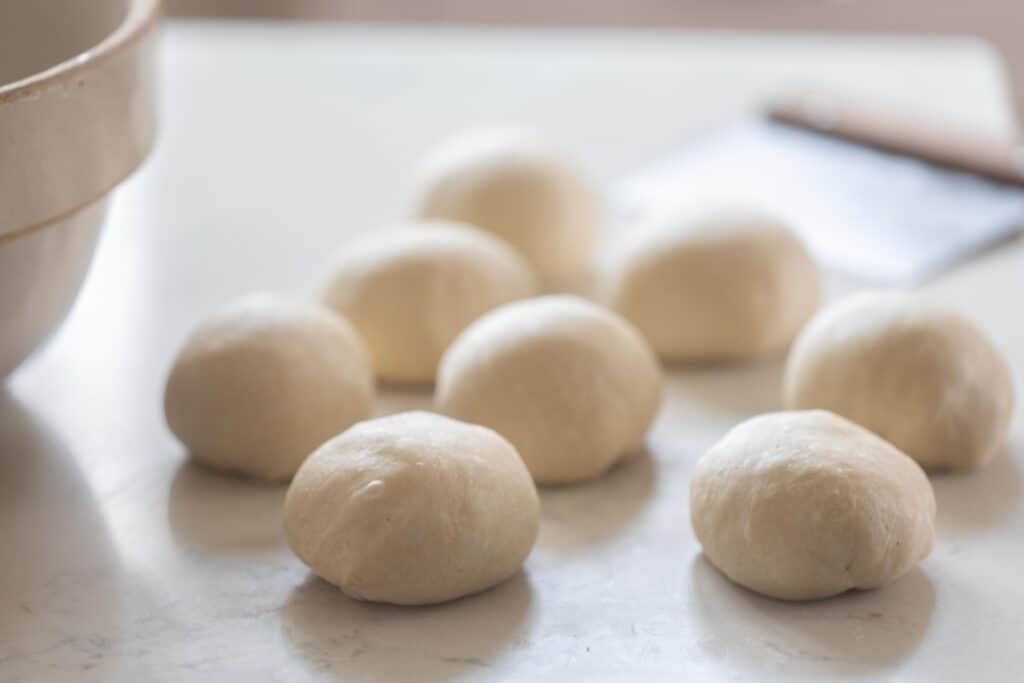
Shape each piece into a tight ball, adding tension by gently rolling them against the countertop.
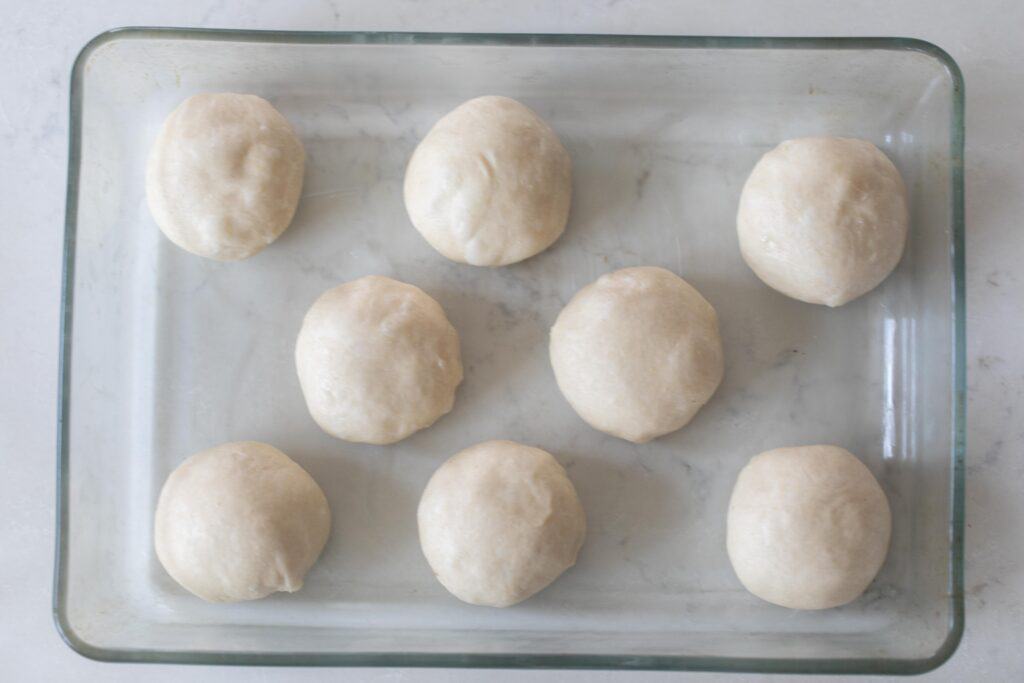
Place each roll into a greased 9×13 or 8×8 baking dish, the size determined by your preferred placement of the rolls – touching or separated.
Cover the rolls with a damp tea towel and place in a warm spot for 30 minutes to an hour. The rolls should be doubled and puffy.
Preheat oven to 375F.
Make the egg wash (optional) by whisking an egg yolk with a tablespoon of water, then brushing the tops of the rolls. This step adds a lot of beauty to the rolls, giving them a shining, golden color.
Bake in the oven for about 25-30 minutes, or until they are golden brown.
Remove from oven and top with melted butter, if desired.
Cool them and enjoy!
Storage
Short term: Keep in an airtight bag or container for up to a week on the countertop.
Longer term: These freeze well, whether baked or unbaked. If baked, simply wrap them up in foil or a freezer bag and stow them away for a month or so. Thaw at room temperature and then gently reheat.
If unbaked, place the shaped rolls on a tray and freeze them until hard. Then add them to a bag or freezer-safe container in the freezer for a month or possibly longer.
To bake from frozen, let them rise on a baking sheet, covered, until soft and puffy, then bake as usual.

FAQ
Sourdough starter refers to the fed and visibly active mixture of wild yeast, good bacteria, flour, and water. Whereas, sourdough discard is a portion of that same starter, after it has peaked and fallen, that is typically discarded before the starter is fed again.
Sourdough discard is still very useful and can be collected and kept in the refrigerator for near-future baking.
I think any way one uses sourdough discard is the best way. There are so many recipes for sourdough discard, and the efficiency of this is wonderful. Here are 35+ sourdough discard recipes – all of which are great uses!
Yes, sourdough bread is naturally risen and fermented, which breaks down the phytic acid and gluten in grains, making them more easily digested and the nutrients better absorbed. Homemade sourdough bread generally contains far fewer additives and artificial ingredients (or none at all) than its store-bought counterpart.
The sugar can be reduced, but I would still recommend adding a little bit of sugar so the yeast has something to eat.
Find more sourdough discard recipes here:
- The Best Sourdough Discard Scones
- Easy Sourdough Discard Bagels
- Sourdough Discard Sandwich Bread
- Sourdough Discard Crackers
- The Easiest Sourdough Discard Pizza Crust
/If you try this recipe and love it, I would love if you gave it 5 stars! Thank you! Tag me on Instagram @farmhouseonboone.
Sourdough Discard Rolls

Equipment
Ingredients
- 2 1/4 teaspoons active dry yeast, one packet
- 3/4 cup warm water, 177 grams
- 1/2 cup sourdough discard, 125 grams
- 1/4 cup sugar, 48 grams
- 1/4 cup butter, 56 grams, melted and cooled
- 1/2 teaspoon salt, 3 grams
- 2 1/2 cups all-purpose flour, 350 grams
- Egg, for egg wash
Instructions
- Begin by whisking warm water and yeast in your stand mixer bowl. Cover the bowl and let it sit for 5 minutes to give the yeast time to work. When you check back in, the mixture should be bubbly and foamy, showing that the yeast is active.
- Add sourdough discard, sugar, cooled butter, salt, and flour. Using a dough hook attachment, mix on low speed for 2 minutes.
- Increase to level 2, and knead until it the dough becomes smooth, glossy, and starts to pull away from the sides of the bowl. It should pass the windowpane test. This will take around 5-10 minutes.
- You can also choose to knead by hand rather than using the mixer. To do so, knead the dough on a lightly floured surface for 5-10 minutes.
- Transfer dough to a lightly greased bowl, covering with foil, beeswax or plastic wrap, or a damp tea towel. This will keep the dough from drying out on top and developing an unpleasant crust.
- Let the dough rise at room temperature for 60-90 minutes or until doubled.
- After this first rise, turn out the dough onto your counter and divide into 8 equal pieces. I use my bench scraper for this part. It also makes cleanup a breeze.
- Shape each piece into a tight ball, adding tension by gently rolling them against the countertop.
- Place each roll into a greased 9×13 or 8×8 baking dish, the size determined by your preferred placement of the rolls – touching or separated.
- Cover the rolls with a damp tea towel and place in a warm spot for 30 minutes to an hour. The rolls should be doubled and puffy.
- Preheat oven to 375℉.
- Make the egg wash (optional) by whisking an egg yolk with a tablespoon of water, then brushing the tops of the rolls.
- Bake in the oven for about 25-30 minutes, or until they are golden brown.
- Remove from oven and top with melted butter, if desired.
- Cool them and enjoy!
Notes
Nutrition
Nutrition information is automatically calculated, so should only be used as an approximation.


So yummy!! I doubled the recipe and my rolls were huge! I also did half of mine in muffin tins and they cooked faster, but were still just as yummy as the others in a baking dish. I will make mine smaller next time as mine came out really big..More like buns than rolls but we devoured them☺️ will definitely make again!
Hello,
I LOVE this recipe, I’m wondering though, have you ever tried making the dough ahead? I’m wondering how it would taste if i made them and put them in the fridge for 24 hours and then cooked them the next day? Thoughts?
Yes! That would work just fine.
Hi! I tried making these tonight but the dough never doubled. It was so sticky that I couldn’t roll it and had to dump it. 🙁 Any tips or ideas on what to try next time?
Sounds like it may have over fermented. It will lose its rise and be very sticky! Next time check it before the fermentation time is up. Your home may just ferment things a bit quicker!
I get 12 medium-sized or 8 giant rolls from this recipe. I actually like using them as sandwich buns so I don’t mind if they spread out some. The texture is wonderful and I’ve made them to give others – which means I know they’ll be liked! I did the egg wash once and it pooled a little between the rolls and over browned where it touched the pan between the rolls, so I don’t do that now (and I’m always afraid I’ll deflate them!). Egg wash has never worked too well for me in anything. But I do like to brush them with a little butter after they come out of the oven, and they are beautiful!
I’m about to bake mine but they aren’t rising as much as it seems like they should.
I would make sure they are in a warmer area! They will also spring up a bit more during the baking process.
I don’t have a problem with the recipe but the weight doesn’t double or triple when the multiplier is toggled which caused me to double some ingredients but not the others when I relied on it. I wasted a double batch.
Thank you for letting me know. I will get this corrected ASAP!
Hi Lisa. I ade a single recipe for the first-time . They were amazing and so easy. Im tying t9 do the 3x recipe for 24 rolls and realize the grams don’t convert to the proper amount. BE CAREFUL.
So easy to make and delicious!!
As a youth (100 years ago) Pepperidge Farms made little dinner rolls that were soft and pillowy, had a beautiful brown, soft crust and “made” holiday meals. I have yearned for those rolls for years. They were great as tiny dinner rolls, perfect for small grab and go sandwiches for little hands, and so much more.
This roll the answer to my search. They are PERFECT! The taste is like being a teenager or a young mom again.
I made them a little smaller in size – 10 in an 8×8 pan they were still huge. They tasted so good that I ate 2 of them! Yummy. And my better half is raving about them a day later.
What a great use for discard! And they came together so quickly that we got to eat them the same day. I’ll give up sourdough twang for flavor-filled nostalgia. Especially since I know how great your recipe using active starter is.
THANKS!
Yummy yummy! I broke these down into 10 75 grams rolls and they were still large enough to be a bun for the pulled pork I made tonight and based on what others said I used salted butter and still added 4 grams of salt and sprinkled sea salt on top of melted butter at end. They were gone in 3 seconds at bible study and people are begging for me to make a double batch next time. Thank you