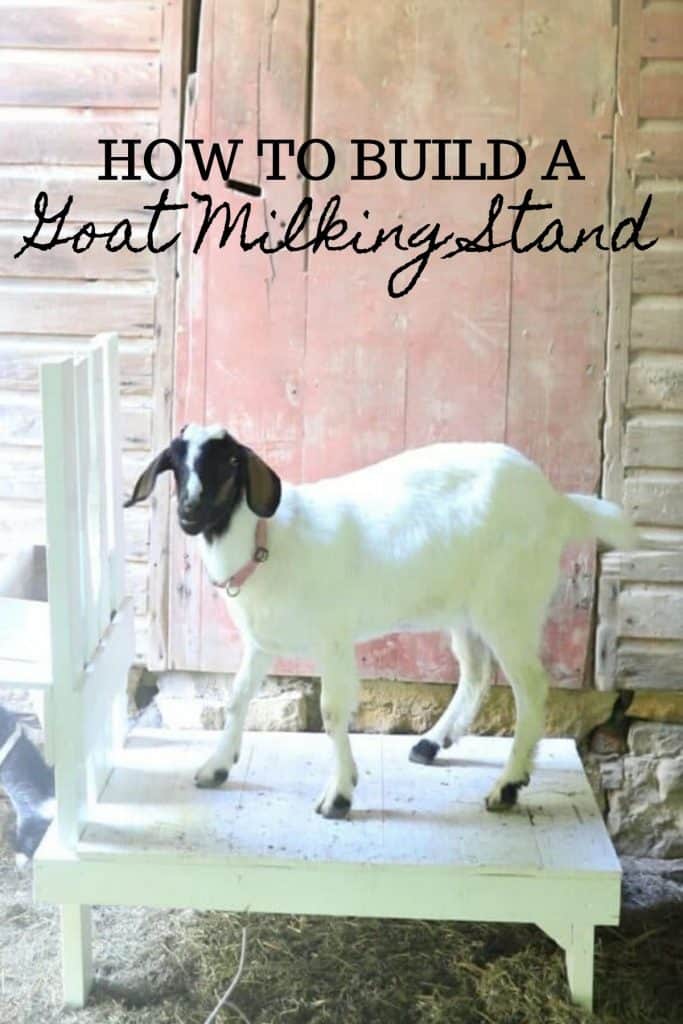
Learn how to build a goat milking stand that is easy and affordable. This DIY goat stanchion is a necessity when milking your dairy goats.
A month or so back, we welcomed our first dairy animals to the farm. The day after Jennie arrived, she had her triplet kids.
I thought for sure we would want to start milking right away, but there we were, the kids three weeks old already, and we were just getting around to building our milk stand.
This -getting our own milk- has been years in the making.
Weekly, for the last few years, we would head to a nearby dairy farm to pick up our delicious raw milk, and dream of the day we would finally have our own dairy animals.
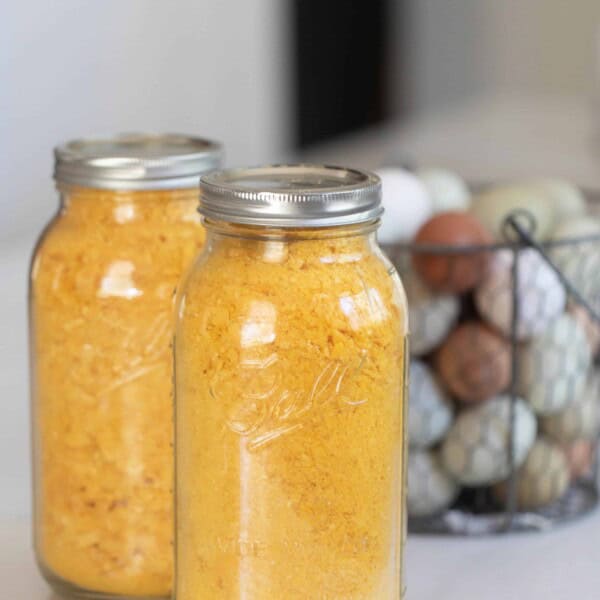
Raw goat milk is highly nutritious and, according to many, it is superior to cow’s milk. It is easier to digest and full of vitamins and minerals. It’s also a good source of calcium, and it contains less allergens and may be less inflammatory compared to cow’s milk. (Source)
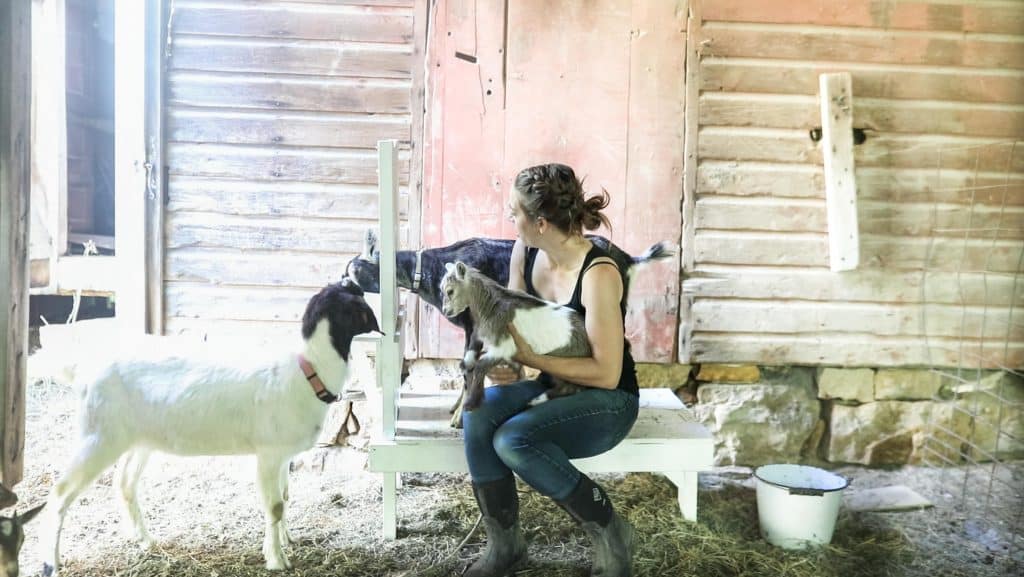
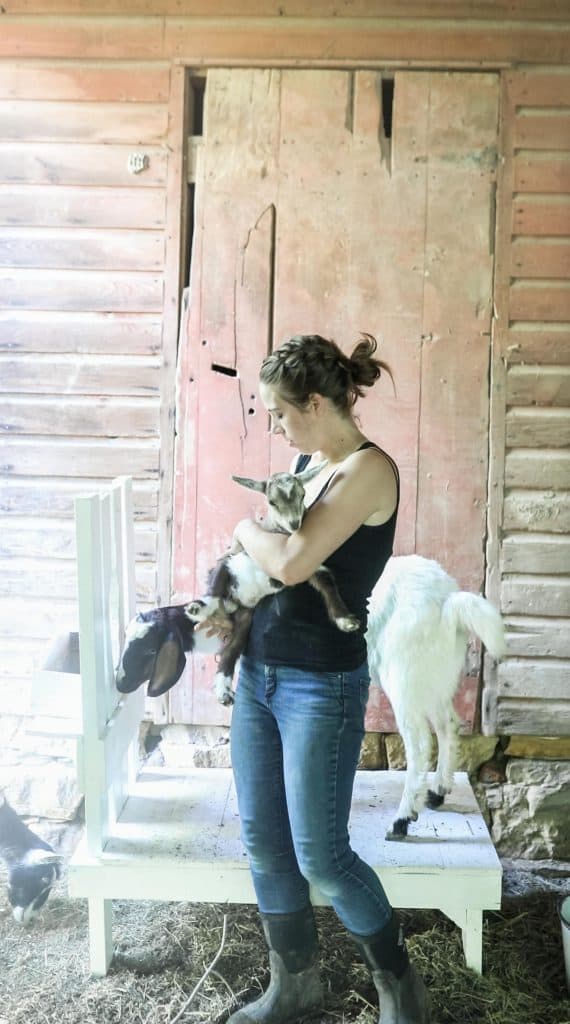
There are a few things you have to have to milk a goat, some of which are a bucket, a strainer, and a goat milking stand.
And in the name of DIY and being the naturally frugal people that we are (you can see how we paid off our house in 5 years, or bought our new farmhouse with cash), we decided to build one ourselves, using these plans and utilizing many materials we already had on hand.
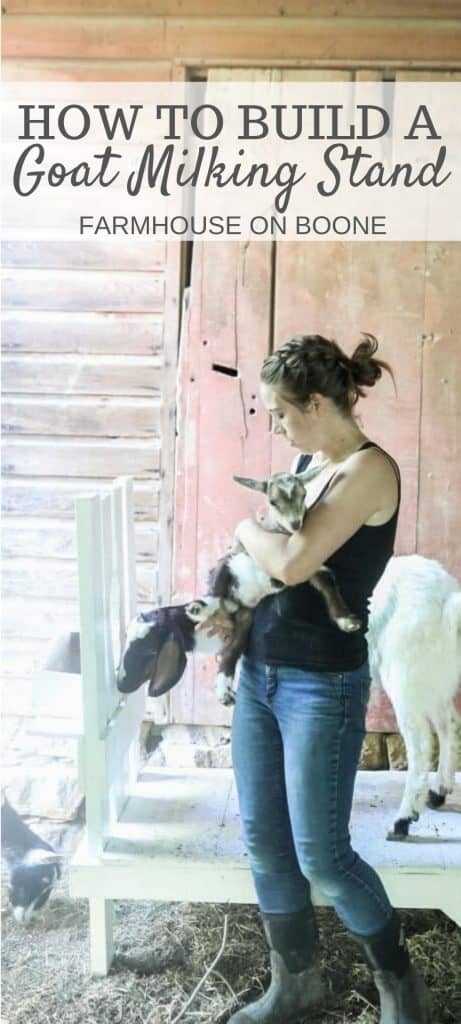
Spoiler alert: I’ve been successfully milking every morning with our DIY goat stanchion. Now I can’t wait to add more goats, and eventually a dairy cow, to the farm.
How To Build A Goat Milking Stand:
We used and followed these plans from A Butterfly House. The stanchion was the perfect size, simple to use, and worked great. We made a few changes.
The changes we made to the original plans have nothing to do with the plans being inadequate. In fact, I’m pretty sure hers turned out infinitely better than ours. Ha. We just made a few changes based on what we had on hand.
A few changes we made to the goat milking stand plans
- Instead of securing a bucket to the front of the stand, Luke made a little shelf and bucket out of wood. We could have run to the feed store for a plastic bucket, but leaving the house during projects is our #1 biggest annoyance, so we didn’t.
- We used leftover cedar fence pickets for the floor, since we had several on hand from our raised beds project.
This post contains affiliate links, which means I make a small commission at no extra cost to you. See my full disclosure here.
Tools you need to make this project:
Saw – a circular saw or miter saw will work
Pencil
2x4s
Drill and drill bits
Screws
Table saw
Milking Goats
I am definitely a “learn as I go” type of person. Some people like to read books and articles and listen to podcasts on a subject before jumping in, just to be sure they won’t mess anything up.
Though I think that is probably the better way to approach life, and certainly would lead to less mistakes, it just isn’t the way I roll. I would rather get started and figure things out the hard way.
So, I read precisely nothing on the process of milking a goat before heading out to the barn at 6am with nothing but a milk pail and the desire for some fresh, raw goat milk. I learned several things in the process.
Some things I’ve learned from milking a goat
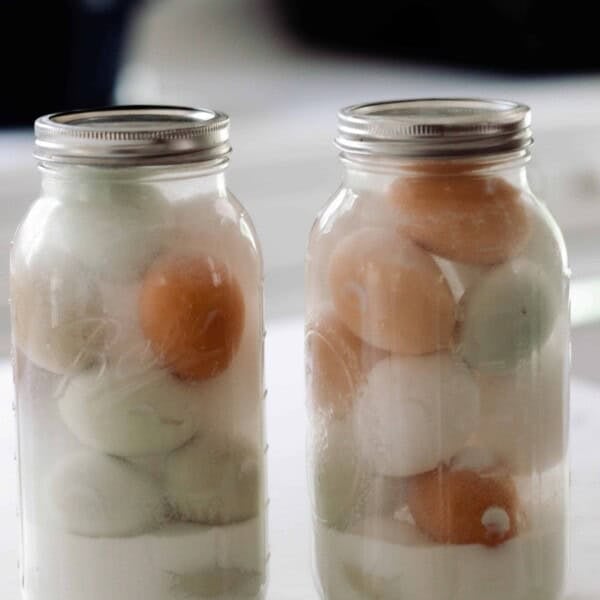
- You need a fine mesh strainer of sorts. I was quite unaware how many little particles and gross things (i.e. hair… blech!) would get into the pail during milking. Even with several milkings under my belt, I still always manage to get something in there, no matter how careful I am. I’m sure I will get better, but straining will always be necessary. Since I didn’t have a strainer on hand, I just poured the milk through a clean tea towel the first few days.
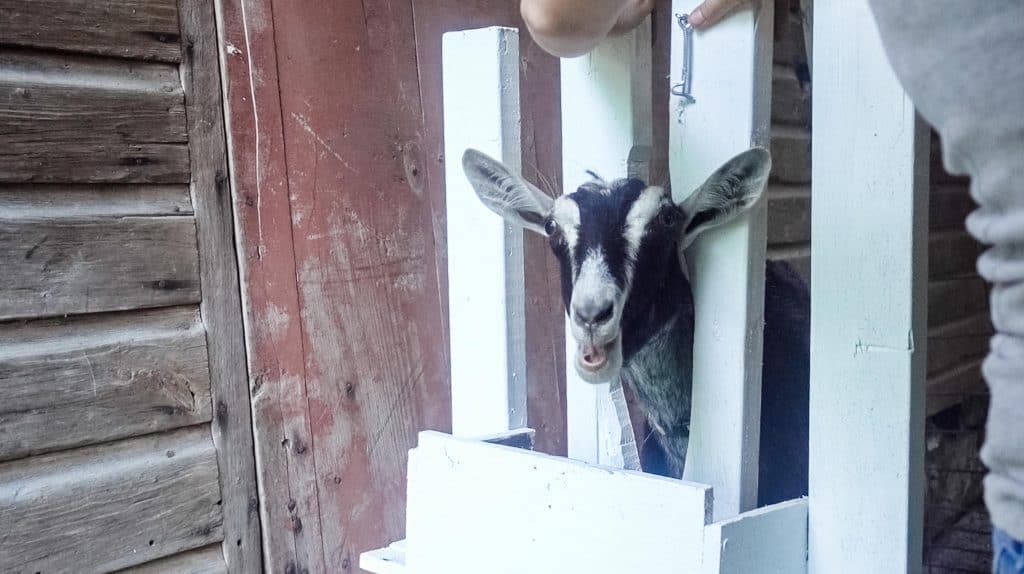
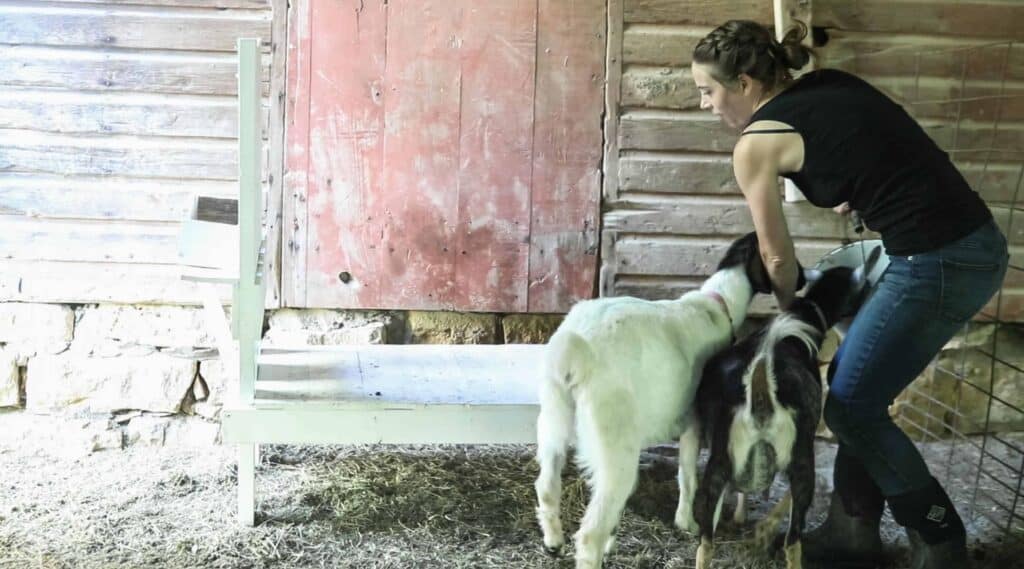
- The other goats have to go somewhere else. We have another adult goat on the homestead, and she too is a fan of the sweet grain mix that Jennie gets during milking time. Milking Jennie, without Blaire getting all up in my business, is nearly impossible. Since we don’t yet have stalls set up, I have been chaining Blaire up for a few minutes during milking time. I give her a little dish of grain, too, so she isn’t left out.
- You have to have a milk pail that fits perfectly under the animal you’re milking. I knew this one going in, because my friend Stephanie from Hopewell Heights told me so. This 5.5 quart stainless pail works perfectly for Jennie, our Saanen/Nigerian Dwarf mix.
- They will step in the pail. I heard this would happen, and by golly, it is TRUE. Now that I am aware of the movements she makes before stepping in the pail, I can usually keep it from happening. In fact, the only time she stepped in the pail and ruined the milk was during the first milking. Just know, you might not be able to consume your first milking.
Do you need to have a stanchion to milk goats?
I would definitely say so. I was told by many homesteaders that you shouldn’t try to milk without one or you will be left feeling very frustrated.
So I didn’t even attempt it without one. Learning the ropes of milking your first animal is hard enough with one, so I’m not going to test it. Now that it has been a few weeks, we’ve gotten the hang of it and are in a good rhythm.
Find More Homestead Projects & Builds:
How To Build Garden Beds For Cheap
Pin It For Later


I would love to do milk goats, but here’s what I don’t understand- you milk a goat for a period of time and then have to dry her off and breed her or another goat again. What are you doing with all these babies or mamas that are beyond breeding years? Selling them? Or eating them? Don’t think I can get into eating goat! Haha
All of my family is very allergic to cows milk so we kept a herd of Nubians for milk and meat for about 20 years. If you register and certify your individual goats and keep track of their lineage you can usually sell your excess for breeding stock fairly easily. We often integrated the new dows into the herd and had the bucks neutered. Within about 6 months we would either haul the withers (castrated males) to the slaughter house for processing for our use(don’t let the kids name them) or advertize them for live sale as meat goats. We were on the outskirts of Kansas City and never had any trouble selling one off for $30-40. Many middle eastern cultures prize goat meat. In the meantime they helped keep the trees, noxious weeds and pasture trimmed up nicely. The milkers do require a fortified feed and alfalfa mixed into their hay as well as forage to stay on top of the game. Well fed goats with some big rocks or concrete slabs to climb on are generally quite healthy. Your biggest threat is dogs or if you are far enough out in the country, coyotes. As for milking, have a seperate milking stall that can isolate the dow. Train your girls that they get fed grain only while they are milked. Always wash the udder with a mild unscented soap in warm water before milking and pat dry with a clean cotton towel. Use a stainless steel pan for milking (aluminum or galvanized metal ruins the milk) and always apply udder balm before you let them down. The dows that were beyond breeding years we kept around. They kept the younger dows calm and the withers aware of correct goat protocol.
I love the idea of having goats on my property. My hang-up is that I hate goat cheese and goat milk! lol Is this something that could be an acquired taste? I am wondering if I just need to get used to it, I know it is so much easier to digest so that is appealing. Anyone who has any advice is welcome!
The breed that we have actually makes really sweet and delicious milk. It isn’t goat-y at all. Tastes just like cow milk.
Why did you decide to have goats AND a dairy cow? Also, what breed of goats do you keep?
We actually never milked both at the same time, and we actually did end up selling the goats. So we only have the cow now!