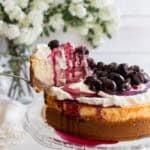
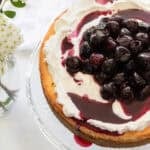

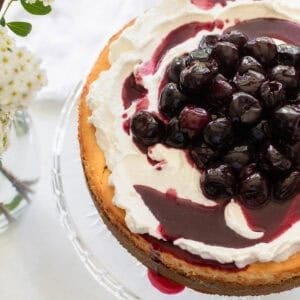
Homemade cherry cheesecake is the perfect twist on a traditional vanilla cheesecake. Summer cherries are turned into the most delicious sweet and tangy sauce that pairs perfectly with the creamy filling and buttery graham cracker crust.
Cheesecake of any kind is a big family favorite of ours. Whether it’s pumpkin cheesecake in the fall, strawberry cheesecake in the springtime, or this cherry cheesecake during the warm summer months, we love any excuse to enjoy this tasty dessert.
This recipe boasts juicy cherries in a homemade topping spooned over the creamiest base. This is a perfect beginner friendly recipe if you have never made a cheesecake before. It’s a wonderful addition to a collection of summer desert recipes that you will want to make again and again!
Why You’ll Love This Recipe
No water bath needed – The best part about this classic cheesecake is that there is no need to fuss with a water bath! A casserole dish full of water is placed on the rack below while the cheesecake bakes, giving it the same effect without the hassle.
Perfect for parties – This is a great dessert for family gatherings and is sure to impress all of your guests!
Delicious – This easy cheesecake recipe is not only simple to make, but so full of flavor as well! It is a delicious recipe that you will want to make for years to come.
Ingredients
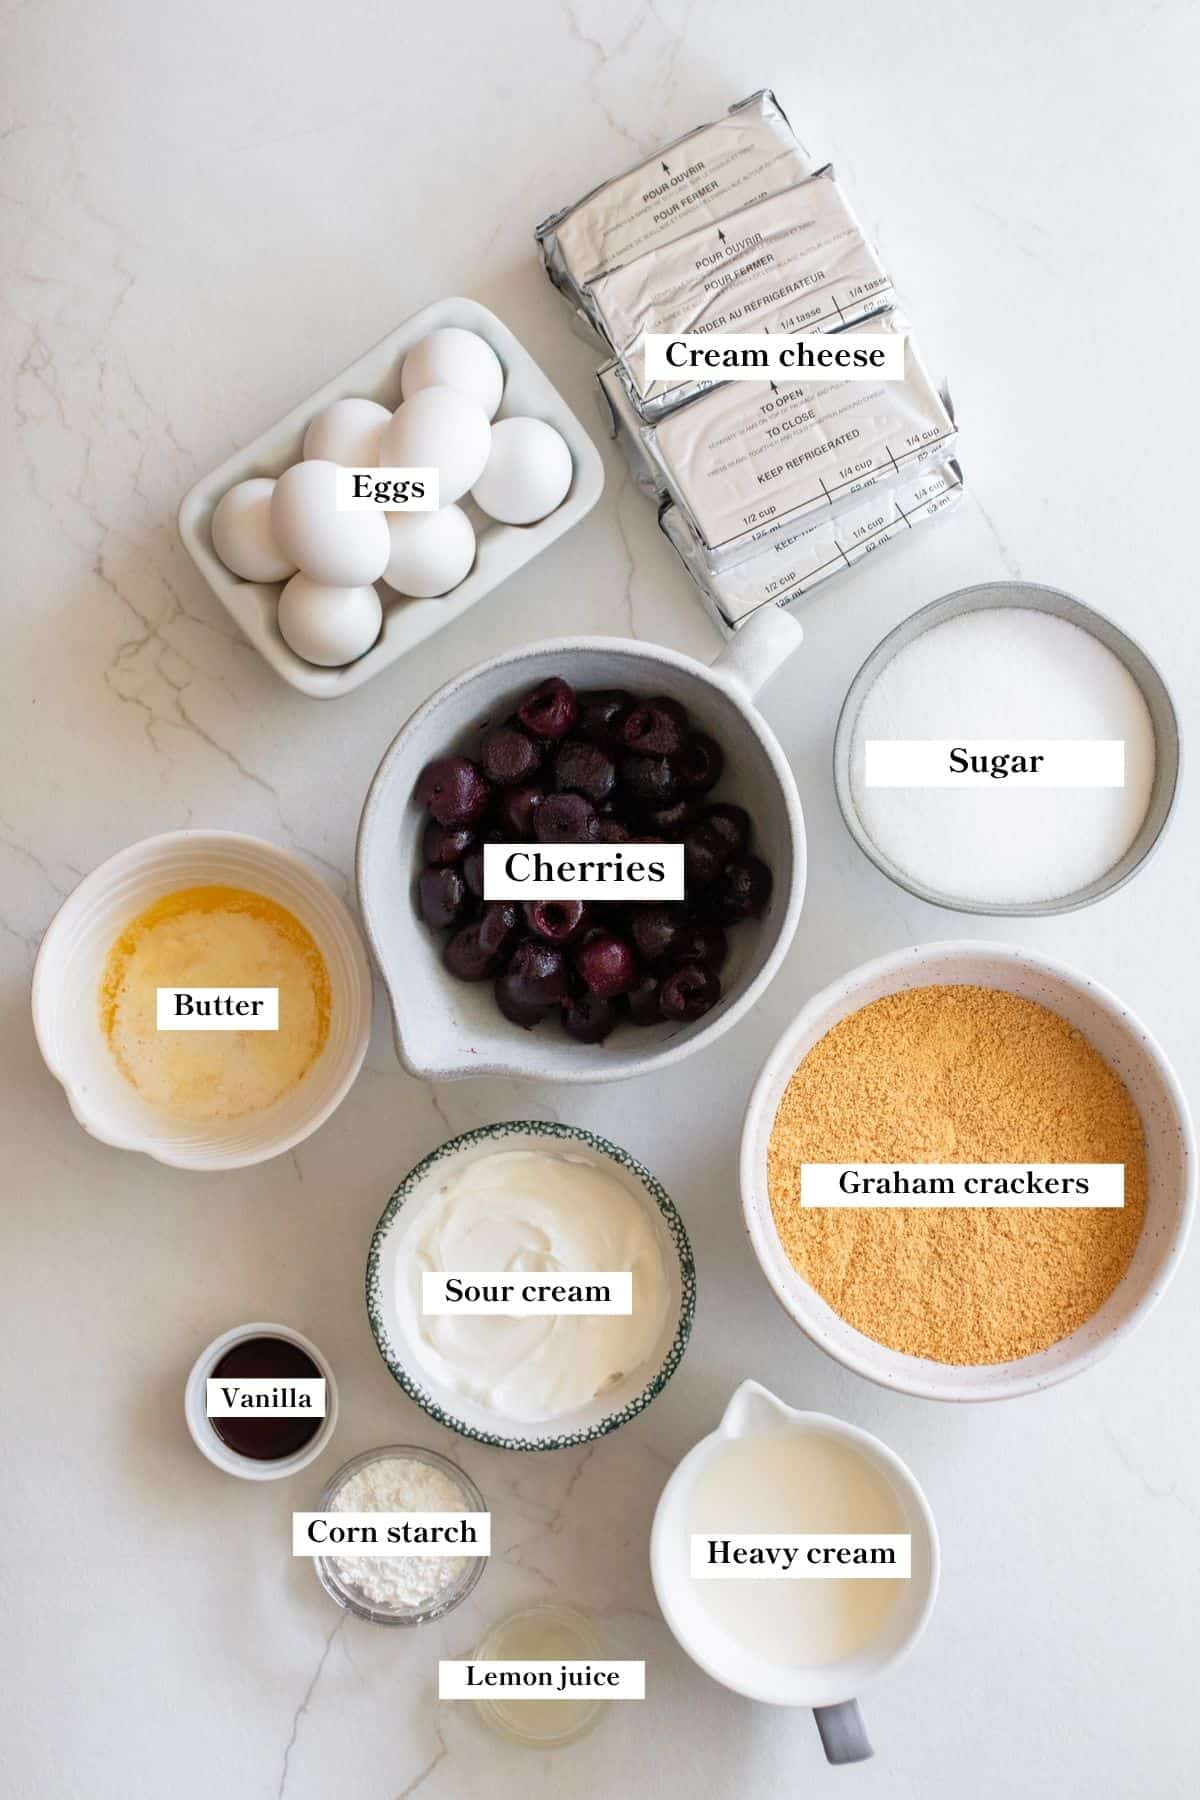
Graham crackers – If you are a sourdough baker, sourdough graham crackers are perfect to use for an easy homemade graham cracker crust.
Vanilla – Homemade vanilla extract is easy to make and really elevates this already scrumptious cheesecake recipe.
Cherries – You can use either frozen or fresh cherries for the cherry topping. We love to use fresh to take advantage of cherry season when we can!
A full ingredient list with exact amounts can be found in the recipe card below.
Tools You May Need
How to Make Cherry Cheesecake
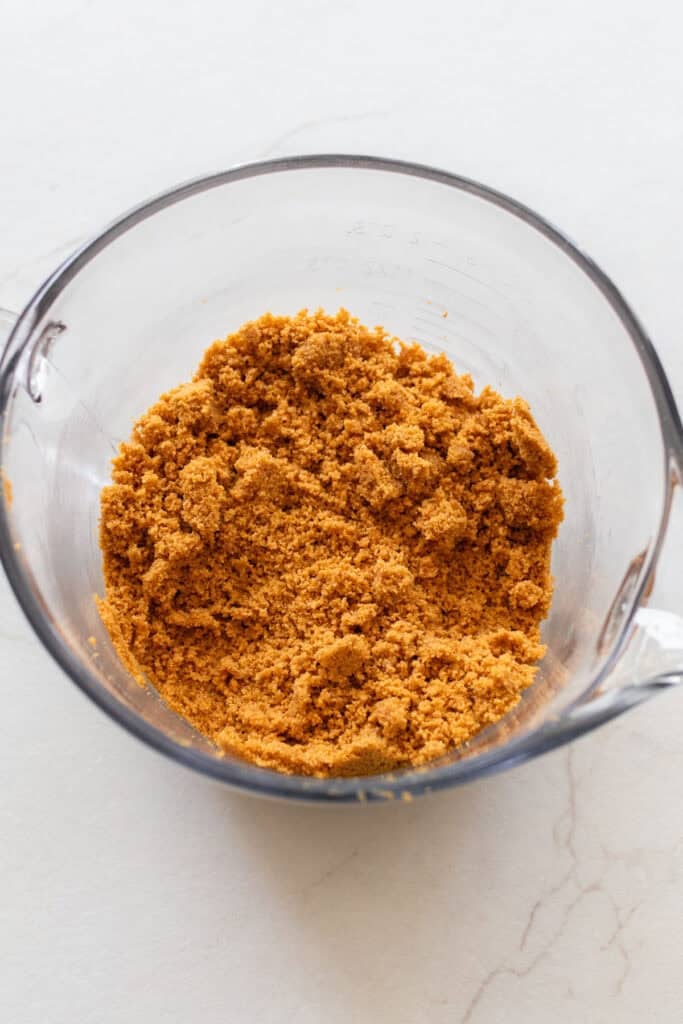
Step 1: In a medium bowl, mix together the graham cracker crumbs, sugar, and melted butter until well combined.
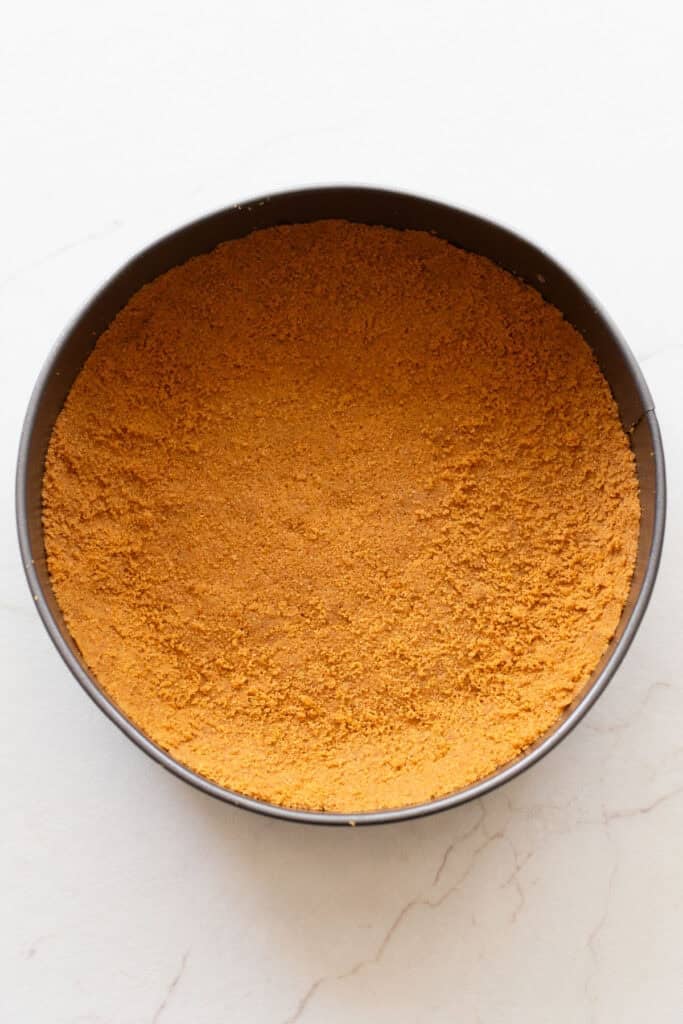
Step 2: Press ⅔ of the mixture into the bottom of a 9-inch springform pan and the remaining ⅓ up the sides of the pan. Use the bottom of a flat measuring cup or glass to press the crust firmly into the bottom of the pan. Chill for at least 30 minutes while you prepare the filling.
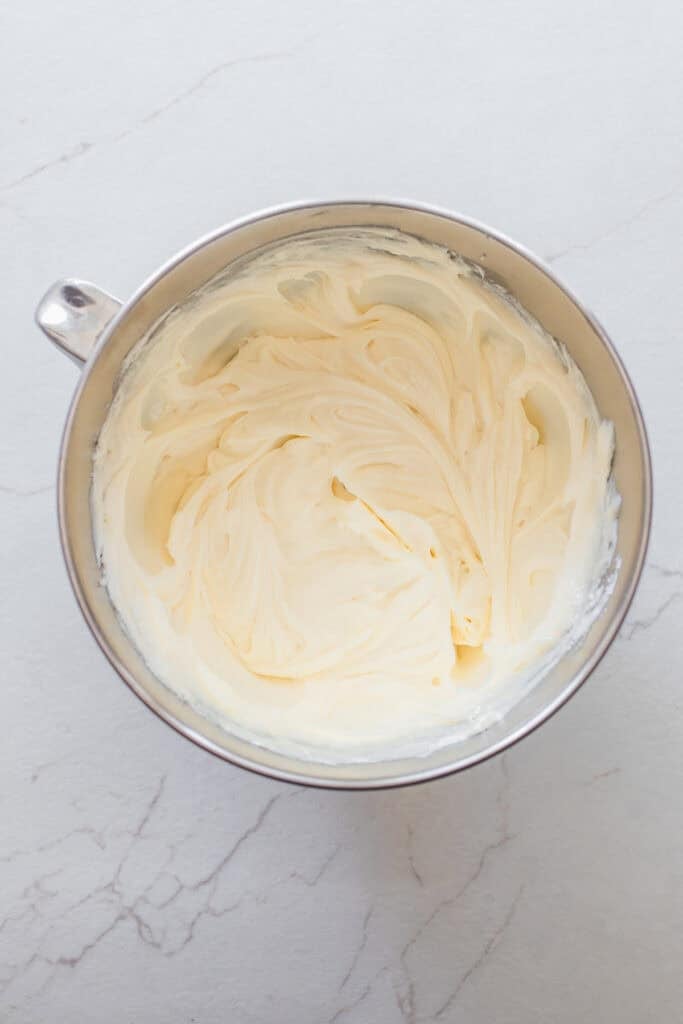
Step 3: Preheat the oven to 350 degrees Fahrenheit. In the bowl of a stand mixer, or in a large bowl using a handheld electric mixer, beat the softened cream cheese and sugar until smooth and creamy.
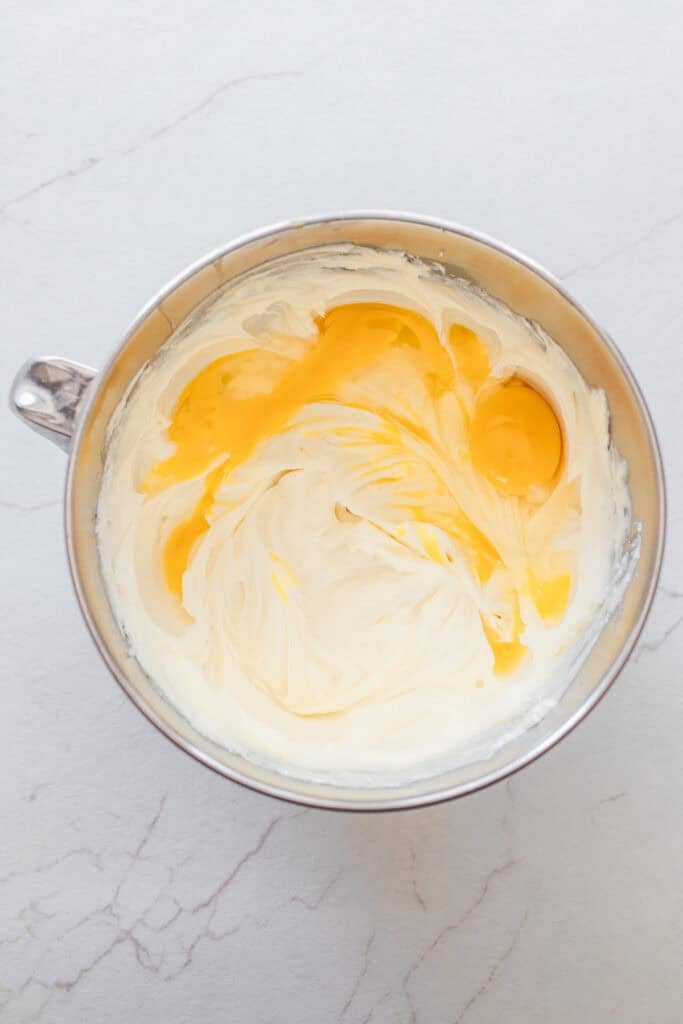
Step 4: Add the eggs and egg yolks one at a time, scraping down the sides of the bowl as needed. Mix in the sour cream and vanilla until smooth.
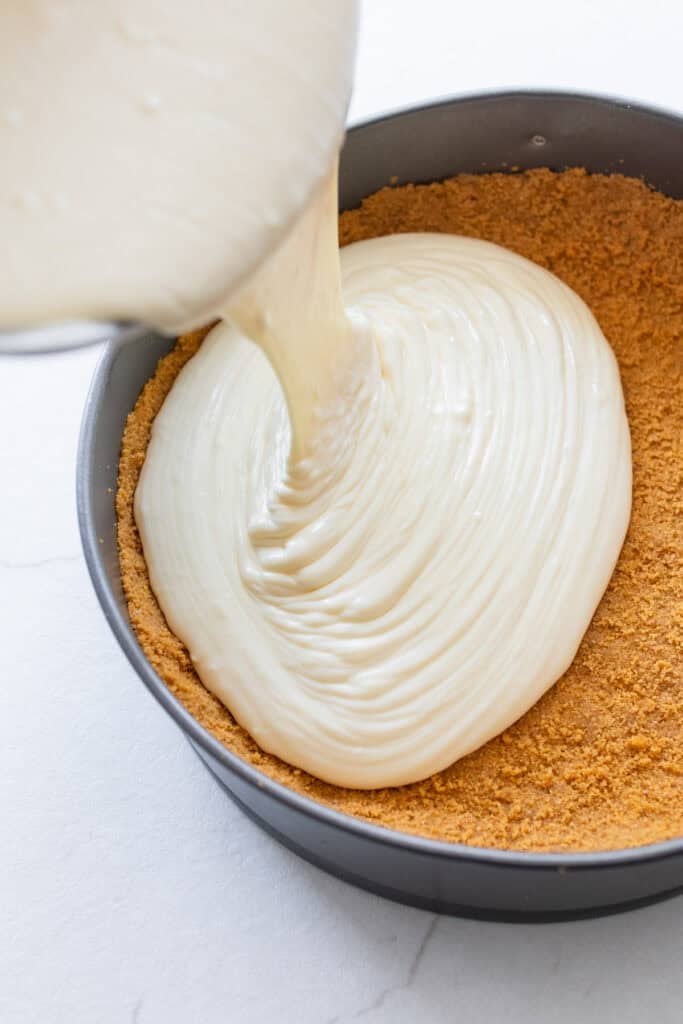
Step 5: Pour the cheesecake batter over the chilled crust and gently tap the pan on the counter a few times to release any air bubbles.
Place a casserole dish filled with hot water on the lower oven rack to create steam. Set the cheesecake on the upper rack. Bake for 1 hour and 10 minutes, or until the center is just set. Turn off the oven, crack the oven door, and let the cheesecake cool in the oven for 1 hour.
Transfer the cheesecake to the refrigerator and chill for at least 6 hours or overnight. A few cracks are perfectly fine—they’ll be covered with whipped cream and cherry sauce.

Step 6: In a large bowl, whip the heavy cream until soft peaks form. Add the sugar and continue whipping until incorporated. Spread the whipped cream over the chilled cheesecake.
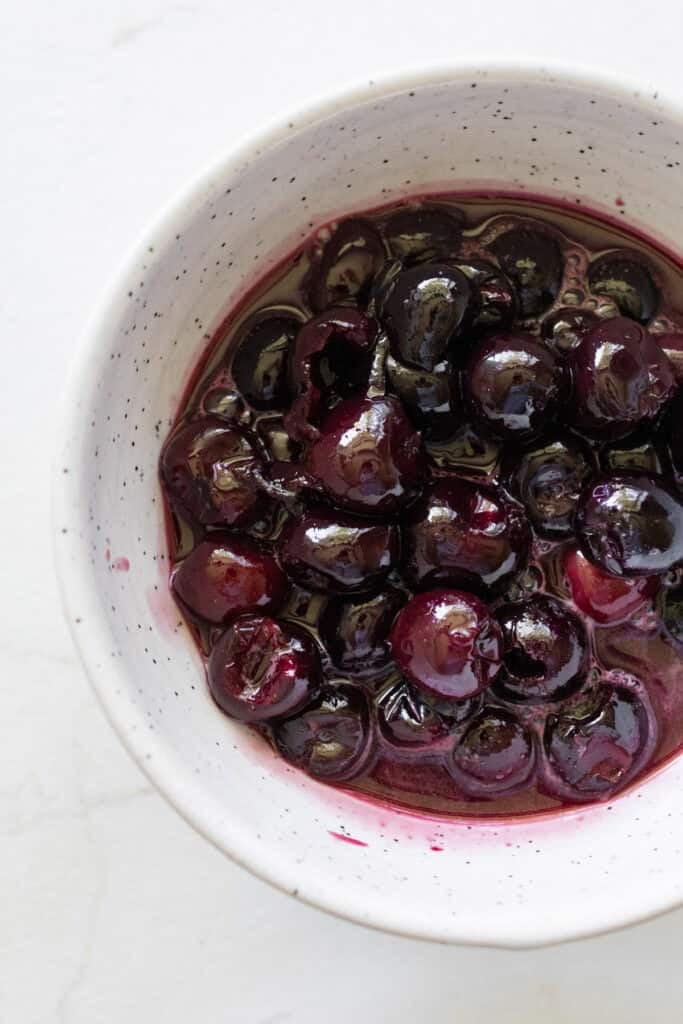
Step 7: In a small bowl, whisk together the sugar and cornstarch. Add the frozen cherries and sugar mixture to a medium saucepan and cook over medium heat, stirring occasionally, until thickened and bubbling, about 5–10 minutes. Remove from the heat and stir in the vanilla and lemon juice. Let cool completely.
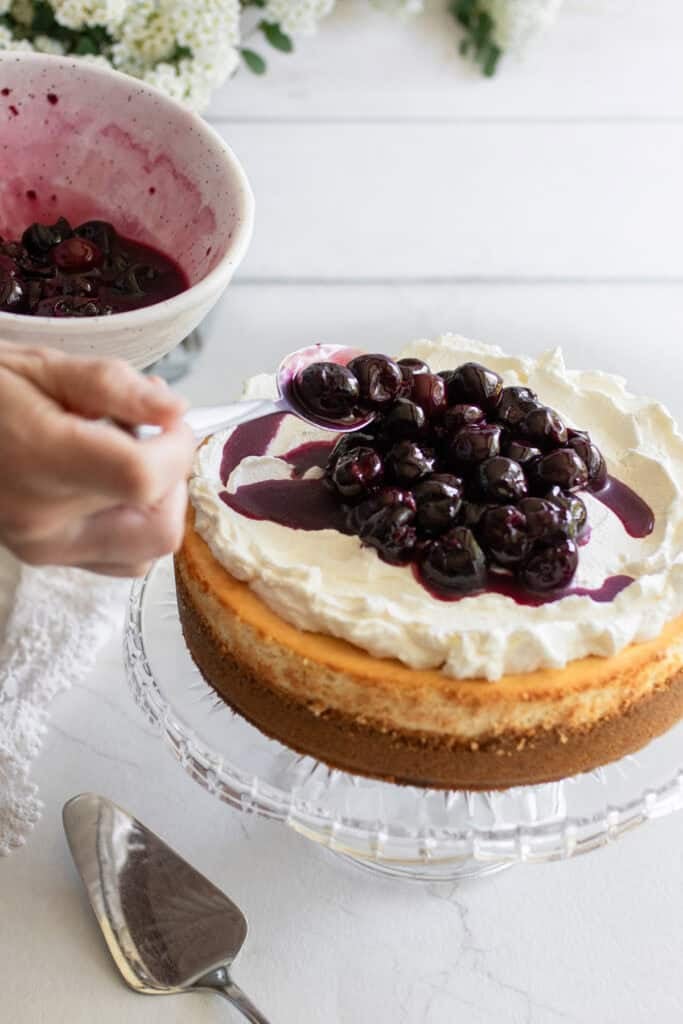
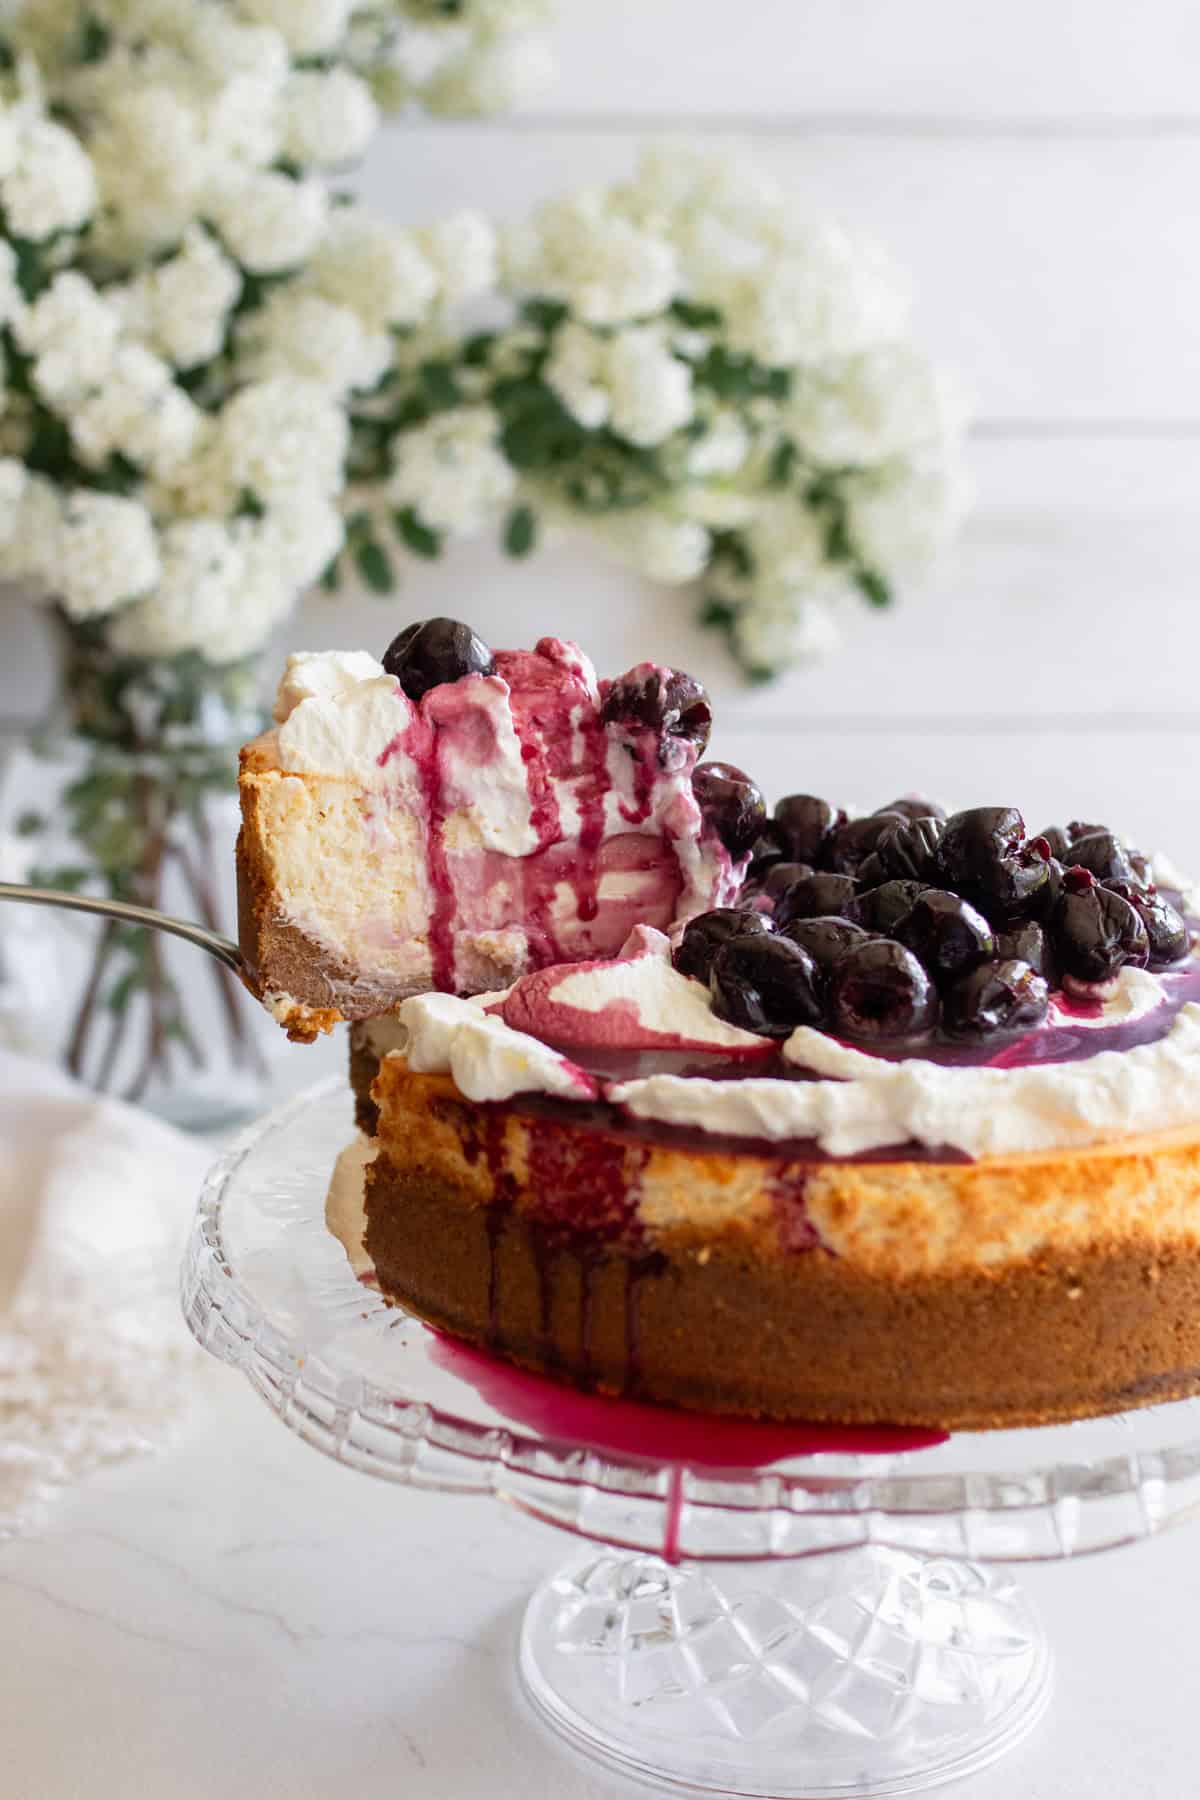
Step 8: Spoon the cooled cherry sauce over the top of the cheesecake just before serving. Enjoy!
Tips
- Start with room-temperature ingredients. Softened cream cheese, eggs, sour cream, and vanilla blend together more smoothly and help prevent lumps in the cheesecake batter.
- Scrape the bowl frequently. Cream cheese has a tendency to stick to the bottom and sides of the bowl. Scraping well ensures a silky-smooth filling.
- Don’t worry about minor cracks. Cheesecakes can crack for many reasons, even when made perfectly. This cheesecake hides any imperfections with the toppings.
- For clean slices, use a warm knife. Run a sharp knife under hot water, wipe it dry, and clean it between cuts for bakery-style slices.
- You can bake the cheesecake up to 2 days in advance. Store covered in the refrigerator. Prepare the cherry suace up to 3 days ahead and refrigerate.
Recipe FAQs
Some important things to remember when making a cherry cheesecake are to use room temperature ingredients, and chill the finished product so that it sets fully. Making sure that it is baked for the proper amount of time is also crucial. You can test it with “the jiggle test” until the center is just set, or by using an instant read thermometer. The cheesecake should be between 150 and 160 degrees Fahrenheit when it is finished baking.
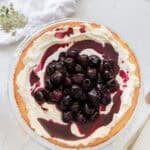
Putting canned cherry pie filling on top of a cheesecake is a common way to dress the top of a basic cheesecake. However, this recipe includes a homemade cherry topping that is incredibly easy to make, and tastes so much better than anything from a can. I promise the little bit of extra work is worth it!
To store cherry cheesecake, cover it with plastic wrap and place it in the fridge for 3-7 days or freeze it for 2 months. Be sure to store the topping and cheesecake separately and add it just before serving.
More Dessert Recipes from the Farmhouse
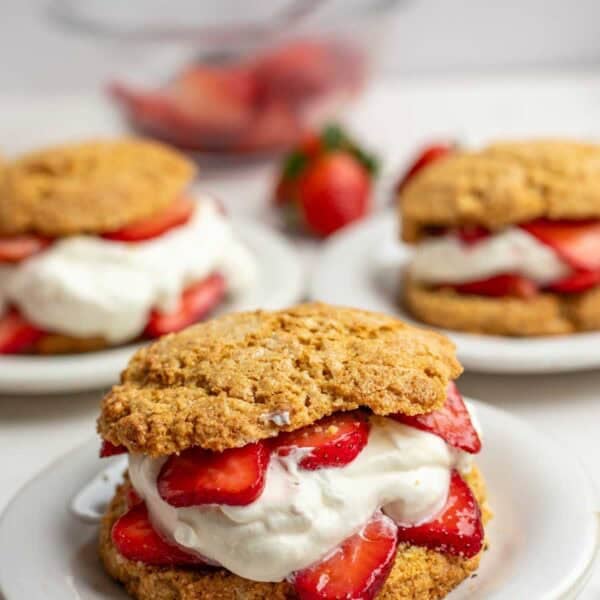
- Whole Wheat Strawberry Shortcake With Freshly Milled Flour
- Vanilla Buttercream Frosting
- Lemon Poppyseed Muffins
- Chocolate Chip Cookies with Freshly Milled Flour
- Whole Wheat Brownies with Freshly Milled Flour
If you try this recipe and love it, I would love it if you could come back and give it 5 stars! Tag me on Instagram @farmhouseonboone.
Homemade Cherry Cheesecake
Equipment
Ingredients
Graham Cracker Base
- 2 ½ cups crushed graham cracker crumbs
- 2 tablespoons white sugar
- 8 tablespoons melted butter
Cheesecake Filling
- 5 8 ounce packages of cream cheese
- 1 ½ cups white sugar
- 5 large eggs
- 3 egg yolks
- ¾ cup full fat sour cream
- 2 teaspoons vanilla extract
Whipped Cream Topping
- 1 cup of heavy cream
- 1 tablespoon white sugar
Cherry Sauce
- 4 cups fresh or frozen cherries, pitted
- ⅓ cup white sugar
- 2 tablespoons cornstarch
- ¼ teaspoon vanilla extract
- 1 tablespoon lemon juice
Instructions
- Make the Crust: In a medium bowl, mix together the graham cracker crumbs, sugar, and melted butter until well combined. Press ⅔ of the mixture into the bottom of a 9-inch springform pan and the remaining ⅓ up the sides of the pan. Use the bottom of a flat measuring cup or glass to press the crust firmly into the bottom of the pan. Chill for at least 30 minutes while you prepare the filling.
- Prepare the Cheesecake Filling: Preheat the oven to 350 degrees Fahrenheit. In the bowl of a stand mixer, or in a large bowl using a handheld electric mixer, beat the softened cream cheese and sugar until smooth and creamy. Add the eggs and egg yolks one at a time, scraping down the sides of the bowl as needed. Mix in the sour cream and vanilla until smooth.
- Pour the cheesecake batter over the chilled crust and gently tap the pan on the counter a few times to release any air bubbles.
- Bake the Cheesecake: Place a casserole dish filled with hot water on the lower oven rack to create steam. Set the cheesecake on the upper rack. Bake for 1 hour and 10 minutes, or until the center is just set. Turn off the oven, crack the oven door, and let the cheesecake cool in the oven for 1 hour.
- Transfer the cheesecake to the refrigerator and chill for at least 6 hours or overnight. A few cracks are perfectly fine—they’ll be covered with whipped cream and cherry sauce.
- Make the Whipped Cream: In a large bowl, whip the heavy cream until soft peaks form. Add the sugar and continue whipping until incorporated. Spread the whipped cream over the chilled cheesecake.
- Make the Cherry Sauce: In a small bowl, whisk together the sugar and cornstarch. Add the frozen cherries and sugar mixture to a medium saucepan and cook over medium heat, stirring occasionally, until thickened and bubbling, about 5–10 minutes. Remove from the heat and stir in the vanilla and lemon juice. Let cool completely.
- Assemble and Serve: Spoon the cooled cherry sauce over the top of the cheesecake just before serving. Enjoy!
Notes
- Start with room-temperature ingredients. Softened cream cheese, eggs, sour cream, and vanilla blend together more smoothly and help prevent lumps in the cheesecake batter.
- Scrape the bowl frequently. Cream cheese has a tendency to stick to the bottom and sides of the bowl. Scraping well ensures a silky-smooth filling.
- Don’t worry about minor cracks. Cheesecakes can crack for many reasons, even when made perfectly. Since this cheesecake is topped with whipped cream and cherry sauce, any small imperfections will be hidden.
- For clean slices, use a warm knife. Run a sharp knife under hot water, wipe it dry, and clean it between cuts for bakery-style slices.
- If you are wanting to prepare this in advance, the cheesecake can be baked up to 2 days in advance and be stored covered in the refrigerator. The cherry sauce can be prepared up to 3 days ahead and refrigerated until needed.
Nutrition
Nutrition information is automatically calculated, so should only be used as an approximation.