Learn how to make Christmas stockings with this simple sewing tutorial. It’s a lot easier than you might think to make your own stockings. You can use vintage grain sacks, old sweaters, maybe even repurpose an old blanket that has a few too many holes.
Making your own Christmas stocking is a super simple project. I love that I can use any beautiful fabric I come across, like that vintage eyelet from the thrift shop, old sheets, worn ticking and an old grain sack.
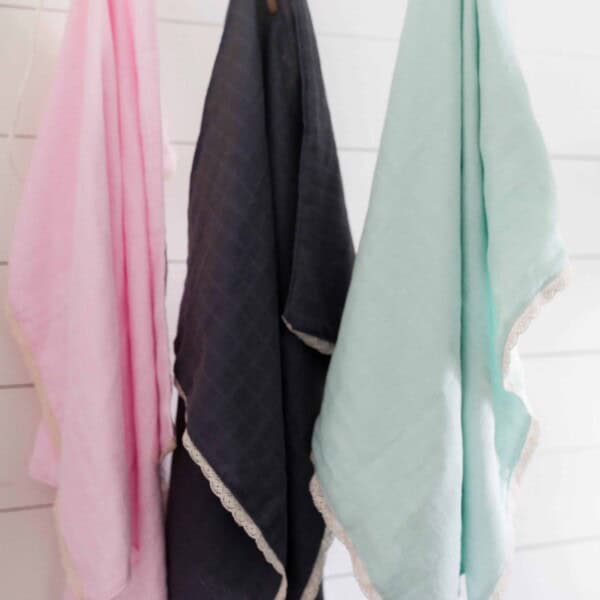
Your fabric choice can be as particular or practical as you’d like, but there are so many great ways to add a personal touch.
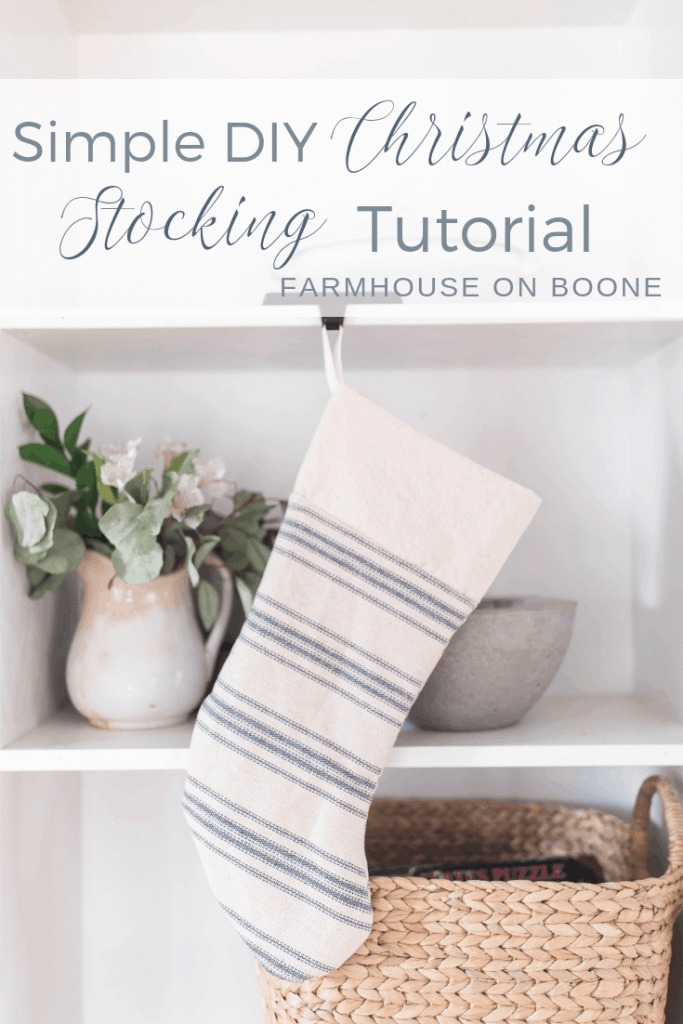
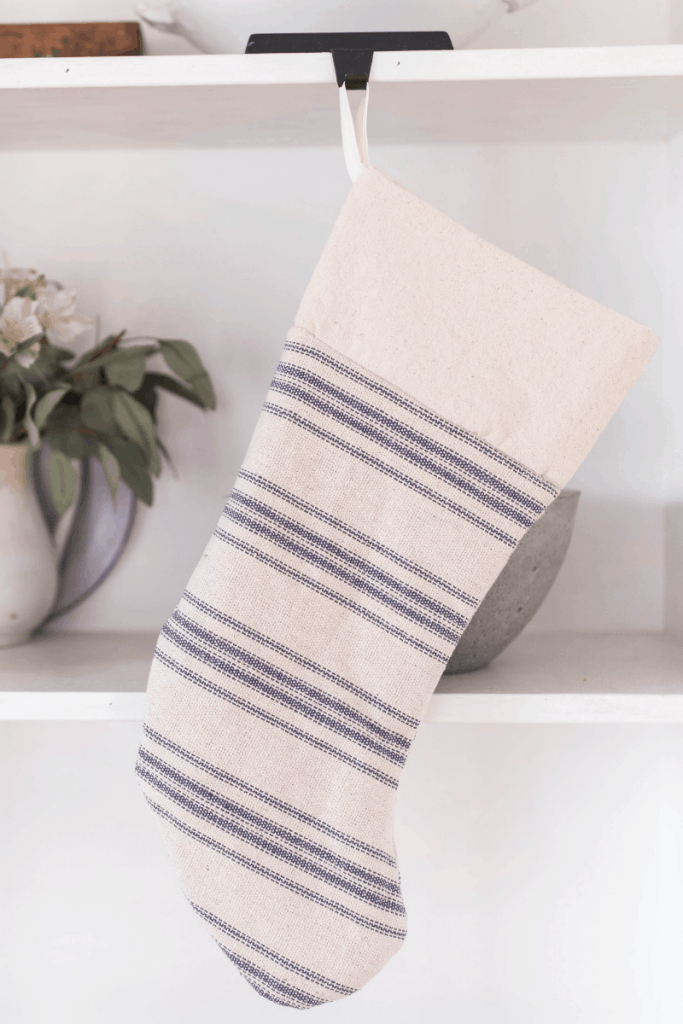
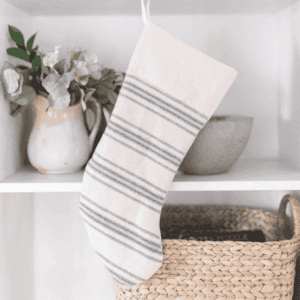
For today’s project, I am using a reproduction grain sack fabric to make handmade Christmas stockings for the whole family! There have been plenty of times we’ve enjoyed a store-bought stocking, but I truly enjoyed making our own this year.
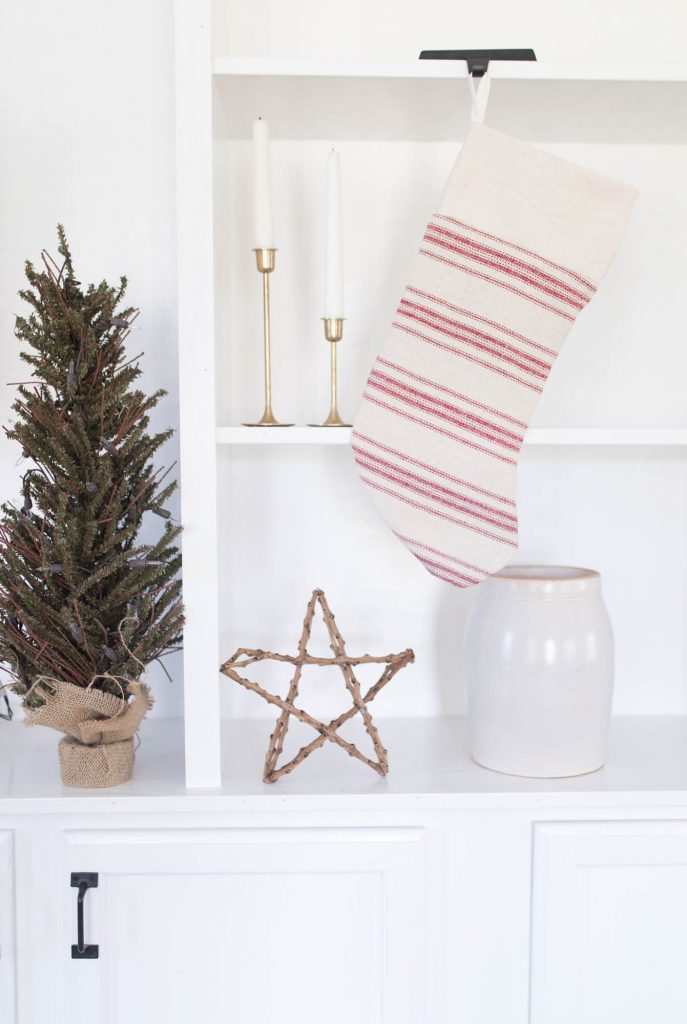
I love decorating the house for Christmas. I love the amount of joy it brings to the children and the coziness of the greenery, wreaths, orange garland, and ribbons scattered throughout the house. This year, I even swapped out some of the art for winter art, giving our home an even cozier element.
I find that my decorating grows from year to year. New ways to add charm and whimsy simply strike me each season, so who knows what next year will hold!
I find that there is nothing that says it is the holiday season quite like garland and homemade stockings for the entire family hanging from the mantle (or if you don’t have a mantle you can find ways other ways to hang them here). They tend to be the centerpieces of our home, gracing the mantle with such lovely and traditional decorations full of nostalgia and fun.
One of my favorite parts of Christmas has to be when the kids come running down the stairs on Christmas morning to their stockings full of stocking stuffers. The joy and excitement on their faces as they get to open their gifts brings even more joy to us.
Meanwhile, the smell of homemade cinnamon rolls baking in the oven and Christmas music strumming within our walls just seems to round out our fond memories.
I just love this season so much. It’s a beautiful, extended time to reflect on the gift of Jesus and what a blessing he is in our lives. Looking around our home, remembering all of our blessings, our disappointments, and our growth.
Reflecting on the year behind and the one ahead, while giving thanks for the children we’re blessed to share this season with – this is the best part.
Tools you may need:
This post contains affiliate links, which means I make a small commission at no extra cost to you. See my full disclosure here.
Sewing machine
Pins
Pair of scissors or rotary cutter
Materials
- 1/4 yard grain sack fabric – You could also use different fabrics like cotton fabric, fleece, fabric drop cloth, or linen.
- 1/4 yard drop cloth
- 1 package extra wide double fold bias tape
- You may also need other materials like fabric glue, ribbons, pom poms, hot glue, etc.
The pattern pieces:
2 – “J shaped” fabric pieces from the main fabric (to get the stocking shapes, use an existing stocking as a pattern. See step 2 below.)
2 – “J shaped” fabric pieces from drop cloth
2 – 9″ long pieces of drop cloth for the top band (The width of the band will be determined by the width of your main stocking piece. See step 3 below.)
1 – 6″ piece of ribbon or bias tape
How to Make Homemade Christmas Stockings
Step 1: Cut out the J pieces
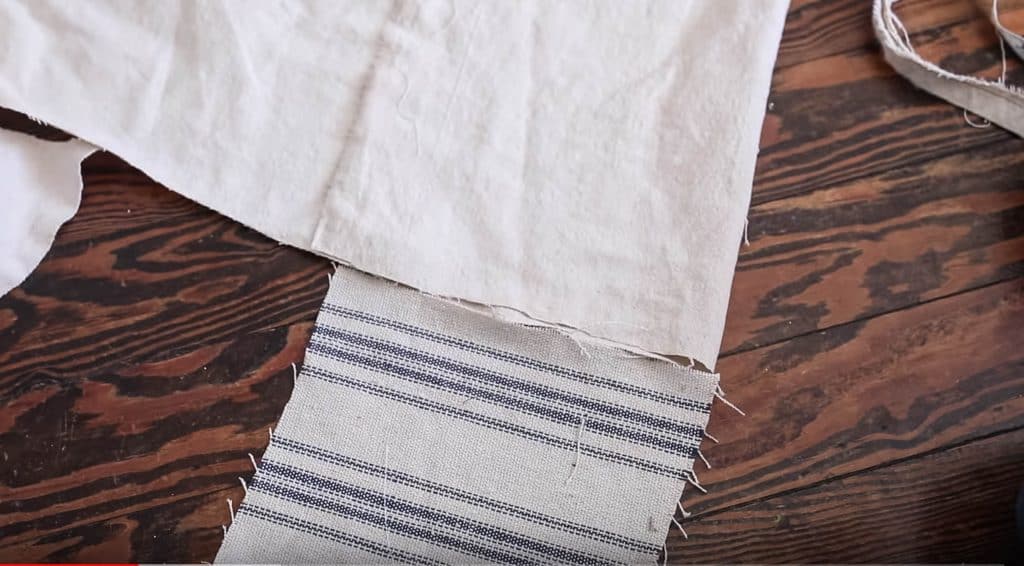
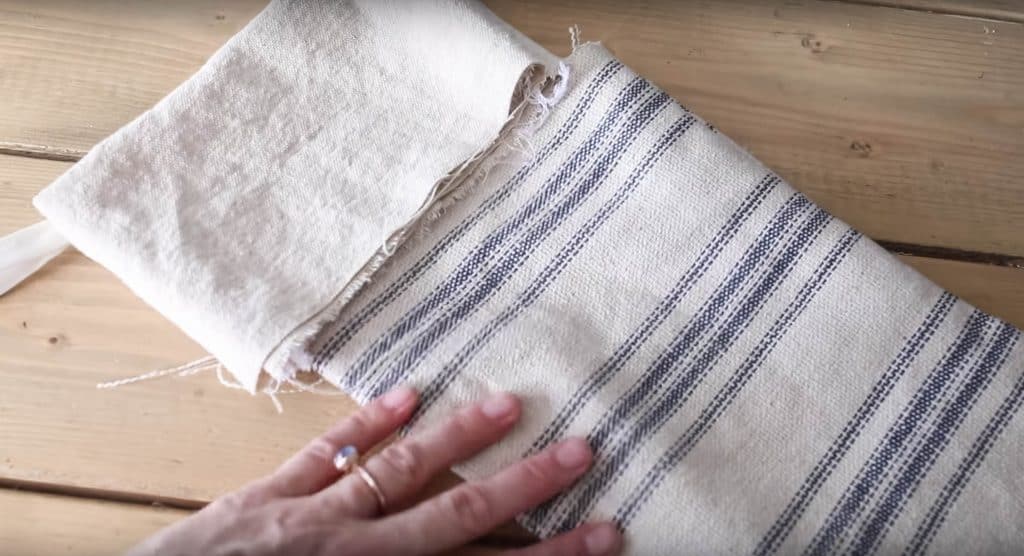
Take an old stocking and, using it as a guide, make an outline on the fabric for the outside piece. When cutting around the fabric, leave a half inch all the way around for seam allowance. Cut out 2 “J shaped” grain sack fabric pieces for the outside and 2 “J shaped” drop cloth fabric pieces for the inside.
I like to use 100% cotton drop cloth because it can be bleached and I also use it for other projects in my house, such as making slipcovers for my couch and chairs.
Step 2: Cut out the 2 drop cloth fabric pieces for the top band
To cut the top band part, measure a piece of coordinating fabric. Cut out 2 pieces of a 9 inch long side x the width of the top of your main stocking piece.
Step 3: Sew the main pieces together
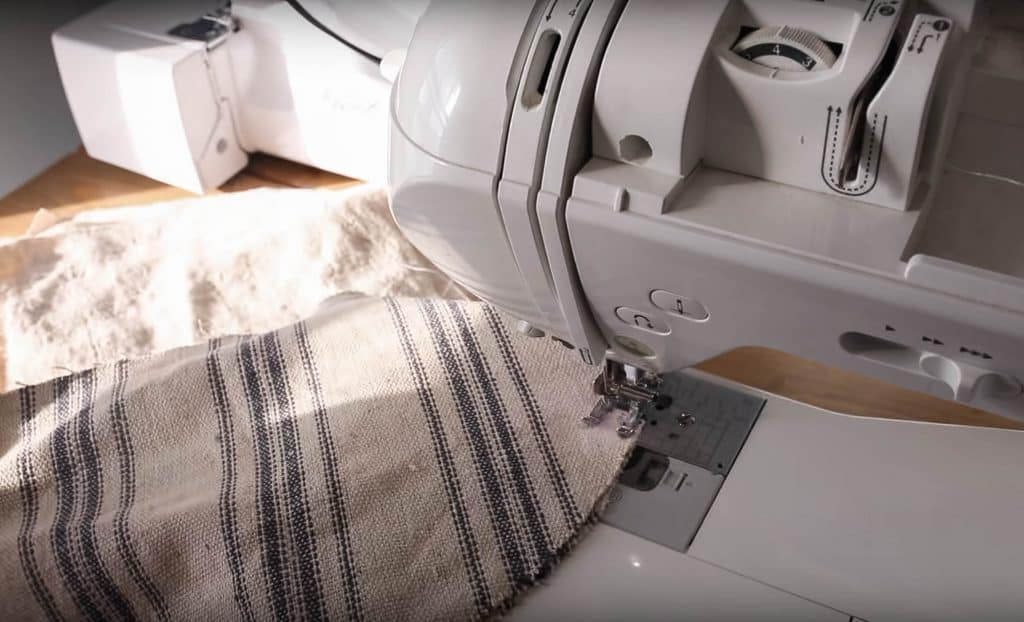
With a 1/2″ seam and right sides together, sew around the long sides and “J” of your main stocking pieces. Leave the top open.
Note: If your outside bottom pieces have stripes, line those up before you sew them together and pin them in place. The grain sack fabric I am using has stripes on both sides, so it doesn’t matter about the inside out thing. If your fabric is a solid pattern on both sides, you don’t need to worry about lining up the pattern.
Step 4: Sew the lining pieces together
With a 1/2″ seam and wrong sides together, sew around the long sides and “J” of your main stocking pieces. Leave the top open.
Step 5: Prepare the bias tape
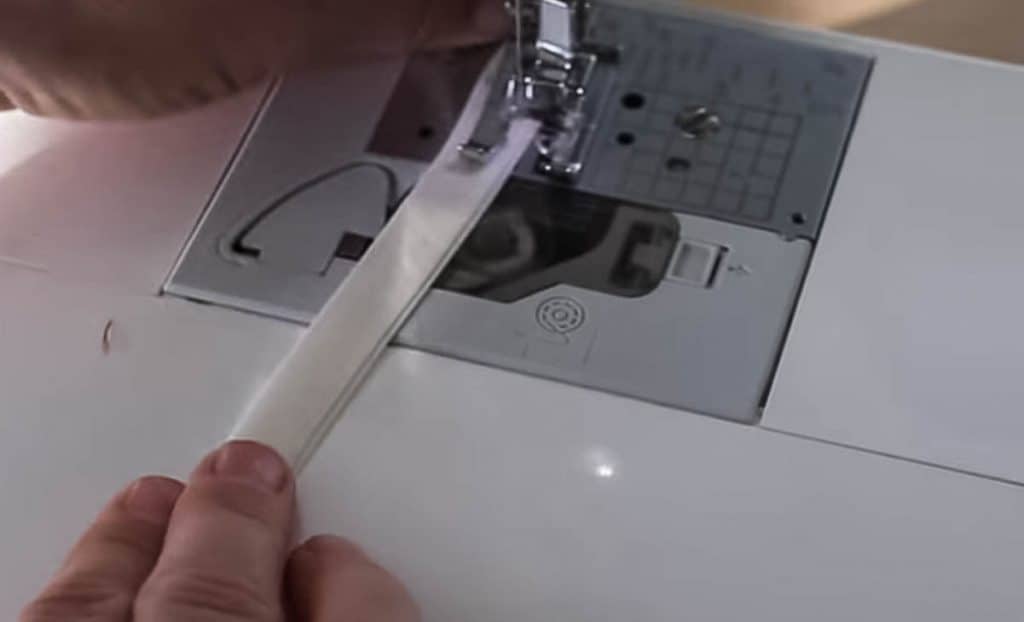
Sew down the open side of the 6″ piece of bias tape you cut in step 1.
Step 6: Sew the top band together
Fold the finished bias tape in half. Fold one of the band pieces in half to find the middle of the 9 inch side. Pin the bias tape or other ribbon in the center of the fabric top and pin in place. Place the other fabric top piece on top and sew down both 9 inch sides with a 1/2″ seam.
Fold the band piece in half, so the raw edges are hidden inside.
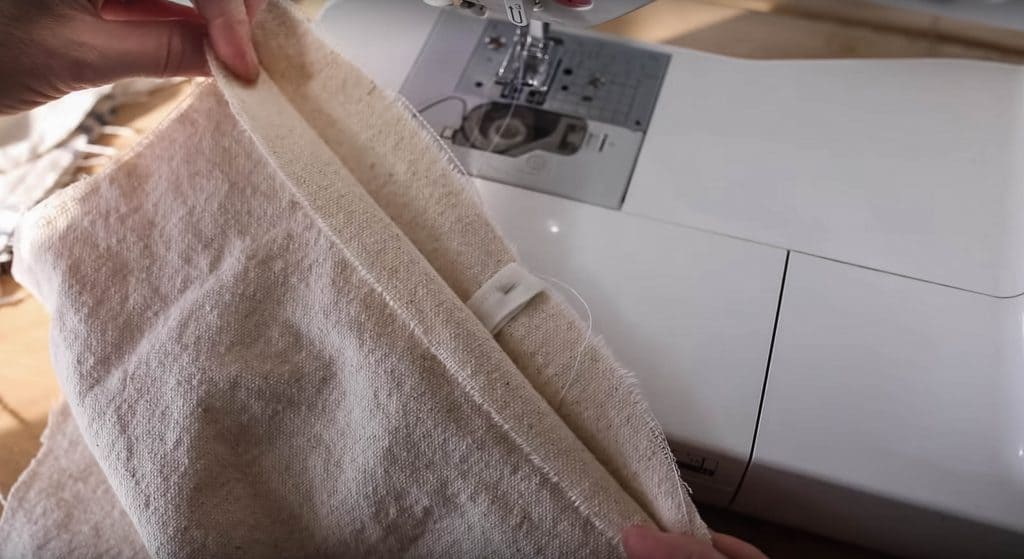
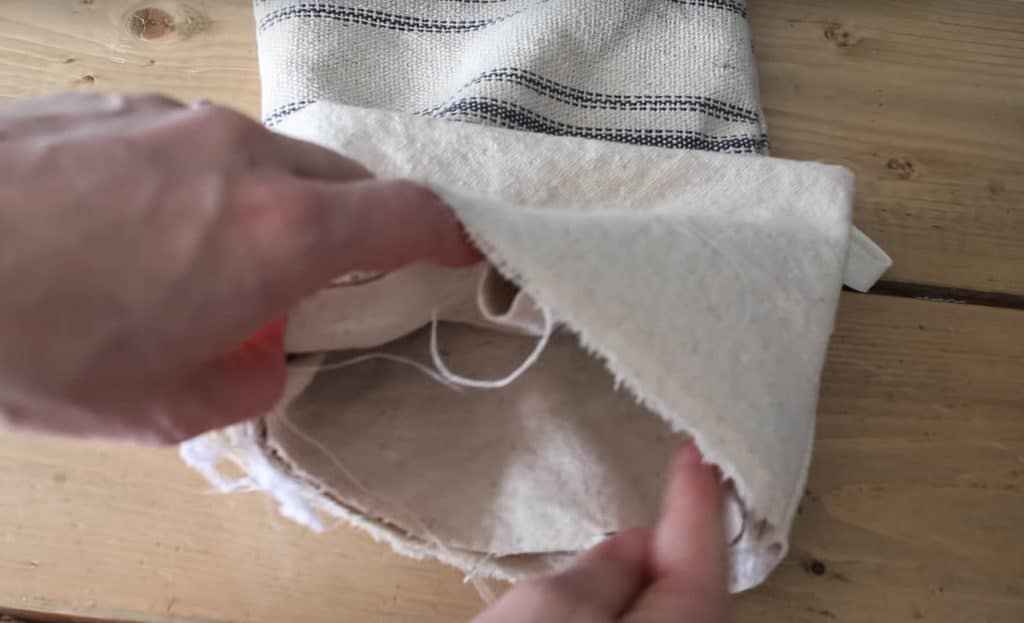
Step 7: Put the stocking lining inside the main stocking piece.
The raw edges from the seam of the lining should be facing the raw edges from the seam of the main piece.
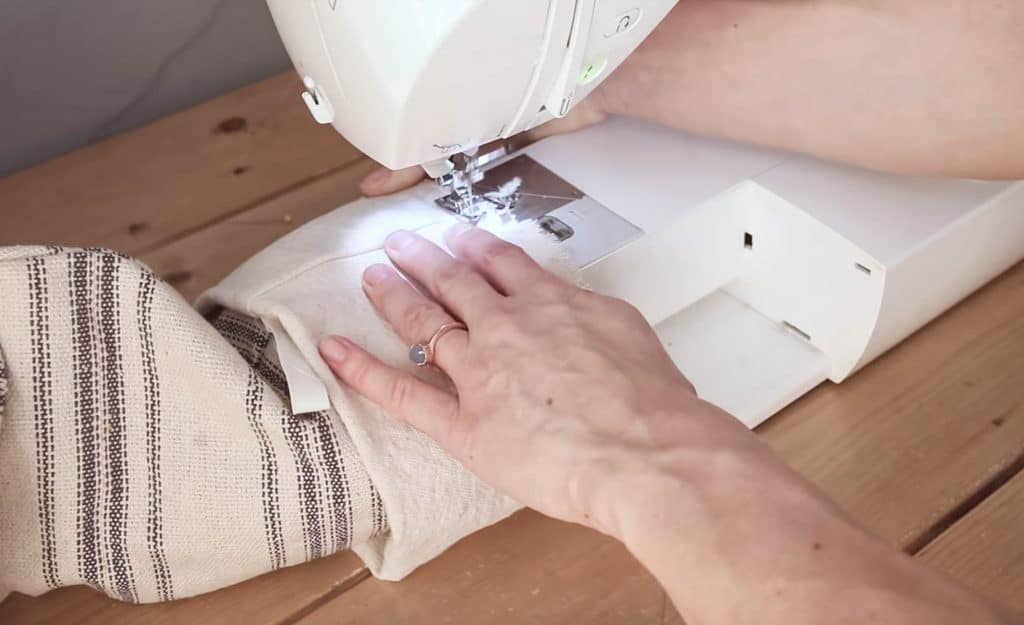
Step 8: Sew the band to the main stocking
Line the bottom of the band up with the top of the stocking and sew together with a 1/2″ seam. Make sure to catch the layers from the main stocking piece, lining and band.
Step 9: Serge
Serge around the seam or do a tight zig-zag stitch to finish it off.

Other Optional Embellishments
- Faux fur: Use faux fur for the cuff piece for a fun twist.
- Pom poms
- Fun ribbon
- Bells: I love adding vintage bells or any jingle bells.
- Buttons
- Use fabric paint or an embroidery machine to create beautiful and custom designs.
- Faux candy canes
Other Christmas DIY Tutorials
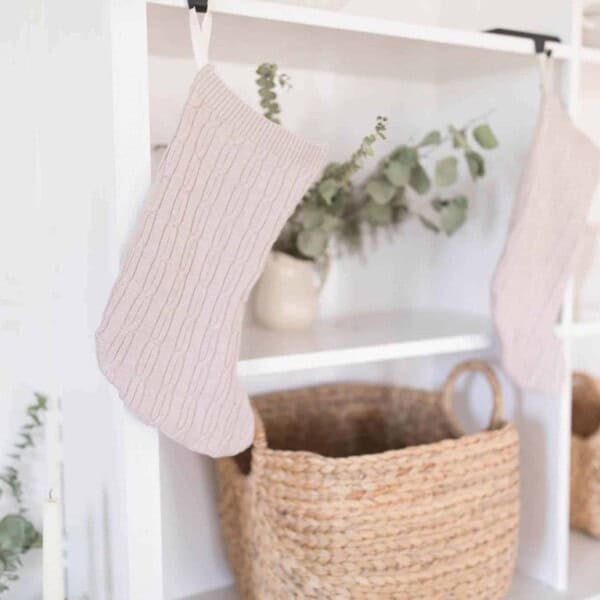
- DIY Christmas Stockings from Sweaters: Fun chunky knit stocking
- Where to Hang Stockings If There is No Mantle
- DIY Christmas Ornaments – Eight Neutral Ornaments to Make
- DIY Christmas Decorations- Pine Cone And Vintage Cookie Cutter Ornaments
- Minimal Christmas Gift Wrap With DIY Twig Stars
- DIY Drop Cloth Rag Ball Homemade Christmas Ornaments
I hope you have a very Merry Christmas!
How to Make A Christmas Stocking
Video
Equipment
- Sewing machine
- Scissors
Ingredients
- 1/4 yard grain sack fabric
- 1/4 yard drop cloth
- 1 package extra wide double fold bias tape
Instructions
Cut the pattern pieces:
- 2 "J shaped" fabric pieces from the main fabric (Use an existing stocking as a pattern. See step 2 below.)
- 2 "J shaped" fabric pieces from drop cloth
- 2-9″ long pieces of drop cloth for the top band (The width of the band will be determined by the width of your stocking main stocking piece. See step 3 below.)
- 1-6" piece of ribbon or bias tape
- Take an old stocking and, using it as a guide, make an outline on the fabric for the outside piece. When cutting around the fabric, leave a half inch all the way around for seam allowance. Cut out 2 "J shaped" grain sack fabric pieces for the outside and 2 "J shaped" drop cloth fabric pieces for the inside. I like to use 100% cotton drop cloth because it can be bleached and I also use it for other projects in my house such as making slipcovers for my couch and chairs.
- Cut out the 2 drop cloth fabric pieces for the top band.
- To cut the top band part, measure a piece of coordinating fabric. Cut out 2 pieces of a 9 inch long side x the width of the top of your main stocking piece.
- Sew the main pieces together
- With a 1/2" seam and right sides together, sew around the long sides and "J" of your main stocking pieces. Leave the top open.
- Note: If your outside bottom pieces has stripes, line those up before you sew them together and pin them in place. The grain sack fabric I am using has stripes on both sides, so it doesn’t matter about the inside out thing. If your fabric is a solid pattern on both sides, you don’t need to worry about lining up the pattern.
- With a 1/2" seam and wrong sides together, sew around the long sides and "J" of your main stocking pieces. Leave the top open.
- Sew down the open side of the 6" piece of bias tape you cut in step 1.
- Sew the top band together.
- Fold the band piece in half, so the raw edges are hidden inside. Put the stocking lining inside the main stocking piece.
- The raw edges from the seam of the lining should be facing the raw edges from the seam of the main piece.
- Line the bottom of the band up with the top of the stocking and sew together with a 1/2" seam. Make sure to catch the layers from the main stocking piece, lining and band.
- Serge around the seam or do a tight zig-zag stitch to finish it off.
Notes
Other Optional Embellishments
- Faux fur: Use faux fur for the cuff piece for a fun twist.
- Pom poms
- Fun ribbon
- Bells: I love adding vintage bells or any jingle bells.
- Buttons
- Use fabric paint or an embroidery machine to create beautiful and custom designs.
- Faux candy canes
Nutrition information is automatically calculated, so should only be used as an approximation.


These stockings are so cute! I can’t stop looking at them!
Thank you so much Ashley!
Hello,
I have a project (several actually) that I would like to use grain sack fabric for. I can’t find the fabric by the bolt like you show in your video clips. Would you mind sharing your supplier? I am hoping it will be cheaper than the $16/yard I am finding online.
Thank you!
Laurie
I actually am selling some here: https://www.etsy.com/shop/ruthiebell
You can use code FARMHOUSE for 35% off. I have everything discounted because I am closing my shop.