Learn how to make piping for sewing projects. Piping adds a tailored detail to slipcovers, pillows and garments.
What is piping anyway?
Chances are, if you are reading this tutorial on how to make piping, you already know what it is. But, in case you just stumbled upon by blog, and have no idea what I’m talking about, lets do a quick refresher on what piping is.
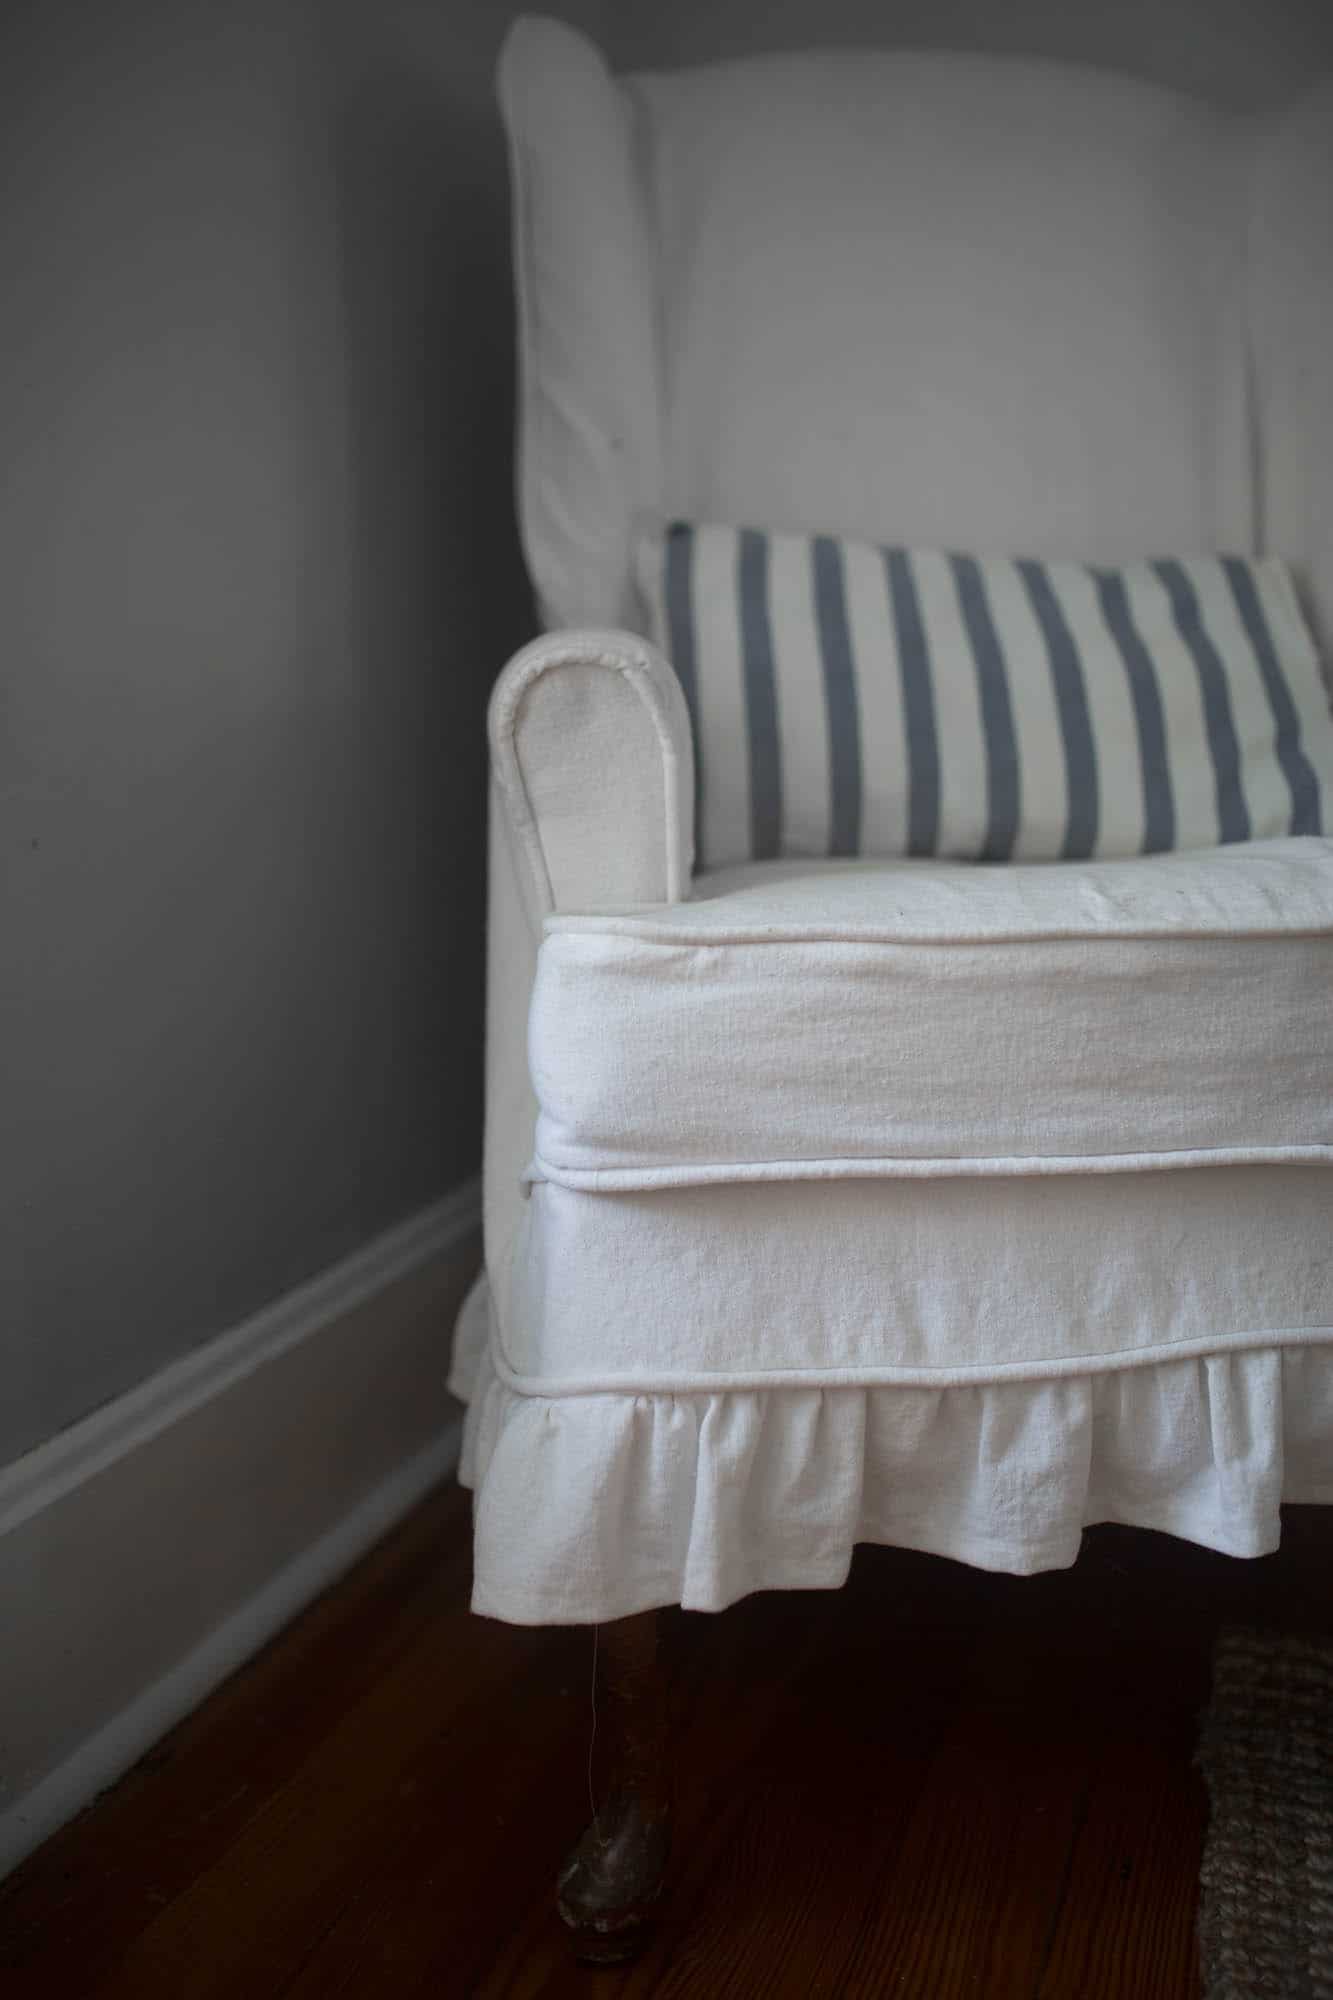
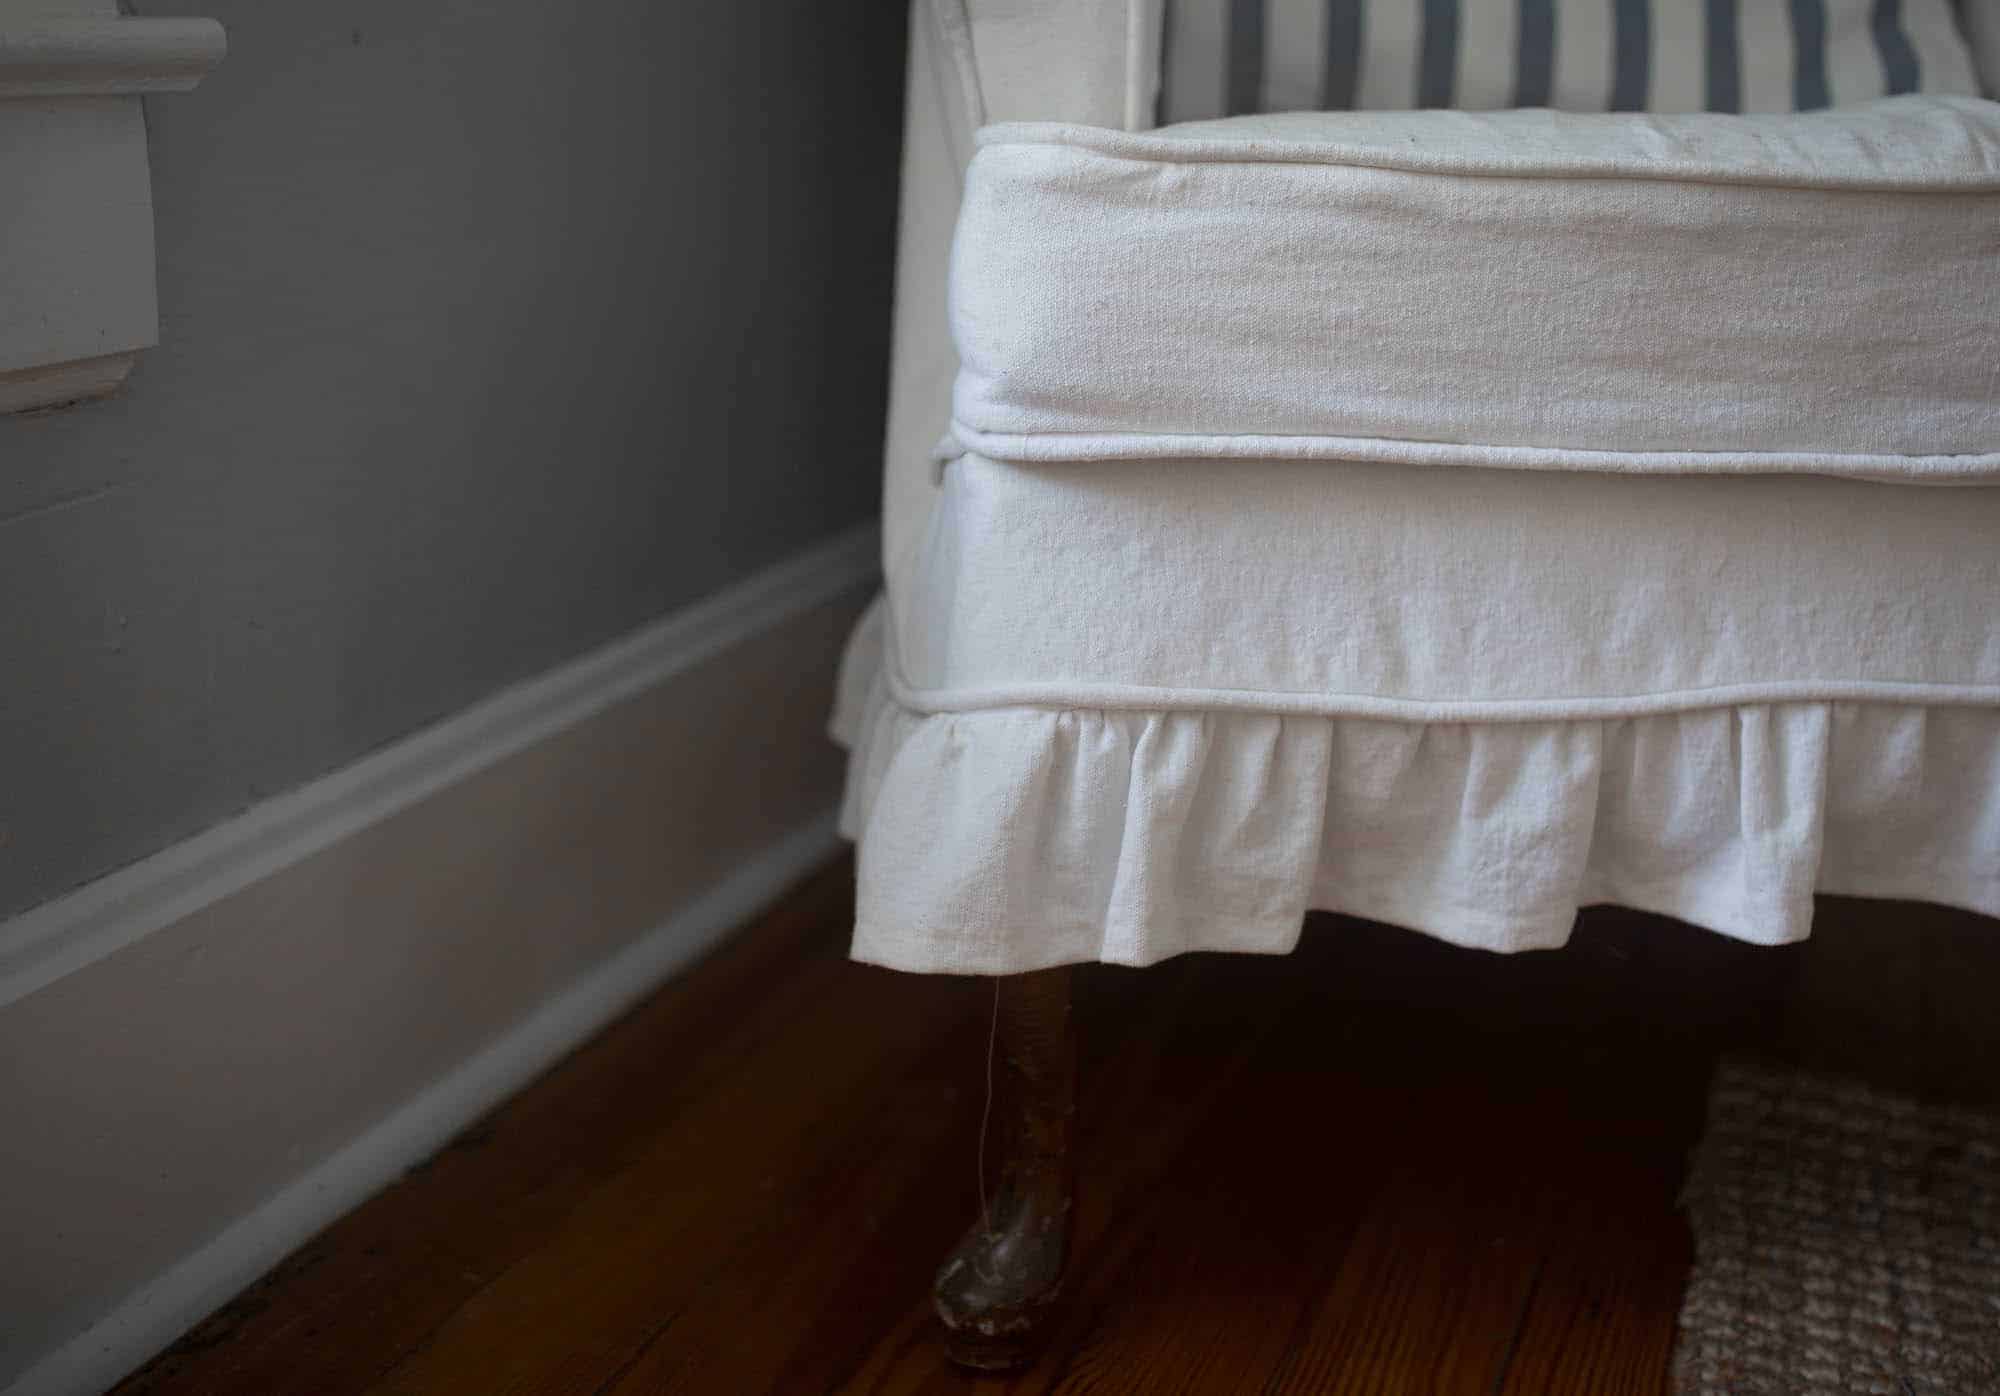
See in the chair above the little details that sort of “bump out” around the front of the cushion, on the wings, above the ruffle, and on the front of the arms? That detail is called piping.
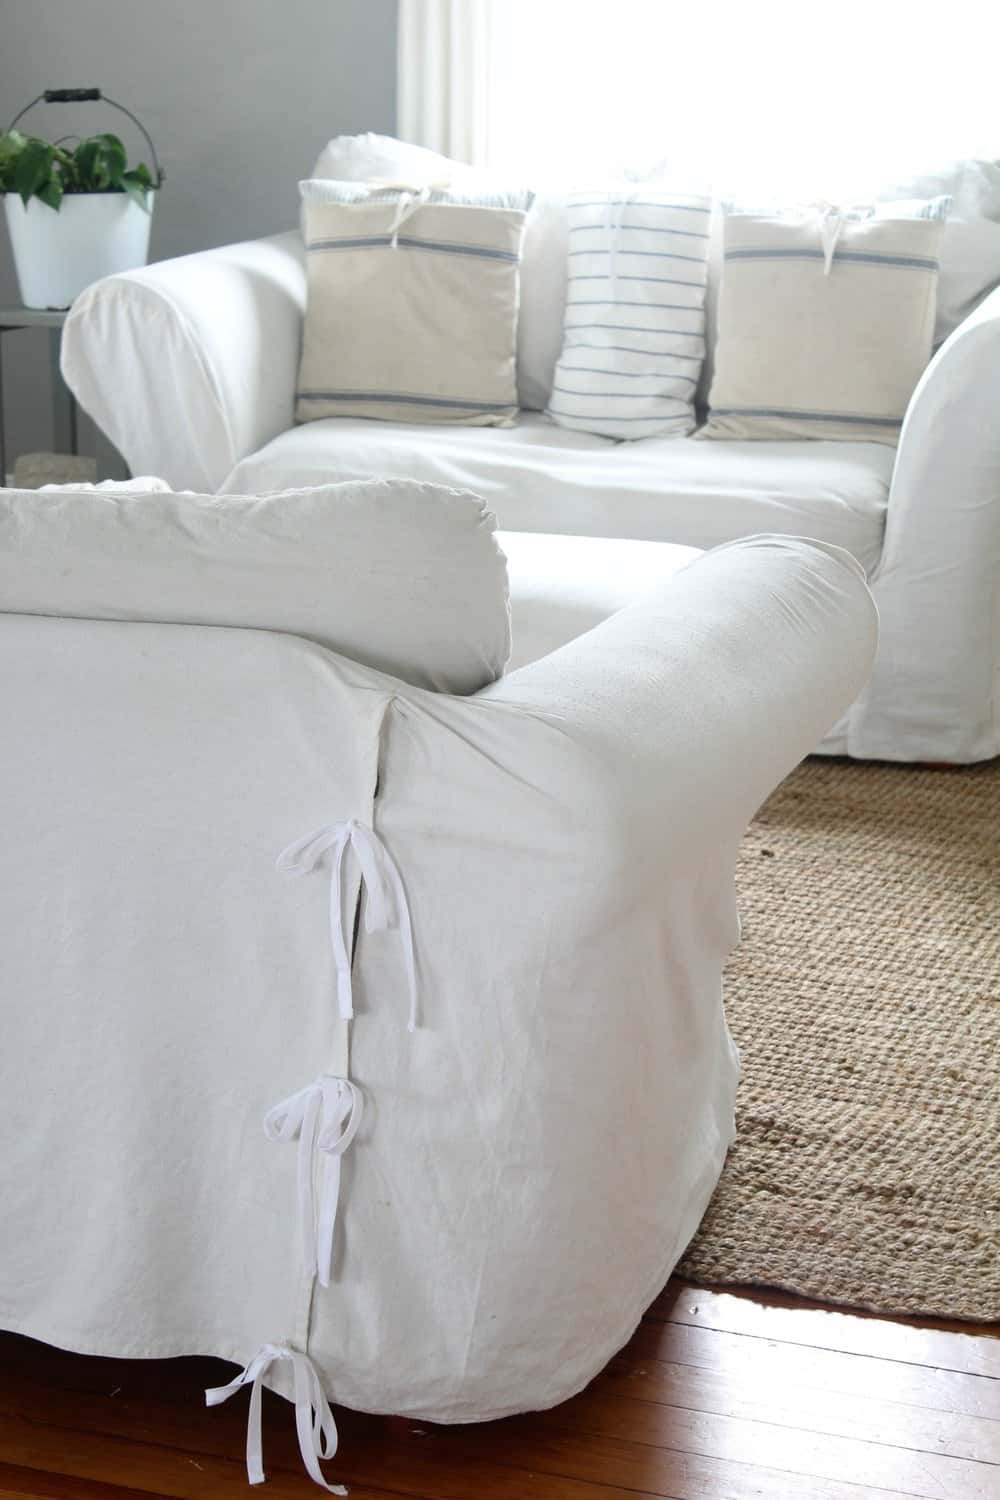
When I slipcovered the couch and love seat in my living room four years ago, I was intimidated by piping. I didn’t add it to those slipcovers, because I figured it would just be too difficult.
The couch and love seat don’t look bad. They just don’t have the tailored, professional, look that they could have, if I had taken a little extra time to learn how to sew piping.
Don’t be like me. Do it right the first time, and for Pete’s sake, learn how to make piping.
Watch me make piping on video
Which fabrics to use
I found another wingback chair at a resale shop for $15 last weekend, so I snagged it up. I am making the piping in this tutorial for that chair. For all my slipcover projects I use bleached drop cloth.
To date, I’ve used it to make slipcovers for a front porch bench , a wingback chair, an ugly old bench, and the couches in my living room. I also upholstered an old chair with it.
I love the stuff. It is cheap, durable and beautiful.
All that said, drop cloth isn’t the only appropriate fabric for piping making. Any fabrics with a medium to heavy weight work great. 100% cotton quilting fabric, duck canvas and linen are all excellent choices.
Lightweight fabrics, like voile and chiffon, are too slippery and see-through. Stretchy knit fabrics are tricky to work with.
What you will need to make piping
Zipper foot (Your machine should come with one.)
Fabric
A basic sewing machine
Matching Thread
Sometimes size 1 piping is labeled as 3/16″ and sometimes 6/32″. I don’t think it takes a math major to figure out thats the exact same thing. I have no idea why they do it that way.
For this tutorial and my first wingback slipcover I used size 1.
I used a larger size when I reupholstered an old roadside find chair. It was my first project, and I was just taking a stab in the dark at piping size, so thats what I ended up with. The end result was too bulky and hard to sew in, without making it look floppy. From here on out, I’m using size 1 for slipcover and upholstering projects.
You don’t need fancy stitches for piping and slipcovers. The most basic sewing machine will do the trick.
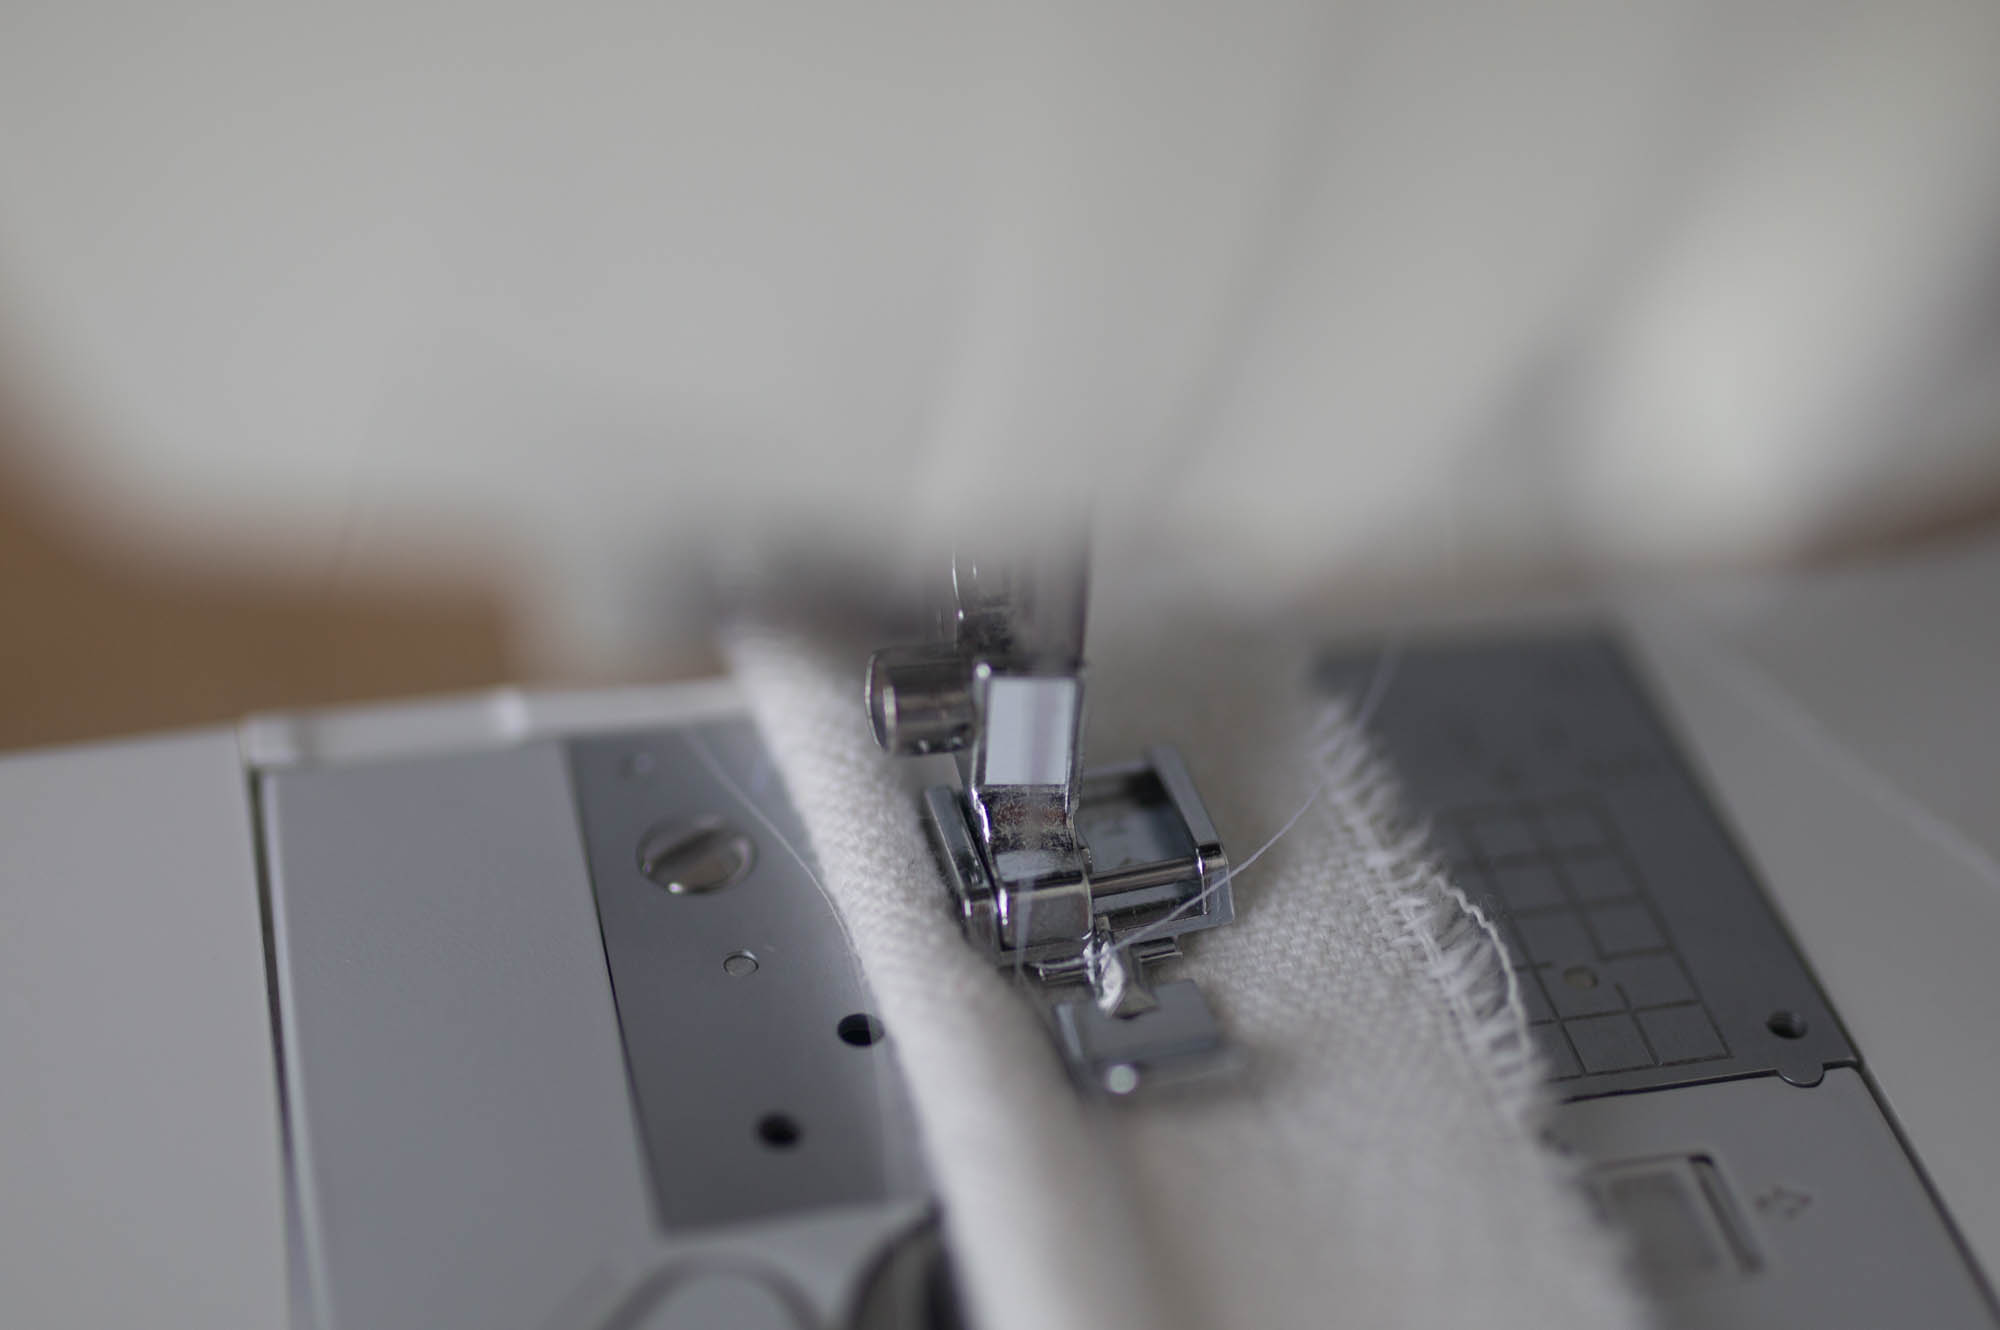
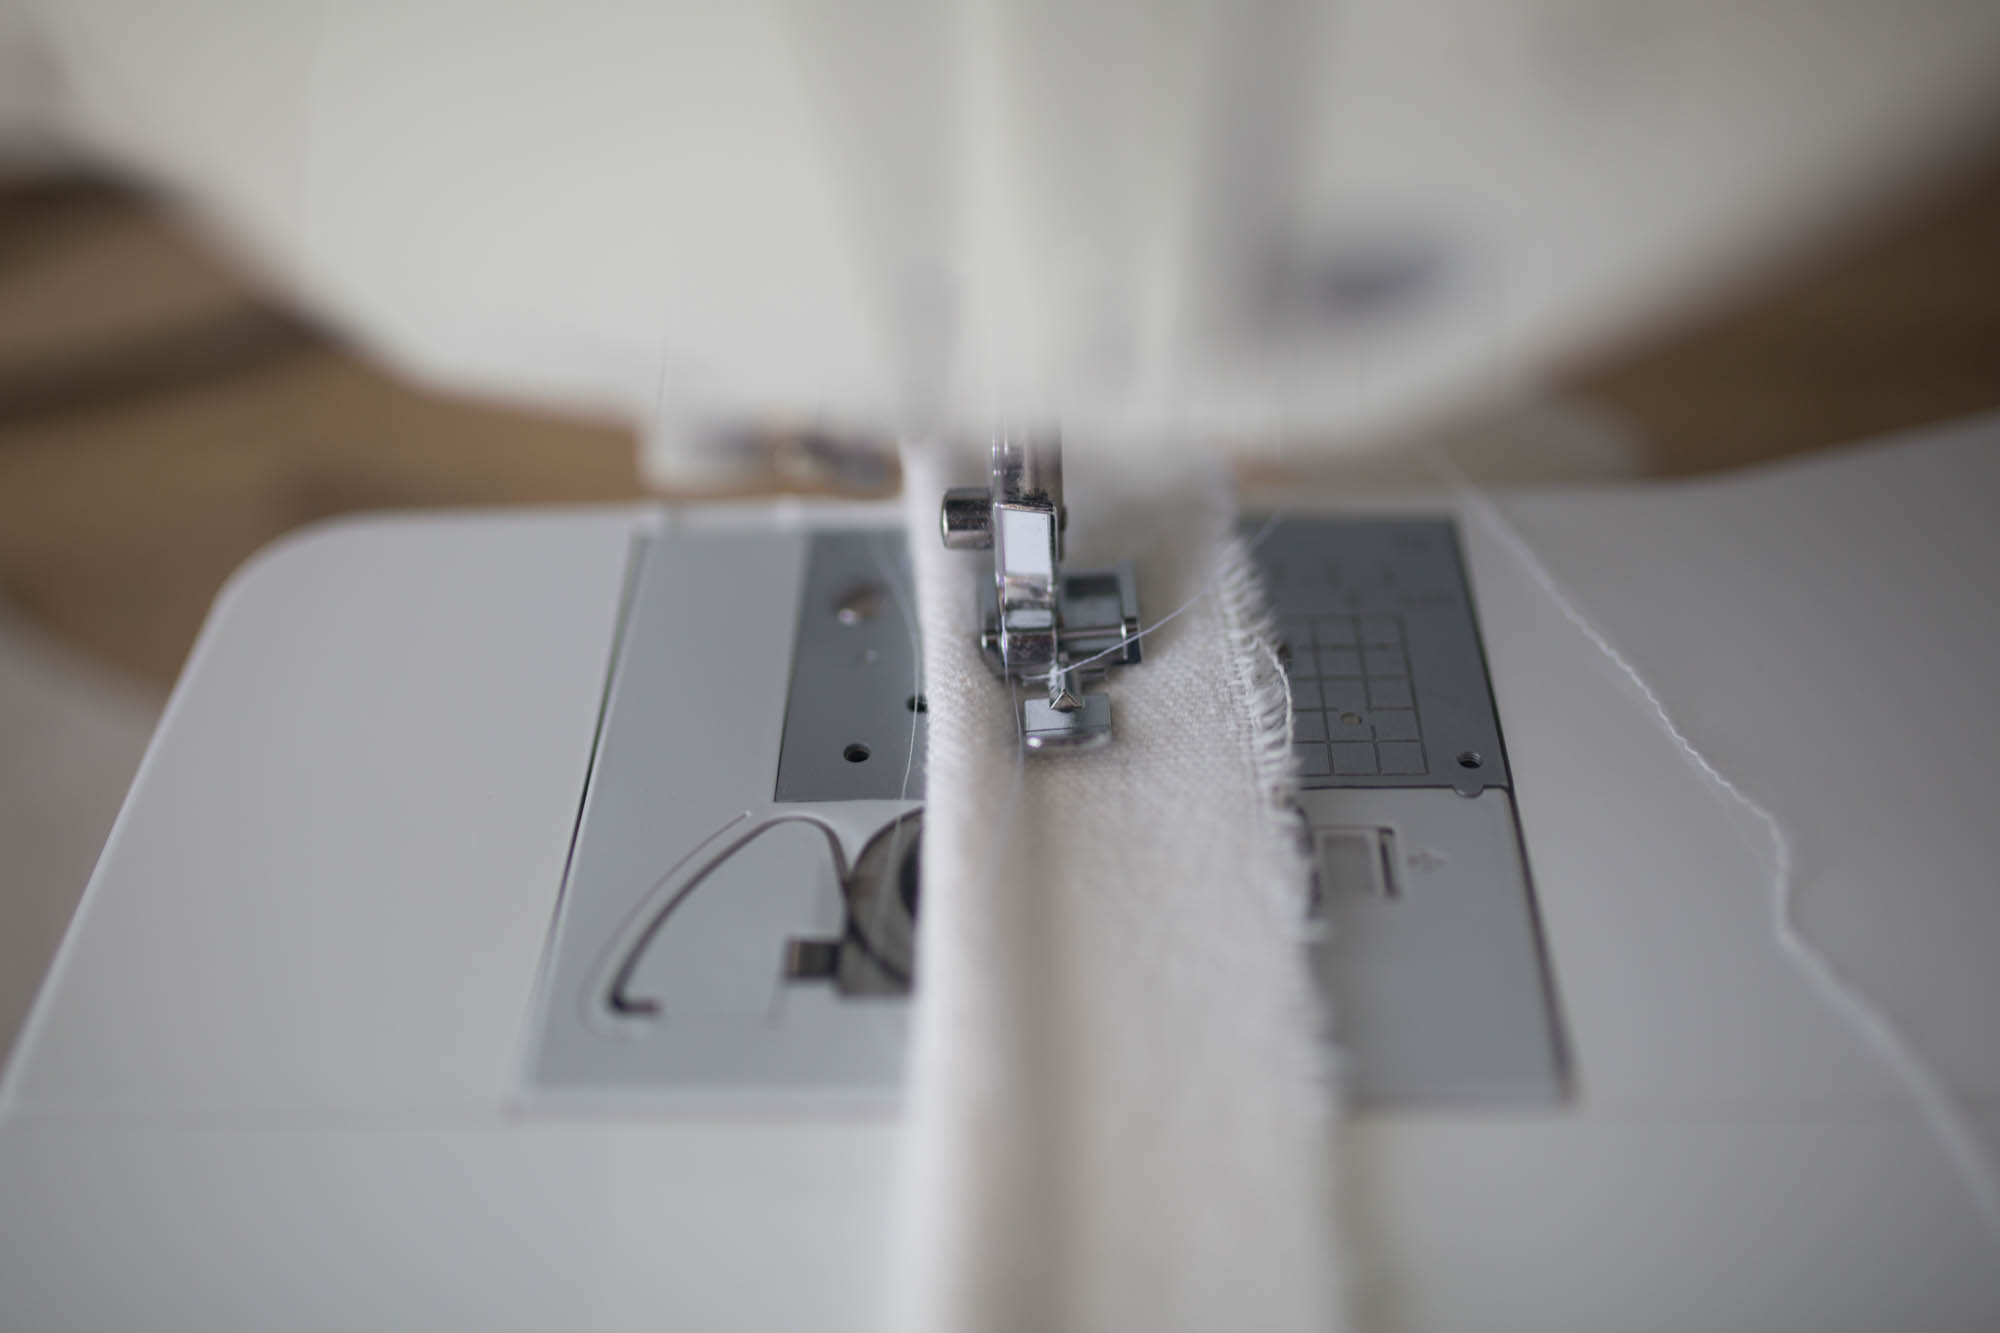
All machines come with several different feet. For this project, you will need a zipper foot. This holds the fabric down, but allows the needle to get really close to the cording.
The process
Making piping is a simple process.
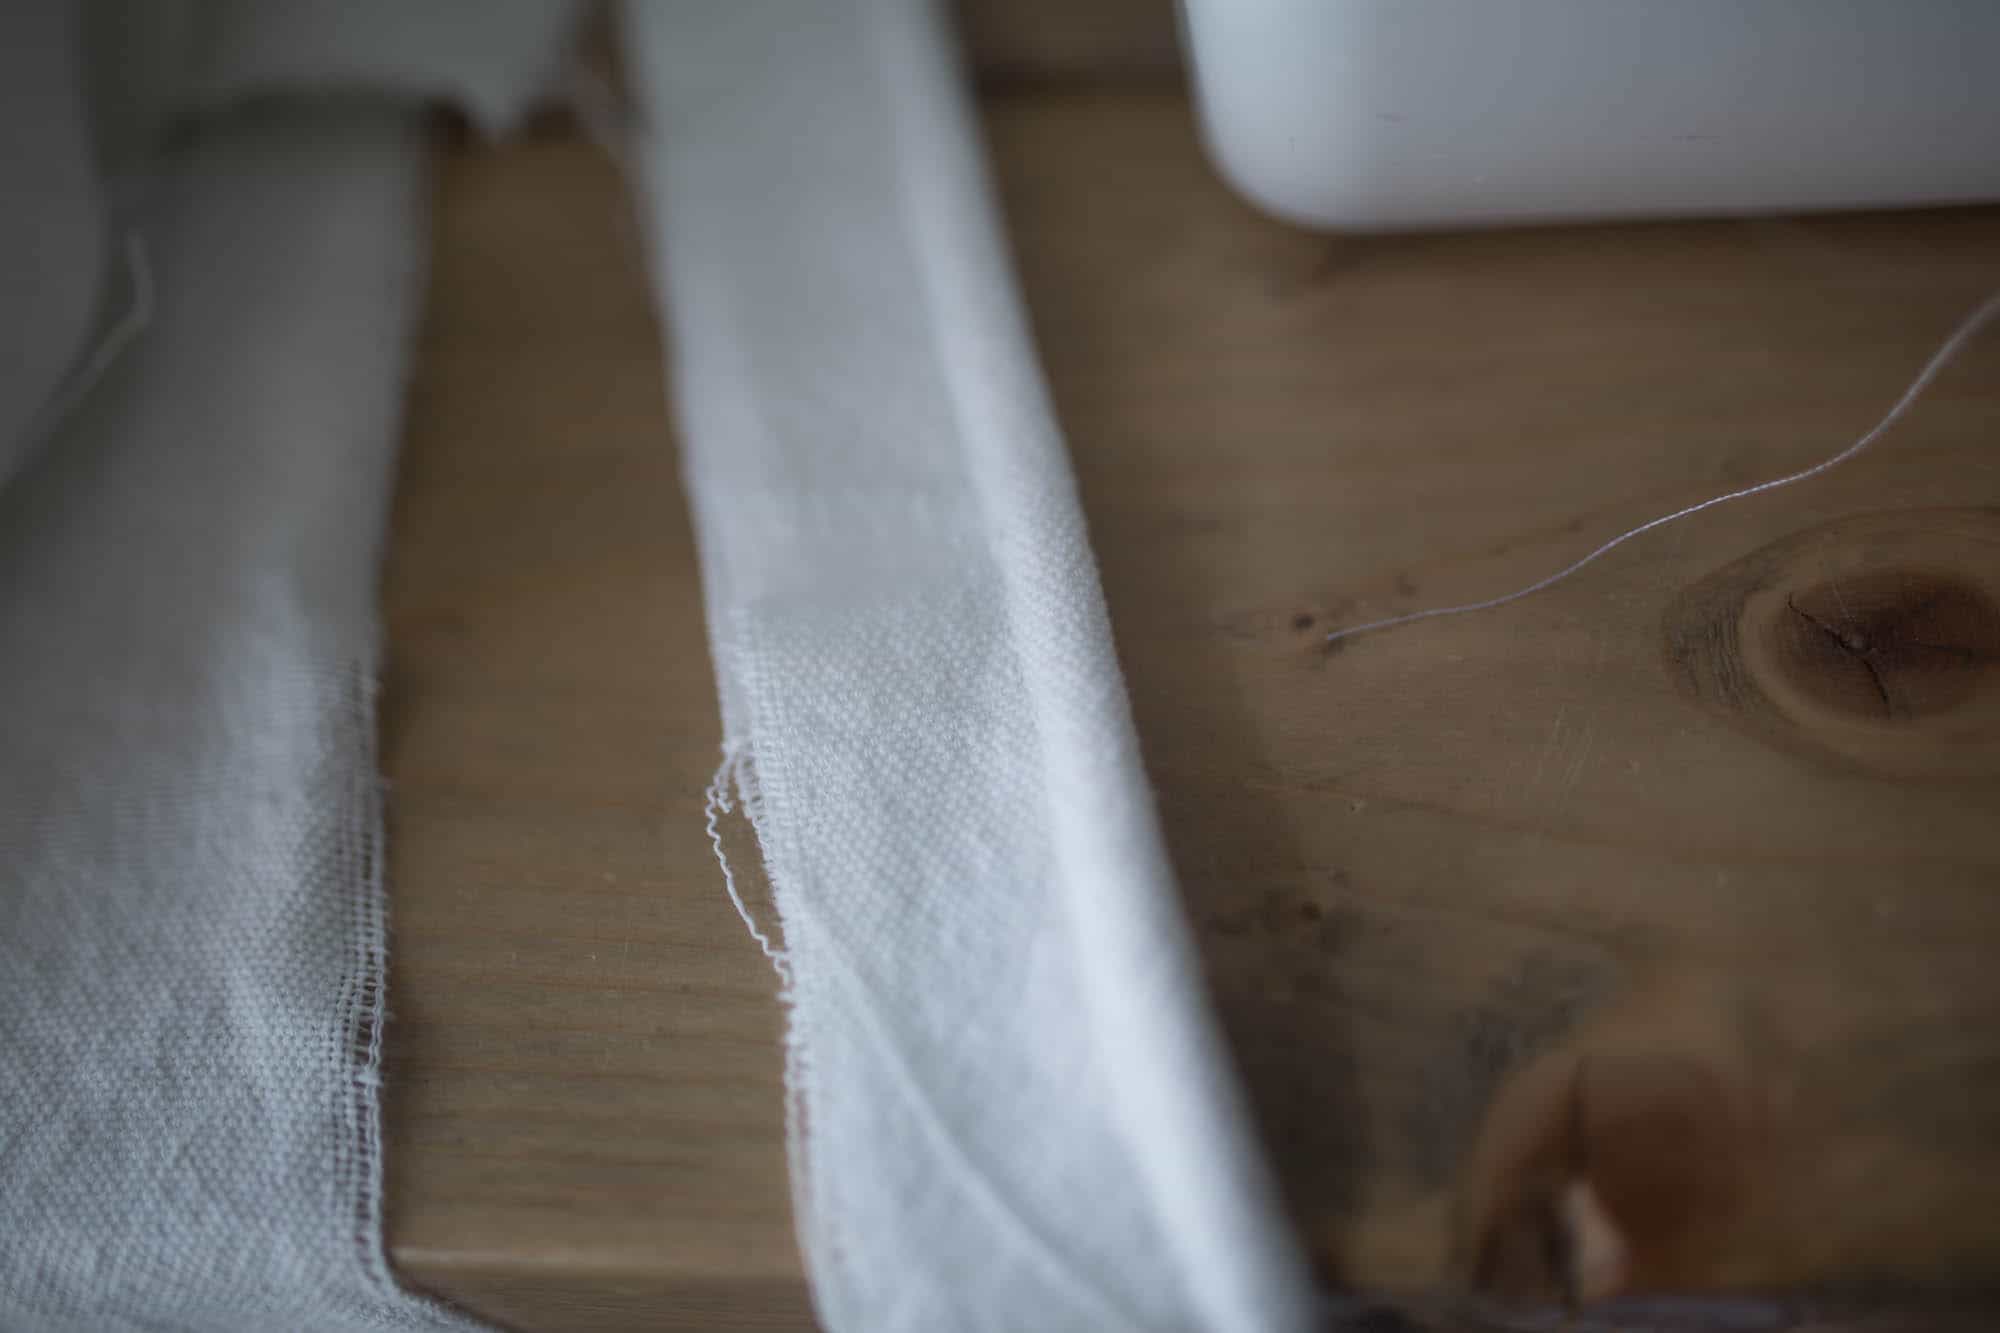
Simply take your desired piece of fabric, and cut a strip 3-5″ wide.
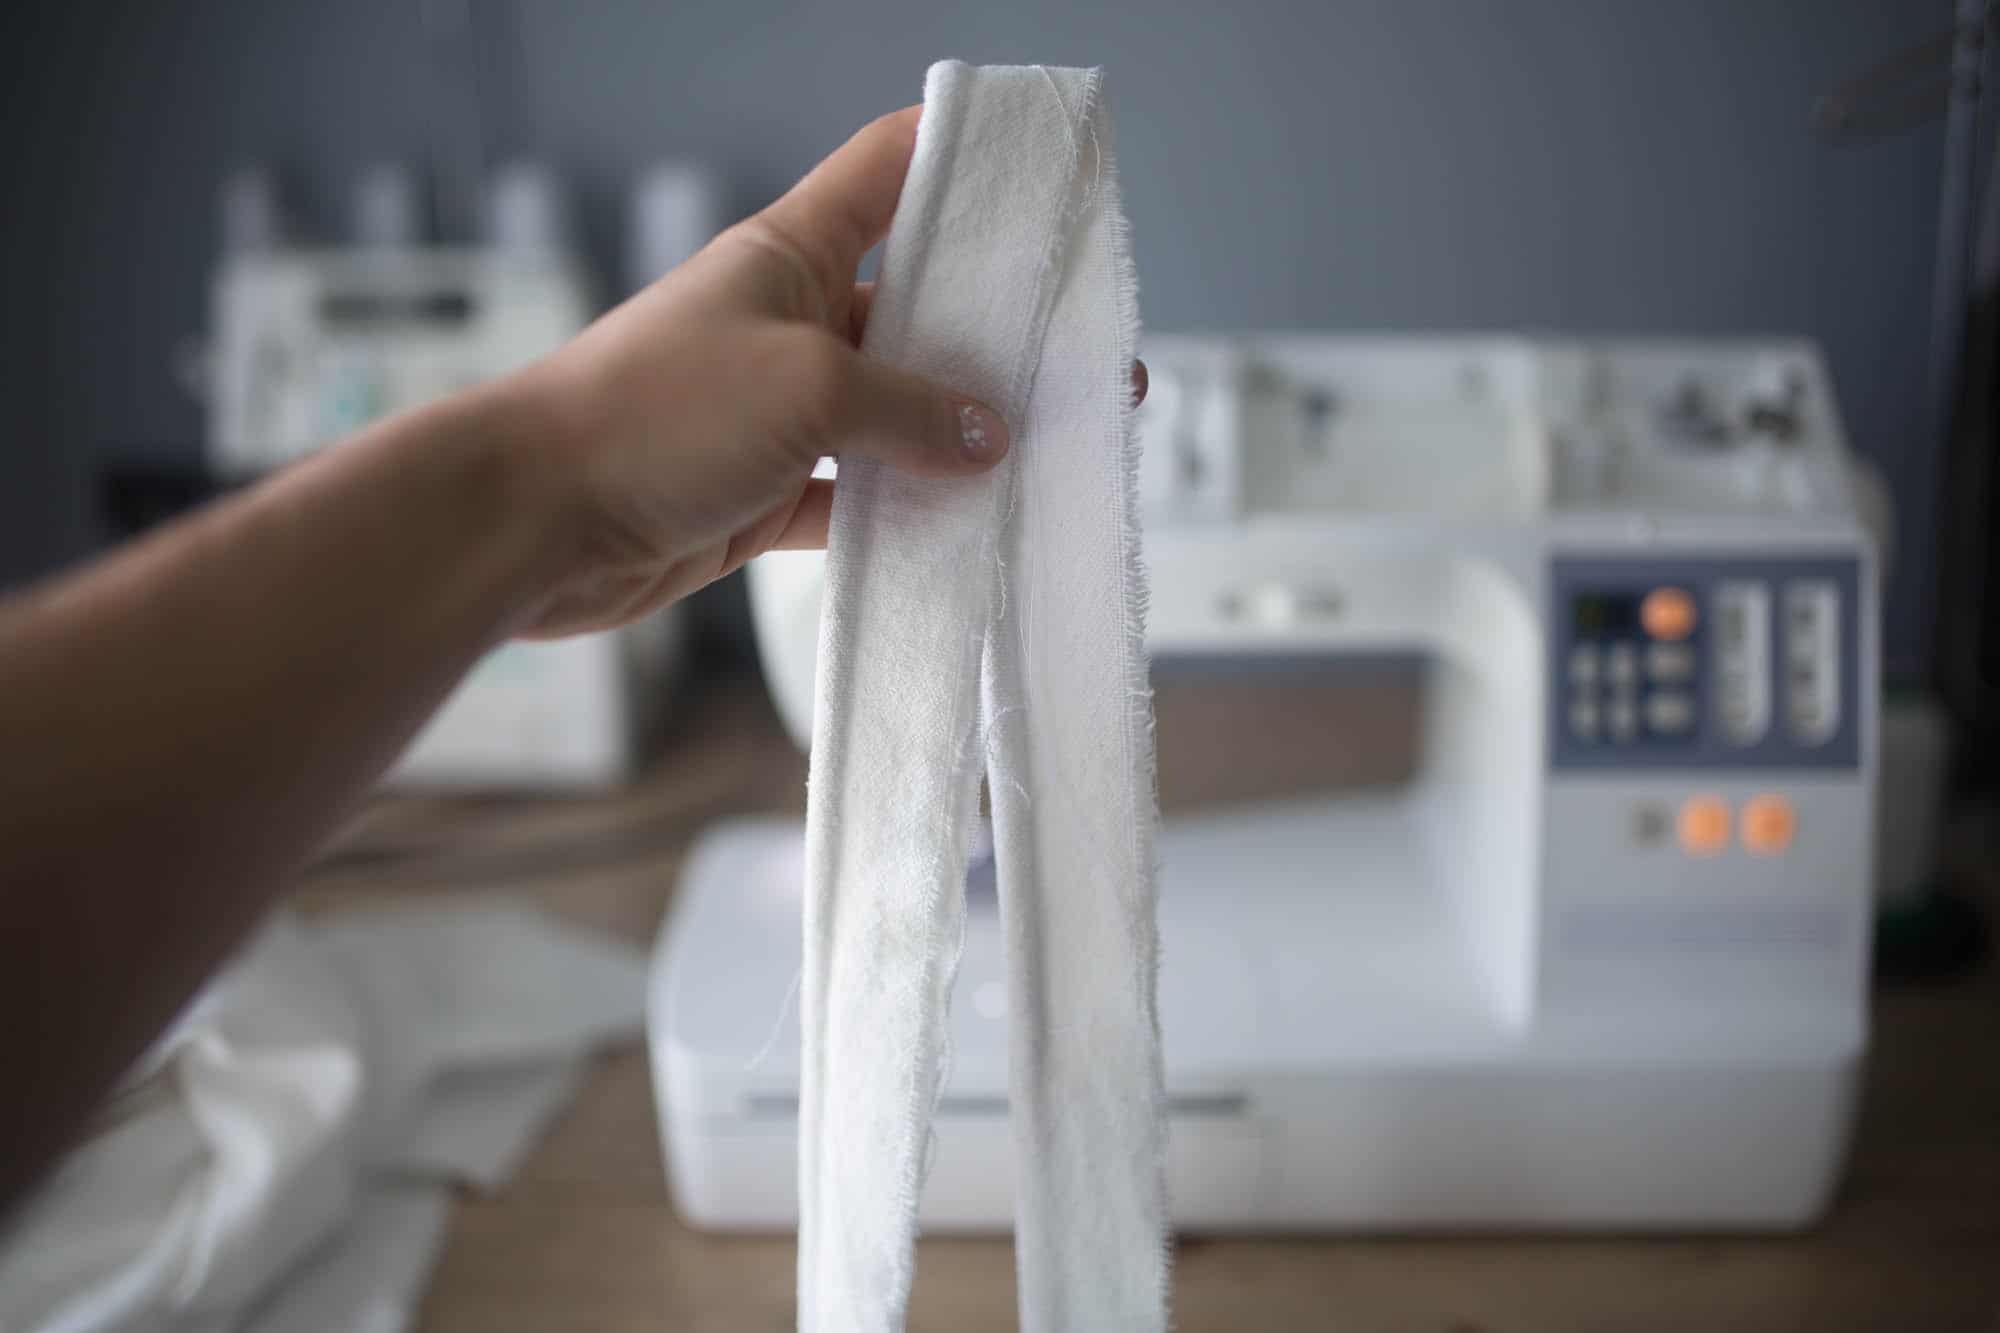
Fold the strip over the cording.
Sew the cording into the fabric. The goal is to get the needle as close a possible to the cording, without sewing over it.
Take it slowly. I usually break a needle or two (or 10) when I make piping.
Watch the video above to see my piping making in action.
Thats it!
It really is that simple.
The slightly more tricky part comes in sewing the piping into the actual project.
Watch me sew piping into a slipcover in this video tutorial. The key is to get the needle as close as possible to the piping. This ensures everything stays nice and perky. Floppy piping will look unprofessional and messy.
It takes practice, but is totally doable with basic sewing skills.
 Get Creative!
Make piping from a different colored fabric than the project you are making for a pop of color. Check out these inspiring examples here, here and here.
Piping can be added to more than just slipcovers. Put it around the outside of a pillow cover, in the waistline of a little girl’s dress, or around pockets.
Now, excuse me while I go lock myself in my sewing room for the next 10 hours.
How to Make Piping
Equipment
- Sewing machine
Ingredients
- fabric
- cotton piping
- matching thread
Instructions
- Making piping is a simple process. Simply take your desired piece of fabric, and cut a strip 3-5″ wide. Fold the strip over the cording.
- Sew the cording into the fabric. The goal is to get the needle as close a possible to the cording, without sewing over it. Take it slowly. I usually break a needle or two (or 10) when I make piping.
Notes
- I think piping can really finish off a DIY project and make it not-so-DIY looking!
Nutrition information is automatically calculated, so should only be used as an approximation.
 Get Creative!




what color jute rug do you have in the living room
thank you
This is the easiest to follow piping tutorial I have ever read! Thanks a ton for this!
Super the extra tutorial of the piping!
I have thus couch wich is really asking for a slipcover…… so I have to sort out myself how you did the back off your couch… by the way through watching your tutorials of slipcoverring and seeing the ease how you cut with the siccors, it gave me the kick in my bootie to start slipcovering my bed! I cut the fabric now with no hesitation woehoe!!!A black (ieuwww) boxspring and i’m very very pleased how it turned out!!! In a light sort of faded jeans colour. Shame I can’t post a picture.
Love your website. You have inspired me to slipcover my sofa , chair and footstool. Just wondering if you had any trouble with your piping shrinking or did you pre shrink the cording before making the piping.
Thanks
I haven’t had any trouble with that. I didn’t prewash it, and I have washed my slipcovers several times now! 🙂
A bit late in commenting here, I just discovered your site. Did you mention that it is very important to cut the piping fabric strips on the bias? This way curves in the seams ease with natural flow. The same way bias cut fabrics hang with a beautiful drape on the body. Love your site.
Gail, how important is that? It seems like you’d waste/use a lot more fabric that way…
Hi Lisa,
Great post on how to make piping. If I could add one comment regarding the purpose of piping. Not only is it used for decorative purposes and gives a professional finish to the project, but it also strengthens the seams where there is wear and stress.
I too thought piping was crazy hard and I could get away with not including it on my project until the instructor in the upholstery class I took explained why it is used.
Keep making those videos. I am a visual learner and enjoy your “lessons”.
Annie
Thank you so much for that feedback, Annie! I honestly had no idea that was a reason. I need to add that to the post! 🙂