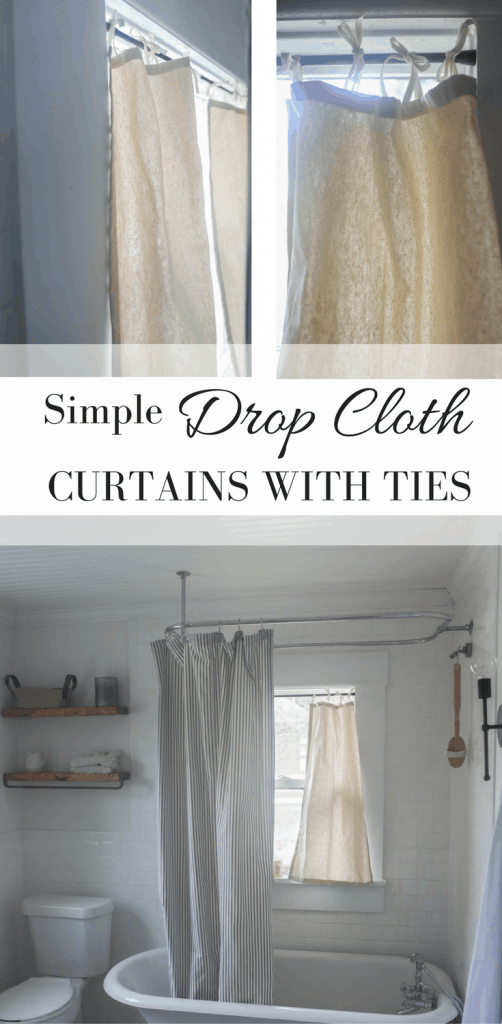
Learn how to make drop cloth curtains with this simple video tutorial. These drop cloth curtains are easy and quick!
Drop Cloth Is Perfect For Home Decor
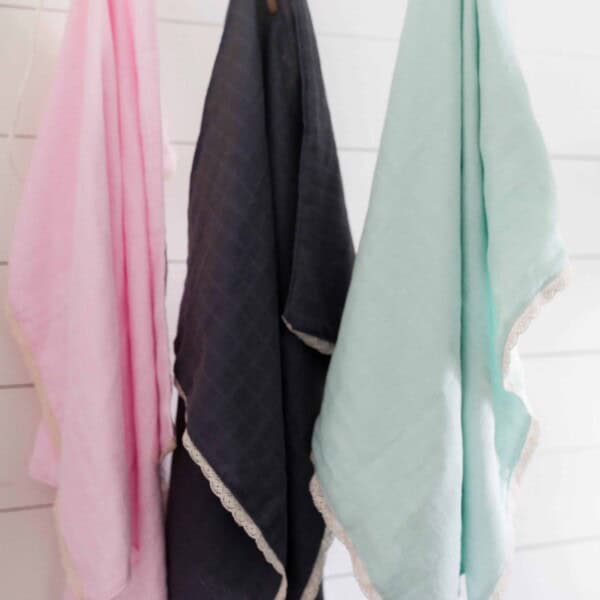
You all know I am a big fan of drop cloth in my home.
It costs less than $2 per yard making it really budget friendly. Plus, it is heavy weight and durable. It can be dyed, bleached, painted, and stamped. Its neutral color makes it customizable for any style. What more can you ask for?
I use it to make all my slipcovers.
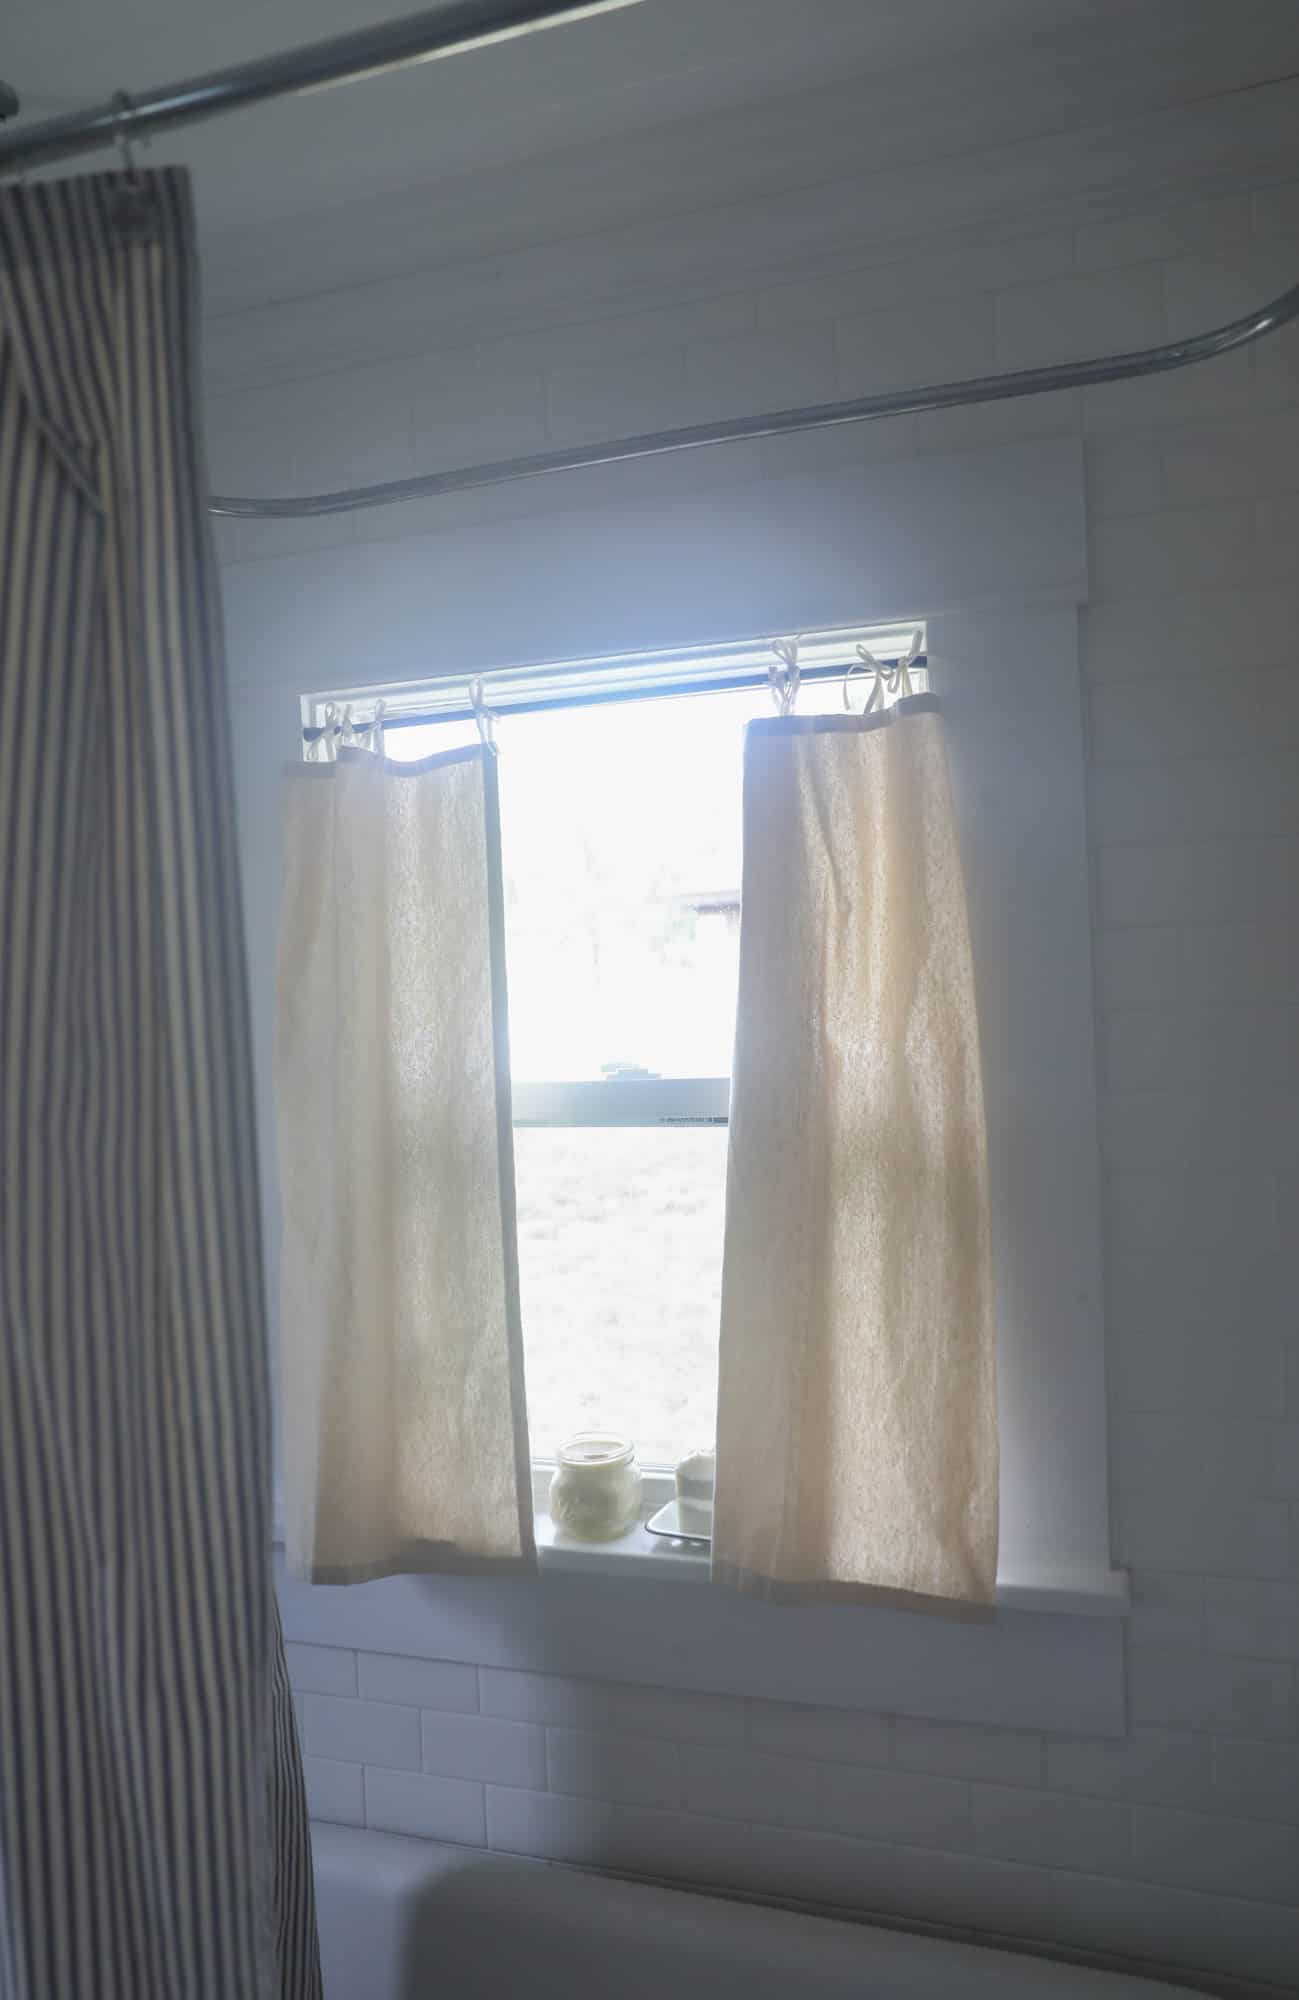
It’s no surprise that drop cloth is the perfect window curtain fabric for really any room. From the dining room, to the bedroom and even a bathroom. These inexpensive window treatments will give a farmhouse touch anywhere.
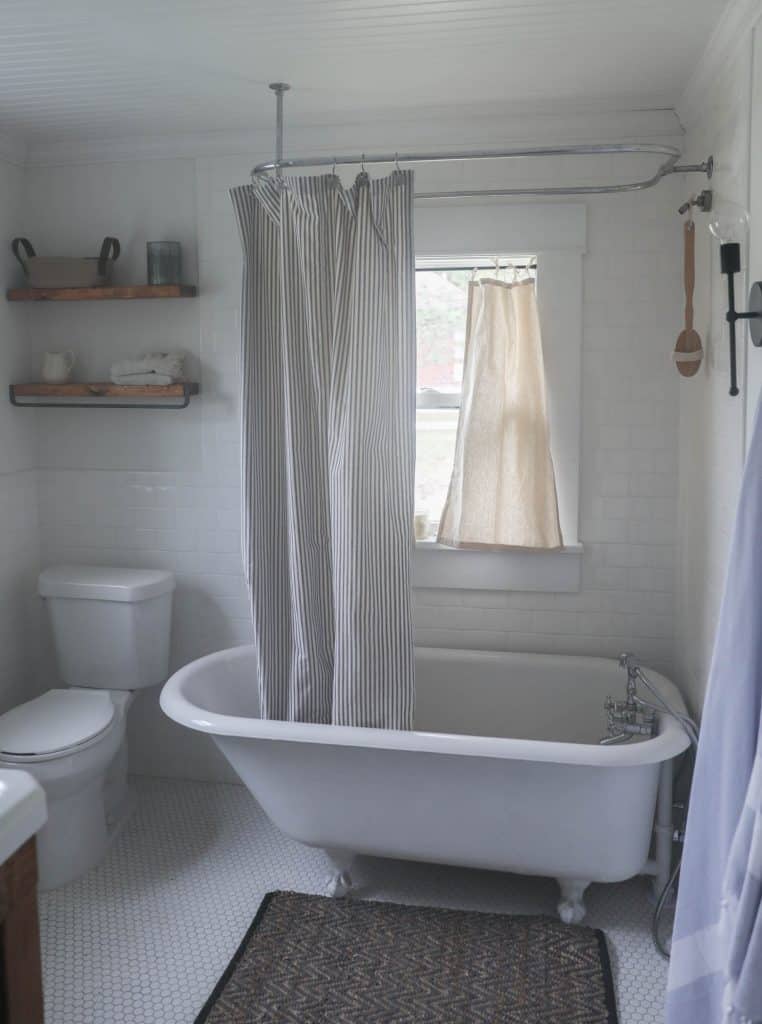
We did our bathroom renovation six months ago. Since that time, I have never taken the time to actually make it usable. AKA put the curtains in the windows.
I have taken many baths in it, but as you can probably guess, my husband doesn’t use the space.
Considering how easy it was to make these drop cloth curtains, I should have done it a long time ago.
If you are new to sewing, check out my simple sewing series where I walk you through all the basics.
Tip For Making DIY Drop Cloth Curtains:
- Since I was making these drop cloth curtains with ties, I didn’t need to accommodate for seam allowance. If you are not using ties, you will need to consider adding seam allowance.
- If the natural neutral color or drop cloth won’t match your decor, that you can change the color. Bleach them to make them whiter, or dye them to the color of your liking. They really are completely customizable.
- There is a center seam down the middle of the drop cloth curtains. If you are making large curtains, you can just keep this seam which adds some texture. If you are making smaller curtains, cut around the seam.
- Prep the drop cloth by washing, drying, and ironing before sewing the curtains.
This post contains affiliate links, which means I make a small commission at no extra cost to you. See my full disclosure here.
Supplies You Will Need:
Unbleached Drop Cloth (For bleaching purposes, I only buy THIS BRAND. More on that HERE.)
1/4″ Double Fold Bias Tape in the color Oyster
Sewing Machine
Thread
How To Make Drop Cloth Curtains Video Tutorial
How To Sew Drop Cloth Curtains
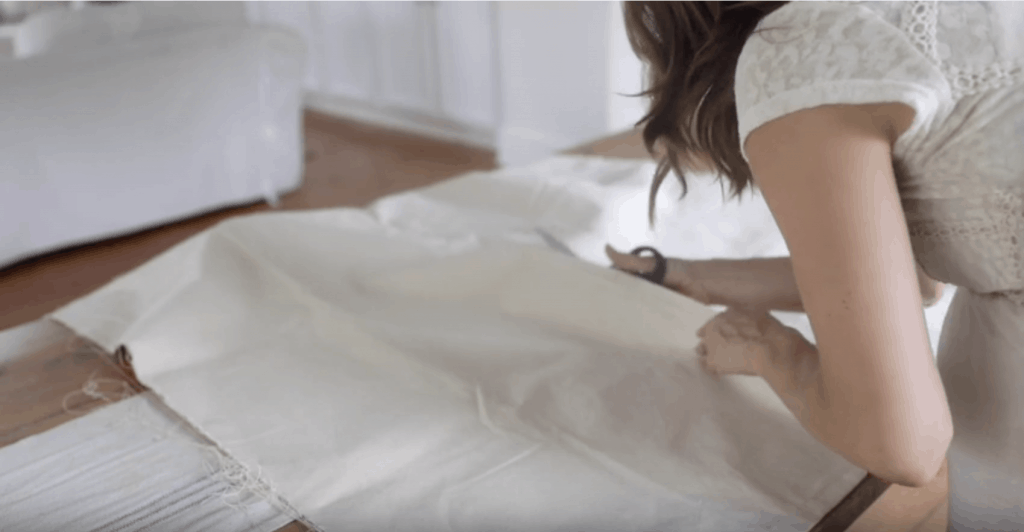
Step one: Measure, Cut, And Sew The Drop Cloth Panel
- First, measure the window. Mine measured 36″ in length by 27″ wide.
- Normally curtains extend way beyond the window. I usually like them to reach the floor. In this case, I only wanted them to barely cover the window, for the sake of privacy. I didn’t want them to pool on the (often wet) bathroom floor or, worse, in the clawfoot tub.
- Cut two pieces of drop cloth 20″ wide by 36″ long. The ties gave the panels extra length, so I didn’t allow for any extra seam allowance.

- Sew 1/2″ hems on all four sides of the two drop cloth panels.
- The bottom hems were already in place, since I cut them to be the pre-hemmed edges that the drop cloth comes with.
- The bottom hems were already in place, since I cut them to be the pre-hemmed edges that the drop cloth comes with.
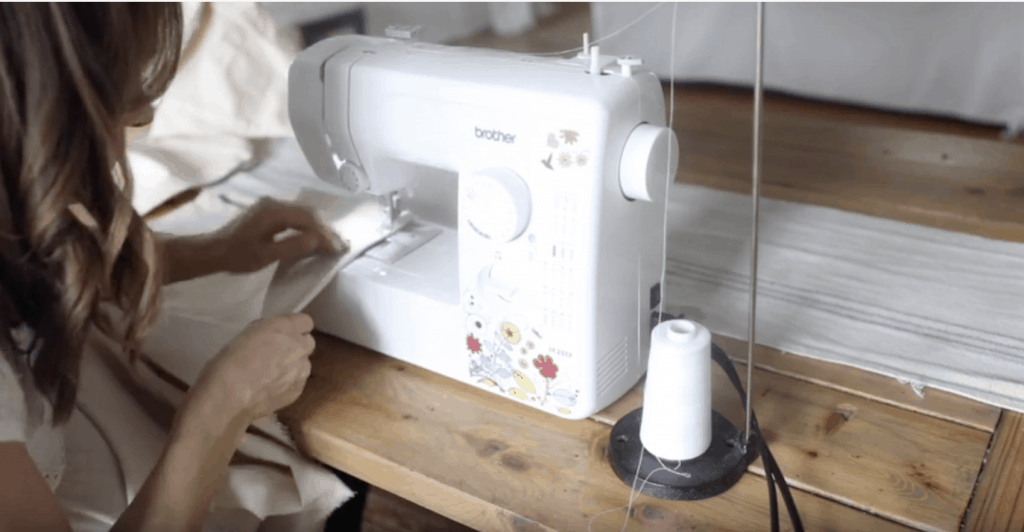
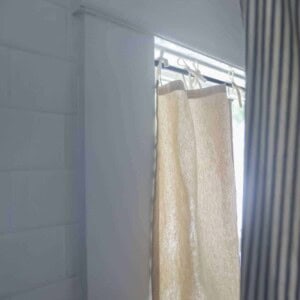
Step 2: Make the Ties
- Sew all the way down the length of a package of 1/4″ Double Fold Bias Tape in the color Oyster.
- Then, cut them in 18″ pieces.
- This size package works perfectly to have eight sets of ties with hardly any leftover. Which is exactly what I needed for my two panels!
- This size package works perfectly to have eight sets of ties with hardly any leftover. Which is exactly what I needed for my two panels!
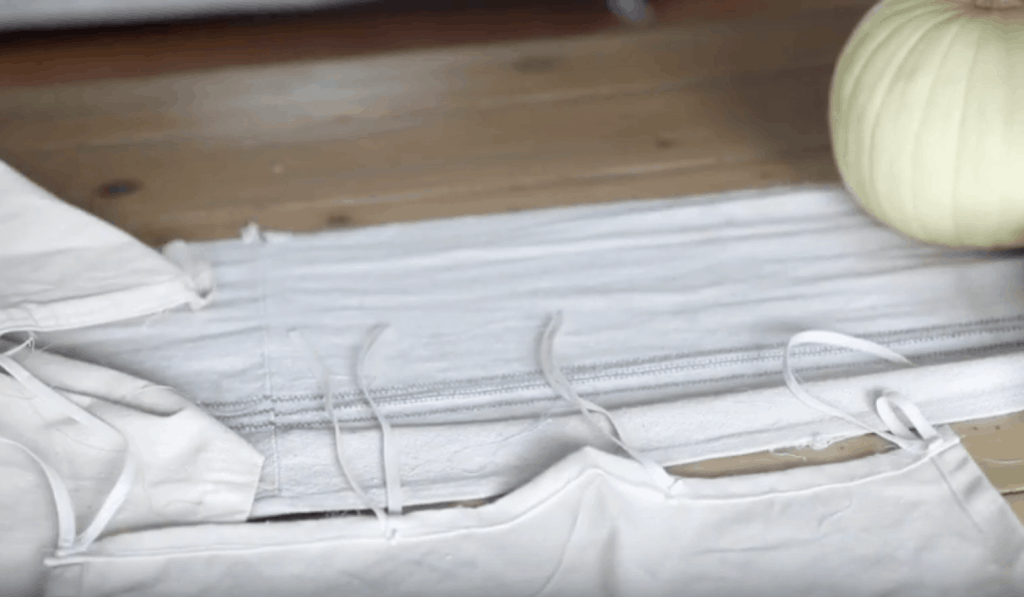
- Fold the 18″ pieces in half, to have two 9″ ties, and sewed them on the outsides of the curtain panels.

- Place the remaining two tie sets evenly along the top. Mine were spaced every 6″.
- Watch the video tutorial (above) if any of this doesn’t make sense!

Step 3: Hang The Curtains
Hang the curtains making sure the ties are tied evenly.

I may end up bleaching my little curtains, but for now I am enjoying them in the natural color.
It has a lovely linen look to it.
They probably took 15 minutes to sew up. A super quick project!
They can be made in any size needed for your particular space.
Now I just need to make a set for the other window so my husband feels comfortable on the toilet! Ha.
[thrive_lead_lock id=’10866′]Hidden Content[/thrive_lead_lock]
More of my favorite farmhouse sewing projects:
- How To Make A Pillow From A Sweater
- How to Sew a Pillow Insert with Drop Cloth
- DIY Tank Top – How to Sew a Tank Top
- How to Sew Girl – Pajamas from Vintage Sheets
DIY Drop Cloth Curtains Printable Instructions
If you try this tutorial and love it, I would love if you gave it 5 stars! Thank you!
How to Make Drop Cloth Curtains
Video
Equipment
Ingredients
- drop cloth
- Double fold bias tape
- sewing machine
Instructions
- First, I measured the window. Mine measured 36″ in length by 27″ wide.Normally curtains extend way beyond the window. I usually like them to reach the floor. In this case, I only wanted them to barely cover the window, for the sake of privacy. I didn’t want them to pool on the (often wet) bathroom floor or, worse, in the clawfoot tub.
- I cut two pieces of drop cloth 20″ wide by 36″ long. The ties gave the panels extra length, so I didn’t allow for any extra seam allowance.I sewed 1/2″ hems on all four sides of the two drop cloth panels. The bottom hems were already in place, since I cut them to be the pre-hemmed edges that the drop cloth comes with.
FOR THE TIES
- I sewed all the way down the length of a package of 1/4″ Double Fold Bias Tape in the color Oyster. Then, I cut them in 18″ pieces. This size package works perfectly to have eight sets of ties with hardly any leftover. Which is exactly what I needed for my two panels!
- I folded the 18″ pieces in half, to have two 9″ ties, and sewed them on the outsides of the curtain panels. I placed the remaining two tie sets evenly along the top. Mine were spaced every 6″.
Notes
- Check out the video tutorial if you need help beyond written instructions!
Nutrition information is automatically calculated, so should only be used as an approximation.
Pin it for later
This post was updated December 2019.


This is really awesome! Love the simplicity!
is there a DIY for your shower curtain? It’s beautiful!
Hello Lisa I love everything you do and post. I would like to have and advise from you. I would like to buy a sewing embroidery machine . I planning to do some monogrammed pillows for my family. I know how to sew even though I am not an expert. I looked at the brother SE 400 and the brother SE 425 . Could you please tell me which one of these two or a different one will be a good buy for me . Thank you in advance.
Martha Iglesias
Hi Martha,
I’m very interested in which machine you chose. I, too, am looking at those two Brother machines. Any advice you may have would be greatly appreciated.
Sincerely,
Jean