

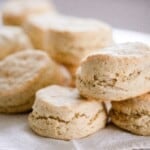

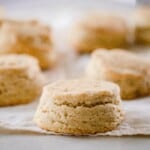
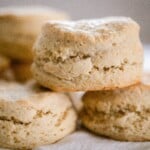
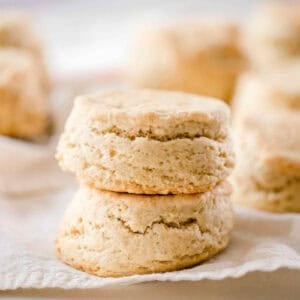
These fluffy, buttery sourdough biscuits are made with leftover sourdough discard, giving them a hearty flavor and tender texture. They can be made quickly for an easy breakfast, or long-fermented for added flavor and sourdough benefits.
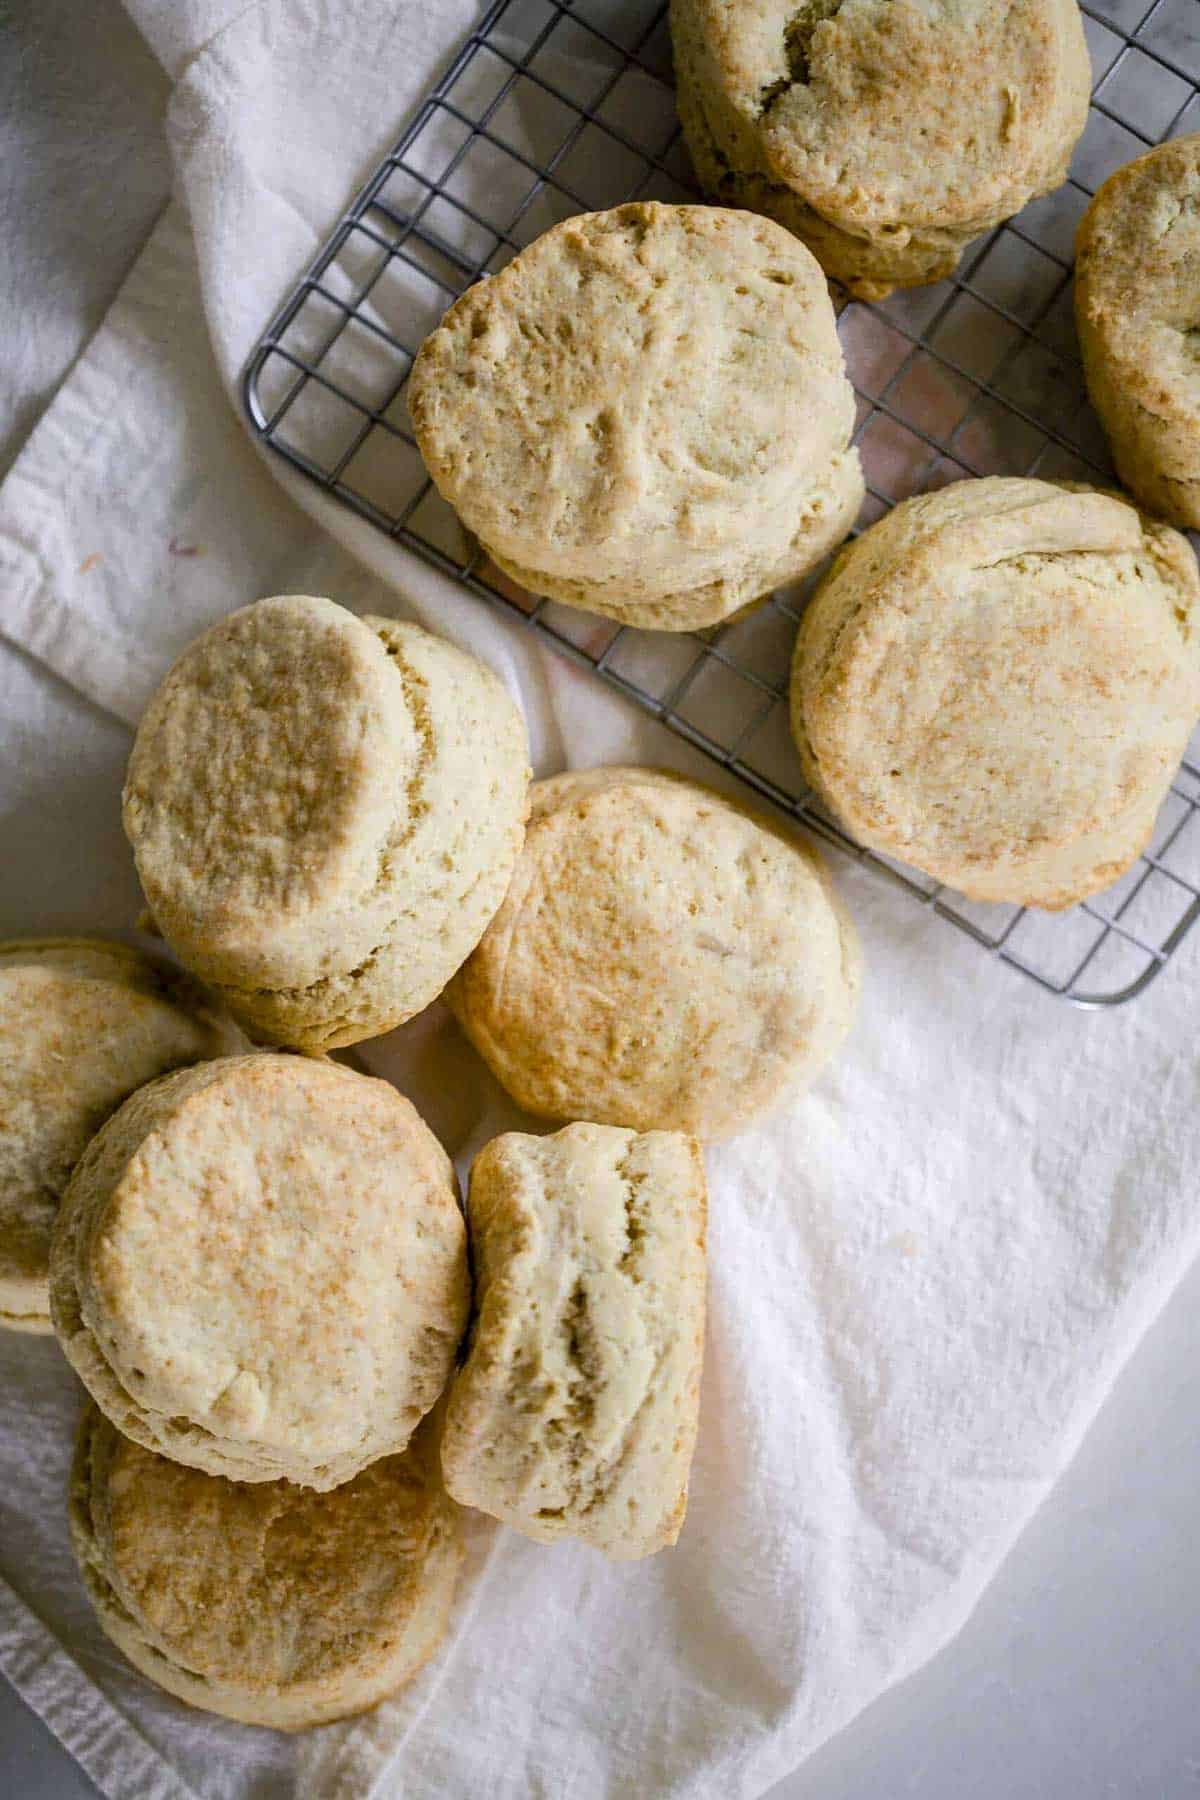
Homemade sourdough biscuits effortlessly pair with any meal. Served with sausage gravy, they are a popular main dish for breakfast; sliced in half, they make the best egg and bacon breakfast sandwiches. Spread them with butter and homemade strawberry jam for a versatile side dish. They can even be topped with sweetened whipped cream and fresh fruit for dessert, just like this sourdough peach cobbler.
When made with sourdough discard and baked right away, these biscuits are quick and easy, while still offering great taste, texture, and nutrition from the addition of the fermented sourdough.
The long-fermented version follows a very similar process but ferments overnight before adding the leaveners. This fermentation time improves the digestion of the grains and makes the nutrients more bioavailable, yielding tender biscuits with deep flavor and lots of sourdough tang.
There’s nothing better than rustic, golden biscuits in a cast-iron skillet, which just happens to be one of my favorite sourdough baking tools.
Why You’ll Love This Recipe
Flavor and texture – You’ll enjoy the distinct tangy flavor of sourdough alongside the buttery and tender texture of these soft, flaky sourdough biscuits.
Better nutrition – The fermentation time provides benefits to your gut health with prebiotics, which feed your probiotics, facilitating a healthier gut microbiome. The process also frees up nutrients in the grains by breaking down phytic acid, resulting in more nutritious biscuits.
Simple and quick – An easy recipe made with simple ingredients, these fluffy biscuits have the best flavor and can be ready in about half an hour. They are also a great way to use up extra sourdough discard!
Ingredients
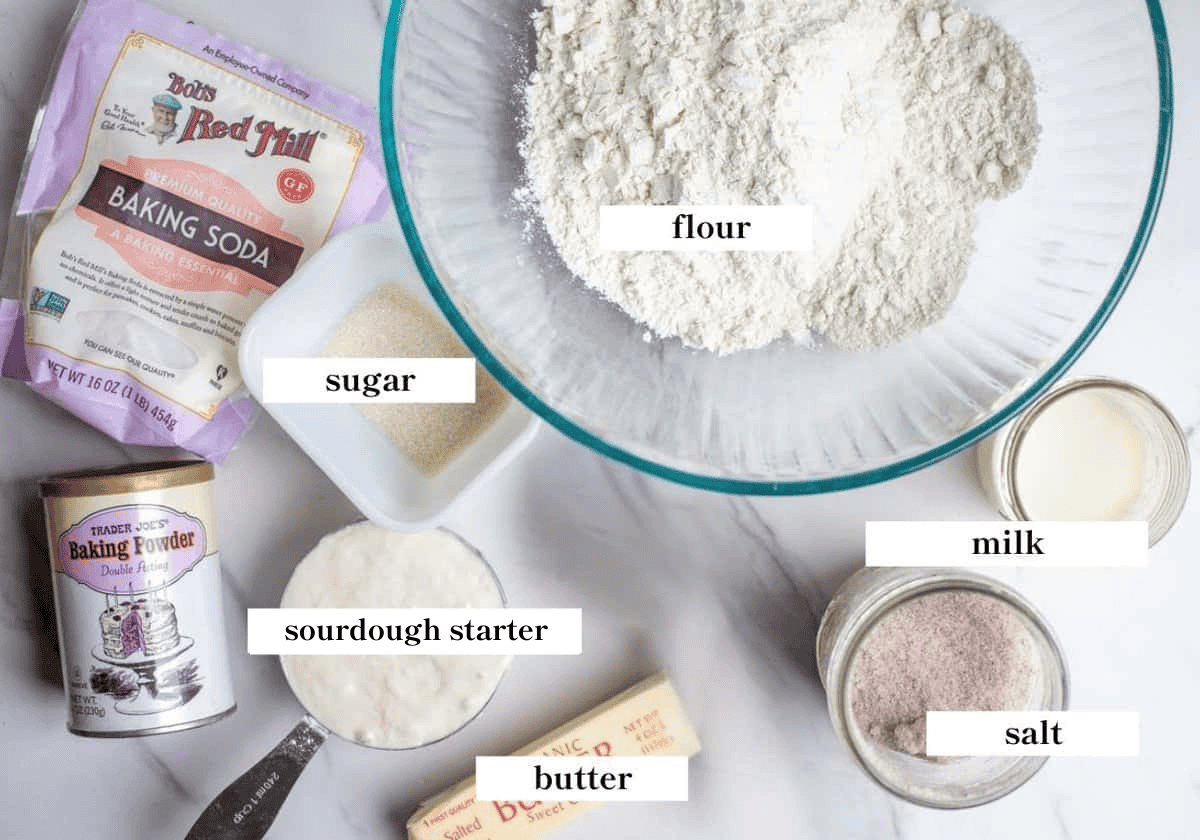
Flour – I use freshly milled whole wheat white flour, but you can use all-purpose flour.
Cold butter – Cold butter is much easier to work with.
Sourdough discard – For this recipe, you can use an active sourdough starter or discard. Discard will add more sourdough flavor than fed starter.
Baking powder and baking soda – Even though these are sourdough biscuits, there is no kneading like bread, so there is less gluten formation, and in return, less natural rise. The rise comes from these added leavening agents.
Milk or buttermilk – Buttermilk adds another depth of tanginess, but milk also works great.
A full ingredient list with exact amounts can be found in the recipe card below.
How to Make Sourdough Biscuits
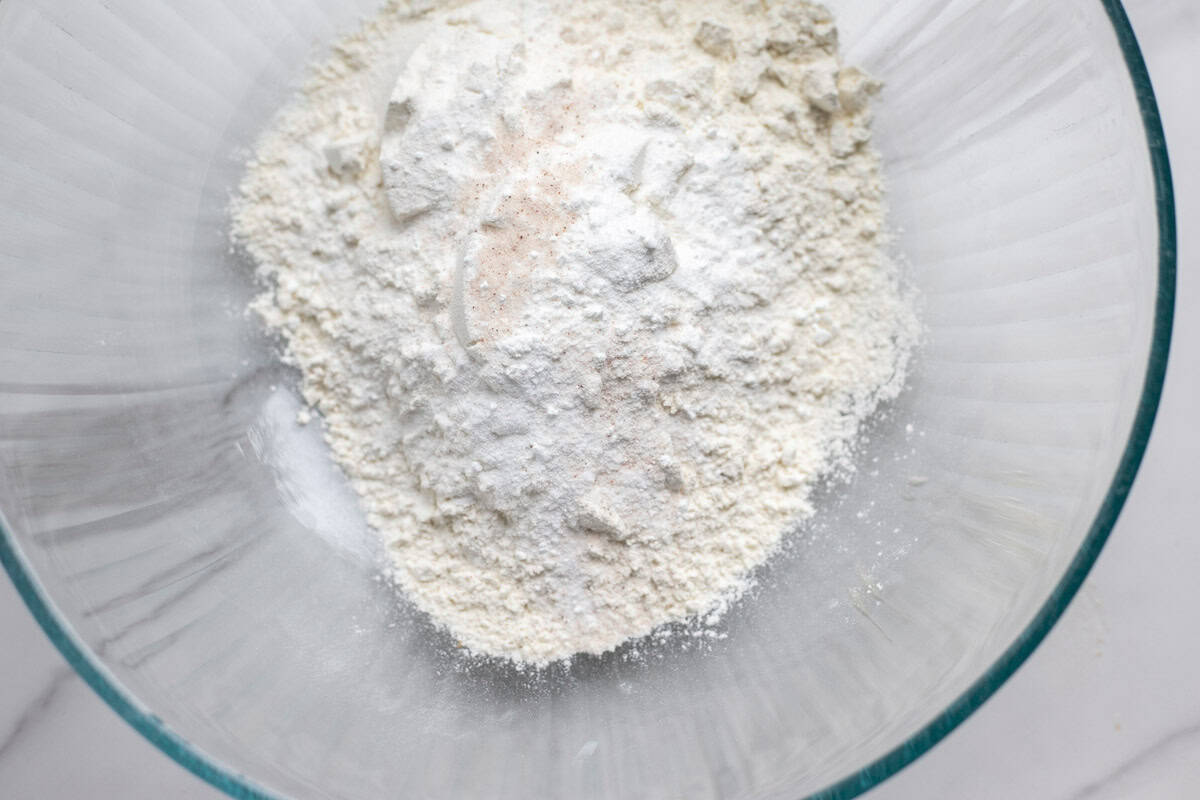
Step 1: Preheat the oven to 400° Fahrenheit. Add flour, baking powder, baking soda, sugar, and salt to a large mixing bowl and combine.
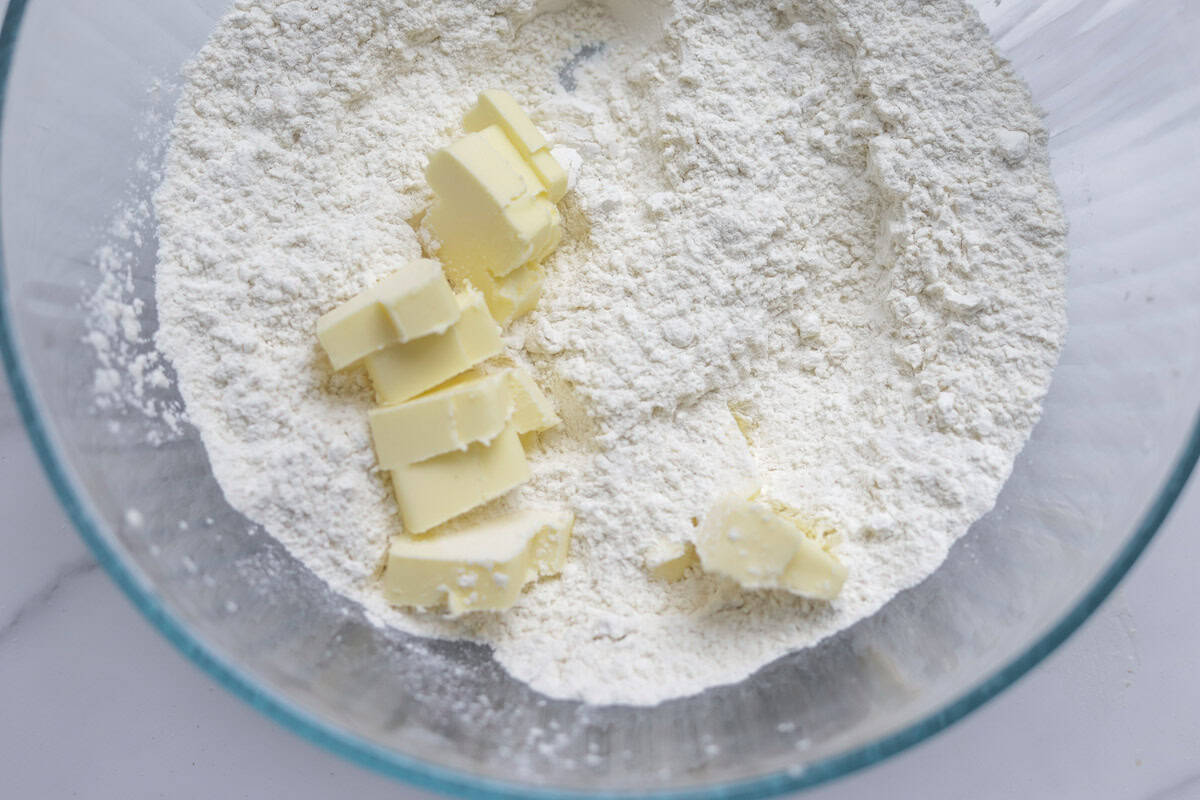
Step 2: Chop the cold butter into chunks and add it to the flour mixture. Cut with a pastry cutter until the butter resembles coarse crumbs.
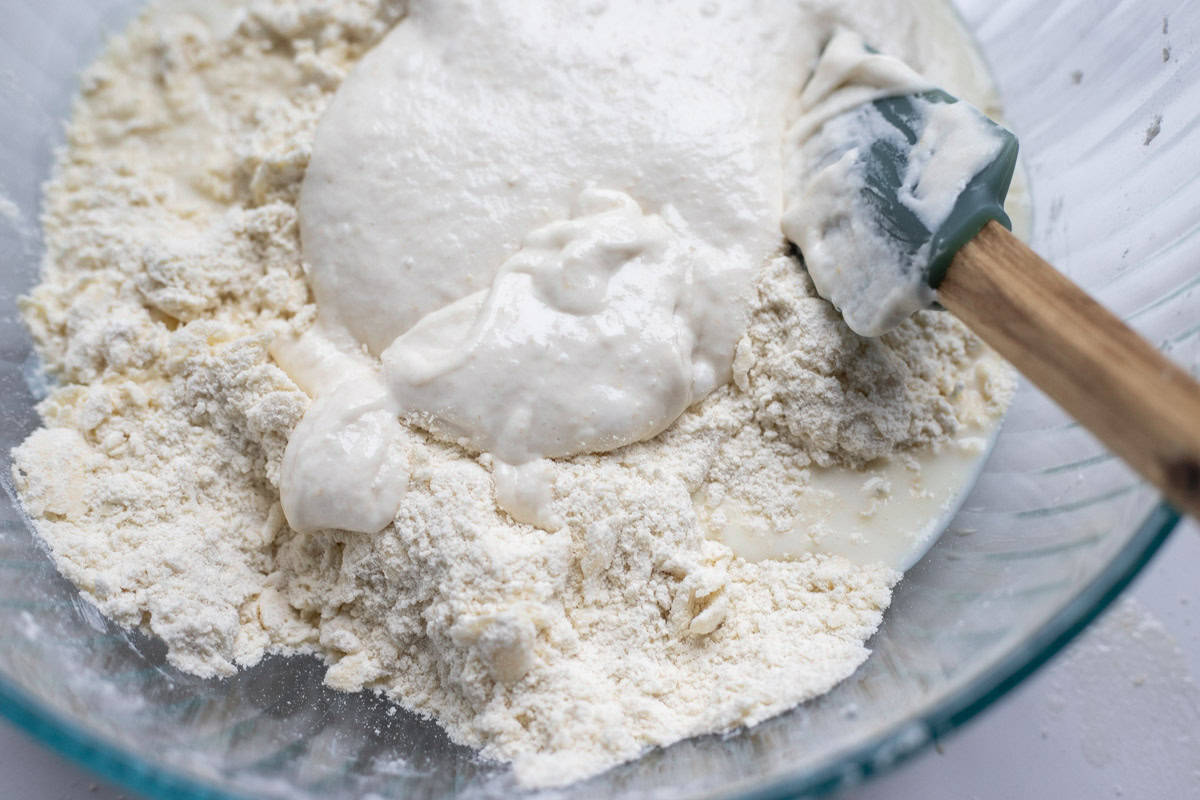
Step 3: Add sourdough discard and buttermilk, stirring until the ingredients are incorporated.
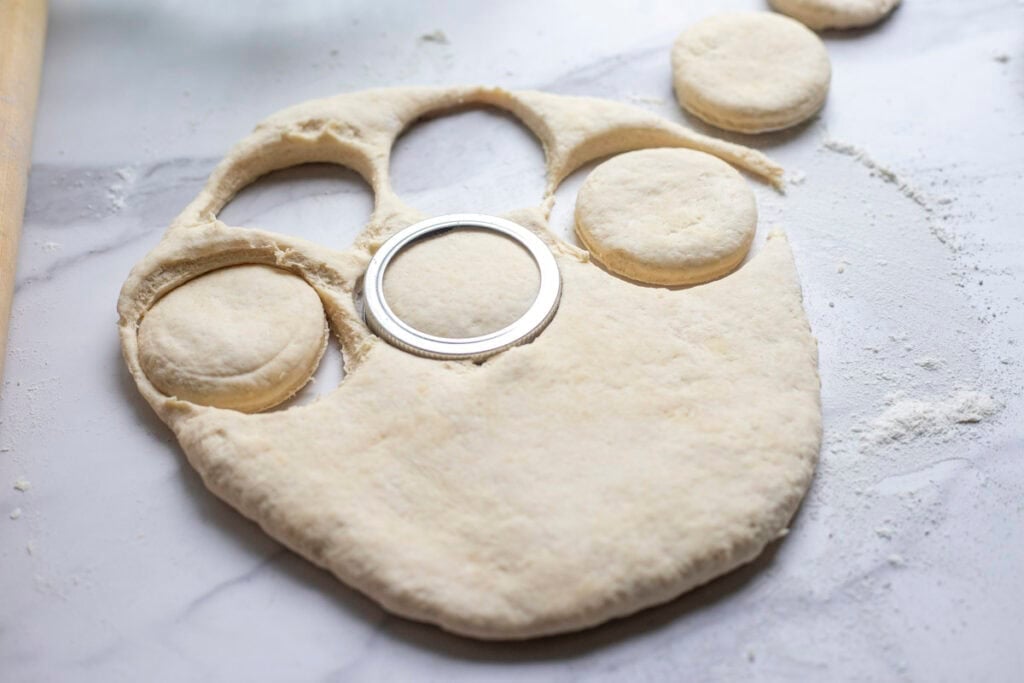
Step 4: Transfer the dough to a lightly floured surface, rolling it out to about 3/4 to 1 inch thick. Cut out the biscuits using a biscuit cutter or even the rim of a glass. Gather biscuit dough scraps together and roll out again, continuing until all the dough is cut into biscuits.
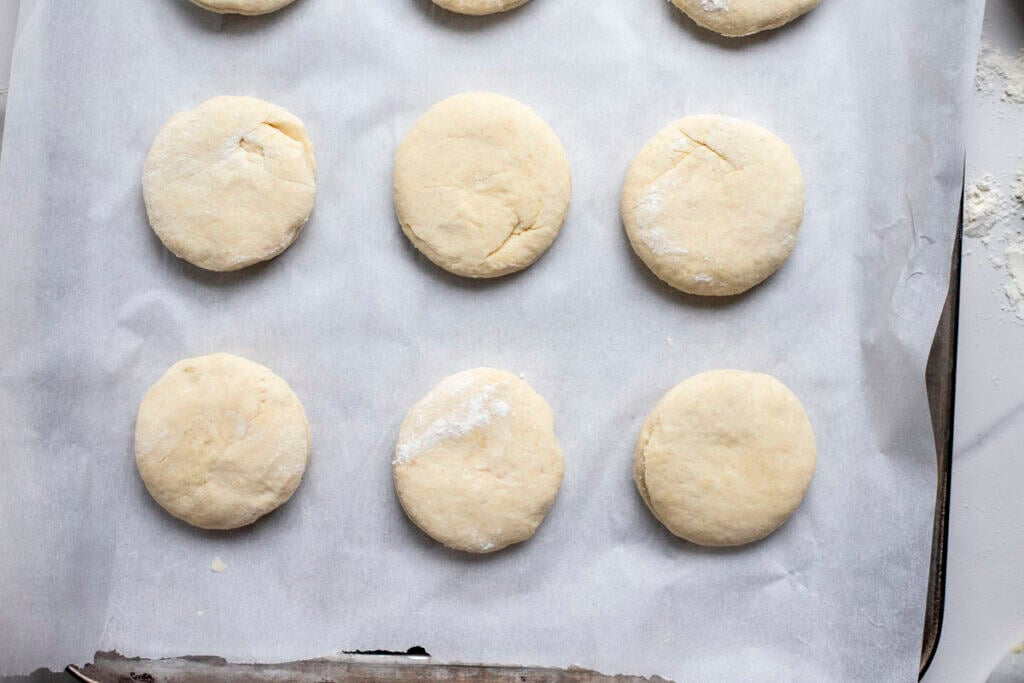
Step 5: Place the cut biscuits onto a well-seasoned cast-iron skillet, a baking sheet lined with parchment paper, or a greased glass baking dish.
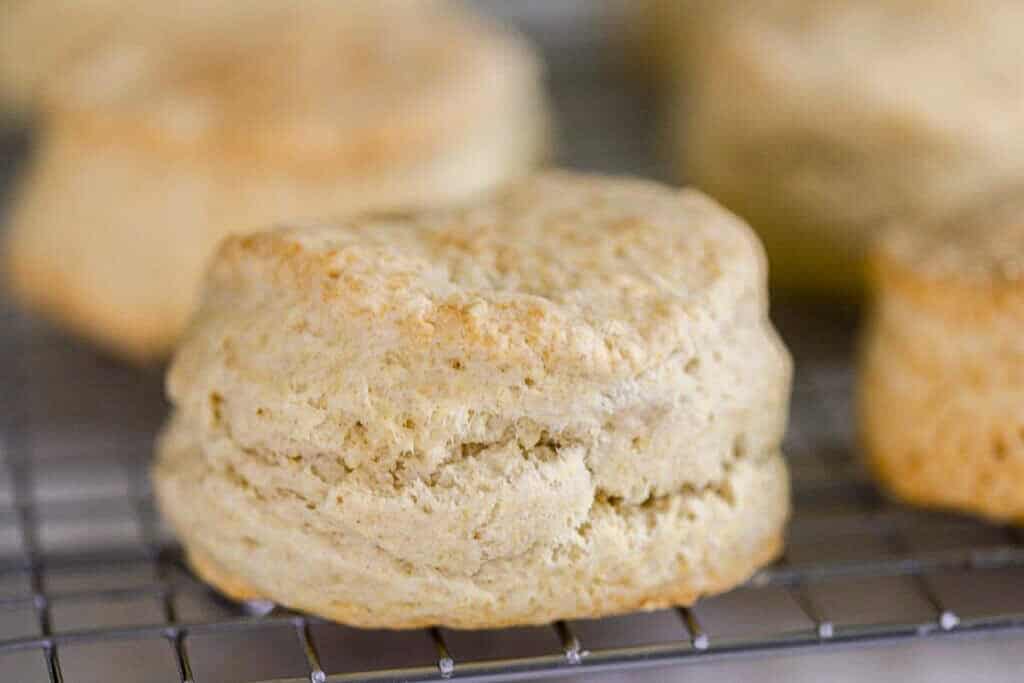
Step 6: Bake for 14 to 20 minutes until the edges start to turn golden brown.
Long-fermented Sourdough Biscuits
Step 1: Add flour and sugar to a large mixing bowl and stir. Chop cold butter into cubes and add to the flour, cutting with a pastry blender until the butter resembles coarse crumbs.
Step 2: Add the sourdough discard and buttermilk, stirring until just combined.
Step 3: Cover the bowl with a tight lid (i.e. plastic wrap, lid, beeswax wrap) and place it into the fridge for 24 hours. For best digestion, I recommend three days.
Step 4: The next day, sprinkle baking powder, baking soda, and salt over the top of the fermented dough. Incorporate well.
Step 5: On a lightly floured work surface, roll the dough out to about 3/4 to 1 inch thick and cut out the biscuits. Cut out as many as you can, then gather the scraps and roll them out again. Continue this process until all the dough has been cut into biscuits.
Step 6: Place the biscuits into the prepared cast-iron skillet or baking sheet. Space them out if you’d like to keep them separated, as they will expand while baking. You can also keep them close together, and they can just be pulled apart after baking, which will keep the sides softer.
Step 7: Preheat the oven to 400° Fahrenheit.
Step 8: Bake biscuits for 14 to 20 minutes or until golden.
Tips
- If you have a gluten sensitivity, aim to ferment these biscuits for 24 hours.
- Incorporate cold butter with a pastry cutter, cheese grater, a couple of forks, or even your hands.
- This recipe can use an active starter or discard, and fermentation is optional.
- Cut your biscuits using a biscuit cutter, mason jar, cookie cutter, or anything round. You could also cut them into squares.
- A bench scraper is helpful for transferring the cut biscuits to the baking sheet if they are sticking.
- Add a cup of shredded cheese and some garlic powder to the dough and brush the tops of the biscuits with garlic butter for a savory, cheddar biscuit.
Recipe FAQs
Cooled biscuits can be stored in an airtight container at room temperature for a couple of days, or refrigerated for about a week. Biscuits can also be frozen in a freezer-safe bag or container for up to 3 months. Thaw at room temperature or gently reheat in the oven.
Flat biscuits are often the result of old baking powder and/or baking soda. If these ingredients are not fresh, then they may not provide a good rise. Biscuits can also be flat if the dough is overworked or the oven is not hot enough.
To add more of that delicious sourdough tang, ferment the dough longer. Making a quick biscuit will only give you a slightly sour flavor, while long fermenting the grains (12-24 hours) in a warm spot gives the wild yeast time to ferment the flour and develop that flavor.
Discard can be kept in the fridge for anywhere from one week to several months. Discard still needs to be fed occasionally to keep it from spoiling. If there are signs of mold in your discard, throw it out. For more information, I have a post all about sourdough discard.
Sourdough is so special because not only does it make the grains easier to digest, but it is also more nutritious than non-fermented grains. This is due to grains containing phytic acid, which prevents nutrient absorption. During the fermentation process, phytic acid breaks down, making the nutrients more bioavailable.
More Sourdough Recipes from the Farmhouse
- Sourdough Beignets
- Sourdough English Muffins
- Quick Sourdough Discard Cinnamon Rolls
- Sourdough Coffee Cake
- Sourdough Granola
If you try this recipe and love it, I would love it if you could come back and give it 5 stars! Tag me on Instagram @farmhouseonboone.

Sourdough Biscuits
Ingredients
- 2 cups all purpose flour, 280 grams
- 2 teaspoons baking powder, 8 grams
- 1 teaspoon baking soda, 4 grams
- 1 tablespoon sugar, 12 grams
- 3/4 teaspoon salt, 4 grams
- 8 tablespoons cold butter, 113 grams, cut into chunks
- 1 cup sourdough discard, 250 grams
- 1/2 cup milk or buttermilk*, 122 grams, You can also use water
Instructions
QUICK
- Preheat the oven to 400° Fahrenheit. Add flour, baking powder, baking soda, sugar, and salt to a large mixing bowl and combine.
- Chop the cold butter into chunks and add it to the flour mixture. Cut the butter in with a pastry blender.
- Add sourdough discard and buttermilk, stirring until the ingredients are incorporated.
- Transfer the dough to a lightly floured surface, rolling it out to about 3/4 to 1 inch thick. Cut out the biscuits using a biscuit cutter or even the rim of a glass.
- Place the cut biscuits onto a well-seasoned cast-iron skillet or a baking sheet lined with parchment paper.
- Bake for 14 to 20 minutes until the edges start to turn golden brown.
LONG-FERMENTED
- Add flour and sugar to a large mixing bowl and stir. Chop cold butter into cubes and add to the flour, cutting with a pastry blender.
- Add the sourdough discard and buttermilk, stirring until just combined. Place a clean tea towel or sheet of plastic wrap over the bowl and allow it to sit at room temperature for at least 8 hours and up to 24 hours.
- The next day, sprinkle baking powder, baking soda, and salt over the top of the fermented dough. Stir well.
- On a lightly floured surface, roll the dough out to about 3/4 to 1 inch thick and cut out the biscuits. Cut out as many as you can, then gather the scraps and roll them out again.
- Place the biscuits into the prepared cast-iron skillet or baking sheet. Preheat oven to 400° Fahrenheit.
- Bake biscuits for 14 to 20 minutes or until golden.
Notes
Nutrition
Nutrition information is automatically calculated, so should only be used as an approximation.







I just made these, mixed by hand because I don’thave a stand mixer. They smell delicious and taste good but they have brown swirled throughout them. Could this be the salt or leavening agents being under incorporated?
Thanks!
Or maybe the honey wasn’t mixed in well enough the night before?
These were completely delicious, light fluffy scones better than any of my normal recipes. Children also devoured them, don’t know how I will resist eating the whole batch with butter and marmalade. These will definitely go into my regular rotation.
Sorry not sure why my comment comes as a reply to yours!
Hi! Other biscuit recipes I’ve seen really emphasize keeping the butter and the whole dough very cold so that they come out with flaky layers. Would it work to do the long ferment in the fridge for the purpose of keeping the dough cold? I’m worried about the butter getting too warm as my dough sits out for 24 hours. Thanks!
You want the first rise on the counter, but then they could go in the fridge.
Family loved theses
I have made these three times now, the first time following the recipe exactly as written, the next two doing something slightly different. I’ll skip what didn’t work and go straight to what did. I found I much prefer these baked on a greased cookie sheet (placed about an inch apart) to the cast iron skillet. It yields a much crispier exterior while maintaining that fluffy center and an actual biscuit shape. Also, it may be a fluke (which is why I’ll be making these a fourth time to verify) but I got twice the rise (height) by shaping and baking at only 12 hours fermentation versus the full 24. They were so high, reminded me of Popeye’s biscuits. I didn’t let my biscuits rise the half hour just before baking, with any of these batches, so I can’t comment on whether it adds to height or not. Overall an excellent recipe, but my takeaway is to skip the cast iron for this one and use a cookie sheet.
Can you make these biscuits without baking powder or baking soda, just the discard for leavening agent?
The discard is not strong enough alone to leaven the dough.
I did half of this recipe since I am new to the sourdough bread world. It came out great. Leaving it out on the counter to rise and ferment make a huge difference. Will be looking at more recipes since I have a big container of discard I need to use.
Do you have to adjust the flour amounts for fresh milled?
No, just sift it well before measuring.
Can you do these as drop biscuits?
Yes, you don’t have to form them if you’d rather drop them out.
This recipe is the best! So so good!! I’ve made the fast recipe and the overnight. Both amazing but I do recommend the overnight for extra fluffy!
Could these biscuits be frozen after they have been rolled and cut?
Yes, they can.
Is it best to bake and then freeze? Or freeze the dough before baking? Thank you!
That’s my preferred way!