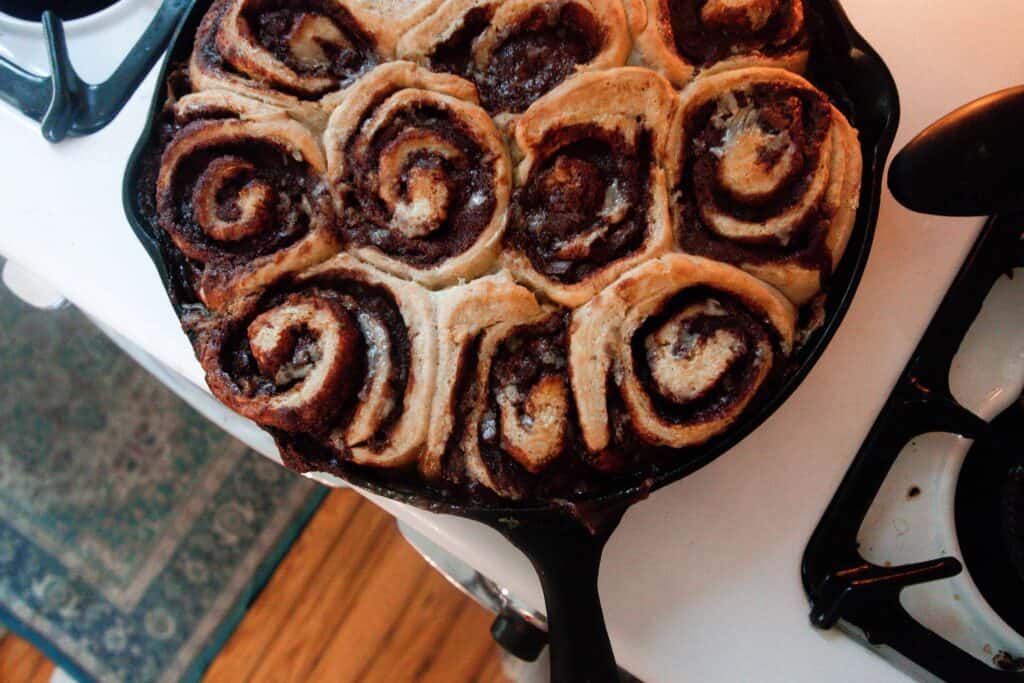
These are the best sourdough chocolate rolls. Big, fluffy rolls with a sweet, double chocolate filling. The perfect dessert or extra special breakfast; it will be hard to stop at one.
This delicious recipe is similar to my wildly popular sourdough cinnamon rolls with cream cheese topping.
But instead of buttery cinnamon sugar filling, I swapped it out for a gooey, double chocolate filling.
Lately, our days have been loaded with so many fun and exciting things around the homestead.
First, new goats. Then, Luke trimming out the new garden space with the most perfect, white picket fence. And our bees came last weekend.
Watching our dreams become a reality right before our eyes has been incredible, but also a lot of hard work. You can see all we’ve been up to over on YouTube.
There is no better way to celebrate a fulfilling day of hard work than with these sourdough chocolate rolls
Sourdough Chocolate Rolls Tips:
- The dough should fermented at least overnight, or up to 24 hours, before baking these sourdough chocolate rolls, creating more flavor and getting the full benefit of fermented grains.
- If your house is cooler, the dough may seem too stiff. To help make the dough easier to manage, put the dough in the oven at 150 degrees. Leave it in there for just a few minutes, then turn off the oven.
- It really helps to incorporate the eggs on day two with the mixer and paddle attachment. I let mine go for several minutes, and it sort of kneaded the dough and made it waaay easier to work with. It rolled out so nicely.
- You could use a knife to cut these rolls, but I find it easiest to use a string or unflavored dental floss.
- New to sourdough? Make sure to check out how to make a sourdough starter here.
This post contains affiliate links, which means I make a small commission at no extra cost to you. See my full disclosure here.
Tools you may need:
14″ Cast iron skillet – 12″ would also work, but you may have some leftover dough.
Grain mill (optional)- I like using freshly milled grains
Large bowl

Ingredients:
1/2 cup fed sourdough starter- this is starter that has been fed 4-12 hours before using. It is nice and bubbly. To learn more about sourdough starter and how to make your own, make sure to check out my post on how to make a sourdough starter.
1/2 cup filtered water – I love my Berkey Water Filter
4 cups flour – I use freshly-milled hard wheat.
1/2 cup melted coconut oil
1/2 cup honey
2 eggs
1 tsp baking soda
1 tsp baking powder
1/2 tsp salt
1/2 cup softened butter
1 cup sugar
1/4 cup dark cocoa
1 cup dark chocolate chips
1/2 cup heavy whipping cream
How To Make Sourdough Chocolate Rolls
STEP 1: FEED YOUR STARTER
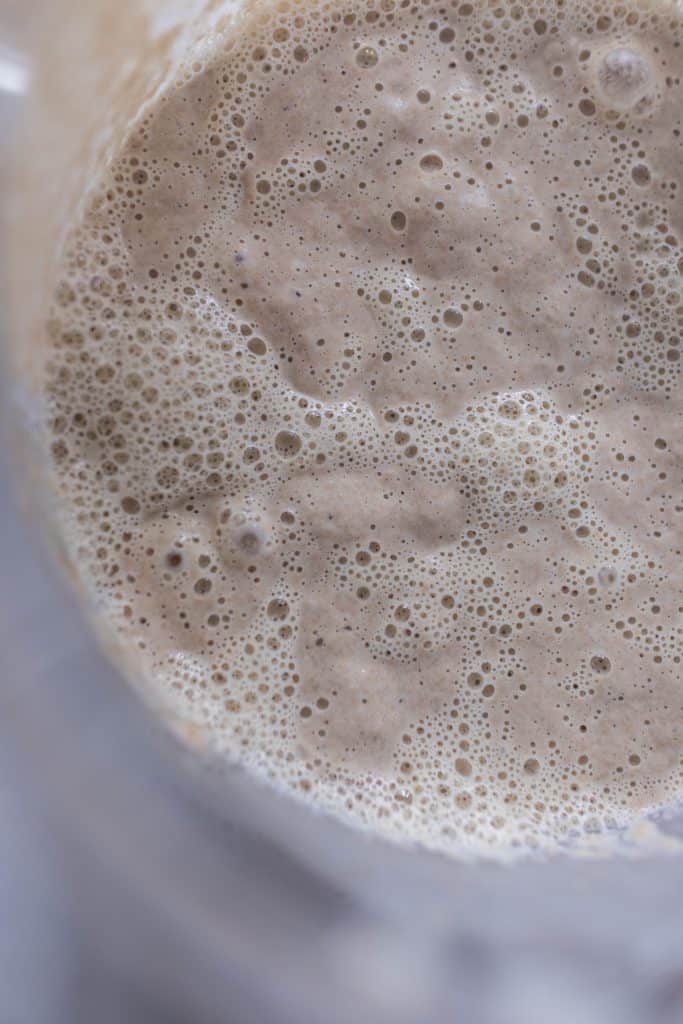
About 4-12 hours before you plan to ferment the chocolate roll dough, feed your starter so it will be nice, bubbly, and ready to ferment some grains.
STEP 2: CREATE THE DOUGH
In a bowl, combine fed sourdough starter, flour, honey, water, and melted coconut oil. Mix together, then form into a ball. I like to use my hands to form it into a ball.
STEP 3: COVER AND FERMENT OVERNIGHT
Place the dough in a greased bowl (I like to use the stand mixer bowl) and cover with a beeswax wrap, plastic wrap, or lid.
Allow to rest in a warm place at least overnight or up to 24 hours. This is to get all the benefits of fermentation.
STEP 4: ADD REMAINING INGREDIENTS
Preheat the oven to 375 degrees.
The next day, add eggs, baking soda, baking powder, and salt to the bowl.
Using the paddle attachment on your stand mixer, combine. You could also use your hands to incorporate it, but I found it much easier to use the stand mixer. It does all the hard work.
STEP 5: MAKE CHOCOLATE ROLL FILLING
In a bowl, combine softened butter, sugar, cocoa powder, and chocolate chips. Stir.
STEP 6: ROLL OUT DOUGH AND SPREAD FILLING
Lightly dust the countertop with flour, and roll out the dough to about 1/4 inch thickness. If you have trouble digesting unfermented grains, then I would suggest using einkorn flour to dust the surface of the counter, that way you are not getting modern-day, unfermented grains.
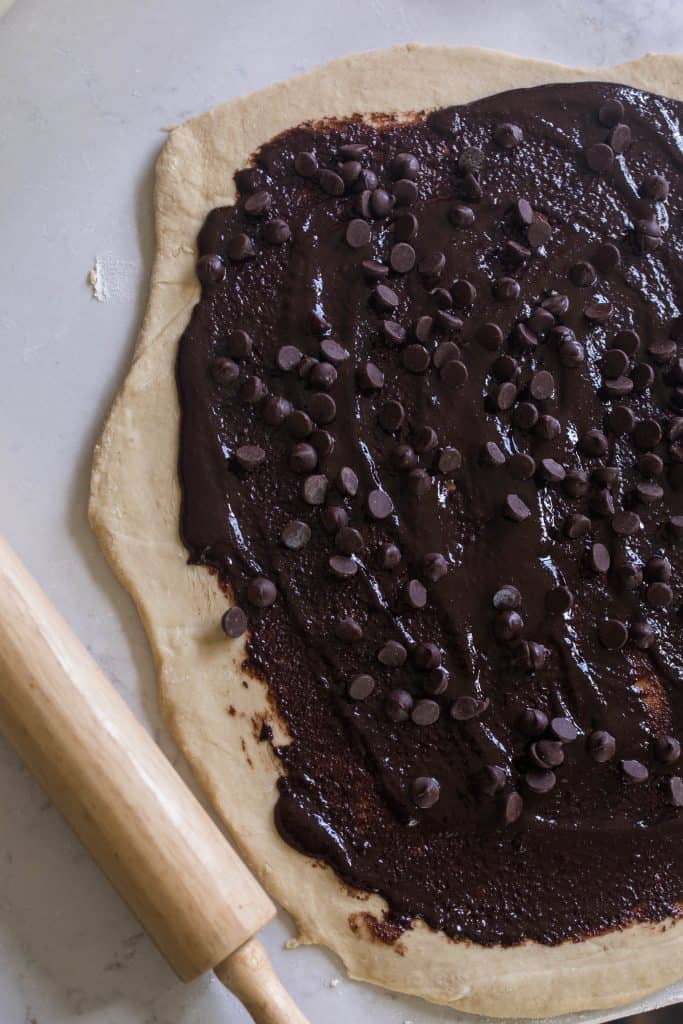
Add chocolate filling onto the dough and spread evenly.
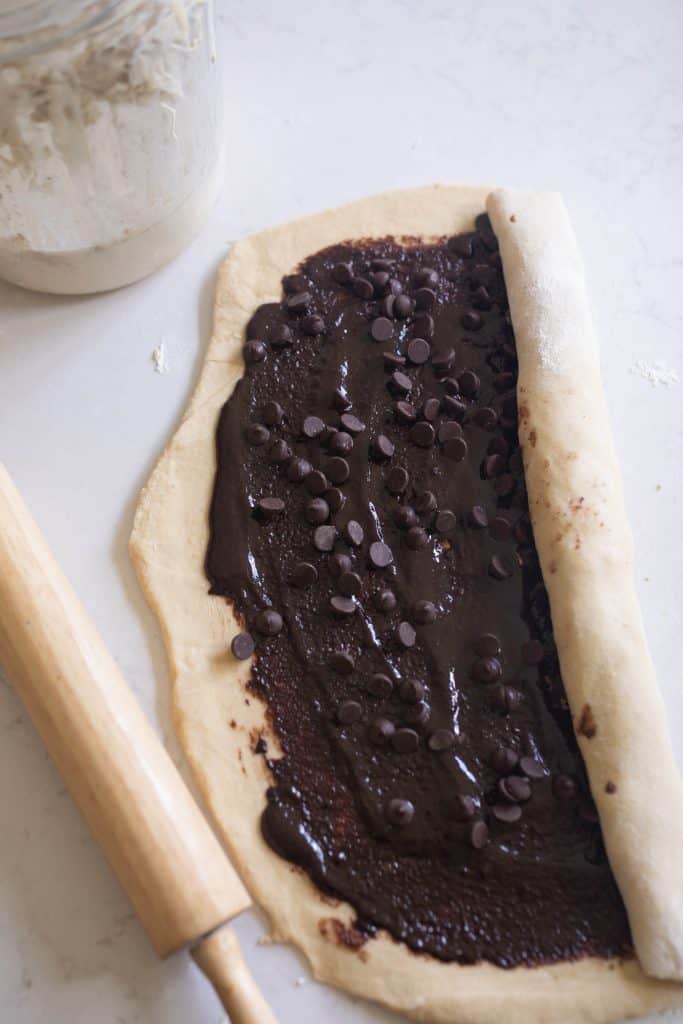
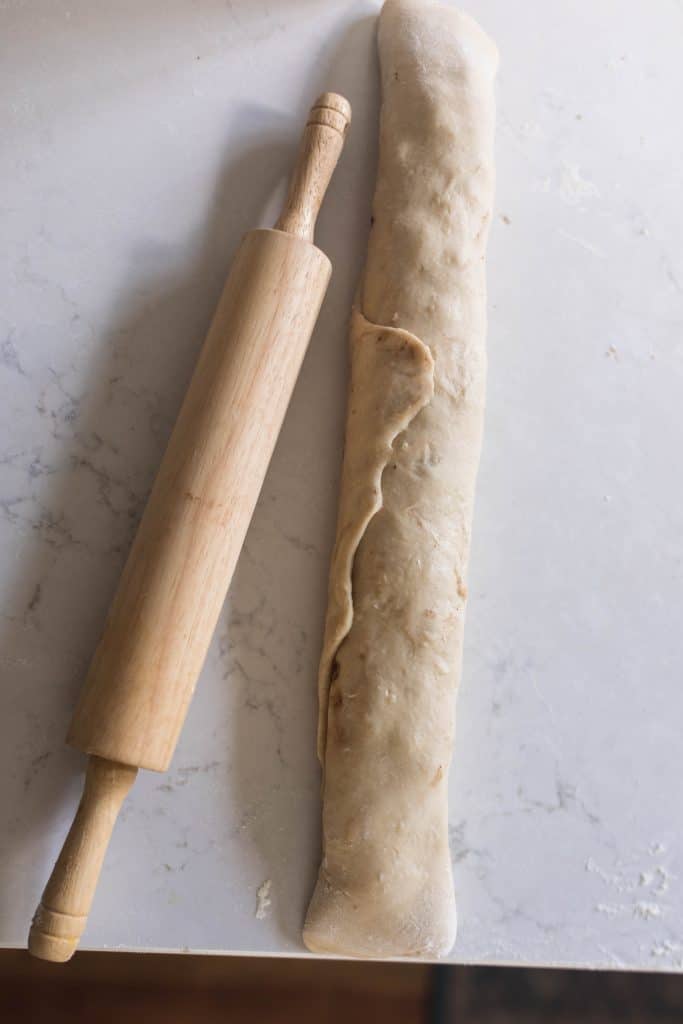
Roll the dough up as tightly as you can. When you get to the end, pull it up as tightly as you can and pinch the ends into the main roll.
STEP 7: SLICE AND BAKE CHOCOLATE ROLLS
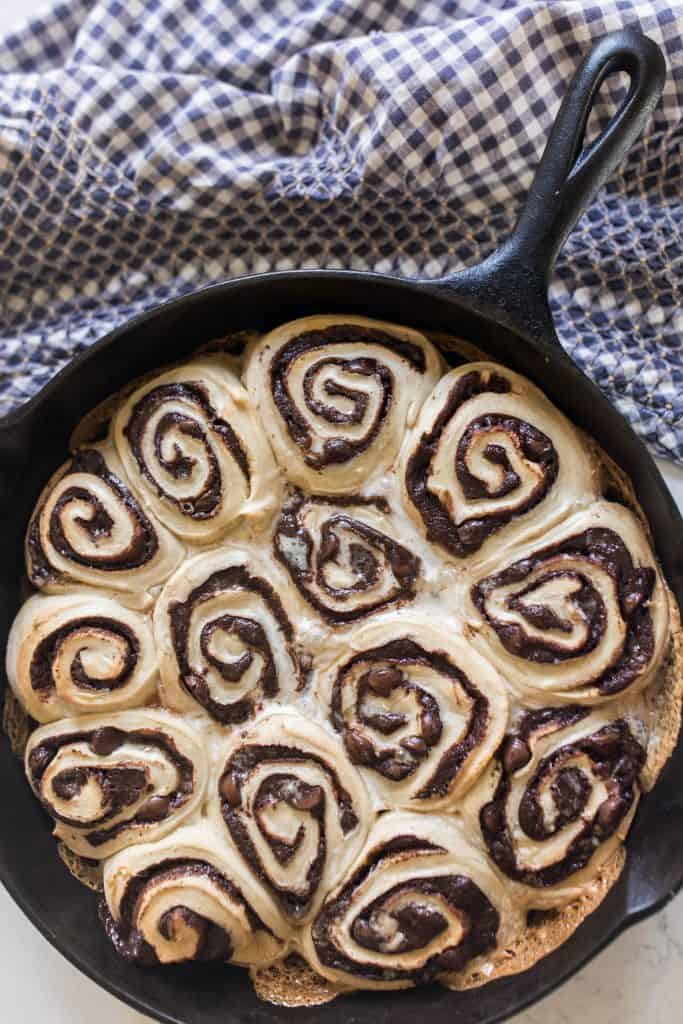
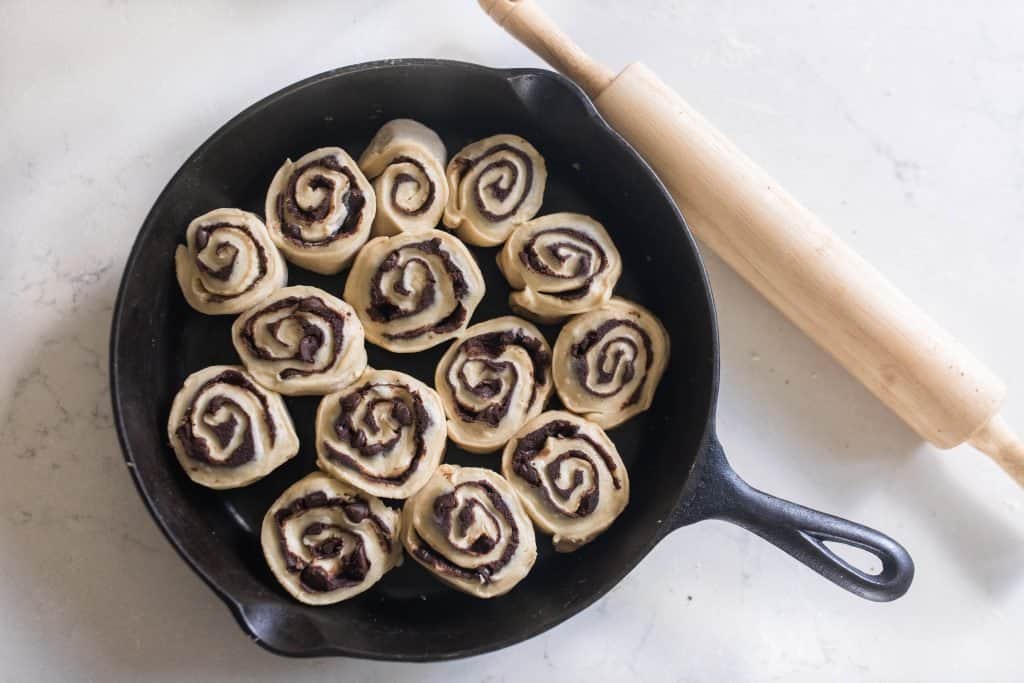
Slice the rolls about 1.5”- 2″ wide -using a thread, unflavored dental floss, or even a knife – into 14 equal rolls.
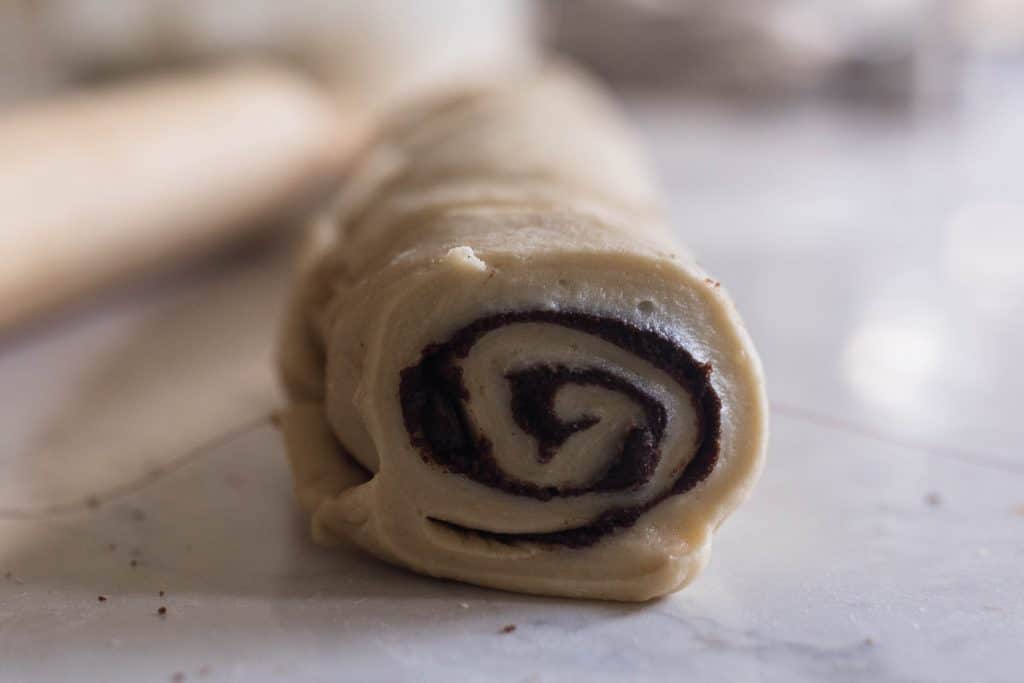
I like to start by making a slice in the middle, and then I like to cut each half into seven, making 14 total rolls. If you make each roll about 1.5″- 2″ wide, you can fit all of the rolls in a 14″ cast iron skillet.
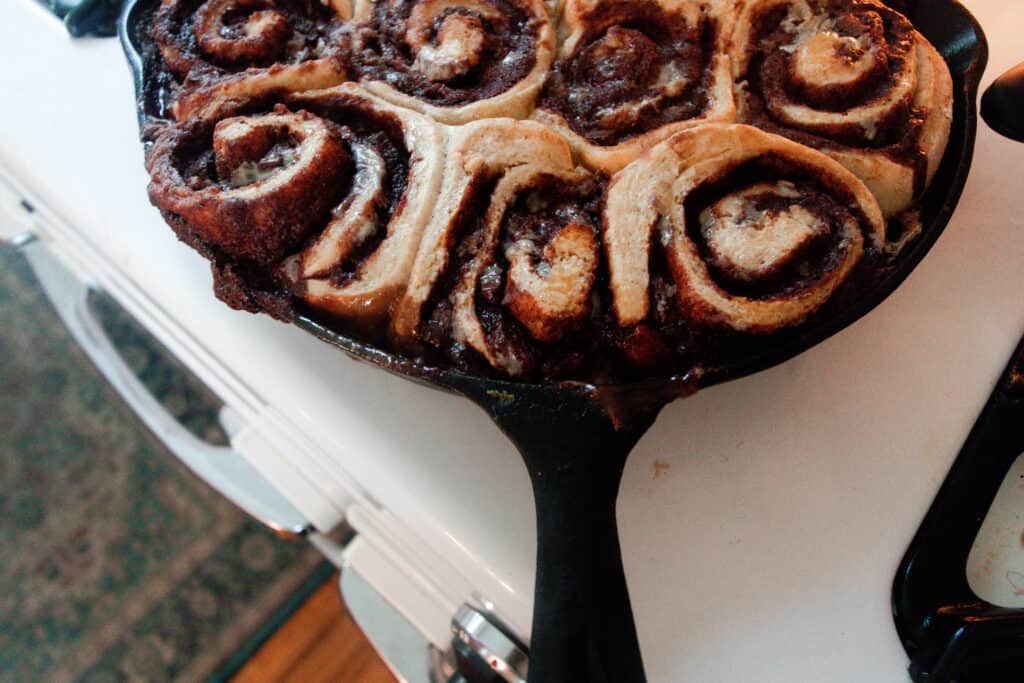
Place the rolls into a well-seasoned 14″ cast iron skillet. The 12″ skillet will work also, but you may have a little dough leftover.
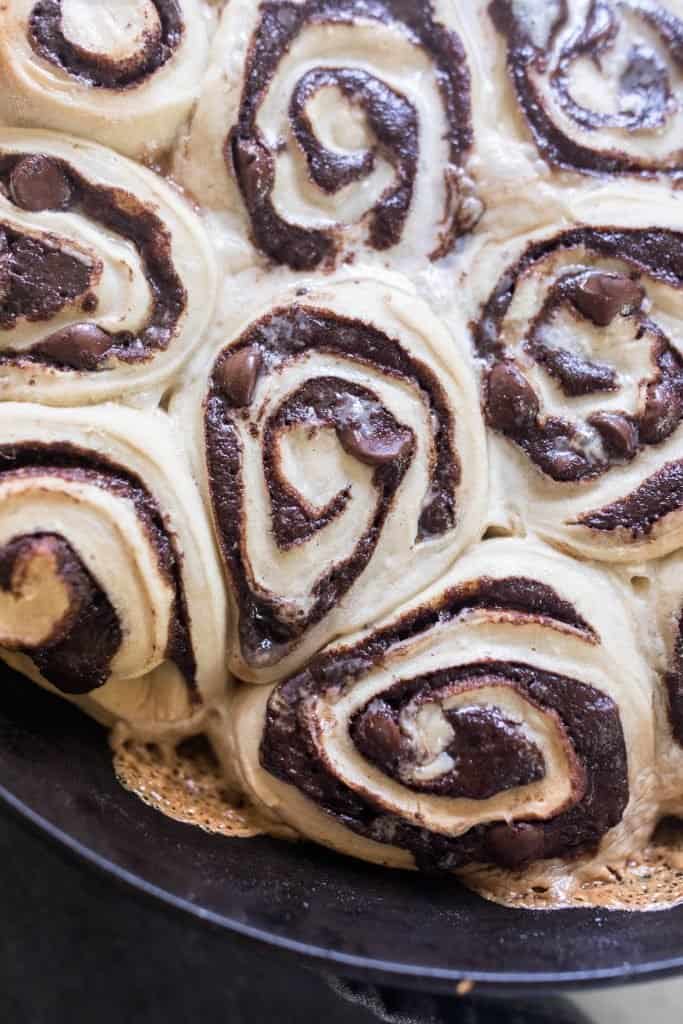
Pour 1/2 cup of heavy whipping cream over the rolls and allow to rise in a warm spot for about 1/2 hour to an hour.
Bake for 25 minutes until the edges start to turn golden in color.
Allow to cool for a few minutes before enjoying.
Find More Of My Favorite Sourdough Recipes:
- Sourdough Blueberry Cobbler
- Sourdough Cinnamon Sugar Donuts
- Cinnamon Raisin Sourdough Bread
- Sourdough Buns
- Sourdough Crackers
If you make this recipe and love it, I would love if you gave it 5 stars! Tag me on Instagram @farmhouseonboone with your delicious creation.
Sourdough Chocolate Rolls
Ingredients
- 1/2 cup fed sourdough starter, this is starter that has been fed 4-12 hours before using. It is nice and bubbly.
- 1/2 cup water , I love my Berkey water filter.
- 4 cups flour, I use freshly-milled hard wheat.
- 1/2 cup melted coconut oil
- 1/2 cup honey
- 2 eggs
- 1 teaspoon baking soda
- 1 teaspoon baking powder
- 1/2 teaspoon salt
- 1/2 cup softened butter
- 1 cup sugar
- 1/4 cup dark cocoa
- 1 cup dark chocolate chips
- 1/2 cup heavy whipping cream
Instructions
- About 4-12 hours before you plan start your chocolate roll dough, feed your starter so it will be nice, bubbly, and ready to ferment some grains.
- In a bowl, combine fed sourdough starter, flour, honey, water, and melted coconut oil. Mix together, then form into a ball.
- Place the dough in a greased bowl (I like to use the stand mixer bowl) and cover with a beeswax wrap, plastic wrap, or lid.
- Allow to rest in a warm place at least overnight or up to 24 hours.
- The next day, preheat the oven to 375 degrees.
- Add eggs, baking soda, baking powder, and salt to the dough.
- Using the paddle attachment on your stand mixer, combine.
- In a bowl, combine softened butter, sugar, cocoa powder and chocolate chips. Stir.
- Lightly dust the counter with flour and roll out the dough to about 1/4 inch.
- Scoop chocolate filling onto the dough and spread evenly.
- Roll the dough up as tightly as you can. When you get to the end, pull it up as tightly as you can and pinch the ends into the main roll.
- Slice the rolls about 1.5” – 2″ wide using a thread, unflavored dental floss, or even a knife, into 14 total rolls.
- Place the rolls into a well-seasoned 14″ cast iron skillet.
- Pour 1/2 cup of heavy whipping cream over the rolls and allow to rise in a warm spot for about 1/2 hour to an hour.
- Bake for 25 minutes in a 375 degree preheated oven.
- Allow them to cool for a few minutes before enjoying.
Notes
- The dough should fermented at least overnight, or up to 24 hours, before baking to get the full benefit of fermented grains and develop the flavor of the sourdough.
- If your house is cooler, the dough may seem too stiff. To help make the dough easier to manage, put the dough in the oven at 150 degrees. Leave it in there for just a few minutes, then turn off the oven.
Nutrition
Nutrition information is automatically calculated, so should only be used as an approximation.
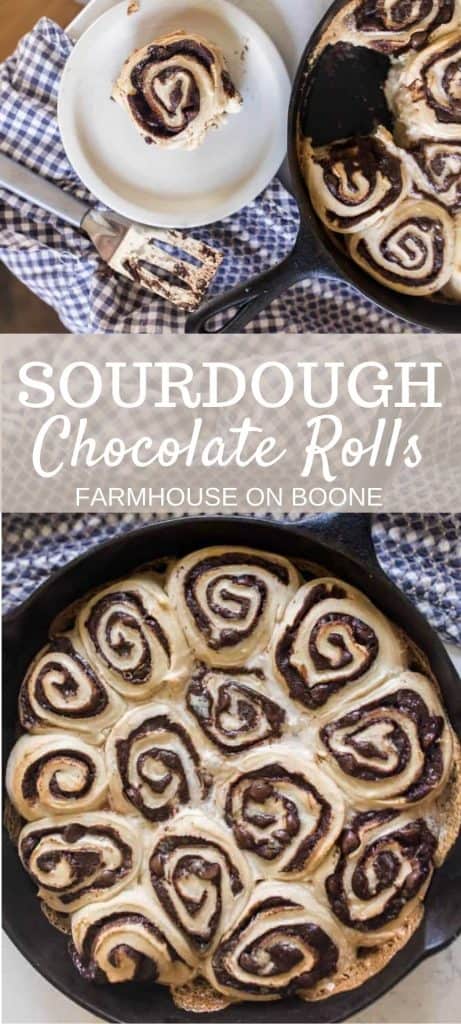
Pin It For Later


These came out soft with creamy, delicious filling. Next time I will probably try using avocado oil just because I use it more often and always have it on hand. I might also cut back on the honey to decrease the sweetness of the dough. I used brown sugar Swerve instead of the sugar to decrease the calories this time. It was a little challenging to add the eggs because when I turned on the mixer one egg simply ended up on the countertop. I’ll just put it under the dough ball next time!
Do these freeze well after baking?
Yes, they freeze well!
So I just finished making the dough twice one came out very stiff. The other one came out very soft. The difference? Instead of dumping all the ingredients into a bowl of mixing like I did the first time and got the stiff dough, I did all the liquid ingredients first which would be the water, the coconut oil, the honey and the sourdough starter mixed it very well before I added the flour. And it came out nice and soft. I put both of them in my oven with the oven light on. We shall see how they look in the morning
This is such a weird recipe. I so like some of Lisa’s other recipes, and nothing against her as a person, but this recipe was awful to make on so many levels. The dough was super stiff, and didn’t rise at ALL overnight. I had to add extra water, oil and starter to soften it up a bit before being able to mix in the eggs. Also, why the melted coconut oil? As a saturated fat, it solidifies at room temp, which is probably what makes the dough become hard and stiff. This will be the first and LAST time I will add melted coconut oil to any dough recipe. Valuable lesson learned though!
Next, why on earth are we mixing SOFTENED butter with the chocolate filling ingredients? Instead of the standard brushing MELTED butter on first, and then sprinkling the dry filling on separately? Not only was this softened butter mixture a pain in the butt to mix together, but I also could not even come close to “spreading” it on to the rolled out dough without damaging the dough. So I resorted to breaking apart this mixture with my hands and trying to evenly crumble it on top, which took forever. Another lesson learned. Finally, she doesn’t give any dimensions for rolling it out, which most cinnamon roll recipes give, i.e. 11″x14″. She doesn’t even say to roll it into a rectangle. Maybe she’s assuming everyone in her audience has made cinnamon rolls before and just knows?
Anyway, needless to say, attempting this recipe was a frustrating experience, but as they say, experience is the best teacher, so I am at least thankful for the lessons learned.
I agree, very bizarre recipe. I experienced all of these problems. I could barely roll my dough with the filling because it was so stiff and sticky. Came out like chocolate blobs.
Hi Lisa!! Can I use an avocado oil instead of coconut oil? Would it change anything? Thank you!!
Yes, that is just fine.
What does the heavy whipping cream do? Can you go without this step if sensitive to dairy?
What do you think about substituting maple syrup for the 1c of sugar? Would the filling be too runny? Trying hard to swap refined sugar for healthier alternatives.
Yes, that’s fine.
Whats the best way to store these for about 24 hours
After they’ve cooled completely, store them in a seal tight bag.
Could this be adapted for einkorn? If so what adjustments would you make? Thanks!
Lisa,
What would you suggest as to the best way to freeze before baking for baking at a later date?
They came out amazing! I couldn’t believe I made them, my family loved them😃Thank you!