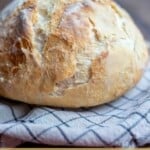
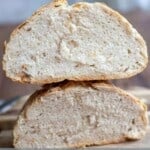

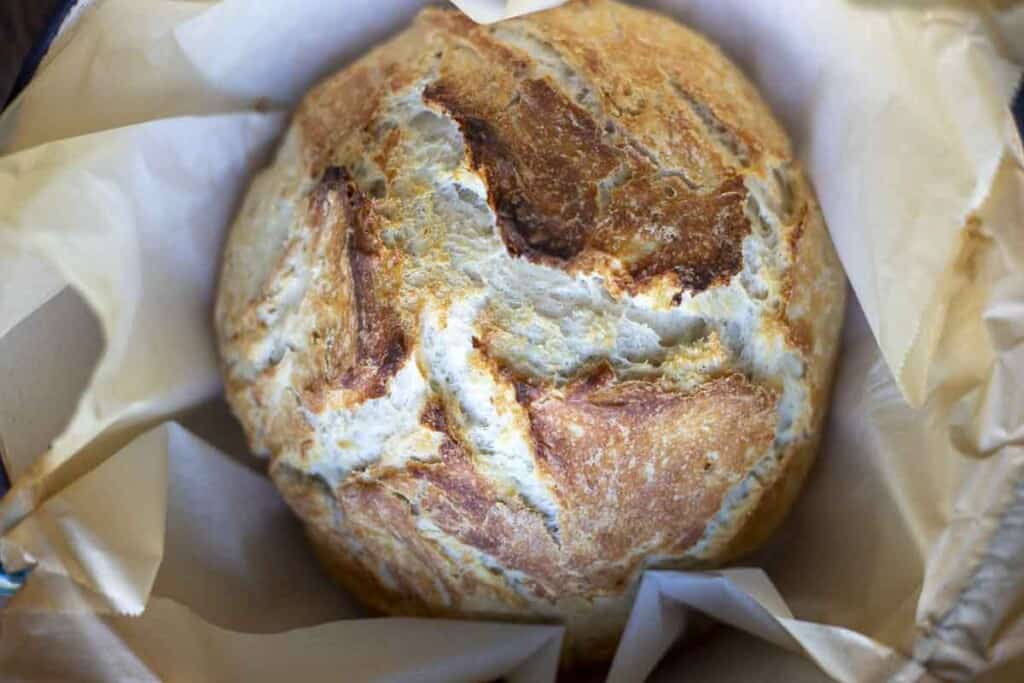
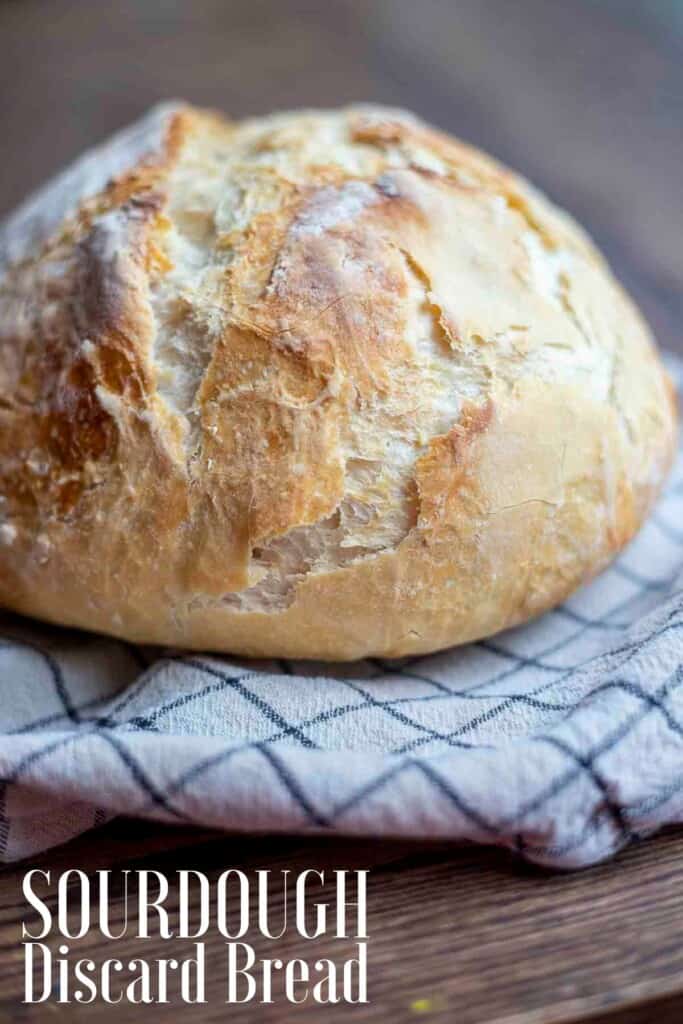
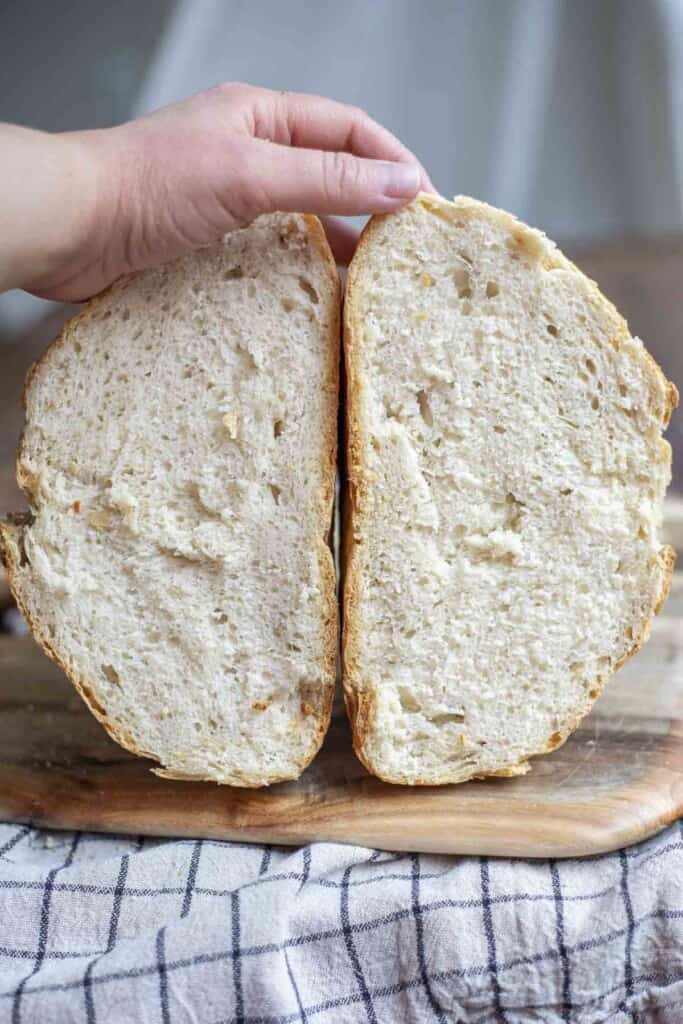
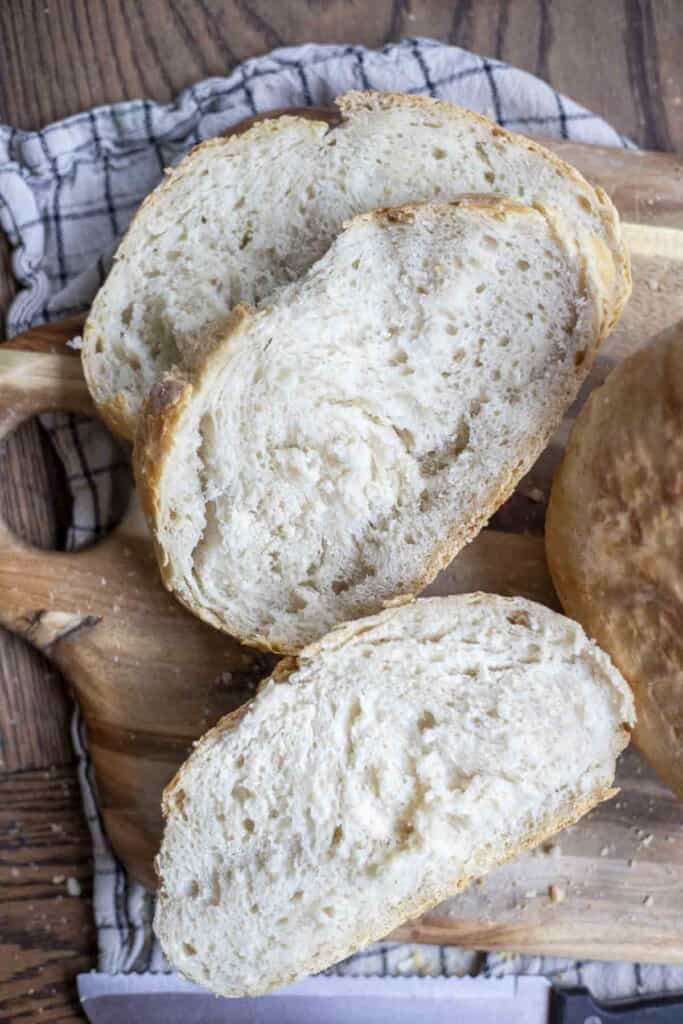
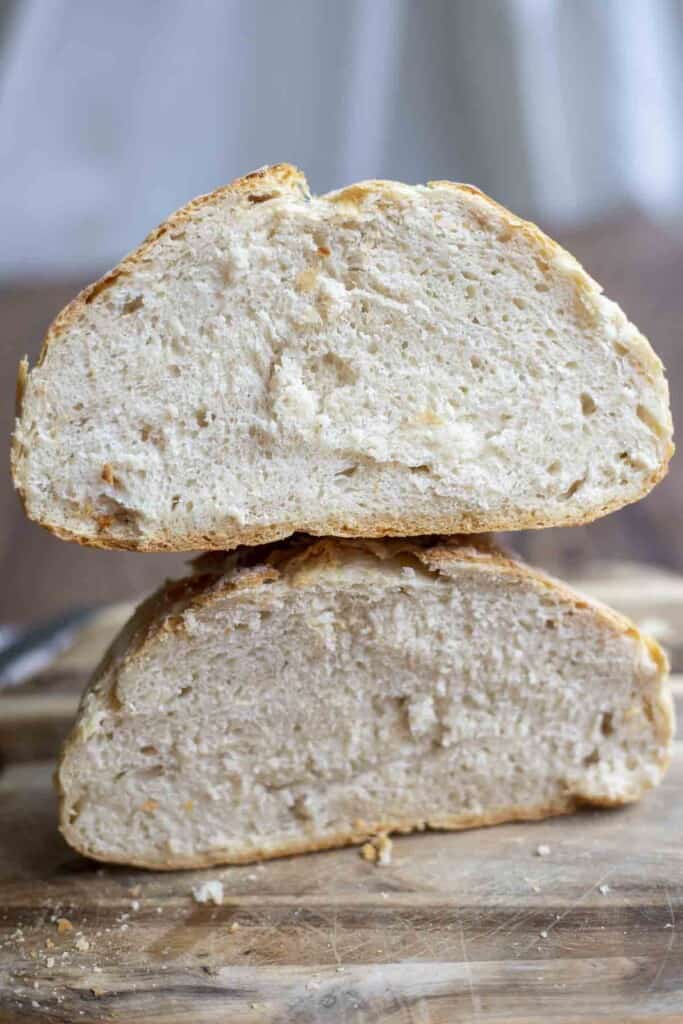
The easiest no fail, no-knead sourdough discard bread is mixed together the night before, fermented overnight, and baked in the morning. This recipe has a soft, chewy crumb with a crusty exterior, and that tangy sourdough taste – without all the work.
I know, I know, this recipe isn’t a true sourdough bread recipe. While it does contain sourdough discard, it also contains commercial yeast.
This does two things. It makes it a no-fail recipe as the yeast helps the bread rise whether or not your sourdough starter is active enough. Which then, in turn, allows you to forego the kneading (or stretch and folds) in this recipe.
Sourdough discard bread is the perfect way to use up that extra sourdough discard. Serve it alongside soup, your favorite pasta dish, or make a robust sandwich.
Why you will love this recipe:
Super easy: Mix it up, leave it overnight, shape and bake in the morning. About ten minutes of hands on time allows you to have the yummiest bread.
Delicious: That delicious sourdough tanginess, but without all the kneading and stretching.
Budget friendly: I’m always looking for healthy ways to stretch the grocery budget. This recipe is a great one, especially if you have a super busy schedule.
Tips For Making Sourdough Discard Bread:
- To make this bread fluffier and rise better, make sure not to skip adding tension to the dough when shaping. You can easily just plop it onto parchment paper and bake and still get a decent quality loaf, but taking an extra 2-3 minutes to pull the dough edges to the center and then cupping your hand and pulling the dough towards you on the countertop makes a huge difference.
- I like using active dry yeast for this recipe because it can have a slightly slower rise compared to instant yeast.When dissolving the yeast, make sure the water is around 110 degrees. Too hot and you run the risk of killing the yeast.
- To get that crusty exterior, you will need to bake the bread in a dutch oven.
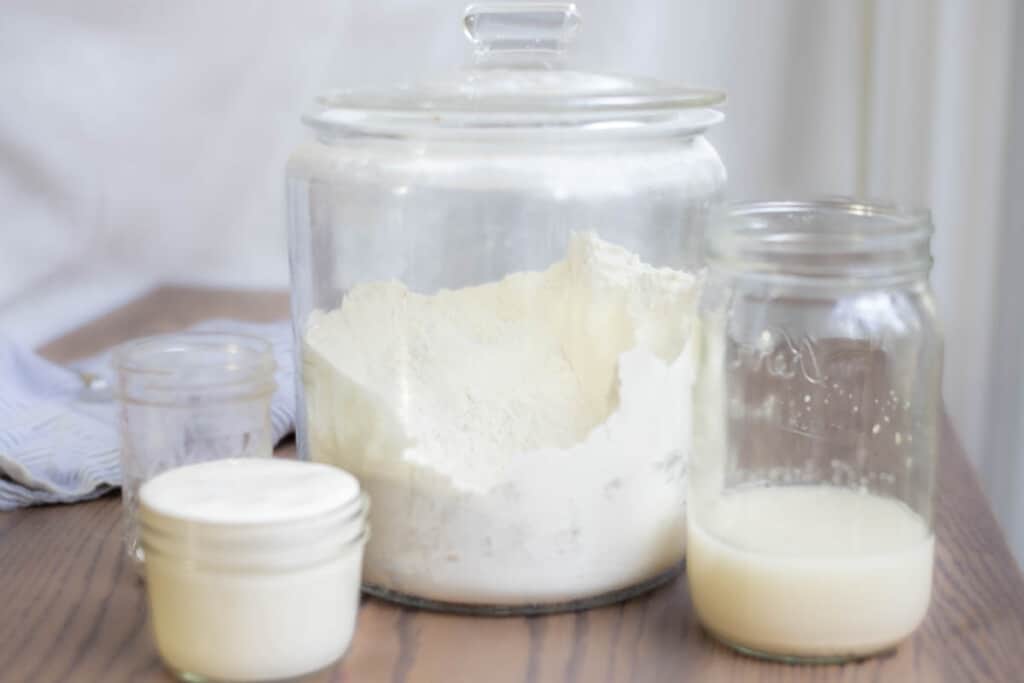
Ingredients:
All-purpose flour: If using freshly milled flour, choose hard, white wheat berries.
Active dry yeast
Sourdough discard: This is sourdough starter that hasn’t been fed in at least 12 hours. It is the portion you would typically just toss before feeding the starter. Active starter could also be used, but you will have a less tangy flavor.
Water: Preferably filtered.
Salt: I use sea salt.
This post contains affiliate links, which means I make a small commission at no extra cost to you. See my full disclosure here.
Tools you will need:
Large spoon or silicon spatula
Parchment paper
FAQ:
What can I use my sourdough discard for?
Sourdough discard is super versatile and can be used for so many recipes. Some options include muffins, quick breads (like pumpkin, banana, zucchini, etc.) pancakes, waffles, crackers, cakes, and more.
What is the difference between active sourdough and discard?
Active sourdough starter is starter that has been fed water and flour and allowed to sit until it is bubbly and about doubled in size. Sourdough discard is after the starter has peaked, and it has started to come down. It is the portion that you would typically throw away before feeding.
Although, at this point, I never throw away discard because it can be used in so many things.
How To Make Sourdough Discard Bread:
Warm water to about 110 degrees. Add active dry yeast and stir. Allow to sit for about five minutes until it gets nice and bubbly.
In a large bowl, whisk together salt and flour.
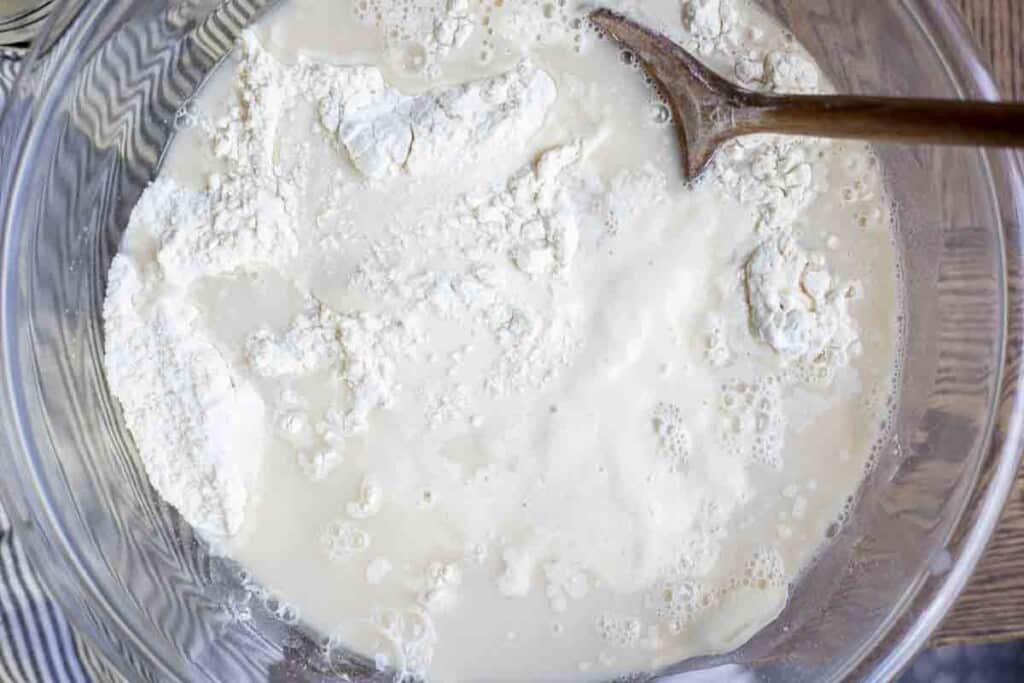
Add sourdough starter and yeast/water mixture.
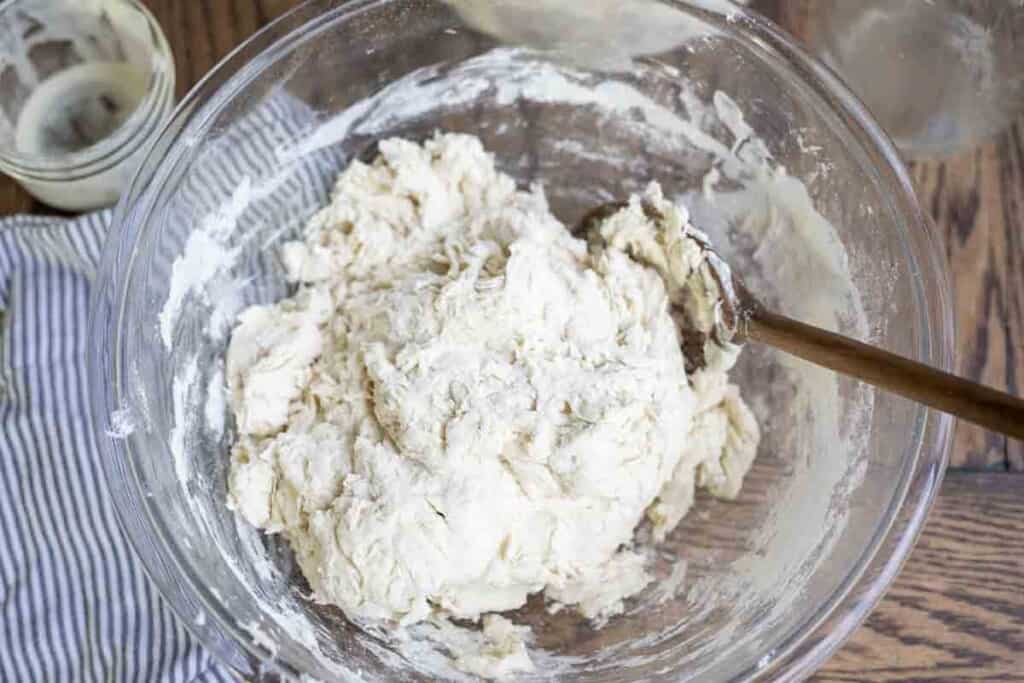
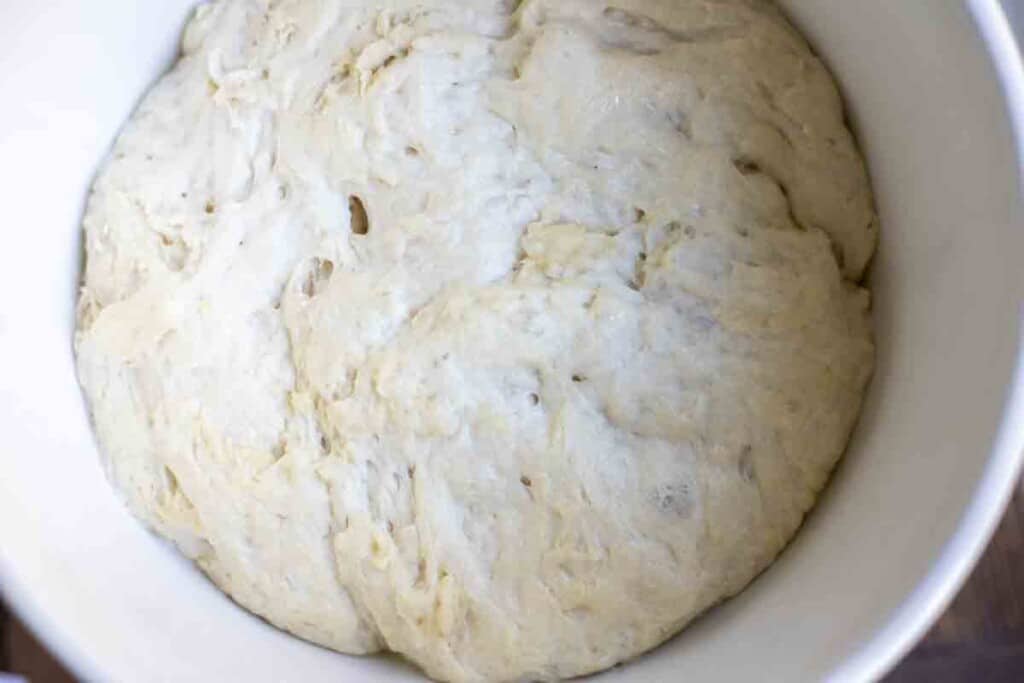
Mix well with a large spoon or silicon spatula. It will be a shaggy dough.
Cover with a lid or plastic wrap and leave at room temperature for around 12 hours.
The next day, preheat the oven to 450. Place your dutch oven and lid into the oven to preheat.
Turn the dough on a lightly floured surface. The dough will be pretty sticky.
Shape into a ball by pulling the sides and bringing them into the center. I do this about 4-6 times. Flip the ball over, seam side down.
Taking your hands, grab the dough and pull it towards you a few times. This adds tension (as does the last step) to the dough, which helps the dough rise more during baking.
Place the dough on parchment paper. Cover with a towel and allow to rise in a warm place for 30 minutes to an hour. The stove top works wonderfully for this as your oven preheats.
Slash with a lame or knife (if desired) and place the parchment paper and dough into the dutch oven and cover with a lid.
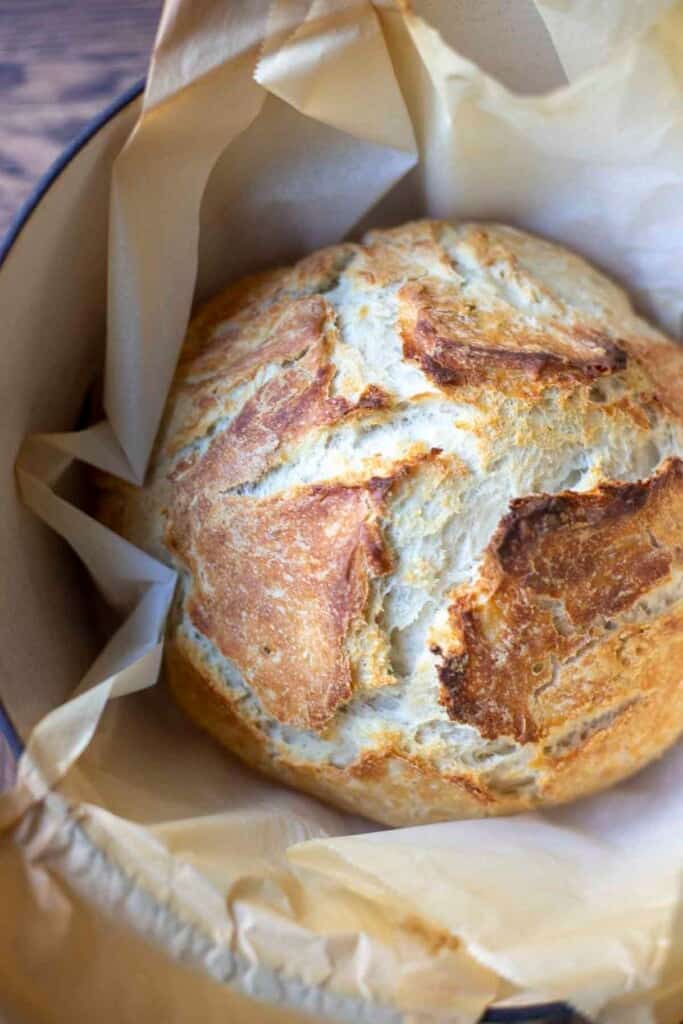
Place the dutch oven into the oven and turn the heat down to 400 degrees. Bake with the lid on for 30 minutes, then remove the lid and bake for about 20-30 minutes until golden brown.
Allow to cool completely before slicing. I usually just allow it to cool in the dutch oven.
Storage:
Store uncut bread in a paper or linen bag. Once cut, store cut side down on a cutting board lightly covered or in a storage bag. A zip-lock bag will also work.
Baker’s Schedule
8 PM: Mix up the dough and cover. Leave at room temperature.
8 AM the next day: Preheat oven with dutch oven and lid inside. Turn dough out onto a lightly floured surface. Shape. Place on parchment paper and cover with a towel for 30 minutes.
9 AM: Bake, then allow to cool before slicing.
Find More Sourdough Recipes:
- Bread Machine Sourdough Bread Recipe
- Spelt Sourdough Bread
- Sourdough Rye Bread
- Sourdough Pumpkin Bread
- Pumpkin Sourdough Bread
If you try this recipe and love it, I would love if you could come back and give it 5 stars!
Sourdough Discard Bread

Ingredients
- 1 1/4 cup water, 295g
- 2 1/2 teaspoons yeast or one packet, 7g
- 2 teaspoons salt, 10g
- 1 cup sourdough discard, 255g
- 4 cups all-purpose flour, 575g
Instructions
- Warm water to about 110 degrees. Add active dry yeast and stir. Allow to sit for about five minutes until it gets nice and bubbly.
- In a large bowl, whisk together salt and flour.
- Add sourdough starter and yeast/water mixture.
- Mix well with a large spoon or silicon spatula. It will be a shaggy dough.
- Cover with a lid or plastic wrap and leave at room temperature for around 12 hours.
- The next day, preheat the oven to 450. Place your dutch oven and lid into the oven to preheat.
- Turn the dough on a lightly floured surface. The dough will be pretty sticky.
- Shape into a ball by pulling the sides and bringing them into the center. I do this about 4-6 times. Flip the ball over, seam side down.
- Taking your hands, grab the dough and pull it towards you a few times rotating the dough after each pull. This adds tension (as does the last step) to the dough, which helps the dough rise more during baking.
- Place the dough on parchment paper. Cover with a towel and allow to rise in a warm place for 30 minutes to an hour.
- Slash with a lame or knife (if desired) and place the parchment paper and dough into the dutch oven and cover with a lid.
- Place the dutch oven into the oven and turn the heat down to 400 degrees. Bake with the lid on for 30 minutes, then remove the lid and bake for about 20-30 minutes until golden brown.
- Allow to cool completely before slicing
Notes
- To make this bread fluffier and rise better, make sure not to skip adding tension to the dough when shaping. You can easily just plop it onto parchment paper and bake and still get a decent quality loaf, but taking an extra 2-3 minutes to pull the dough edges to the center and then cupping your hand and pulling the dough towards you on the countertop makes a huge difference.
- I like using active dry yeast for this recipe because it can have a slightly slower rise compared to instant yeast.
- When dissolving the yeast, make sure the water is around 110 degrees. Too hot and you run the risk of killing the yeast.
- To get that crusty exterior, you will need to bake the bread in a dutch oven.
Nutrition
Nutrition information is automatically calculated, so should only be used as an approximation.


I love the simplicity with which I can create a lovely loaf of delicious bread for mum family or to share with a neighbor or loved one
I have used this recipe numerous times. It’s my go-to recipe for using sourdough discard. The bread comes out really well and I let it bake for a few more minutes to get that crusty exterior.
I do the next-day baking even though my dough will rise in a short time. I guess the discard is pretty potent😀
I like it very much!
Like many others, my bread was ready to shape in about 2 hours instead of 12. Perhaps because I have recently reanimated my starter and so the discard is also more robust? No complaints in having the bread same day in time for dinner.
Just made this. Cooked a little longer without the lid to get extra crunchy, crispy crust. Amazing! Looking for suggestions with daily discard… We are a small family of 3 so baking bread daily or even every other day is a bit much. And making something daily or every other day from the discard is also a bit too much for our family. Thoughts? Suggestions?
Hey Susan!
I own a cottage bakery in MD. When I’m not baking bread for my house, I let my starter live in the fridge until I need to use it again. The longest I’ve let it hang out was about 2 weeks—we went on vacation. I put it on the counter for an hour, fed it, and watched it. It was ready to use in about 8 hours.
Can you add cheese to this recipe?
You could!
You can keep the discard in a separate jar or container in your fridge and store it for a long time to use whenever you are ready! Lisa has instructions for this on the blog:) just feed it about every 10 days I believe is the instruction!