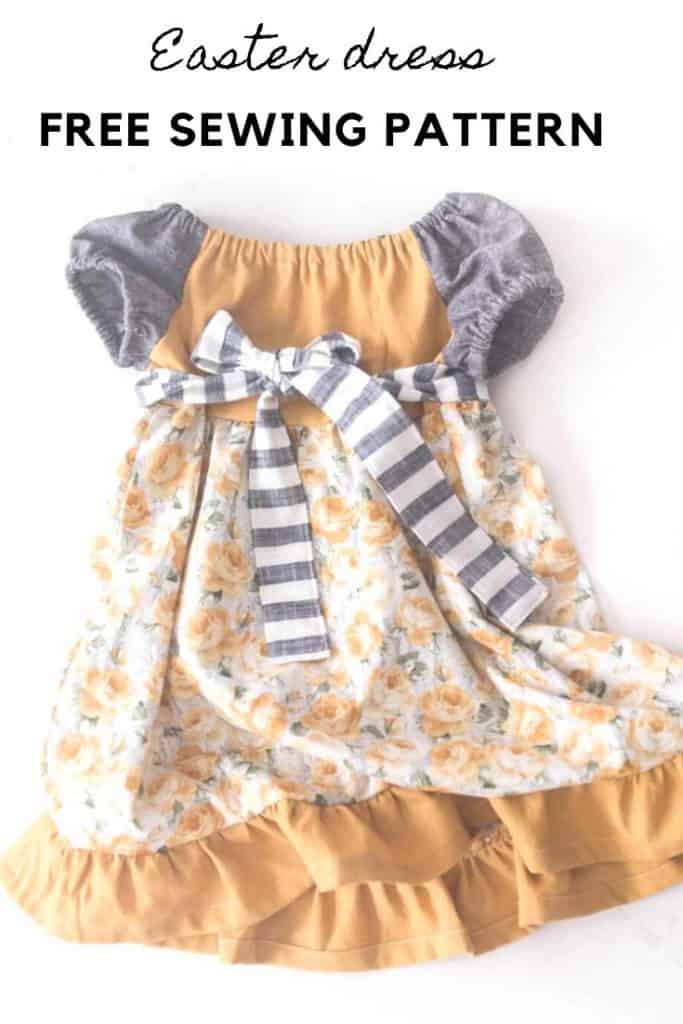
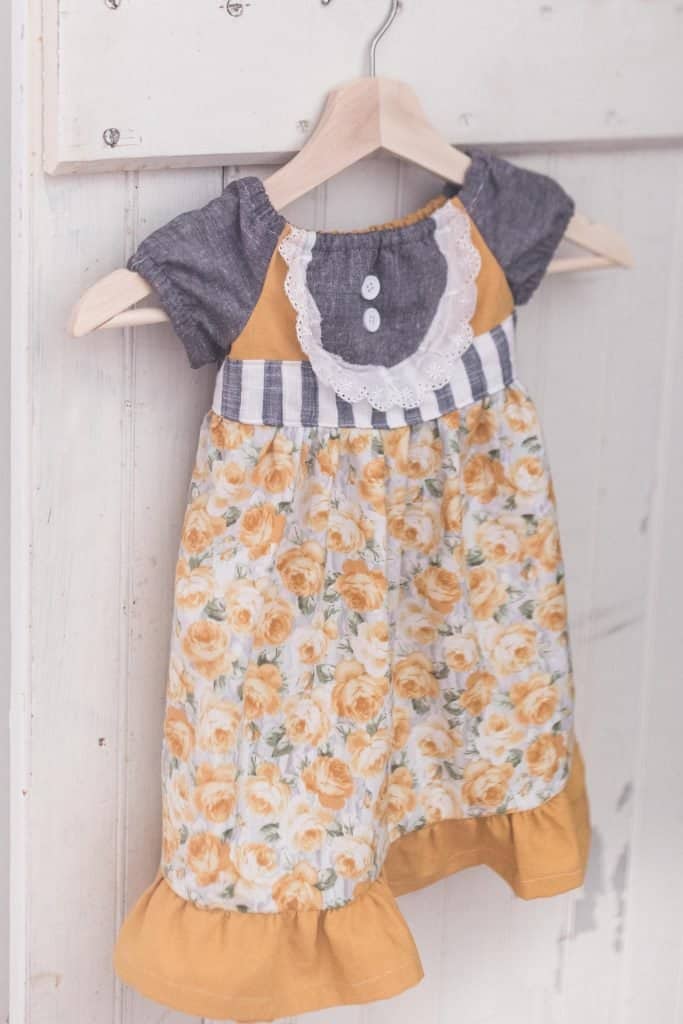
This adorable toddler dress pattern combines ruffles, lace, and cute, puffy sleeves. Use any coordinating fabrics you like to make this beautiful and easy dress pattern. This dress would make the perfect gift or Easter outfit.
This post contains affiliate links, which means I make a small commission at no extra cost to you. See my full disclosure here.
When my girls were little, I used to make them dresses all the time. I loved going to the store to pick out all the pretty fabrics and sweet accessories.
There is something about little girls that are oh-so-special, and with my last four babies being boys, I haven’t had many opportunities to sew baby or toddler dresses as of late.
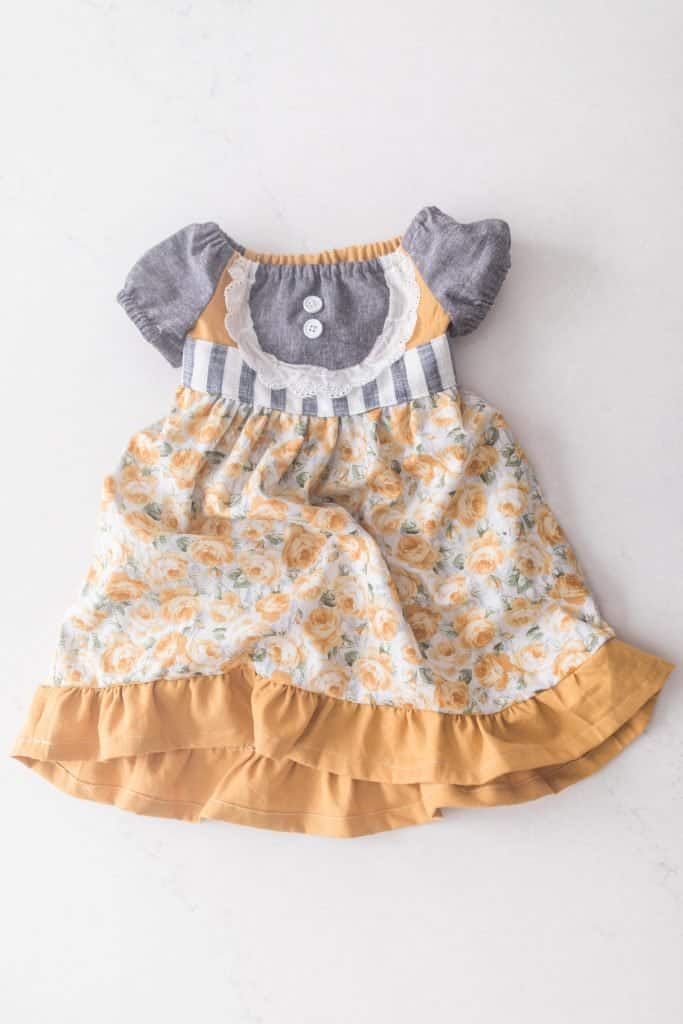
Luckily for me, I have plenty of friends with little girls, and I thought this beautiful dress with ruffles, lace, and buttons would be the perfect gift.
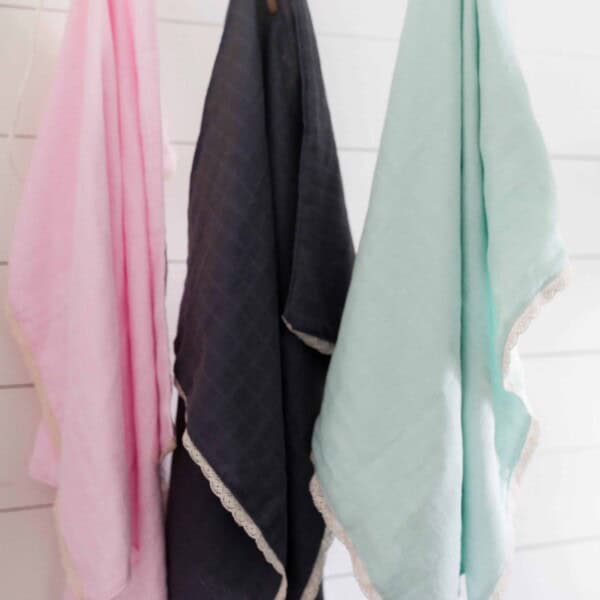
New babies provide a wonderful chance to create handmade gifts. From muslin blankets to nursing covers, to DIY Mei Tei’s, or woven wraps, there are so many wonderful projects to make with love.
Is there anything better than a handmade gift? There is something so special about knowing the work and love someone put into each stitch to make it.
This is similar to my favorite peasant girls dress, but with shorter sleeves and a slightly more fitted design.
Tips For Making This Toddler Dress Pattern
I love mixing and matching patterns and colors. I feel like you can get away with much more fun and vibrant pairings with children’s clothing.
If you are new to sewing, make sure to take my free simple sewing course, where I walk you through all the basics you need to know to get started sewing.
Always make sure to return the stitch length and tension back to the normal settings after sewing the ruffles.
I use buttons for embellishments, but you could also use little flowers or bows.
Materials You Will Need:
Elastic for the neck and sleeves
Fabric:
1/4 yard for the sleeve and bib
1/4 yard for the tie
1/2 for the ruffle and bodice
1/2 for the skirt
Cotton or linen work great. Avoid stretchy knits.
Coordinating thread
Buttons
Lace trim: I used eyelet lace trim.
Tools you will need
Sewing scissors
Pins
Serger: optional.
Iron
Pattern Cut List:
Dress Size 12-18 months
Skirt: 11.5″ long by 18″ wide (cut 2)
Bodice: 6.5″ long by 12″ wide (cut 2)
Tie: 47″ long by 3.5″ wide
Ruffle: 4″ by 30″ (cut 2)
Paper pattern piece: 2″ by 4″ pattern piece
Arm elastic: 8″ (cut 2)
Sleeves: 11″ wide by 7″ long (cut 2)
Bib: 4.5″ by 5.5″ square; start 1.5″ down, and then create a curve
Neck elastic: 18″
Dress Size 2T
Skirt: 12″ long by 18″ wide (cut 2)
Bodice: 7″ long by 12″ wide (cut 2)
Tie: 50″ long by 3.5″ wide
Ruffle: 4″ by 30″ (cut 2)
Paper pattern piece: 2″ by 4″ pattern piece
Arm elastic: 8.5″ (cut 2)
Sleeves: 11″ wide by 7″ long (cut 2)
Bib: 4.5″ by 5.5″ square; start 1.5″ down, and then create a curve
Neck elastic: 18.5″
How To Make Toddler Dress Pattern: Step-By-Step Tutorial
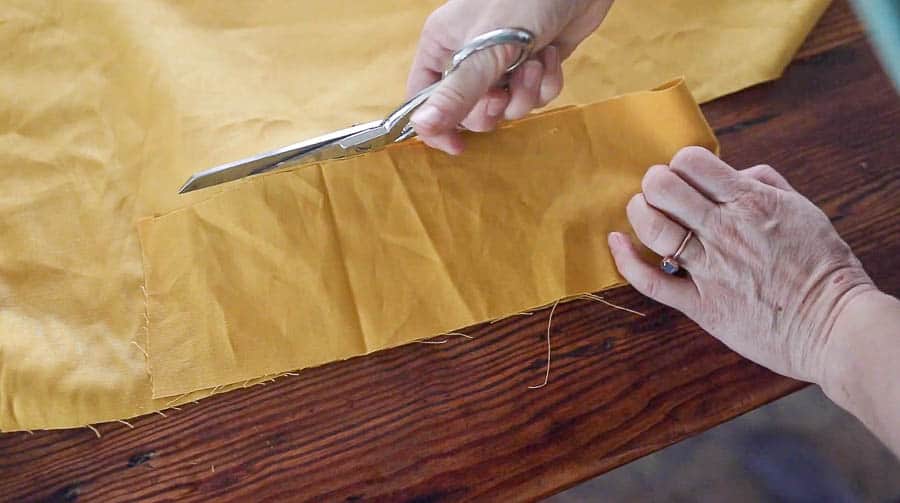
Cut out the pattern pieces.
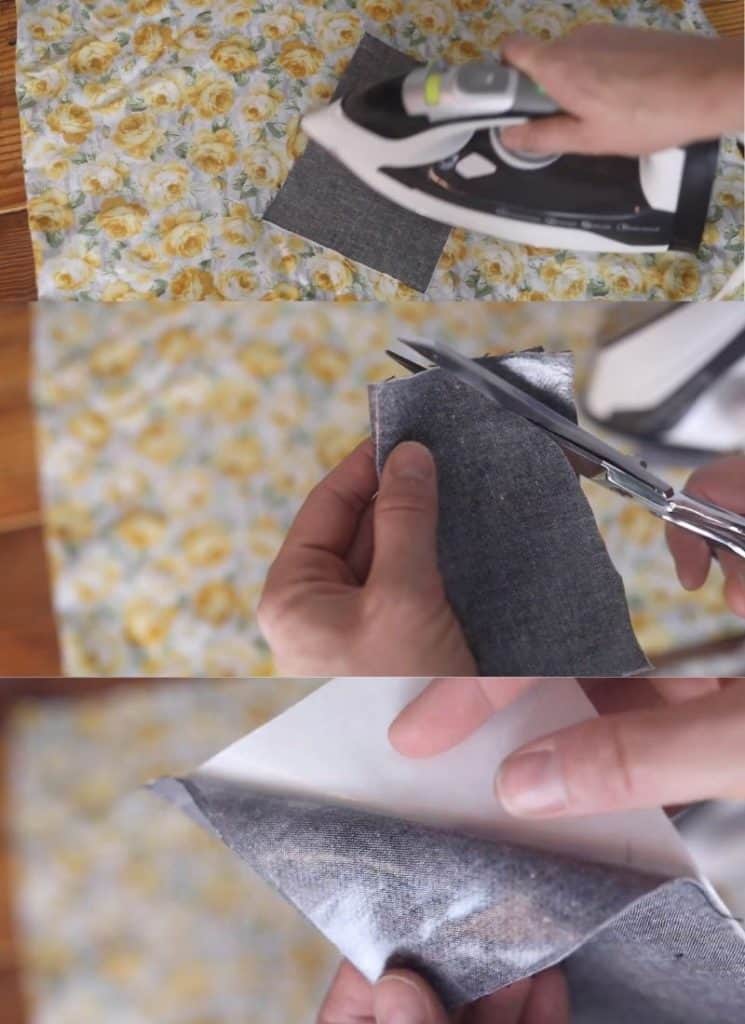
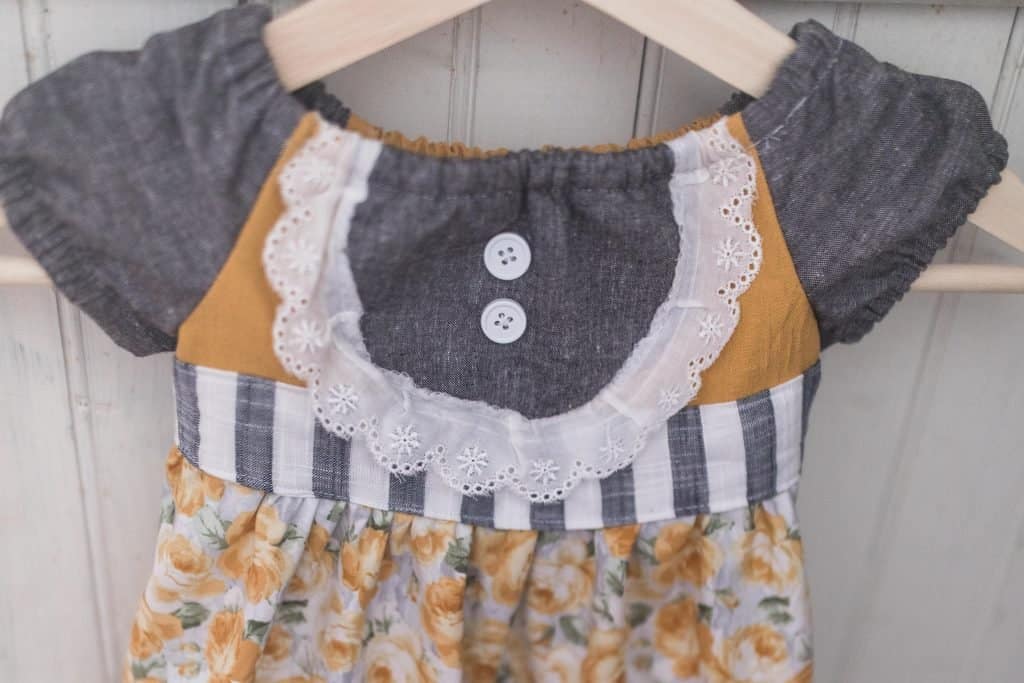
Cut out a 4.5″ by 5.5″ rectangle and apply heat and bond to backside. This is optional, but it helps keep the appliqué from fraying. If you skip this step and just sew it on, you may have some fraying from the bib on the dress.
Fold the square in half, and mark about 1.5 inches down the long side. Start there and cut a slight rounded edge to the center point where it is folded.
Iron it in the center of the bodice and stitch in place.
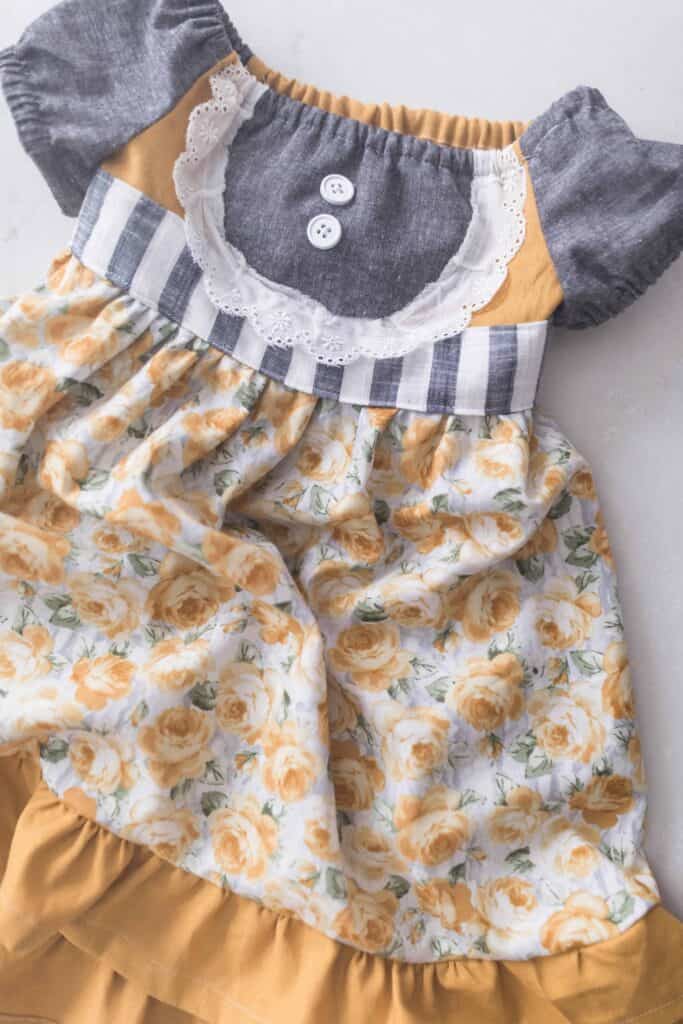
Attach the trim to the bib, and sew in place right along the eyelet edge. I used eyelet this time, but you could also use crochet trim or lace to line the bib.
Make a pattern piece by cutting out a 2 inch by 4 inch rectangle on a piece of paper, then round off the corners. This is the pattern piece for the sleeves.
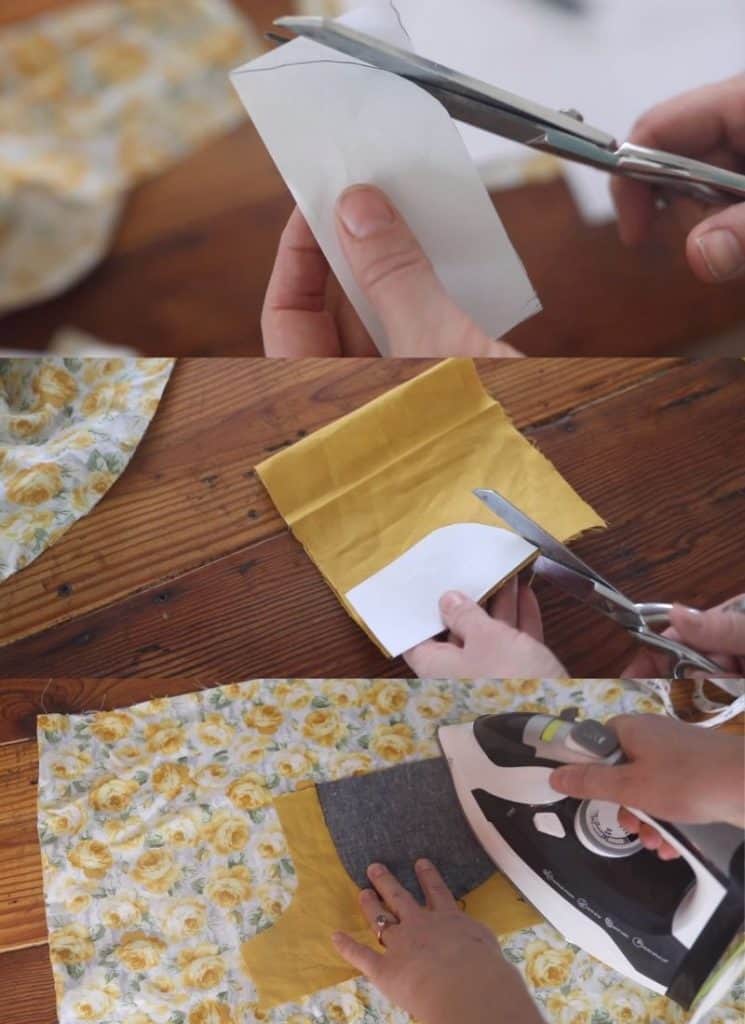
Fold a bodice piece in half, and place the pattern piece with the straight edge lined up with the top right corner and cut.
Repeat with other bodice piece and both sleeves, folding them in half and then cutting around the pattern piece.
Sew The Sleeves On
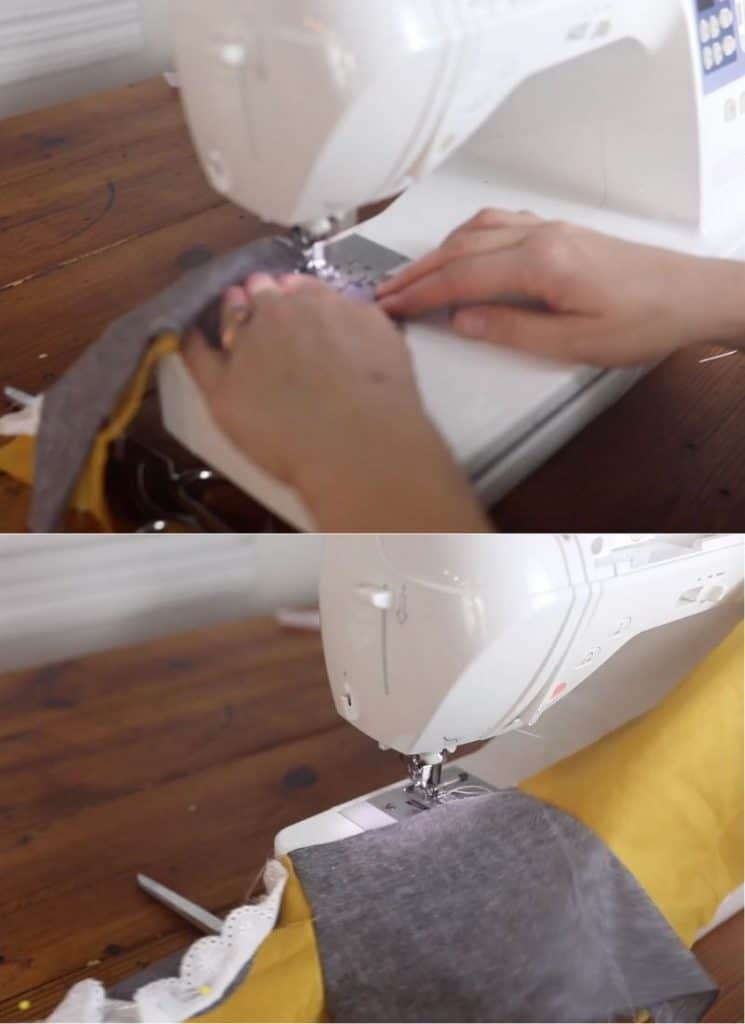
To attach the sleeves to the bodice, line up the armhole to one sleeve to one bodice piece (right sides together) and sew a narrow 1/4 inch seam.
Attach the other sleeve to the other side of the bodice in the same way and then the other piece of bodice to the other sleeve. Sew in a circular fashion, so it goes sleeve, bodice, sleeve, bodice, until it is all connected.
Starting at the bottom of the sleeve, sew up the sleeve and down the bodice side seam, being sure to line up the sleeve seams on both sides.
Finish all seams with a serger or zig zag stitch.
Add Elastic To The Neckline
Put a hem in the top of the bodice. This will act as a casing for the elastic. To create a hem, see the tutorial HERE.
Fold over the top of the fabric of the bodice and the sleeves 1/2 inch, and then another 1/2 inch. Sew all the way around the bottom edge of the hem, leaving a 1/2 inch opening.
Attach a pin to the narrow neck elastic and push it all the way through the hem you just created, making sure not to pull the other end all the way through.
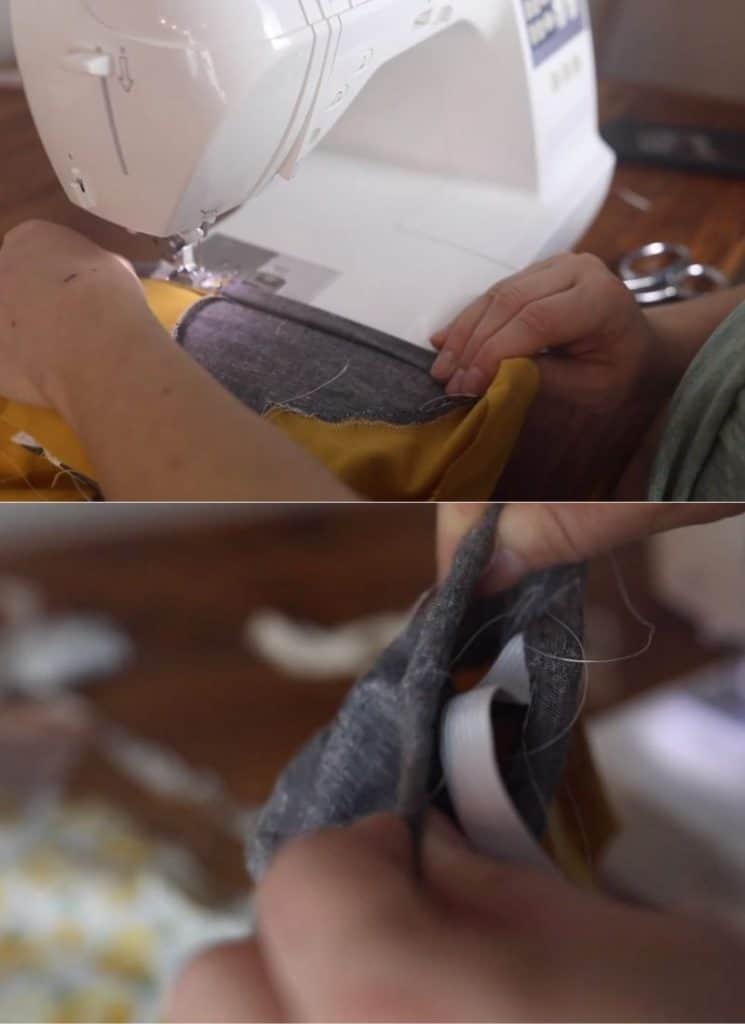
When one end of the elastic meets the other end, overlap the ends about a 1/2 inch and sew back and forth several times to make sure they don’t come undone.
Pull the top so the elastic goes fully into the neck hem, and top stitch the 1/2 inch opening closed.
Add Elastic To The Sleeves
Finish off the ends of sleeves by hemming them the same way as the neck, folding over 1/2 inch and then again over 1/2 inch and sewing a narrow seam to the top of the hem, leaving a 1/2 inch opening for the elastic.
Attach a pin to the sleeve elastic and push it all the way through the hem you just created, making sure not to pull the other end all the way through.
When one end of the elastic meets the other end, overlap the ends about a 1/2 inch and sew back and forth several times.
Pull the top so the elastic goes fully into the sleeve hem, and top stitch the 1/2 inch opening closed.
Create The Skirt
Take the two skirt pieces and lay them on top of each other, right sides together.
Sew 1/2 inch seams down both short sides.
Use a serger or zig zag stitch to finish off the edges.
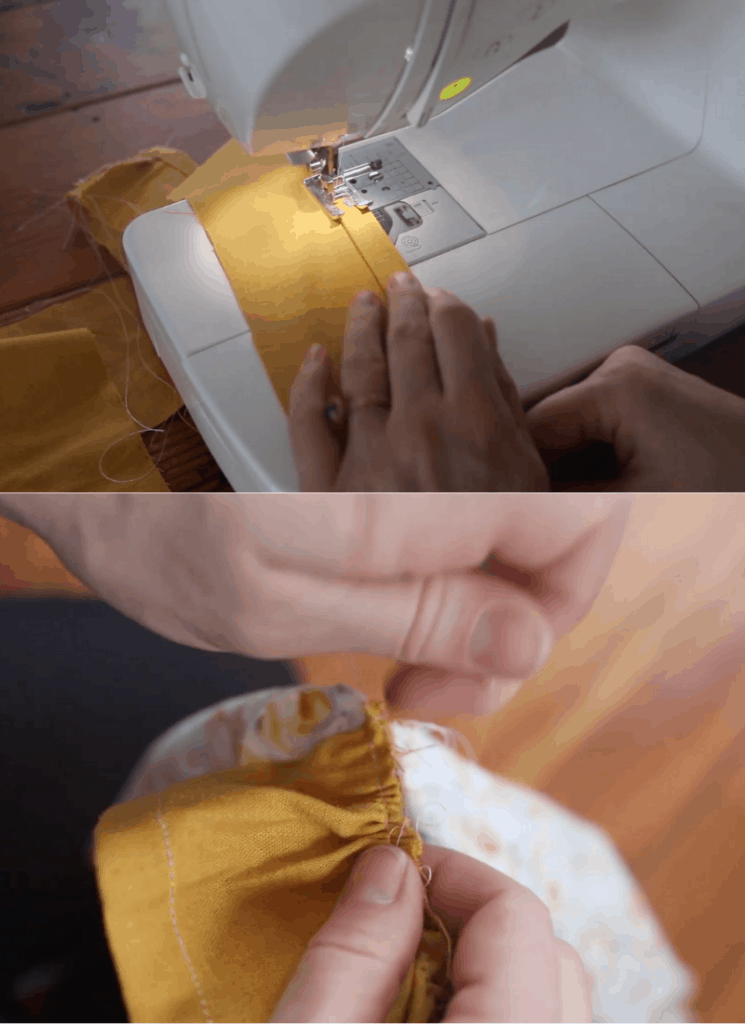
Next, put a gathering stitch at the top of the skirt. You can find the tutorial for how to make a ruffle HERE. Essentially, I like to put the stitch length and tension as high as it will go; this creates automatic ruffles.
I like to put a gathering stitch in the front from one side seam to another, and then stop it and put another on the back from one side seam to another, rather than just one long gathering stitch. This just makes it easier to work with, in my opinion.
Taking one of the threads from the gather stitch, pull it until the width of the skirt matches the bottom of the bodice.
Lining up the side seams, pin the ruffle part of the skirt to the bottom opening of the bodice.
Make sure the stitch length and tension is back down to the normal settings, and sew the skirt to the bodice, making sure those side seams are lined up.
I like to sew with the skirt facing me, so I can see the gather stitch and try to sew as close to the gathering stitch as possible. This helps the ruffles lay nicely.
Serge or zig zag stitch on the raw seam.
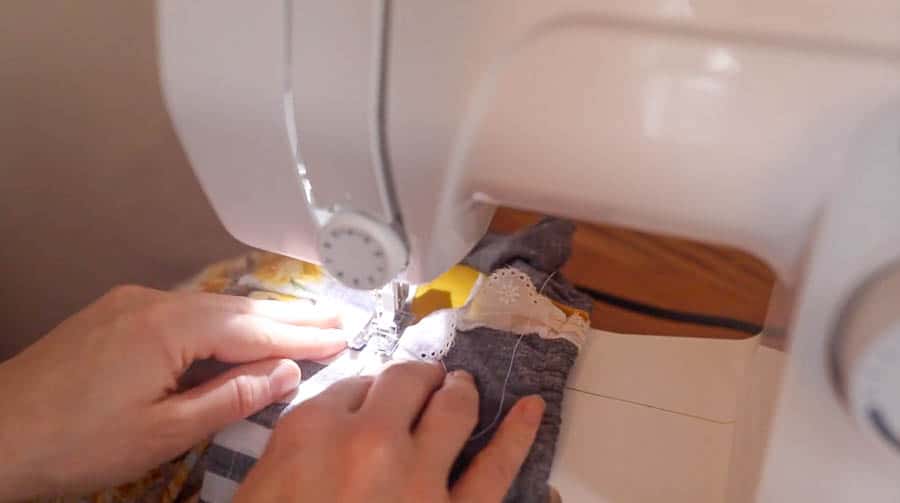
Create The Ruffle
Lay the two ruffle pieces right sides together, and sew a seam on both short sides.
Create a hem on the long edge by folding over the raw edge 1/2 inch and then over again 1/2 inch and press in place.
Sew over top the hem.
Place a gathering stitch, the same way as before, at the top of the ruffle piece.
Pull on one of the string ends of the ruffle piece until the ruffle is the same as the bottom of the skirt.
Line up the side seams and pin in place.
Make sure to turn the tension and stitch length back to the normal settings.
Sew the ruffle and skirt together, sewing as close to the gathering stitch as possible.

Serge or zig zag stitch around the raw edges.
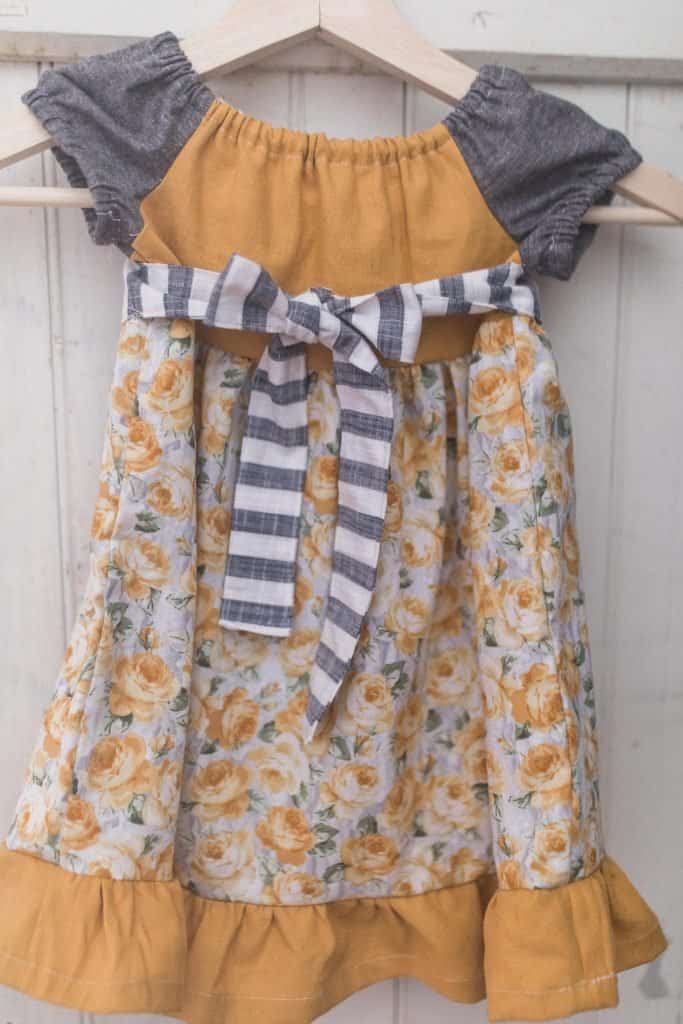
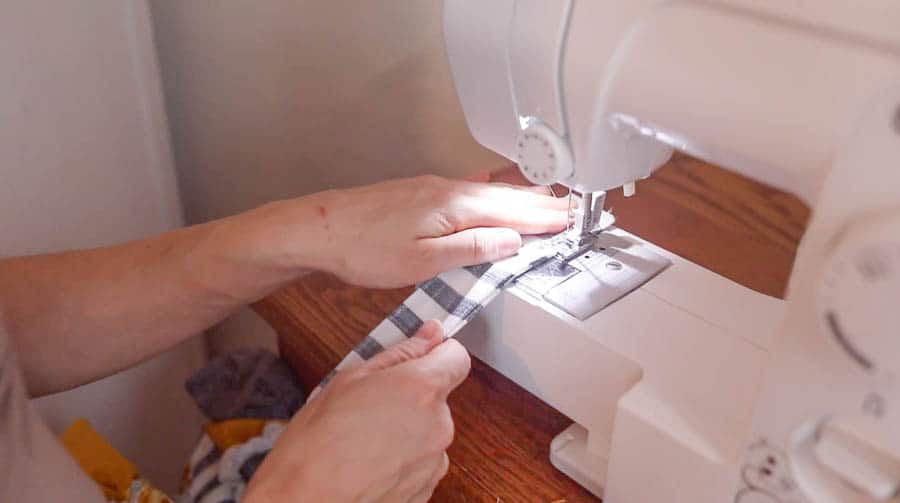
Create The Tie
Fold down the tie piece lengthwise.
Fold one edge 1/2 inch down toward the wrong side of the fabric, and sew all the way down the long side using a narrow 1/4 inch seam and fold the other short end over a 1/2 inch as well, leaving both ends completely open.
Take a safety pin and attach it to one end of the tie. Push it through the opening and pull it until the tie is right side out.
Press it flat with a hot iron.
Fold the tie piece in half and mark the center point.
Place the center of the tie underneath the eyelet where the center of the dress is.
Stitch the tie piece in place on the dress (making sure it is centered) with a top stitch close to each edge on the top and the bottom, making sure the bottom of the tie is right under where the ruffle comes down. Lift the eyelet up to sew the tie right underneath it.
Top stitch around the edges of the long tail pieces and close off the ends.
Add Embellishments
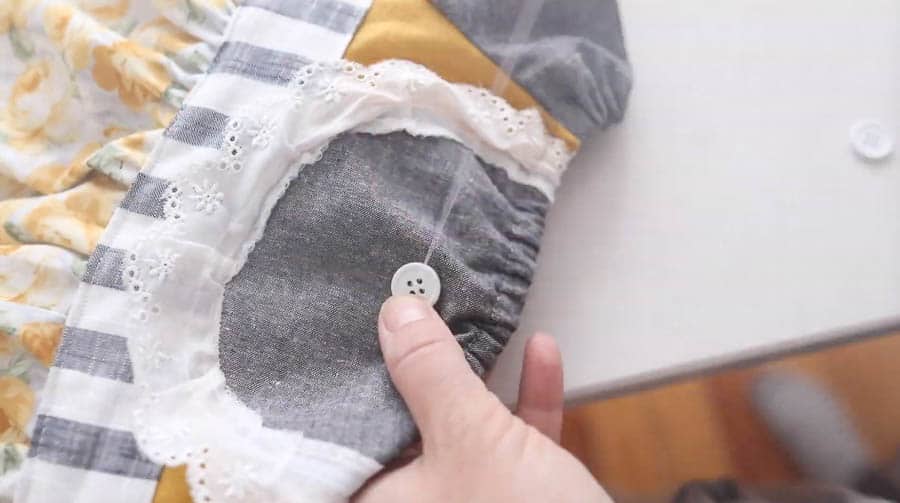
To finish off the dress, I just added a couple of white buttons to the center of the bib. I think it adds just a sweet little detail.
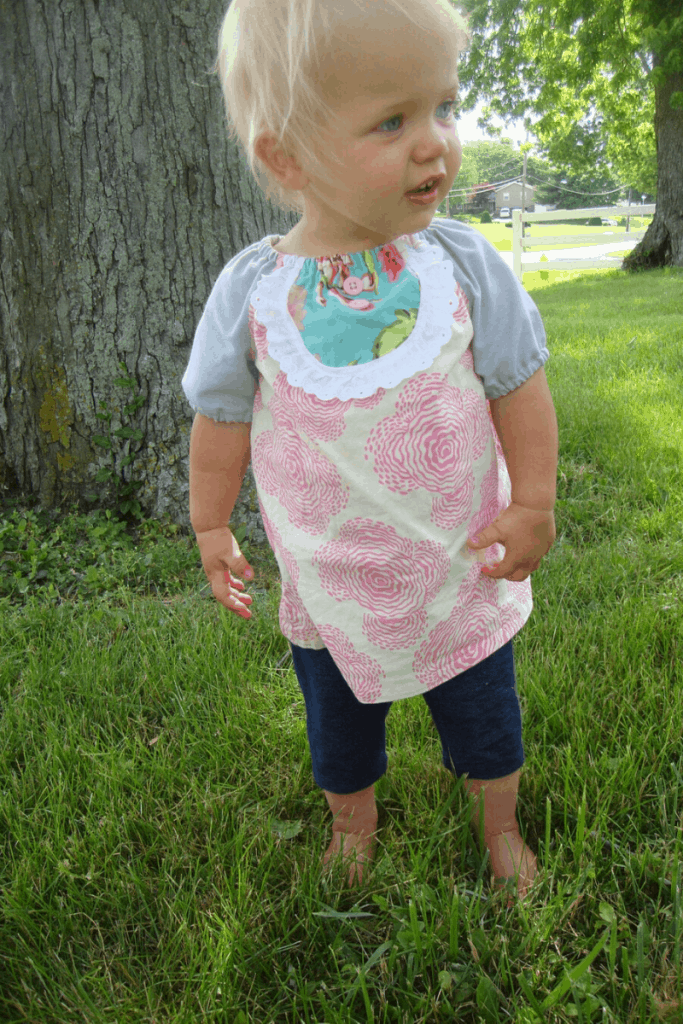
Here is a little peek at a dress I made for Johanna (8 years ago when she was only 1! Oh how I miss little girls!)
Find More Of My Favorite Sewing Projects
- DIY Cloth Diaper Inserts
- 10 Easy Sewing Tutorials for Beginners
- Easy Girls Dress Sewing Tutorial- Bow in the Back Summer Dress
- Reversible Apron Pattern
- How to Sew Girl Pajamas from Vintage Sheets
- How to Sew a Skirt


I absolutely love this toddler dress pattern! The video tutorial made it so easy to follow along, and I appreciate how you broke down each step. I can’t wait to make one for my little girl! Thank you for sharing such a lovely and simple project!