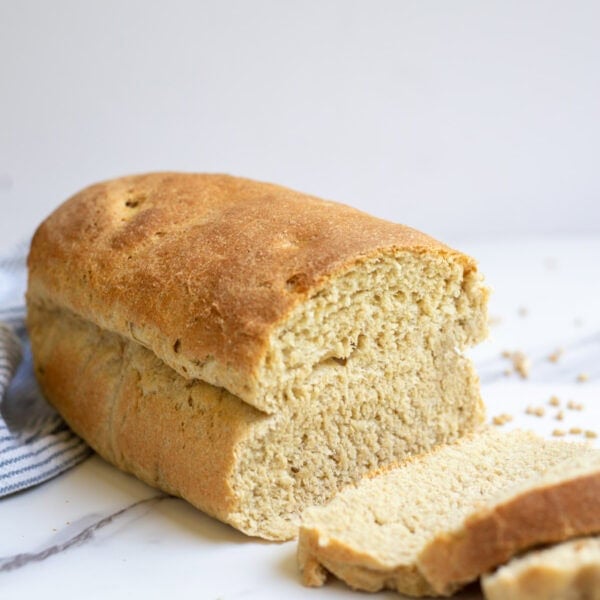
This low hydration sourdough bread recipe is great for beginners! At 60% hydration, it’s easier to work with, yet still full of delicious sourdough flavor. A slice of this bread is perfect on its own slathered with butter or as the ends to a delicious lunchtime sandwich.
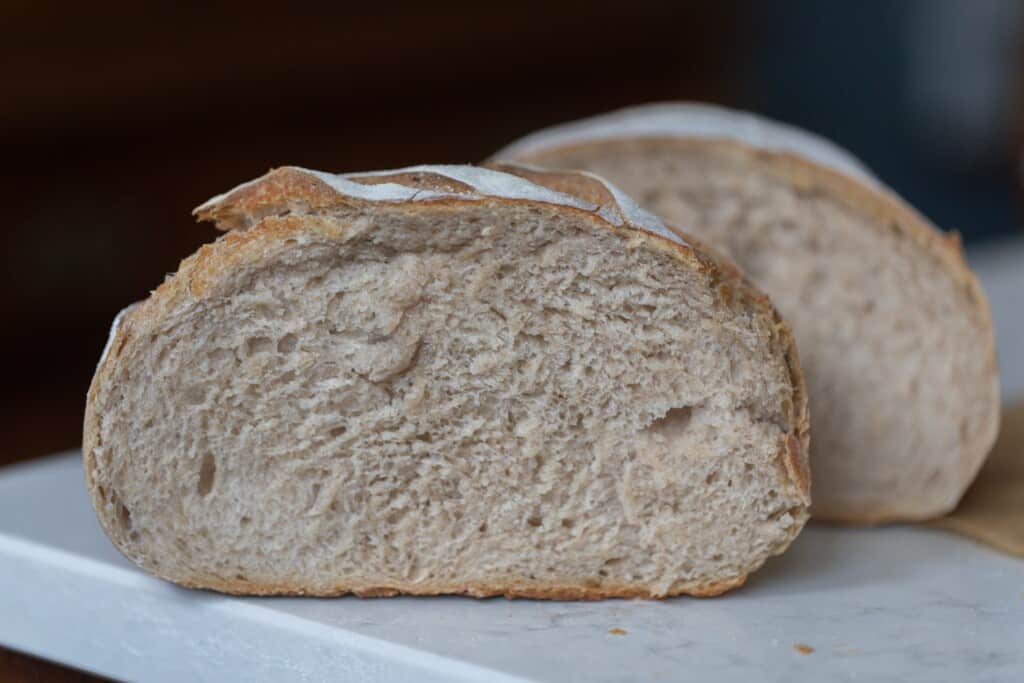
Table of Contents
- What is Sourdough Hydration
- Low Hydration Bread vs. Low Hydration Starter
- Why You’ll Love This Recipe
- Low Hydration Sourdough Tips
- Ingredients
- Tools You May Need
- How to Make Low Hydration Sourdough Bread
- Bake
- FAQ
- Baker’s Timeline for Low Hydration Sourdough Bread
- More Sourdough Recipes
- Best Low Hydration Sourdough Bread Recipe
I’ve been experimenting a lot lately with various hydration levels in my sourdough loaves.
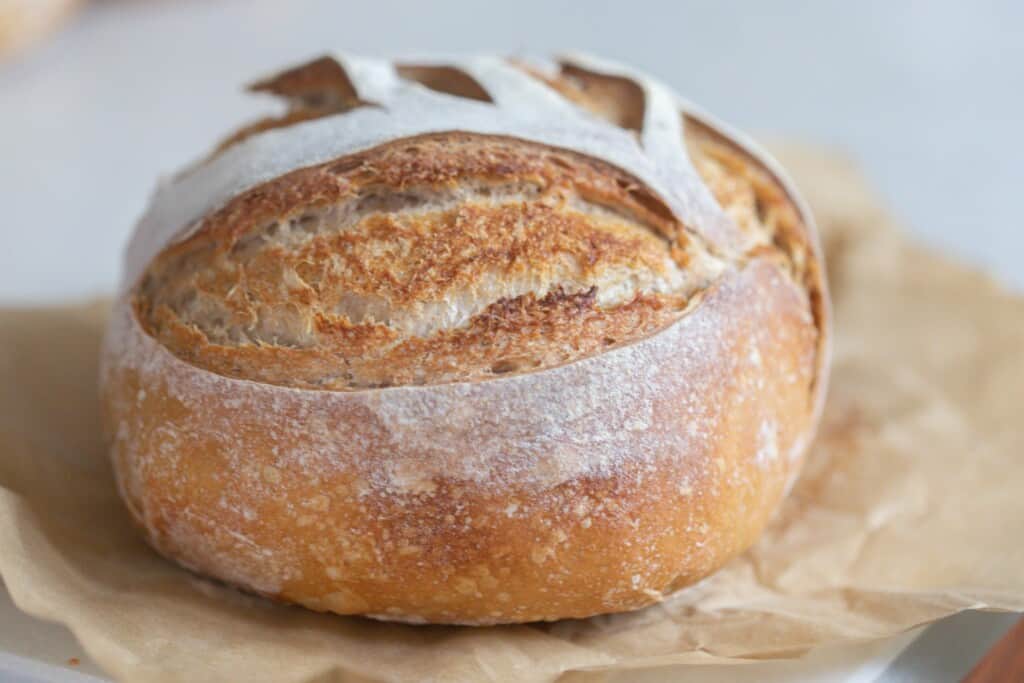
After trying my hand at a high hydration loaf, I reduced the water to create a 60% hydration bread. It’s basically the exact same as my regular no-knead recipe, just with less water. The result was pretty much as expected.
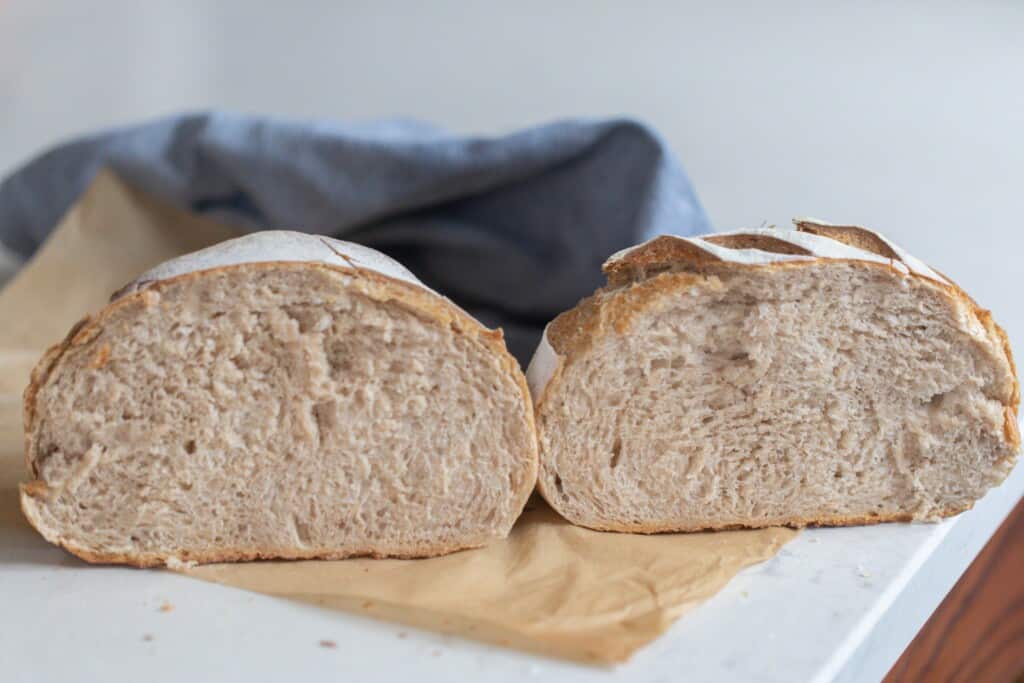
With such low water content, it yields a much denser loaf with more of a closed crumb.
That’s not to say it wasn’t good, though. It was still delicious, and my kids enjoyed every last crumb!
If this is your first time making sourdough bread, this is a great recipe to start with. (So, is my Beginner’s Sourdough Bread Recipe here.)
Lower hydration dough is easier to work with for beginners because the dough is less sticky. If you try it, and love it, great! If it is too dense for you or if you prefer a more open crumb, gradually increase the water in the recipe until you get the perfect loaf for you.
What I’ve learned from my years of bread baking is that many times there is no right way to do things, even if some argue there is. Everyone has different tastes, which means everyone is going to have varying preference on their bread textures.
Lower hydration breads are not “bad” or “just for beginners.” It’s all about what you prefer!

What is Sourdough Hydration
Sourdough hydration refers to the water-flour ratio of a recipe and is represented by a percentage. It’s all about how much water is in your dough.
To calculate the hydration, simply divide the total water amount by the amount of flour and multiply by 100.
The higher the water content of your bread dough, the higher the hydration. Anything above 80% is considered high hydration dough. If it is below 70%, it is a low hydration loaf.
The main difference with different hydration levels is the texture. The higher hydration breads, like this one, are going to have a much more open crumb. That doesn’t mean high hydration is better, though. It’s all a matter of preference!
If you want to learn more about sourdough hydration and the pros and cons of high and low, check out my guide to sourdough hydration here.
Low Hydration Bread vs. Low Hydration Starter
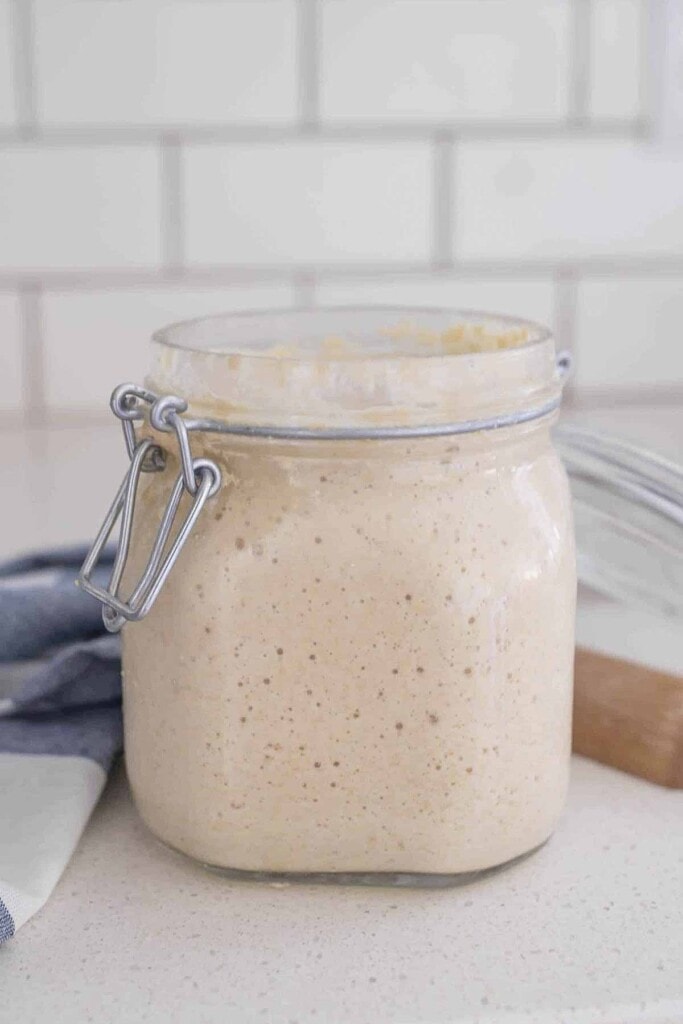
Low hydration bread refers to the water and flour ratio in your bread recipe. Whereas a low hydration sourdough starter is the ratio of flour and water in the starter itself.
Typically, sourdough starters are kept at 100% hydration. This means they are fed equal parts water and flour. This is personally what I like to use. Learn how to make your own 100% hydration starter here.
Stiff Starter
Sourdough starters that are below 65% hydration are considered a stiff starter. Stiff starters do not have to be fed as often as their liquid counterparts, so they tend to be easier to maintain.
On the other hand, stiff starters can be difficult to incorporate into recipes because they are so thick.
The hydration of your starter is important to know in order to calculate the hydration of your bread. Since it is also made up of water and flour, it must be added into your overall calculation.
For example, let’s say a recipe calls for 100 grams of active starter at 100% hydration. That means you’d add 50 grams to your total flour count and 50 grams to your total water count before completing your baker’s math and determining the overall hydration level of your recipe.
Why You’ll Love This Recipe
Simple Ingredients – One of the greatest things about sourdough is how simple the ingredient list is. It is basically a few pantry staples, plus water and starter.
Easy to Work With - Less water means a less sticky dough. It’s really easy to work and doesn’t stick to your fingers.
Perfect for Sandwiches – We really enjoyed using this bread for our sandwiches! Since the crumb is more closed, you can slather more of your favorite condiments on and all the inside layers of the sandwich are nicely supported.
Low Hydration Sourdough Tips
- Bulk fermentation time will vary based on a number of factors, including your environment and the maturity of your starter. Keep in mind that lower hydration doughs tend to take longer to ferment. Plan accordingly!
- To avoid a dense loaf, be careful not to under ferment your dough. Low hydration doughs are already more dense than a higher hydration dough.
- You will need an active, bubbly starter for this recipe. I use a 100% hydration starter. Learn how to make your own here.
- Prefer a more open crumb? Try my high hydration sourdough bread recipe here!
This post contains affiliate links, which means I make a small commission at no extra cost to you. See my full disclosure here.
Ingredients
Flour: I like to use a combination of all purpose, whole wheat, and bread flour. It gives it a delightful texture and the added protein from the bread flour helps with gluten development.
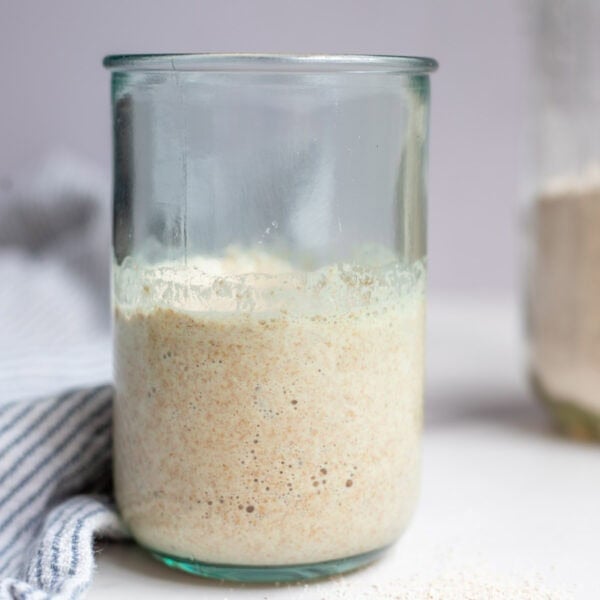
Sourdough Starter: Active and bubbly. This is starter that has been fed 4-12 hours before starting a recipe. It should have doubled in size.
Water
Salt: Don’t skip this crucial ingredient or you will end up with blah bread.
Tools You May Need
Dutch Oven – This is the best way to bake sourdough bread, but if you don’t have one, don’t worry! Learn how to make sourdough bread without a Dutch oven here.
Scoring Lame or Razor Blade
Kitchen Scale – Measuring your ingredients gives you more consistent results.
Banneton (optional)
How to Make Low Hydration Sourdough Bread
Feed a sourdough starter 4-12 hours before starting your bread. The time it takes a starter to become active depends on the environment and maturity of the starter itself.
To be sure it is ready to use, try the float test. Take a small amount of starter and drop it in a glass or bowl of water. If it floats, it’s ready to use!
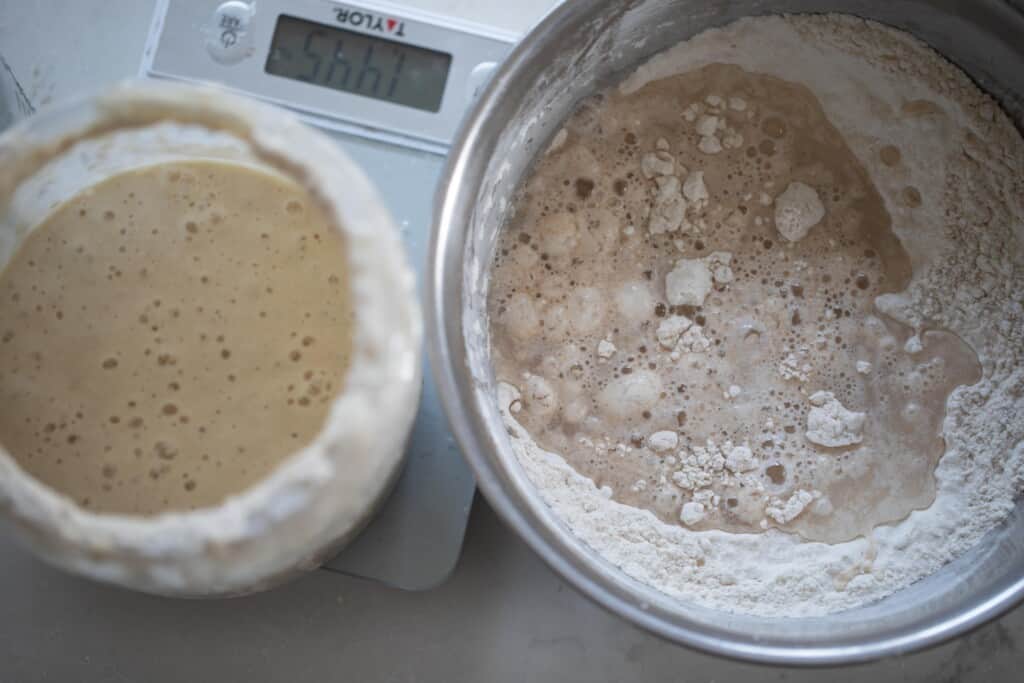
Combine warm water and flour. Allow to rest for 30 minutes for the water to hydrate the flour, a process called autolyse.
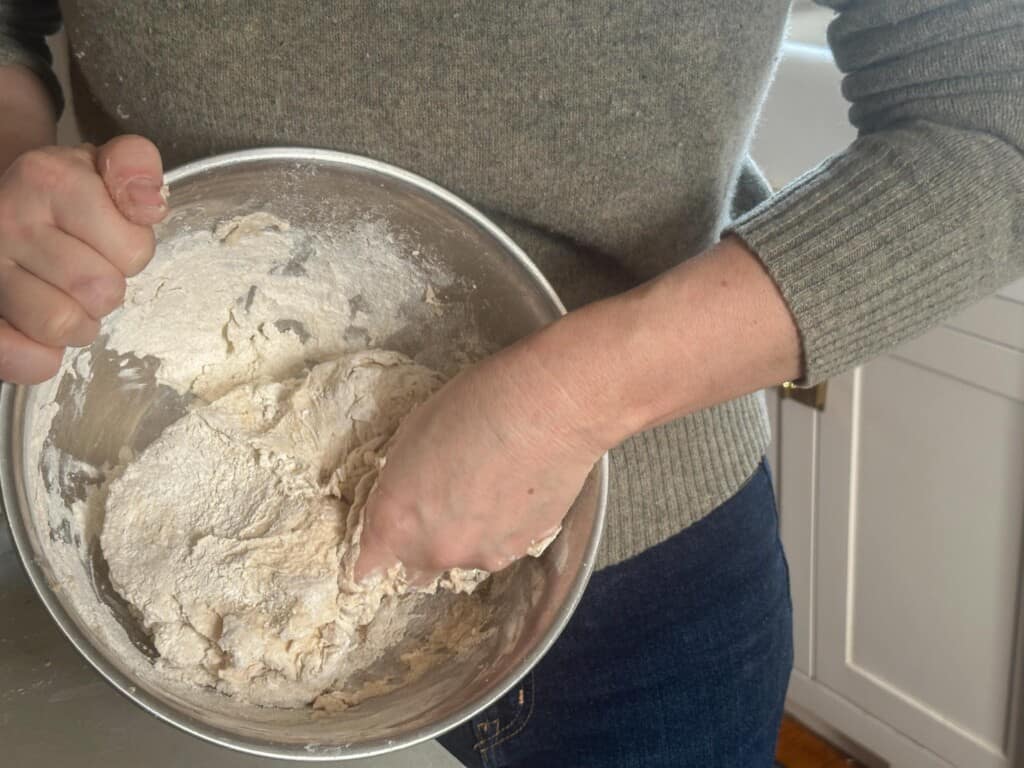
Using wet hands, dimple in the sourdough starter. Add the salt and mix the dough with your hands for a few minutes until the dough comes together.
Cover your bowl with a beeswax wrap, plastic wrap or a damp tea towel and allow it to rest for another 30 minutes.
Stretch And Fold
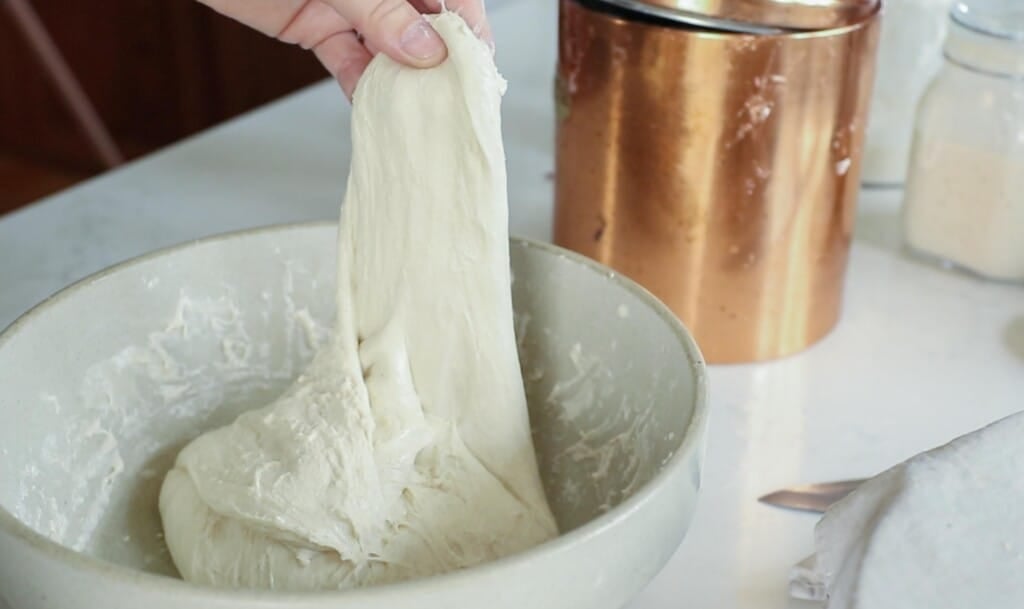
For gluten development and to obtain an optimal rise, perform 6 rounds of stretching and folding according to the directions below.
First 3 stretch and folds – every 15 minutes.
Last 3 stretch and folds – every 30 minutes.
To do a stretch and fold, grab the edge of the dough while it is in the bowl and firmly pull it up, stretching it up towards you. Fold the dough in your hands into the center of your dough ball. Turn the bowl about a quarter turn and do this stretch and fold again, and again one to two more times. This is considered one stretch and fold round.
With a low hydration dough, you should find your dough is fairly easy to work with and not to wet. For wetter doughs, it’s best to dip your hand in a little water before perfomring the stretch and folds to keep the dough from sticking to your hands.
Bulk Ferment
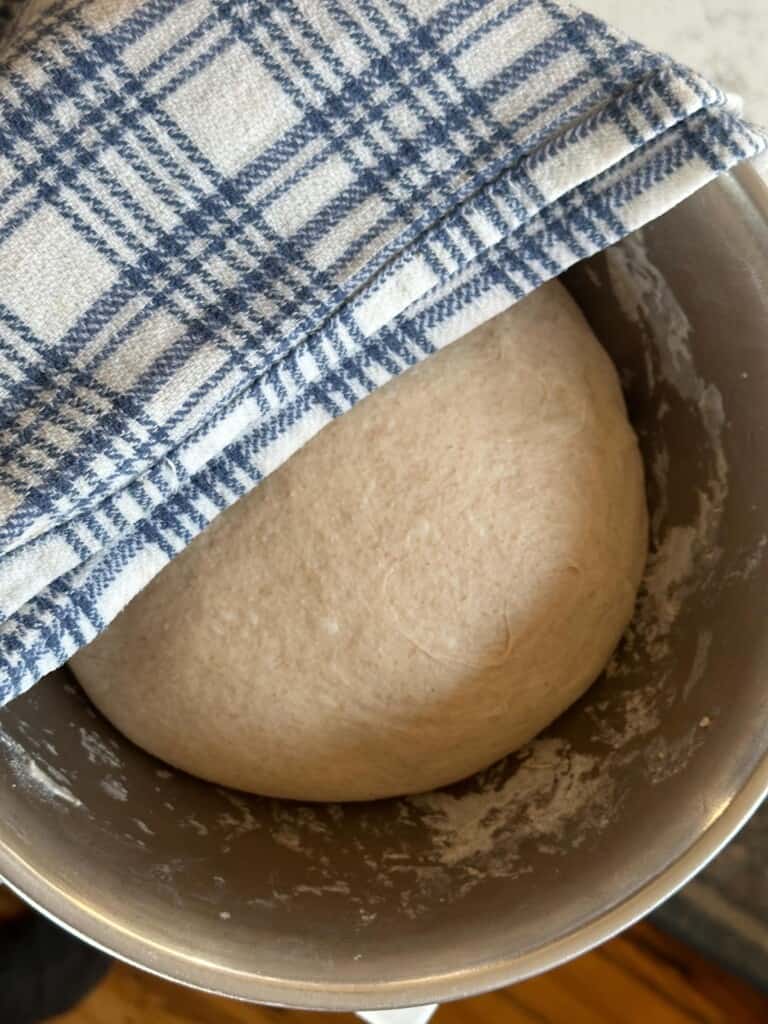
Cover the dough with a damp towl or plastic wrap once again and allow it to ferment until doubled. The time it takes for this will vary.
Keep in mind that the level of hydration plays a role in the bulk fermentation timing. Lower hydration doughs typically take longer.
Shape the Dough
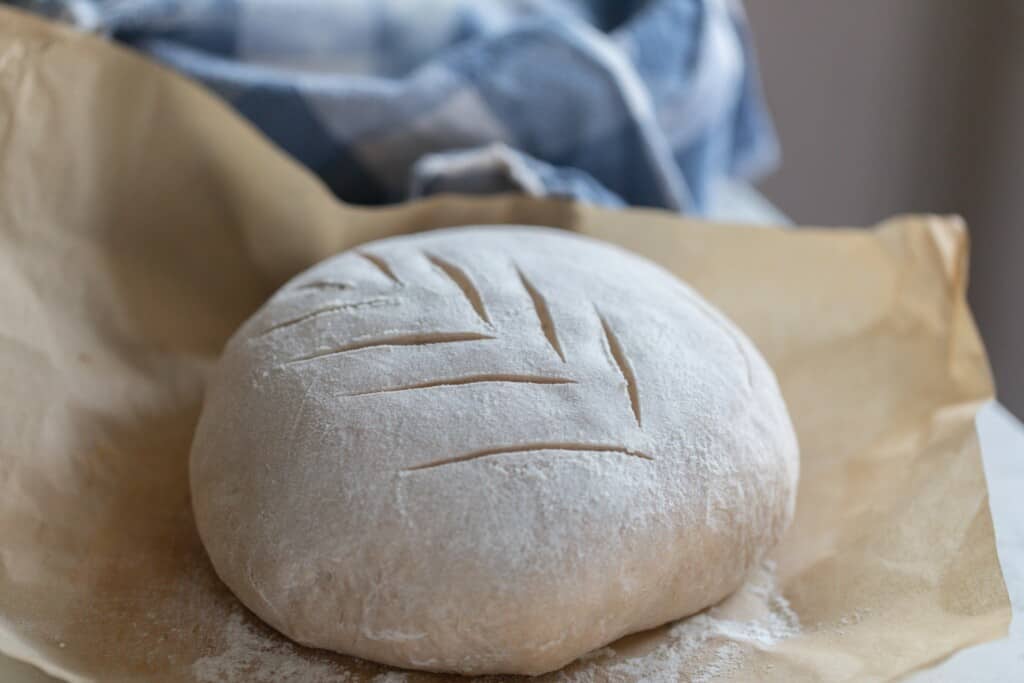
On a floured work surface, shape into a ball by gently spinning it toward you.
Let the dough ball sit out uncovered for about 15 to 20 minutes. This helps the top of the dough develop a skin or crust, which ensures it won’t stick to the tea towel during the overnight rise.
Turn the dough ball over and shape again. Do this by folding the two sides over to meet in the middle and then repeat with the other two sides.
Transfer to a floured banneton or bowl with tea towel, seam side up, and smooth side down.
Cover with plastic and proof for 12 to 15 hours in refrigerator.
Bake
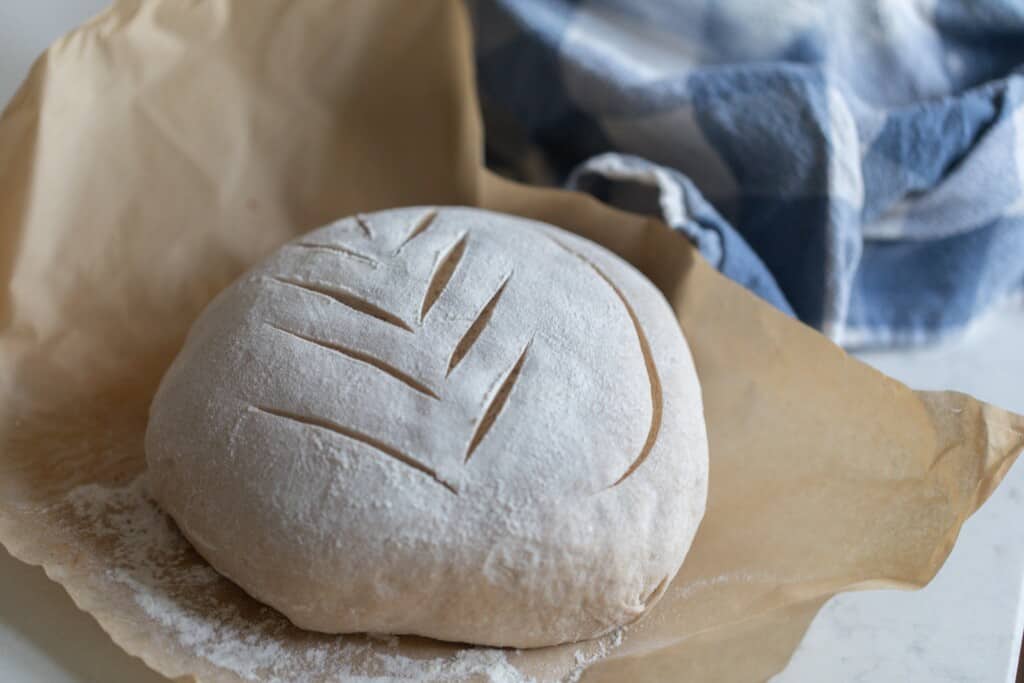
Before removing your dough from the fridge, preheat a dutch oven for 1 hour in a 500 degree oven.
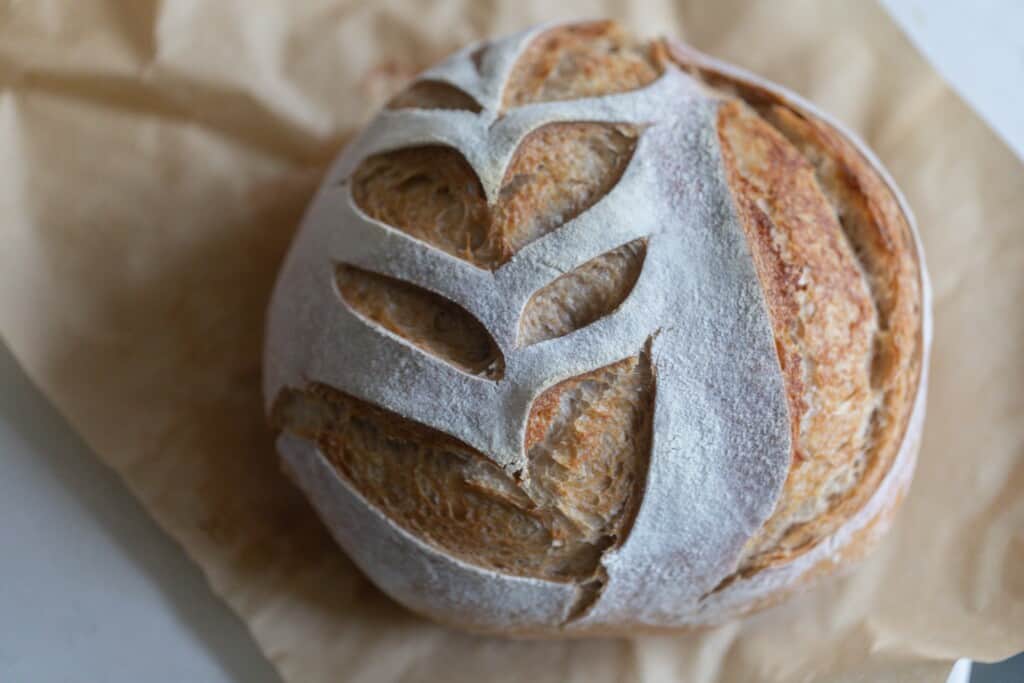
Remove the dough from the fridge. Place it on a piece of parchment paper. Dust the dough with flour to help the scoring pattern stand out.
Score with a razor blade or scoring lame.
Transfer the parchment paper and dough to the dutch oven. If not using parchment paper, add a little flour to the bottom of the dutch oven to keep the dough from sticking to the bottom.
Bake for 20 minutes with the lid on at 500 degrees.
Remove the lid and turn the oven down to 475. Bake an additional 25 minutes or until browned.
Allow the bread to cool completely before slicing. See why this is so important in my guide to getting the perfect slice of sourdough bread here.
FAQ
Anything below 70% is considered low hydration.
This recipe is at 60% hydration, which is the lowest I would personally go.
This is really based on personal preference. There is no right or wrong answer. I typically like to stick to the 70 to 75% range. This gives me a nice open crumb without being to wet of a dough that it is impossible to work with.
Sourdough starter can be at right at, above, or below 100% hydration. Sourdough starters at 100% hydration are fed equal parts water and flour. This is the most typical hydration for a starter, and it is what I use for all my recipes.
Baker’s Timeline for Low Hydration Sourdough Bread
Feed sourdough starter with flour and water.
If sourdough starter is mature, start your dough by combining warm water and flour. Allow it to rest for 30 minutes.
Add your sourdough starter and salt. Mix with your hands for a few minutes until the dough comes together.
Cover with a damp tea towel or plastic wrap and allow to rest for 30 minutes.
Stretch and fold.
First 3 stretch and folds – every 15 minutes
Last 3 stretch and folds – every 30 minutes
Cover with a wet towel or plastic wrap and allow the dough to bulk ferment until doubled.
(may be sooner or later)
Shape dough.
Sit out 15-20 minutes, uncovered.
Turn over and shape again.
Transfer to a floured banneton basket or bowl with a tea towel and cover with plastic.
Place in the refrigerator for 12 to 15 hours.
Preheat a dutch oven in a 500 degree oven.
Take dough out of fridge, dust with flour, and score.
Bake the sourdough bread and allow to cool completely before slicing.
More Sourdough Recipes
- Sourdough Cinnamon Rolls
- Artisan Sourdough Bread
- High Hydration Sourdough Bread Recipe
- Sourdough Focaccia
- Sourdough Pumpernickel Bread Recipe
If you try this recipe and love it, I would love if you gave it 5 stars! Also, tag me on Instagram @farmhouseonboone.
Best Low Hydration Sourdough Bread Recipe
Ingredients
- 250 grams all purpose flour
- 100 grams whole wheat flour
- 125 grams bread flour
- 100 grams sourdough starter, bubbly and active
- 285 grams water
- 10 grams salt
Instructions
- Feed a sourdough starter 4-12 hours before starting your bread.
- Combine warm water and flour. Allow to rest for 30 minutes for the water to hydrate the flour.
- Using wet hands, dimple in the sourdough starter. Add the salt and mix the dough with your hands for a few minutes until the dough comes together.
- Cover your bowl with a beeswax wrap, plastic wrap or a damp tea towel and allow it to rest for another 30 minutes.
Stretch And Fold
- For gluten development and to obtain an optimal rise, perform 6 rounds of stretching and folding according to the directions below.
- First 3 stretch and folds – every 15 minutes. Last 3 stretch and folds – every 30 minutes.
- To do a stretch and fold, grab the edge of the dough while it is in the bowl and firmly pull it up, stretching it up towards you. Fold the dough in yoru hands into the center of your dough ball. Turn the bowl about a quarter turn and do this stretch and fold again, and again one to two more times. This is considered one stretch and fold round.
Bulk Ferment
- Cover the dough with a damp towl or plastic wrap once again and allow it to ferment until doubled. The time it takes for this will vary. Keep in mind that the level of hydration plays a role in the bulk fermentation timing. Lower hydration doughs typically take longer.
Shape the Dough
- On a floured work surface, shape into a ball by gently spinning it toward you.
- Let the dough ball sit out uncovered for about 15 to 20 minutes. This helps the top of the dough develop a skin or crust, which ensures it won't stick to the tea towel during the overnight rise.
- Turn the dough ball over and shape again. Do this by folding the two sides over to meet in the middle and then repeat with the other two sides.
- Transfer to a floured banneton or bowl with tea towel, seam side up, smooth side down. Cover with plastic and proof for 12 to 15 hours in refrigerator.
Bake
- Before removing your dough from the fridge, preheat a dutch oven for 1 hour in a 500 degree oven.
- Remove the dough from the fridge. If using, place it on a piece of parchment paper. Dust it with flour to help the scoring pattern stand out.
- Score with a razor blade or scoring lame.
- Transfer the parchment paper and dough to the dutch oven. IF not using parchment paper, add a little flour to the bottom of the dutch oven to keep the dough from sticking to the bottom.
- Bake for 20 minutes with the lid on at 500 degrees.
- Remove the lid and turn the oven down to 475. Bake an additional 25 minutes or until browned.
Notes
- Bulk fermentation time will vary based on a number of factors, including your environment and the maturity of your starter. Keep in mind that lower hydration doughs tend to take longer to ferment. Plan accordingly!
- To avoid a dense loaf, be careful not to under ferment your dough. Low hydration doughs are already more dense than a higher hydration dough.
- You will need an active, bubbly starter for this recipe. I use a 100% hydration starter.
Nutrition
Nutrition information is automatically calculated, so should only be used as an approximation.




I don’t have a dutch oven. How can I bake it just on a cookie or pizza sheet?
Here’s a guide on how to bake without a dutch oven!
This was my 2nd ever loaf of sourdough bread and I love the results! I did make a couple of changes… I switched the amounts of AP and bread flour (simply because I have more bread flour at the moment). Next time I want to try rye flour instead of WW! Also, I baked it covered for 30 mins, uncovered for 5, and it was a perfect crust. I will be making this recipe again!
Brilliant Lisa, I have tried so many beginners sourdough recipes and only one (which was supervised by an experienced baker) turned out right. I tried yours and it’s turned out great, the only things I changed were the stretch & folds, I only managed 3 as then had an emergency so just let it bulk ferment. I also cooked covered in my Dutch oven for 40 mins & removed lid for 5 mins as I don’t like it too brown.
I got a lovely tight crumb which I wanted, it had a nice taste although I might leave it to cold proof for longer next time.
Can I make this with only bread flour? 475 grams? (I don’t keep whole wheat on hand.)
That should be fine.
I almost gave up until I tried yours. Thank you very much
This was my fourth attempt at making sourdough and my first time trying this recipe. It baked out perfect ! Thank you very
Much. Finally found a recipe that works for me.