Learn how to make these DIY cloth diaper inserts for cloth diapers. This super simple tutorial walks you through the basics on how to create these homemade cloth diaper inserts that work great and will save you money.
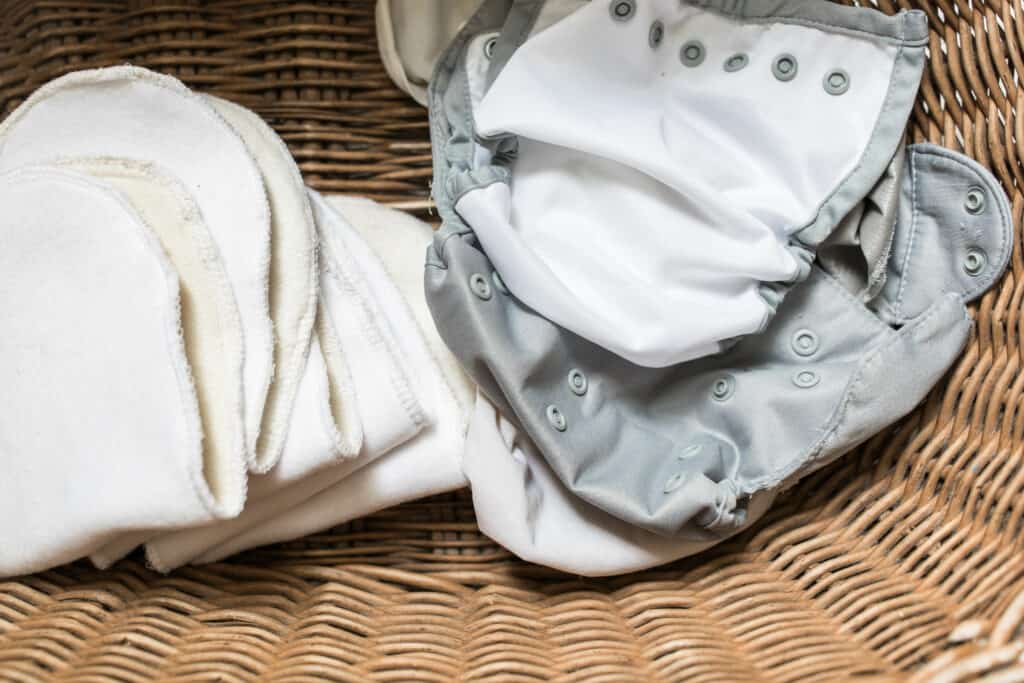
With the new baby arriving in not too long, I thought it would be a great time to start preparing some much-needed baby items. These cloth diaper inserts are definitely a must.
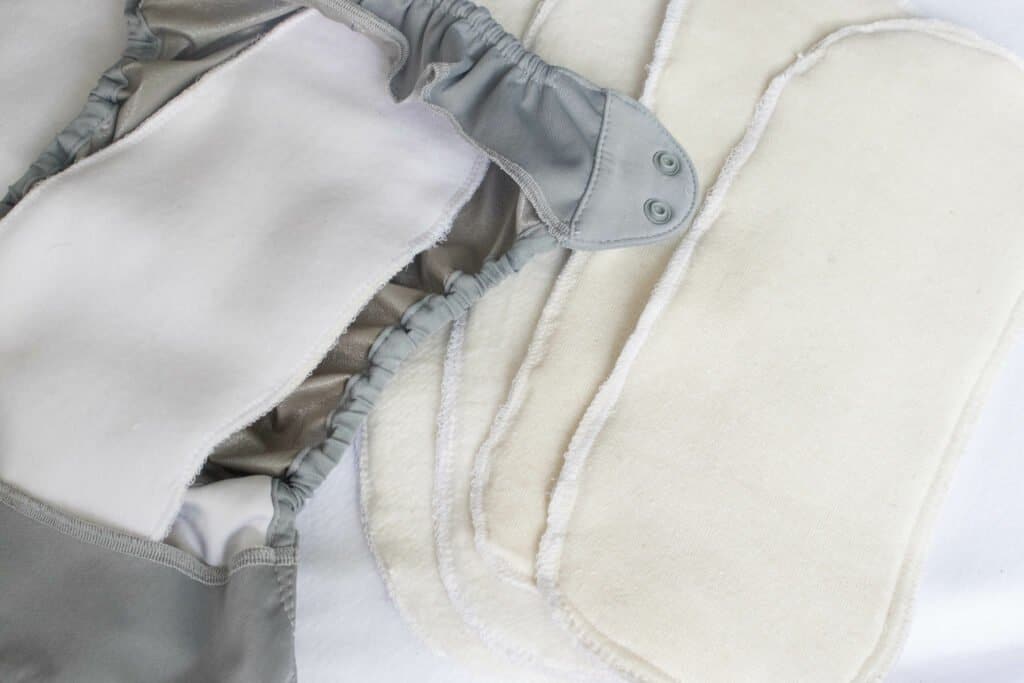
When Micah was younger, I shared about my cloth diaper stash and my favorite cloth diapers. I had mentioned that my favorite inserts were ones that I made out of organic hemp fleece, because they are super absorbent. They are really simple to make, and DIYing them can help you save a bunch of money.
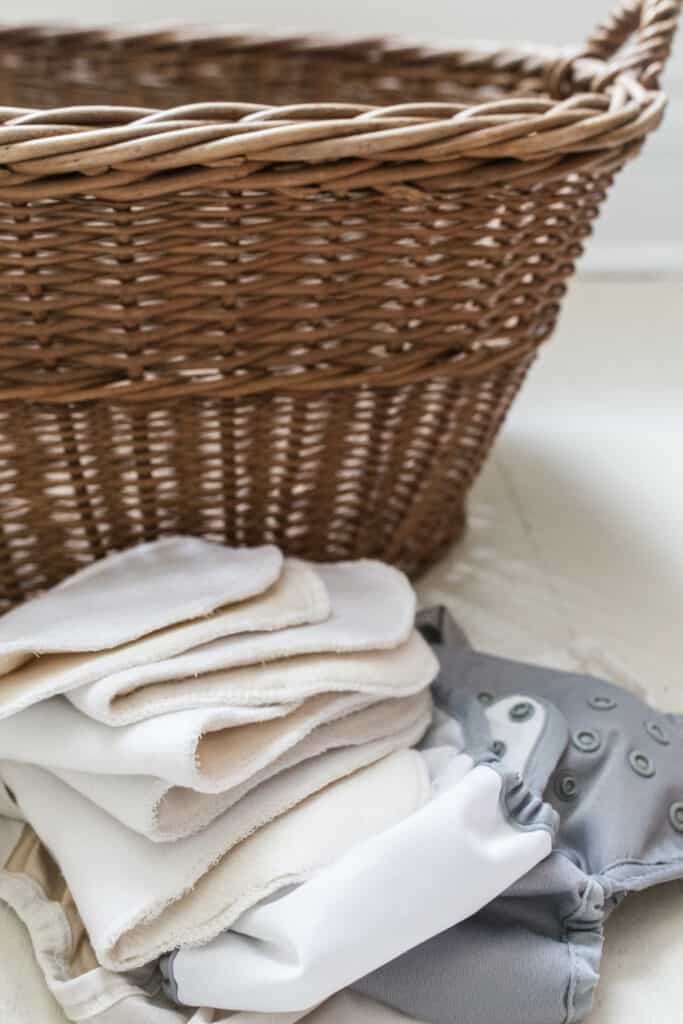
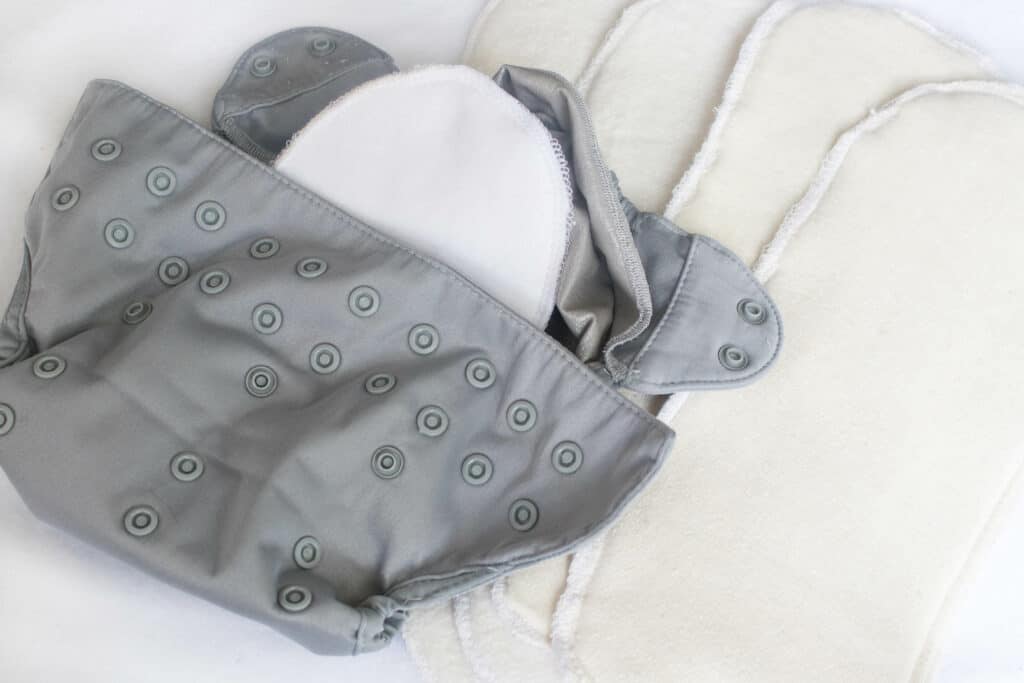
My favorite way to cloth diaper is to use a diaper cover and inserts, and it’s what seems to work best for our family. That way, you can double up at night, or if you make these homemade cloth diaper inserts, you can customize them for whatever your needs are.
And not just size, but if you have a heavy wetter, or you want more something more heavy-duty for night time, you can make some with more hemp fleece for better absorbency.
For this tutorial, I love using a serger, but you can definitely just use a sewing machine if you don’t have a serger. The serger just makes it a little easier.
As far as materials go, I use both micro-fleece and organic hemp fleece. You do not need to do the micro-fleece, but I like to use it because it allows baby to feel dryer longer. The microfleece pulls the moisture through to the super absorbent hemp layer and wicks the moisture away.
Over time, the hemp material tends to get scratchy and hard, and the top microfleece layer stays soft, providing a more comfortable diaper. If you decide you just want to do hemp fleece, I would recommend doing a few more layers for more absorbency.
Tips For Making DIY Cloth Diaper Inserts
- You will want to wash and dry both the fabrics before sewing, because they shrink at different rates.
- Change up the number of layers in the inserts based on your child’s needs. For heavy wetting or overnight, you could add a few more layers. Or, just make all the inserts the same, and double up the inserts for night time.
- Using a serger makes this DIY super simple, but it is totally not required. See video on how to do it either way.
- If you are new to sewing, make sure to check out my Simple Sewing Series where I show you all the basics to sewing.
Tools you will need:
Sewing machine
Serger (optional)
Micro fleece – optional. I like it because it has that stay-dry effect.
Scissors
Thread
Measuring tape
DIY Cloth Diaper Insert Video Tutorial
Find more baby-inspired posts and sewing projects:
- How To Tie A Baby Wrap – Moby Wrap Instructions
- Minimalist Baby Essentials- Baby Checklist
- How to Make Muslin Swaddle Blankets
- How to Wash Cloth Diapers- My Simple Natural Routine
- The Best Cloth Diaper Covers
How To Make DIY Cloth Diaper Inserts Tutorial
Determine Cloth Diaper Insert Sizes
Small (newborn size)- 10 inches long by 4 inches wide
Medium- 12 inches long by 5 inches wide
Large- 14 inches long by 5 inches wide
The small would be great for newborn diapers, the medium would be for infants, and the large would be for when the diapers are fully extended (say, for a toddler).
I make the most of medium size because that one get you through most of infancy.
Wash And Dry
Make sure to wash and dry both fabrics before sewing. The two fabrics shrink at different rates, and if you sewed them together before washing and drying, you may find that the microfleece kind of bubbles up and doesn’t lay really flat. Not a deal breaker, but also not really ideal.
Cut Out Fabric
- Start by laying the fabric out flat, and cut out a rectangle based on the size you need.
- Fold in half and round the corners so it lays nicer.
- Repeat repeat repeat. Use the first one you cut as a template to cut the rest.
- Cut both the microfleece and the hemp.
Sewing cloth diaper inserts with a serger:
- Stack 2 layers of hemp and one layer of microfleece together with the right sides out and the microfleece on top.
- Serge all the way around the edges of the insert. The serger will cut off any of the extra fabric where you were maybe a little bit uneven.
The key is to make sure at all times you are catching all three layers.
Sewing cloth diaper inserts with a standard sewing machine:
- Stack 2 layers of hemp and one layer of microfleece together with the right sides out and the microfleece on top. Pin if desired.
- Place all 3 layers underneath the presser foot and sew all the way around using a standard stitch about 1/4 inch from the edge, making sure to catch all the layers. Make sure to back and forth stitch at the beginning and the end.
- Cut off any excess and uneven fabric. This is where it is really nice to use a serger, since it already does that for you.
- Place the insert back under the sewing machine foot and finish off the edges with a zig zag stitch. Go all the way around the edges. Trim extra thread.
That is it. Super simple.
Can you dry cloth diaper inserts?
Yes; while covers should be hung to dry, you can dry cloth diaper inserts in a dryer. Do not use fabric softener or fabric sheets when drying cloth diaper inserts.
If you have some staining, you can place the inserts outside in the sun to dry. The sun will get rid of the stains!
How many cloth diaper inserts do I need?
I would recommend at least 18-24 inserts, especially if you will be cloth diapering full-time.
The number you need with depend on a number of factors:
- how many diapers you are planning to use in a day
- if you are planning on cloth diapering exclusively or mixing cloth with “conventional” diapers
- how often you plan on washing your diapers
- how many kids you will be diapering
You may need more or less than the 18-24 listed, but if you find yourself short, you can always make more!
Pin It For Later
DIY Cloth Diaper Inserts
Tools
- Sewing machine
- Serger (optional)
- Scissors
- Measuring tape
Materials
- Thread
- Micro fleece – optional. I like it because it has that stay-dry effect.
- Hemp cotton fleece
Instructions
- Cut out two pieces of hemp cotton fleece and one piece of microfleece to size. Small (newborn size)- 10 inches long by 4 inches wideMedium- 12 inches long by 5 inches wideLarge- 14 inches long by 5 inches wide
- Fold in half and round the corners so it lays nicer.
- Repeat repeat repeat. Use the first one you cut as a template to cut the rest.
- Stack 2 layers of hemp and one layer of microfleece together with the right sides out and the microfleece on top.
- Serger option- Serge all the way around the edges of the insert. The serger will cut off any of the extra fabric where you were maybe a little bit uneven.
- Sewing machine option- Place all 3 layers underneath the presser foot and sew all the way around using a standard stitch about 1/4 inch from the edge, making sure to catch all the layers. Make sure to back and forth stitch at the beginning and the end. Cut off any excess and uneven fabric. This is where it is really nice to use a serger, since it already does that for you. Place the insert back under the sewing machine foot and finish off the edges with a zig zag stitch. Go all the way around the edges. Trim extra thread.
Video
Notes
- Make sure to wash and dry both fabrics before sewing. The two fabrics shrink at different rates, and if you sewed them together before washing and drying, you may find that the microfleece kind of bubbles up and doesn’t lay really flat.

Riya Sen says
I love this idea for cloth diaper inserts! I’m going to have to try this out!
Elizabeth says
Love this! Just wondering what weight of hemp fleece you used. I bought some that is 200gsm. Is that going to be too thin for diaper inserts?
Sunny says
Hello,
I was wondering how much fabric I’d need to make about 30 plus inserts. Thank you! I love the videos and your blog, I’m for sure showing my sister your site.
ringtonesdump.com says
LOVED this post! I ve been researching cloth diapers and I love the idea of DIY inserts; what a money saver! How many pants due you recommend to have on hand for someone who is starting from scratch with a newborn? Thanks a million!
Lisa says
18 should be plenty!
Cara says
Hi Lisa! How much fabric do I need to make 18-24 inserts? Thanks!
Kirsten says
I have this same question but it’s been years since this was posted 😭
Sara says
Would it make sense to fold in the edges before sewing for the sewing machine version? Do you think that would help with reducing fraying in the future or would it cause another issue?
Just so you know, your link to the micro-fleece is not working. It brings you to a page on their website, but not to the micro-fleece.
Thanks for the tutorial! I was really looking forward to seeing where your materials came from since you’ve been cloth diapering for so long. I have a 3 month old who’s a heavy wetter so its been a challenge to find something thin, but absorbent enough for her.
Mandy says
This is such a great tutorial! My cloth diapers are sitting unused for this baby so far, I’ve been so busy! I feel inspired to get them out again 🙂 I really favor pocket diapers, but used a system similar to this at some point in my 9 years of cloth diapering, though I don’t remember why I don’t do that anymore. The stay dry layer is a big plus in your design.
And my jaw dropped in the video when you said your serger was under $200. Definately going to put that on my wishlist! They seem a little intimidating, but the clean edge they make are probably worth figuring it all out.