



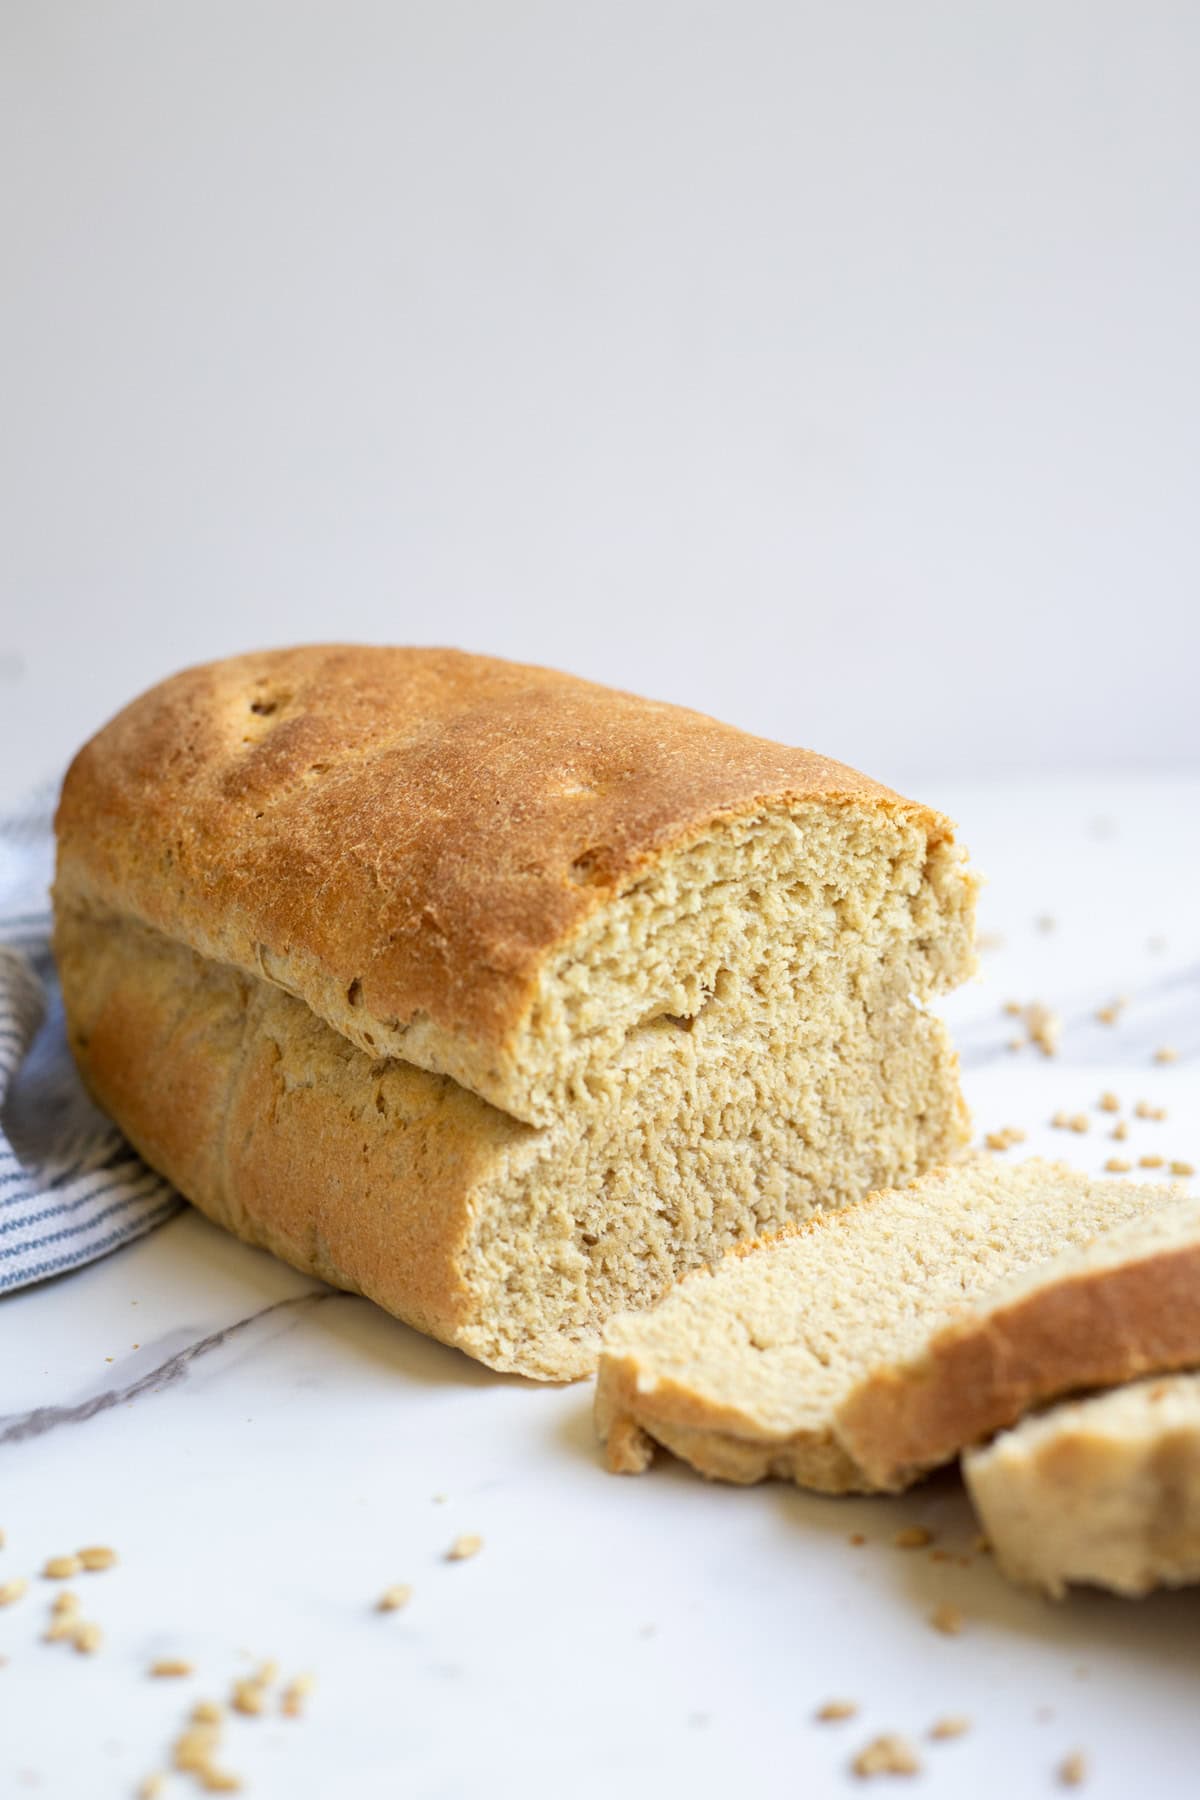
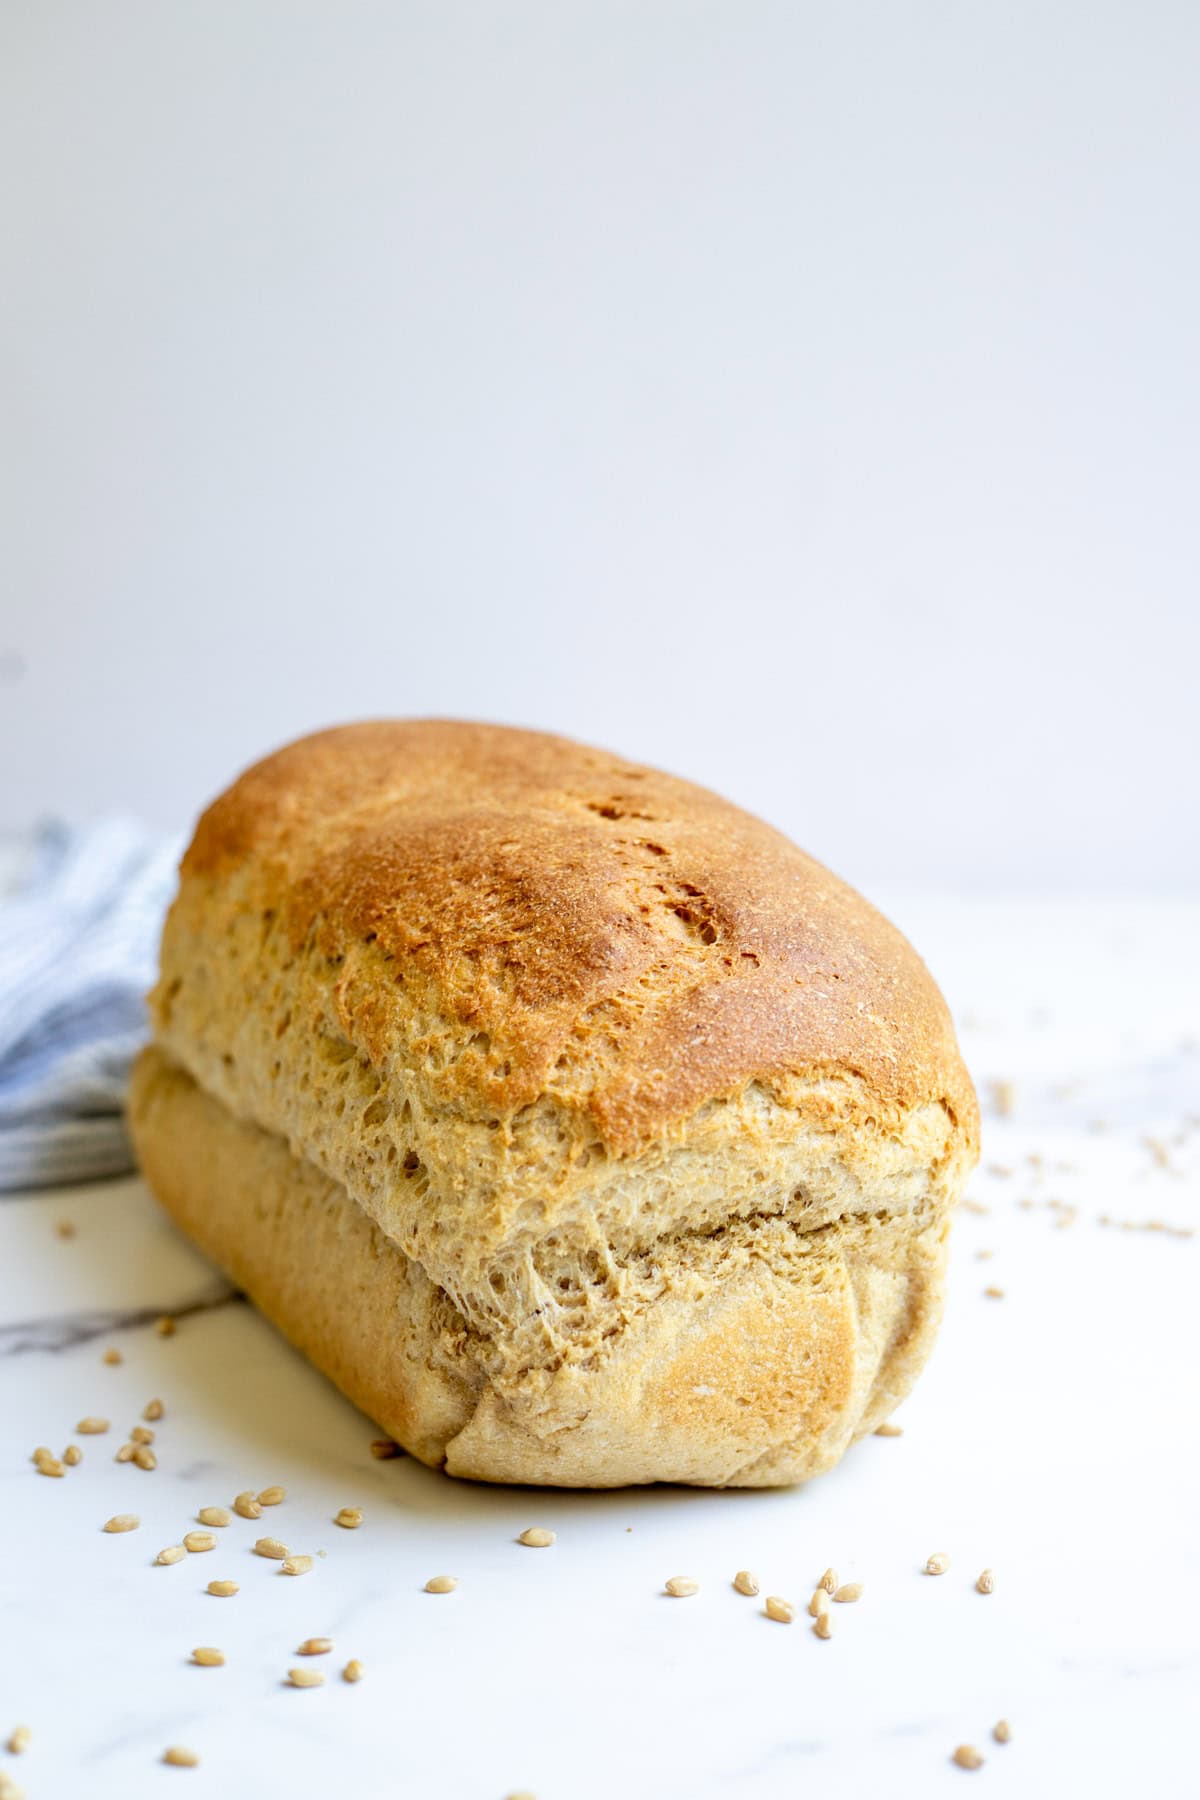
Packed with the flavor and nutrition of whole grain flour and sourdough, this fresh milled sourdough bread is long-fermented and easy to prepare. Enjoy its deliciously tender crumb toasted and spread with butter or as your everyday sandwich bread.
Fresh milled wheat is quickly replacing the other flours in my kitchen. The health benefits of milling my own flour are just too convincing, and the flavor and quality are unmatched, so I’ve been incorporating fresh ground flour whenever and wherever I can.
Commercial flour is often processed, bleached, and fortified with folic acid and other vitamins that were lost in the processing. This affects both flavor and nutrition. And while fortification may sound nice, it is a subject that has become somewhat controversial.
Grinding your own wheat keeps those natural vitamins and minerals intact so that you benefit right from the source as intended.
Additionally, once ground, oxidation begins to decrease the nutrients in the flour. The flour you buy in the store is not fresh and has lost much of its nutritional value at that point.
If you’d like more information on the kinds of grain mills available, the types of grain to consider, and why this is a beneficial practice, I have a separate post on how to mill your flour at home that covers these topics.
You might wonder if this is just an expensive hobby for some people. Really it’s about getting away from the ultra-processed lifestyle and learning the old ways that made for healthier lives. Whole grains that are consumed how they were intended. Flavor that is naturally vibrant and robust, not artificially enhanced.
You’ll find that the extra cost of buying a quality mill and wheat berries pays off pretty quickly. Wheat berries, when stored properly, have a long shelf life. This means you can make flour on demand without worrying about using all those wheat berries within a certain time frame.
Keeping your own grains on hand is a great way to have quality food that will last. If you need some help getting started, read my post on where to buy wheat berries and other bulk grains.
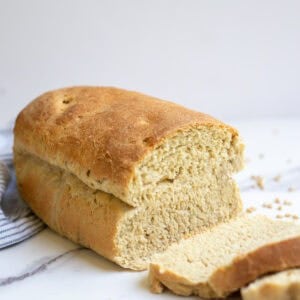
This freshly milled wheat sourdough sandwich bread recipe produces a loaf that smells and tastes incredibly fresh because it is. It’s delicious and perfectly soft when sliced and eaten warm, but also hard to beat toasted and covered in melted butter. The higher protein content and strong gluten networks of hard white wheat turn out the perfect whole wheat flour sandwich loaves.
Milling flour is rewarding and serves my family. So make your own flour and see if it doesn’t bring you great satisfaction!
Why You’ll Love This Recipe
Increased nutrition – Milled at home, fresh flour maintains its bran and germ, which offer increased vitamins and minerals. Store-bought flour is often highly processed, sometimes bleached, and lower in nutrients from oxidation over time.
Deeper flavor – Freshly milled flour has a heightened flavor because it is less processed, retains all parts of the grain, and is ground right before use. The naturally sweet, nutty flavor is amplified all the more when baked.
Easier digestion – Because the bran and germ are preserved, fresh milled flour has more of its nutrients intact. This not only includes vitamins and minerals but also the enzymes that aid in digestion.
Ingredients
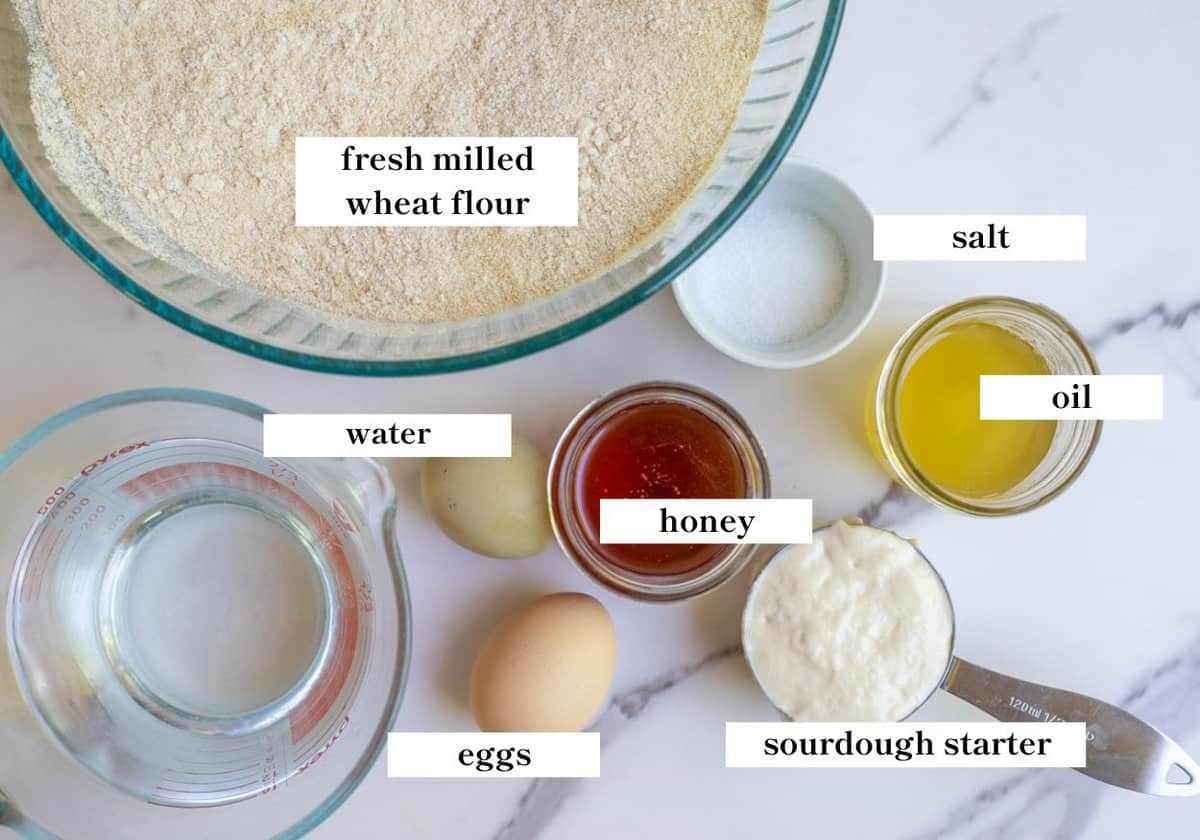
Fresh milled flour – I use hard white wheat for its higher gluten content and better structure. You can use hard red wheat or hard white but avoid soft wheat. Soft wheat has less gluten and is meant for more delicate recipes like fluffy biscuits or chocolate chip cookies.
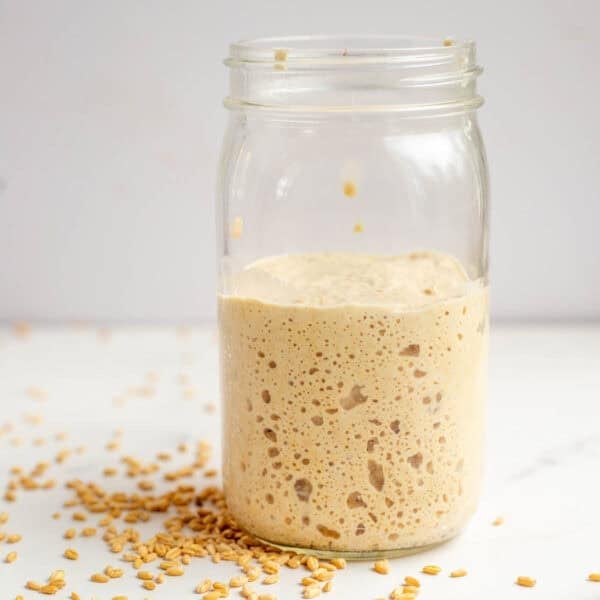
Active sourdough starter – Recently fed; active and bubbly. Active starter is the leavening agent that gives your loaf of bread its rise.
Water – I always recommend filtered water for best results. The chlorine in tap water can hinder fermentation.
A full ingredient list with exact amounts can be found in the recipe card below.
Tools You May Need
Grain mill – I like my Mockmill, but I’ve also tried the Nutrimill. Here is my post on how the Mockmill and Nutrimill compare.
How to Make Fresh Milled Sourdough Bread
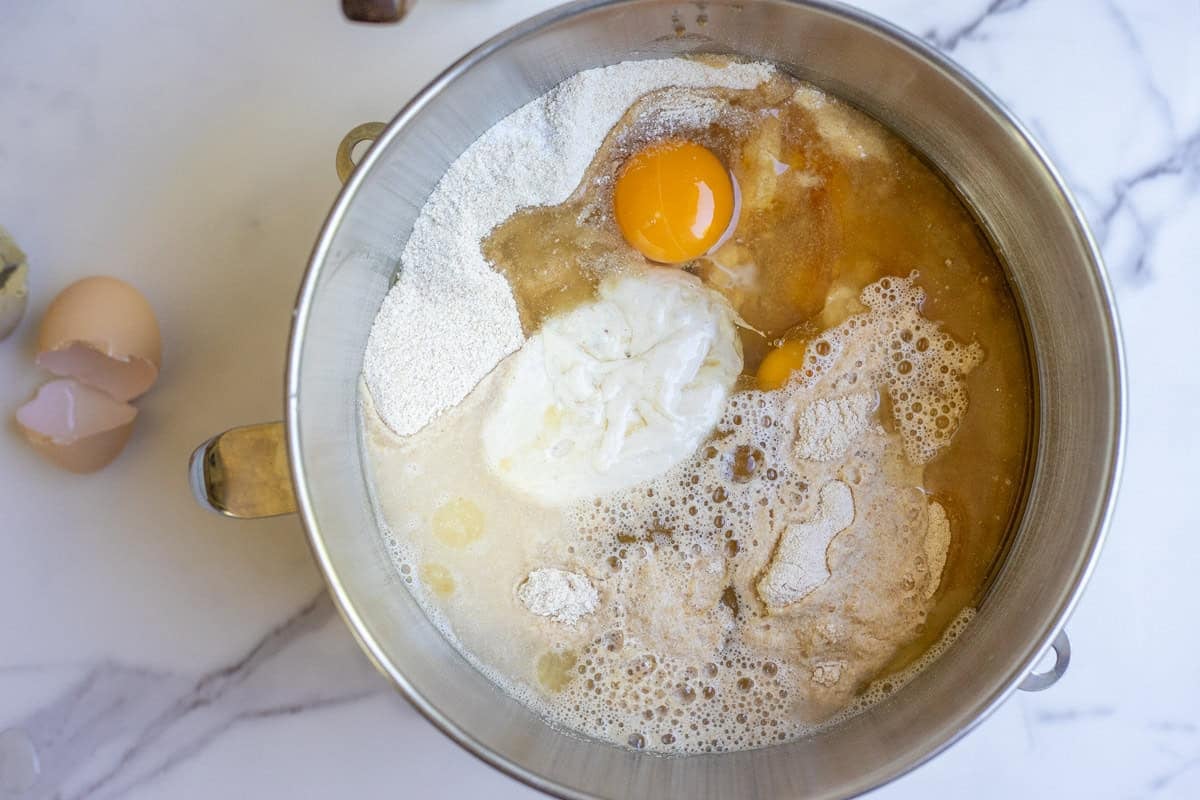
Step 1: Begin when you have a fed, active starter. Add water, oil, honey, salt, eggs, starter, and flour to a large mixing bowl or to the bowl of a stand mixer with a dough hook attachment. Mix by hand or on medium speed until the dough is fully incorporated. Cover and let the dough rest for 30 minutes to fully hydrate the flour.
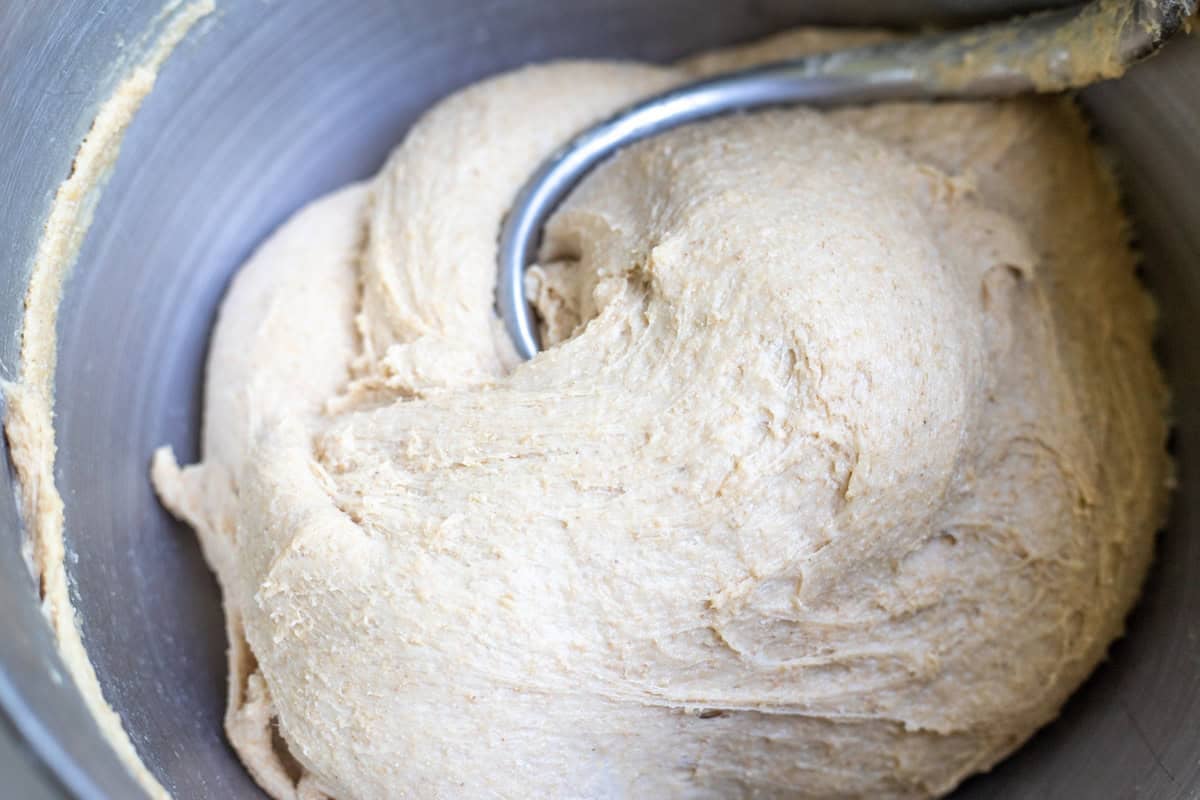
Step 2: If using the mixer, continue on medium-low for 15 – 20 minutes until the dough is smooth and does not stick to the sides of the bowl. If the dough is still too wet and won’t come together, add more flour a little at a time until it does.
Tip: Alternatively, you can begin a series of stretch and folds where you take the dough on one side and pull it up about 6 inches, then fold it over the rest of the dough and press. Turn the bowl a quarter turn and repeat the process 3 – 4 times. This is considered one round. Cover the bowl between rounds, following the schedule below.
- First 3 stretch and folds, every 15 minutes.
- Last 3 stretch and folds, every 30 minutes.
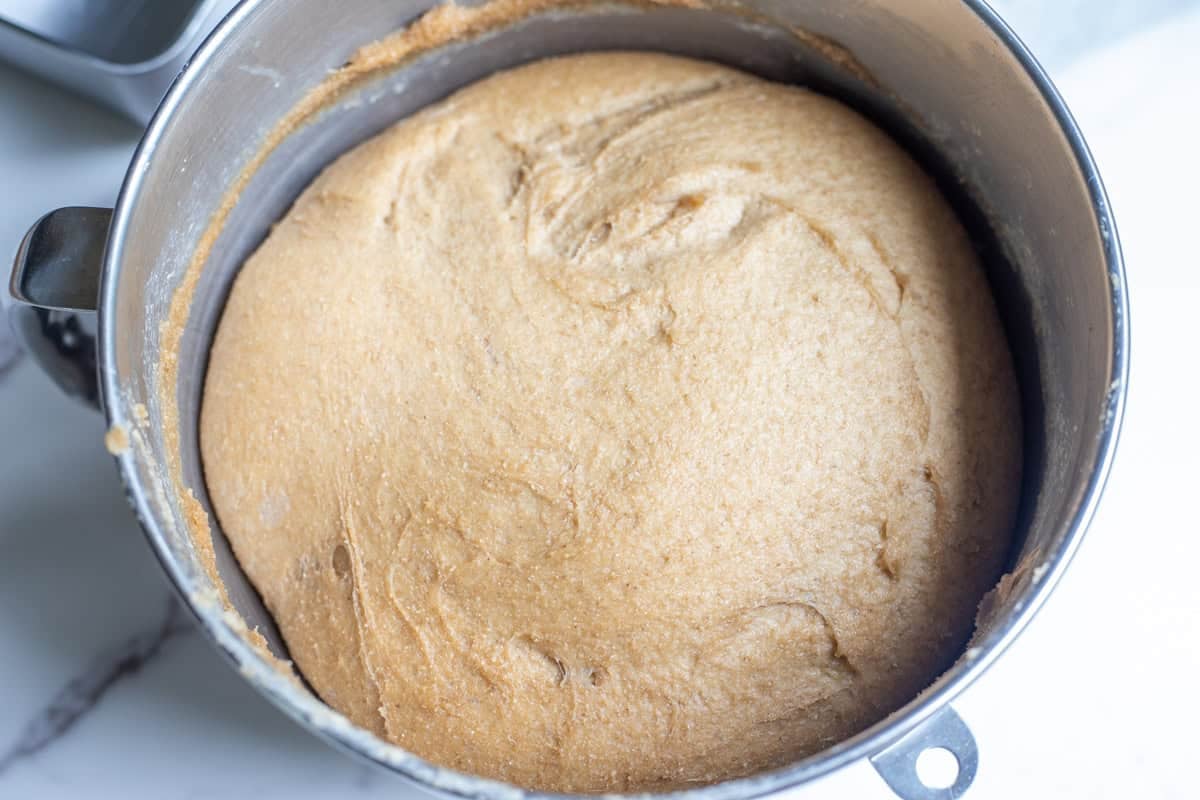
Step 3: Cover the bowl with a damp tea towel and set it in a warm place for 10-12 hours for the bulk fermentation.
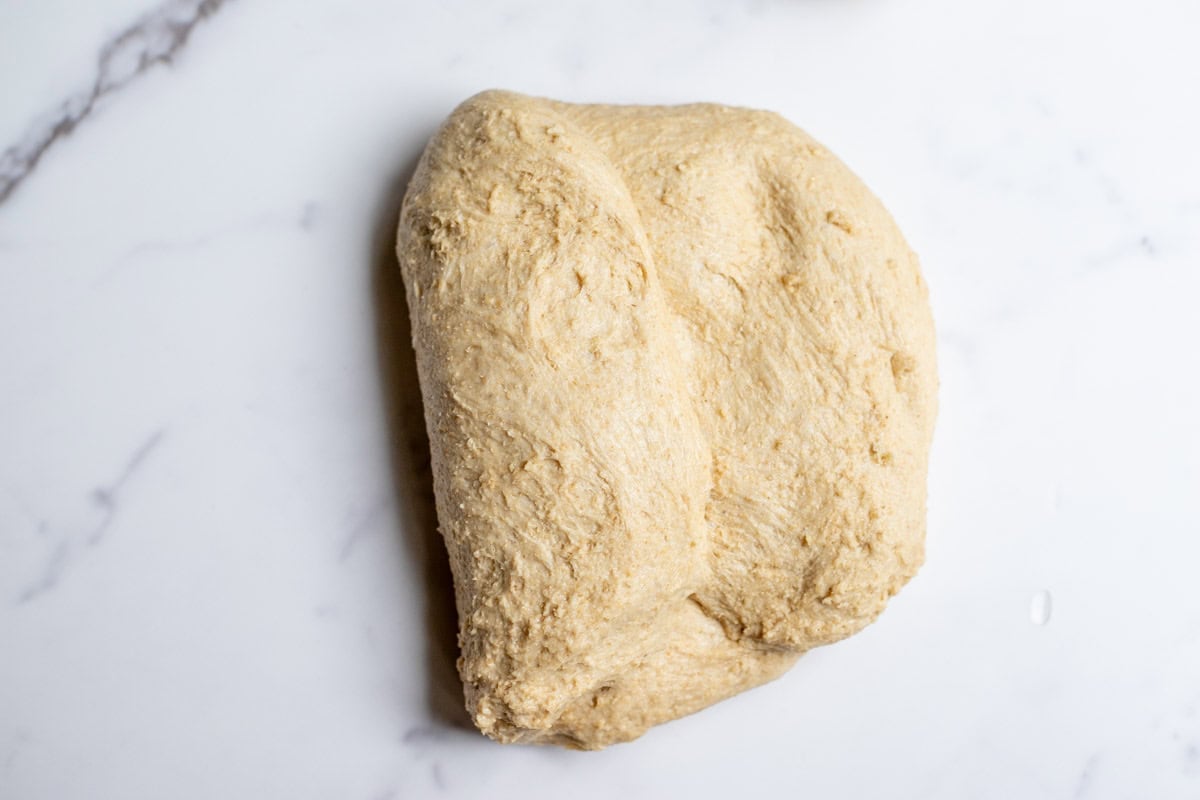
Step 4: After this first rise, divide the bread dough in half. Shape each half for loaf pans by rolling it out into a loose rectangle, then rolling it back up to fit.
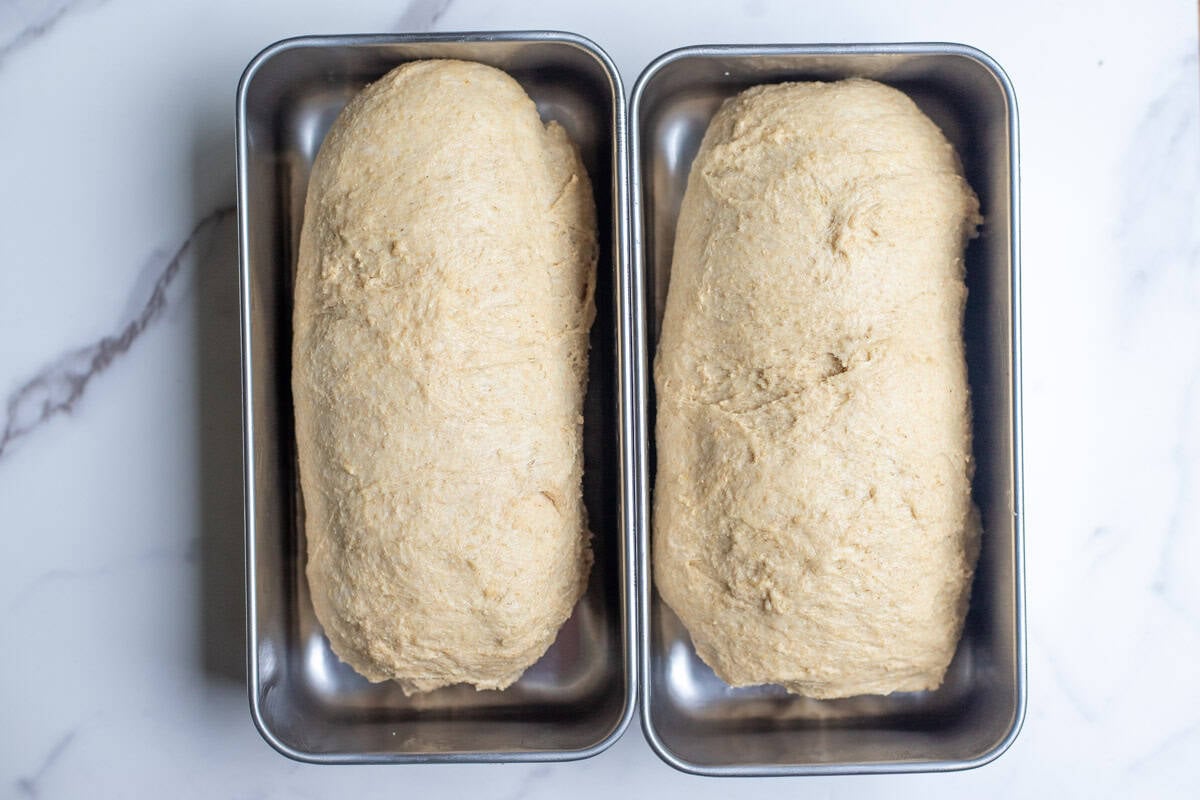
Step 5: Add the dough to loaf pans that are greased or lined with parchment paper. Let the dough rise in a warm place a second time, for 2-4 hours, or until doubled in size.
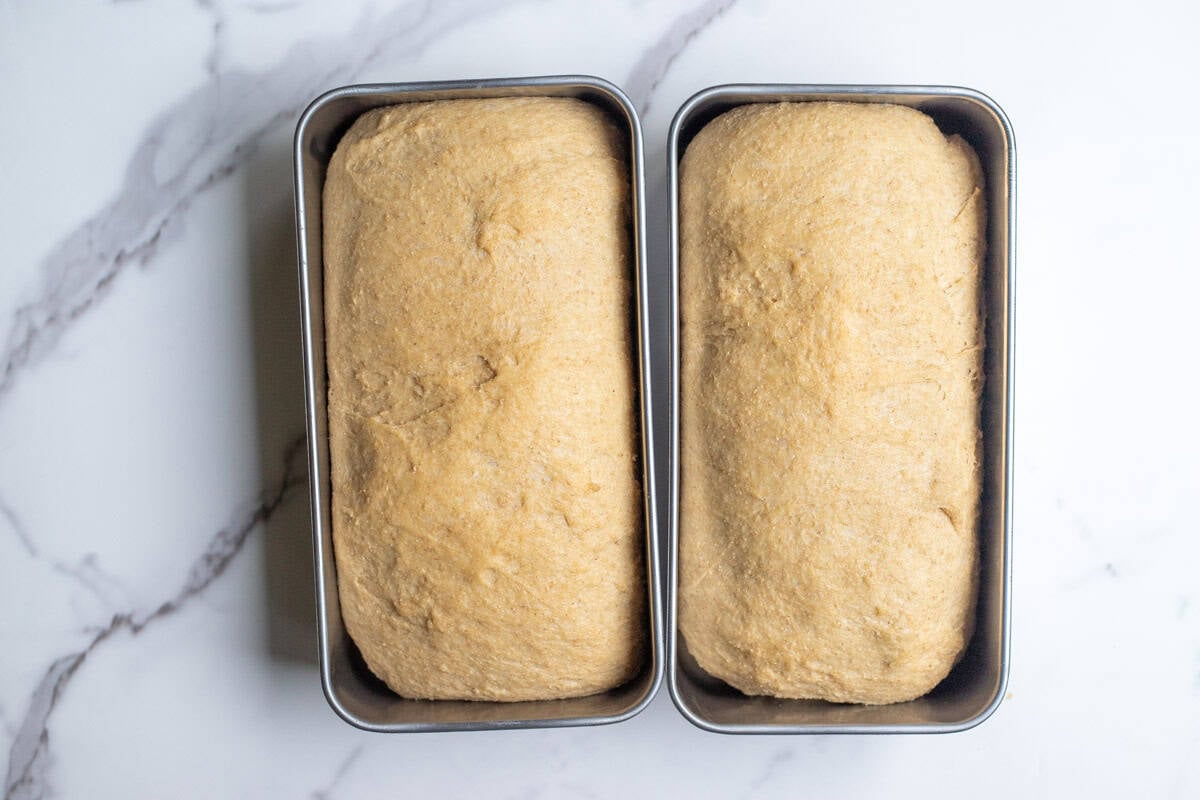
Step 6: Once doubled in size, preheat the oven to 350 degrees Fahrenheit. If you want to add an optional egg wash, do so now. Bake for 30-40 minutes or until golden on top. Allow to cool completely before slicing.
Tips
- The windowpane test is when you stretch a small amount of dough between four fingers. If you can stretch it apart thin enough to see through, the dough is ready. if it breaks apart, not enough gluten formation has happened.
- The ingredients for two loaves may be too much for a standard mixer to handle. You can halve the recipe for your mixer, or you can mix the full recipe by hand and use the stretch and fold method.
- For quicker fermentation, keep your dough near a heat source like a wood burner in the winter, or in a sunny window in the summer. Other common places are the top of cabinets or on top of the refrigerator.
- Don’t over ferment the dough. It will turn into a sloppy mess that won’t rise well. If you need more time, cover the dough and place it in the refrigerator to wait.
- If you mill more flour than you end up using, store the extra flour in an airtight container in a cool, dark place. Keeping it in the fridge or freezer will extend its life. Use within 6 to 12 months.
Recipe FAQs
Leftover bread may be stored in an airtight container at room temperature for up to five days. Once the bread has fully cooled, you can also store it in freezer-safe bags or containers and freeze for 3-6 months.
Yes, it is considered to be a healthier option because it is not processed like the flour from the grocery store. Freshly milled flour retains all of its whole grain components, which preserves the natural vitamins and minerals.
Yes, you can. Whole grain flour ferments rapidly in a sourdough starter, with the natural yeast and good bacteria feasting on the extra nutrition of milled wheat berries, bran and all.
They need more water because of the presence of the bran and germ, which absorb more water. Regular white flour is just the endosperm of the wheat grain, which requires less water.
Whole grains require more kneading and sourdough requires lots of fermentation time. Neglecting either of these will affect the density and texture. If you are trying to speed up the process, don’t skip steps. Instead, you can use warm water when making the dough and keep it in a warm location for the fermentation.
Baker’s Timeline
Day One
1:00 pm: Feed sourdough starter.
5:00 pm: When the starter is peaked, mix all dough ingredients, then let rest for 30 minutes.
5:45 pm: Begin the stretch and fold process. First 3 stretch and folds – every 15 minutes. Last 3 stretch and folds – every 30 minutes.
8:00 pm: Cover with a damp towel and allow the dough to bulk ferment for 10 – 12 hours.
Day Two
8:00 am: Shape dough into two loaves.
8:30 am: Cover and let rise for 2 – 4 hours until doubled.
10:30 am: Bake for 30 – 40 minutes, then cool.
More Sourdough Recipes from the Farmhouse
- Easy Kamut Bread
- Soft Multigrain Sourdough Bread
- Spelt Sourdough Bread
- Easy Einkorn Sandwich Bread
- Whole Wheat Sourdough Dinner Rolls
If you try this recipe and love it, I would love it if you could come back and give it 5 stars! Tag me on Instagram @farmhouseonboone.

Fresh Milled Sourdough Sandwich Bread
Equipment
Ingredients
- 2 1/4 cups water, 531g
- 1/2 cup oil, 112g
- 1/2 cup honey, 168g
- 1 tablespoon salt, 17g
- 2 eggs
- 1/2 cup active starter, 113g
- 7 cups fresh milled flour, 1,050g I use hard white wheat
Instructions
- Begin when you have a fed, active starter. Add water, oil, honey, salt, eggs, starter, and flour to a large mixing bowl or to the bowl of a stand mixer with a dough hook attachment.
- Mix by hand or on medium speed until the dough is fully incorporated. Cover and let the dough rest for 30 minutes to fully hydrate the flour.
- If using the mixer, continue on medium-low for 15 – 20 minutes until the dough is smooth and does not stick to the sides of the bowl. It should pass the windowpane test. If the dough is wet, add a some flour a little bit at a time.
- Alternatively, you can begin a series of stretch and folds where you take the dough on one side and pull it up about 6 inches, then fold it over the rest of the dough and press. Turn the bowl a quarter turn and repeat the process 3 – 4 times. This is considered one round. Cover the bowl between rounds, following the schedule below.
- First 3 stretch and folds, every 15 minutes. Last 3 stretch and folds, every 30 minutes.
- For all kneading methods, when kneading is complete, cover the bowl with a damp tea towel and set it in a warm place for 10 – 12 hours for the bulk fermentation.
- After this first rise, divide the bread dough in half. Shape each half for loaf pans by rolling it out into a loose rectangle, then rolling it back up to fit.
- Add the dough to loaf pans that are greased or lined with parchment paper. Let the dough rise in a warm place a second time, for 2 – 4 hours, or until doubled in size.
- Preheat the oven to 350 degrees Fahrenheit. If you want to add an optional egg wash, do so now. Bake for 30 – 40 minutes or until golden on top. Allow to cool completely before slicing.
Notes
- The ingredients for two loaves may be too much for a standard mixer to handle. You can make half of the recipe for one loaf if you are worried about overheating your mixer or just mix by hand and use the stretch and fold method.
- Please double-check amounts when using the multiplying feature in the recipe card.
- If you are looking for gram measurements, toggle to the “metric” version in the recipe card.
- The windowpane test is when you stretch a small amount of dough between four fingers. If you can stretch it apart thin enough to see through, the dough is ready. if it breaks apart, not enough gluten formation has happened.
- Don’t over ferment the dough. It will turn into a sloppy mess that won’t rise well.
Nutrition
Nutrition information is automatically calculated, so should only be used as an approximation.








Made this into buns and one loaf of bread, and it turned out very soft, the softest fresh milled bread I’ve tried. I do 50% hard red, 25%einkorn, and 25% kamut. For anyone wondering if they can add in different grains it will still work great. I also only let it rise for 5 hours and then it had doubled in size, and then shaped and let rise for another hour and half.
This is my first time making this recipe and only second time making sourdough bread: this whole wheat bread turned out very good in every way and was easy to make with Lisa’s clear directions!
I’ll be making it again!!
This recipe is my favorite for fresh milled flour. I’ve tried many recipes using active dry yeast, as well as instant yeast and have not had the same success with the texture nor the flavor. AND knowing the numerous health benefits with sourdough/fermenting makes it even better.
I came to say the same exact thing Patti! I have been a sourdough baker for many years, but I am fairly new to freshly milled flour. I have tried many many many loaves and all have felt like a flop compared to this one. I used my Bosch mixer and the dough reached window pane after only eight minutes. I only did one coil fold 30 minutes after that and didn’t touch the loaves until their final proofing and this is the most beautiful freshly milled bread I have ever seen or made. Thank you for this clear recipe. It is definitely a winner.
I am happy to have found this loaf bread recipe and have made it several times now for my family. I do often sprout my grain, dehydrate, and grind fresh. I didn’t ferment it 10-12 hrs as the recipe says…the loaves rose nicely so I baked them much sooner. Could it be placed in the fridge for those 10-12 hrs? Also, I am wondering if you could skip the honey?
Yes, you can skip the honey. I would do some amount of time on the counter and then you can switch to the fridge for a longer fermentation.
My question was also about skipping the honey because my daughter is trying to eliminate sugar. Do I need to change any of the ingredients to omit the honey? Or just simply leave it out?
You may need to add a little more liquid, but I would wait and see after mixing it together.
Can I slow down or pause the dough by putting it in the fridge if my timing got messed up? (Like the 2-4 hr second rise?)
Yes, that’s fine.
Thanks, Lisa. I baked the recipe as a single loaf in the long pullman loaf pan and while it was the perfect size for the double loaf dough with nice dome, it was quite dark on top before the center finished. I’m still learning, how would you alter the bake method? lower temp and increase time? (My FM recipes always end up the same brown…not close to the light color in your picture.)
Can I do the second rise in the fridge overnight?
Curious if you could swap the water with pumpkin puree to make a pumpkin loaf….
Yes, that should work!
I just made this last week and was pleasantly surprised by the moist crumb this has. I’m making it again this week. (Using soft winter European wheat that’s considered a medium wheat and it’s working!it’s hard to find hard wheat where I live.)
My only disappointment was that the next day the bread was a bit dry and needed to be toasted or warmed to be enjoyed. I’m new to making homemade bread so am wondering if that’s just how it is, or if there’s something I can do to improve that? I would like it to stay fresh at last a couple days.
I did add a bit of flour my first time and am wondering if that was the reason for the dryness. So this time I kept the flour as is in the recipe even though the dough is on the stickier side. Will update.
I just made this last week and was pleasantly surprised by the moist crumb this has. I’m making it again this week. (Using soft winter European wheat that’s considered a medium wheat and it’s working!it’s hard to find hard wheat where I live.)
A little lecithin would probably help.
This is now my favorite recipe for sourdough bread. I love that it is whole wheat and the texture is beautiful! Your recipe is easy to follow and it by far is my favorite recipe that I have tried since starting my sourdough journey a couple of months ago.