This reversible apron pattern makes a sweet, thoughtful gift any time of the year, but especially at Christmas. Follow my tips below to easily create a gift that is one-of-a-kind.
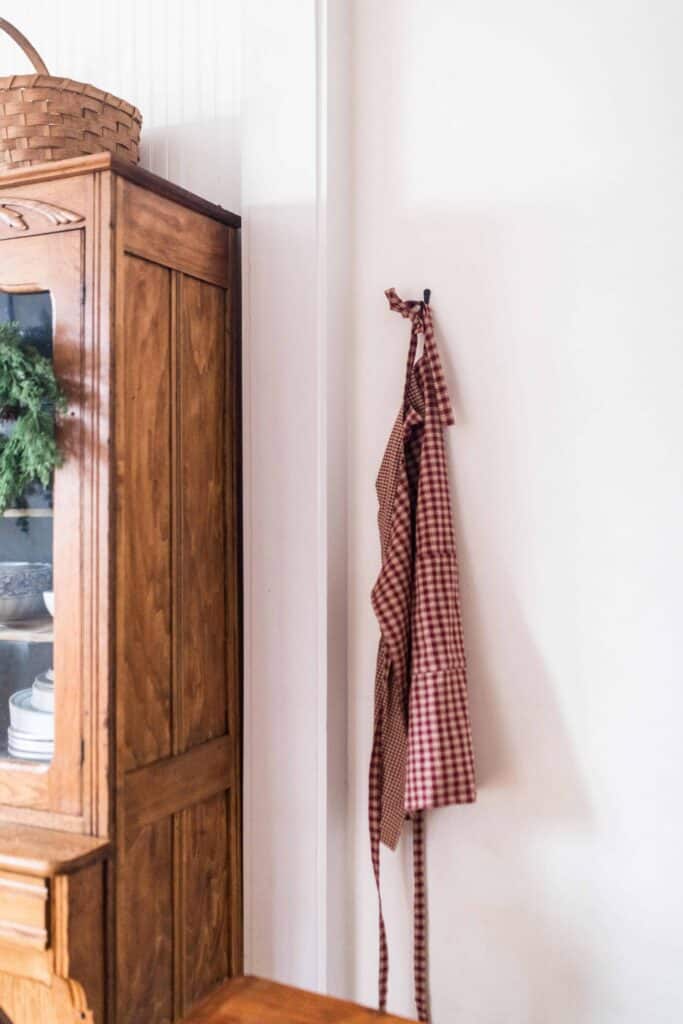
I’ve been talking a lot about DIY Christmas presents on Youtube and the blog, and this project makes a great gift, so today I want to show you all how to make this DIY reversible apron.
This is actually something I came up with several years ago.
Recently, when I was at my in-laws’ house for Thanksgiving, I noticed my mother-in-law was wearing a reversible apron I made her over 10 years ago… and it got me thinking that I should share it here.
It’s definitely a gift that will be used and cherished for a long time!
Making the apron is a super simple process, perfect for the beginner sewer. If you are totally new to sewing, make sure to check out my simple sewing series where I walk you through all the basics.
Of course, you could make this project anytime of the year, but I made it with a little bit of a Christmas theme. I’d really like to make another one in blue. The one I made for my mother-in-law has sunflowers.
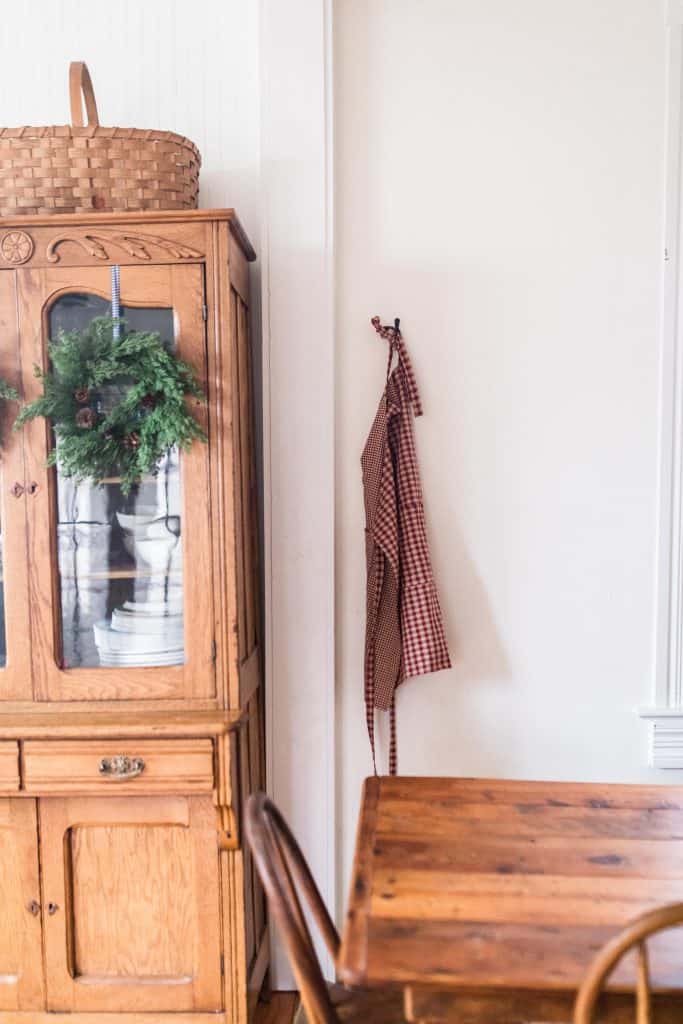
You can completely customize this apron to your taste. I love that it looks really pretty just hanging in the kitchen.
Tips For Making DIY Reversible Apron
- Use different, but coordinating fabric to make this reversible apron. Place the pockets on the coordinating side or the opposite fabric side to change it up a bit.
- You can use red fabric for a more Christmasy look, or beautiful linen for all year round.
- Give this gift as part of a homemade baking basket. Add a pretty whisk, measuring spoons and cups, and your favorite cookie recipe.
This post contains affiliate links, which means I make a small commission at no extra cost to you. See my full disclosure here.
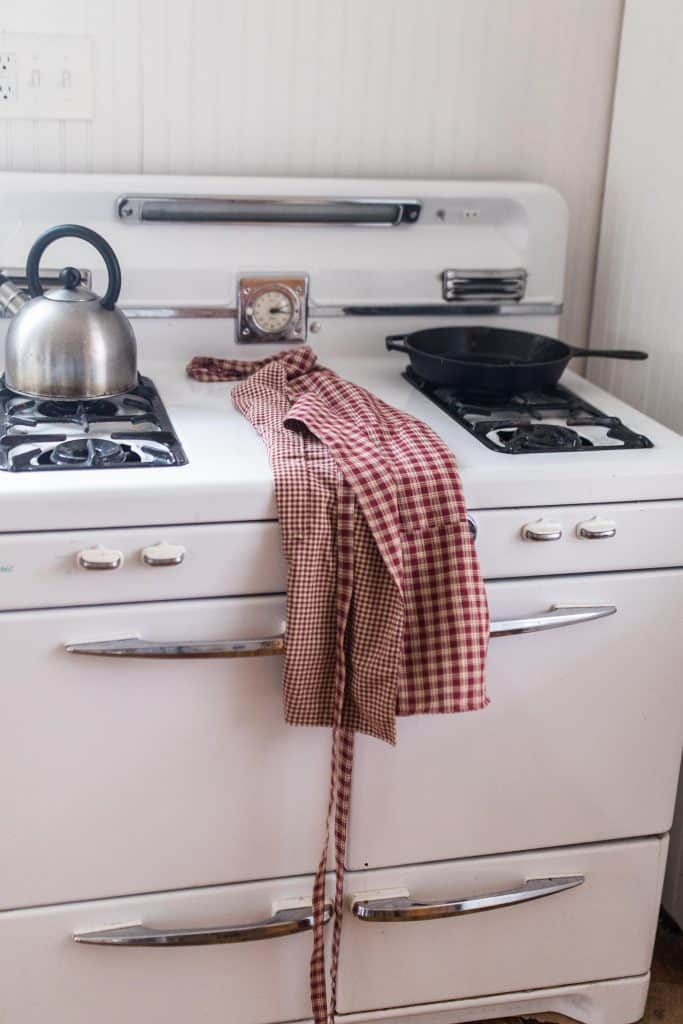
Materials and tools you will need:
Coordinating fabric: I used this fabric, and this one.
Main piece 30” wide by 33” long (cut 2) – make sure fabrics are coordinating.
Shoulder strap pieces 2.5” wide by 25” long (cut 2)
Waist strap pieces 2.5” wide by 40” long (cut 2)
Pocket piece 17” wide by 10” long (cut 2)
How To Make A Reversible Apron
Step 1: Cut Out Apron Pieces
- Cut a rectangle 30 inches wide by 33 inches long out of each of your main piece fabrics (you’ll have two total 30×33″ rectangles).
- One will be for one side of the apron, and the other is for the other side, so make sure they are coordinating.
- To get the arm holes, fold one of the main pieces in half lengthwise, and then make a mark 6 inches from the fold and 9 inches down the side.
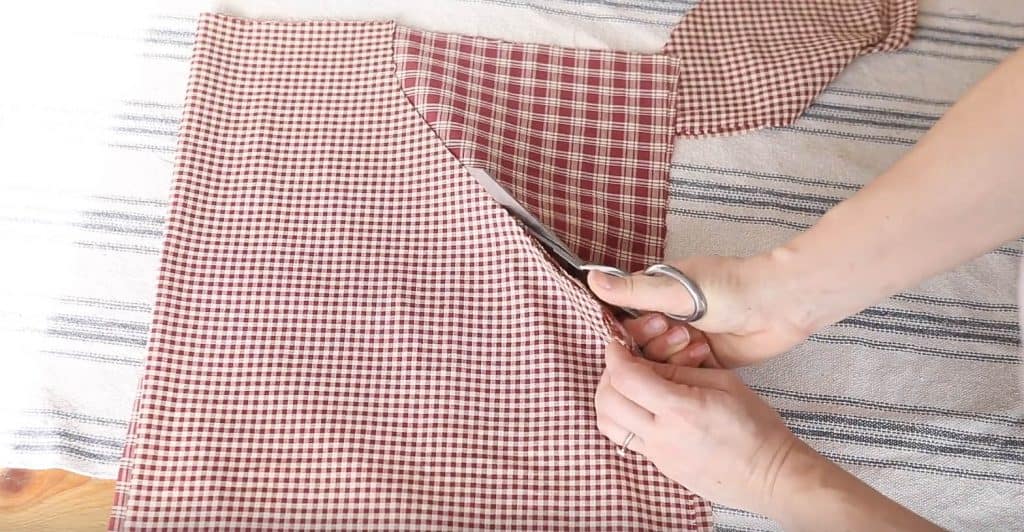
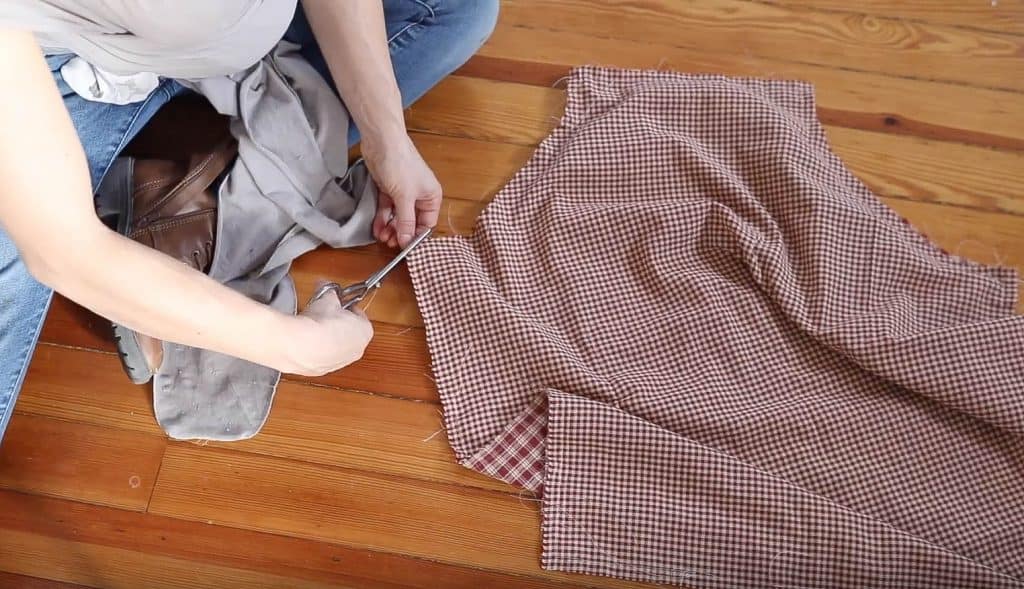
- Using a fabric marker, or making an indent with the handle of your scissors, make a curved line from the two marks, and then cut along that line through both sides of the fabric to make an arm hole on each side.
- Repeat with the other main piece. Fold it in half like the other piece, then lay it on top of the already cut piece, and cut along the curve, using the first piece as a guide.
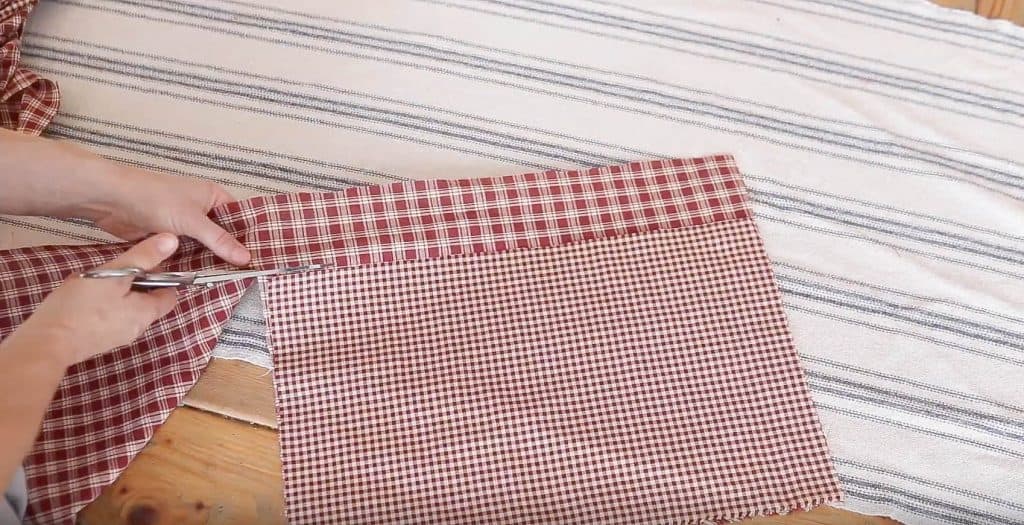
- Next, cut out the shoulder straps (2.5” wide by 25” long (cut 2)), waist straps (2.5” wide by 40” long (cut 2)), and pocket pieces (17” wide by 10” long – cut one pocket in one fabric and the other pocket in the other fabric).
Step 2: Sew The Straps
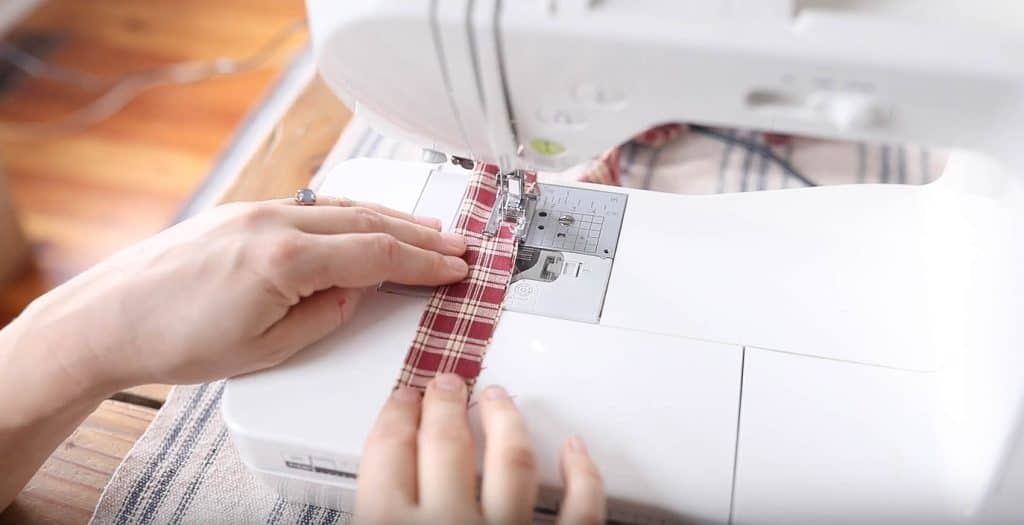
- Fold the straps in half lengthwise with the right sides in.
- Sew along the edge. When you get to the end of one side, fold down the end and sew, giving it a clean edge.
- Repeat that same process for all four straps.
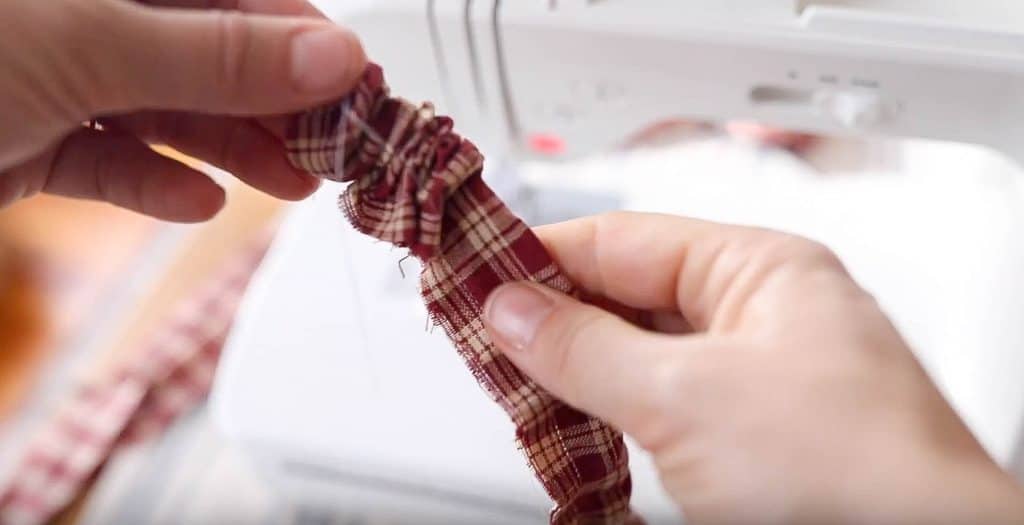
- Using a safety pin, pin one side and push it through to turn it right side out.
- Press the straps with an iron, and then add a top stitch down each of the long sides of the straps and over the side you turned in.
- I like top stitches because they give everything a nice, clean look
Step 3: Make, Create, And Sew The Pockets
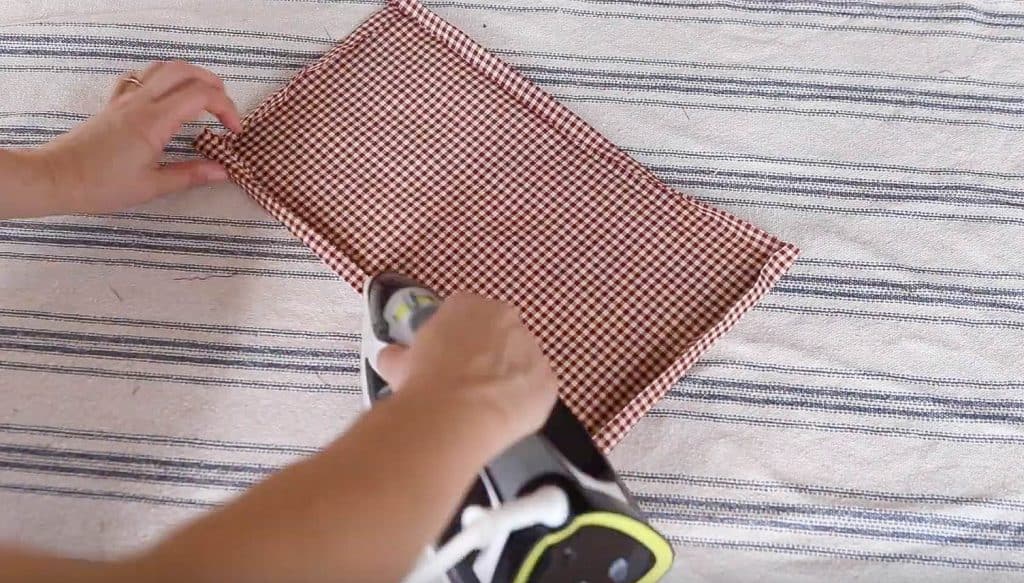
- Prepare pocket piece by pressing all sides. Fold over each side about a half inch, and then another half inch, and press.
- Sew a top stitch on the top edge of the pocket.
- Don’t worry about top stitching the other sides right now because they will be sewn to the apron, but the top won’t be, so it needs to be finished.
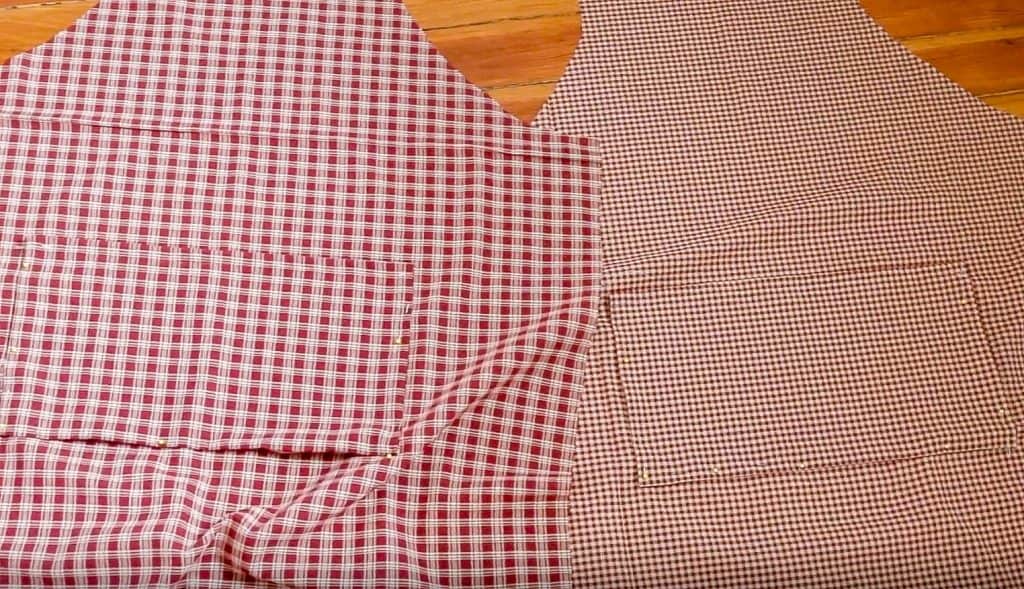
- Place pocket 7-1/4″ from raw edge sides and 14.5″ from top. Pin in place.
- Basically, it is centered in the apron piece. I sewed the matching fabric pockets for the apron, but you could sew the opposite fabric for the pocket on each side, if the fabrics are coordinating, to mix it up.
- Basically, it is centered in the apron piece. I sewed the matching fabric pockets for the apron, but you could sew the opposite fabric for the pocket on each side, if the fabrics are coordinating, to mix it up.
- Once the pockets are in place, top stitch the 3 sides of the pocket that have already been folded and pressed over, to sew it to the apron.
- After the pockets have been sewn on each side, find the middle of pocket (7-1/4″ from the side) and sew down the middle, creating two pockets.
Step 4: Sew The Apron Together
- Lay the apron flat with right side up.
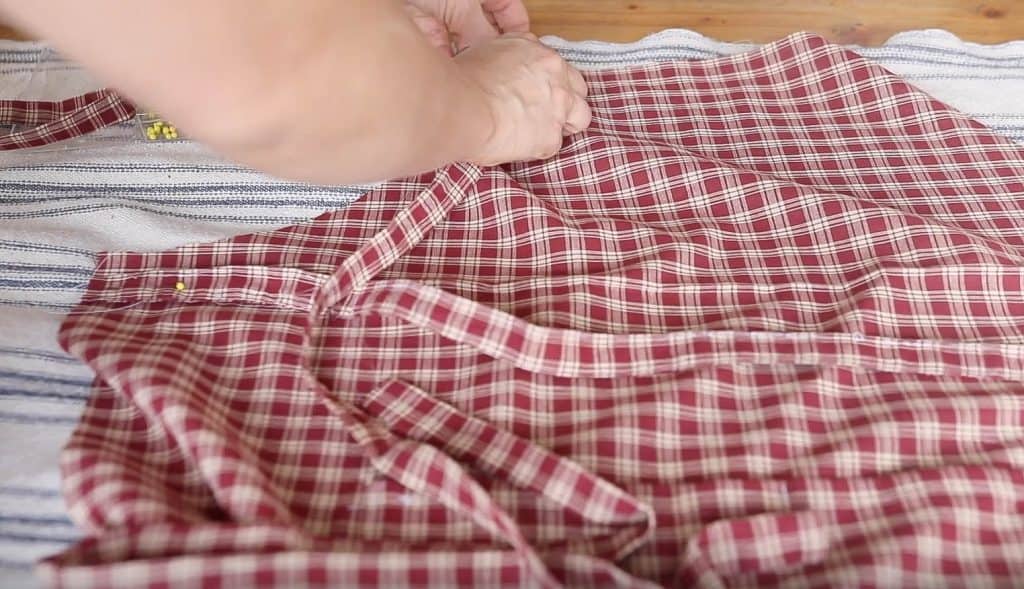
- Pin the finished short straps to near top of the apron, about a 1/2 inch in from the side (this allows for seam allowance). The unfinished edge of the straps should be in line with the raw apron edge.
- Pin the finished long straps near the waist part, about 1/2 inch below where the arm holes end on the side.
- Place the other main apron piece on top of the other main piece, right sides together. The wrong side should be facing you.
- Make sure all your straps are laying inside the main apron pieces so they’re in the right spot when you turn out your apron!
- Sew all the way around with a half inch seam allowance, leaving a small opening at the bottom to turn it right sides out.
- I like to do it at the bottom, because it is the least noticeable place and all the raw edges can be nicely hidden.
- I clipped little slits around the curve for the armholes and trimmed the corners a bit; this will just give it less bulk when turning it out and help it lay more nicely.
Step 5: Turn The Apron Right Side Out And Top Stitch
- Turn the apron right sides out through the hole in the bottom.
- Sew all the way around the apron using a narrow top stitch. And I mean narrow – I like to do it about 1/8″ from the edge of the apron. Make sure to sew the hole you created to turn the apron right sides out nicely.

That’s it.
This would be really cute as a Christmas gift. Pair it with a whisk or baking tools, or one of the cookie mason jar kits where you just have to add the liquids.
There are so many ways you could give it as a super thoughtful gift for someone who loves to cook or bake, or someone who is just starting out in their home!
More Of My Favorite Sewing Projects:
- How to Sew a Skirt
- DIY Ticking Stripe Curtain Sewing Tutorial
- How to Sew a Slipcover for a Wooden Bench
- DIY Nursing Cover Tutorial
- DIY Summer Dress; Shirred Dress Tutorial
Shop the tutorial
How To Make A Reversible Apron Printable Instructions
If you try this project and love it, I would appreciate if you could come back, comment on the post, and give it 5 stars! Thanks.

How To Make A Reversible Apron
Tools
- Sewing machine
- Fabric scissors
- Pins
Materials
- Coordinating fabric:
- Main piece 30” wide by 33” long cut 2 - make sure fabrics are coordinating.
- Shoulder strap pieces 2.5” wide by 25” long cut 2
- Waist strap pieces 2.5” wide by 40” long cut 2
- Pocket piece 17” wide by 10” long cut 2
- Coordinating thread
Instructions
- Cut a rectangle 30 inches wide by 33 inches long out of each of your main piece fabrics (you'll have two total 30x33" rectangles). One will be for one side of the apron, and the other is for the other side, so make sure they are coordinating.
- To get the arm holes, fold one of the main pieces in half lengthwise, and then make a mark 6 inches from the fold and 9 inches down the side.
- Using a fabric marker, or making an indent with the handle of your scissors, make a curved line from the two marks, and then cut along that line through both sides of the fabric to make an arm hole on each side.
- Repeat with the other main piece. Fold it in half like the other piece, then lay it on top of the already cut piece, and cut along the curve, using the first piece as a guide.
- Next, cut out the shoulder straps (2.5” wide by 25” long (cut 2)), waist straps (2.5” wide by 40” long (cut 2)), and pocket pieces (17” wide by 10” long - cut one pocket in one fabric and the other pocket in the other fabric.)
- Fold the straps in half lengthwise with the right sides in. Sew along the edge. When you get to the end of one side, fold down the end and sew, giving it a clean edge.
- Repeat that same process for all four straps.
- Using a safety pin, pin one side and push it through to turn it right side out.
- Press the straps with an iron, and then add a top stitch down each of the long sides of the straps and over the side you turned in.
- Prepare pocket piece by pressing all sides. Fold over each side about a half inch, and then another half inch, and press.
- Sew a top stitch on the top edge of the pocket.
- Place pocket 7-1/4" from raw edge sides and 14.5" from top.
- Pin in place.
- Once the pockets are in place, top stitch the 3 sides of the pocket that have already been folded and pressed over to sew it to the apron.
- After the pockets have been sewn on each side, find the middle of pocket (7-1/4" from the side) and sew down the middle, creating two pockets.
- Lay the apron flat with right side up.
- Pin the finished short straps to near top of the apron, about a 1/2 inch in from the side (this allows for seam allowance). The unfinished edge of the straps should be in line with the raw apron edge.
- Pin the finished long straps near the waist part, about 1/2 inch below where the arm holes end on the side.
- Place the other main apron piece on top of the other main piece, right sides together. The wrong side should be facing you.
- Make sure all your straps are laying inside the main apron pieces so they're in the right spot when you turn out your apron!
- Sew all the way around with a half inch seam allowance, leaving a small opening at the bottom to turn it right sides out.
- I clipped little slits around the curve for the armholes and trimmed the corners a bit; this will just give it less bulk when turning it out and help it lay more nicely.
- Turn the apron right sides out through the hole in the bottom. Sew all the way around the apron using a narrow top stitch.
Notes
- See blog post for more detailed instructions, and step-by-step pictures.
Pin It For Later


Anonymous says
GREAT TUTORIAL! Will make again and again. THANKS.
Carlotta says
how much yardage for each pattern? guessing i need 1 1/2 yards of each?
Tami Young says
I’ve watched so many YouTube videos on how to make reversible aprons. I always come back to your site. Your sewing instructions, and results, are tried and true. Many thanks!
Pamela Bruschi says
Clear and easy instructions. I made the neck strap in one piece. I love how it turned out. Thanks!
Lisa says
Awesome! thanks for sharing!
Linda Stadtherr says
Could you please tell me how much fabric I would need to make one apron? Example: 1 yard of 48″ fabric. 1 1/2 yard of 36″ fabric.
Thanks much!
Russ says
Just the apron pattern I’ve been looking for .