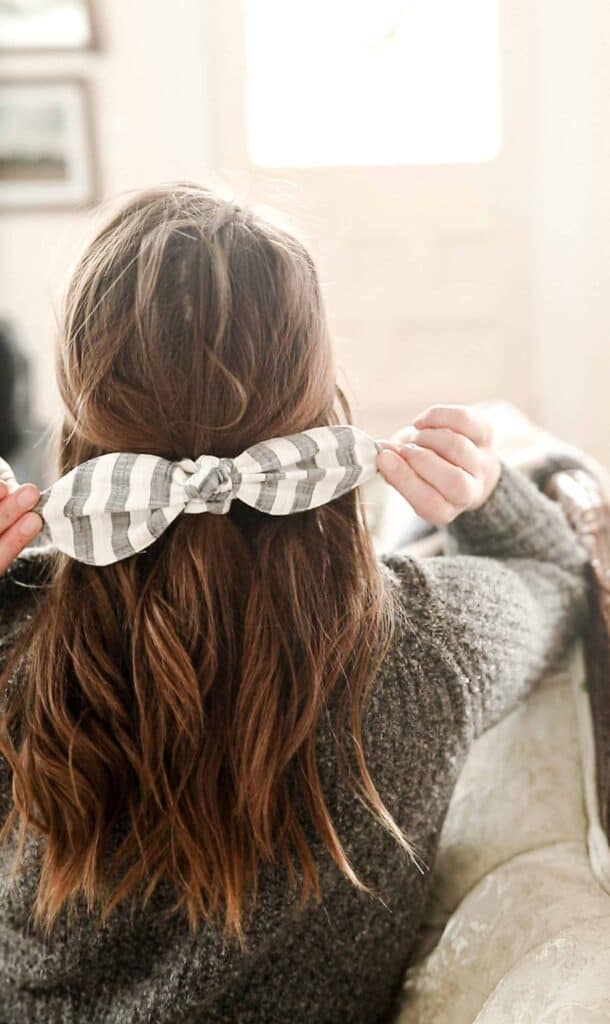
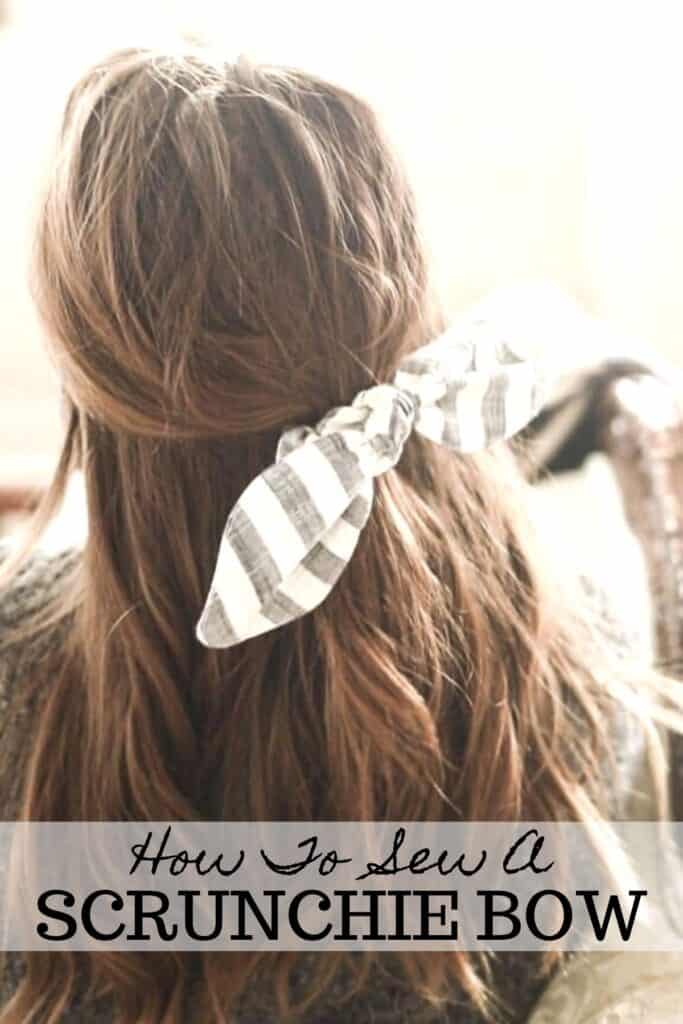
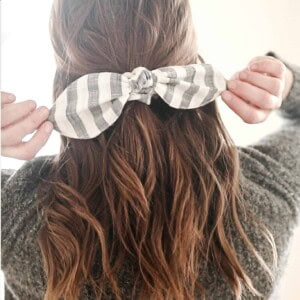
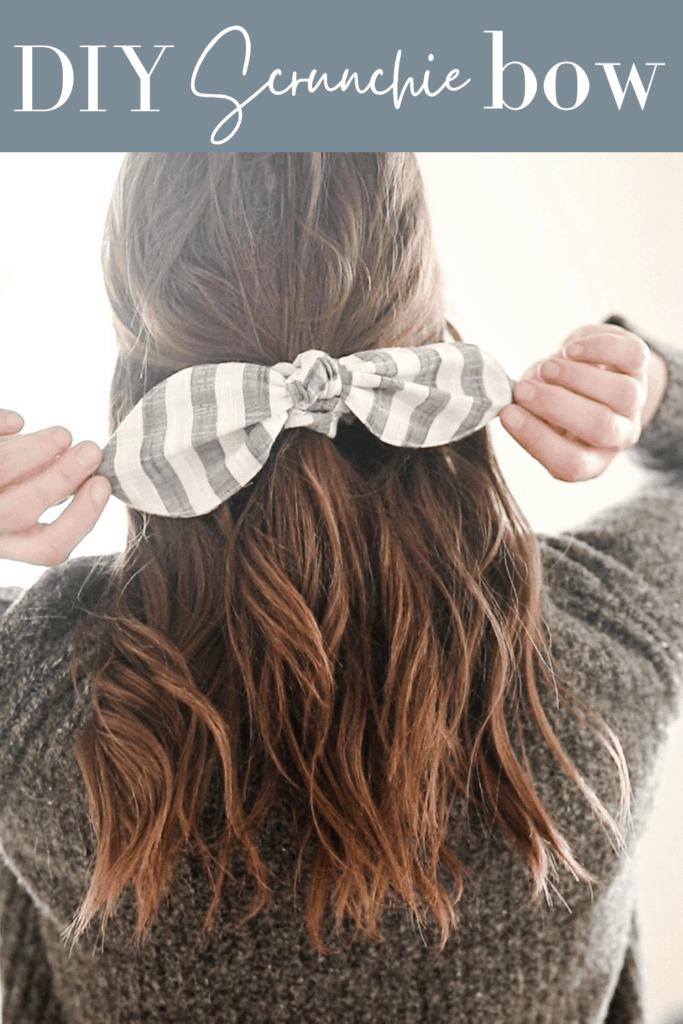
Learn how to make a scrunchie bow with this simple tutorial. This adorable hair accessory is perfect for adding a sweet, feminine touch while pulling your hair back and out of your face.
Truth be told, my daughter came up with this project. Over the last year or so, she has really developed and refined her sewing skills.
One of the best things about homeschooling is that kids have more time to follow their passions and learn skills outside of academics. From cooking to sewing to candle making and growing food – you name it – being together most of the time has many perks.
When Ruthie started asking for sewing lessons, I was happy to oblige. Sewing is my absolute favorite hobby, and I love teaching others how to sew, as well.
Being able to share my passion with my children makes this mama’s heart happy. Isn’t that what we are called to as moms? To train up and lead our children. These simple sewing lessons will be useful for the rest of her life.
If you want to learn to sew, no worries! I created an entire course to teach you all the basics you need to know.
Ruthie came up with this particular idea, and she started making dozens of scrunchies and scrunchie bows to sell. I asked her for some pointers and if I could share this tutorial.
Tips:
- This is the perfect project for scrap fabrics. All you need is a small amount of fabric to make it.
- Use a safety pin to turn out the fabric easily.
- If you are really comfortable with sewing or creating patterns, you could make the bow smaller, larger, or even different shapes.
- You can use a variety of fabrics from silk, cotton, linen, or even velvet.
- If you don’t want to make the bow, no worries, just skip it and create just the scrunchie.
How do you wear a scrunchie bow?
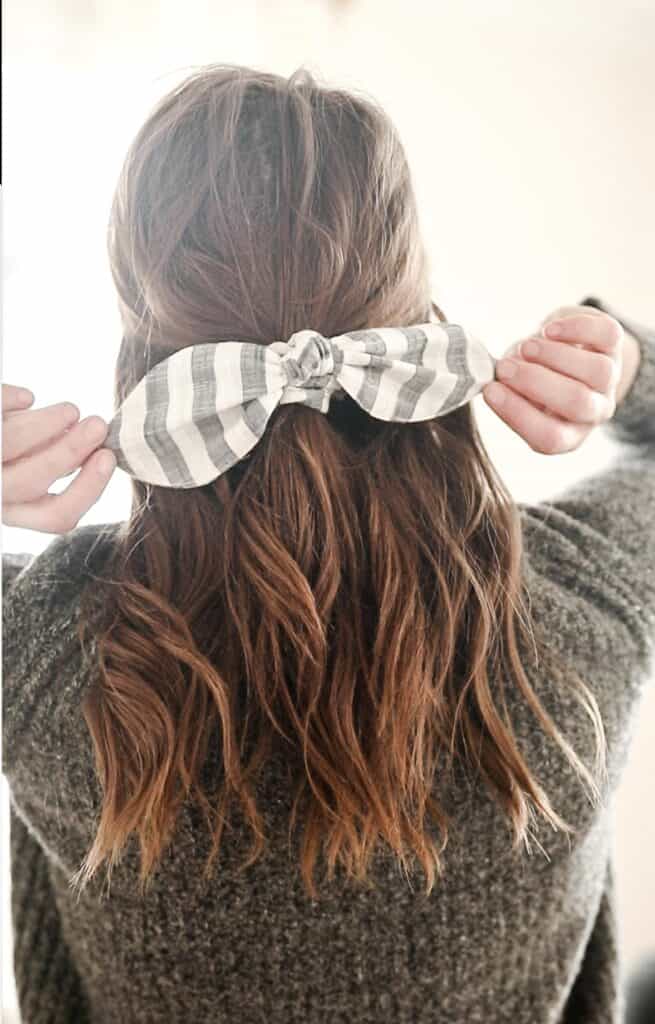
You can wear it with your hair in a high or low pony tail, top knot, or half up and down. It adds a wonderful, whimsical touch.
This post contains affiliate links, which means I make a small commission at no extra cost to you. See my full disclosure here.
Grab The Free Scrunchie Pattern
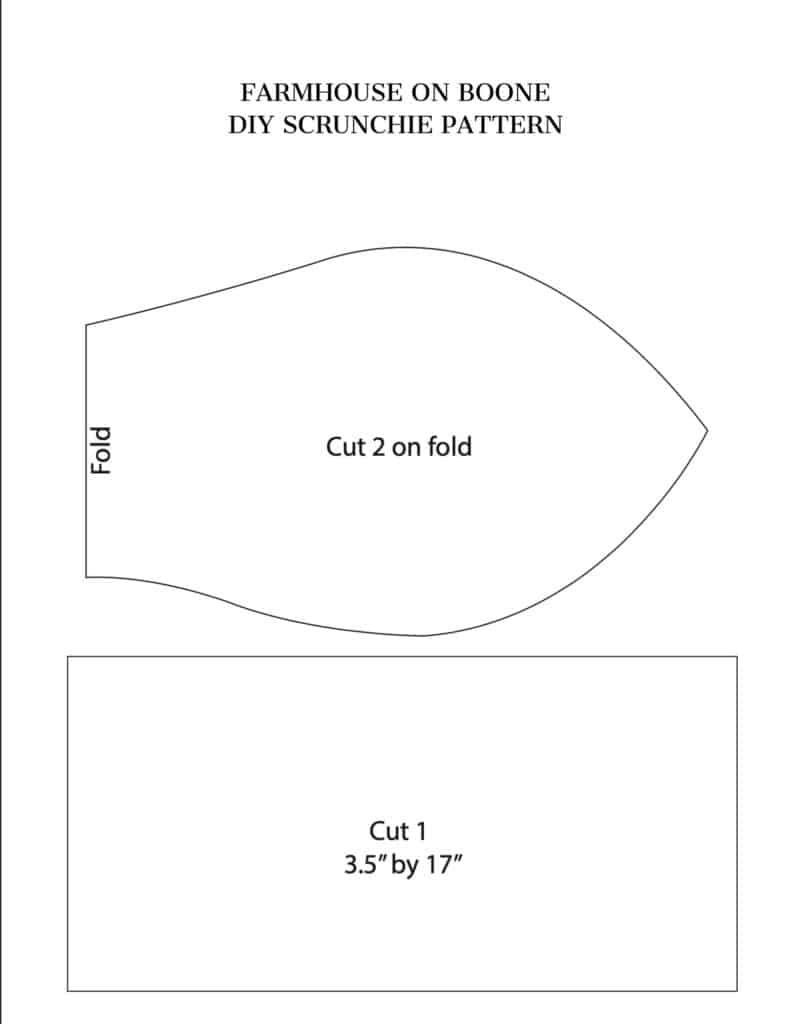
Click the picture to take you to the printable pattern. Print at 100%.
Tools And Materials
Fabric
Coordinating thread
Pins
Sewing Sheers
Cut List
For the bow, cut 2 (on the fold) bow pieces (pattern in media library)
Cut 1 for scrunchie – 4″ by 17″
8″ of 1/4″ elastic
How To Make A Bow Scrunchie
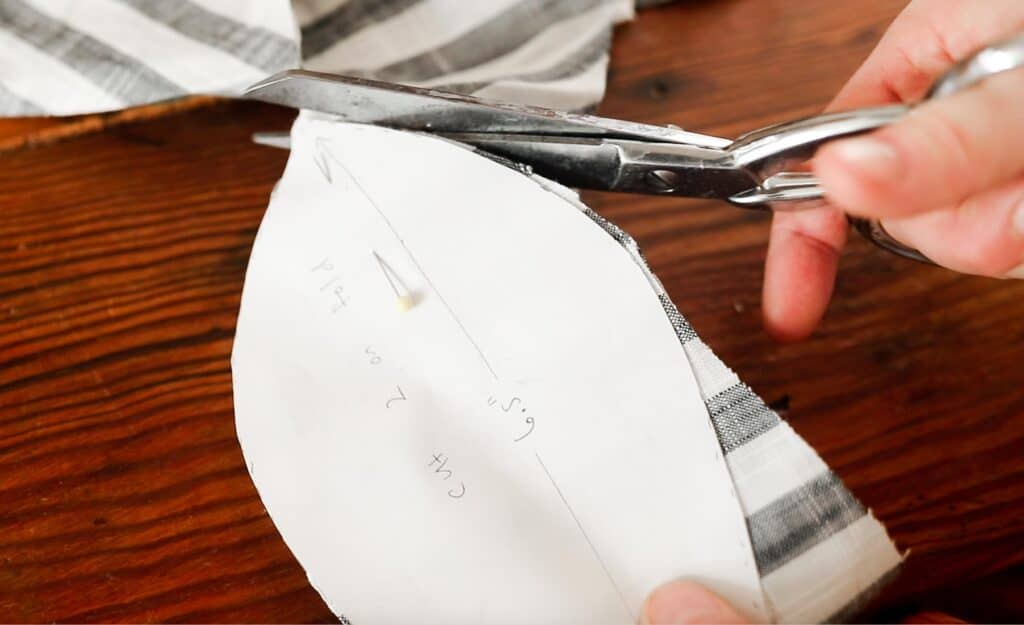
Using sewing sheers to cut out pattern pieces.
Make The Bow
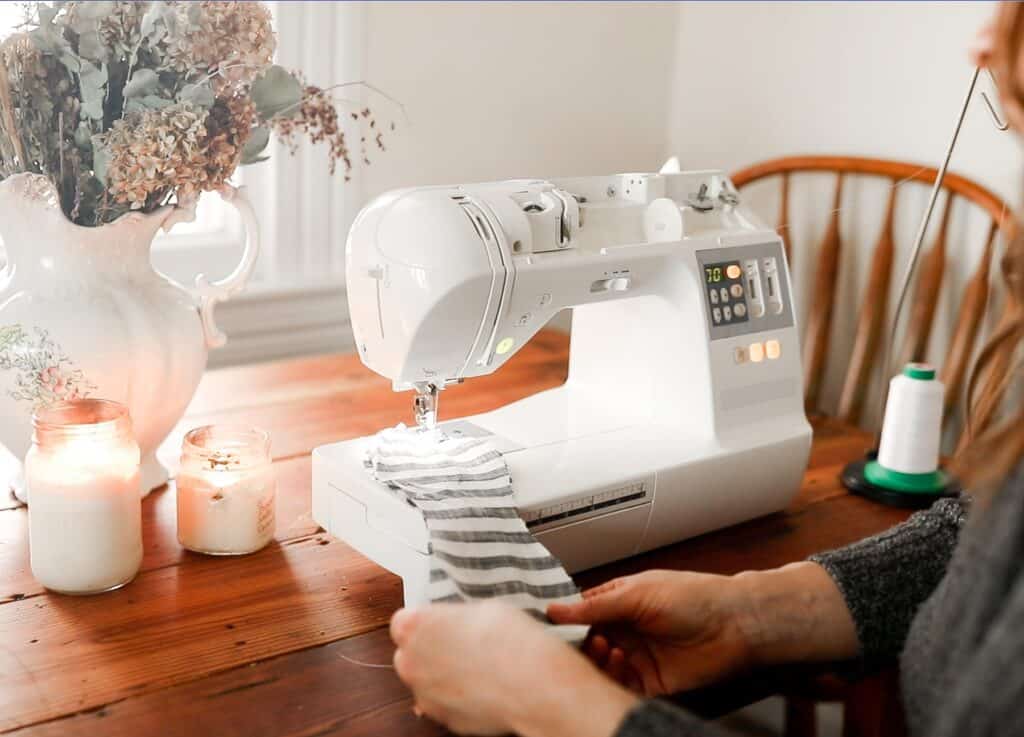
Sew the two bow pattern pieces together, right sides together, leaving a small opening. Make sure to back stitch at the beginning and end. Sew a seam using a 1/4 inch seam allowance.
Turn the piece right side out through the spot you left open.
Press flat.
Topstitch all the way around the bow. This will also close the opening.
Make The Scrunchie
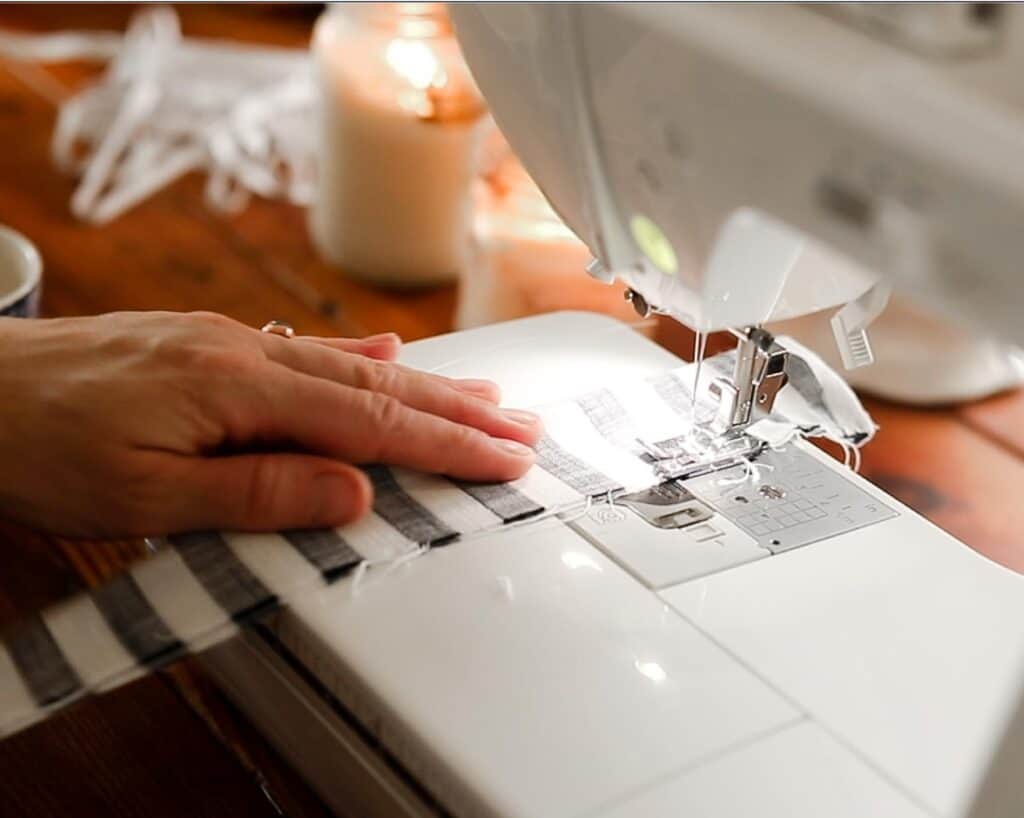
Press the two short ends toward the wrong side about 1/2″.
Fold the piece in half, lengthwise, and sew down the long edge with a 1/4″ seam.
Turn the piece right side out with a large safety pin.
Press flat.
Fish the elastic through the scrunchie with a safety pin.
Overlap the elastic from each side about 1/2″ and sew together, making sure to back and forward stitch several times so it doesn’t come apart.
Tuck one folded edge into another and sew closed.
Assemble The Scrunchie Bow
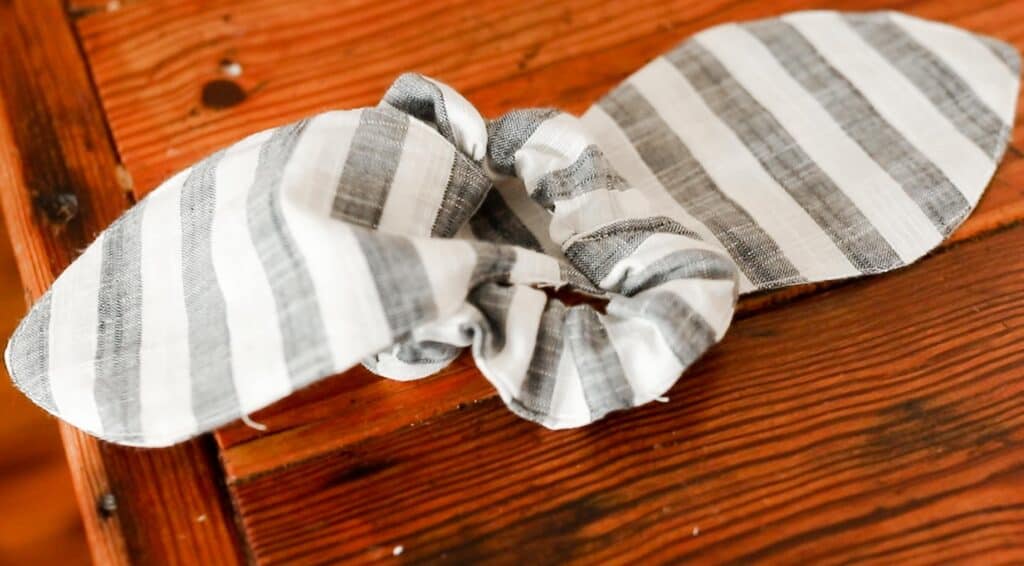
Tie the bow piece around the scrunchie seam, to hide it. It also creates a beautiful knot.
That’s it!
Find More Simple Sewing Projects:
- Peasant Dress Pattern For Girls
- DIY How To Sew A Half Apron
- How to Sew a Skirt
- Ruffle Linen Pillow Cover Sewing Pattern
- DIY Pinafore Apron for Girls Free Pattern
If you try this project and love it, I would love if you could come back and give it 5 stars!
DIY Scrunchie Bow
Equipment
- Sewing machine
- Sewing sheers
Ingredients
- Fabric
- 1/4" elastic
- Coordinating fabric
Instructions
- Using sewing sheers, cut out pattern pieces.
- Sew the two pattern pieces together, right sides together, leaving a small opening. Back stitch at the beginning and end. Sew a seam using a 1/4” seam allowance.
- Turn the piece right side out through the spot you left open.Press flat. Topstitch all the way around the bow. This will also close the opening.Press the two short ends toward the wrong side about 1/2″. Fold the piece in half lengthwise and sew down the long edge with a 1/4″ seam. Turn the piece right side out with a large safety pin. Press flat.
- Fish the elastic through the scrunchie with a safety pin. Overlap the elastic from each side about 1/2″ and sew together, making sure to back and forward stitch several times so it doesn’t come apart. Tuck one folded edge into another and sew closed.
- Tie the bow piece around the scrunchie seam, to hide it. It also creates a beautiful knot.
Notes
- Use a safety pin to turn out the fabric easily.
- If you are really comfortable with sewing or creating patterns, you could make the bow smaller, larger, or even different shapes.
- You can use a variety of fabrics like silk, cotton, linen, or even velvet.
Nutrition information is automatically calculated, so should only be used as an approximation.








Very nice article, totally what I wanted to find. https://evolution.org.ua/
Love this! Used scrap linen fabric and it turned out perfectly. Will make more. Thank you thank you!,,
Thank you and your daughter for this pattern! I just made it, it’s so easy and pretty! A great project for a new sewist.
That daughter of yours is following in your footsteps! I have been watching your videos since the start and I am so happy for you, you have made a mark for certain in the YouTube world. Your ambition, strength, creativity and love for a pure natural life is such an inspiration. Well done you!