


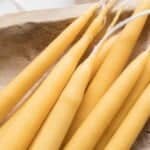
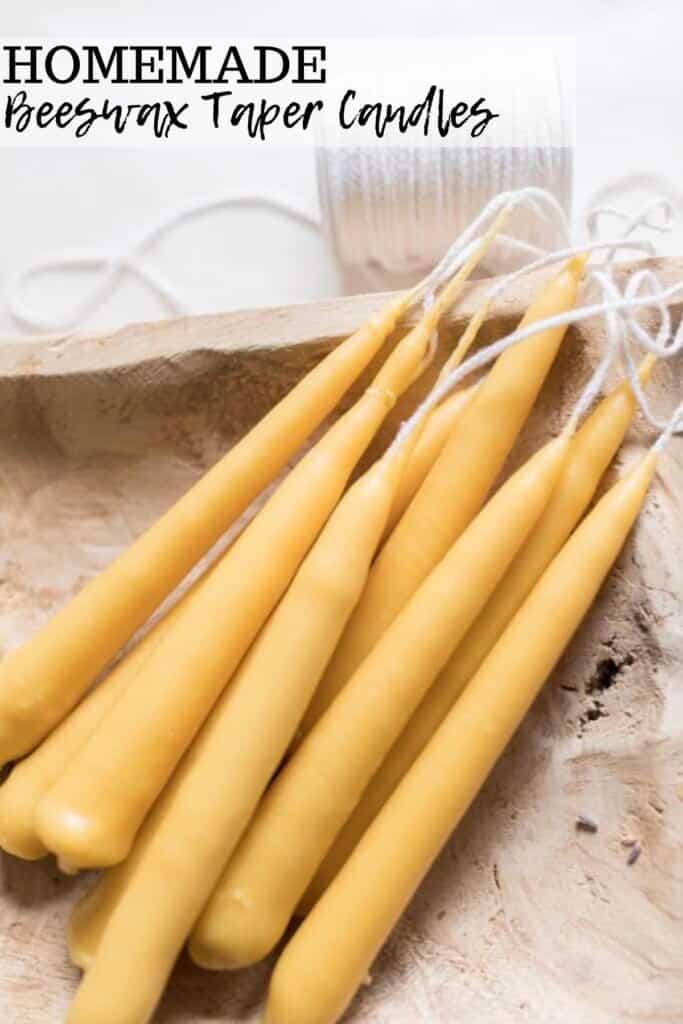
Learn how to make beeswax taper candles to add that rustic whimsy and farmhouse charm. They make wonderful gifts, perfect for birthdays or holidays, brimming with handmade thoughtfulness.
Candlemaking has been a wonderful hobby of mine the last few years. I love creating hand-poured candles in beautiful, antique holders, tea cups, and jars. These beeswax taper candles may just be my favorite.
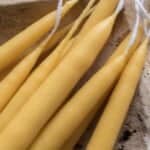
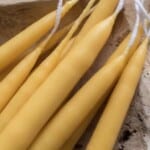
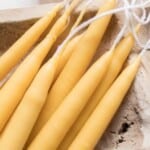
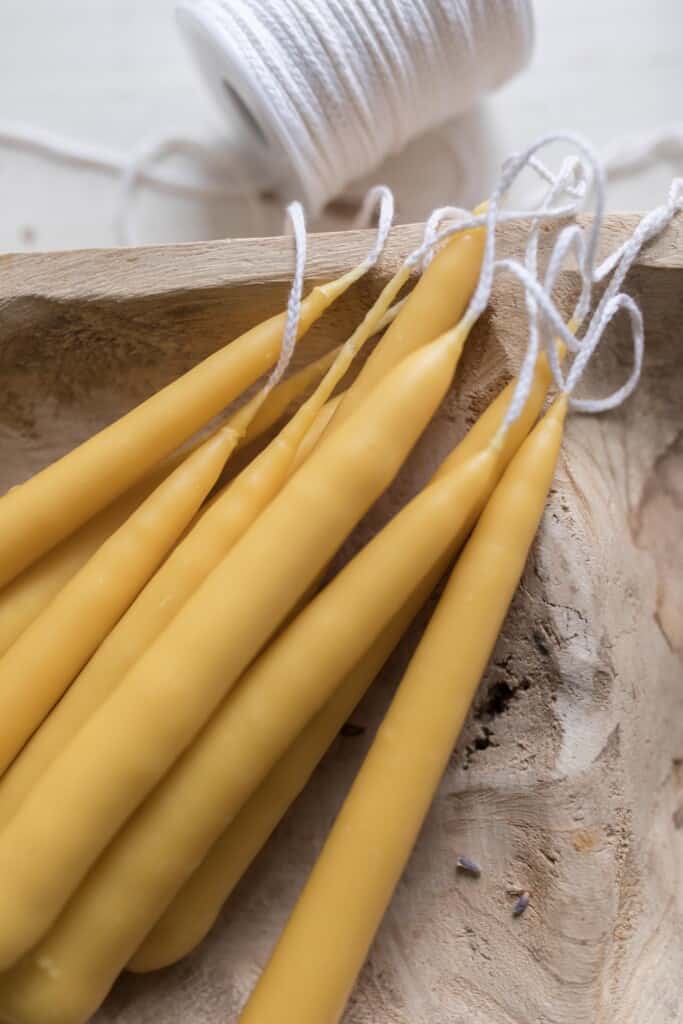
These handmade taper candles have so much charm to them, and I love the process of hand dipping the cotton wicks into the melted beeswax. To be able to take a raw material like beeswax and create something practical and beautiful is such a wonderful experience.
Unlike your typical paraffin tapered candle, these offer a warm yellow color, are non-toxic to burn, and give off a subtle, yet delightful scent.
As we are in our second season of keeping bees for honey, I dream of the day that we will have enough of our own wax to create our own candles. Talk about farm to table. Well, that may be in a slightly different sense than you would usually think… that would be more like honey sweetened jam or honey lavender ice cream, but you get what I mean.
When collecting honey from those glorious bees, you will have to cap some of the wax to get that sweet sugary goodness. This wax can be kept, cleaned, and then processed into candles.
How fun is that? It’s a perfect homeschool project for the kids. Bees are such a rich learning experience and an essential part of our homestead.
Tips For Making Beeswax Taper Candles:
- Trim the wick to about ¼” before burning. As you are making candles, the wax level will continue to decrease with each candle dipped.
- At some point, you may want to pour wax from one jar to the other two, so that you can maintain the depth for uniform candles.
- When the wax level is at a point that will no longer make a pretty candle, pour it into a silicone baking mold to harden and save for future projects, like more candles or lotion bars.
- After each dip in the wax, dip the candles into a jar of cold water to help speed up the hardening process. If you skip this step, you will be waiting some time before the wax is hard enough to dip again.
This post contains affiliate links, which means I make a small commission at no extra cost to you. See my full disclosure here.
Supplies you will need:
- 3 pounds beeswax pellets, or wax from a local beekeeper cut into large pieces
- Braided cotton candle wick – 90-100″
- Deep and narrow container, such as a wide mouth mason jar
- Large pot
- Hex nut (for a weight). Trust me, you don’t want to skip this step.
How To Make Dipped Beeswax Candles:
Place beeswax pellets into a wide mouth mason jar, a tall metal tin, or another tall, heat-safe container. Make sure whatever container you choose is narrow, deep, and safe for cooking. I like to use three wide mouth mason jars that hold 24 oz. each. They are just the right height to create 6-7” tapered candles.
To the bottom of a medium or large stock pot, add a folded towel or trivet, and fill with about 3-4” of water.
Place over medium heat until it starts to simmer.
Carefully add the jar (or jars) of wax into the simmering water. As the wax begins to melt down, you may want to add more pellets to it so the wax is at least 6 to 7 inches deep.
Cut four wicks (or whatever amount of candles you want to make) to 25” in length. Tie a hex nut to each end of the wick. This will act as a weight to keep the candles straight while you dip. This project will not work well without them.
When the wax in the jars has completely melted, it’s time to start candlemaking.
Fill a tall jar with cold water. This will be used to cool the hot wax quicker, allowing you to make candles more quickly than just waiting for wax to dry on its own.
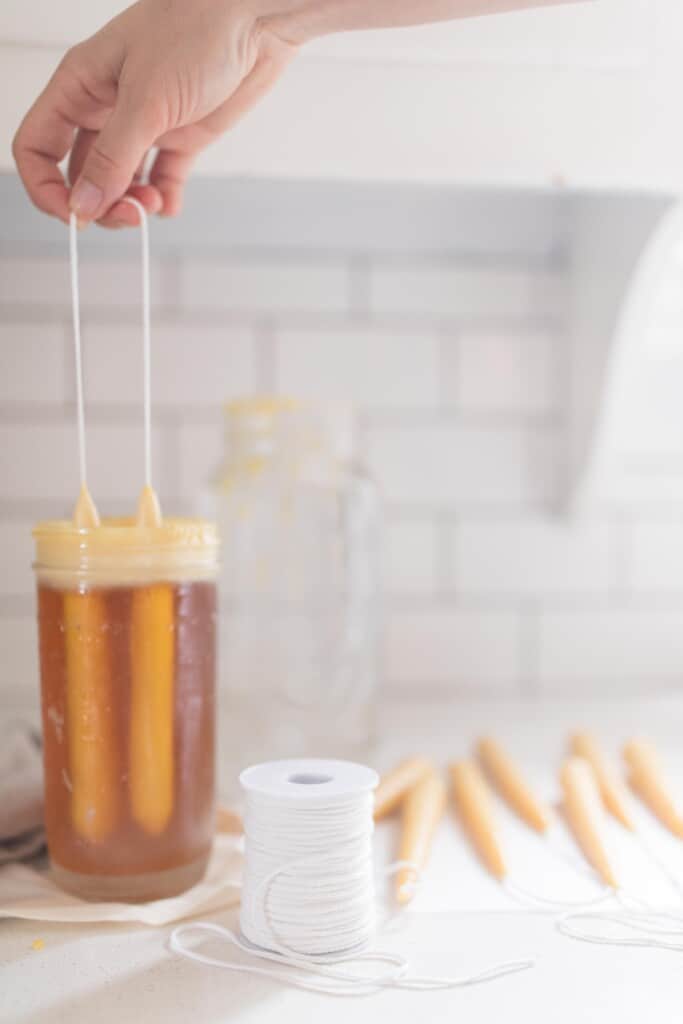
Fold the wick with the nuts tied at both ends at the middle of the wick. Slowly dip the ends into the wax.
Next, dip the wicks into a jar of cold water.
Dip back into the hot wax, then back into the cool water. Repeat about 10 times total. The candle should have enough weight at this point to be fully submerged without the hex nut.
Cut the weights off at the bottom, as close to the nut as you can get.
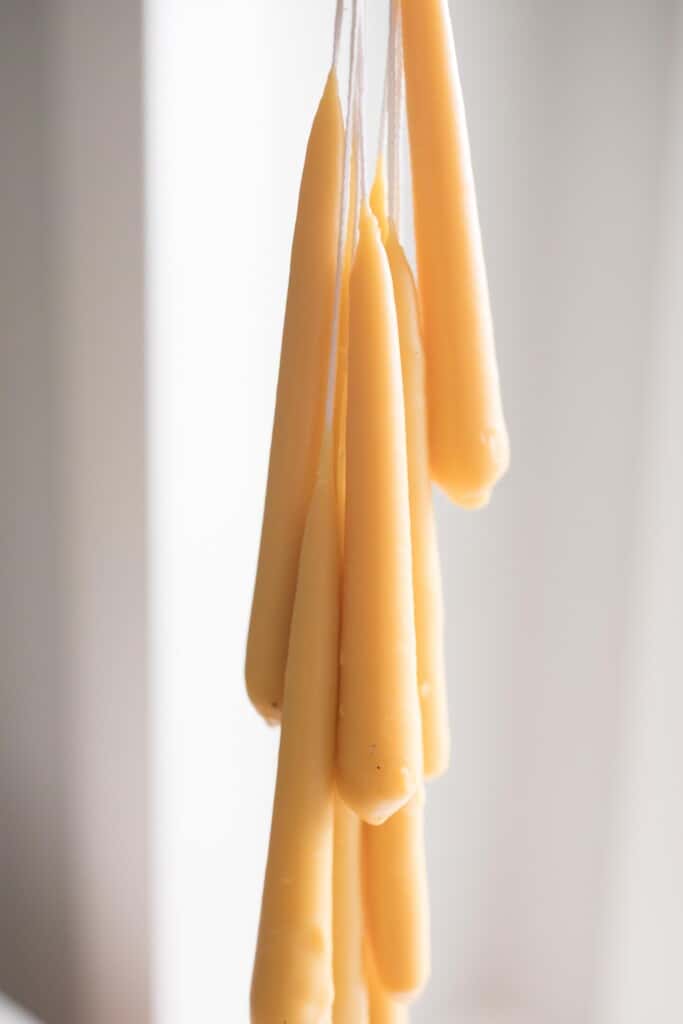
Continue dipping the tapered candles back and forth, between the wax and the water, until you have reached the desired diameter of the candle.
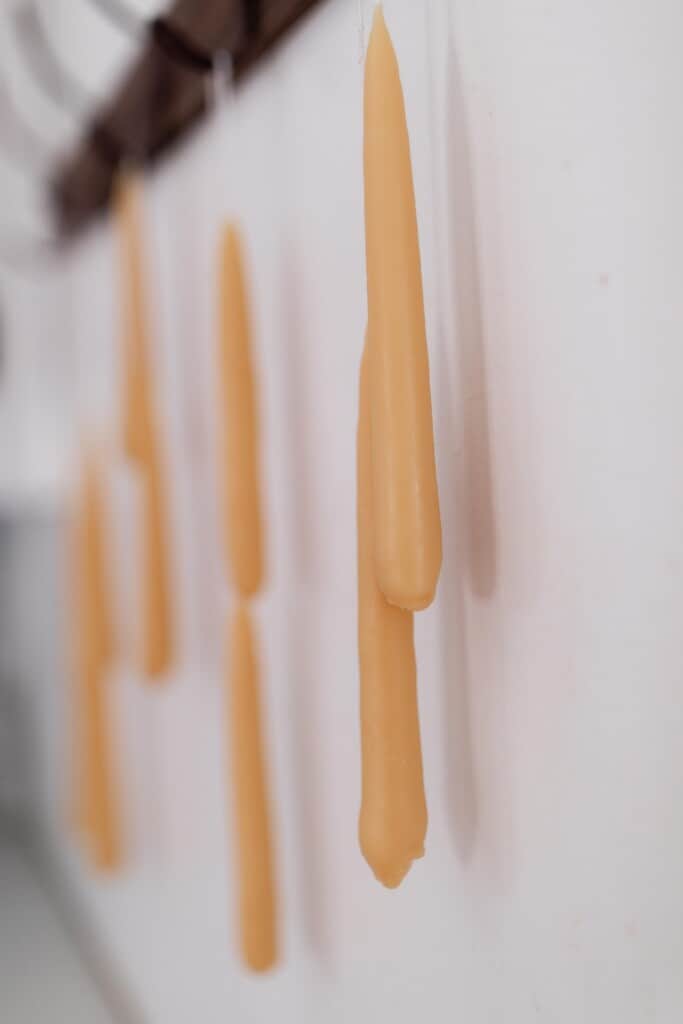
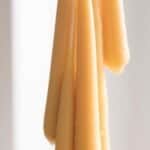
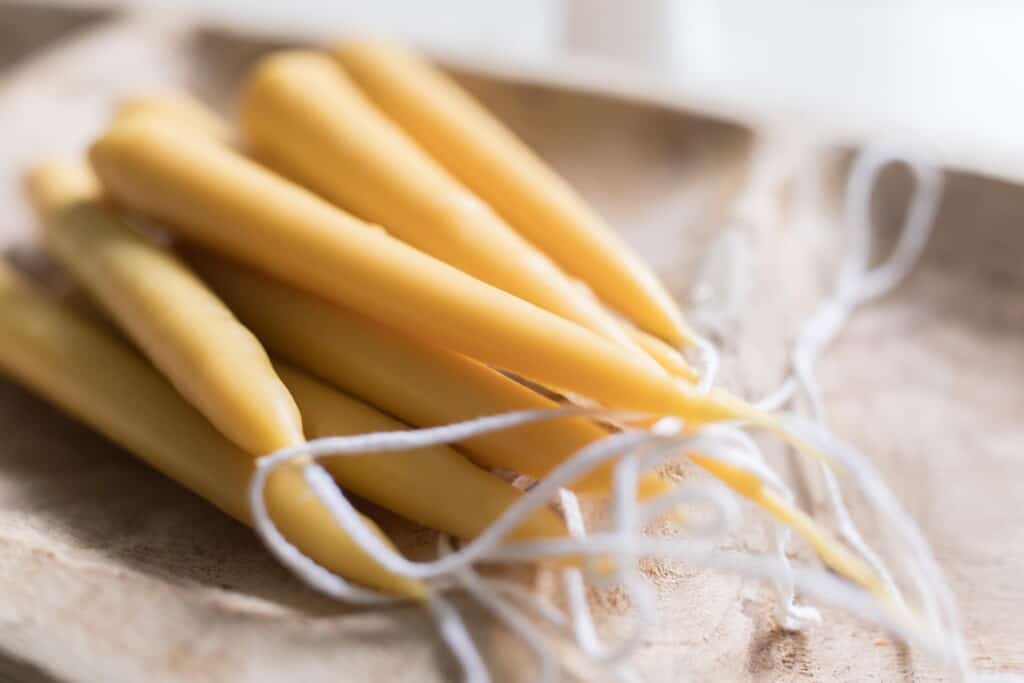
Allow the candles to harden by hanging them or placing them on wax paper for a few hours.
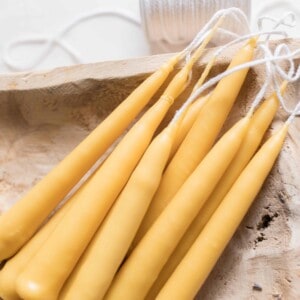
Trim the wicks and enjoy your beautiful candles.
Find More Handmade Projects For Your Home:
- DIY Pot Holders
- DIY Tote Bag With Linen
- How To Make Curtains – Tie-Top Curtain Tutorial
- How To Make A Baby Bonnet
- DIY How To Sew A Half Apron
If you try this project and love it, I would love if you could come back and give it 5 stars!
How To Make Beeswax Taper Candles
Equipment
- Deep and narrow container, such as a wide mouth mason jar
- Stockpot
- Hex nuts (for a weight)
Ingredients
- 3 pounds beeswax pellets, or wax from a local beekeeper cut into large pieces
- 90-100" braided candle wick
Instructions
- Place beeswax pellets into a wide mouth mason jar, a tall metal tin, or another tall, heat-safe container.
- To the bottom of a medium to large stock pot, add a folded towe or trivet, and fill with about 3-4” of water.
- Place over medium heat until it starts to simmer.
- Carefully add the jar (or jars) of wax into the simmering water. As the wax begins to melt down, you will want to add more pellets so the wax is at least 6 to 7 inches deep.
- Cut four wicks (or whatever amount of candles you want to make) to 25” in length. Tie a hex nut to each end of the wick.
- Allow the wax to completely melt.
- Fill another tall jar with cold water.
- Fold the wick with the nuts tied at both ends at the middle of the wick. Slowly dip the ends into the wax.
- Next, dip the wicks into a jar of cold water.
- Dip back into the hot wax, then back into the cool water. Repeat about 10 times total. The candle should have enough weight at this point to be fully submerged without the hex nut.
- Cut the weights off at the bottom, as close to the nut as you can get.
- Continue dipping the tapered candles back and forth, between the wax and the water, until you have reached the desired diameter of the candle.
- Allow the candles to harden by hanging them or placing them on wax paper for a few hours.
- Trim the wicks and enjoy your beautiful candles.
Notes
- Trim the wick before burning.
- As you are making candles, the wax level will continue to decrease with each candle dipped. At some point, you may want to pour wax from one jar to the other two, so that you can maintain the depth for uniform candles.
- After each dip in the wax, dip the candles into a jar of cold water to help speed up the hardening process. If you skip this step, you will be waiting some time before the wax is hard enough to dip again.
Nutrition information is automatically calculated, so should only be used as an approximation.


Ever wondered how to make your own candle? It’s easier than you might think! You only need a few materials and some creativity. Plus, once you learn the basics, you can customize candles for every season or occasion with your favorite colors, jars, and scents. It’s a fun hobby with lasting results.