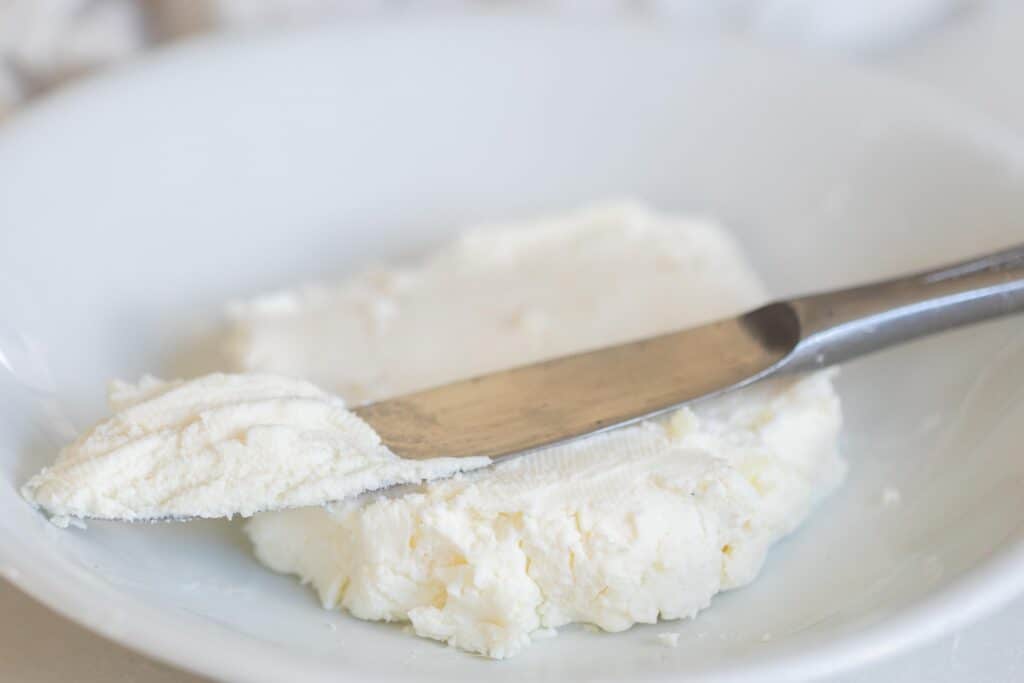
Learn how to make probiotic-packed kefir cheese from homemade kefir. With a tangy flavor and rich creamy texture, this simple cheese is perfect as a spread for a morning bagel, a replacement for ricotta in lasagna, and more.
While there is nothing wrong with taking vitamins, I personally prefer to get all the nutrients I possibly can from my diet alone.
I also like to get my probiotics from food. That’s why I seem to always have something fermenting on the counter in my farmhouse kitchen. The fermentation process is typically so simple. Yet, it yields such a delicious and beneficial result.
Two of my favorite ways to get my probiotics is through homemade sauerkraut as a side for dinner and milk kefir as an afternoon snack in smoothies.
The truth is, though, both of these can get old after awhile. So, instead of milk kefir smoothies all the time, I started making my own cheese with it.
Basically, all you do is let your kefir ferment for a longer period until the whey and curds separate. Once you strain the whey out, you end up with a delicious soft cheese. We love it on bagels, as a dip for crackers or veggies, or even a topping on a baked potato.
It may just be the simplest cheese you ever make.
What is Kefir
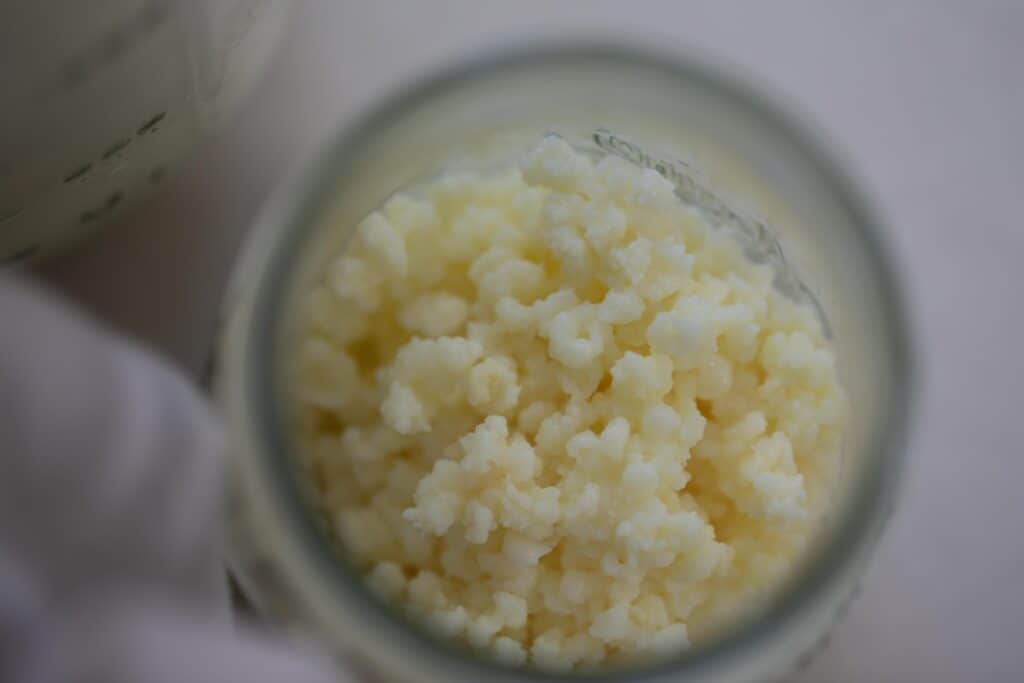
Kefir is fermented milk. To create it, all you do is soak milk with kefir grains at room temperature. The kefir grains cause the milk to go through a fermentation process that produces lactic acid and carbon dioxide.
This creates a tangy, slightly sour and bubbly fermented drink. It’s a lot like a drinkable yogurt.
To make milk kefir, check out my step-by-step instructions here. We love to use ours in smoothies, like my very berry kefir smoothie recipe.
You can also make a probiotic-filled water kefir. It’s basically the same idea, but you soak the grains with sugar water instead of milk. Learn how to make water kefir here.

What is Milk Kefir Cheese
Kefir cheese is created by allowing your milk kefir to ferment at room temperature until the kefir whey and kefir curds separate.
This is a natural process that occurs with dairy, thanks to the casein protein, which form curds when acidified. The curds give you a delicious, spreadable cheese that is full of health benefits.
Now, sometimes you end up with kefir cheese on purpose. Other times, you may notice the whey and curds separating by accident. This could be because of the temperature or accidentally leaving your kefir out to ferment too long.
It can also be the result of an imbalanced ratio of kefir grains to milk. I typically use 2 tablespoons of grains and 2 cups of milk.
Regardless of how you end up with kefir cheese, it’s a delicious addition to your diet!
The Benefits of Fermentation and Kefir
Before refrigerators and other preservation tactics, fermentation was simply a process to preserve food. Fermenting also gives foods an extra boost of flavor, too.
While fermentation is still a tried and true method of preservation, it is much more commonly known for its health benefits thanks to the good bacteria it contains. This lactic acid bacteria is what you likely know as probiotics.
Probiotics play a key role in our gut microbiome and have been shown to increase immune strength. (source)
According to a pub med article, foods properly fermented may also provide additional health benefits thanks to its anti-oxidant, anti-microbial, anti-fungal, and anti-inflammatory properties. (source)
Maintaining a healthy gut microbiome is more important now than ever. Because of an increased use in antibiotics, which kill the good bacteria in addition to the bad, and consumption of processed foods, many of us today have an imbalance of bad and good bacteria in our digestive tract.
When this happens, the walls of our intestines can actually weaken, causing content to enter into the bloodstream. As you can imagine, this can result in a plethora of health issues. (source)
Fermented foods like kefir are a great way to ensure you are getting enough beneficial bacteria to balance out your gut microbiome. Plus, it is delicious. That’s what I would call a win-win.
Why You’ll Love Kefir Cheese
Good way to get probiotics in your diet – Kefir is a fermented dairy product. This fermentation process creates the good bacteria our body needs to thrive. Today, many people have imbalanced gut microbiomes with more bad bacteria than good. It’s good to include the good bacteria – probiotics – into your diet. Kefir cheese is a delicious way to do just that.
Great way to utilize an abundance of kefir grains – When kefir grains are “fed” regularly with fresh milk, they will multiply like crazy. You may end up with more milk kefir than you know what to do with. That’s why it’s nice to have options to do something different like make cheese!
Make it your own – While eating kefir cheese plain is delicious, you can add in other ingredients, such as fresh herbs, olive oil, or even honey for a sweet version.
Tips
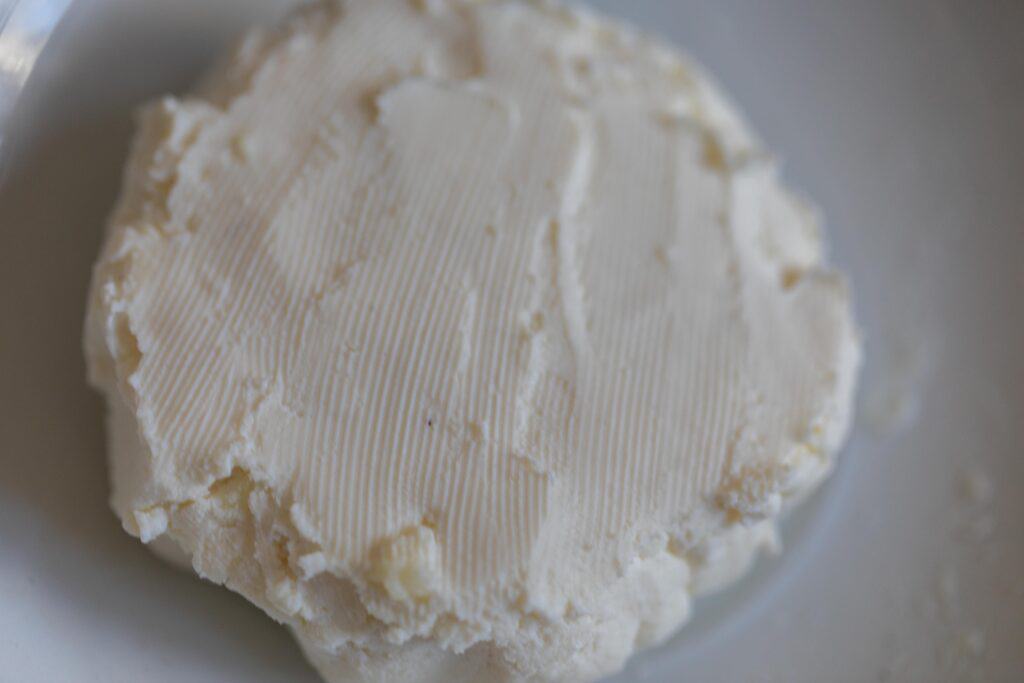
- You can control how soft your cheese is by playing around with the straining time. The longer you strain, the more firm your cheese will be. 12-24 hours
- When you first get kefir grains and start using them, your milk kefir may not turn out really well for the first batch. This is because they are adjusting to a new environment and after a few times they will start making really good batches. Learn how to make milk kefir here.
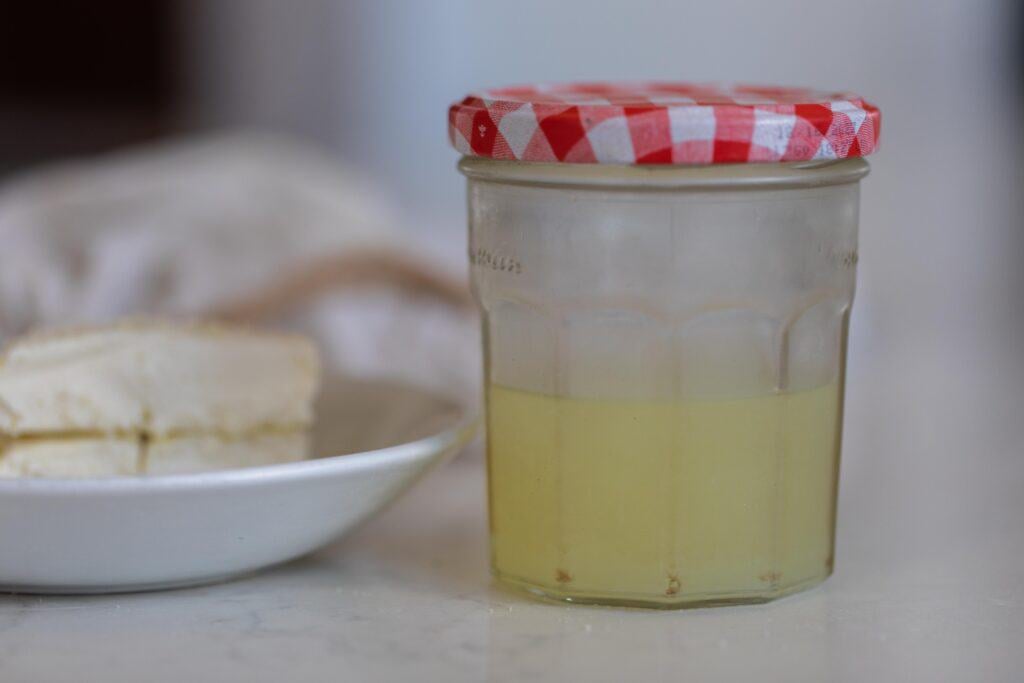
- Don’t throw out the leftover whey! I’ve used it for lacto fermenting. You can also add it to smoothies or use it to make fermented “wheymonade”. If none of those sound good to you, you can always throw it in the compost!
This post contains affiliate links, which means I make a small commission at no extra cost to you. See my full disclosure here.
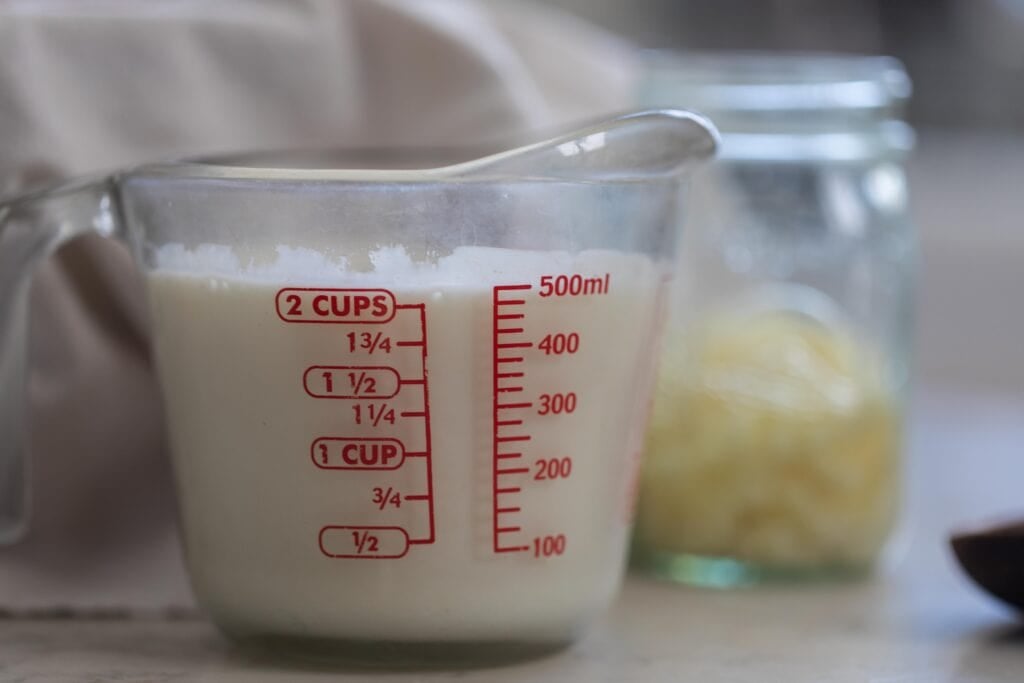
Ingredients
Fresh Milk – I prefer whole milk.
Kefir Grains – You can find live kefir grains here.
Tools You May Need
Flour Sack Towels – You can also use cheese cloth. If you choose cheese cloth, I would double it up when straining the whey from curds.
Wooden Spoon – This is not required, but it can be used as a way to hang the kefir cheese filled cloth to help it drain.
Colander/Strainer
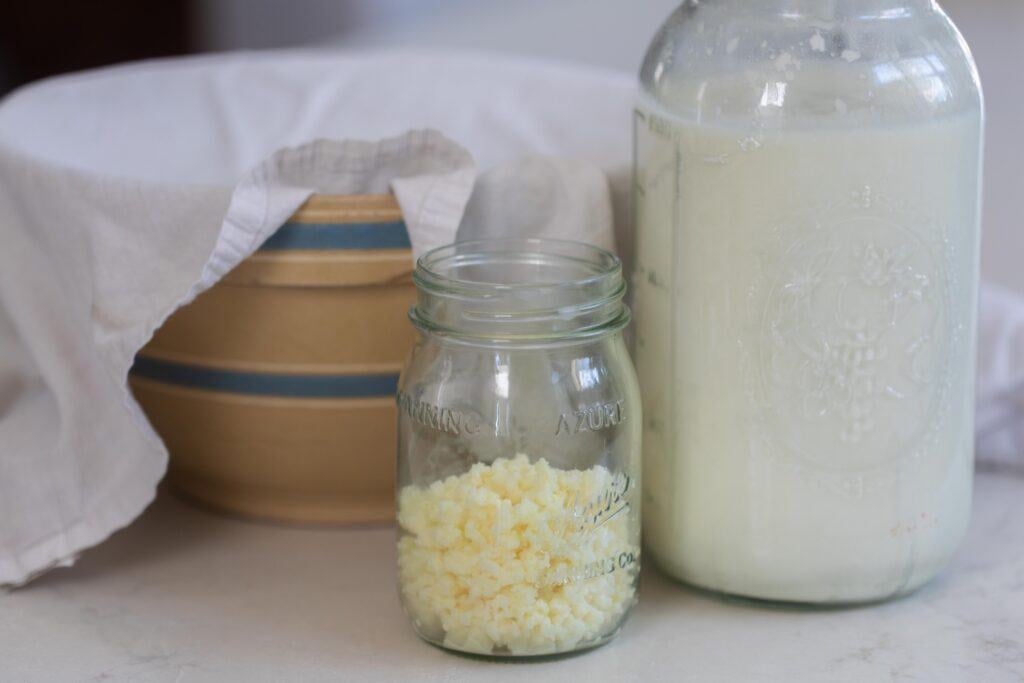
How to Make Kefir Cheese
First, make milk kefir by adding 2 tablespoons of grains to a clean glass jar.
Pour 2 cups milk over the grains.
Cover the jar with a coffee filter, or small towel, and secure with a rubber band.
Let the jar sit on the counter at room temperature until the desired thickness and sourness is reached. For purposes of making cheese, let it sit for about 12 hours.
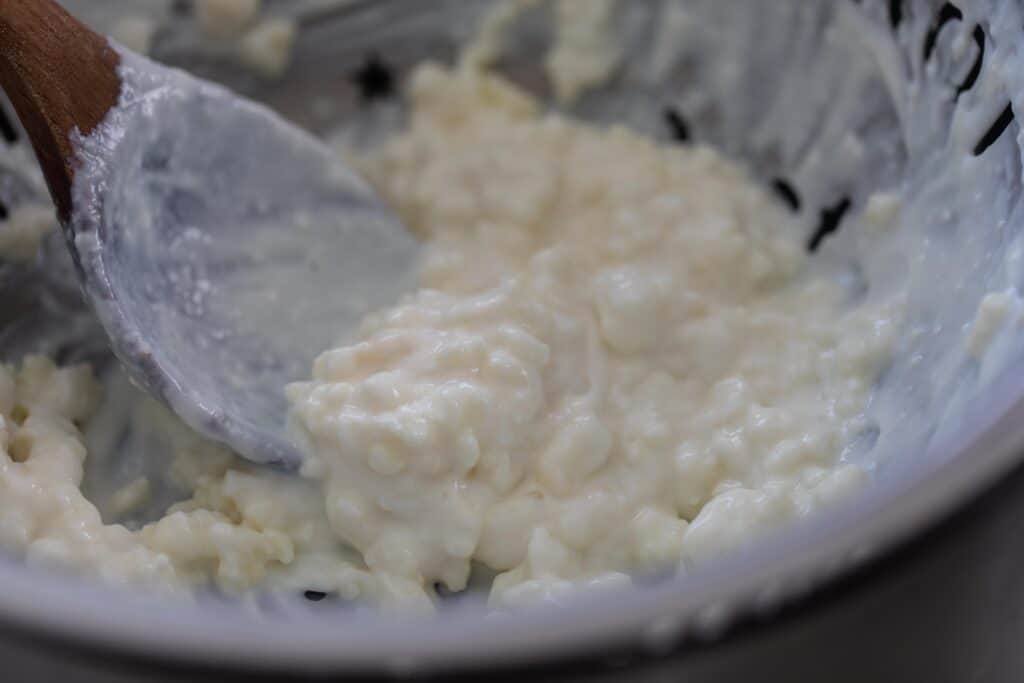
Use a strainer to remove the grains from the milk kefir. You can keep using these grains to make more and more milk kefir.
Once the grains have been removed, allow your milk kefir to continue sitting at room temperature in the glass jar until you notice the whey and curds separating. The amount of time this takes will vary, but it could be around 12 hours or less.
If you see separation before straining out the grains, you can still make cheese. Just remove the grains before proceeding to the next step.
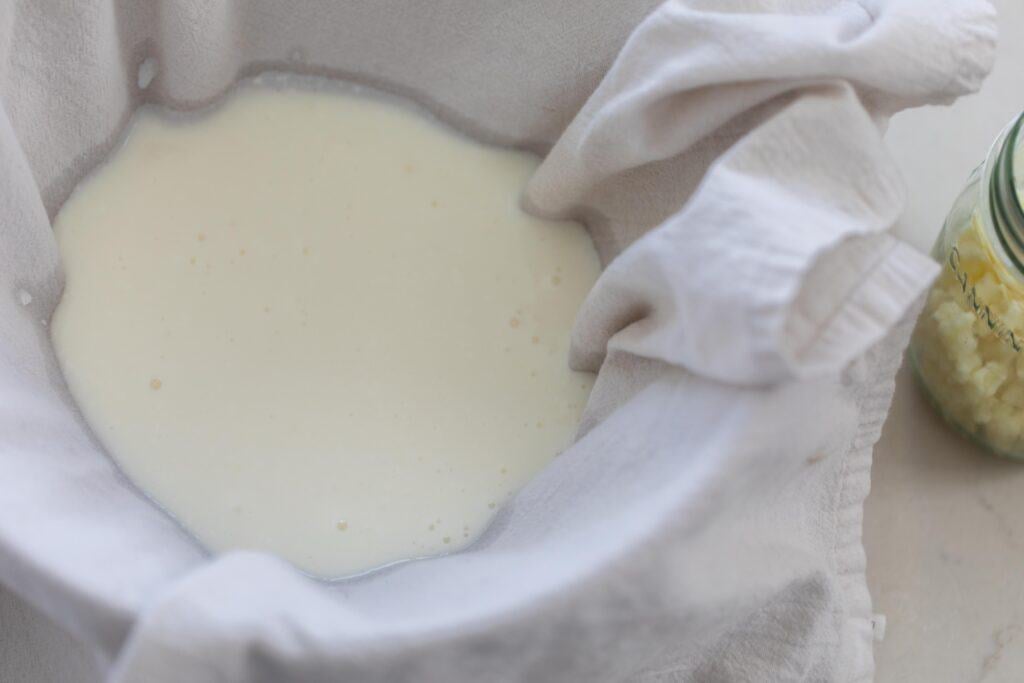
Once you see the separation of liquid kefir and curds, place a couple layers of cheesecloth or a flour sack towel over a colander or strainer.
Set the strainer over a large bowl. Strain the milk kefir through the cloth. Let it strain for 15 to 30 minutes.
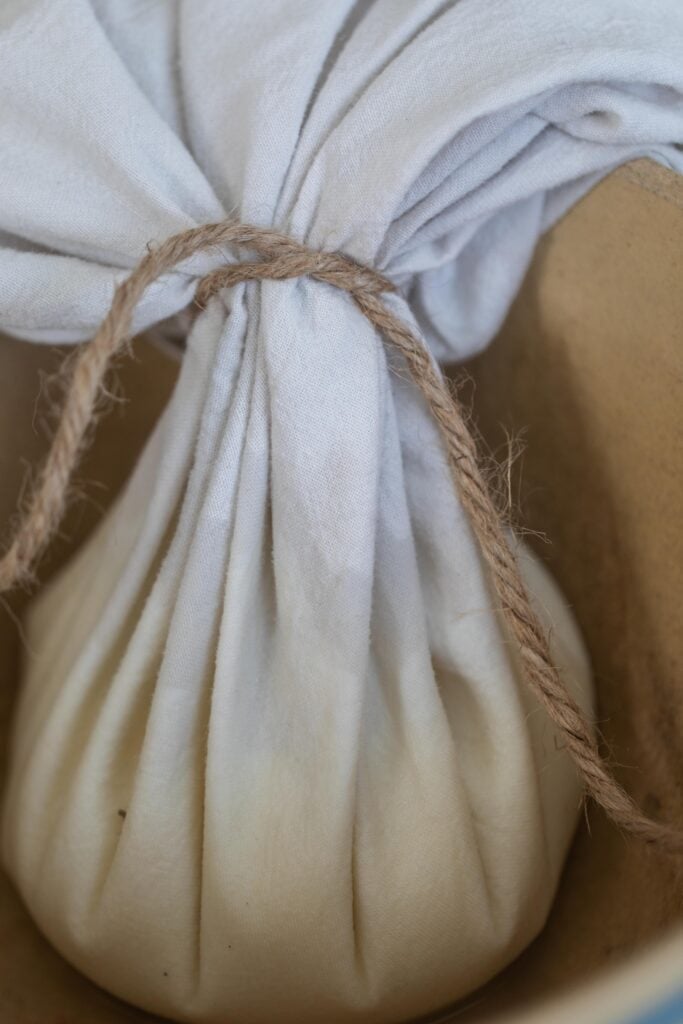
Gather the edges of the flour sack towel or cheese cloth and tie with twine. Let the tied towel full of curds hang above the bowl and continue to drain. You can do this by tying it to a wooden spoon and laying the spoon across the rim of the bowl. I like to hang mine from a rack in my pantry.
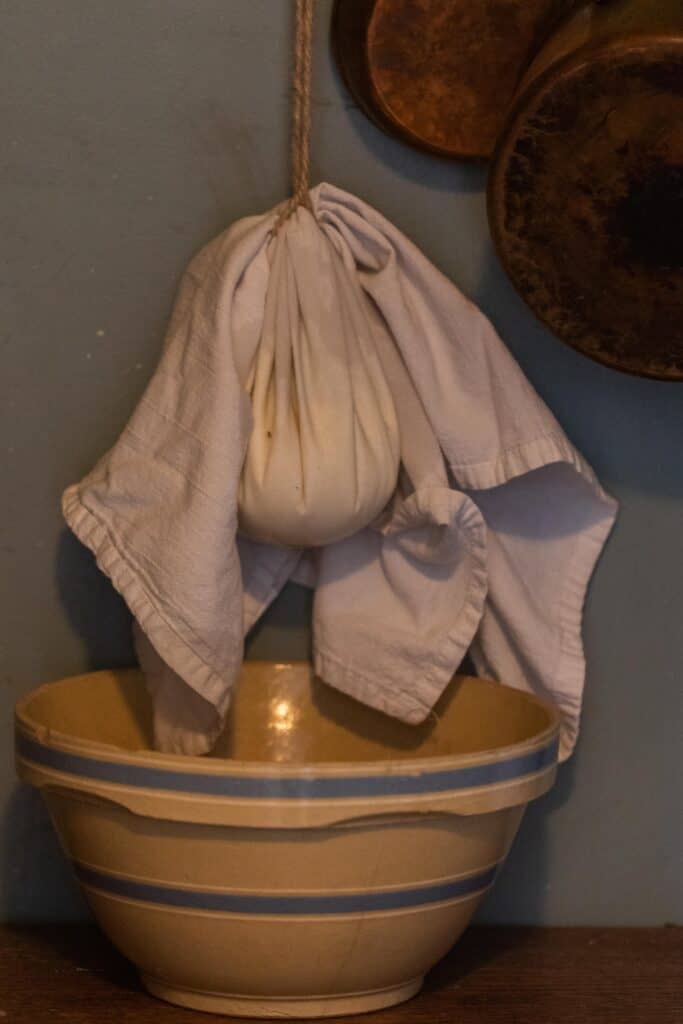
Let it strain until you’ve reached the desired texture.
The longer you let it sit, the thicker it gets until all the whey is all drained out.
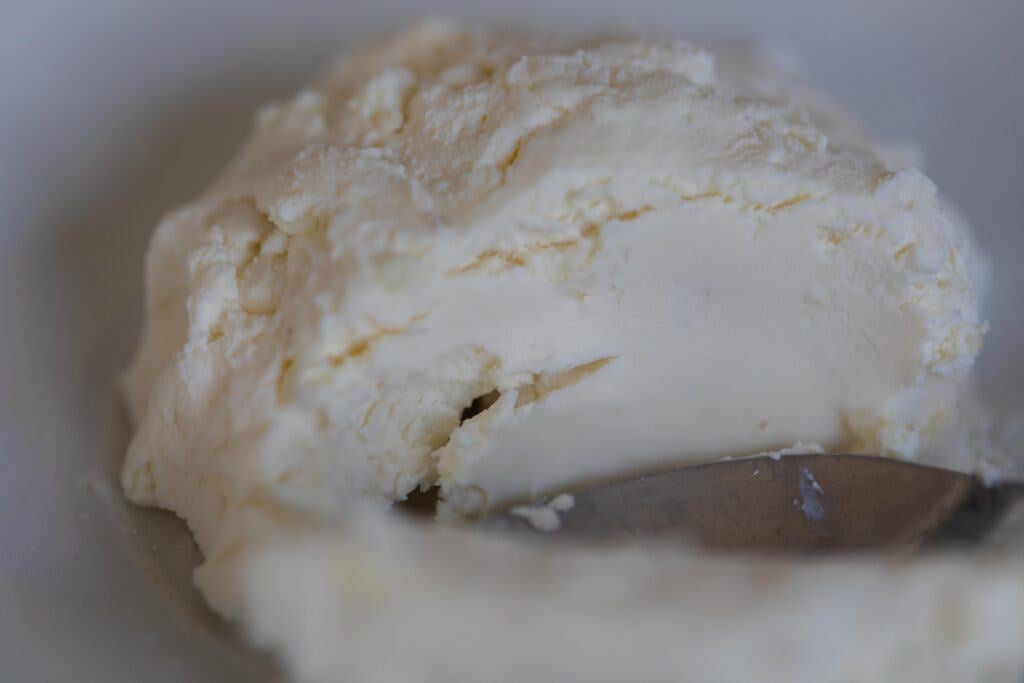
Add in herbs or olive oil for flavor if desired.
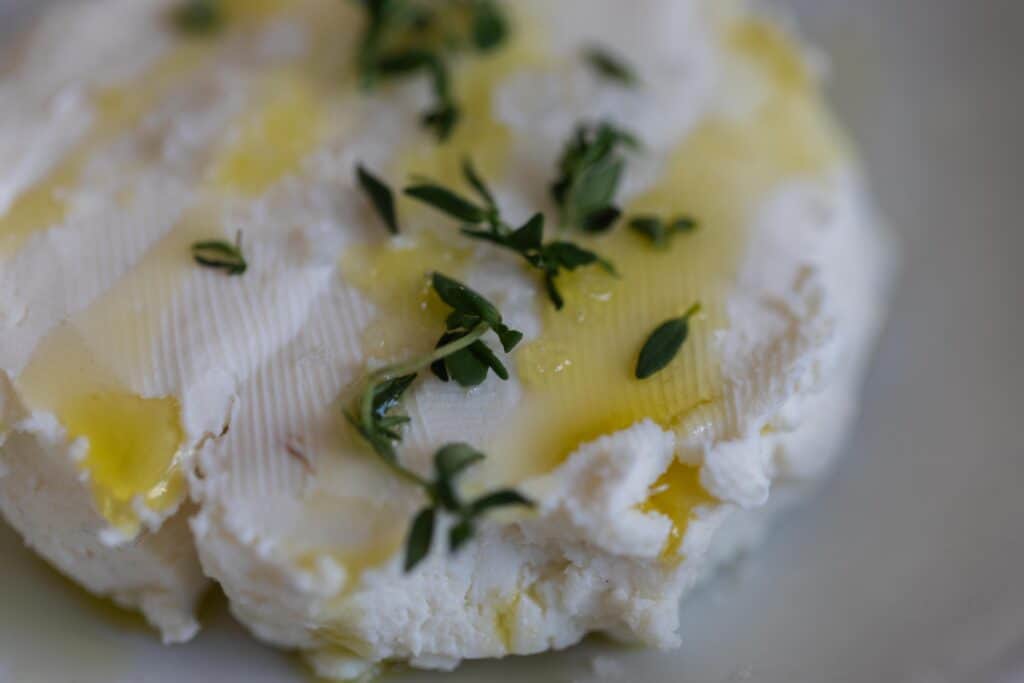
Store in an airtight container in the fridge for up to a week.
FAQ
Kefir cheese contains good bacteria known as probiotics. Probiotics can help strengthen the immune system and help create a healthy gut microbiome.
While similar – both kefir and yogurt are fermented dairy products – kefir cheese is not the same as yogurt. Milk kefir on its own is more liquid than a typical yogurt. Kefir cheese is mostly made of the curds of kefir, without the whey. Yogurt still contains whey.
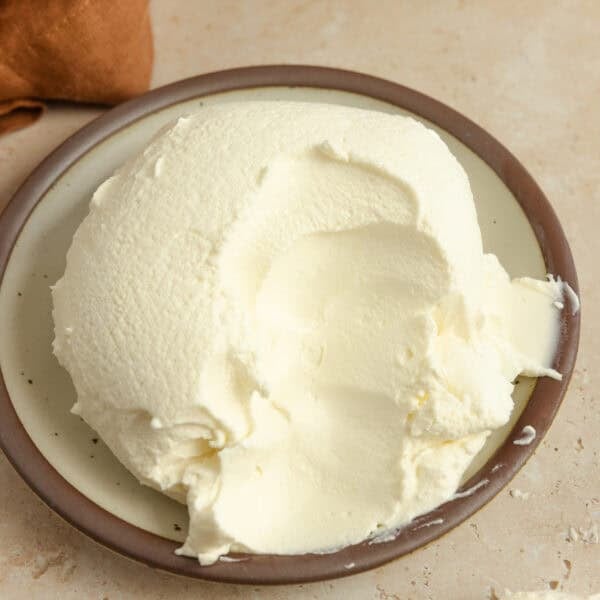
Kefir cheese has a bit of tang to it, but is also rich and creamy like cream cheese. It can also be slightly sour tasting – in a good way!
Kefir cheese is a perfect replacement for cream cheese, sour cream, or even ricotta in recipes. My favorite way to use is as a topping for our baked potato bar dinners or smothered on homemade bagels.

How to Enjoy Kefir Cheese
There are many different ways to enjoy kefir cheese.
- Use it as a replacement for sour cream or ricotta in recipes.
- Make a flavored cheese spread for bagels and crackers by adding fresh herbs and olive oil.
- Create a kefir cheese dip for a veggie platter.
How to Store
Keep your cheese in an airtight container in the fridge. It should keep for at least one week, possibly up to two. The flavor may get stronger the longer you keep it in the fridge.
More Fermented Recipes
If you try this recipe and love it, I would love if you could come back and give it 5 stars! Tag me on Instagram @farmhouseonboone.
Kefir Cheese
Equipment
- 1 Flour Sack Towels
- 1 Large Bowl
- 1 Strainer
Ingredients
- 2 Cups Whole Milk
- 2 Tablespoons Kefir Grains
Instructions
- Add 2 tablespoons of kefir grains to a clean glass jar. Pour 2 cups milk over the grains.
- Cover the jar with a coffee filter, or small towel, and secure with a rubber band.
- Let the jar sit on the counter at room temperature until the desired thickness and sourness is reached. For purposes of making cheese, let it sit for about 12 hours.
- Place a strainer over a bowl and pour the kefir and grains over top. Set the grains aside for the next batch.
- Once the grains have been removed, cover the bowl (or jar) and allow your milk kefir to continue sitting at room temperature until you notice the whey and curds separating. About 12 hours, maybe less.
- Once you see the separation of liquid kefir and curds, place a flour sack towel over a colander or strainer. Set the strainer over a large bowl. Strain the milk kefir through the cloth for 15 to 30 minutes.
- Gather the edges of the flour sack towel or cheese cloth and tie with twine. Let the tied towel full of curds hang above the bowl and continue to drain.
- Let it strain until you’ve reached the desired texture.
- Add any add-ins desired and then refrigerate.
Notes
- You can control how soft your cheese is by playing around with the straining time. The longer you strain, the more firm your cheese will be. 12-24 hours
- Don’t throw out the leftover whey! I’ve used it for lacto fermenting. You can also add it to smoothies or use it to make fermented “wheymonade”. If none of those sound good to you, you can always throw it in the compost!
- When you first get kefir grains and start using them, your milk kefir may not turn out really well for the first batch. This is because they are adjusting to a new environment and after a few times they will start making really good batches.
- It will last about a week in the refrigerator.
Nutrition
Nutrition information is automatically calculated, so should only be used as an approximation.





sorry, didn’t see someone already asked that!!
Did I miss it? I didn’t see where you said how to save the kefir grains?
How do you separate the kefir grains from the curds? I think I messed mine up. 🙁
I use a strainer and a spatula to help separate them.
Could I not strain the curds and eat it as cottage cheese? I currently buy probiotic cottage cheese (Good brand), but I’d love to make my own. Thanks
Yes, you should be able to.
Great tips on how to make this spreadable kefir cheese. Mine never work out quite well, and now I think I know why. Have you ever made cottage cheese from kefir? Would be so nice to have a cultured cottage cheese on hand, but it is so pricey.
I have not. I will have to look into that.
This was delicious! I’ve been thinking about making something different with kefir other than my typical smoothie, so this recipe was posted at the perfect time. The kefir cheese was so easy to make, had a great texture, and a refreshing tangy taste. We used this as cream cheese and paired it with Lisa’s also wonderful Homemade Sourdough Bagels recipe.
Highly recommend! We let the cheese hang in the cloth for about an hour, and I think next time we’ll let it go a bit longer and let it thicken up more. Also, I’d love to try it with the addition of seasonings! Can’t wait to make this again.