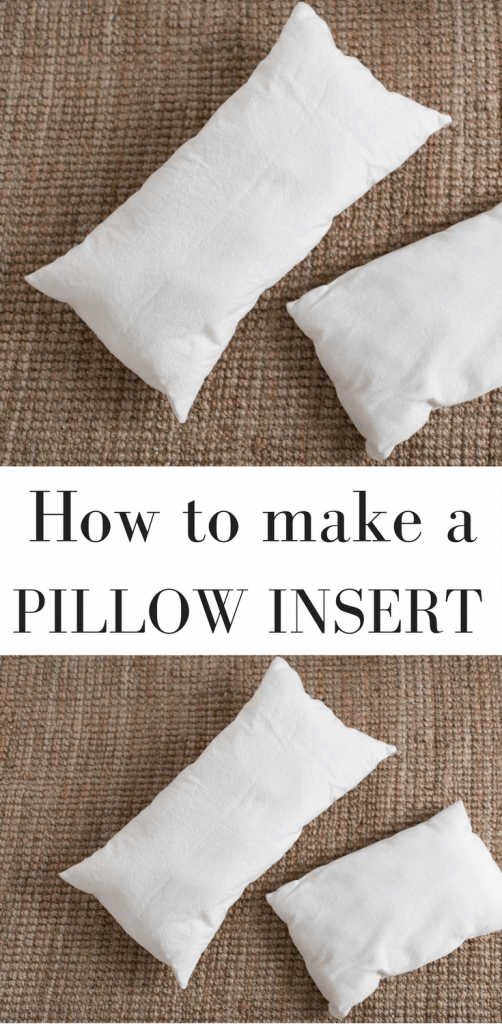
Learn how to make a pillow insert out of drop cloth with this video tutorial. Use custom dimensions to create a pillow insert for any size cover.
When you find that perfect grain sack, or hand stitched vintage linen at an antique shop, you may want to make a pillow cover for it. After that, what will you stuff it with?
You could search Amazon to see if they have an insert in the exact dimensions you need, or you could just make your own! I actually like this option even better because I like the way a handmade pillow looks peeking out of the pillow cover.
Drop cloth is my material of choice. Sometimes I make it a fresh white by bleaching it, and sometimes I leave it the natural color. It has an almost linen look to it that I love!
How to make a pillow insert
First, measure the size of your finished pillow cover.
Next, add one inch to the width and one inch to the length. This will allow for a 1/2″ seam allowance on all four sides when you go to sew your front and back pieces together. If you want the pillow insert to be slightly longer so that it peeks out the other side, as shown in the IKEA tea towel pillow cover tutorial, you can add an extra 1/2″ to 1″ to the length measurement.
Simply cut out two pieces of fabric in the dimensions you came up with. (Length and width of the pillow cover plus one inch on the length and width.)
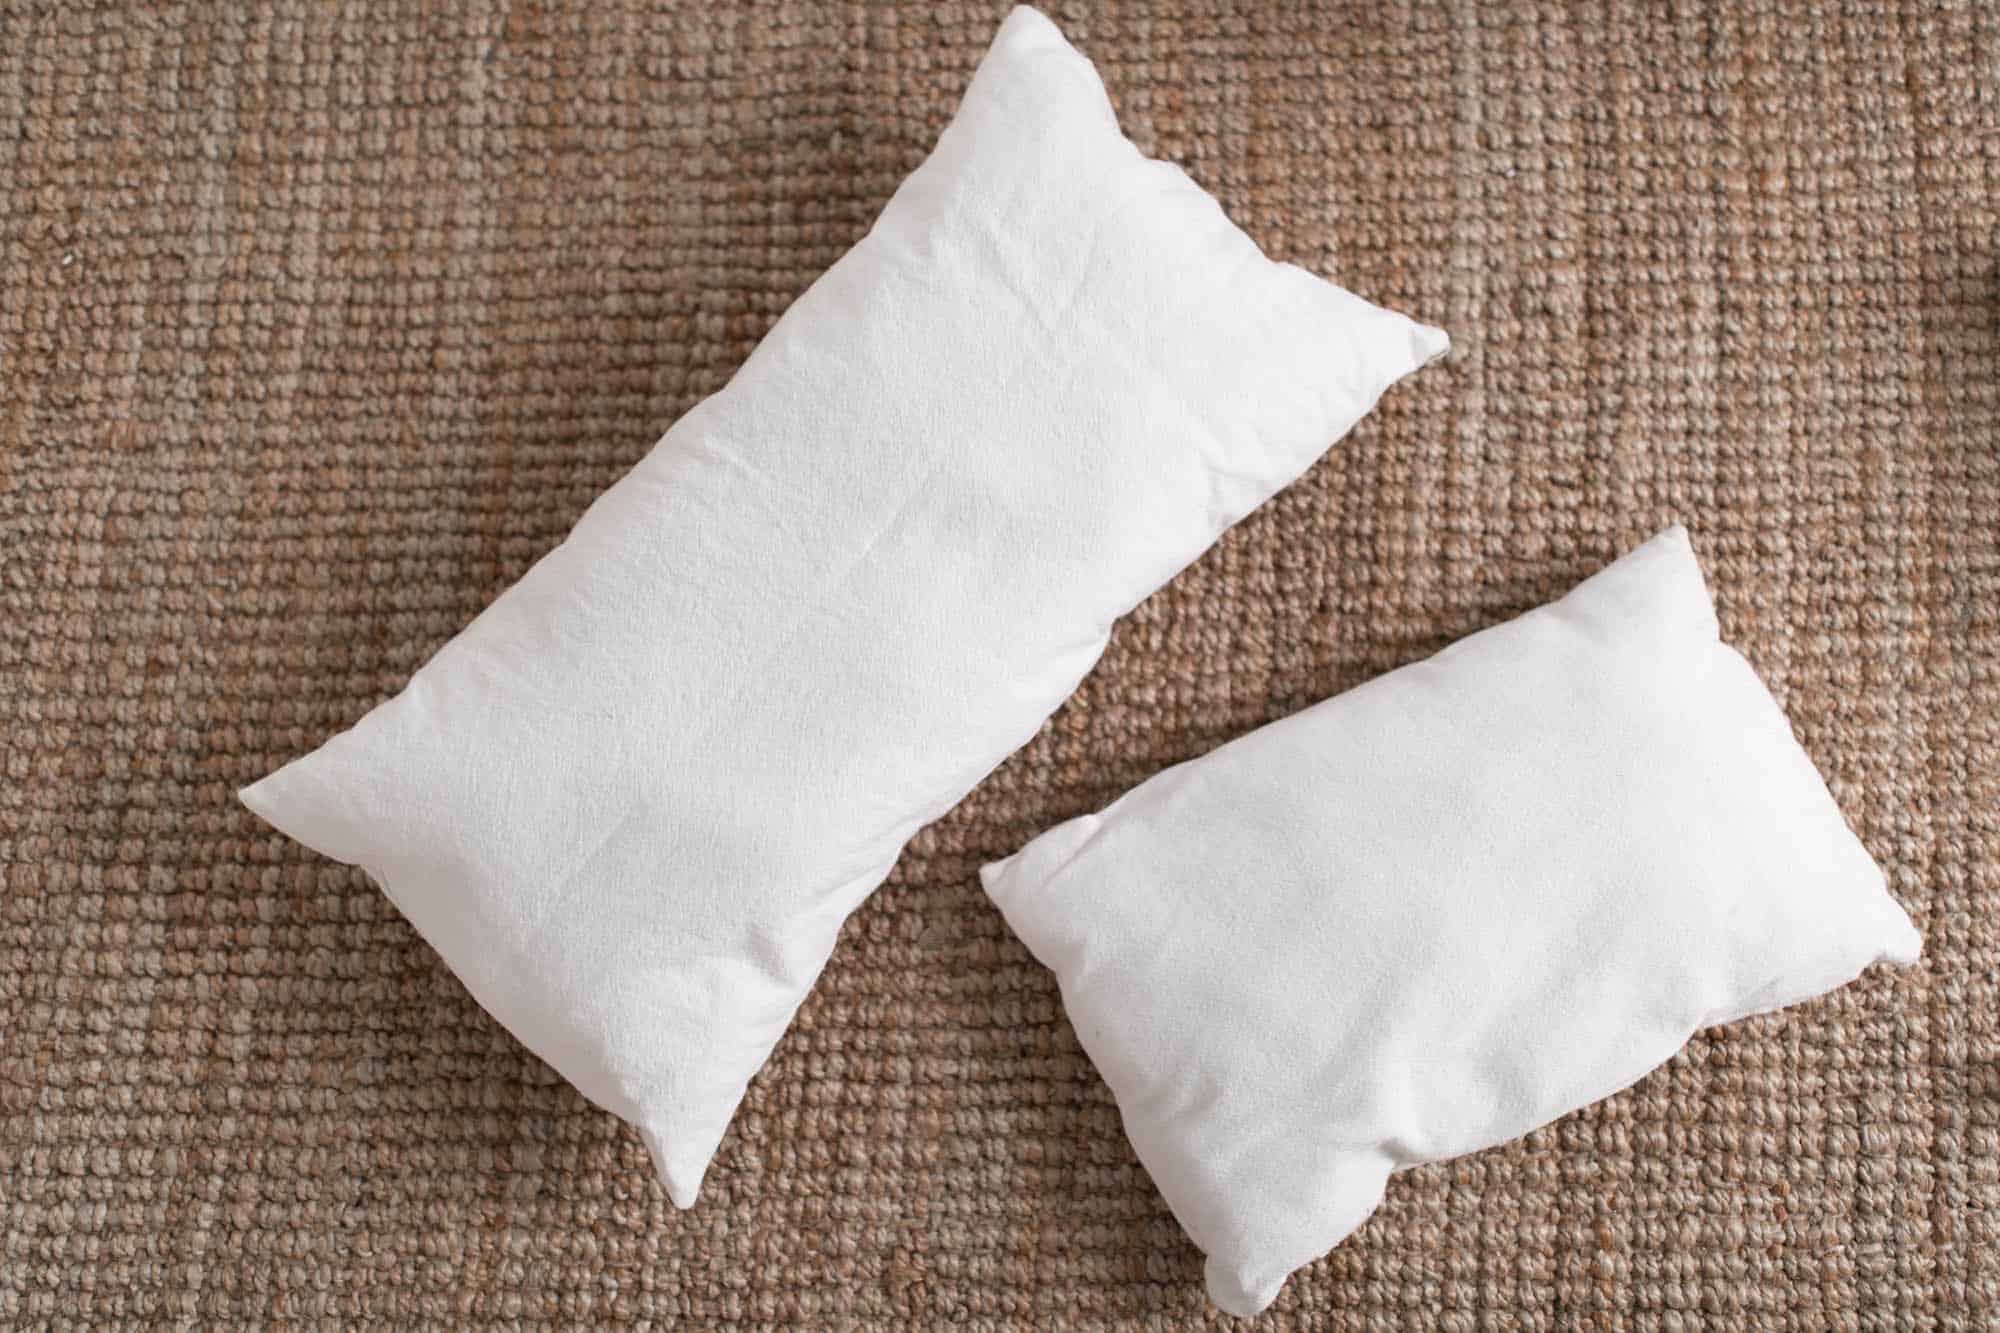
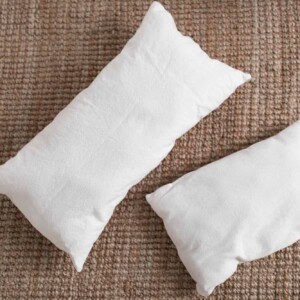
In the video I made a pillow insert for a 26.5″ by 14.5″ vintage concrete sack.
I cut my bleached drop cloth pieces to 28″ by 15.5″ to allow for a peek-a-boo pillow insert.
Sew the two pieces together with a 1/2″ seam all the way around, except one 3″ spot. This will be where you add the stuffing. I like to leave the spot on one of the short ends. If you put it on a corner, it will be harder to close up and cold look messy.
Turn it right out, making sure to poke out all the corners with your fingers.
Add stuffing until it is full enough for your liking.
Add a little topstitch to close up the 3″ spot that you left open.
WHAT IS A TOPSTITCH
A topstitch is a stitch that is sewn close to the original seam. It is on top of the garment, or project, and visible when it is complete. Its purpose is to make a seam lay flat. In this case the purpose is to close up the hole that was left open for the stuffing. When putting your insert into your new pillow cover, hide the 3″ spot you left open, since it will look a little messy, by putting that end first into your pillow cover. The nicely sewn edge should be the one peeking out.
Instructions for the IKEA tea towel pillow size
I shared a tutorial on how to make Super Simple DIY Pillows from IKEA Tea Towels. Here are the specific dimensions for that project.
Sew up two 13 by 20 inch pieces of bleached drop cloth, or other white cotton fabric, all the way around, leaving a 3 inch portion not sewn.
Turn it right side out and add stuffing.
Stitch the 3″ spot that you left open shut with a topstitch.
How to Make a Pillow Insert Video Tutorial
Other drop cloth tutorials
*PLEASE NOTE* Not just any drop cloth will get this white. It has to be 100% canvas. I get mine HERE.
How to Slipcover a Wingback Chair with Drop Cloth
Other Pillow Cover Tutorials
Simple IKEA Tea Towel Pillow Covers
DIY Grain Sack and Ticking Stripe Pillow Covers
Simple Buffalo Check Pillow Covers
Shop the supplies
Some links are affiliates. See my full disclosure HERE.
Thank you so much for stopping by the farmhouse!
See the rest of my sewing videos in this playlist on YouTube.
How to Sew a Pillow Insert with Drop Cloth
Video
Equipment
- Sewing machine
Ingredients
- drop cloth
- pillow stuffing
Instructions
- First, measure the size of your finished pillow cover. Next, add one inch to the width and one inch to the length. This will allow for a 1/2″ seam allowance on all four sides when you go to sew your front and back pieces together. If you want the pillow insert to be slightly longer so that it peeks out the other side, as shown in the IKEA tea towel pillow cover tutorial, you can add an extra 1/2″ to 1″ to the length measurement.
- Simply cut out two pieces of fabric in the dimensions you came up with. (Length and width of the pillow cover plus one inch on the length and width.)
- In the video I made a pillow insert for a 26.5″ by 14.5″ vintage concrete sack. I cut my bleached drop cloth pieces to 28″ by 15.5″ to allow for a peek-a-boo pillow insert. Sew the two pieces together with a 1/2″ seam all the way around, except one 3″ spot. This will be where you add the stuffing. I like to leave the spot on one of the short ends. If you put it on a corner, it will be harder to close up and cold look messy.
- Turn it right out, making sure to poke out all the corners with your fingers. Add stuffing until it is full enough for your liking. Add a little topstitch to close up the 3″ spot that you left open.
Notes
WHAT IS A TOPSTITCH
- A topstitch is a stitch that is sewn close to the original seam. It is on top of the garment, or project, and visible when it is complete. Its purpose is to make a seam lay flat. In this case the purpose is to close up the hole that was left open for the stuffing. When putting your insert into your new pillow cover, hide the 3″ spot you left open, since it will look a little messy, by putting that end first into your pillow cover. The nicely sewn edge should be the one peeking out.
Nutrition information is automatically calculated, so should only be used as an approximation.


Such a helpful tutorial, I can’t wait to try it out.
This is really easy to follow! I love how it turned out!
Hi Lisa, I’m sorry I don’t have a website. I am a huge fan. I love the ticking fabric and the drop cloth fabric. I have a question. How do you order pillow covers or a drop cloth linen to go at the end of your bed? I need a king and a twin. Please guide me to the right webpage? I tried clicking on the one you had listed but it took me nowhere. Maybe I have the “names wrong ” for what I am searching for? I’m searching for the items that you mentioned above, also the ones I mentioned above. I did get a Welcome 20% off code for my first order, but it didn’t give me a site. Do you have an Amazon store? I really would love to learn how to sew. Your sewing machine is AMAZING. I love all things handmade. I am a Christian Woman with strong Convictions. My babies who are not babies anymore are my loves. My husband is my love and my best friend. However, my relationship with Jesus is all of those combined and so much more. I’m pretty sure you can relate. I would love to buy a few things from you. One day I will get a sewing machine. Until then I will buy from people I want to support and trust. You are truly an inspiration. I love all things Victorian and farmhouse. I love the Farmhouse Fabrics that you have and sell. Thank you.