










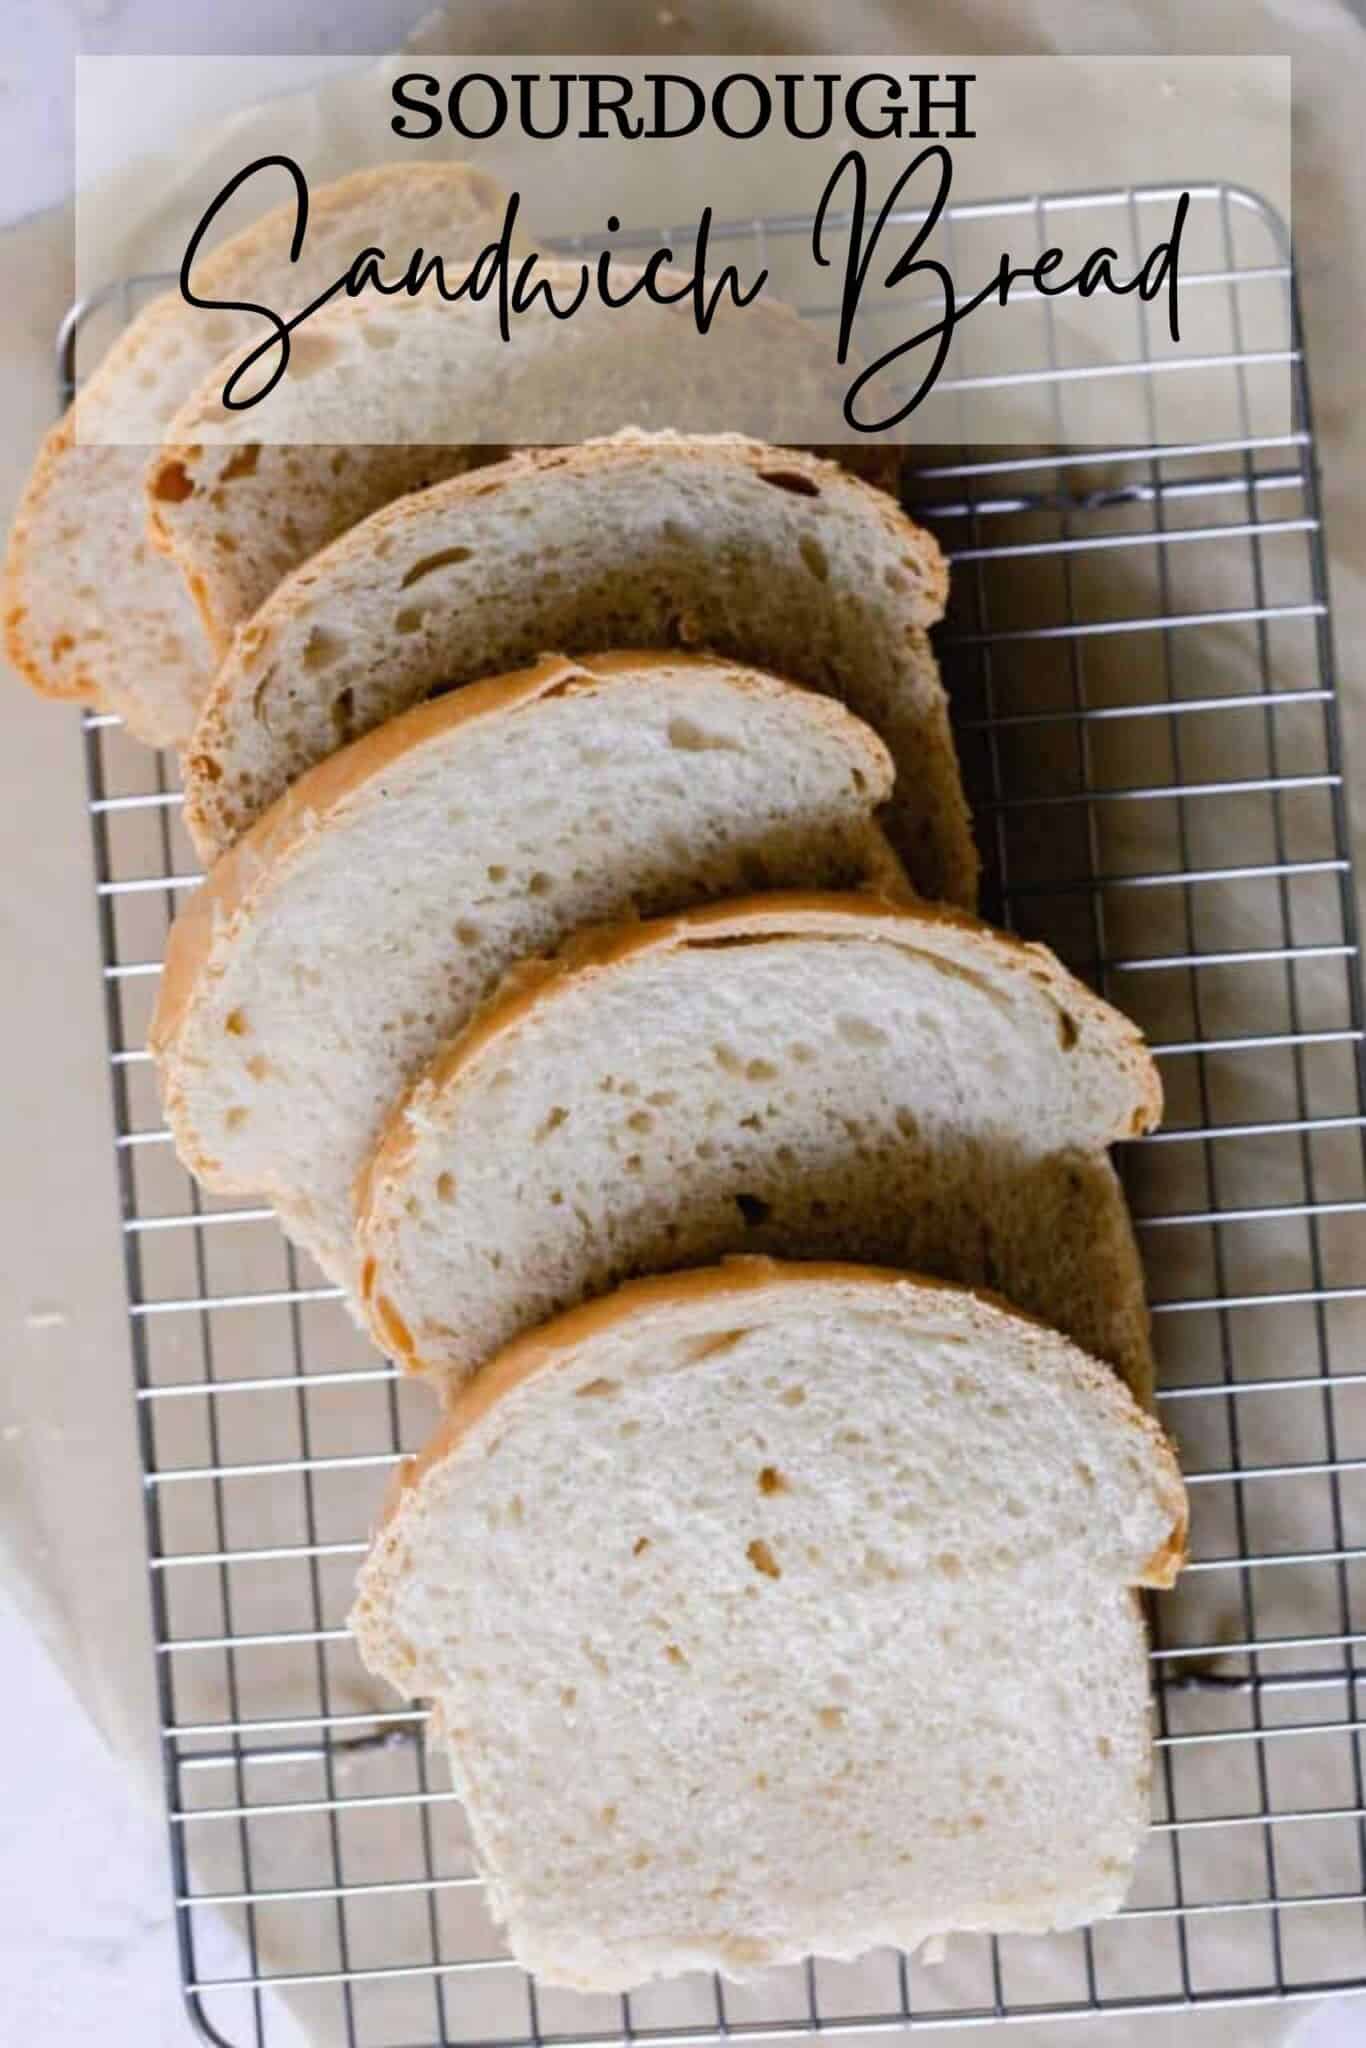
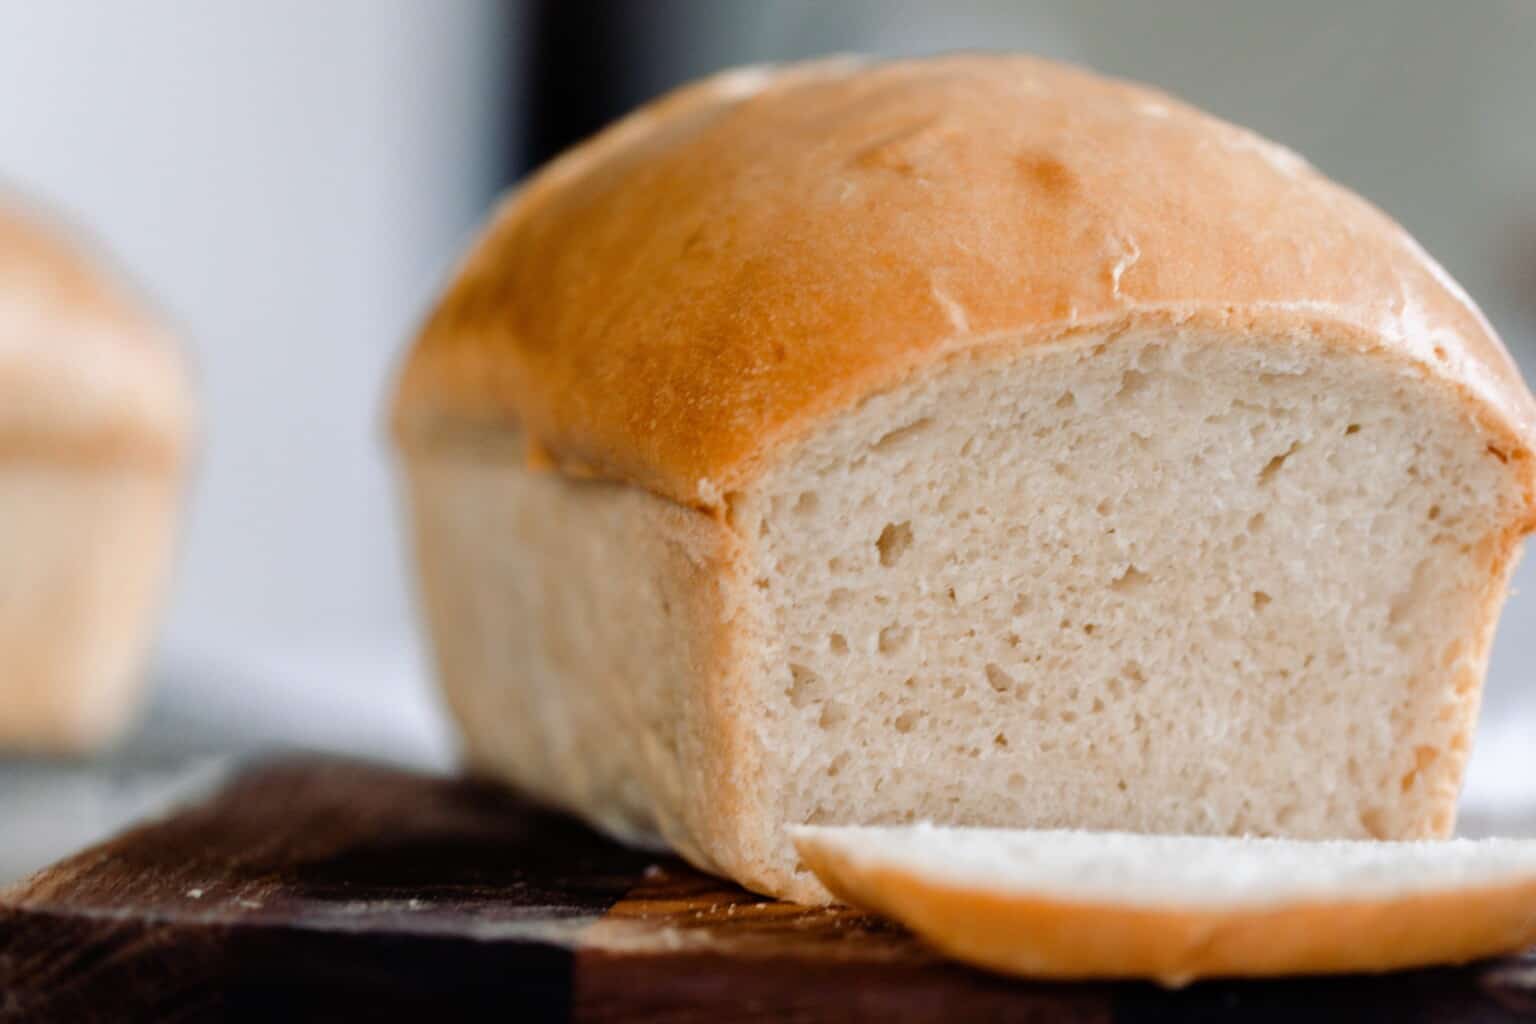
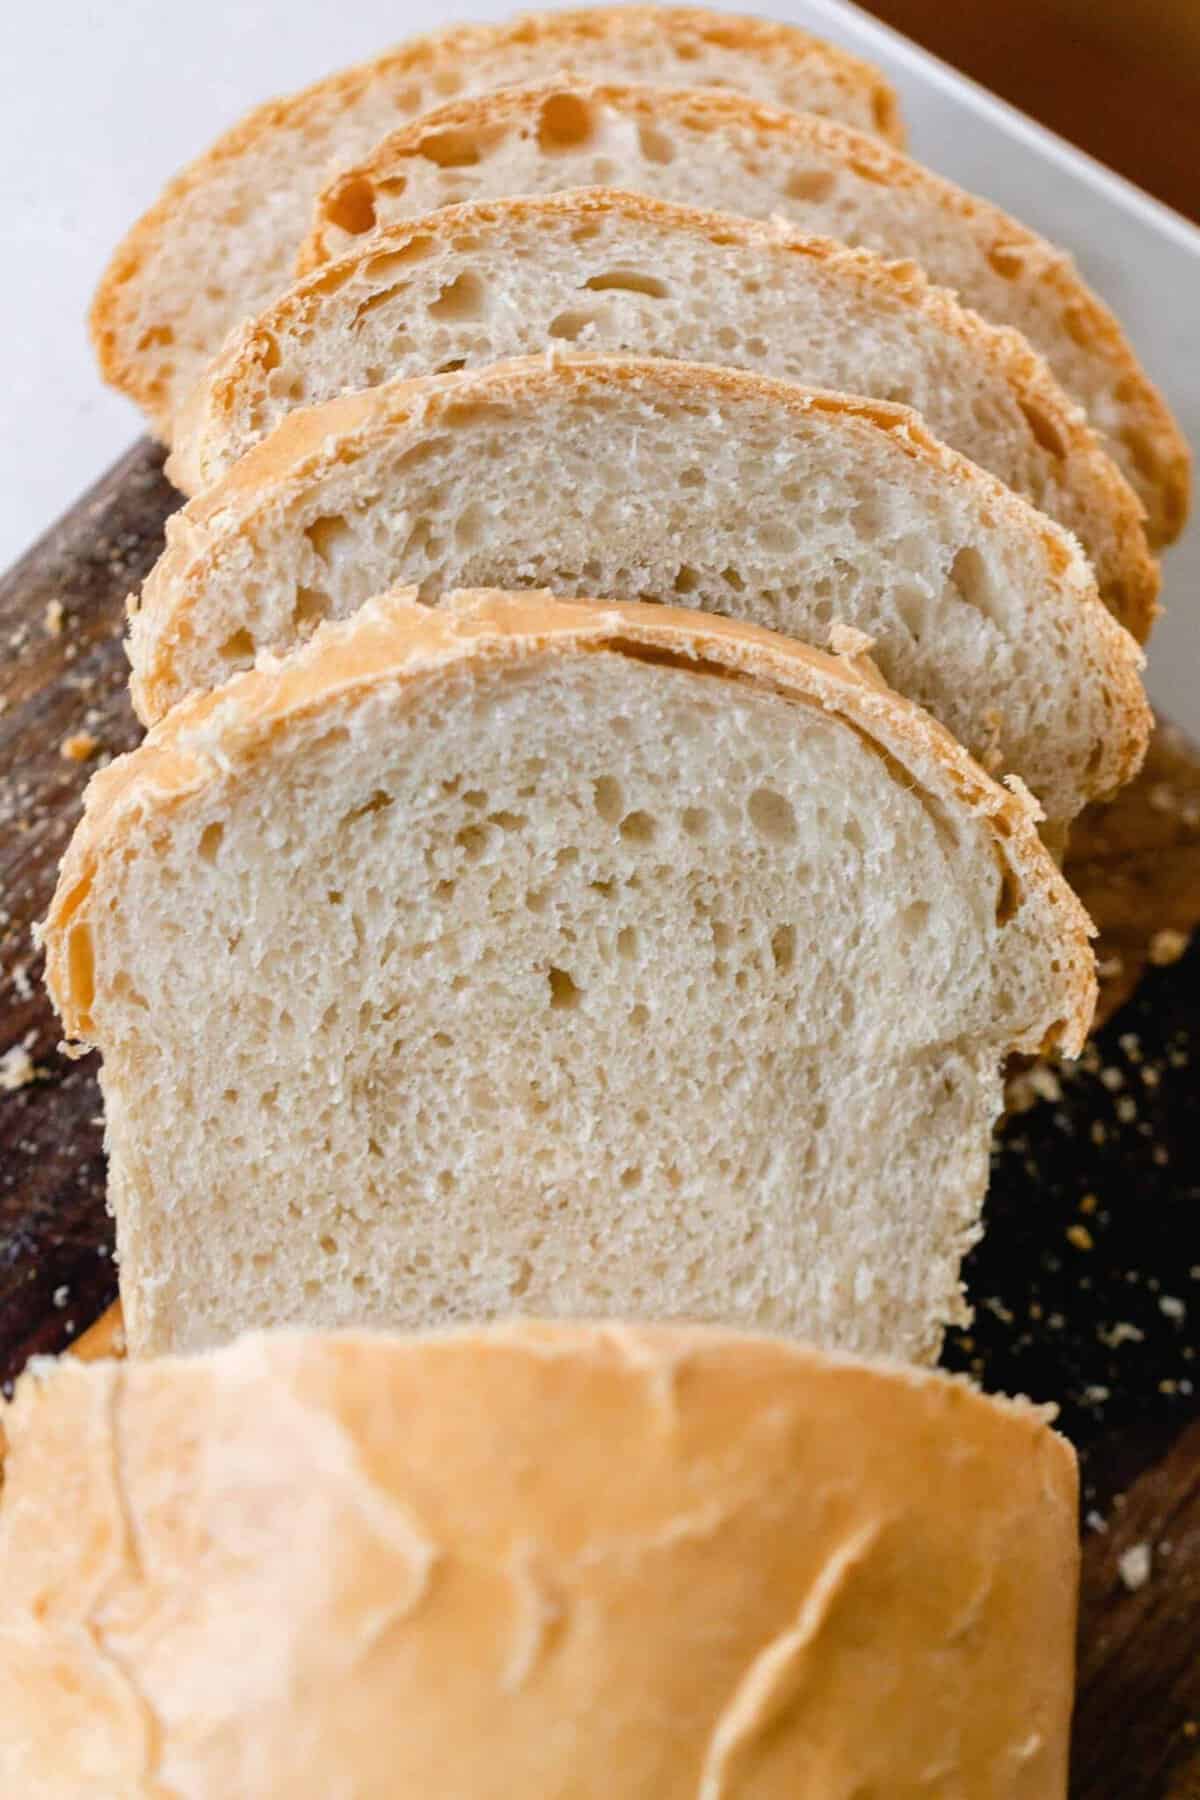
Soft and fluffy sourdough sandwich bread is the perfect bread to have on hand. Made with all purpose flour, sourdough starter, butter and a little honey, this fermented bread has a lighter texture and tangy flavor.
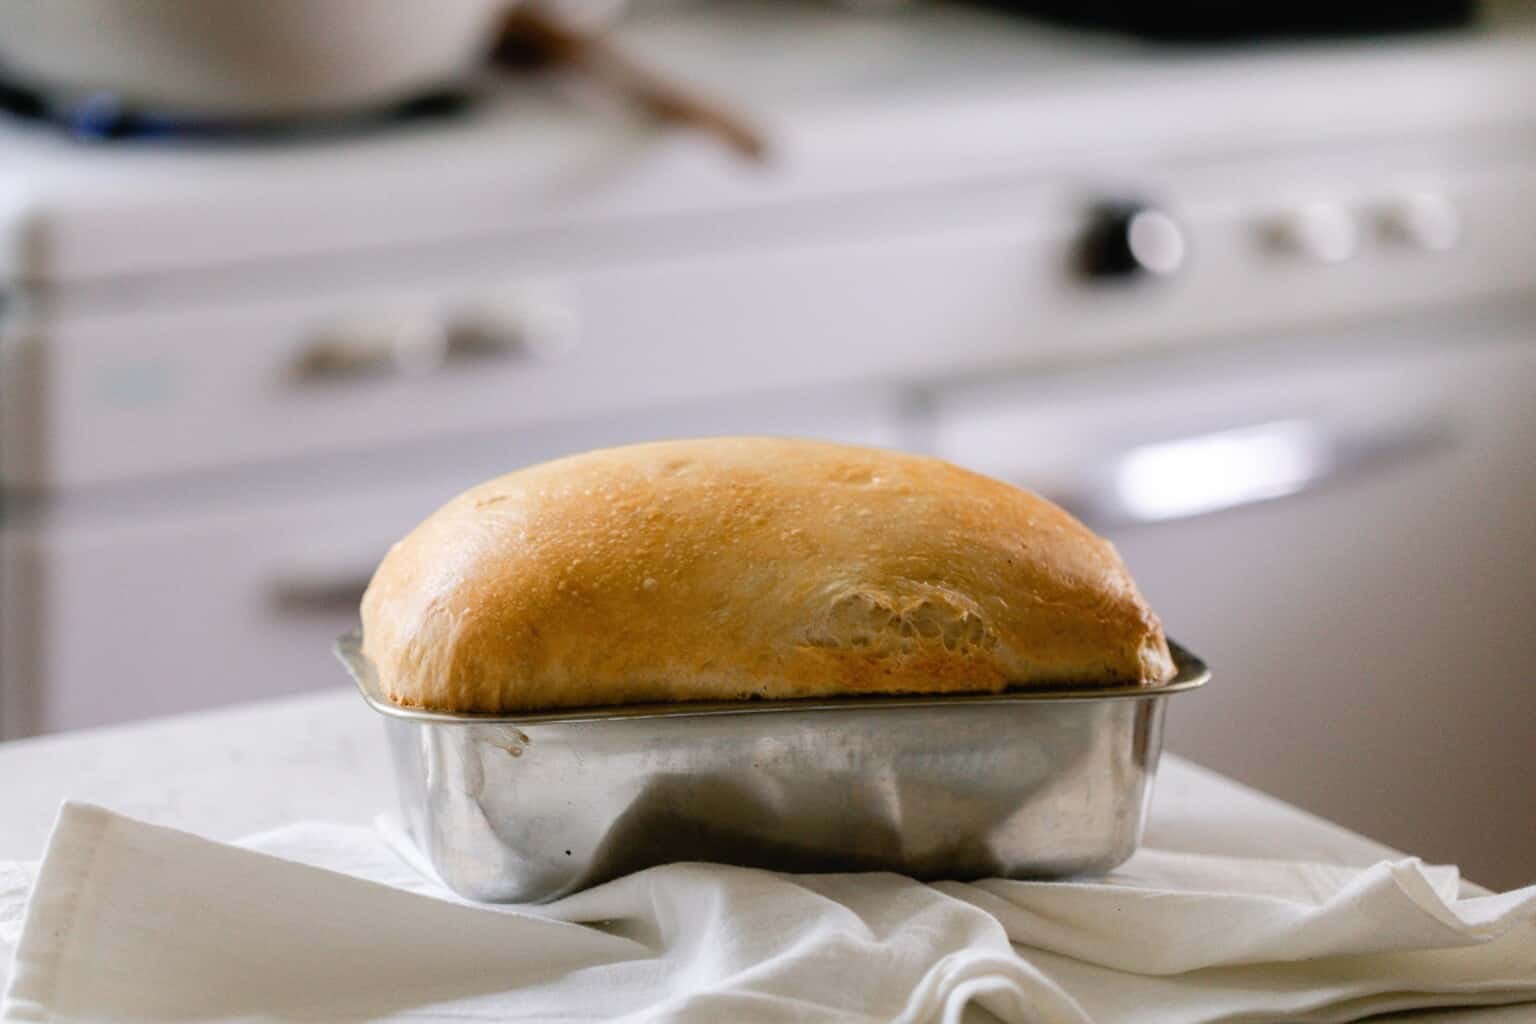
One of the main complaints I hear about making crusty sourdough from readers is that they miss the soft sandwich loaf style of bread.
Not only is this recipe absolutely delicious (making it really hard to ever go back to store-bought bread), but it is also super simple. No strange ingredients, no stretching and folding every 30 minutes… Just mix, rise, shape, rise again, and bake.
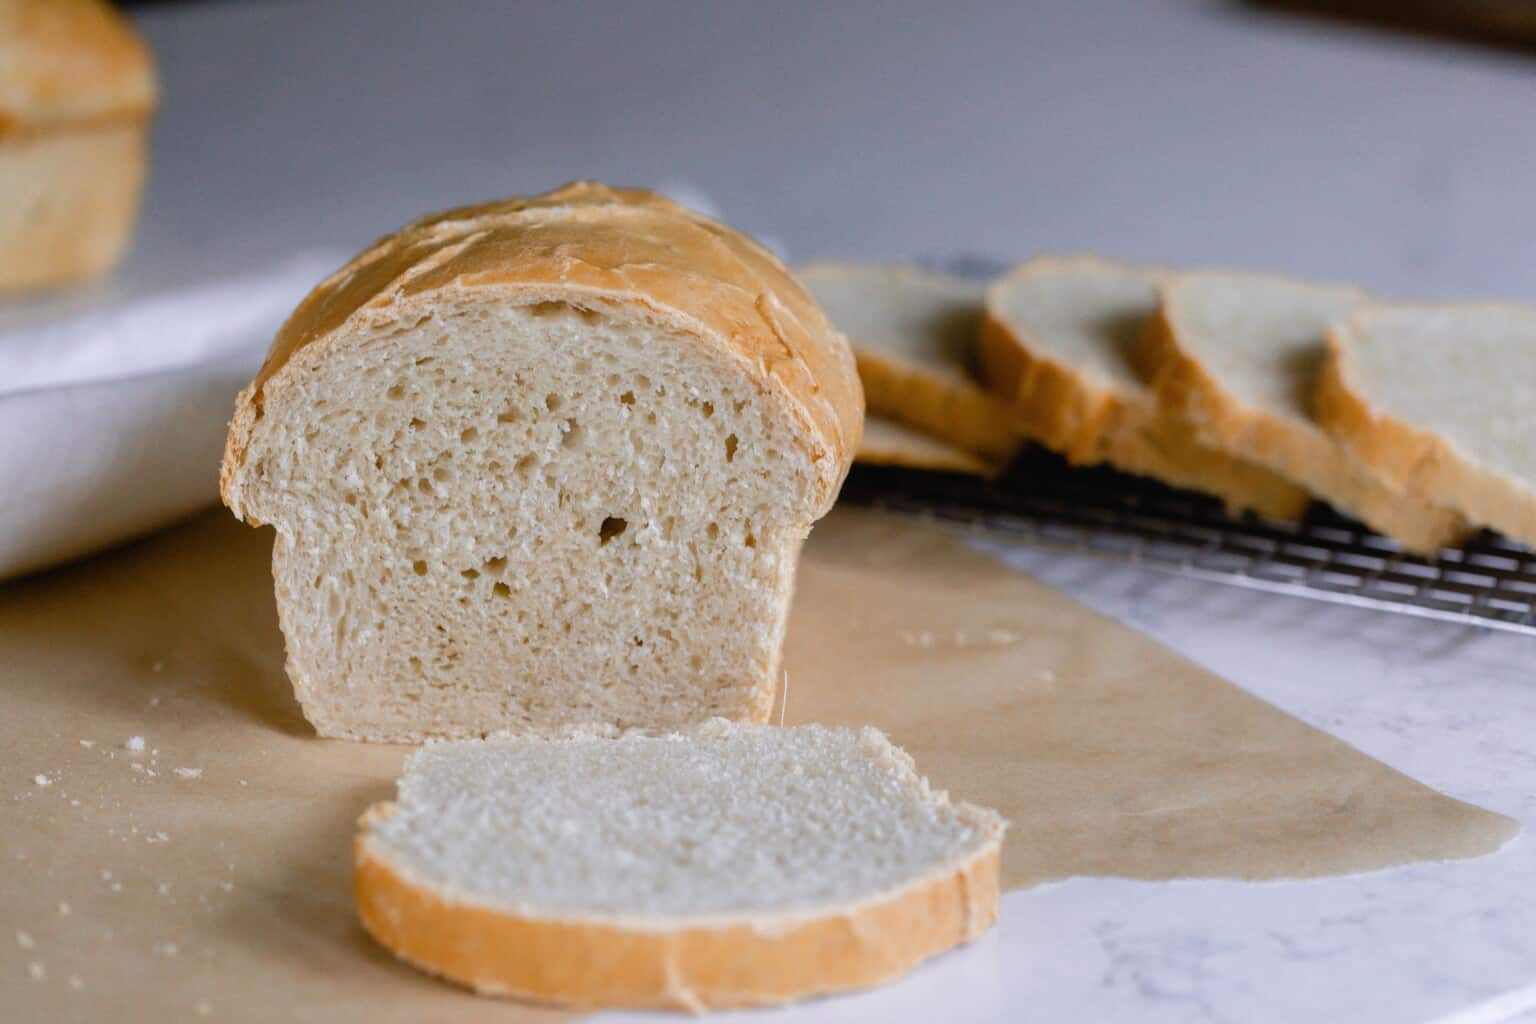
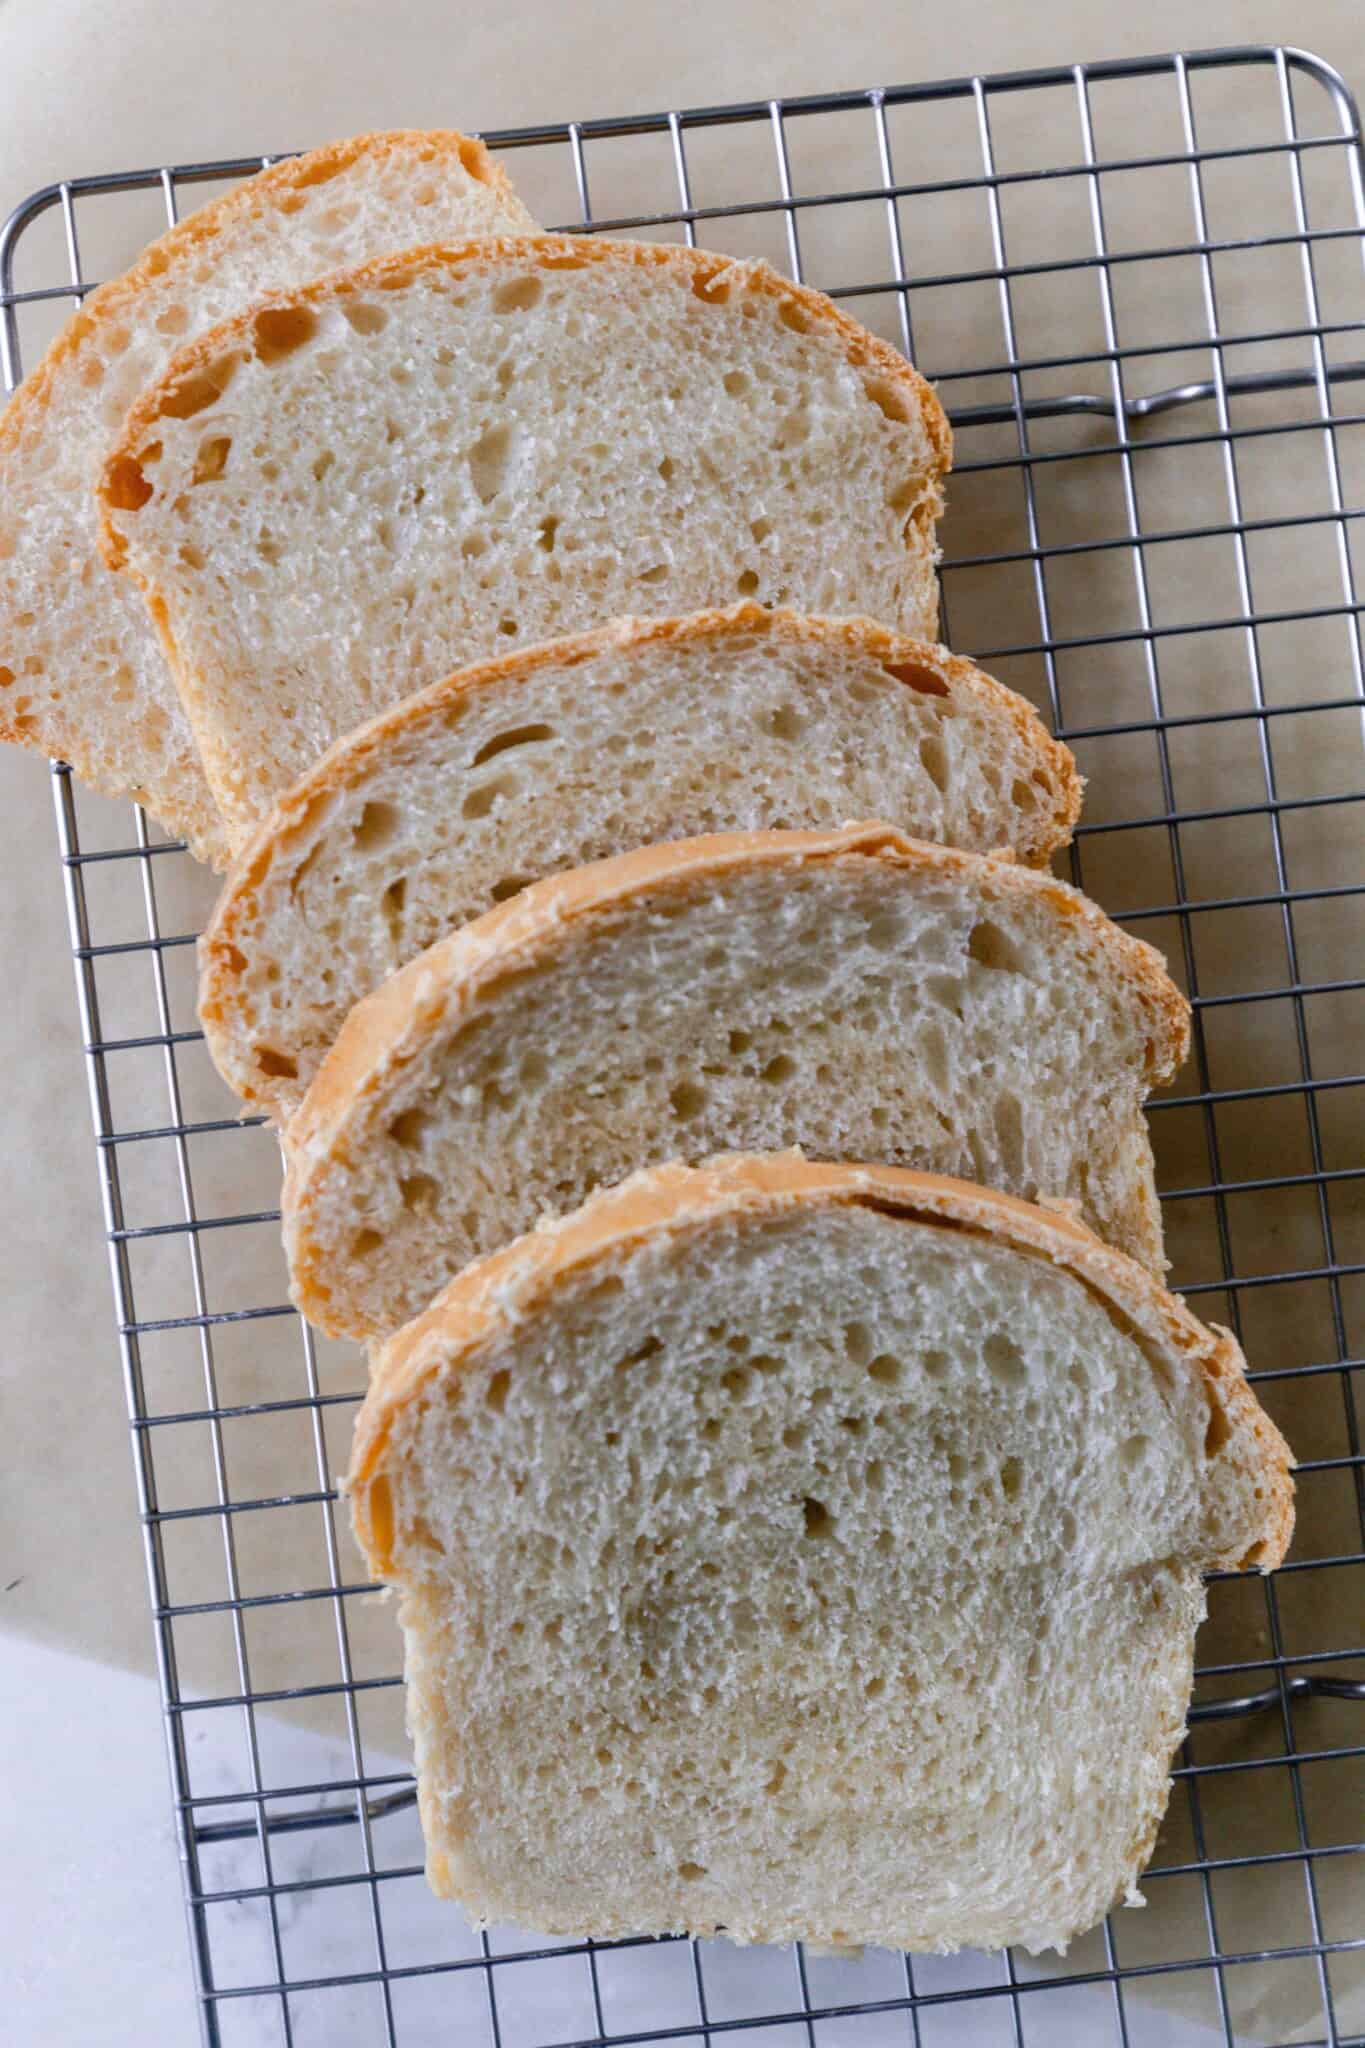
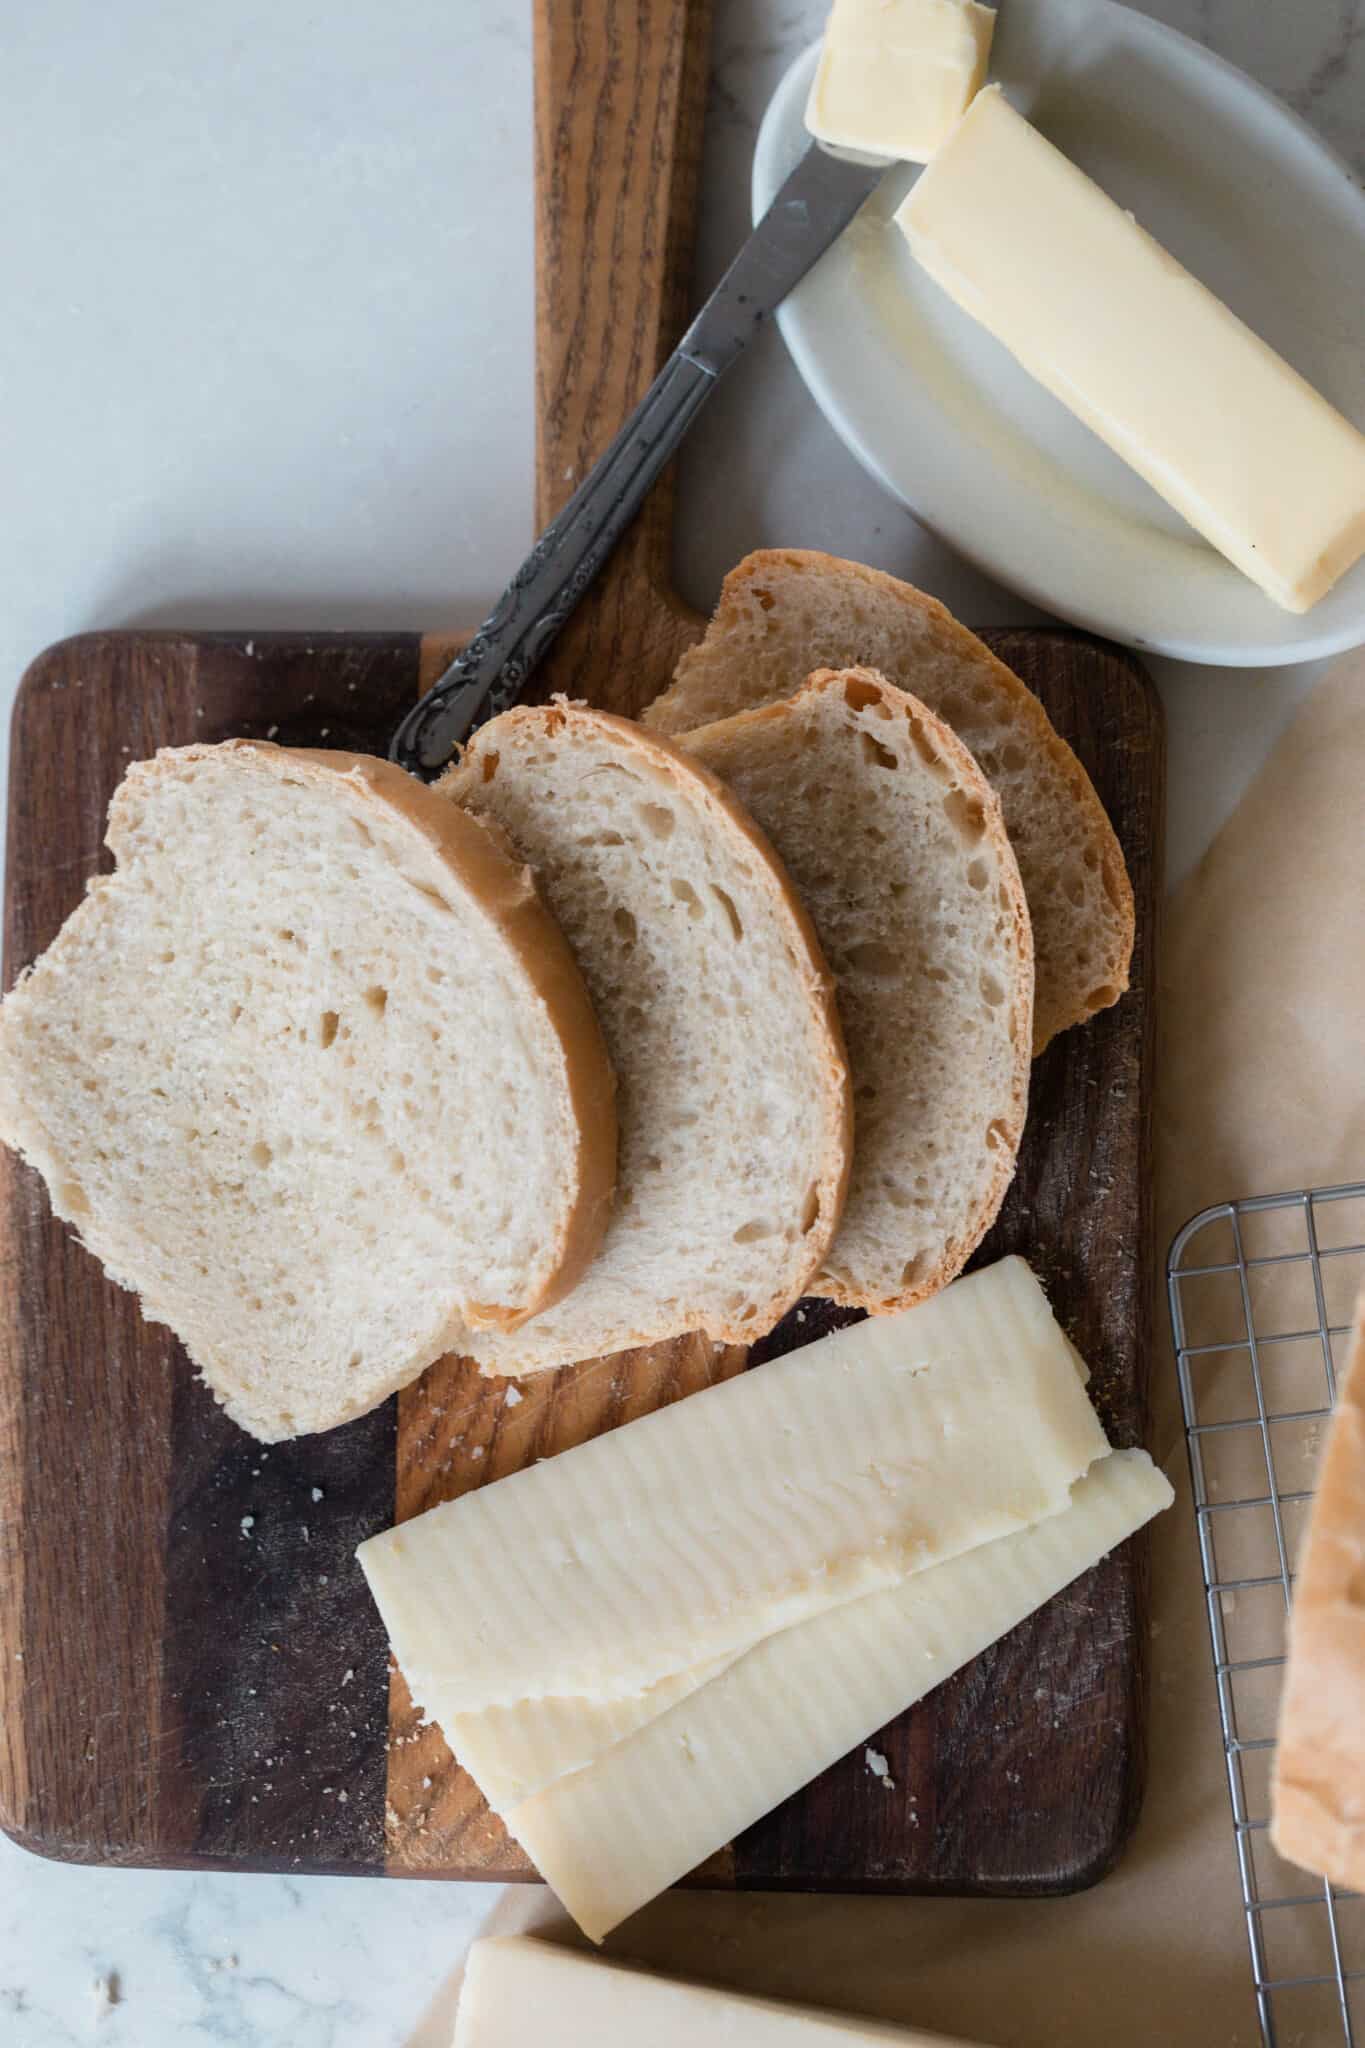
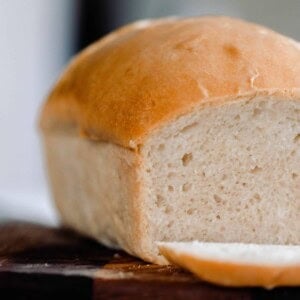
Let it cool, slice and slather it with butter. It’s so yummy and it reminds me of a bread you would get on a breadboard from a restaurant.
Let’s be honest, though, it’s way better since it’s made from scratch and has that wonderful sourdough tang.
Make sure to save this sourdough loaf bread recipe for the future. It will be a go to for sure.
Tips:
- Use really soft butter and cube it up so it blends easier.
- Don’t over ferment the dough. It will turn into a wet sloppy disaster that won’t rise well. Still edible. Maybe. It could also be turned into sourdough croutons.
- When making the dough, using a stand mixer makes the process much easier and hands off. You can also do this with your hands.
- If you are new to sourdough, you can check out how to make a sourdough starter here, find my sourdough conversion chart, and baking glossary of terms.
This post contains affiliate links, which means I make a small commission at no extra cost to you. See my full disclosure here.
Tools you may need:
Measuring cups and spoons. You could also use a kitchen scale
FAQ:
Does sourdough bread make good sandwiches?
Yes. The delightful tanginess adds to the flavor profile of the sandwich, making it a wonderful addition. You can use crusty sourdough bread or this soft sourdough sandwich loaf.
Why is my sourdough sandwich bread not rising?
There could be a few reasons for this. The most likely one is that your sourdough starter may not be active enough or is weak.
Another contributor could be the temperature of the room where you are placing your dough to rise. The cooler the temperature the longer it will take for bread to rise.
Lastly, the water you use in your dough mixture could be a factor. If the water used was too hot, it may have killed the starter. Additionally, if you are using city water the chlorine could potentially kill the yeasts in the starter.

Are sourdough sandwiches healthy?
Sourdough is one of the healthiest breads since the grains are fermented, which makes it more digestible and the nutrients more available for your body to absorb.
Top with your favorite healthy toppings and you can have a wholesome and filling meal in one sandwich.
Ingredients:
Butter (softened) or coconut oil – I prefer using butter for that savory buttery flavor. If you are wanting to make a vegan version, you can use softened (not melted) coconut oil.
Honey or sugar – I like to use honey since it is a natural sweetener.
Salt – This gives the bread so much flavor and skipping it will leave you with a tasteless loaf.
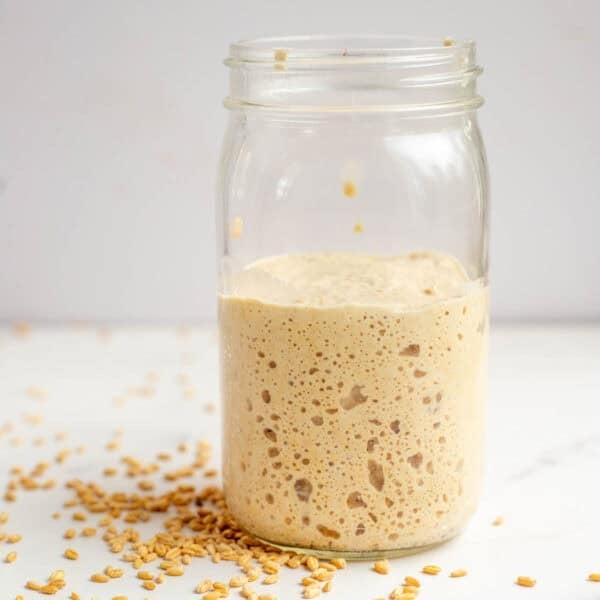
Sourdough starter – You want a nice active and bubbly starter to make bread. Starter that isn’t ripe won’t produce nice fluffy bread.
Water – Room temperature.
All-purpose flour – The best part of this recipe is that it uses good ol’ plain all-purpose flour. Nothing fancy.
How To Make Sourdough Sandwich Bread
To a stand mixer, add all of the ingredients. I like to add the flour last, so I can add a bit less or more depending on my starter’s hydration.
Knead until dough is stretchy and smooth. You want it to pull away from the sides of the mixing bowl and be smooth and elastic – about 10 minutes. It should pass the windowpane test. Grab a small ball of the dough and stretch it into a square. It should stretch thin enough to see through without breaking.
Tip: This isn’t a super hydrated dough and won’t be very wet like other doughs.
Allow to bulk rise for 10-12 hours in a warm place like on top of a stove or refrigerator. You can go longer if you want the benefit of the fermentation, but if it gets over-proofed the dough will turn into a sloppy mess!
In the summer, I ferment mine more like 8 hours but can get away with longer in the colder months.

Shape The Loaves And Rise

Grease two loaf pans or add parchment paper.
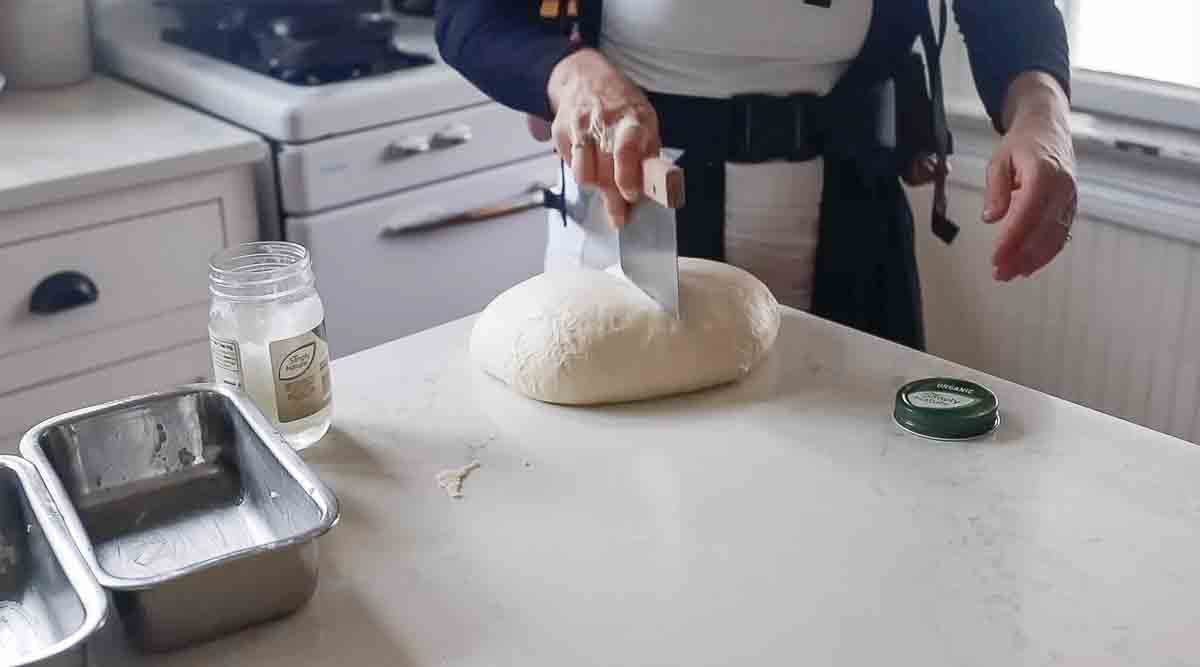
Divide in two equal parts.

Shape by rolling the dough flat into a rectangle and rolling it up.
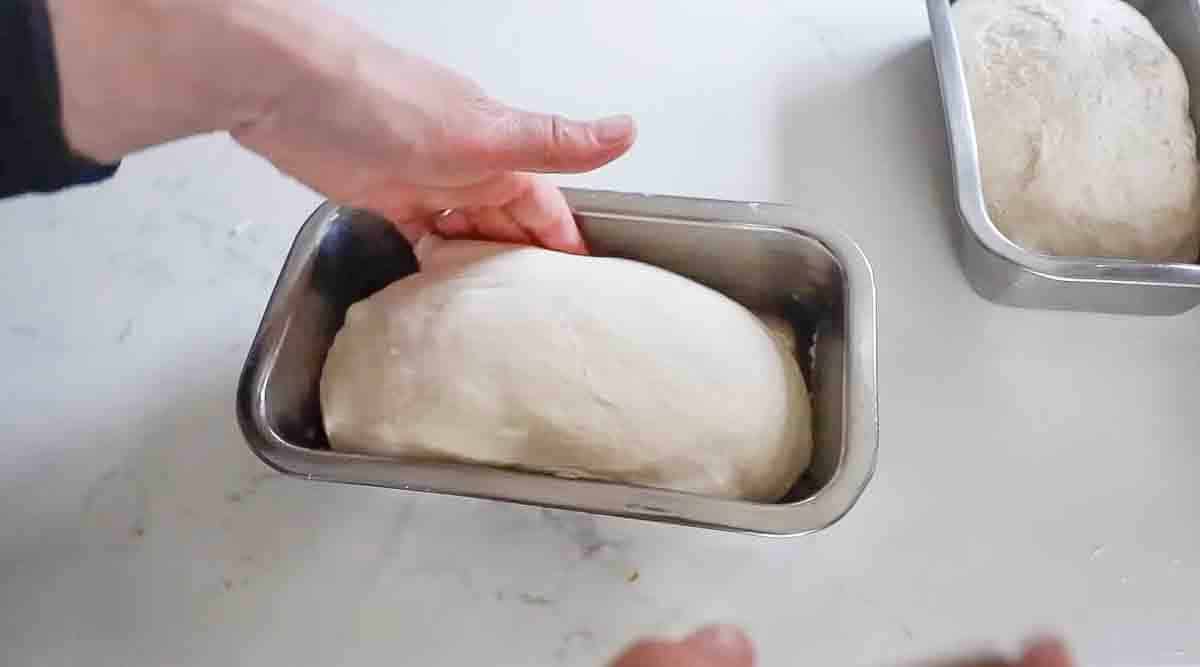
Add to parchment lined or buttered loaf pans.
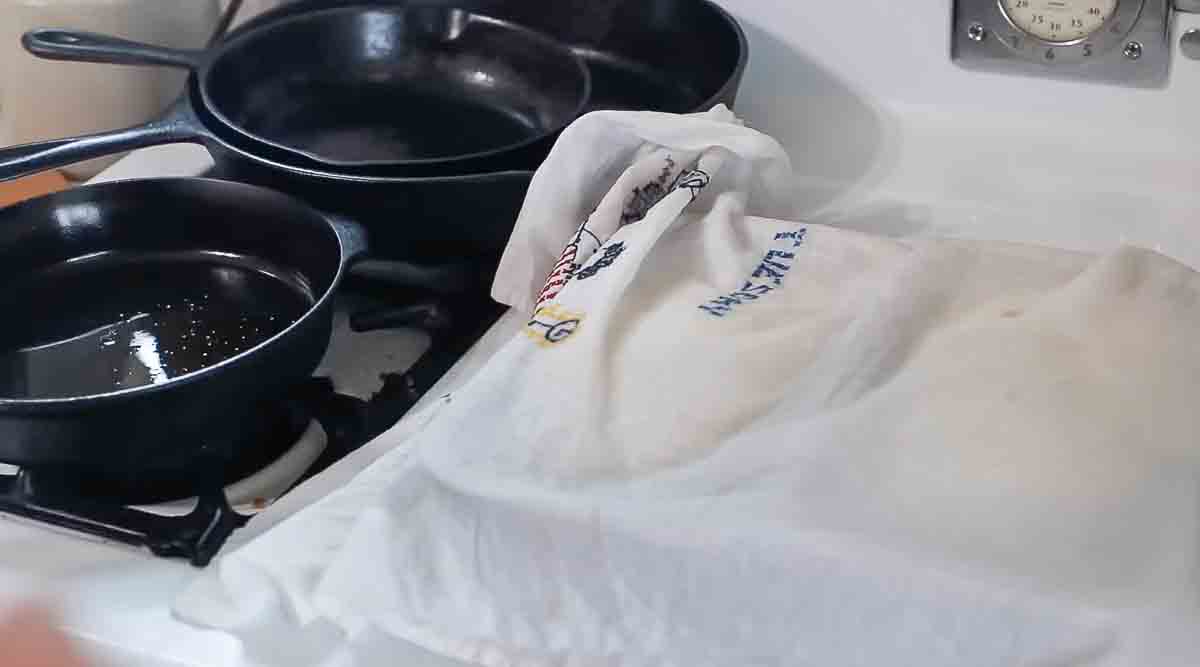
Second rise for 2-4 hours at room temperature, or until doubled. Again this depends on the temp! It could be as little as 1 hour if the house is warm and the starter active. Do not skip this step.It adds volume and strength to the dough.
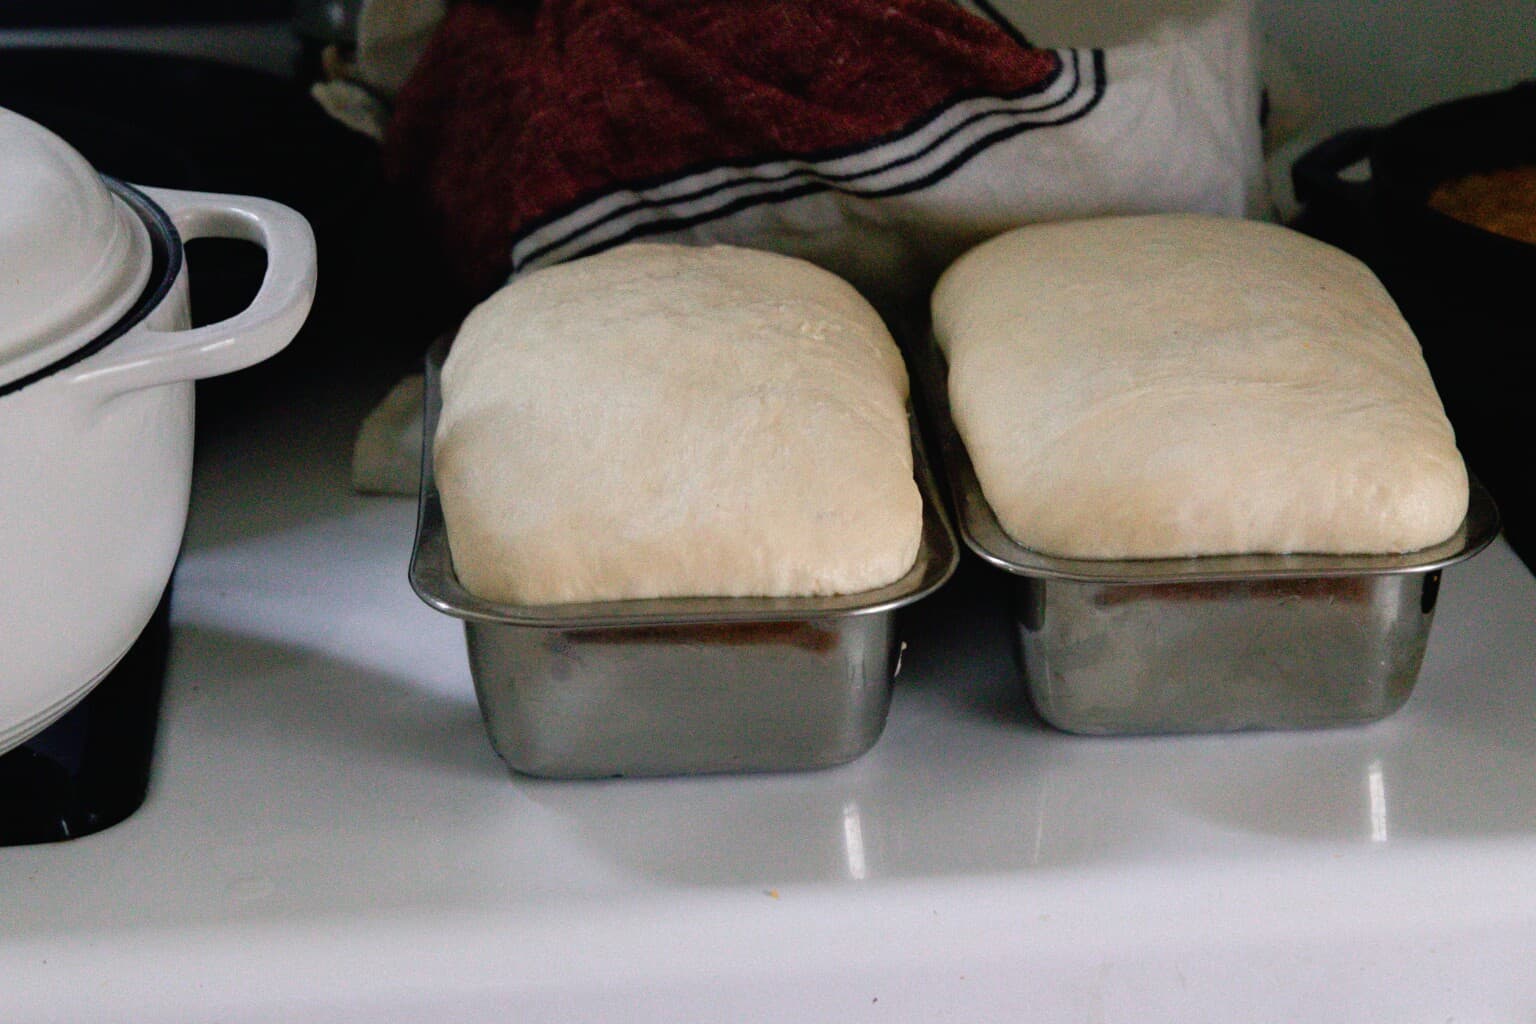
Bake
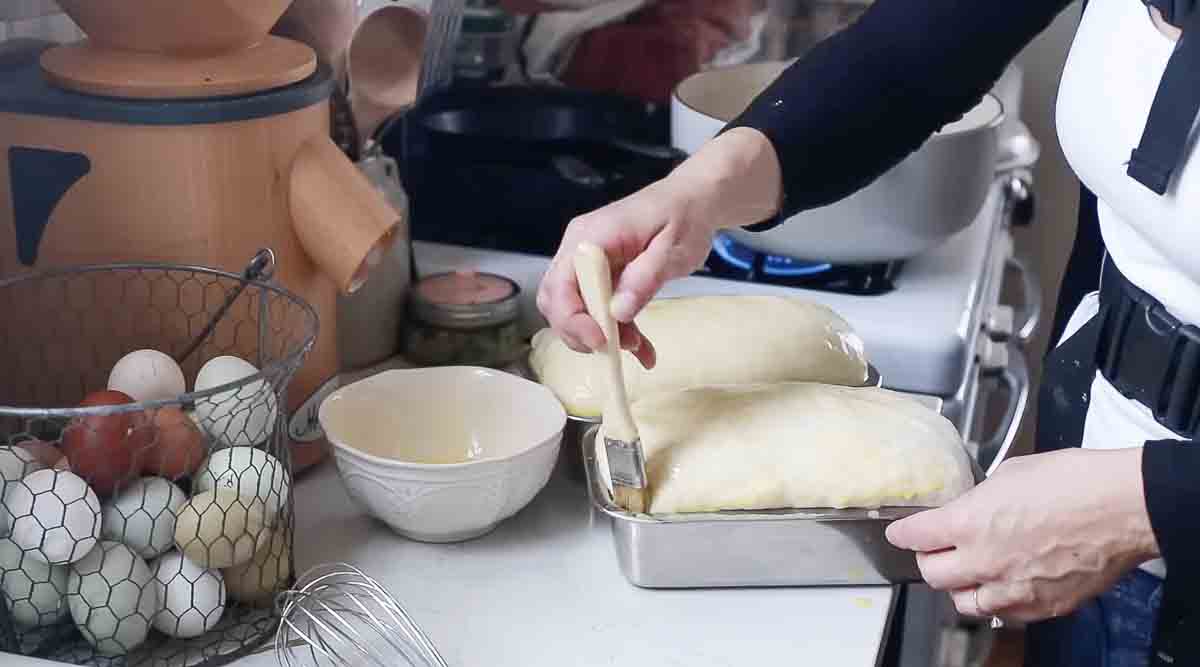
You can add an optional egg wash for more browning.
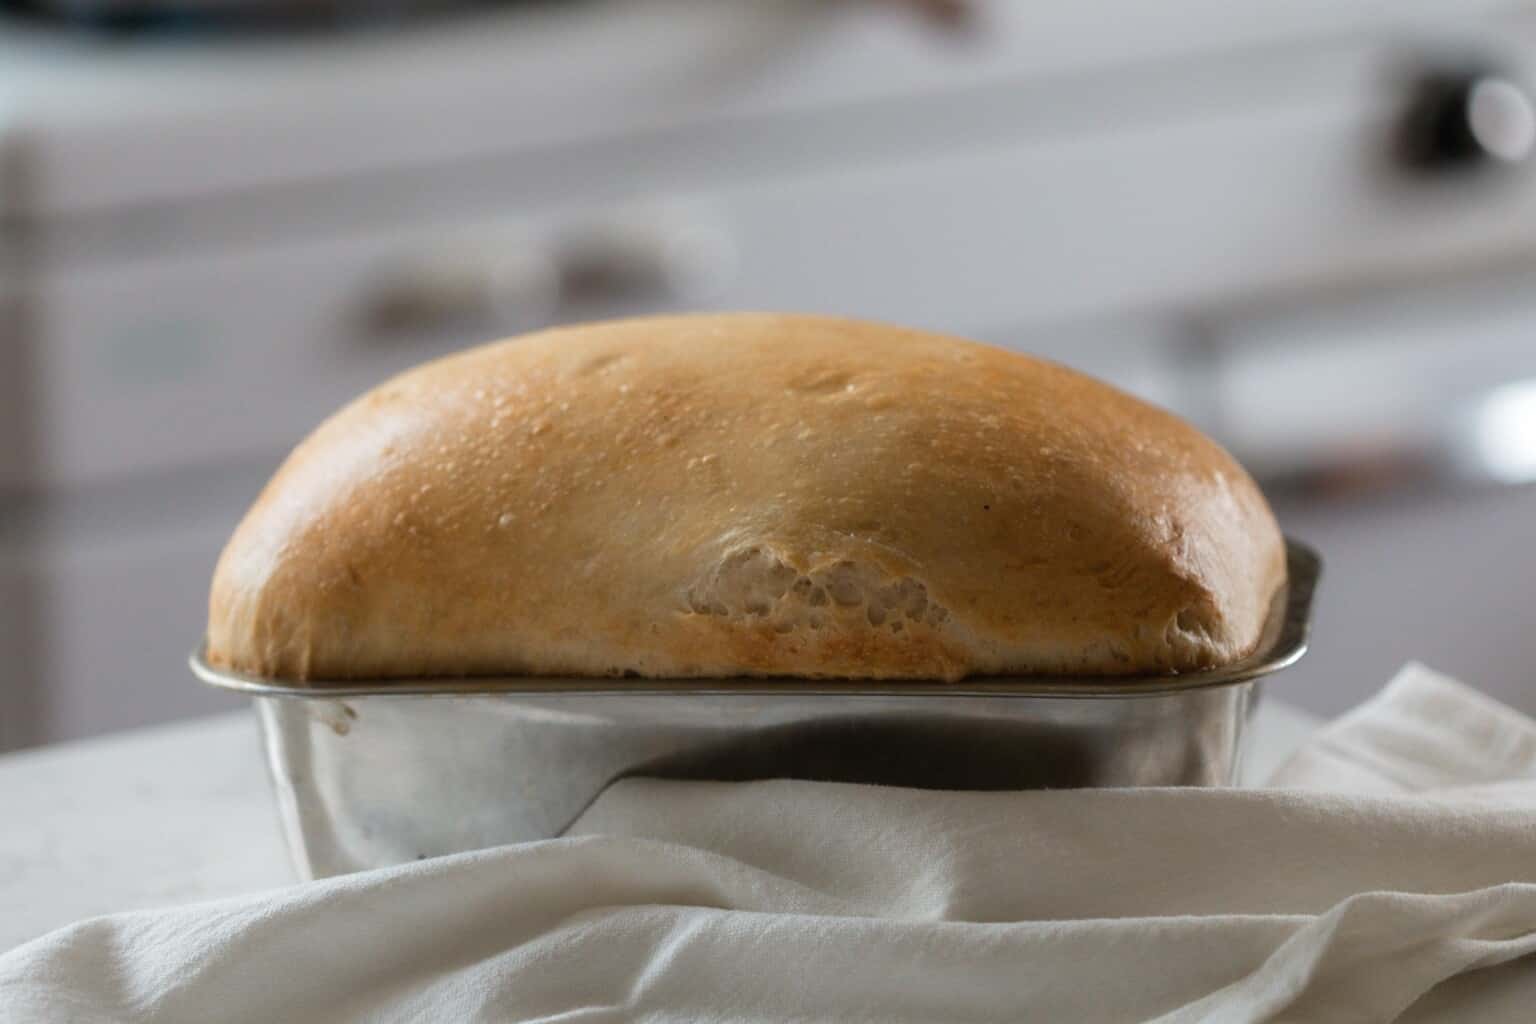
Bake at 375 for 45 minutes, or until golden on top.
Allow to cool completely before slicing.
Storage:
Store in an air-tight container for up to five days for best results.
You can also freeze loaves in freezer safe plastic bags for 3-6 months.
Find More Of My Sourdough Recipes:
- Sourdough Zucchini Bread
- Easy Homemade Sourdough Pasta Recipe
- Sourdough Coffee Cake
- The Best Soft Sourdough Pretzels
- Sourdough Brioche
If you try this recipe and love it, I would love if you could come back and give it 5 stars! Tag me on Instagram @farmhouseonboone .

Sourdough Sandwich Bread
Video
Ingredients
- 1/2 cup butter, 113 grams, softened or coconut oil
- 2 tablespoons honey or sugar, 42 grams for honey, If using sugar, 24 g
- 1 tablespoon salt, 15 grams
- 1 cup starter, 200 grams, active and bubbly
- 2 1/2 cups water, 590 grams
- 8 cups all purpose flour*, 1120 grams
Instructions
- To a stand mixer, add all of the ingredients. I like to add the flour last, so I can add a bit less or more depending on my starter's hydration.
- Knead until dough is stretchy and smooth. You want it to pull away from the sides of the mixing bowl and be smooth and elastic – about 10 minutes. It should pass the windowpane test.
- Allow to bulk rise for 10-12 hours in a warm place like on top of a stove or refrigerator.
- Divide in two equal parts.
- Shape by rolling the dough flat into a rectangle and rolling it up.
- Add to parchment lined or buttered loaf pans.
- Second rise for 2-4 hours at room temperature, or until doubled.
- Bake at 375 for 45 minutes, or until golden on top. You can add an optional egg wash for more browning.
- Allow to cool completely before slicing.
Notes
- *Some people have said making two loaves is too much for their stand mixer to handle. This depends on the type of stand mixer you have. If you have a standard KitchenAid mixer, you may want to halve the recipe and make one loaf.
- Use really soft butter and cube it up so it blends easier.
- Don’t over ferment the dough. It will turn into a wet sloppy disaster that won’t rise well. Still edible. Maybe. It could also be turned into sourdough croutons.
- When making the dough, using a stand mixer makes the process much easier and hands off. You can also do this with your hands.
Nutrition
Nutrition information is automatically calculated, so should only be used as an approximation.








Lisa when you were talking about two loaf pans are these 9×5???
yes
I think this is the 3rd time I’ve made this recipe. The first two times, I probably would have rated the recipe 3 stars – it kept ending up rather tough and chewy. BUT, this time, it was AMAZING! The soft, fluffy crumb I kept seeing in the description and other reviews. I’m not sure if it’s because I used coconut oil this time, or because I did stretch and folds this time instead of kneading, or if it had to do with my fermenting process being different, but, WOW – 5 stars for me!
Yes, I like this. I want to try the sandwich bread. What is meant by “over ferment”? Diane
When the bread over ferments or proofs for longer than is needed….it will turn in to a very sloppy mess.
I am about to take off my first cup of starter (used your recipe) to make the bread and I had a few questions. How do I know if my starter is fermented enough? I keep a pretty cool house. Can I substitute the all purpose four with bread flour? When I take off the one cup, do I need to make the dough right away or is there a way to preserve the one cup until the next day? Thanks so much!
If you touch the dough, it should spring back! Yes, you can do a 1-1 sub with bread flour and then just follow the instructions as normal.
I’ll say. I was so skeptical. My starter never likes salt at the beginning and this loaf didn’t rise the way I thought it should, and I had to knead by hand. but this turned out so beautiful and fluffy and delicious, 10/10 from me. Definitely recommend!
Amazing!! So easy and turned out great. If I start this at the wrong time and can’t get into the oven before bed, can it go into the fridge over night in the loaf pans?
I also have your cookbook and love it!!
Yes you can…Overnight Fridge Instructions:
• Cover Tightly: Cover the loaf pans securely with plastic wrap or a damp towel so the cold fridge air doesn’t dry out the top of the dough.
• Baking Next Morning: Take the pans out of the fridge while your oven preheats.
• When to Bake: If the dough already rose well in the fridge, bake it directly from cold. If it still needs to puff up more, let it sit on the counter for 1 to 2 hours before baking…..*so glad you are enjoying my book!
to clarify, is this *after* it has sat out for the first proof for 10-12 hours? Or can the whole proof be in the fridge overnight then baked the next day?
1. First Proof (Bulk Rise): Leave out on the counter for 10–12 hours (typically overnight). (If you’re too busy to shape it after 12 hours, this is the exact moment you can park the bowl in the fridge to stop it from over-proofing).
2. Shape: Divide and roll the dough into rectangles, then place them into your loaf pans.
3. Second Proof: Let the shaped loaves rise on the counter for 2–4 hours until doubled before baking.
Alternatively, if you want a true “bake straight from the cold” routine, you can let it do its 10–12 hour first rise on the counter, shape it into the pans, and then put the shaped pans in the fridge overnight for a cold second rise before baking the next morning.
I’m just beginning my Sourdough journey, and this was a great recipe to start making sandwich bread. I was able to make some good bread my family loved without all the stress of stretch and folds. Loved it!!
My husband and I love this bread as a sandwich bread. Not sure why, but sometimes it has been pretty dry and hard to eat as a soft sandwich bread. Any idea why that happens.
Here are some possibilities..Over-Measuring the Flour.• The Fix: Weigh your flour in grams using a kitchen scale, or use the “spoon and level” method (spoon flour into the cup and level it with a knife). If your starter runs a bit thick, the website recommends adding the flour last so you can withhold a few tablespoons if the dough feels too stiff…Under-Active Sourdough Starter.The Fix: Ensure your starter is mature, highly active, and fully bubbles up to double (or triple) its size before adding it to the dough…The Dough Surface Dried Out During the Rise..The Fix: Cover your mixing bowl tightly with plastic wrap or a damp towel to completely trap the humidity while it sits out overnight.
Why does my loaf always split?
it can happen when the outer skin on the dough forms a crust before the bread is cooked…here are some fixes to try..
• Let it rise longer: Underproofed dough has too much explosive energy left. Let the loaf rise in the pan until it is puffy and domed well over the rim.
• Keep it moist: Cover the dough during the final rise so the top skin doesn’t dry out and lose elasticity.
• Score the top: Cut a shallow lengthwise slash down the center before baking to give the steam a controlled escape route.
• Check the seam: Always place the shaped dough seam-side down at the very bottom of the loaf pan.
Everyone that I recieved a loaf of this bread from us has loved it. I’ve used this as a base recipe and made an Italian loaf, cinnamon raisen, regular, and cheesy jalapeño. They turn out perfect every time. Thank you for sharing this recipe!
So happy to hear that…thanks for sharing!