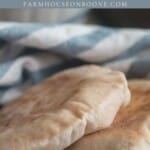


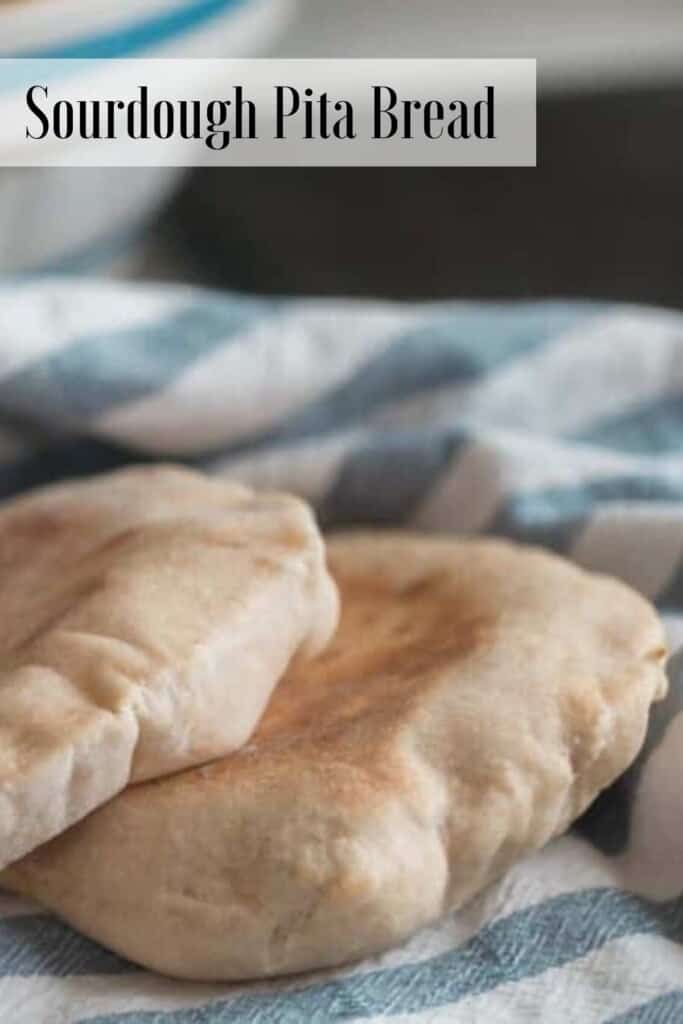
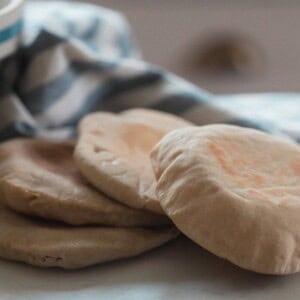
Learn how to make the softest and most delicious sourdough pita bread recipe. A soft and fluffy bread with that pocket you love and expect from a pita, but made with wild yeast.
This sourdough pita recipe may be the best thing since sliced bread. Is soft and fluffy, and has a much more delicious tangy flavor compared to regular pitas. They are wonderful for sandwiches and can be prepped ahead for easy lunches or dinners.
As winter continues on, for what seems like forever, the desire for warm and comforting meals continues to press on. It is always so interesting to me how our bodies just know.
As soon as the weather starts to warm ever so slightly, all of a sudden the thoughts switch from soups and stews, to greens and fresh garden tomatoes.
Maybe I’m just longing and dreaming of spending the afternoons in the garden picking flowers and veggies.
Seeing as winter is still here, I’ll be focusing most of my attention on those warm foods. Pitas are great to add as a side for soup, or as the vessel for sandwiches and dips.
When summer does finally poke its head out I will be adding lots of veggies to these perfect little pockets.
Why You Will Love This Recipe:
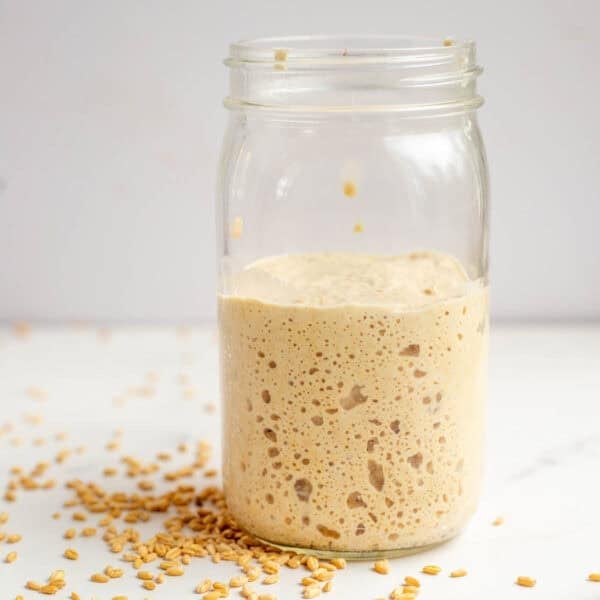
Naturally Risen: There is no commercial yeast here. This recipe only utilizes the wild yeast in sourdough starter to give it rise.
Easy: All you need is some basic ingredients and a few minutes of hands-on time to make this.
Yummy: This delicious pita bread recipe has become a favorite in our house. The extra tanginess from the sourdough starter adds so much flavor.
Simple ingredients: It is made with just a few simple ingredients you probably already have in your pantry.
Tips For Making Homemade Pita Bread:
- For best results, preheat a hot baking stone or cast iron skillet in a hot oven. This high temperature allows the pitas to puff up creating that pocket in the center.
- New to sourdough? Learn how to make your own sourdough starter here.
- If you don’t have time to bake them right away, you can stick the dough in the refrigerator for 12 hours.
- While I’ve had great success making these in the oven, a pizza oven would probably work beautifully.
This post contains affiliate links, which means I make a small commission at no extra cost to you. See my full disclosure here.
FAQ:
What is the difference between flatbread and pita bread?
Flatbread is usually a flat bread that is most of the time unleavened, whereas pita bread is a leavened bread that is soft, fluffy, and has a pocket in the middle.
Why is sourdough bread the healthiest?
This is due to the fermentation process. During fermentation the phytic acid is broken down and the vitamins and minerals present in the grain are more easily absorbed by the body. It also has a lower glycemic index, meaning it won’t spike your blood sugar as much as conventional bread.
Is sourdough healthier than yeast?
Sourdough is made with wild yeasts that are found in the environment whereas commercial yeasts (like active dry yeast) is a single strain of yeast (from the Saccharomyces cerevisiae strain).
Sourdough is considered a healthier option for multiple reasons such as: easier digestion, lower glycemic index, and more bioavailable nutrients compared with recipes made with commercial yeasts.
Is it OK to add yeast to sourdough?
Yes, for sure. Many sourdough discard recipes include yeast. While it will not be a true sourdough recipe per se, and may not have all the benefits of a true sourdough recipe it still can be done.
If you have an active sourdough starter and add yeast, be careful not to over ferment.
What is sourdough bread best used for?
Eating. Ok ok that was a joke. Sourdough bread is best used for sandwiches, french toast casserole, french toast, bread pudding, breakfast strata, stuffing, croutons, and so much more.
Ingredients:
Sourdough starter– It should be active and bubbly.
Water – Preferably warm water.
Whole wheat flour – If you don’t have whole wheat flour, you can substitute with more all-purpose flour
All-purpose flour
Sugar – This adds a little sweetness while also helping feed the sourdough starter.
Olive oil – Oil helps make the dough more elastic.
Salt – Adds a delicious flavor. Don’t skip the salt.
Tools you may need:
Stand mixer with dough hook (optional)
Cast-iron skillet or pizza stone
Rolling pin
Bench scraper (optional, but very helpful)

How To Make Sourdough Pita Bread
Combine everything in the bowl of a stand mixer with the dough hook.
Knead on medium/low speed for 10 minutes or until dough is stretchy and smooth.
You can also utilize the alternative stretch and fold method if you don’t have a mixer.
Oil a large bowl. Place the dough in the bowl and add a lid or plastic wrap. and allow to rise until doubled.
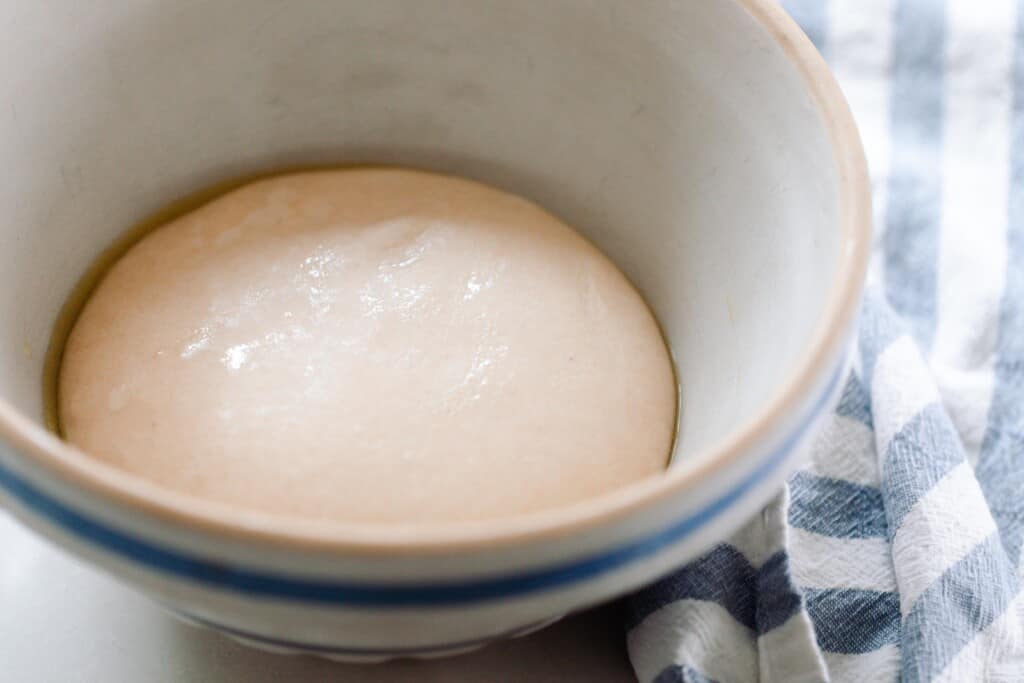
Let the dough rise in a warm place until doubled in size. At this point you can long ferment, but be careful not to over-ferment though.
The sweet spot is about 4-6 hours at room temperature or up to 12 in the refrigerator. I mix this dough up in the morning in order to have it ready for dinner.
Shape And Cook
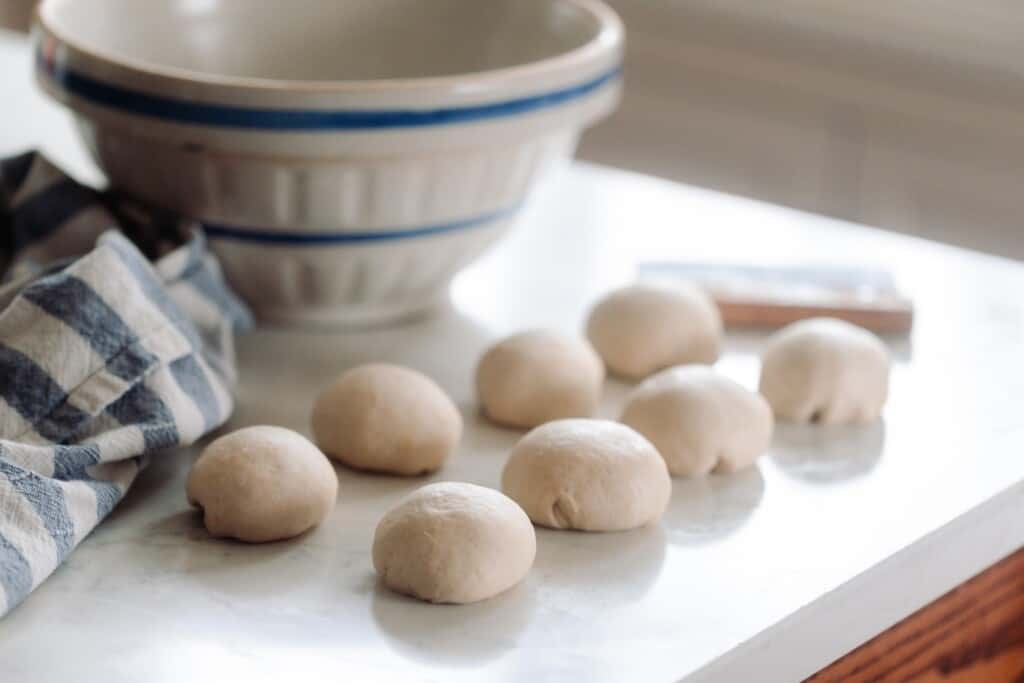
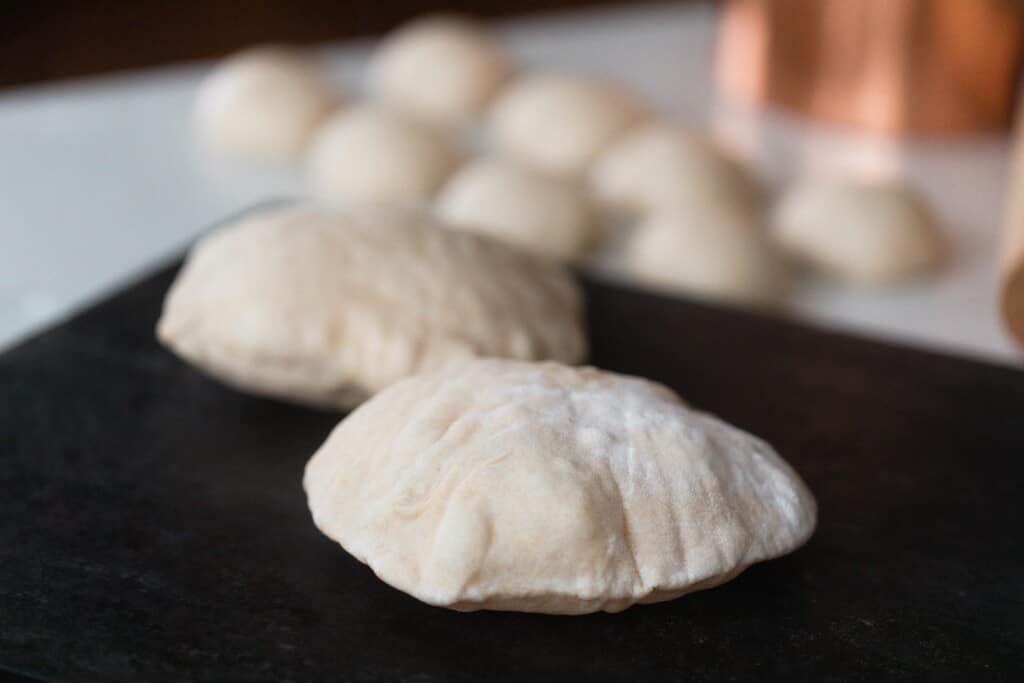
Lightly flour a clean work surface.
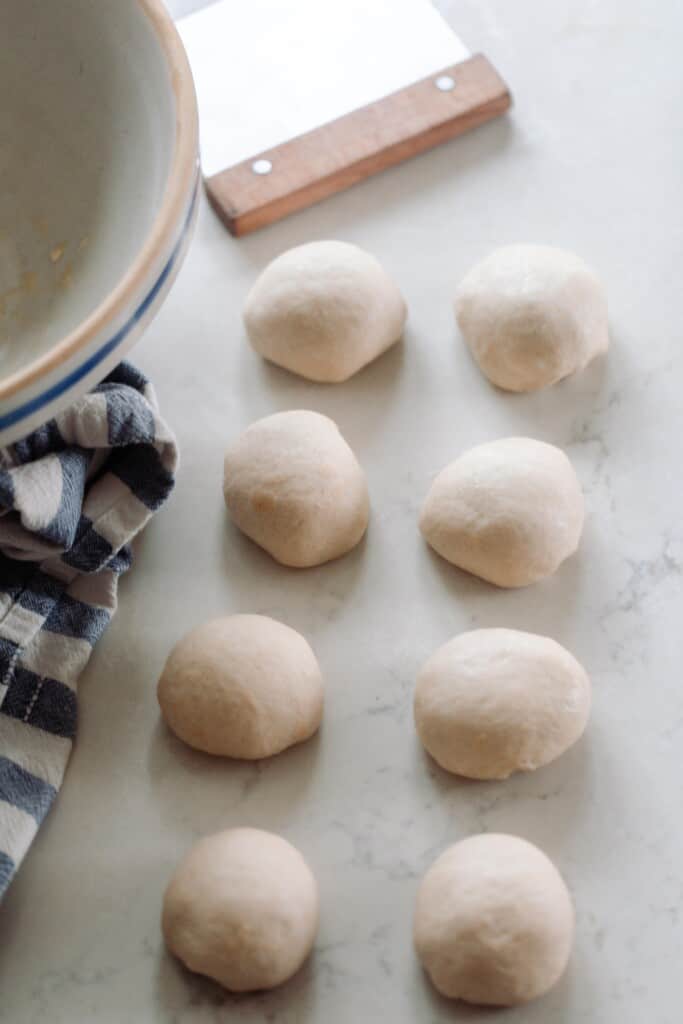
Divide the dough into 8 equal portions and shape into small balls.
Let the dough rest for 15 minutes to relax the gluten. This will make them much easier to roll out, so that it doesn’t spring back so much.
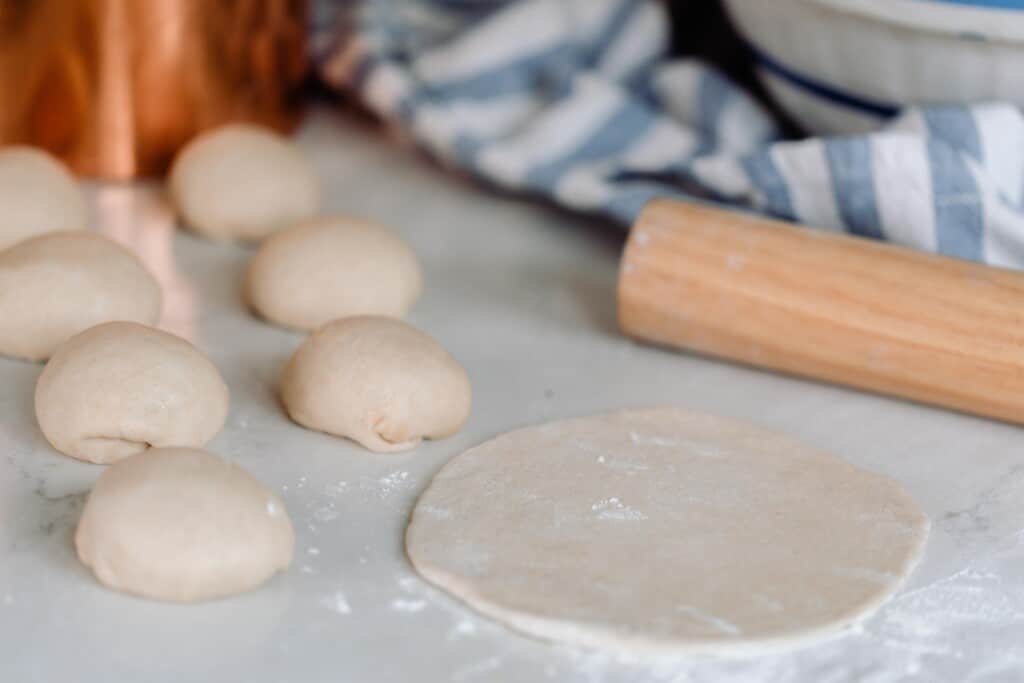
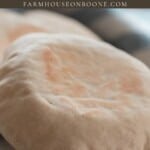
Roll each pita dough ball into a 6” thin circle with a rolling pin, and no more than 1/4” thick.
Allow them to rise a little until puffy (about 30 min- 1 hr). I cover mine with a lightweight damp tea towel during this final rise to avoid the dough drying out.
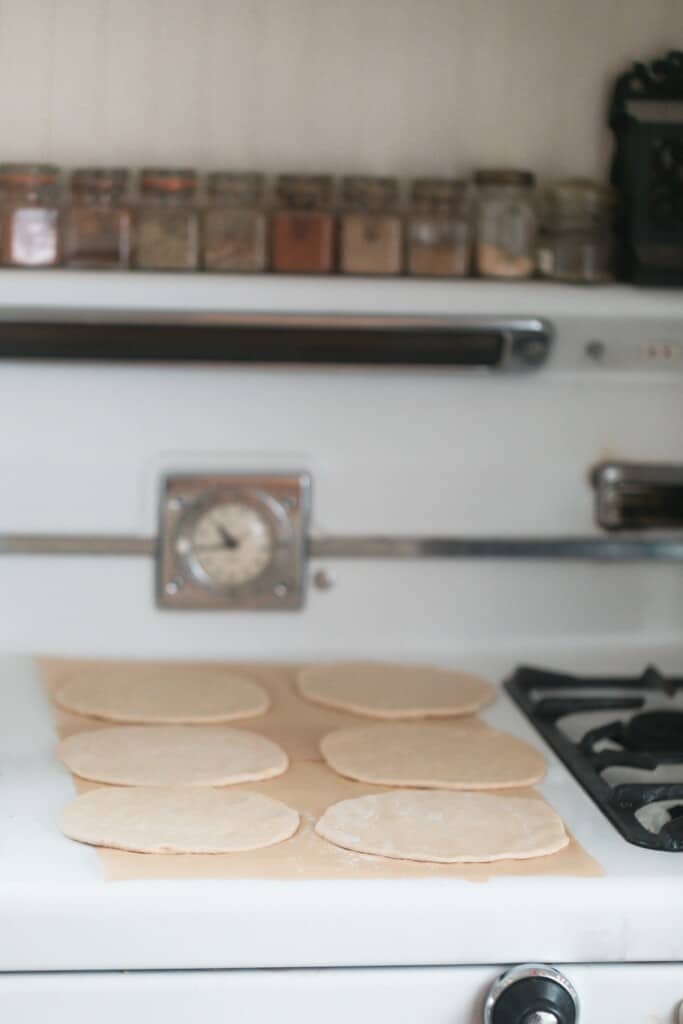
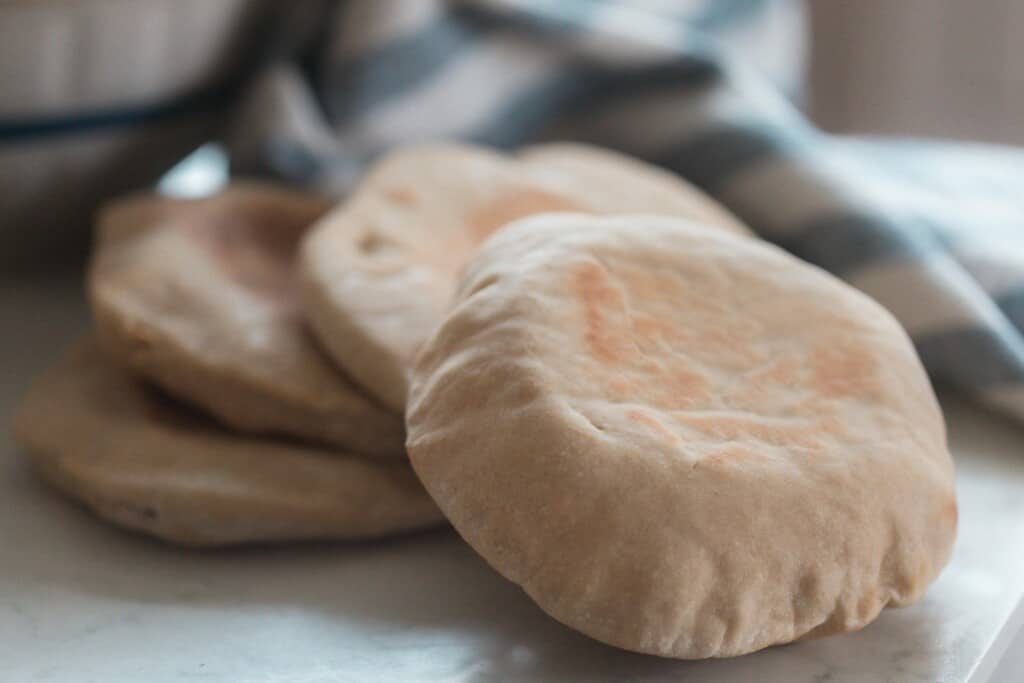
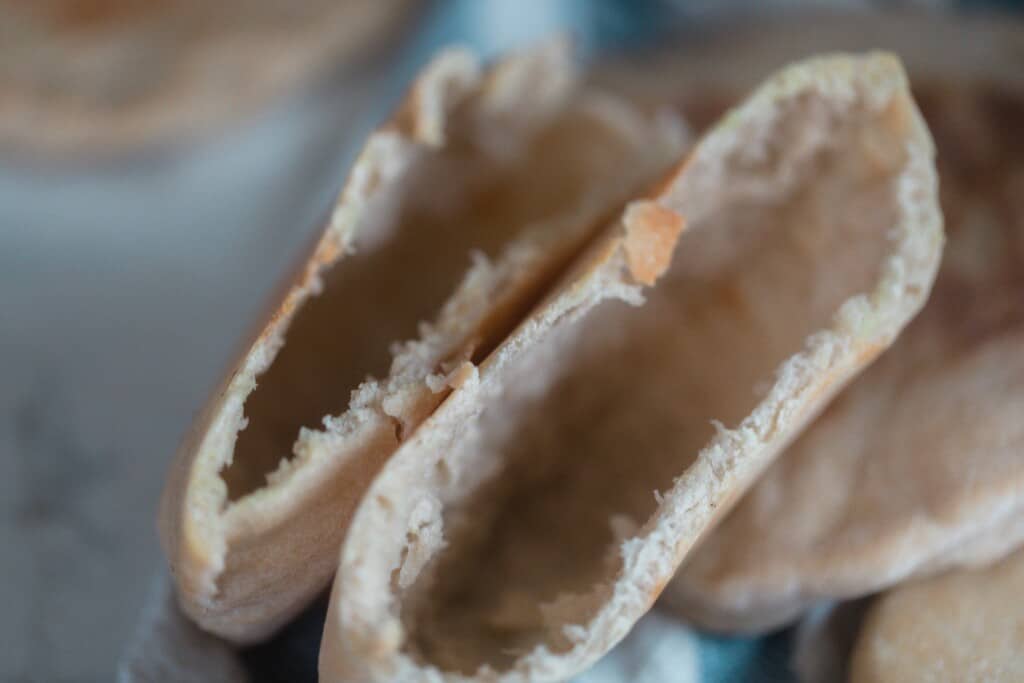
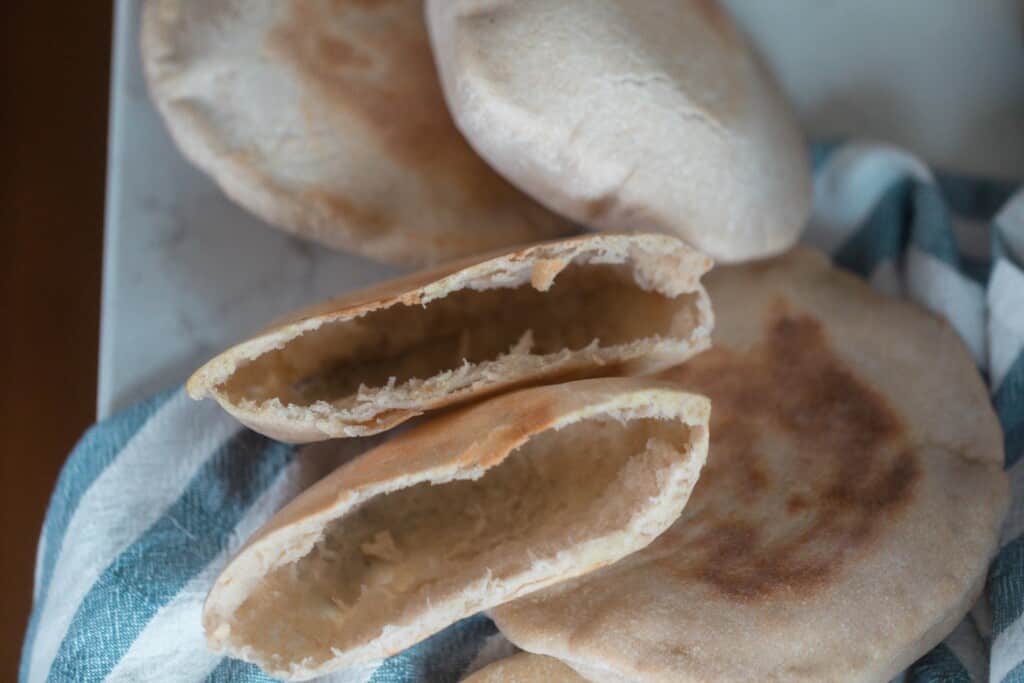
While the pitas are doing their last rise, get a large pizza stone or a cast iron skillet preheating in the oven at 500 degrees. You want to use a heavy vessel so that it can retain the heat. When the pitas hit the hot surface they release steam in the oven, and cook rapidly, creating the pocket that is so great for sandwiches or pita pockets!
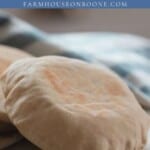
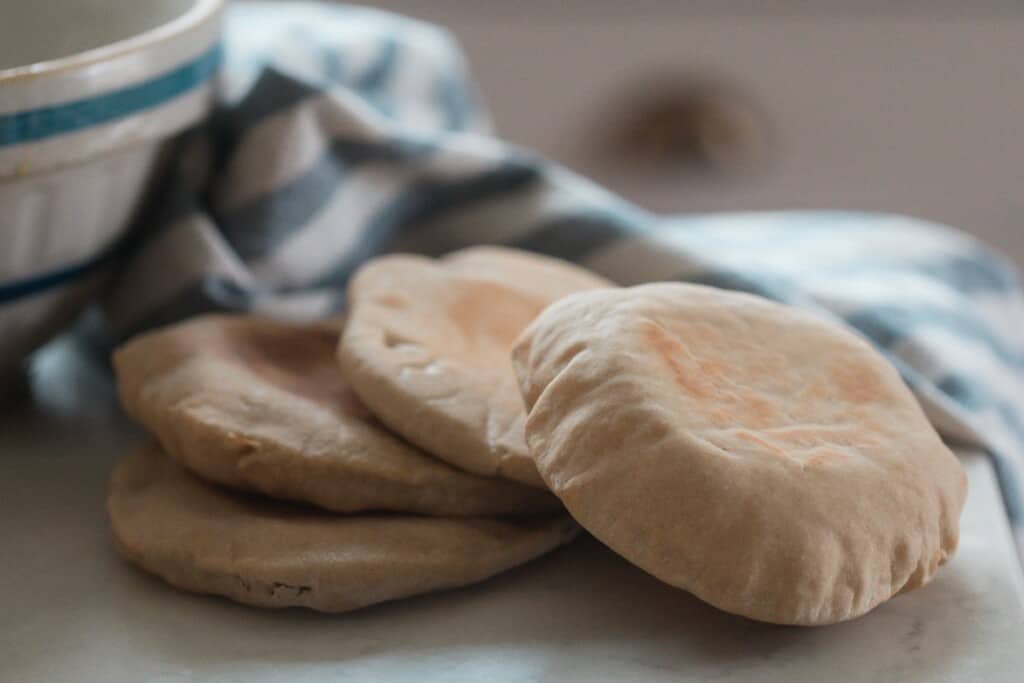
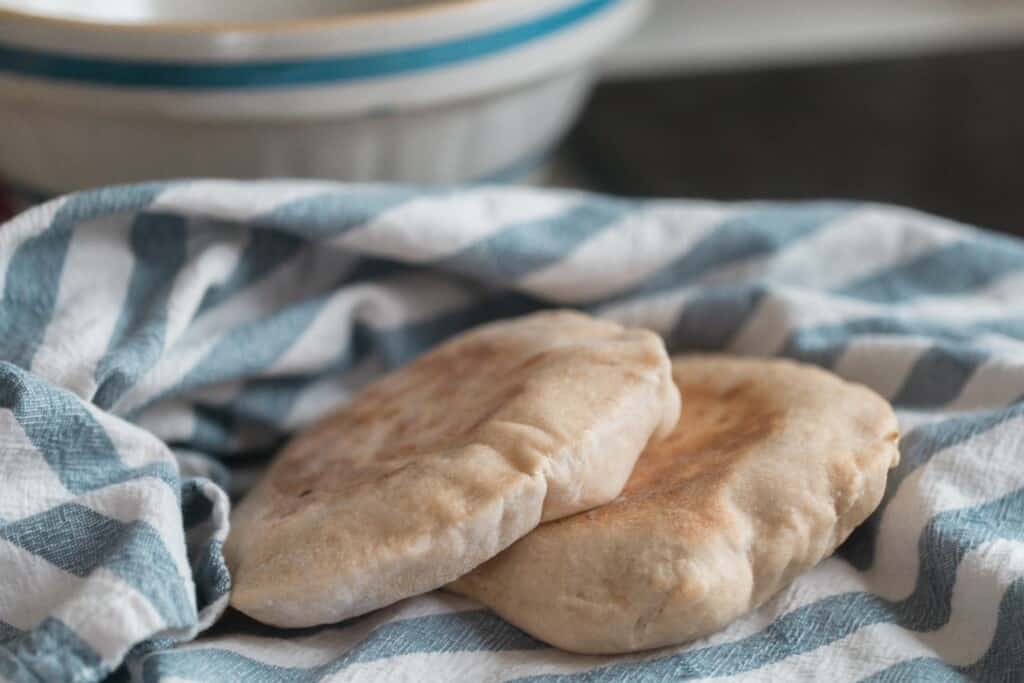
Place the pita bread dough onto the hot baking surface and place into a hot oven. Bake for 5 minutes or so. They should puff up really nicely.
Storage:
Place in an air-tight container in the fridge for up to a week.
How To Serve Sourdough Pita Bread:
- Falafel Sandwiches
- Pita sandwich – fill with your favorite sandwich ingredients.
- Pita chips: Slice up and bake on a parchment lined baking sheet. Sprinkle with a little salt or cinnamon sugar for a sweet version.
Baker’s Schedule:
9 PM: Feed sourdough starter.
8 AM the next day: Start the dough. Mix it together, cover and allow to ferment.
2 PM: Shape into balls. Set out for 15 minutes.
2:15 PM: Roll out. Cover with a clean kitchen towel. Preheat the oven and place a skillet or baking stone in the oven.
3:15 PM: Bake
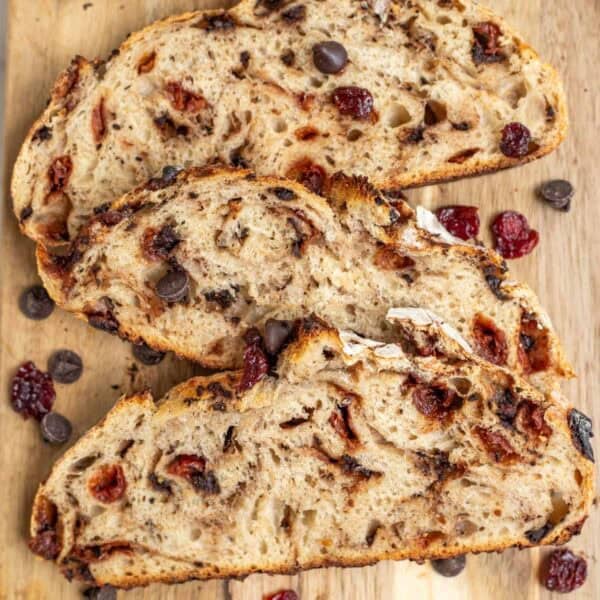
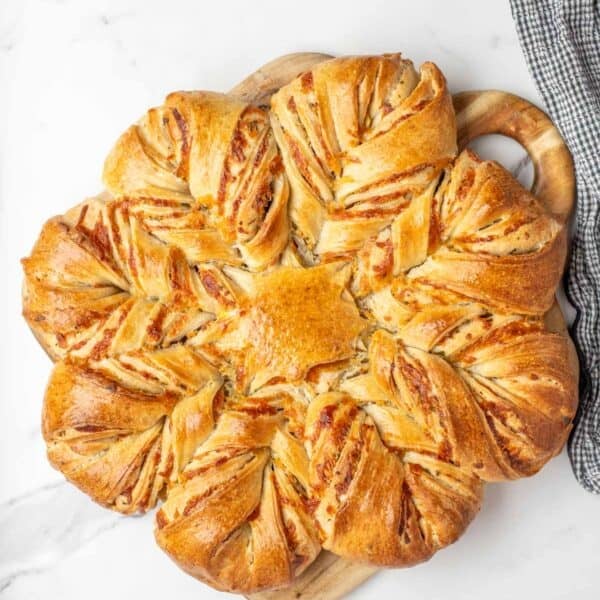
Find More Of Our Favorite Sourdough Recipes:
- No-Knead Sourdough Bread
- Sourdough Discard Bread
- Sourdough Flatbread
- Fluffy Sourdough Dinner Rolls
- Sourdough Sandwich Rolls
If you try this recipe and love it, I would love if you could come back and give it 5 stars!
Sourdough Pita Bread
Ingredients
- 1/2 cup sourdough starter, active and bubbly
- 1 cup water
- 1/2 cup whole wheat flour
- 2 cups all purpose flour
- 1 tablespoon sugar
- 2 tablespoons olive oil, plus more for oiling bowl
- 1 teaspoon salt
Instructions
- Combine everything in the bowl of a stand mixer with the dough hook.
- Knead on medium/low speed for 10 minutes or until dough is stretchy and smooth.
- Oil a large bowl. Place the dough in the bowl and add a lid or plastic wrap. and allow to rise until doubled.
- Let the dough rise in a warm place until doubled in size. About 4-6 hours at room temperature or up to 12 in the refrigerator.
- Divide the dough into 8 equal portions and shape into small balls on a lightly floured surface
- Let the dough rest for 15 minutes to relax gluten.
- Roll each ball of dough into a 6” thin circle with a rolling pin, no more than 1/4” thick.
- Allow them to rise a little until puffy (about 30 min- 1 hr). Cover with a damp tea towel during this final rise to avoid the dough drying out.
- While the pitas are doing their last rise, get a large pizza stone or cast iron skillet preheating in the oven at 500 degrees. You want to use a heavy vessel so that it can retain the heat. When the pitas hit the hot surface they release steam in the oven, and cook rapidly, creating the pocket that is so great for sandwiches or pita pockets!
- Place the pita bread dough onto the hot baking surface and place into a hot oven. Bake for 5 minutes or so. They should puff up really nicely.
Notes
- Store in an airtight container for up to a week in the fridge.
- Use all all-purpose flour if you don’t have any whole wheat flour.
Nutrition
Nutrition information is automatically calculated, so should only be used as an approximation.


Finally got these things perfect on the 3rd try! We ate the ones I made before but I think I was rolling the middles too thin n only a few would puff properly. Now tonight they all turned out PERFECTLY 🤩 filled them with grilled chicken, lettuce, feta, n a Greek yoghurt garlic/ dill dressing. Will definitely make these again n again! Best summe
Finally got these things perfect on the 3rd try! I think I was rolling the middles too thin before n only a few would puff properly. Now tonight they all turned out PERFECTLY 🤩 filled them with grilled chicken, lettuce, feta, n a Greek yoghurt garlic/ dill dressing. Will definitely make these again n again!
I also wish your recipes were in the metric system alongside the imperial system. Much easier and more accuracy when baking.
For now I will print the recipe and write the metric conversion beside the imperial measurements.
I am working on updating all recipes to include both imperial and metric. Here’s a conversion chart to help!
Thanks for updating to metric, makes such a difference!