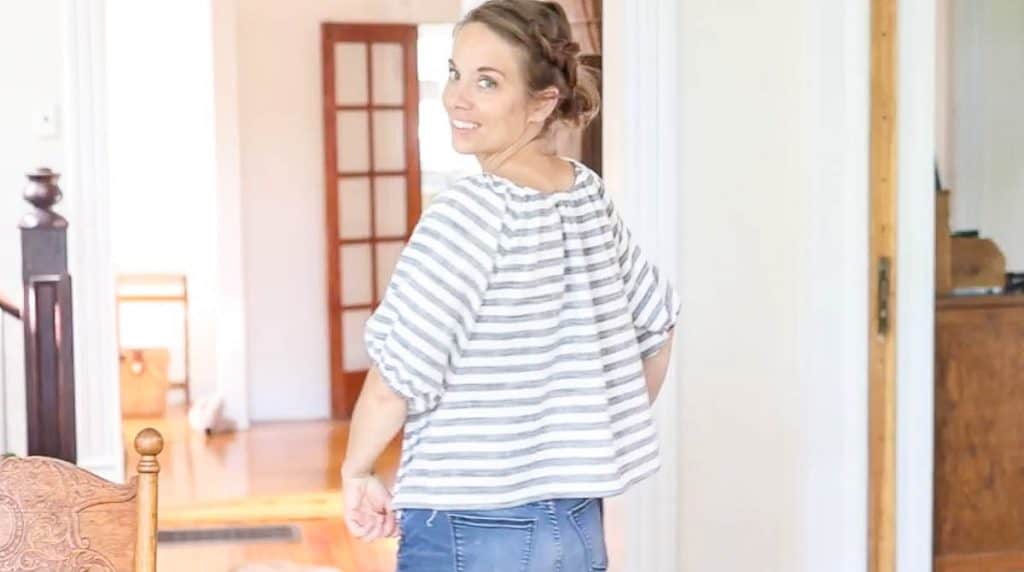
Learn how to make a simple peasant blouse. With just a few sewing basics, you can easily create your very own top for summer or fall.
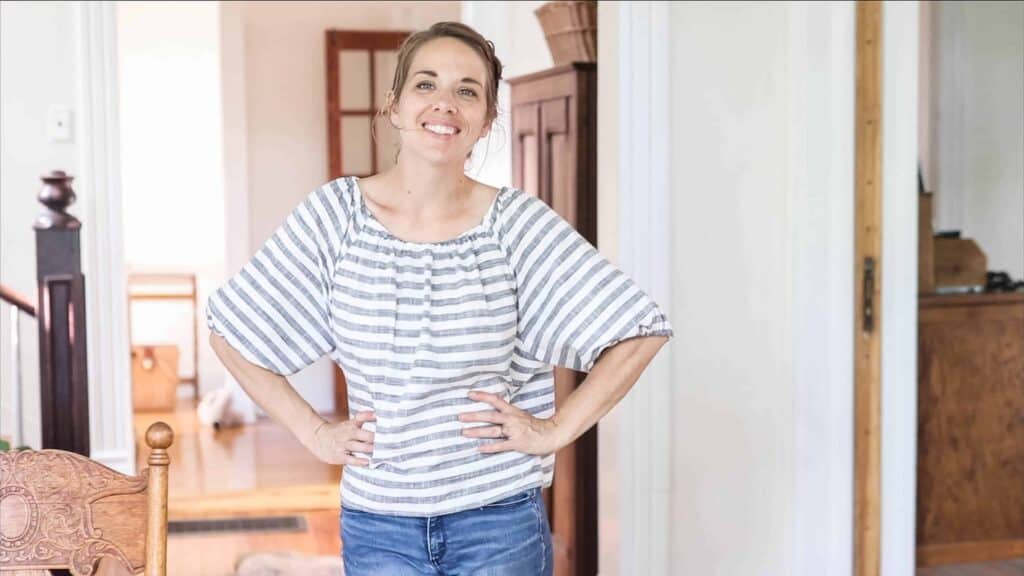
Table of Contents
I love those pieces of my wardrobe that can be utilized for multiple seasons, and this peasant blouse is no exception. With just a few sewing basics, you can easily create this top that embraces both summer and fall.
I especially love easy clothes for the summer. I live in dresses, easy tops, and shorts.
But nothing is quite as easy and flattering as a peasant blouse. And they are surprisingly simple to sew. Once you get the hang of it, you could easily turn out three in an hour.
The same goes with peasant dresses for kids. They are incredibly easy to sew, and you only need basic knowledge of sewing – and just over a yard of fabric.
If you are totally new to sewing, make sure to check out my free sewing course where I will walk you through all the basics.
Sewing is one of those long lost arts, and by golly, I want to bring it back.
Being able to create adorable clothes and cozy home decor is a passion of mine, one that I’m thankful to be able to share with you.
Tips:
- Lightweight fabric, like linen or cotton, works best here. You could also possibly use something as light as gauze. You don’t want to use anything stretchy.
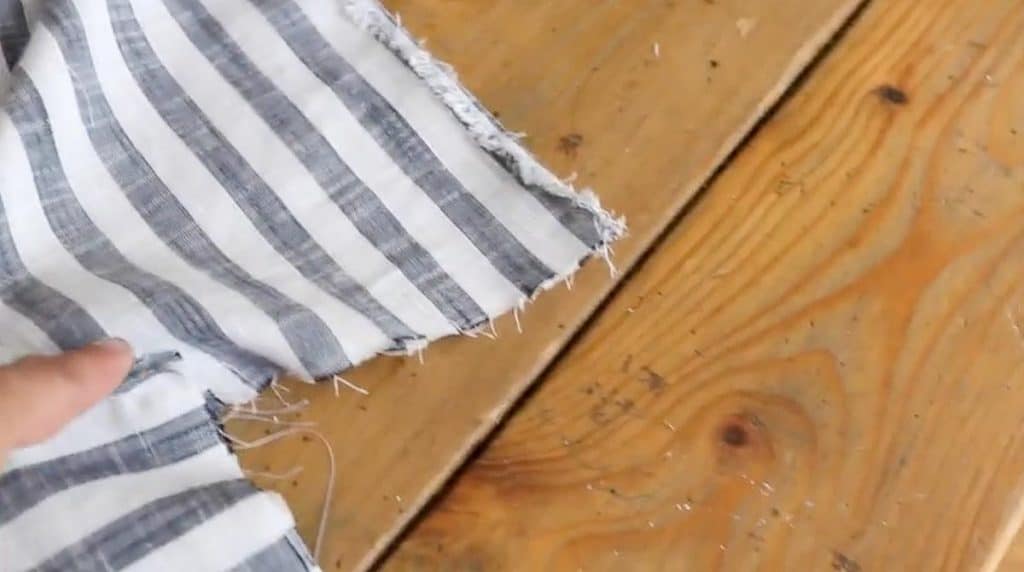
- If you are using a stripe, you will want the lines all going the same way, so you may need a little extra fabric to accommodate for that and any errors.
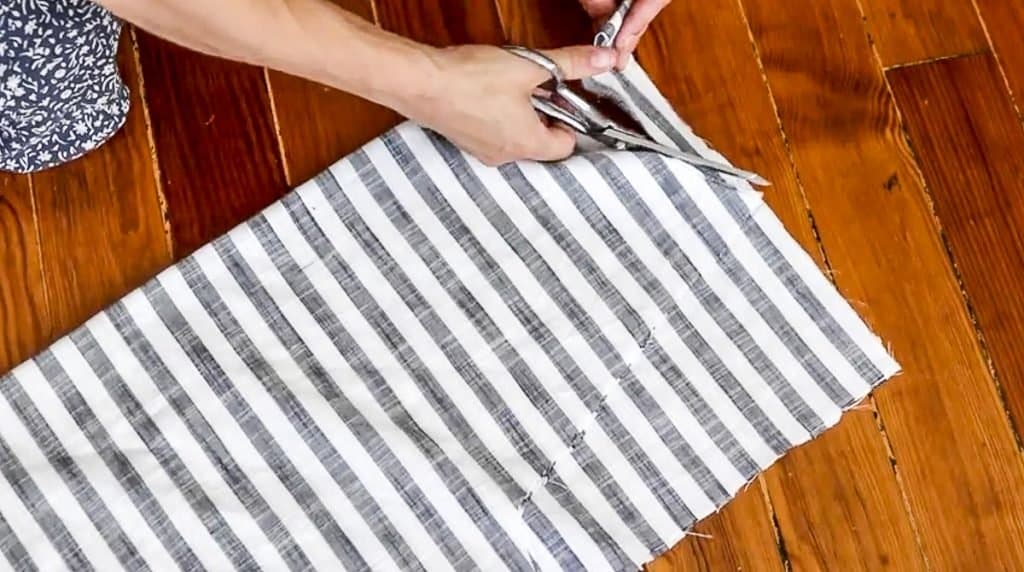
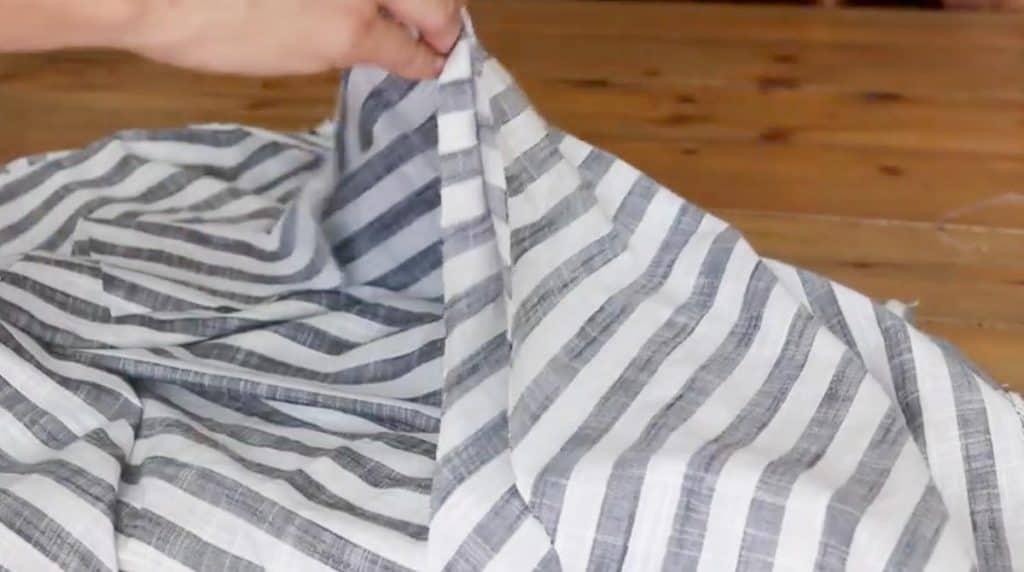
- One of my favorite ways to cut fabric straight is by cutting it a little bit, then folding the fabric on itself while continuing to cut along that line.
- Make the hem at the bottom really narrow. If you make it too wide, then it will feel too heavy at the bottom.
- If you want to make several of these peasant blouses, you could trace your pattern onto an extra piece of fabric.
This post contains affiliate links, which means I make a small commission at no extra cost to you. See my full disclosure here.
Materials And Tools You Will Need:
- 1.5 yards of fabric (you can work with the 44″ width for the 23″ and 21″ length of the front and back)
- With 1.25 yards, the additional fabric will be exactly 19″ which is what you need for the sleeves. It can be done in 1.25 yards, but you may want 1.5 just to be safe.
- Elastic
- Coordinating thread
- Sewing machine
- Fabric scissors
- Pins (optional)
- Measuring tape
- Safety pin
Cut List:
Fabric
- Main piece – cut 2 pieces: 22″ by 26″
- Sleeves – cut 2 pieces: 18″ by 22″
Elastic – 1/4″ Thickness
- 30″ for the neck
- 2- 13″ for the sleeves
How To Make A Peasant Blouse
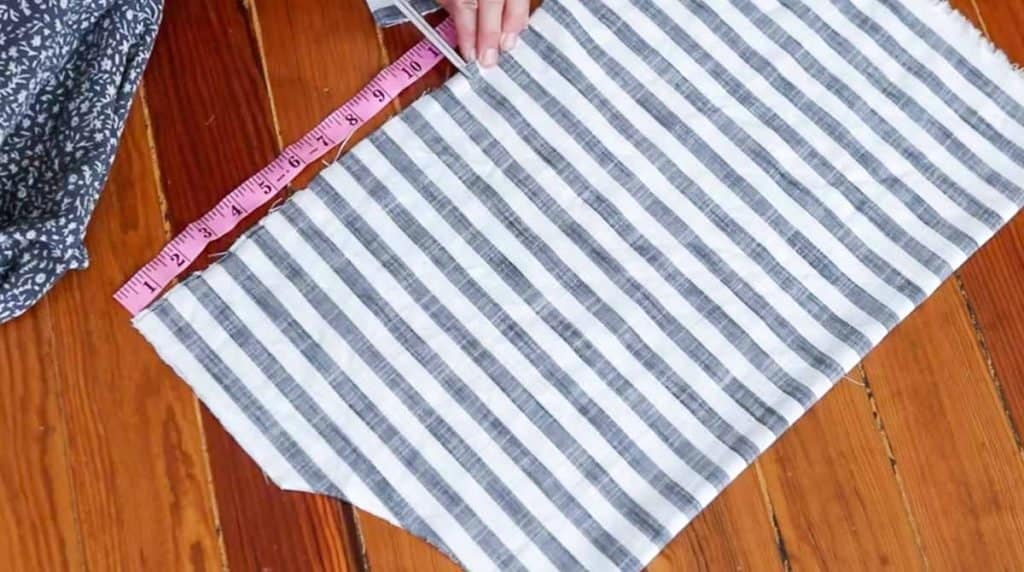
Cut fabric per cut list.
Cut Out Peasant Blouse Pattern
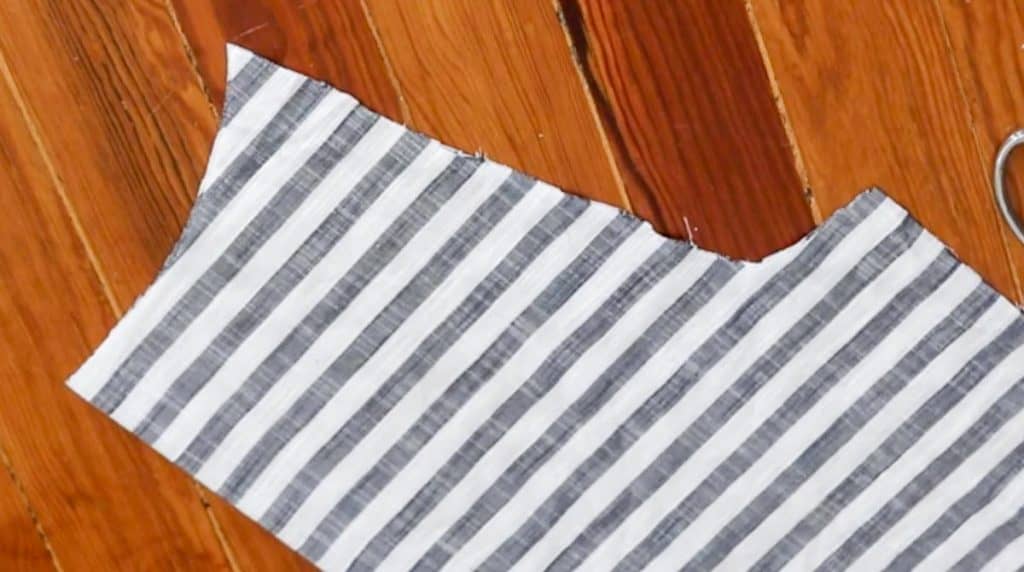
On the main pieces, fold in half lengthwise and measure 2″ down the fold and 6″ from the corner (with two raw edges). Mark with a little cut by your scissors.
Cut a slight curve up from the 2″ mark to the 6″ mark.

From the outside edge, measure down about 11″ and mark. Cut a curve up to the neck area 6″ from outside.
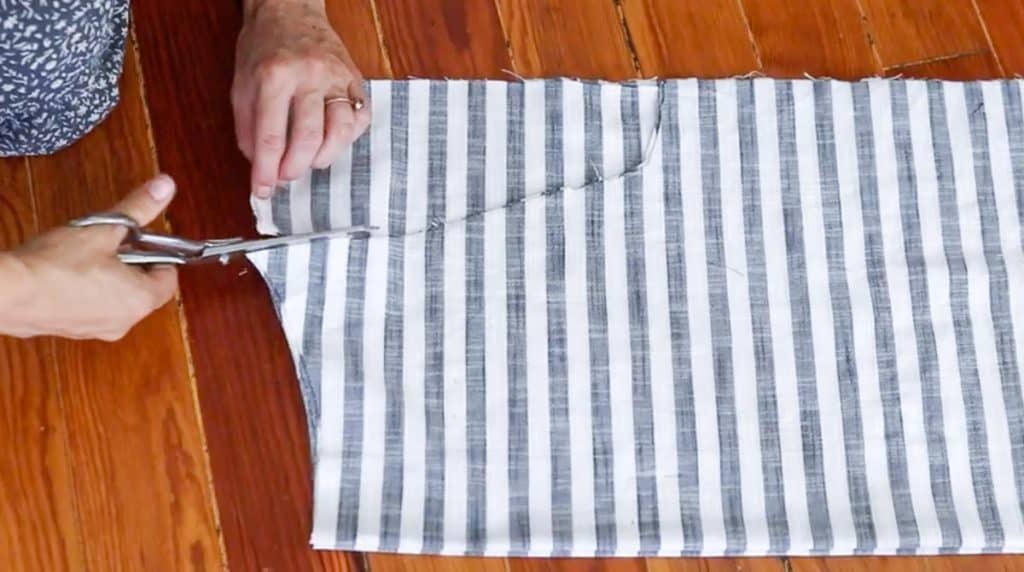
Next, fold your other main piece in half lengthwise (same as before) and place your already cut piece on top and use as a pattern piece. Mark and cut out second main piece.
Fold the sleeve piece in half.
Fold your main piece in half (like it was when you cut it out) and place on top of the sleeve piece, lining up the raw edges (not the folds).
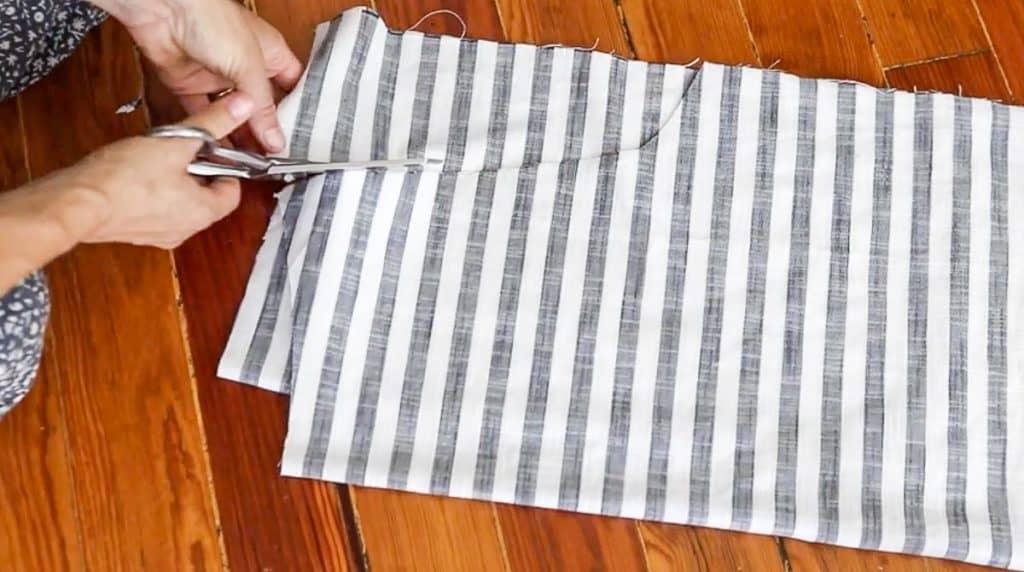
Cut down the curve lines.
Repeat with the other sleeve piece.
Line Up Sleeves And Sew
Lay the main piece out on your work surface and place one sleeve piece on top, lining up the neck and arm holes, right sides together.
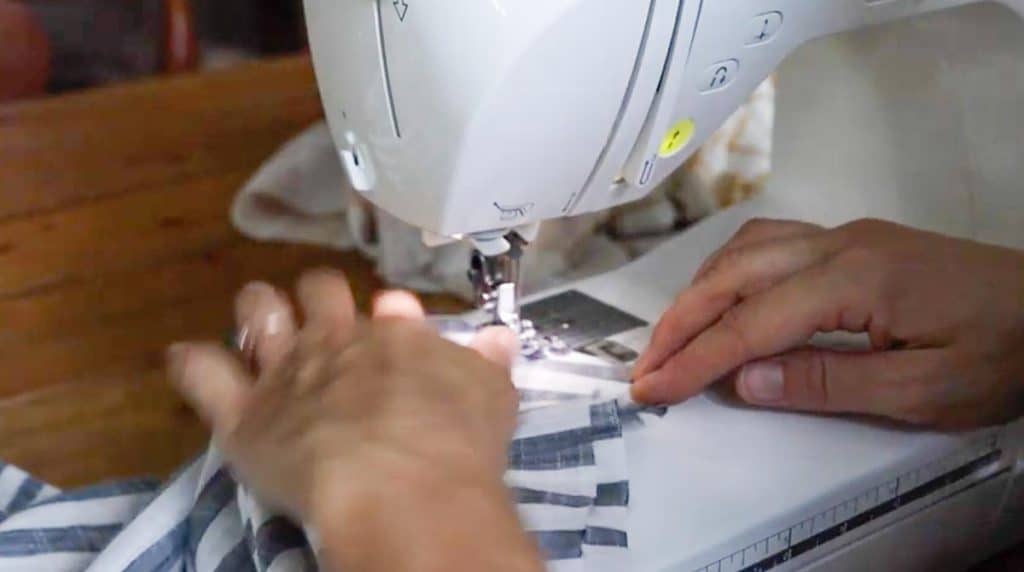
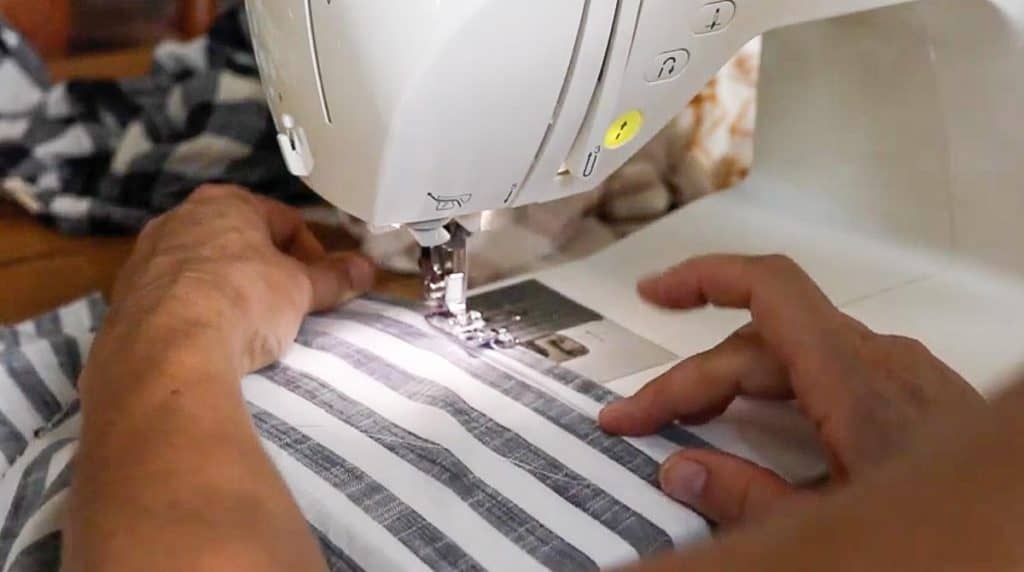
Stitch down with a quarter inch seam, from the top of the neckline down the sleeve hole, making sure to back and forward stitch at the beginning and the end.
Do the same thing with the other sleeve on the other side.
Now that both sleeves are attached, attach the other main piece to the other side of the sleeves, sewing down the curve with 1/4 inch seam.
You are basically creating a circle: sleeve, body piece, sleeve, body piece.
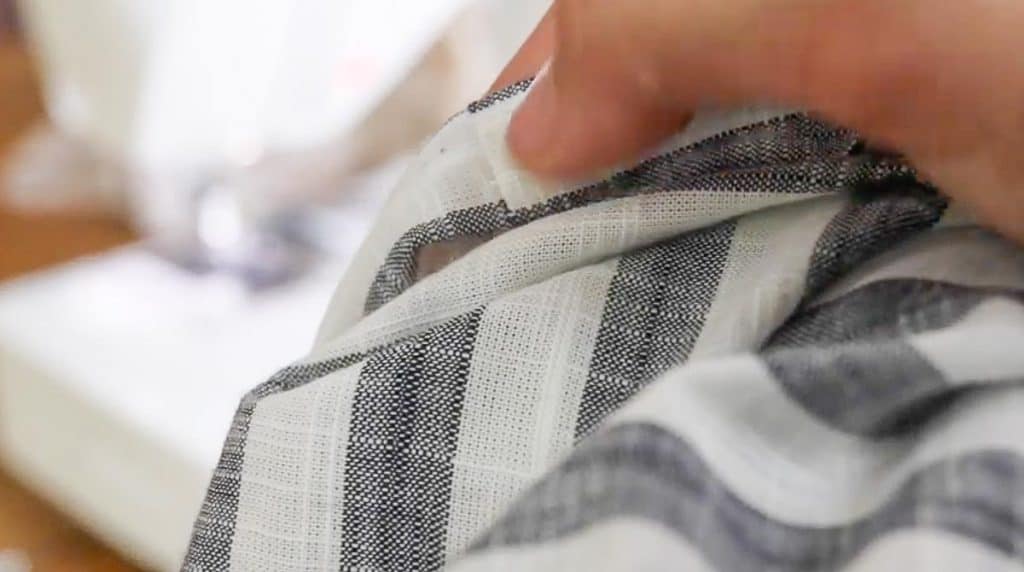
Finish off your raw edges with a zig-zag stitch or a serger.
Sew down the raw edges along the sides of the blouse and the sides of the sleeves. Make sure to line up the arms and the armpit seams. Use pins, if needed.
Repeat on the other side.
Sew Hems And Add Elastic
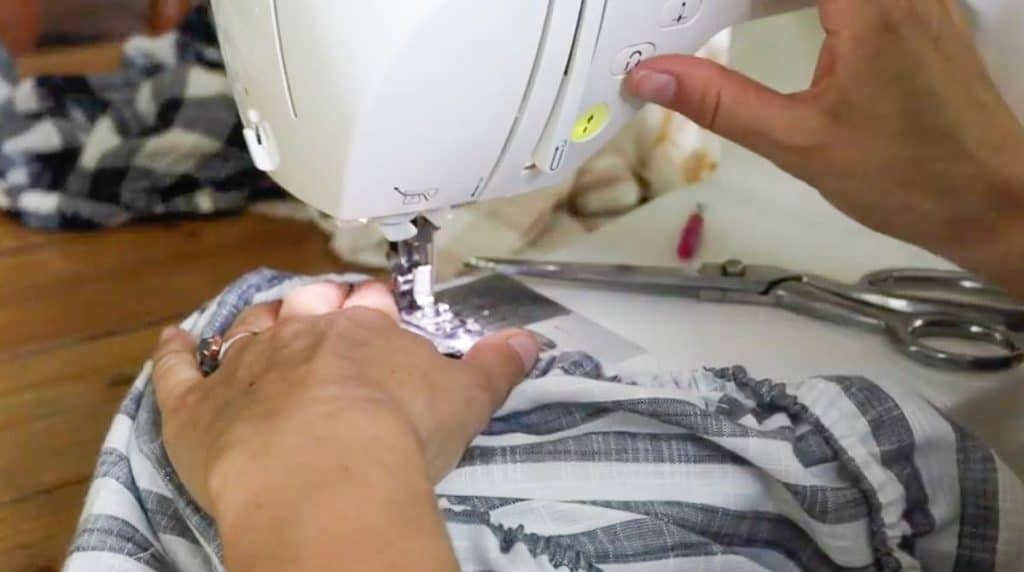
Next, take the ends of the sleeves and fold them over about 1/4 inch, and then again 1/4 inch. Then, sew all the way around, leaving a little opening at one of the seams to push the elastic through.
Place one end of the elastic through a safety pin, then push the elastic through that little opening you left in the sleeves. I find it easiest to gather the fabric onto the pin, and then pull it through.

Overlap the elastic and sew back and forth.
Close the small opening you created for the elastic by sewing it shut, going back and forth over it.
Add a hem at the bottom:
Take the bottom raw edge and fold it over 1/4 inch, then 1/4 inch again, and top stitch to create the hem. I like to use a very narrow hem, because a thicker hem will make the fabric feel too heavy at the bottom.
You could press it to make it a little bit straighter, but I just like to fold it over as I go and do my best to line it up and make it straight.
Create The Neckline Hem
Turn over the neckline fabric 1/4 inch, then another 1/4 inch and sew near the bottom fold, leaving an opening to place the elastic in.
Place the elastic on your safety pin and push through that hem.
Overlap the elastic and sew it together.
Close up that opening.
Find More Easy Sewing Tutorials:
If you make this project and love it, I would love if you gave it 5 stars! Tag me on Instagram @farmhouseonboone with your beautiful creation.
Easy Peasant Blouse
Equipment
- Sewing machine
- Sewing scissors
Ingredients
- 1 1/2 yards of fabric
- Elastic
- Coordinating thread
- Pins
- Safety pin
Instructions
- Cut fabric per cut list.
- On the main pieces, fold in half lengthwise and measure 2″ down the fold and 6″ from the corner (with two raw edges). Mark with a little cut by your scissors.
- Cut a slight curve up from the 2″ mark to the 6″ mark.From the outside edge, measure down about 11″ and mark. Cut a curve up to the neck area 6″ from outside.
- Next, fold your other main piece in half lengthwise (same as before) and place your already cut piece on top and use as a pattern piece. Mark and cut out second main piece.
- Fold the sleeve piece in half. Fold your main piece in half (like it was when you cut it out) and place on top of the sleeve piece lining up the raw edges (not the folds). Cut down the curve lines. Repeat with the other sleeve piece.
- Lay the main piece out on your work surface and place one sleeve piece on top, lining up the neck and arm holes, right sides together. Stitch down with a quarter inch seam from the top of the neckline down the sleeve hole, making sure to back and forward stitch at the beginning and the end. Do the same thing with the other sleeve on the other side.
- Now that both sleeves are attached, attach the other main piece to the other side of the sleeves, sewing down the curve with 1/4 inch seam. You are basically creating a circle: sleeve, body piece, sleeve, body piece. Finish off your raw edges with a zig zag stitch or a serger.
- Sew down the raw edges along the sides of the blouse and the sides of the sleeves. Make sure to line up the arms and the armpit seams. Use pins, if needed. Repeat on the other side.
- Next, take the ends of the sleeves and fold it over about 1/4 inch, and then again 1/4 inch. Then, sew all the way around, leaving a little opening at one of the seams to push the elastic through.
- Place one end of the elastic through a safety pin, then push the elastic through that little opening you left in the sleeves. Overlap the elastic and sew back and forth. Close the small opening you created for the elastic by sewing it shut, going back and forth over it.
- Take the bottom raw edge and fold it over 1/4 inch, then 1/4 inch again, and top stitch to create the hem. Turn over the neckline 1/4 inch, then another 1/4 inch and sew near the bottom fold, leaving an opening to place the elastic in.
Notes
- Lightweight fabric, like linen or cotton, works best here. You don’t want to use anything stretchy.
- If you are using a stripe, you will want the lines all going the same way, so you may need a little extra fabric to accommodate for that and any errors.
- If you want to make multiple of these peasant blouses, you could trace your pattern onto an extra piece of fabric.
- For embellishment, you could add buttons down the center or a waistband.
Nutrition information is automatically calculated, so should only be used as an approximation.


I am looking forward to sewing this top
How do you tell what size this is or to adapt it to my size
My bust measurement s 44 inches and waist is 44 inches
Any help would be greatly appreciated ! I really like your tutorial, great pictures & easy to follow instructions
Thanks so much
Deborah
dlynnwicks60@gmail.com
Hi Lisa
Would like to make this peasant blouse for my Daughter-in-law who is pregnant she normally wears a medium and is about 5’6. I would like to make a drawstring and the bottom as well. Could you possibly advise measurements for width(if any) and how much longer i should make it to fit under her bump with a little room for growing. Thank-you so much.
Hi Lisa,
Purchased your book–love it!! so grateful to you for all your DIY projects. I’ve made two peasant blouses and love them!! Can you PLEASE provide measurements for th the peasant blouse for a 3-1/2 yr old? My granddaughter wants a dress & this would be perfect!
What size is the pattern for?
Lisa, enjoy your youtube & posts. Wanted to comment on boys bedroom makeover, We used antique beds too and had to adjust mattresses to fit… might suggest using foam matress for boys because they don’t “bounce” LOL. It eliminated the jumping on the beds.
Best of luck, can’t wait for finished reveal.