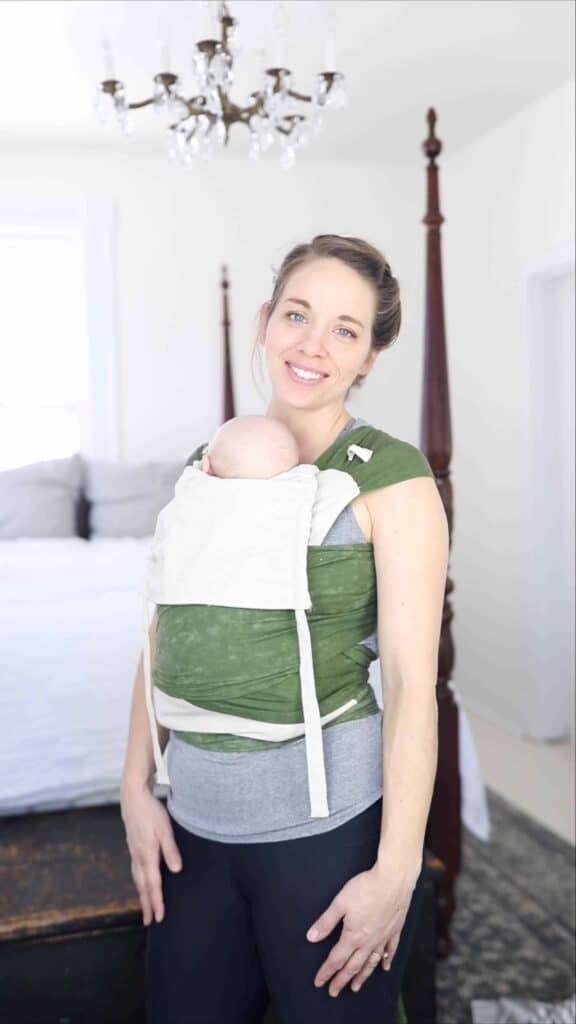
I absolutely love baby wearing – so much so, you will almost always find me wearing our sweet babe.
It just makes life so much easier. They are all snug in the wrap or carrier, and I can just go about doing what I need to do.
The baby gets snuggles, and I can still get things done around the house and tend to the bigger kids. Baby wearing makes life with a tiny baby way more convenient.
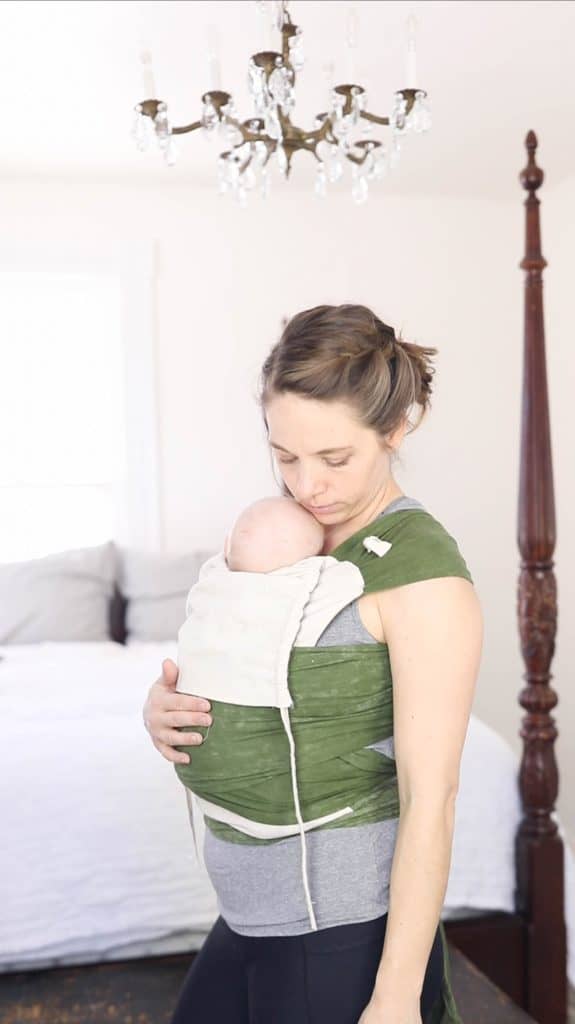
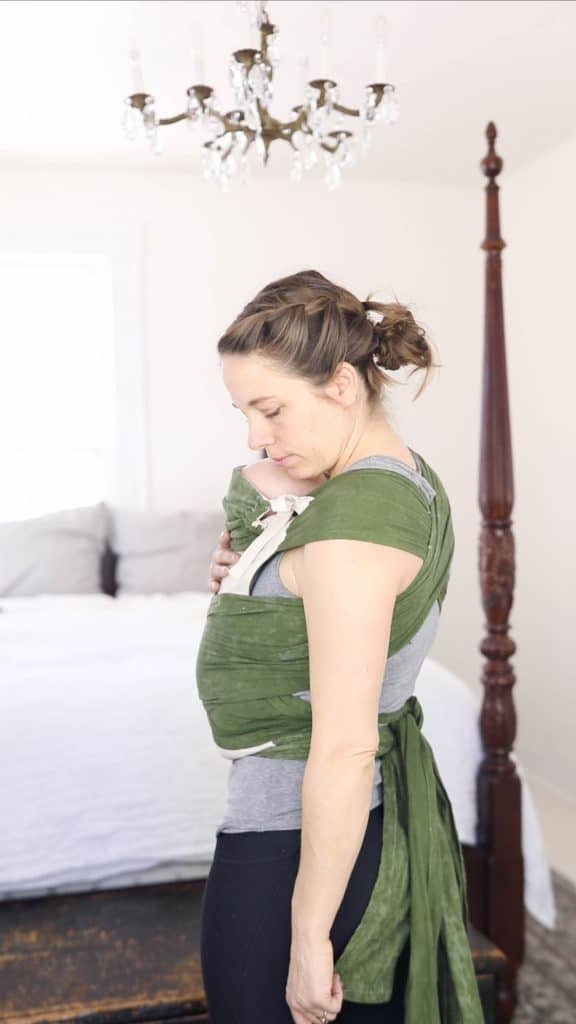
Be advised that safety with baby wearing is always a concern, no matter what type of carrier you are using. It can be dangerous if you don’t know what you are doing. When you’re wearing your baby, you should be able to kiss their head and see that they are breathing at all times.
Always do research before baby wearing, and take caution when wearing your baby in the carrier. With the appropriate precautions taken, it can make life much more simple. Personally, I just love it.
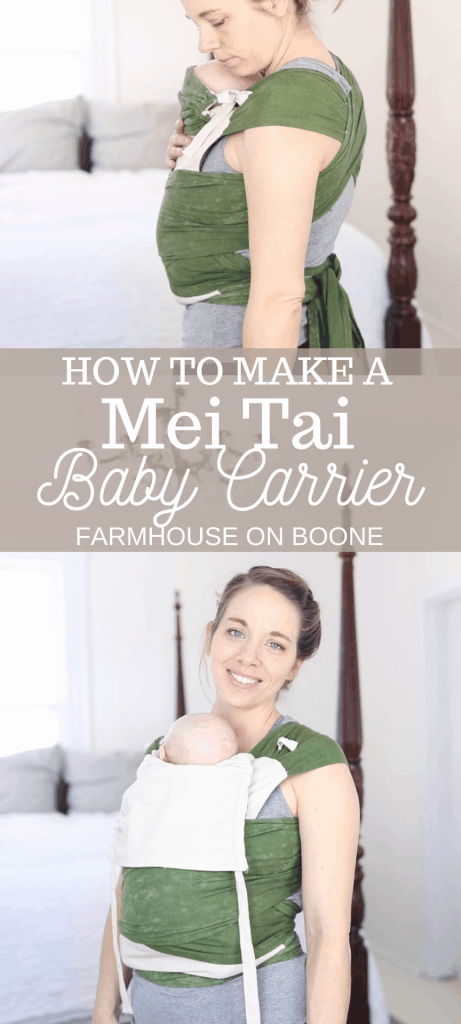
So today I’m going to show you how to make a Mei Tai baby carrier.
This post contains affiliate links, which means I make a small commission at no extra cost to you. See my full disclosure here.
What is a Mei Tai Baby Carrier?
The Mei Tai is an East Asian-style baby carrier that is essentially a rectangular piece of woven fabric with four straps that come out of each corner.
In this tutorial, I’ve also added a hood with straps for extra head support when the baby is sleeping, or for some additional warmth.
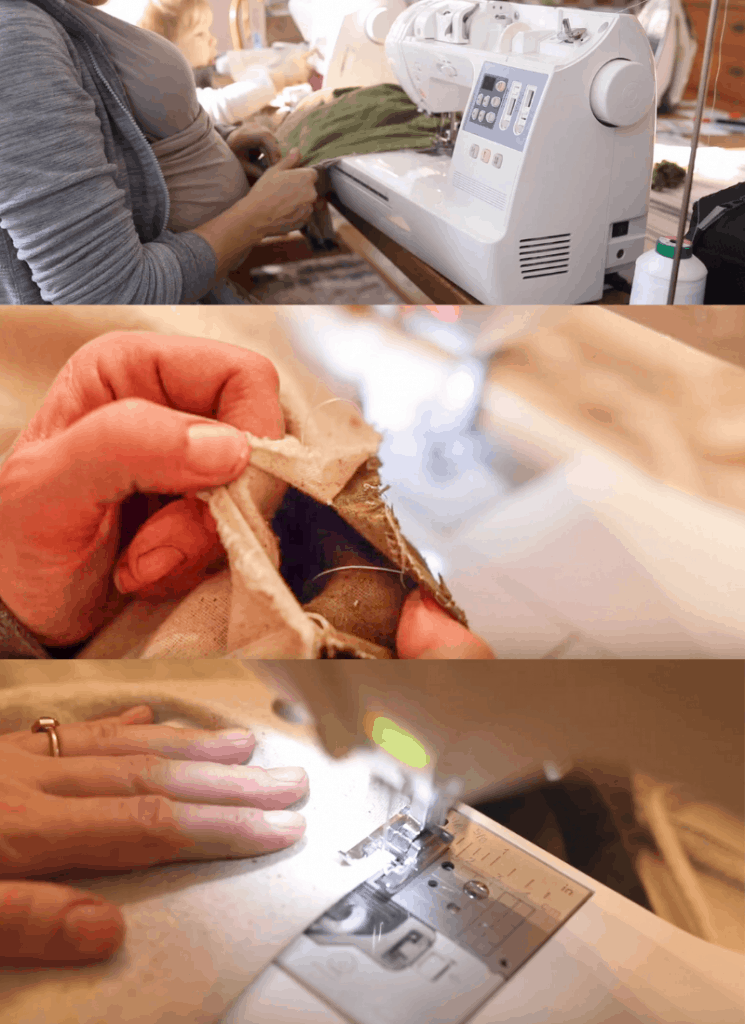
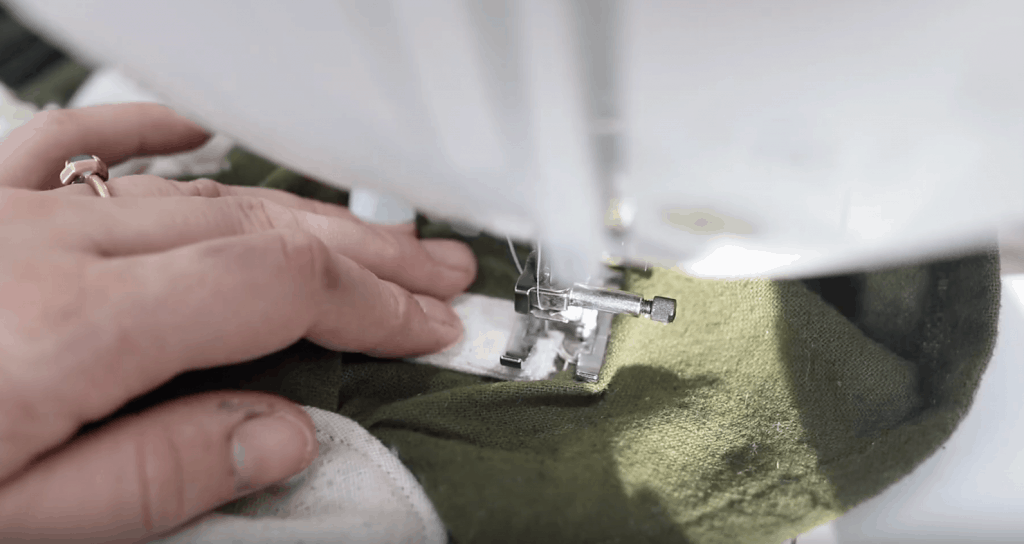
This was super simple to sew up, I promise. Just a bunch of straight stitches, nothing too crazy.
Also, I love that I was able to make this carrier (that is typically more expensive) for less than $20.
Tips for making a DIY Mei Tai baby carrier:
If you are totally new to sewing, check out my simple sewing series where I show you all the basics to get you started.
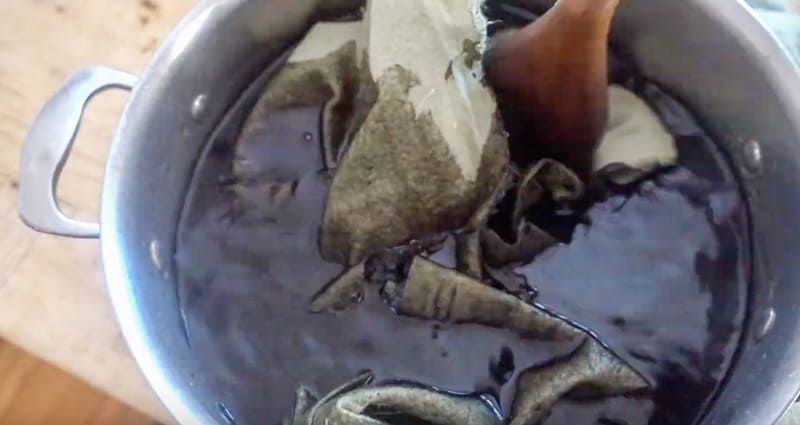
Dye the osnaburg fabric any color you would like, or skip this step. Since the fabric is naturally lighter, I wanted to dye some of it for 2 reasons: first, to make it pretty, and secondly, stains would show less on a darker fabric.
If you only buy the 3 yards of fabric and have no extra, make sure to cut the long straps first before the remaining pieces, so you have enough fabric.
Materials and tools you will need:
3 yards of unbleached osnaburg fabric
3 packages of fabric dye (optional) – I chose an olive green dye
Straight pins
Cut list
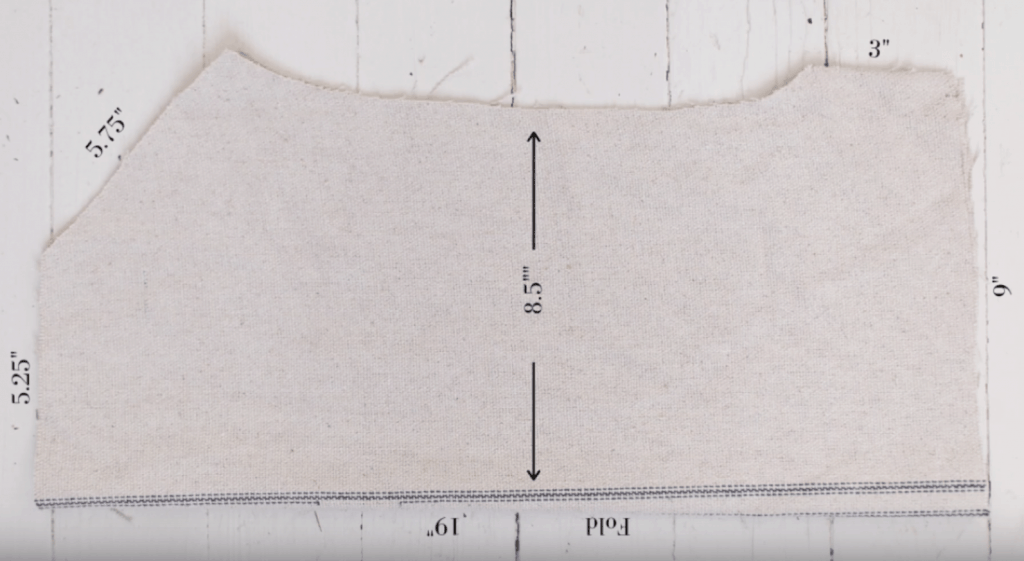
- Main pieces: 19″ by 19″ square (cut 2)
- Shoulder straps: 90″ by 12″ (cut 2)
- Waist straps: 60″ by 7″ (cut 2)
- Hood: 12.5″ by 12.5″ (cut 2)
- Hood straps: 18″ by 1.5″ (cut 2)
- Ties for the hood straps: 3″ by 1.5″
How To Make A Mei Tai Baby Carrier
Prepare Fabric
- Wash and dry fabric. My fabric label said it was preshrunk, but just to be extra sure, I washed and dried it again, because I wanted to be absolutely sure it wouldn’t shrink later.
- Press the fabrics flat.
- If you only have 3 yards of fabric, the order in which you cut out the fabric is important.
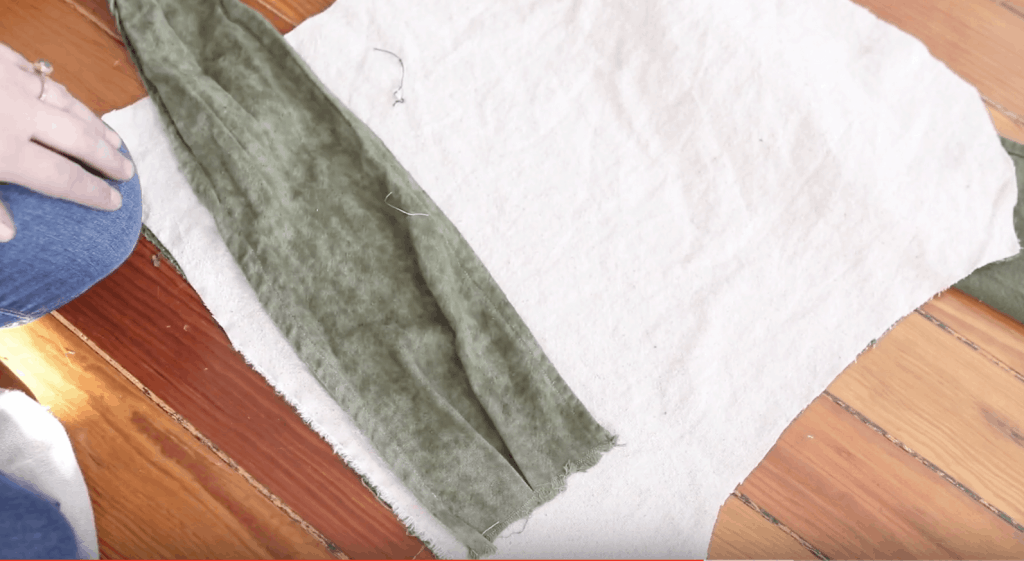
- Cut the long straps first. Cut the 90 inch pieces and 60 inch pieces in a row. Then, what is left below will work great for the remaining pieces.
- Cut out the the fabric pieces you want to stay the natural color. One piece for the hood, one of the main pieces, the hood straps, and the ties for the straps. Set them aside.
Dye The Fabric (optional)
- Next, dye remaining fabric by adding fabric dye to a large stainless steel pot with warm water and some salt. Once the salt is dissolved, add the fabric and allow to soak, stirring occasionally, for 45 minutes.
- Squeeze out excess dye, and wash fabric in the washer.
- Rinse with cold water, and then hang to dry. I didn’t want to put it into the dryer at this point because you can get a lot of frayed edges.
- Press dyed fabrics flat.
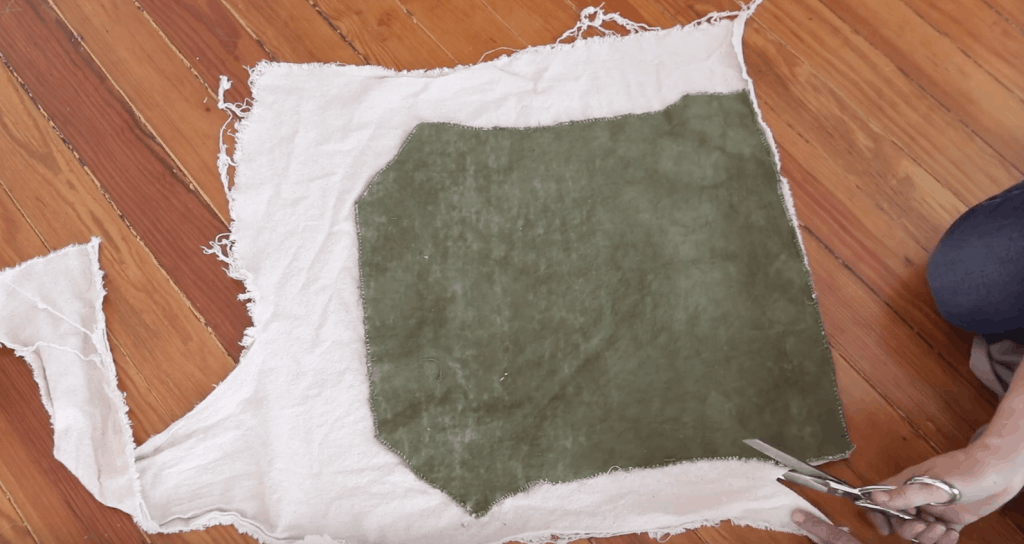
- Fold the main piece of the pattern in half and cut, angling the shoulders and cutting a slight curve from the shoulder to the waist.
- Use that as the template to cut the other main piece.
Prepare all the straps:
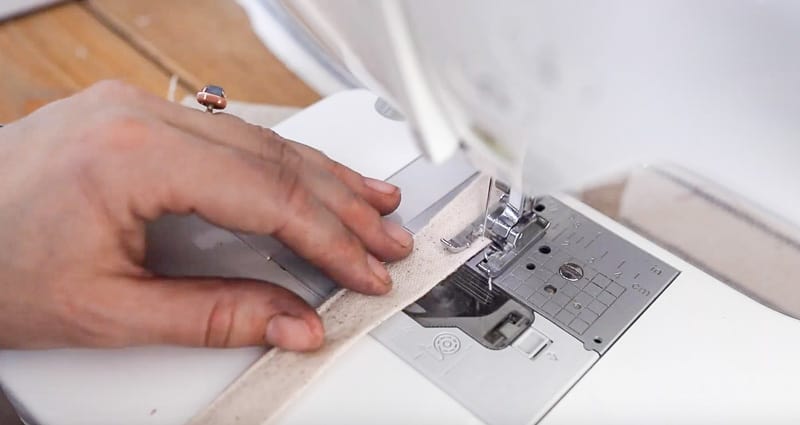
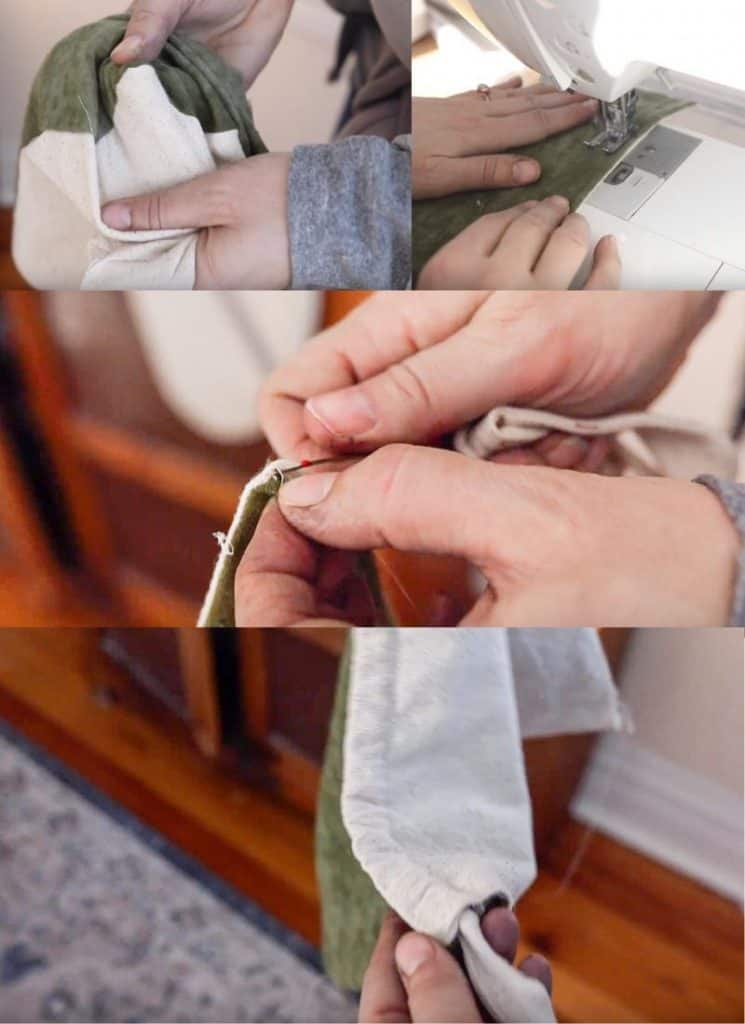
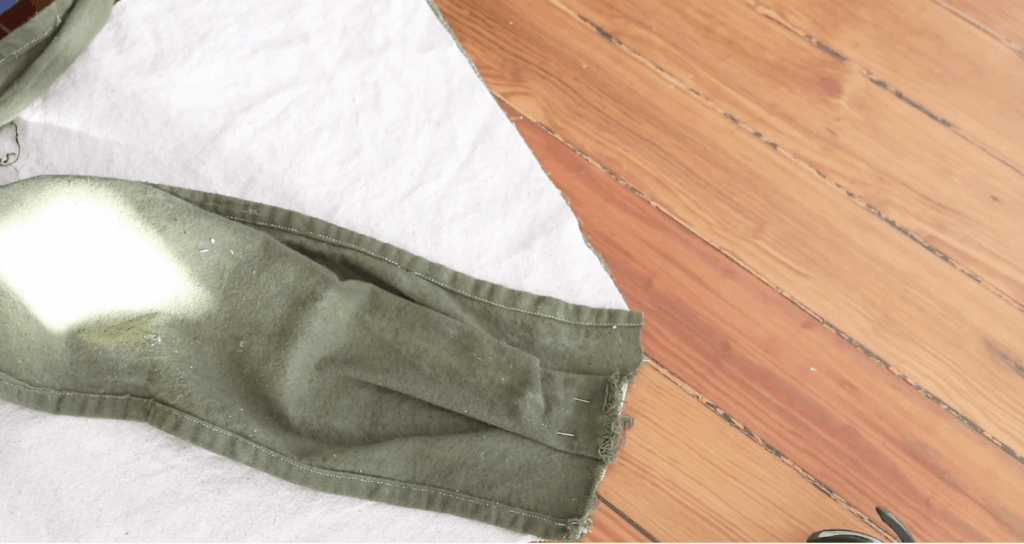
- Put a hem down both long sides on all four strap pieces. A hem is just folding the fabric over a half inch, and then another half inch, and sewing on top of that. You can press it before sewing, but I usually just sew it and skip that step. You can find my hem tutorial here.
- Sew a hem on one short end of each strap piece. This will leave one end of the strap piece finished, and one side unfinished.
- Make the hood ties by folding them in half lengthwise with wrong sides facing out, and sew down the long edge about 1/4 inch seam. When you get to the end, sew the raw edge over onto the wrong side about a half inch, and then continue sewing down.
- Using a large safety pin, turn the hood straps to the right side out.
- Top stitch all the way around the 3 finished edges of the hood straps. Repeat for the other hood tie piece.
Sew The Hood
- Place the two hood pieces right sides together, and sew around 3 sides with a 1/2 inch seam, leaving one side open.
- Turn the hood right side out, making sure to push the corners out with your fingers.
- Next, take the hood and sew down two of the outside edges with a one inch seam. This is to make a casing for the hood straps, so you could use your straps as a guide to see where to sew down.
- Then pull out a few stitches from the two top corners to create a little opening so the straps will be able to pull through.
- Thread the hood ties through the hood using a large safety pin. Make sure you leave the finished hood strap pieces at the top and the unfinished ones at the bottom with the open edge.
Putting the DIY Mei Tai together:
- Lay one of the main fabric pieces down flat.
- Take the 12-inch-wide strap and put a pleat in the unfinished edge. Basically to do this, find the middle of the fabric on the unfinished side, and then bring the fabric in to meet in the middle, and press. Place the strap on the main piece where the waist goes (the pleat folds are facing the back) and pin in place, making sure the strap piece lines up with the fabric and none of the strap is hanging over.
- Repeat this with the other waist strap, and then pleat, press, and pin the thicker fabric straps to the shoulder edge.
- Also, you will want to put the wrong side of the fabric that has the hem on the inside. So if you want the main body piece to be the natural color, lay that down and place the strap with the hems facing you and the nice (right side) facing the work surface.
- Do this with all the straps.
- Place the hood in the center of the top straps with the right sides together, and then pin in place.
Sewing The Mei Tai
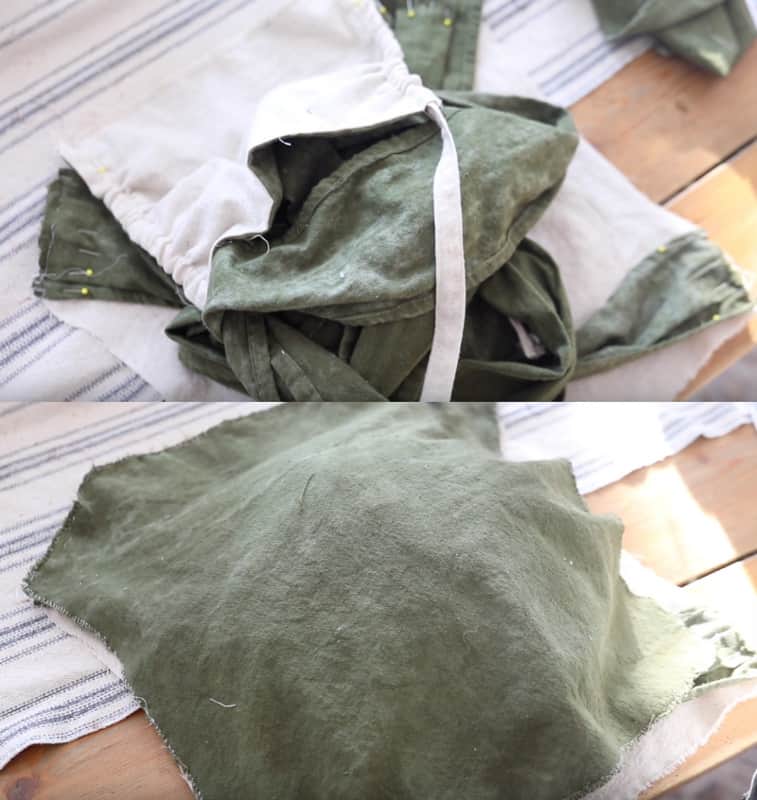
- Bunch all of the straps and hood towards the center.
- Place the other main piece on top, matching all the edges together, and pin. It will seem awkward with all the extra fabric bulking it up, but I promise it will all come together.
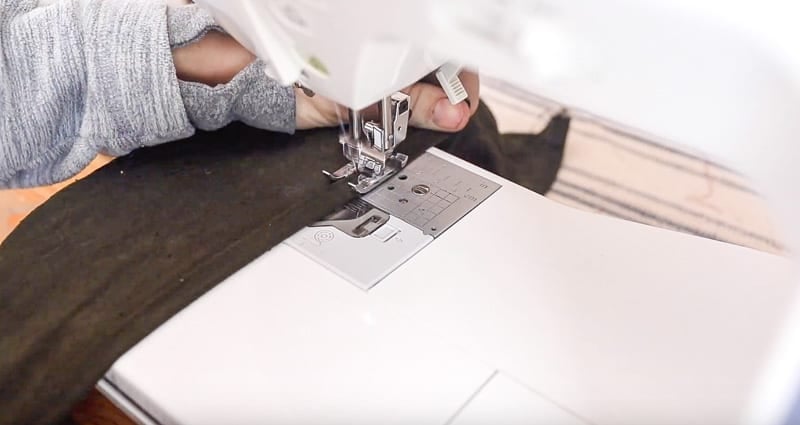
- Sew around the edges, leaving a small opening at the bottom to turn it out. I sewed around mine twice for extra stability and to make sure I got the straps well.
- Pull out everything from the inside out and have the right sides showing.
- Top stitch around the whole carrier. This also closes up the opening.
Sew The Hood Ties
- Sew the hood ties by folding them half right sides together, and sew a seam down the long edge.
- Turn right sides out and top stitch over each side.
- Tuck the hood ties into the pleats of the shoulder straps and sew.
- Once you are finished with that, you are completely done!
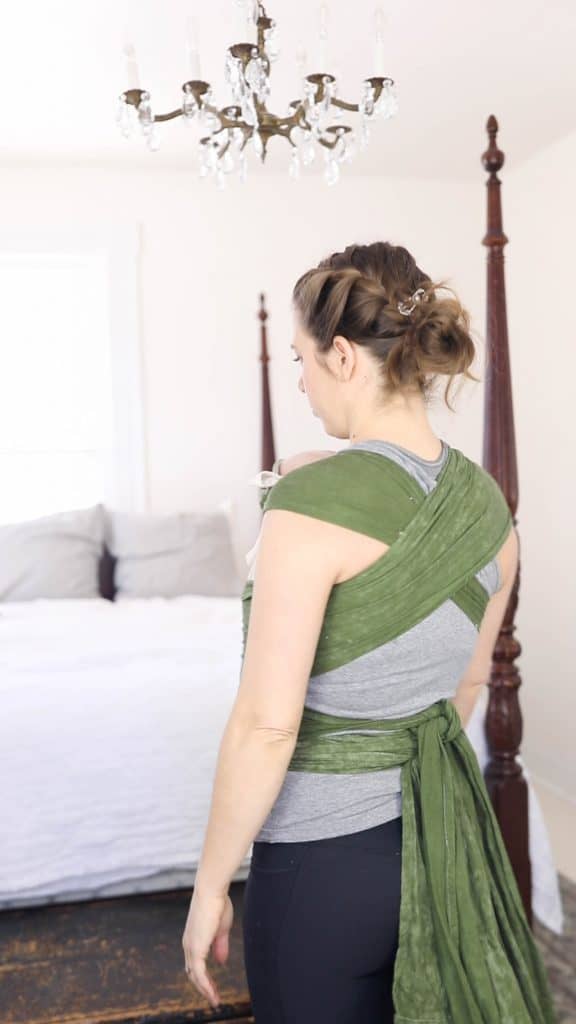
- If you’ve never used a Mei Tai type of carrier, make sure to check out my video on how to tie a Mei Tai.
Find more of my favorite baby essentials:
How To Make A Mei Tai Baby Carrier – Printable Directions
If you try this tutorial and love it, make sure to come back and give it 5 stars! Please and thank you.
How To Make A Mei Tai Baby Carrier

Equipment
- Sewing machine
- Scissors
- Seam Ripper
Ingredients
- Sewing machine
- Coordinating thread
- 3 yards of unbleached osnaburg fabric
- 3 packages of fabric dye, optional - I chose an olive green dye
- Straight pins
- Sewing scissors
- Steam iron
Cut List:
- Main pieces: 19" by 19" square, cut 2
- Shoulder straps: 90" by 12", cut 2
- Waist straps: 60" by 7", cut 2
- Hood: 12.5" by 12.5", cut 2
- Hood straps: 18" by 1.5", cut 2
- Tie-on straps for the hood straps: 3" by 1.5"
Instructions
- Wash and dry fabric. My fabric label said it was preshrunk, but just to be extra sure, I washed and dried it again, because I wanted to be absolutely sure it wouldn't shrink later.
- Press the fabrics flat.If you only have 3 yards of fabric, the order in which you cut out the fabric is important.Cut the long straps first. Cut the 90 inch pieces and 60 inch pieces in a row. Then, what is left below will work great for the remaining pieces.
- Cut out the the fabric pieces you want to stay the natural color. One piece for the hood, one of the main pieces, the hood straps, and the ties for the straps. Set them aside.
- Next, dye remaining fabric by adding fabric dye to a large stainless steel pot with warm water and some salt. Once the salt is dissolved, add the fabric and allow to soak, stirring occasionally, for 45 minutes. Squeeze out excess dye, and wash in the washer. Rinse with cold water, and then hang to dry. I didn't want to put it into the dryer at this point because you can get a lot of frayed edges.
- Press dyed fabrics flat.Fold the main piece of the pattern in half and cut, angling the shoulders and cutting a slight curve from the shoulder to the waist. Use that as the template to cut the other main piece.
Prepare all the straps:
- Put a hem down both long sides on all four straps pieces. A hem is just folding the fabric over a half inch, and then another half inch, and sewing on top of that You can press it before sewing, but I usually just sew it and skip that step. You can find my hem tutorial here. Sew a hem on one short end of each strap piece. This will leave one end of the strap piece finished, and one side unfinished.
- Make the hood ties by folding them in half lengthwise with wrong sides facing out, and sew down the long edge about 1/4 inch seam. When you get to the end, sew the raw edge over onto the wrong side about a half inch, and then continue sewing down. Using a large safety pin, turn the hood straps to the right side out. Top stitch all the way around the 3 finished edges of the hood straps. Repeat for the other hood tie piece.
Sew The Hood
- Place the two hood pieces right sides together, and sew around 3 sides with a 1/2 inch seam, leaving one side open.Turn the hood right side out, making sure to push the corners out with your fingers.
- Next, take the hood and sew down two of the outside edges with a one inch seam. This is to make a casing for the hood straps, so you could use your straps as a guide to see where to sew down.
- Then pull out a few stitches from the two top corners to create a little opening so the straps will be able to pull through.Thread the hood ties through the hood using a large safety pin. Make sure you leave the finished hood strap pieces at the top and the unfinished ones at the bottom with the open edge.
Putting The DIY Mei Tai Together
- Lay one of the main fabric pieces down flat. Take the 12-inch-wide strap and put a pleat in the unfinished edge. Basically to do this, find the middle of the fabric on the unfinished side, and then bring the fabric in to meet in the middle and press. Place the strap on the main piece where the waist goes (the pleat folds are facing the back) and pin in place, making sure the strap piece lines up with the fabric and none of the strap is hanging over.
- Repeat this with the other waist strap, and then pleat, press, and pin the thicker fabric straps to the shoulder edge. Also, you will want to put the wrong side of the fabric that has the hem on the inside. so if you want the main body piece to be the natural color, lay that down and place the strap with the hems facing you and the nice (right side) facing the work surface.
- Do this with all the straps. Place the hood in the center of the top straps with the right sides together, and then pin in place.
Sewing The Mei Tai
- Bunch all of the straps and hood towards the center.Place the other main piece on top matching all the edges together and pin. It will seem awkward with all the extra fabric bulking it up, but I promise it will all come together.
- Sew around the edges, leaving a small opening at the bottom to turn it out. I sewed around mine twice for extra stability and to make sure I got the straps well. Pull out everything from the inside out and have the right sides showing.Top stitch around the whole carrier. This also closes up the opening.
Sew The Hood Ties
- Sew the hood ties by folding them half right sides together, and sew a seam down the long edge. Turn right sides out and top stitch over each side.Tuck the hood ties into the pleats of the shoulder straps and sew.Once you are finished with that, you are completely done!If you've never used a Mei Tai type of carrier, make sure to check out my video on how to tie a Mei Tai.
Notes
- If you are totally new to sewing, check out my simple sewing series where I show you all the basics to get you started.
- Dye the osnaburg fabric any color you would like, or skip this step. Since the fabric is naturally lighter I wanted to dye some of it to one make it pretty, but also stains would show less.
- If you only buy the 3 yards of fabric and have no extra, make sure to cut the long straps first before the remaining pieces to you have enough fabric.
Nutrition information is automatically calculated, so should only be used as an approximation.




Please don’t use this tutorial to make a meh dai (not mei tai as she pronounces it. That term is culturally incorrect). This is an extremely unsafe pattern as there is only a 1/4 inch seam allowance where the straps attach to the carrier. Baby carriers need to have a generous seam allowance in the straps and then have reinforced stitching further down on the carrier to secure the strap (sometimes called x-boxes). My favorite baby carrier patterns are by SewToot, and they are very safe, and have easy to follow instructions. Also, she is not following the best practices for ergonomic carrying. That baby should be legs out with the weight on his bottom and legs, not his feet. There are tricks to making a meh dai fit a newborn, such as rolling the bottom and cinching the panel to go between their legs. Lisa, please educate yourself on babywearing and making carriers before you share it all over the internet. It is best to learn babywearing from a certified babywearing educator.
Hello Bethany,
While I’m thankful for your comment on x-boxes, which, in my opinion, could be included in the tutorial, I disagree on the part about ergonomic carrying. Lisa uses indeed the shoulder straps to carry the baby. The belt makes it easier for her to install the baby but what supports the infant are these straps. The baby is in an appropriate frog position, sitting on his/her bottom. I tend to think that this method respects more the natural position of the newborn than the tricks you mentioned or the integrated string allowing to reduce the width of the carrier just over the belt. In addition, she reminds that the baby’s head must be supported when bending, more clearly than many certified babywearing educators.
This is really awesome! Such an easy to follow tutorial.
Thanks for the super easy tutorial! I have a friend expecting soon and this will be a wonderful gift!