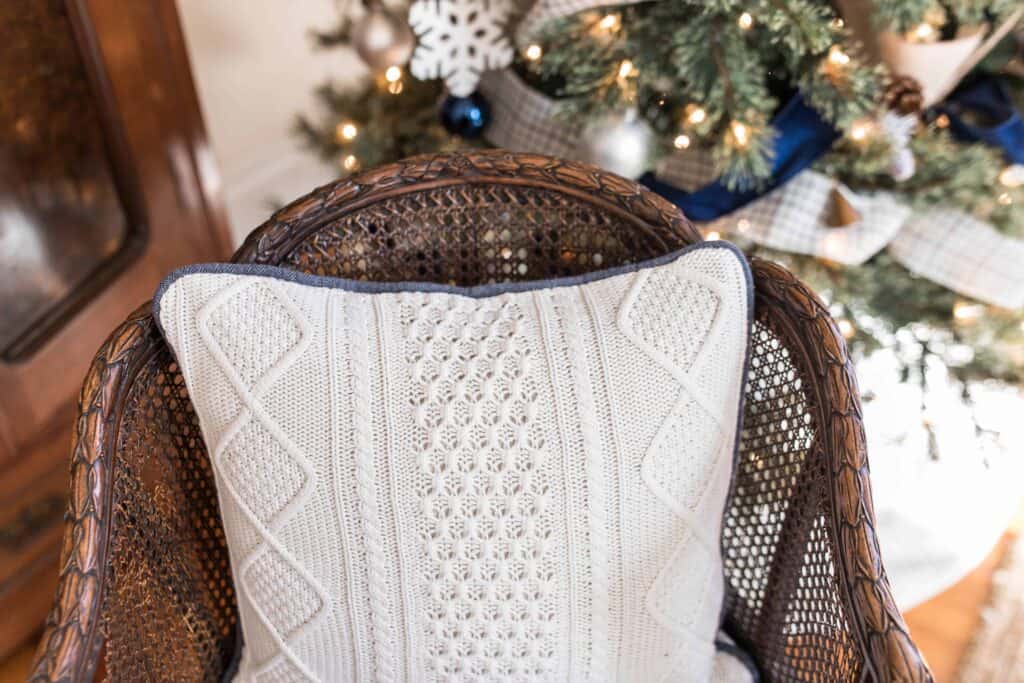
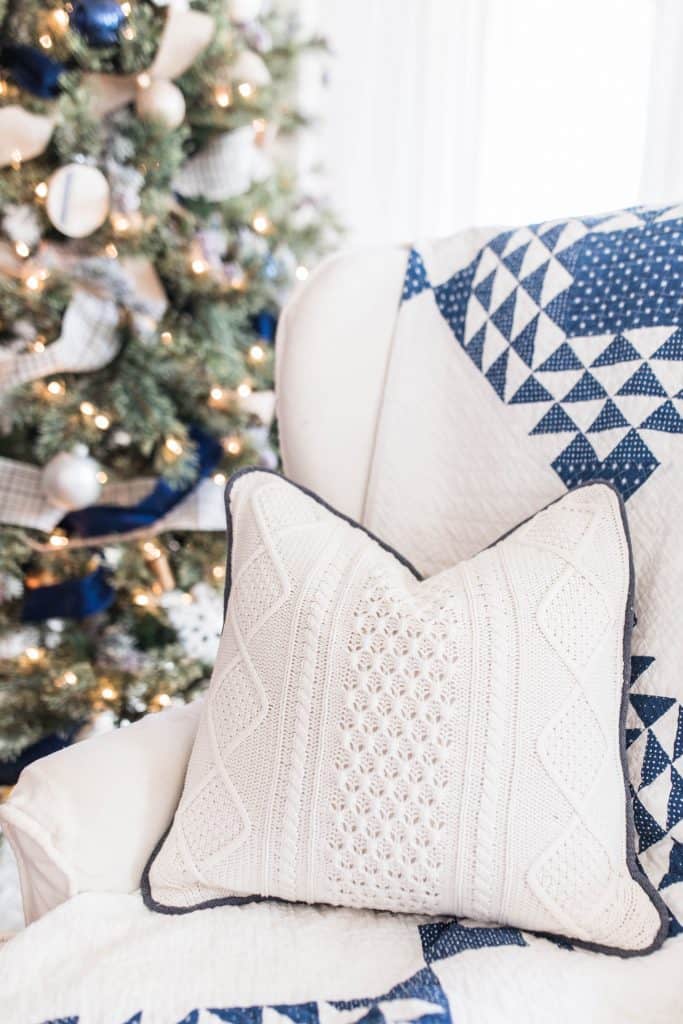
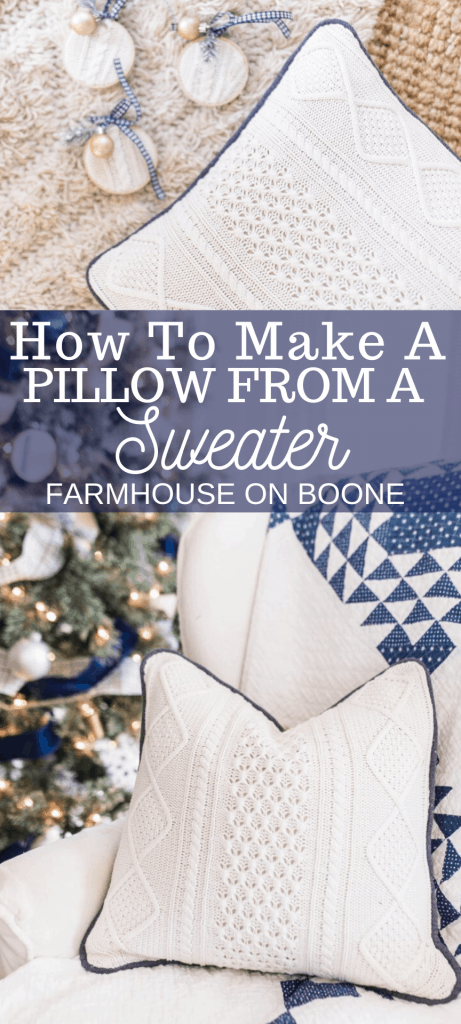
Learn how to make a pillow from a sweater, creating a beautiful and cozy piece of decor for your home. This thrifted project is an easy and inexpensive way to add charm to any room.
Last year, my favorite sweater (that you might recognize, because I wore it in tons of my videos) was this cream, cable knit sweater that I got from Thred Up, originally Gap. I was excited to dig it out and put it back on after having the baby, but sadly, I noticed it had a big hole right in the front of it.
It must have gotten eaten by a moth or something while it was being stored away. Instead of calling it a total loss, I decided to make a couple of things for my home out of my sweater, because I love it so much.
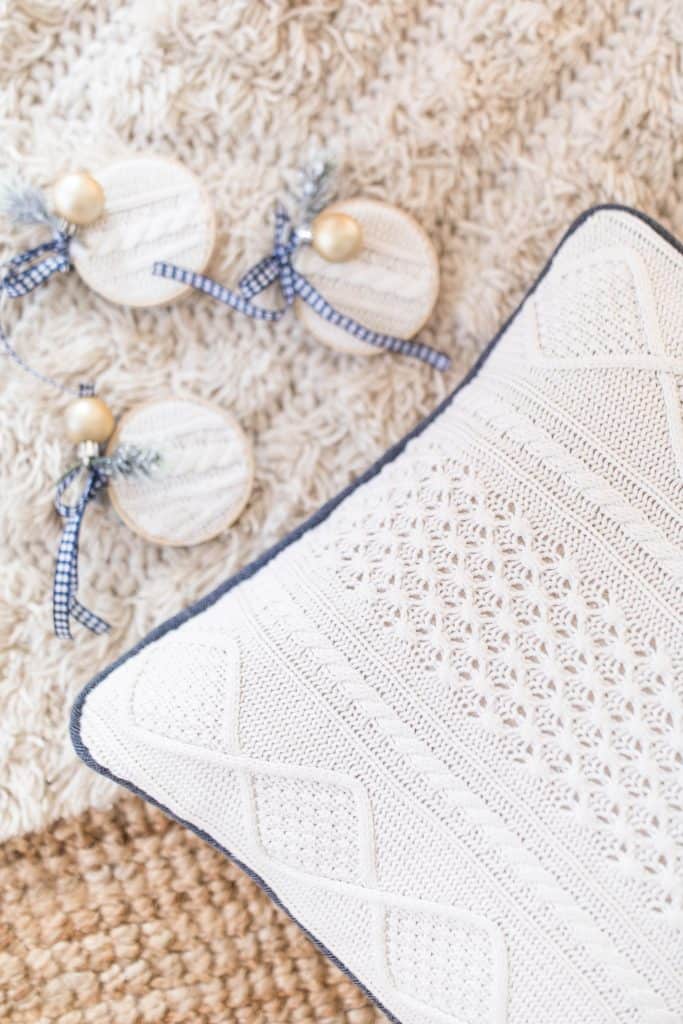
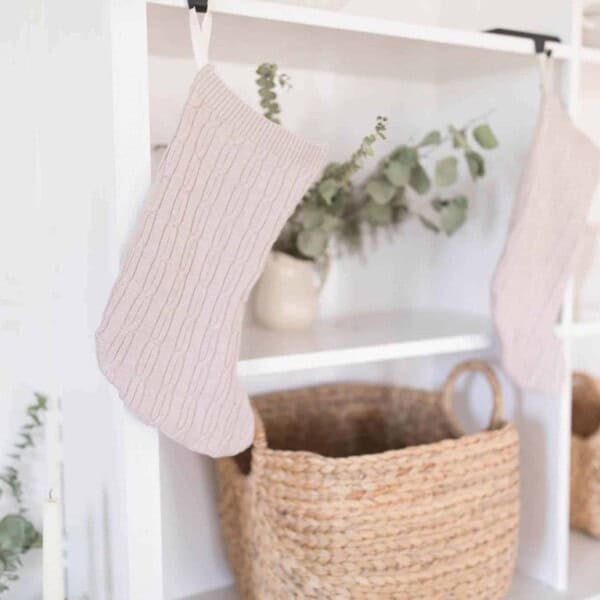
So I turned this beautiful sweater into a pillow and a few Christmas ornaments, which I will show you how to do next week. Now I get to continue to enjoy it, even though I can’t wear it.
This is a really fun project in case you have a sweater lying around that you can’t wear, or you come across a really lovely sweater at a thrift store.
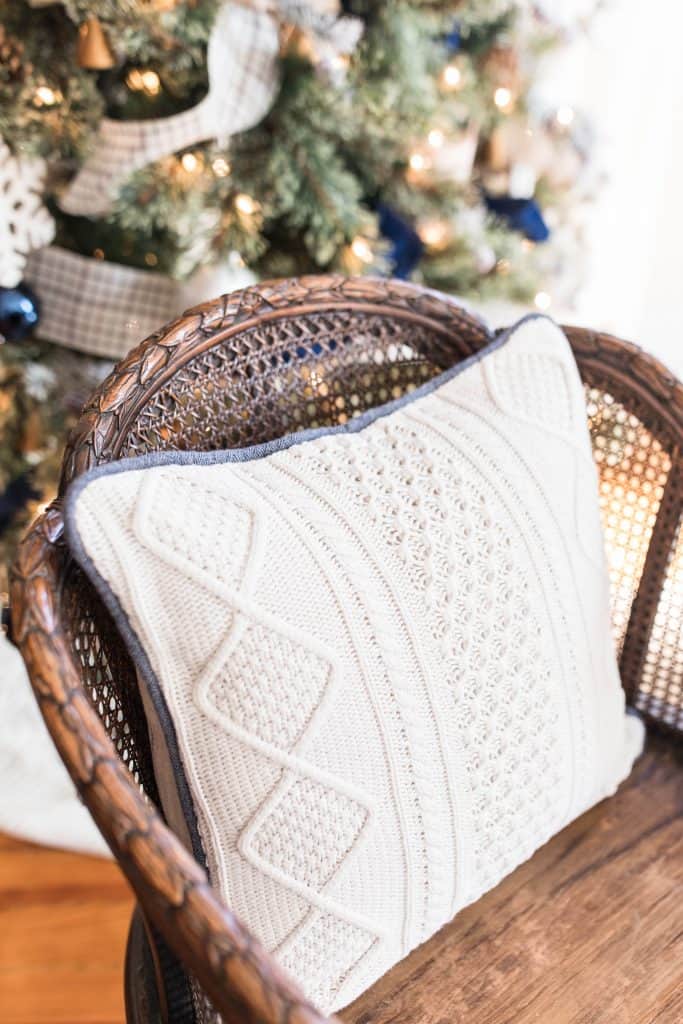
Now I wish I could still wear my favorite sweater, but I’m loving the nice, cozy feel and the texture this new pillow brings to my living room. It is really pretty, and perfect for the cooler months.
Tips For Making A Pillow From A Sweater
- You can use an old favorite sweater (maybe one that has some sentimental value), or head to the thrift store to find a beautiful and inexpensive one.
- If you are totally new to sewing, you can head over to my simple sewing series to learn all the basics.
- You can make your own pillow inserts or buy them. I prefer high-quality feather ones, because they hold their shape better.
- To make this project really inexpensive, see what materials you already have on hand.
This post contains affiliate links, which means I make a small commission at no extra cost to you. See my full disclosure here.
Materials And Tools you will need:
Serger (optional)
Sweater
Heavy-weight fabric like grain sack, drop cloth, or duck fabric.
Coordinating fabric for piping – I used some leftover blue flannel.
Pillow insert – I like using feather inserts because they hold their shape really well.
Find more sewing projects:
- DIY Ticking Stripe Curtain Sewing Tutorial
- Easy Girls Dress Sewing Tutorial- Bow in the Back Summer Dress
- How to Sew a Slipcover for a Wingback Chair
- How to Make a Duvet Cover
- DIY Grain Sack and Ticking Stripe Pillows
How To Make A Pillow From A Sweater
Cut Out The Pieces
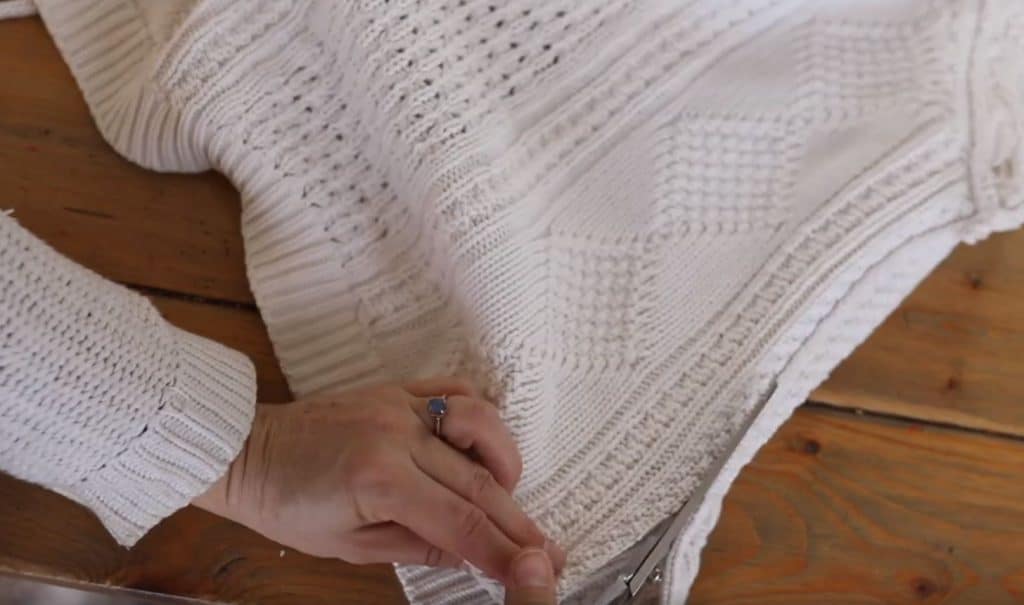
- Cut the sweater the size you want the pillow, plus add an inch on all sides for seam allowance. I wanted to create an 18 inch by 18 inch pillow, so I cut the sweater 19 inches by 19 inches.
- Cut a piece of heavy-weight fabric the same size as the sweater piece.
- Place the sweater piece on top of the heavy weighted fabric with the right side out, lining up all of the edges. Backing the pillow cover is a good idea, because you don’t want to see through the holes in the knit.
Make And Sew On Piping
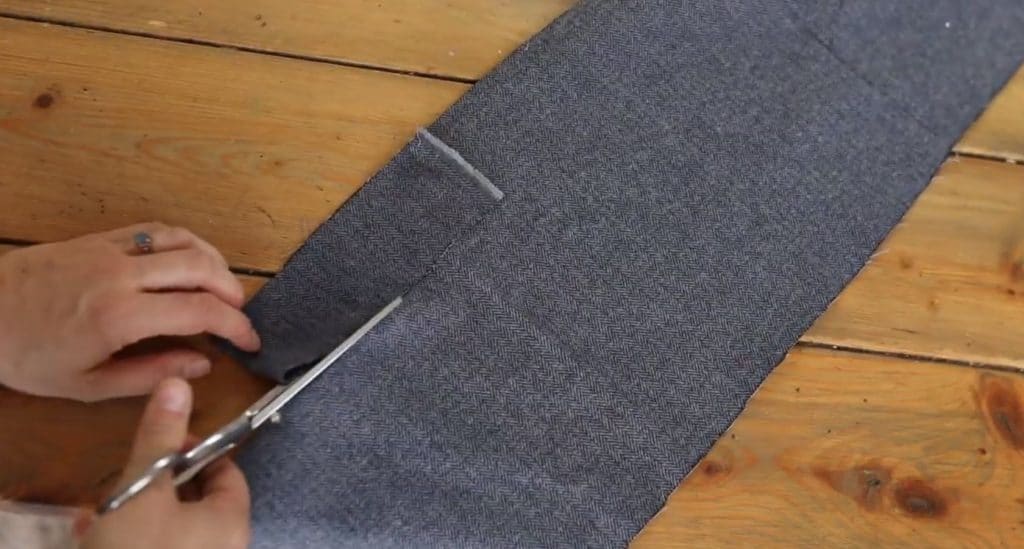
- Make piping, which is really simple. You can find my tutorial here, but you just cut a strip of fabric (you should cut the fabric on the bias, but since I didn’t have enough of the blue flannel, I did not cut it that way, and it worked out just fine.) and sandwich the cording between the strip of fabric.
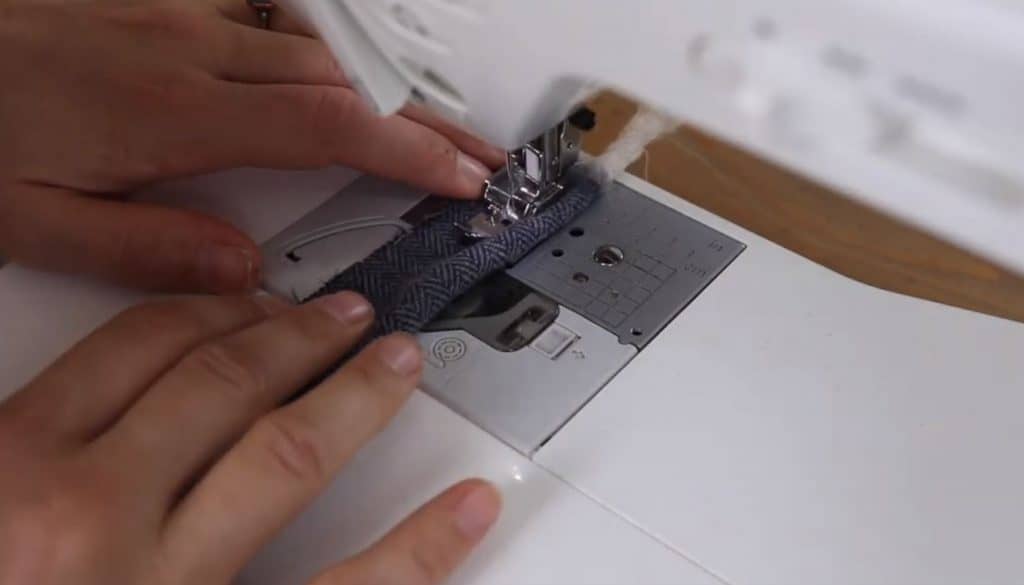
- Using a zipper foot, sew as closely to the piping as possible.
- Lay the sweater piece down with the front facing you. Place the piping on top of the sweater piece, lining up the raw fabric edges of the piping to the edge of the sweater.
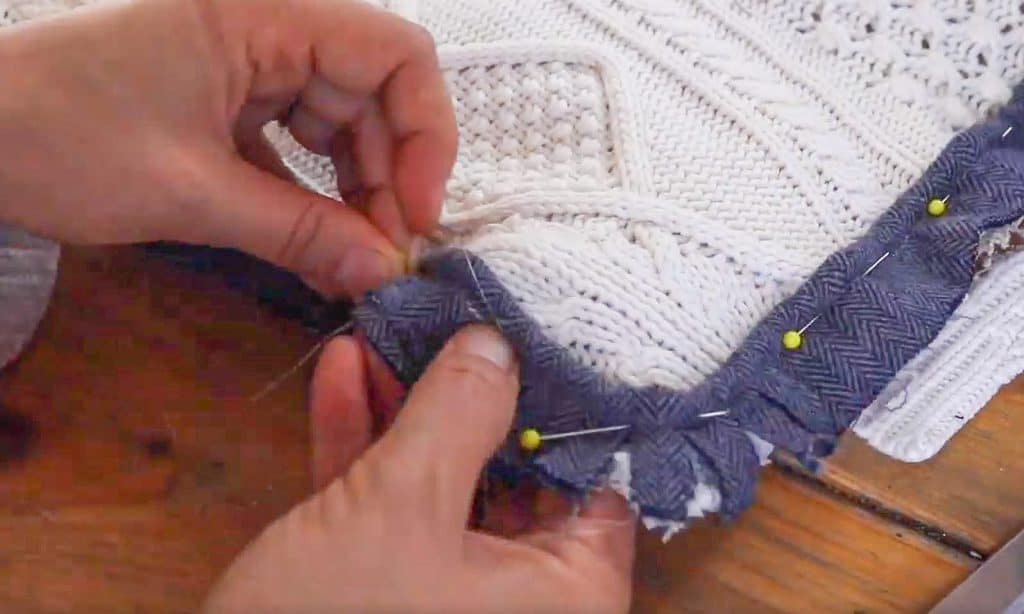
- Pin down the piping around the sweater piece.
- Around the corners, clip the fabric around the piping, that way it lays nicely around the edges. Continue pinning down the piping around the corners.
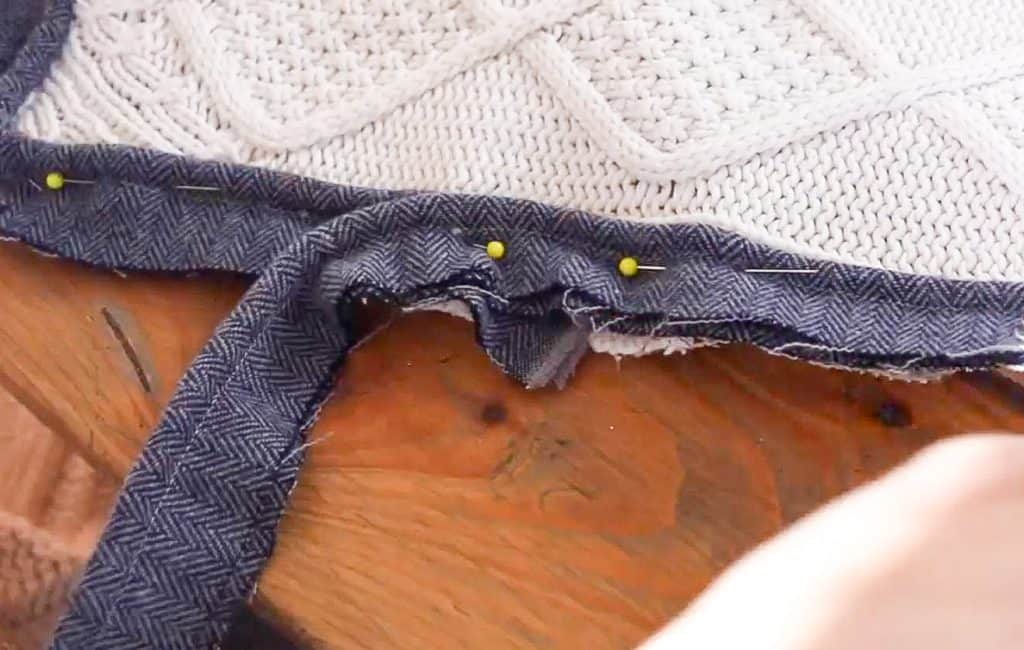
- When you get to the end of the piping where it meets the other piping, just overlap them so it is not noticeable after you sew it on and turn it right side out.
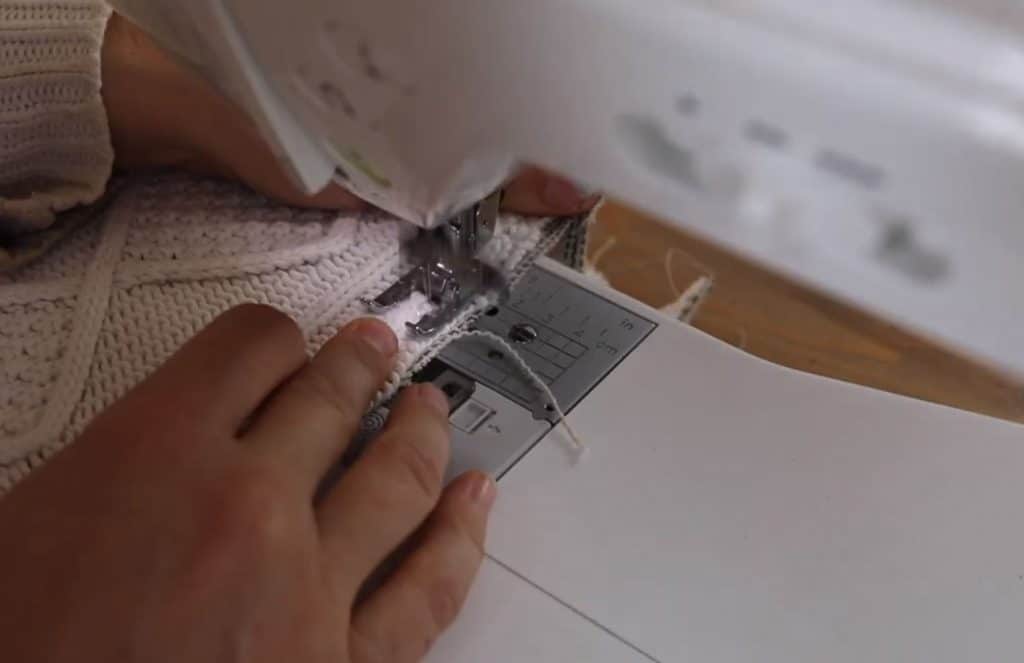
- Sew the piping on to the front piece of the pillow cover using the zipper foot, getting as close to the piping as possible. Sewing it before you connect the front to the back pieces helps the piping stay in place and not shift.
Finish Creating The Pillow From A Sweater
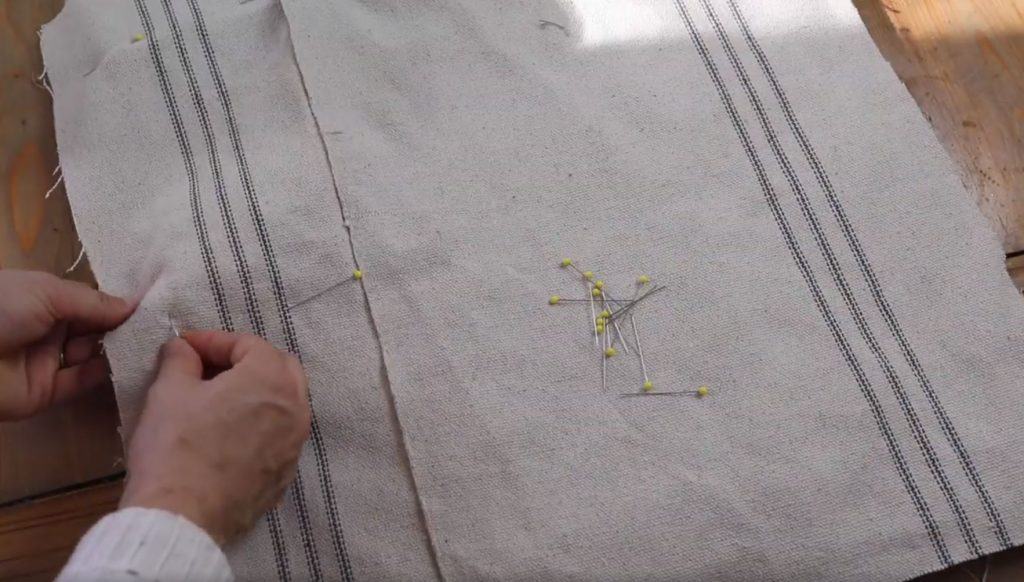
- Cut two 13 inch by 19 inch back pieces out of the decor fabric. This is for the back and so they can overlap.
- Laying the sweater front piece with the piping down with right side facing you, place the two pieces of decor fabric over the sweater, right side facing the sweater piece, overlapping the two pieces of fabric. Ideally, you would hem the long edges of the two pieces where they overlap in the back of the pillow. I cut my fabric on the manufacturers edge that is already finished, so I skipped this step.
- Pin the decor fabric in place around the piping, right sides together. It should overlap with the edge a bit.
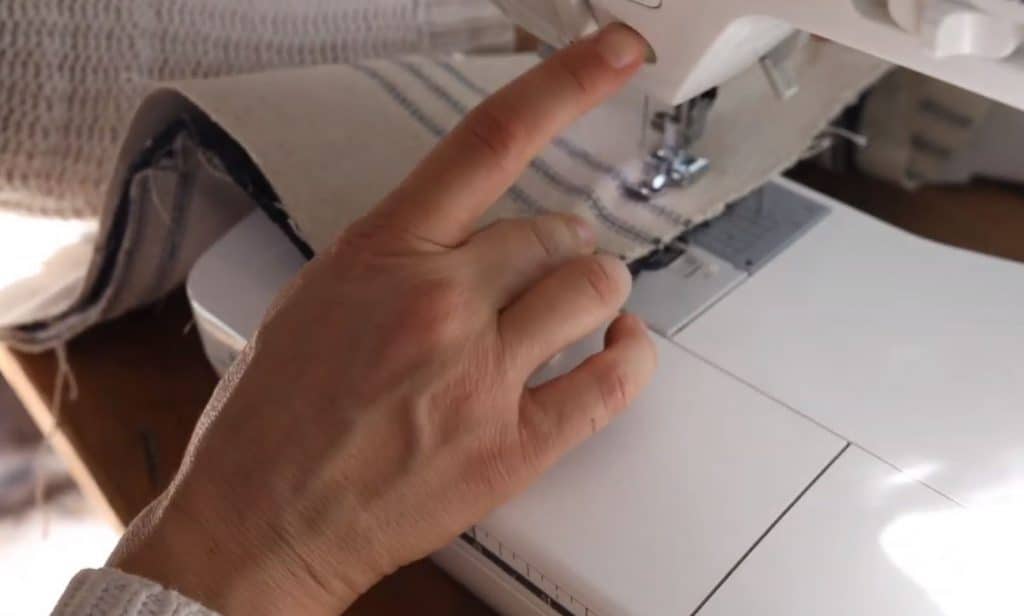
- Take the pillow cover over to the machine and sew the cover together around the piping, still using a zipper foot to get as close to the piping as possible. This can be tricky because you can’t really see what you are sewing, and you really have to feel what is going on. I put my hands down around the piping, trying to sew as close to the piping as possible by feeling the piping. Make sure to round those corners so everything comes out looking really nice.
- Trim the excess fabric off the edges, leaving about a 1/2 inch.
- Finish the edges on the inside so there are no raw edges by serging around the edges. If you don’t have a serger you could just sew around the edges using a zigzag stitch.
Add A Pillow Insert
Turn the pillow cover right side out, and put a pillow insert inside. I like to use nice feather pillow inserts, because they are nice and cozy and keep their shape nicer than polyester fiber fill pillow inserts.
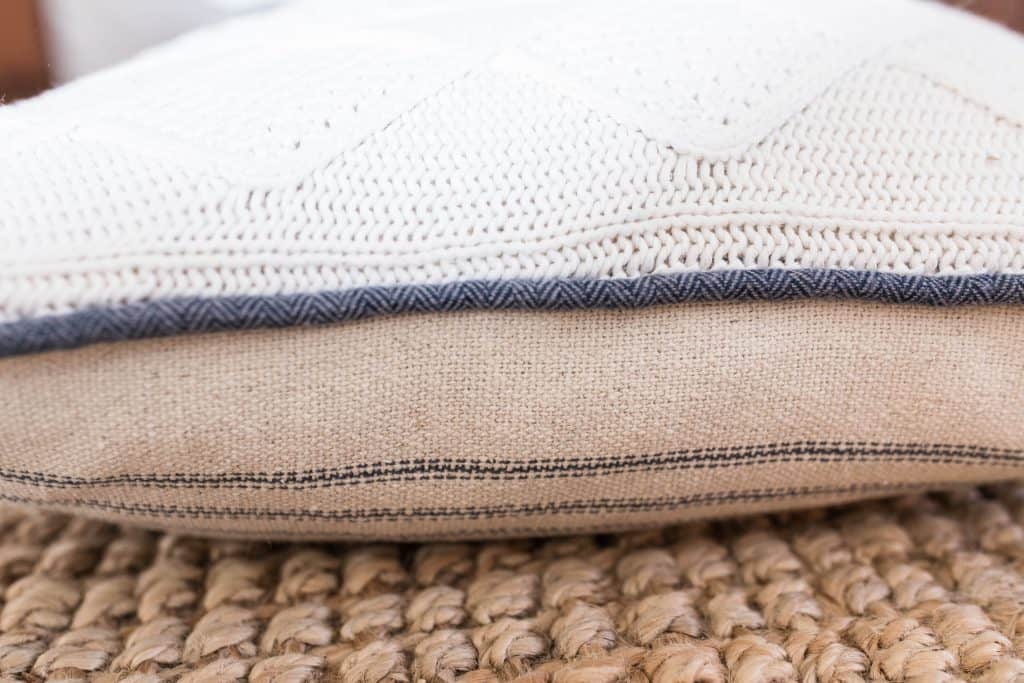
There you have it: a beautiful pillow, made from a thrifted sweater, to add some farmhouse charm this winter for very little money. Since I used mostly leftover materials, this project was basically free.
Pin It For Later
How To Make A Pillow From A Sweater
Equipment
Ingredients
- How to Sew a Pillow Insert with Drop Cloth
- Wrights Cotton Piping Size 1 3/16"X50yd, Natural
- 9 x 12 All Purpose Canvas Cotton Drop Cloth
Instructions
CUT OUT THE PIECES
- Cut the sweater the size you want the pillow, plus add an inch on all sides for seam allowance. I wanted to create an 18 inch by 18 inch pillow, so I cut the sweater 19 inches by 19 inches.
- Cut a piece of heavy weight fabric the same size as the sweater piece.
- Place the sweater piece on top of the heavy weighted fabric with the right side out, lining up all of the edges. Backing the pillow cover is a good idea, because you don’t want to see through the holes in the knit.
MAKE AND SEW ON PIPING
- Make piping, which is really simple.
- Using a zipper foot, sew as closely to the piping as possible.
- Lay the sweater piece down with the front facing you. Place the piping on top of the sweater piece, lining up the raw fabric edges of the piping to the edge of the sweater.
Pin down the piping around the sweater piece. - Around the corners, clip the fabric around the piping, that way it lays nicely around the edges. Continue pinning down the piping around the corners.
- When you get to the end of the piping where it meets the other piping, just overlap them so it is not noticeable after you sew it on and turn it right side out.
- Sew the piping on to the front piece of the pillow cover using the zipper foot, getting as close to the piping as possible. Sewing it before you connect the front to the back pieces helps the piping stay in place and not shift.
FINISH CREATING THE PILLOW FROM A SWEATER:
- Cut two 13 inch by 19 inch back pieces out of the decor fabric.
- This is for the back and so they can overlap.
Laying the sweater front piece with the piping down with right side facing you, place the two pieces of decor fabric over the sweater, right side facing the sweater piece, overlapping the two pieces of fabric. Ideally, you would hem the long edges of the two pieces where they overlap in the back of the pillow. I cut my fabric on the manufacturers edge that is already finished, so I skipped this step. - Pin the decor fabric in place around the piping, right sides together. It should overlap with the edge a bit.
- Take the pillow cover over to the machine and sew the cover together around the piping, still using a zipper foot to get as close to the piping as possible. This can be tricky because you can’t really see what you are sewing, and you really have to feel what is going on. I put my hands down around the piping, trying to sew as close to the piping as possible by feeling the piping. Make sure to round those corners so everything comes out looking really nice.
- Trim the excess fabric off the edges, leaving about a 1/2 inch. Finish the edges on the inside so there are no raw edges by serging around the edges. If you don’t have a serger you could just sew around the edges using a zigzag stitch.
ADD A PILLOW INSERT
- Turn the pillow cover right side out, and put a pillow insert inside. I like to use nice feather pillow inserts, because they are nice and cozy and keep their shape nicer than polyester fiber fill pillow inserts.
- There you have it: a beautiful pillow made from a thrifted sweater to add some farmhouse charm this winter for very little money. Since I used mostly leftover materials, this project was basically free.
Notes
- You can use an old favorite sweater (maybe one that has some sentimental value), or head to the thrift store to find a beautiful and inexpensive one.
- If you are totally new to sewing, you can head over to my simple sewing series to learn all the basics.
- You can make your own pillow inserts or buy them. I prefer high-quality feather ones, because they hold their shape better.
- To make this project really inexpensive, see what materials you already have on hand.
Nutrition information is automatically calculated, so should only be used as an approximation.




This tutorial on making a pillow from a sweater is such a creative and eco-friendly idea! Repurposing old sweaters into cozy pillows not only gives them a new life but also adds a personal touch to home decor. The step-by-step instructions make the process easy and fun. Thanks for sharing this wonderful DIY project!