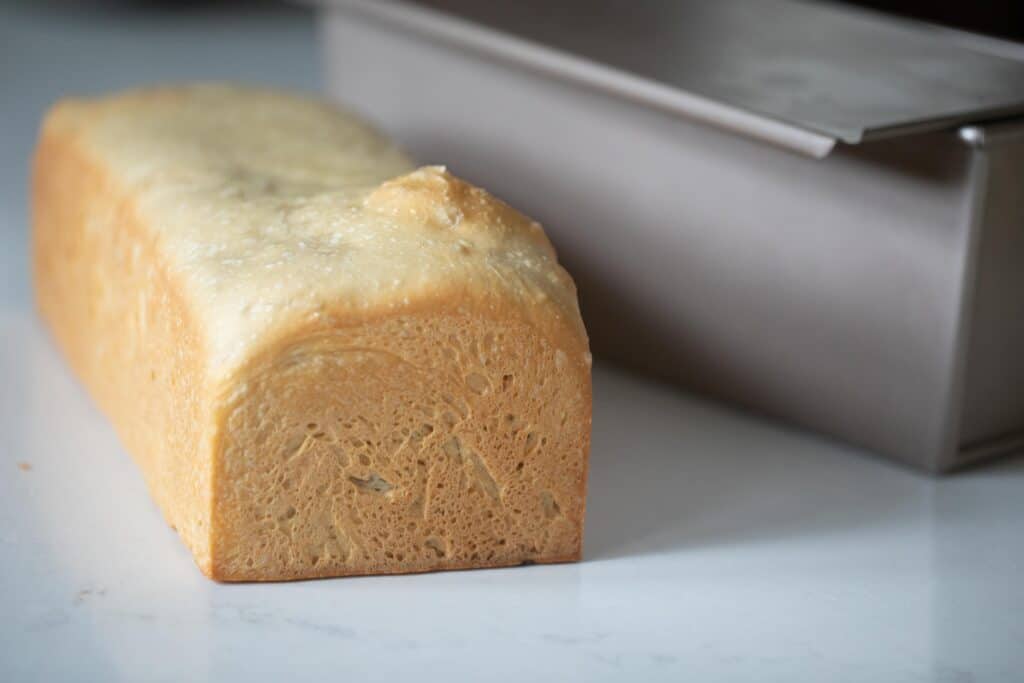
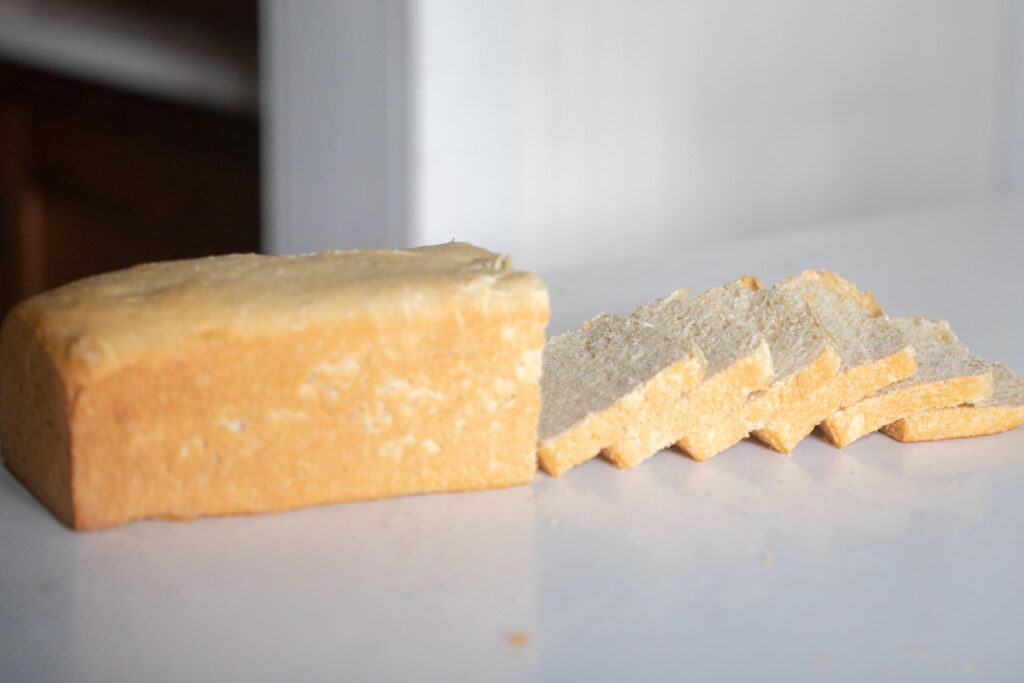
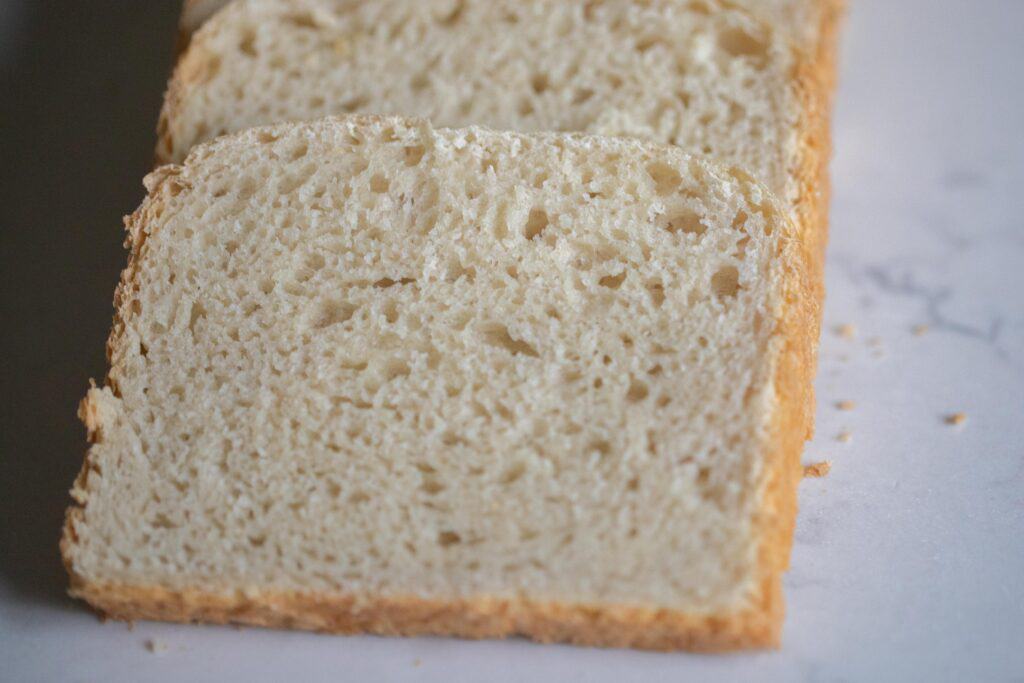
With a perfectly square shape, sourdough Pain de Mie is great as the ends of your favorite sandwich. This sandwich loaf has a thin crust and soft interior. It will remind you of your favorite store-bought white bread but with the added flavor notes sourdough brings out in any recipe.
When I first began my sourdough journey, I started by adapting my yeast sandwich bread recipe to sourdough. I made it weekly for years and still make it quite often.
Over the years, though, I’ve received multiple comments on my classic sourdough sandwich bread recipe asking if a Pullman loaf pan could be used instead of a regular loaf pan.
So, I thought I’d try my own Pullman loaf, also known as Pain de Mie, using my trusty sourdough starter.
The result was a beautifully soft crumb with a thin crust that resembled classic sliced soft bread you’d find on the grocery store shelves.
Of course, it was much tastier, as homemade bread always is. Plus, sourdough just makes everything better in my opinion.
Although this recipe is very similar to my sandwich bread, it does include whole milk in addition to the warm water. It gives this bread such a wonderful texture and rich taste.
What is Pain de Mie?
Pain de Mie is a French sandwich bread. Pain translates to bread, while Mie means crumb.
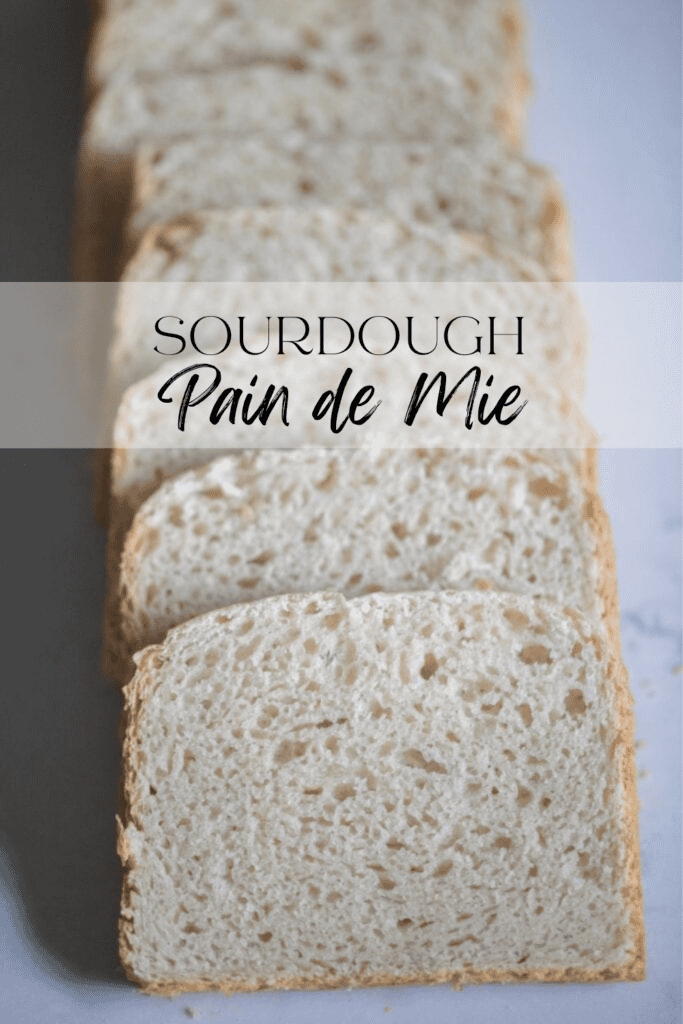
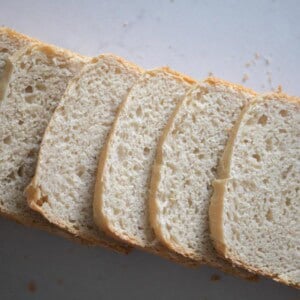
Some may refer to Pain de Mie as a Pullman loaf because it is typically made using a Pullman pan, which has straight sides and a sliding lid. This gives you uniform square pieces, making this “bread of the crumb” the perfect loaf for toast or sandwiches.
Why You’ll Love This Recipe
Similar to a classic sliced white bread – When using the lid on the pullman pan, you end up with a perfectly rectangle loaf. This also gives you very uniform slices throughout the loaf, which is great for sandwiches.
Thin crust for those that are not crust lovers – Although I love a nice crisp crust on a traditional sourdough boule, this sandwich bread is a nice option for those that like a thinner crust.
Simple to make, especially if you don’t have time for a hands-on recipe – If you have a stand mixer, this recipe is great because you can just throw everything in, let it knead for a few minutes, and then its time for the bulk rise. Though it will take a couple of days for this bread to be ready to bake, pending bulk rise time, the time you spend actively working on this bread is minimal.
Tips
- Using a stand mixer is ideal for this recipe. If you do not have one, I suggest using the stretch and fold method instead of kneading by hand. It will be much easier due to the added butter.
- Make sure your butter is at room temperature and soft before adding this to the dough. If it is too cold, it will not mix in well.
- You’ll need an active sourdough starter for this recipe. If you are new to sourdough, learn how to make your own sourdough starter here.
Self-Paced Online Course
What’s in this course?
- Make your own robust starter
- Bake your first loaves of sourdough bread
- Understand sourdough better
- Expand your sourdough bread repertoire
- Download my Complete Recipe Book
Ingredients
Butter – Salted or unsalted butter works fine for this recipe.
Sugar – Using sugar helps give this bread its soft texture.
Salt
Sourdough starter, bubbly and active
Whole milk
Water
All-purpose flour – Although I love baking with a combo of white flour and whole wheat flour, this bread comes out best using all-purpose only.
This post contains affiliate links, which means I make a small commission at no extra cost to you. See my full disclosure here.
Tools You May Need
Measuring Cups and Spoons – For many sourdough loaves, I use a kitchen scale and go by weight measurements for my ingredients. I find this one is simple enough that using volume measurements is easier.
Stand Mixer (optional)
Pullpan Pan – I used a large Pullman pan for this recipe (13.6″×5.4″×4.7″).
How to Make Pain de Mie
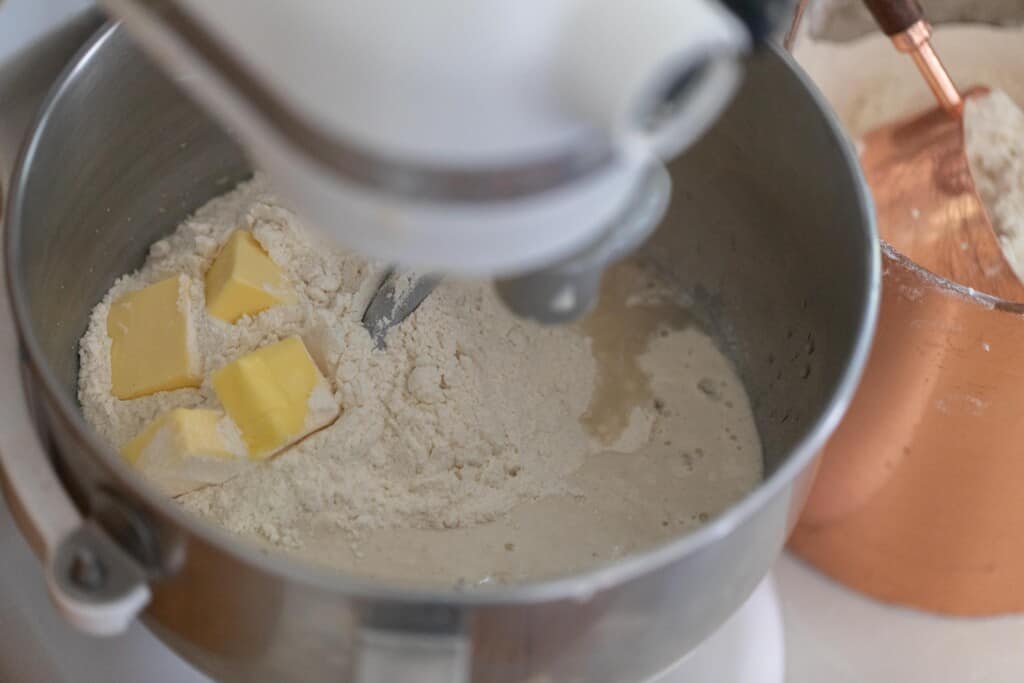
In the bowl of a stand mixer, add all of the ingredients. I typically will add the flour last so I can adjust the amount as needed. The hydration of your starter, humidity, and other factors will effect exactly how much flour is needed.
Using a dough hook attachment, knead the dough in the mixer until it is smooth and elastic. You will know it is ready once it pulls away from the sides of the bowl and passes the windowpane test.
This may take about 10 minutes or more. This is not a super hydrated dough like other sourdough loaves. If you feel it is too sticky, you may need to add more flour.
How to do the Windowpane Test
To perform the windowpane test, take a small chunk of the dough and stretch it into a square. It should stretch thin enough to see light through without breaking.
Bulk Fermentation
Allow your dough to bulk rise in a large bowl covered with a lid or plastic wrap for 10-12 hours in a warm place. In the summer time, this may take less time. Usually I will bulk rise for about 8 hours in the warmer months.
Be careful not to over ferment the dough. You’ll know if it has fermented too long because it will be a sloppy mess when you try to shape your dough.
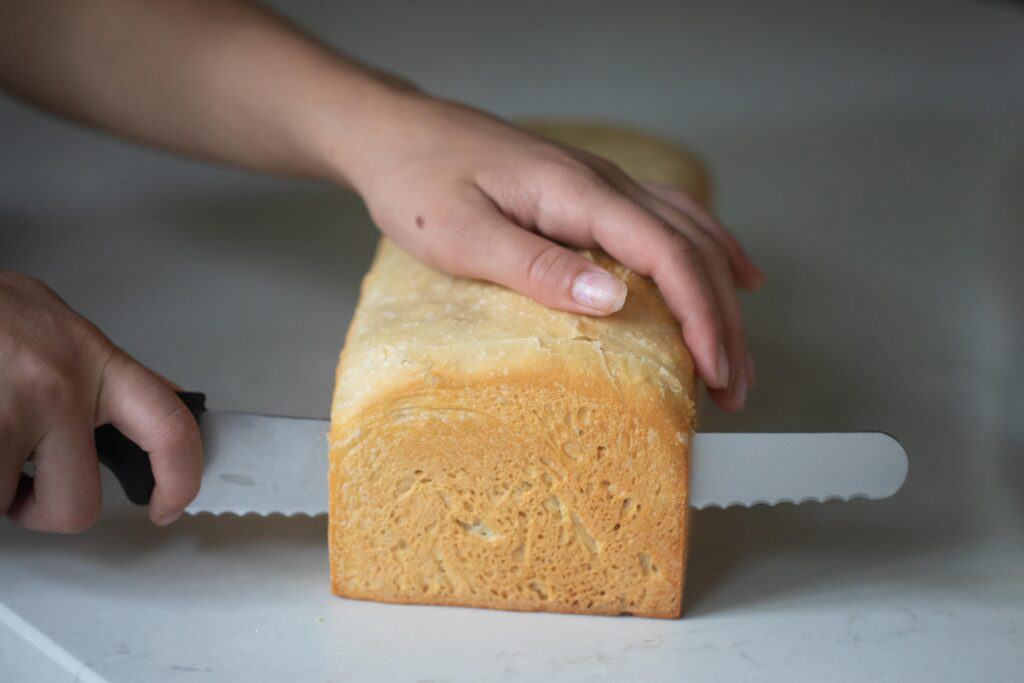
Shape
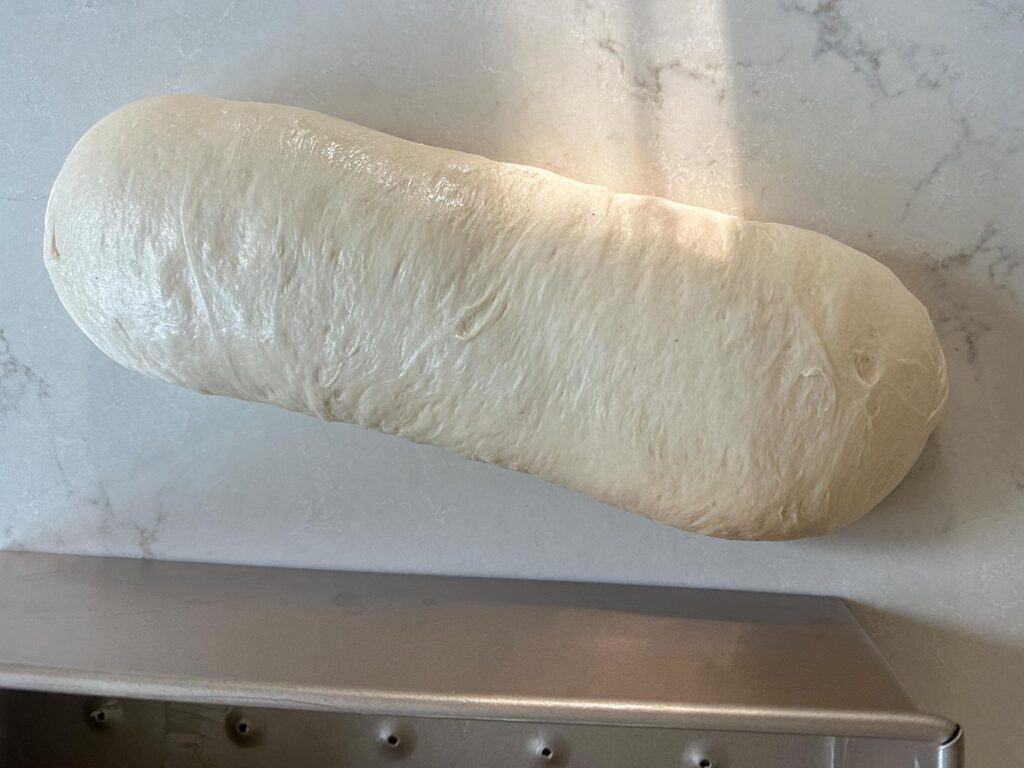
Shape your dough by gently stretching it into a rough rectangle until it is about 13 inches long. Roll it up and place the shaped dough in the Pullman pan seam side down. If your pan is not nonstick, spray it with an olive oil nonstick spray or grease it with butter.
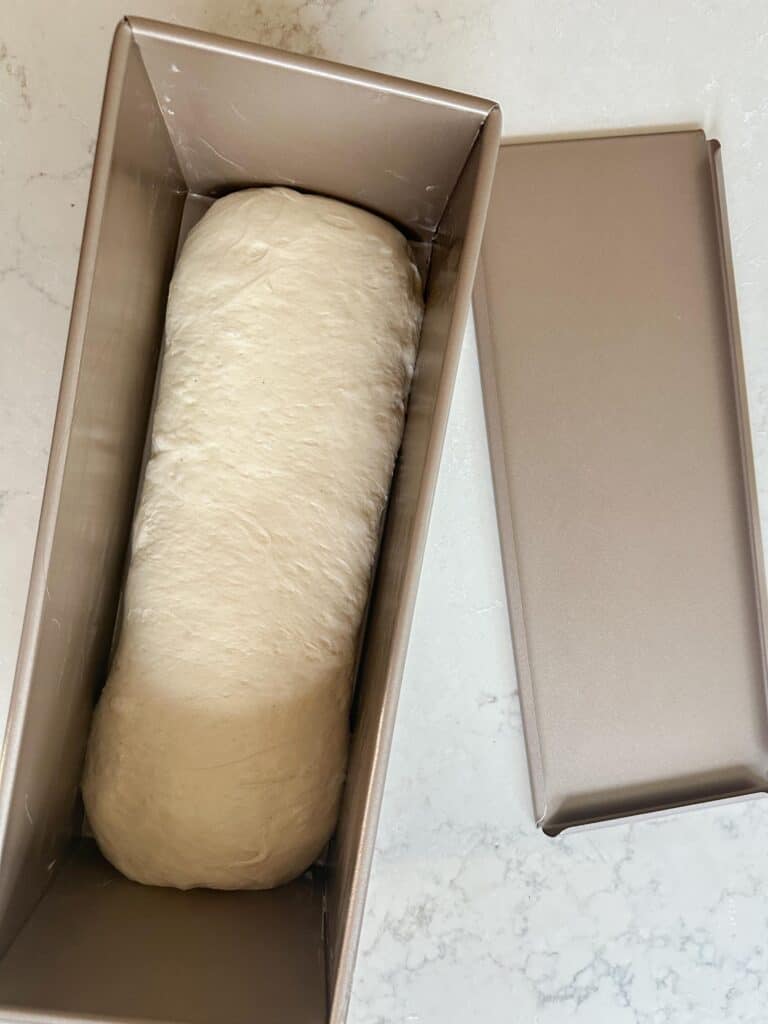
Put the lid on the pan and let your dough rest for about 2 to 4 hours at room temperature. The dough should rise to within about an inch of the top of the pan.
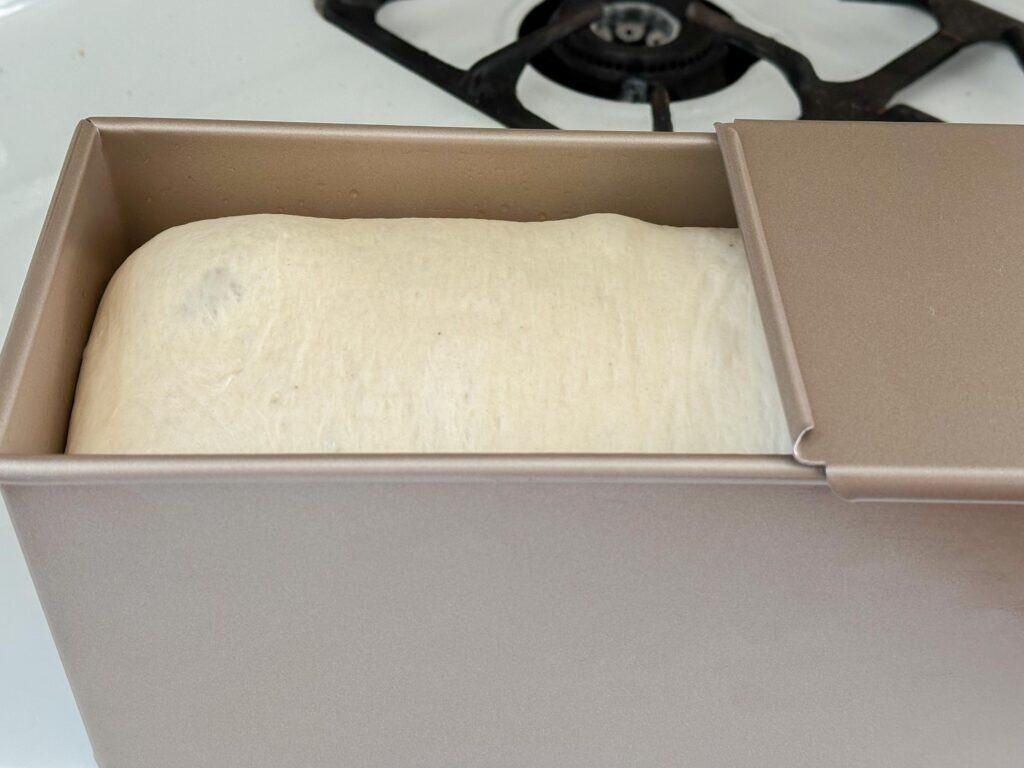
To test if your dough has risen sufficiently on the second rise, gently press your finger in the dough. It should leave an imprint, and not spring back.
Bake
Preheat your oven to 375 F.
Bake with the lid on for 45 minutes.
After a few minutes, carefully remove the bread from the pan and let it cool on a wire rack until completely cooled.
Baker’s Timeline:
This can be started or made at any time. I like to start doughs at night time so they can rise all night. In the morning, they are ready to shape and bake.
Feed sourdough starter with flour and water.
Add all of the ingredients to the bowl of a stand mixer and knead using a dough hook until the dough passes the windowpane test.
Allow the dough to bulk rise for 10 to 12 hours.
Shape the dough and place in a greased Pullman pan.
Allow to rise for 2 to 4 hours.
Bake at 375 F for 45 minutes. Allow to cool before slicing.
Storage
Store at room temperature in an air-tight container for up to 5 days.
Not sure how to best store your bread? I put together a list of my favorite ways to keep my sourdough fresh for longer here.
For longer storage, you can also freeze it. To learn how to best freeze sourdough bread, check out my how-to guide.
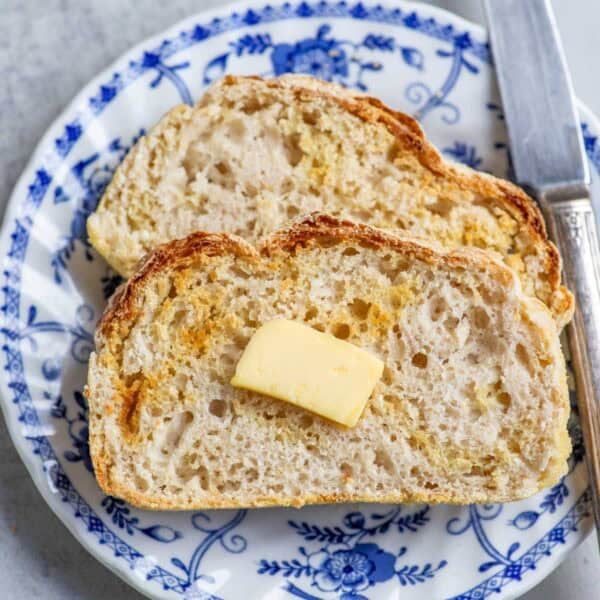
How to Serve
While this is truly the perfect sandwich bread, you can enjoy this white loaf in a variety of ways.
- Avocado Toast – Mash a ripe avocado, sprinkle with salt and pepper, and add an over easy egg on top for a special breakfast treat.
- French Toast – While I typically use my sourdough brioche for French toast, this bread also works great. I love to do this when a loaf is about to go stale.
- Breakfast Sandwich - When you think of a breakfast sandwich, an English muffin or bagel may first come to mind. But Pain de Mie slices toasted on a hot cast iron skillet can make wonderful ends to a breakfast sandwich of eggs, bacon, and cheese.
Of course, if your loaf does not turn out the way you wanted it or if you can’t eat it all before it goes stale, you can always turn this into sourdough croutons or bread crumbs.
FAQ

Yes! If you do not use the lid, the bread will naturally rise in the oven, giving it the classic dome shape. It is totally up to you whether you use the lid or not.
This is usually the result of under proofing on the second rise. If you gently press your finger in the dough, it should leave an imprint, not spring back, if it has risen sufficiently.
You can use a loaf pan, but the ingredient quantities would likely need adjusted depending on the size of your pan. I suggest using my sourdough sandwich bread recipe instead.
More Sourdough Recipes from the Farmhouse
- Easy Sourdough Discard Hamburger Buns
- How to Bake Sourdough Bread in a Dutch Oven
- Homemade Sourdough Calzone Recipe
- Easy Sourdough Discard Naan Recipe
- How to Make Small Batch Sourdough Bread
If you try this recipe and love it, I would love if you could come back and give it 5 stars! Tag me on Instagram @farmhouseonboone
Sourdough Pain de Mie (Pullman Bread) Recipe
Video
Equipment
- 1 Stand Mixer optional
- 1 Pullman Pan Large 13.6"×5.4"×4.7"
Ingredients
- 6 tablespoons butter softened, 84 g
- 1 tablespoon sugar, 12 g
- 1/2 tablespoon salt, 7 g
- 3/4 cup sourdough starter, 170 g
- 1 cup water, 236 g
- 1 cup milk, 244 g
- 5 1/2 cups all purpose flour, 770 g
Instructions
- In the bowl of a stand mixer, add all of the ingredients. I typically will add the flour last so I can adjust the amount as needed.
- Using a dough hook attachment, knead the dough in the mixer until it is smooth and elastic. You will know it is ready once it pulls away from the sides of the bowl and passes the windowpane test. This may take about 10 minutes or more.
- Allow your dough to bulk rise in a large bowl covered with a lid or plastic wrap for 10-12 hours in a warm place.
- Shape your dough by gently stretching it into a rough rectangle until it is about 13 inches long. Roll it up and place the shaped dough in the Pullman pan seam side down. If your pan is not nonstick, spray it with an olive oil nonstick spray or grease it with butter.
- Put the lid on the pan and let your dough rest for about 2 to 4 hours at room temperature. The dough should rise to within about an inch of the top of the pan.
- Preheat your oven to 375 F.
- Bake with the lid on for 45 minutes.
Notes
- Using a stand mixer is ideal for this recipe. If you do not have one, I suggest using the stretch and fold method instead of kneading by hand. It will be much easier due to the added butter.
- Make sure your butter is at room temperature and soft before adding this to the dough. If it is too cold, it will not mix in well.
- You’ll need an active sourdough starter for this recipe.
Nutrition
Nutrition information is automatically calculated, so should only be used as an approximation.


My Pullman pans don’t have lids is that going to be a huge problem?
Hello Lisa. Just got my new 1lb Pullman loaf pans and couldn’t wait to try this recipe. All seemed to go well until the proofing…it’s been 4 hours and very little rise. I never know what to think when something like this happens. Was the bulk fermentation too long (12 hours) or not enough? It didn’t seem over fermented, definitely wasn’t a sloppy mess (which I have experienced in my short 1-2 year sourdough experiments, more than once…) Could it be not enough needing to begin with? It was in my Kitchenaid for more than the 10 minutes. My starter had been fed and passed the float test. The temperature in my house is on the cool side, 70. I will probably bake this soon anyway…heck you never know what might pop out of the oven!
Thank you for any assistance. Have a blessed day!
Update…it did rise somewhat but pretty dense. Makes great toast!
Hi Lisa,
I made this recipe exactly as you posted. It looked great until I waited all day for it to raise in the pan before it needed to bake. Your recipe said 2-4 hours room temperature. It might have raised about half of the pullman pan and your recipe said up to an inch from the top. I finally put it in the frig overnight but am thinking it overproofed. I had put the dough in a bowl and put in the oven with the light on as that is the only warm spot during the night. The next morning it was pushing at the Saran wrap and it hadn’t even been 10 hours.
I think I’m going to try to reshape it and let it sit on the counter again. I hope it works. Let me know what you think. Thanks.
ps: my starter is going on 2 years old
Thanks a lot for adding the metric numbers. Sourdough lover from Switzerland here 🙂
Lisa, your recipes ALWAYS work! I have 2 sourdough cook books at home and those recipes I fail 9 out of 10 times (so sad but some breads are still delicious;) you are an inspiration to me in terms of baking and SO MUCH MORE! Thanks for your hard work. Thanks for the internet to bring me here 😉 All the best and keep it up!
I want to try this but lactose intolerant and wondering if using almond or coconut milk will work the same?? Thanks!
I’ve not personally tried it, but it should work in this recipe.
Lisa can you use einkorn starter and flour with this recipe?
I wish measurements were in metric. Can I convert it? I always prefer to weigh my flour as it seems more consistent
Added!
O have been making the regular sandwich bread for a year or so. Tried this recipe and we loved it. The bread is much softer and tasted great. I used 2 regular 9X5 load pans and decreased the name time. This is our new sandwich bread recipe. Thanks Lisa!
Is there a recipe for this using grams please? Live in the U.K. and our cup sizes are different from US. This recipe looks ideal for what I need as we make sandwiches for work lunches
TIA
Hi there! I have a conversion chart I created to help put the ingredients into grams.
I have a large Pullman pan with a lid and I’ve been trying your sandwich loaf recipe in it with some adjustments, and while it’s always delicious, I’m excited to try this recipe out! I would love to also try doing a cinnamon raisin bread in the Pullman with lid to help those swirls stay tight. Also, just wanted to mention the post calls for honey, but the recipe card has sugar… I know both would work fine, but in case you want to match those up! Love your recipes, blog, and vlog, Lisa!