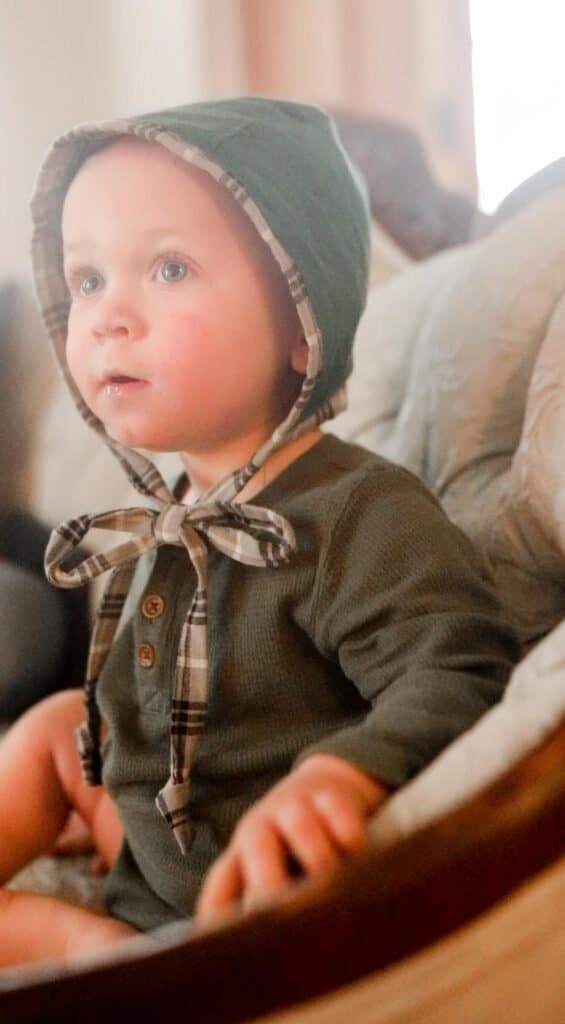
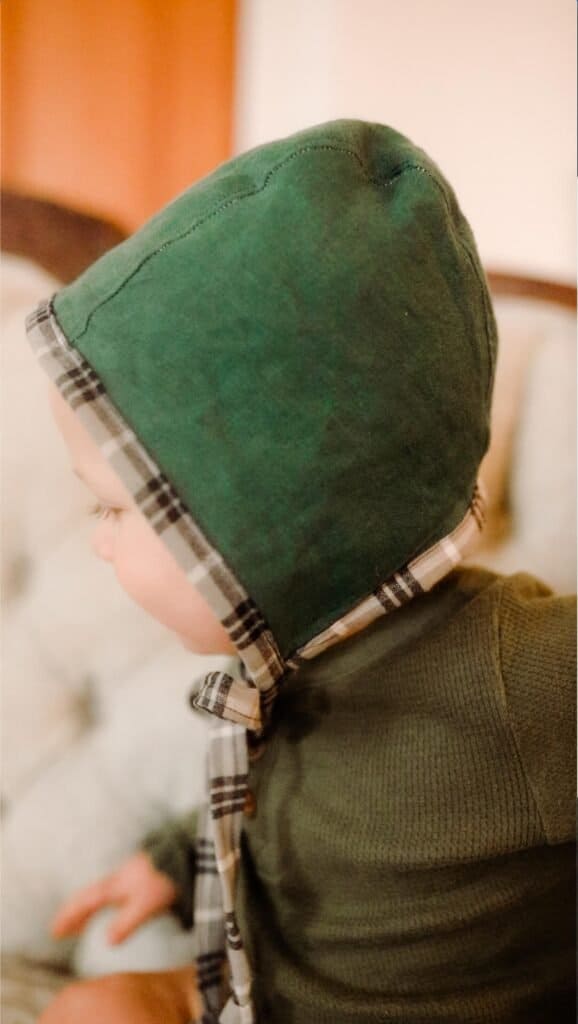
Learn how to make a baby bonnet with this simple tutorial and pattern. This adorable bonnet will be perfection on your baby, the sweetest idea for a gift, and overall just an easy sewing project for beginners.
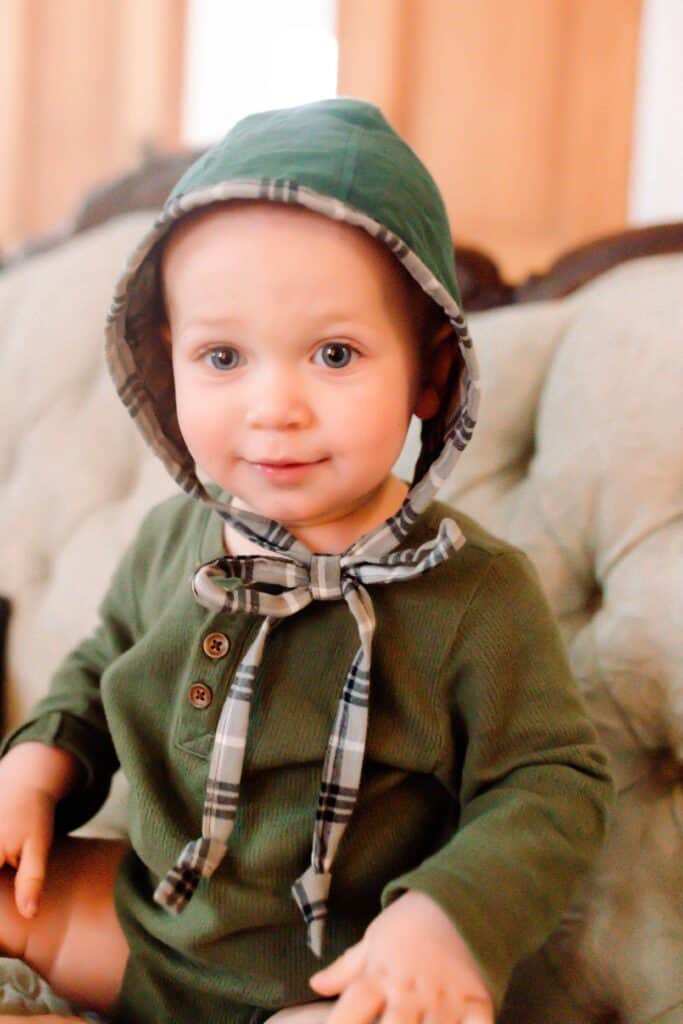
When my girls were little, I would sew all of their dresses, skirts, and aprons. The boys, on the other hand, offered more of a challenge when it came to sewing projects.
Back in the day, when I was sewing dresses for the girls, I would also make matching ties for the boys. It was a simple way to include them and make a little statement with their wardrobe.
This baby bonnet is absolutely adorable. A little throwback to a vintage era when babies would frequently wear this style. It is also gender neutral and can work for boys and girls.
I am often asked how I find time to complete sewing projects or other home decor projects. My trick is afternoon quiet time. This applies to all the kids, big and small.
The littles nap, the big kids read and play quiet games, and I make myself a latte and work on a project or two.
There is nothing more calming than sipping a warm drink and sewing the afternoon away.
Even though our days are loud and crazy (a good portion of them, anyway) I deeply enjoy these brief moments of quiet.
It’s a great opportunity to recharge my brain and heart, to take me through the rest of the day.
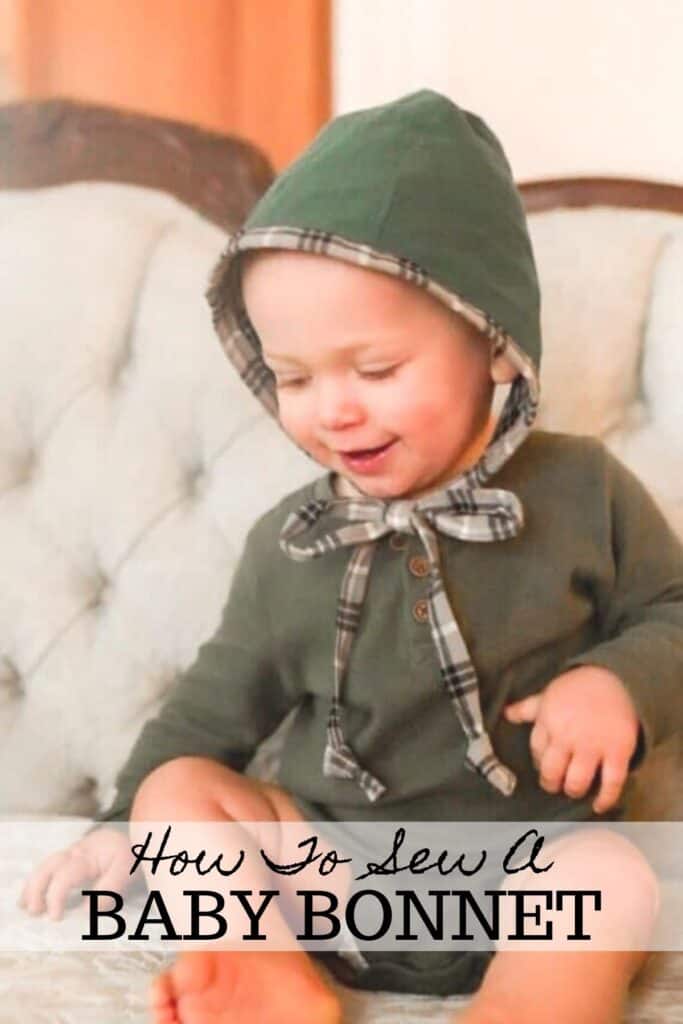
Tips For Making A Baby Bonnet
- If you are new to sewing, make sure to check out my simple sewing series where I show you all the basics you need to know to begin your sewing journey.
- This is the perfect baby shower gift. Pair it with a DIY muslin blanket or a sweet little dress.
- Pick two fabrics that are different, but also coordinate together.
This post contains affiliate links, which means I make a small commission at no extra cost to you. See my full disclosure here.
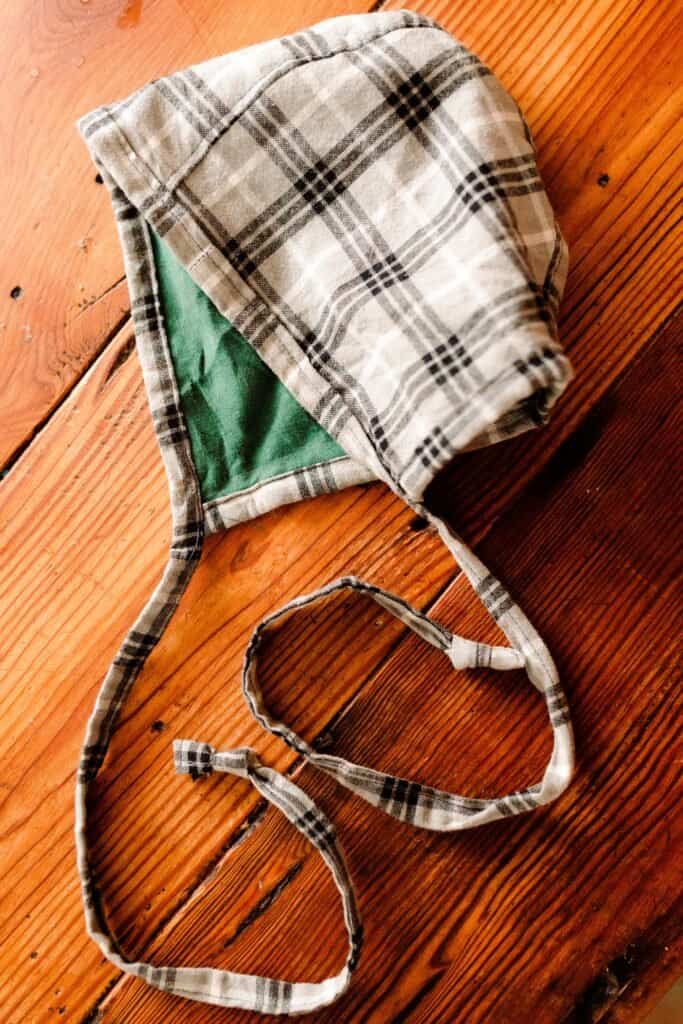
What is the point of a baby bonnet?
It is a cute way to cover and protect a baby’s head. Bonnets are also used as an accessory to coordinate outfits.
Are bonnets safe for babies?
Yes. Always make sure to use caution. Have babies in eye view when wearing a bonnet, and take them off when they go to bed.
Download Baby Bonnet Pattern New sizes!
Note: Make sure to print it at 100%. Click and it should redirect you to a PDF to print.
I used to only offer this bonnet pattern in one size. I now have it available for all baby ages:
Bonnet patterns to print off on your home computer
Bonnet patterns to print off at a print shop (all on one sheet)
Note: Make sure to print it at 100%. Click and it should redirect you to a PDF to print.
Materials:
Fabric -two coordinating fabrics to make this bonnet reversible
Bias tape
Coordinating thread
Tools you may need:
Pins
Sewing sheers
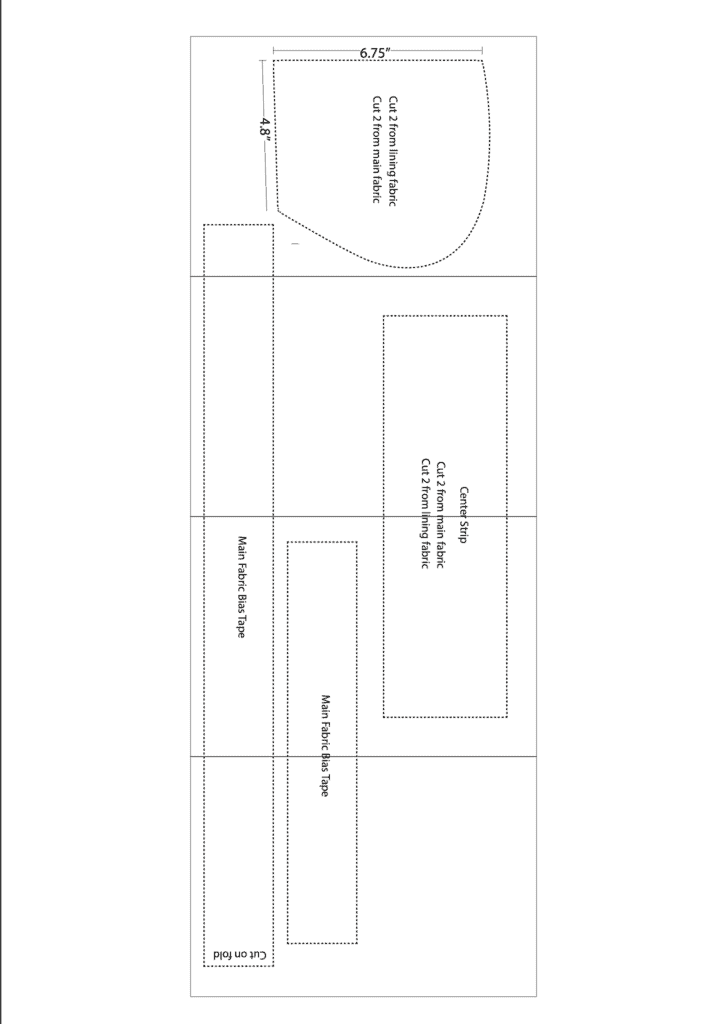
Cut list:
Cut 4 – from the main pattern piece:
- 2 from the main fabric
- 2 from the secondary fabric
Cut 4 – 4″ x 13″ for center strip
- 1 from the main fabric
- 1 from the lining fabric
Bias tape (from lining fabric) 2.25″ wide (need 61″ total)
– 13″ for the bottom of the bonnet
– 48″ for around the front of the bonnet and extended down for the ties
How To Make A Simple Baby Bonnet
Take the long strip of bias tape (you may have to sew several 2.5″ wide pieces together to get 61″ total, as you most likely won’t have 61″ of fabric to work with) and press the outside edges toward the middle.
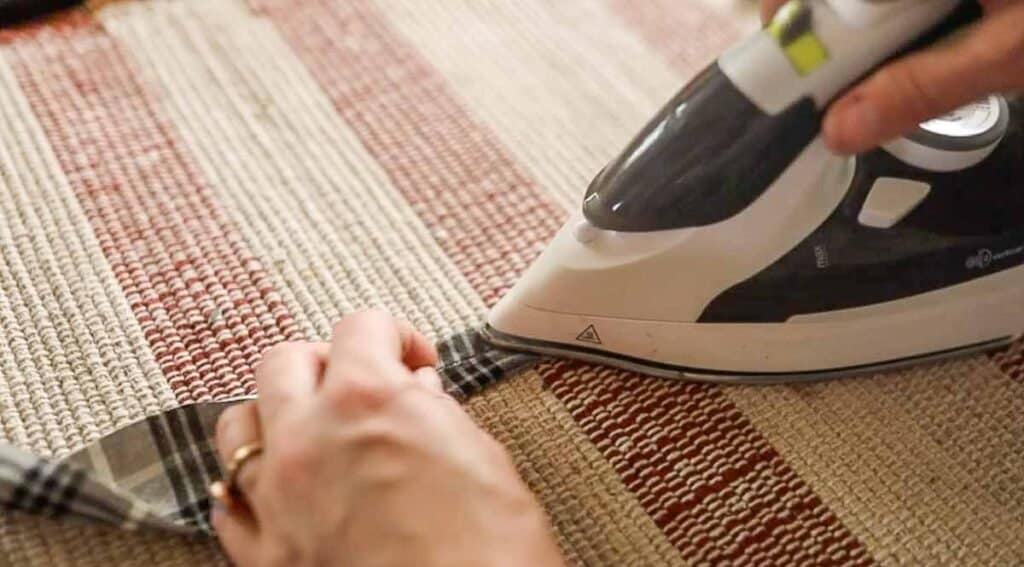
Fold it in half so the pressed edges are sandwiched in between.
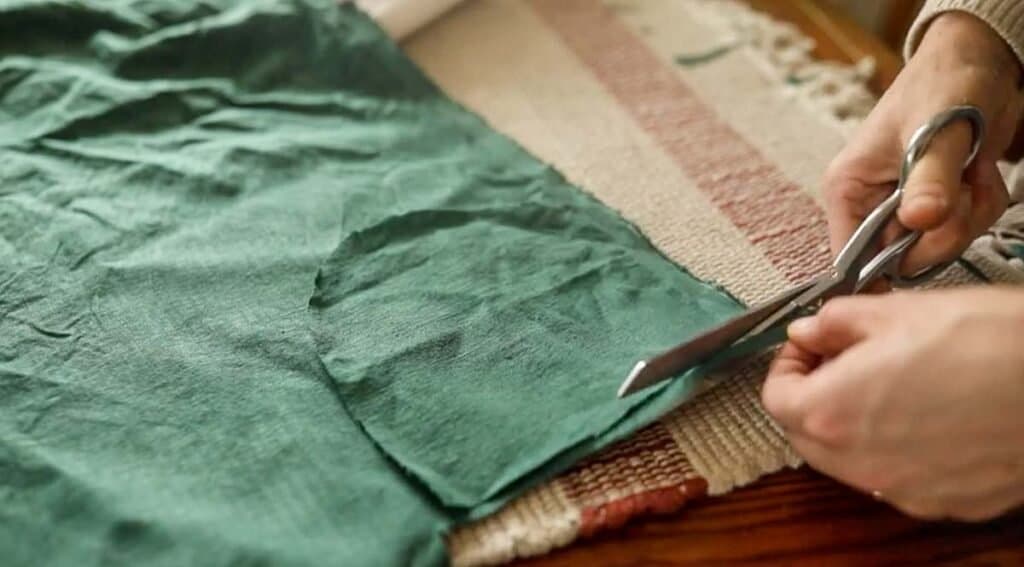
Cut out fabric following the bonnet pattern and cut list.
Sew Bonnet Together
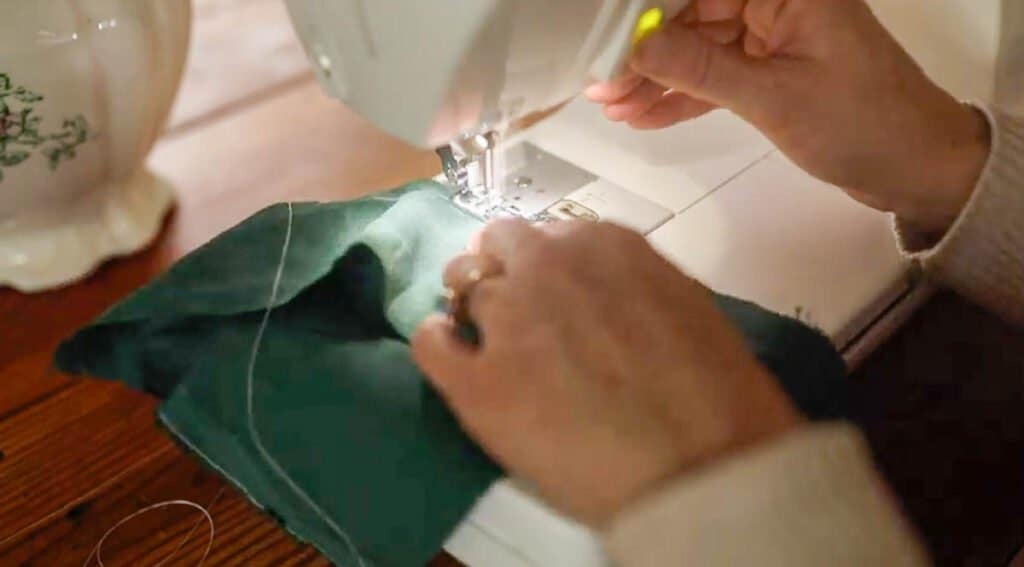
Starting with the main fabric, sew the two main pattern pieces to the center strip with the right sides together. Turn the right side out and top stitch down the two seams.
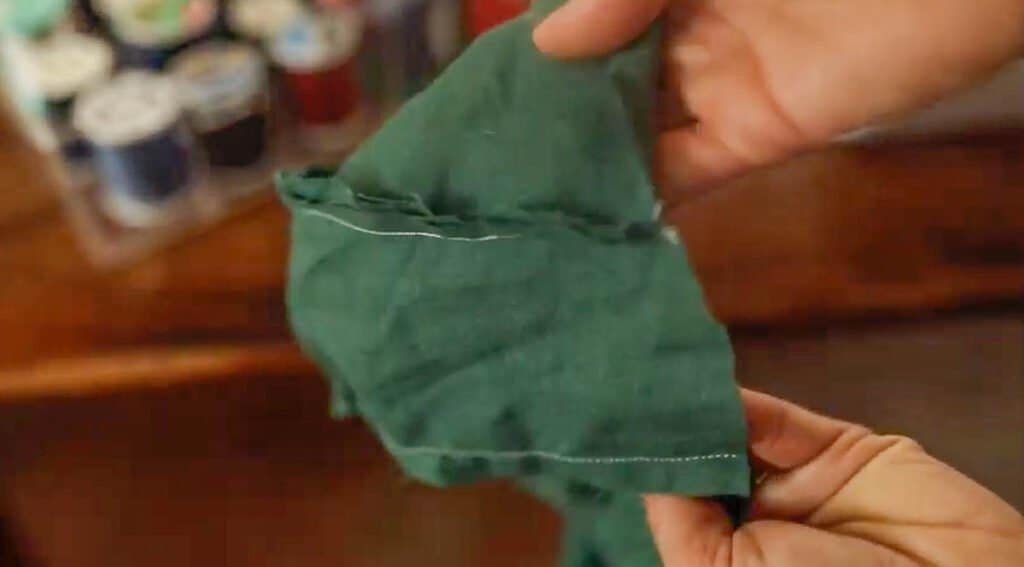
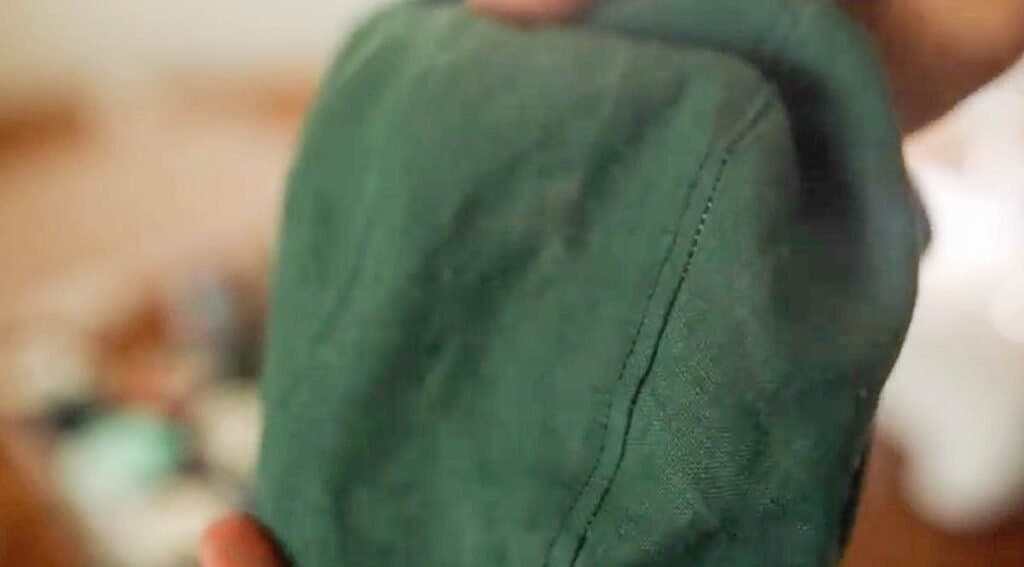
Repeat with the coordinating fabric.
Put the lining fabric hat piece inside the main fabric hat piece with the seams facing each-other, so that they are hidden inside.
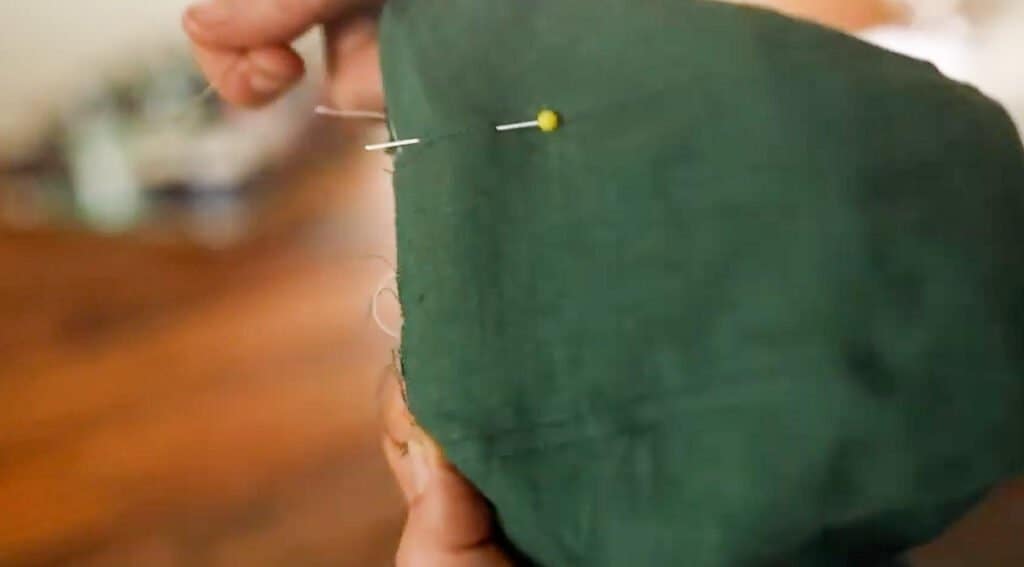
Sandwich the bottom raw edge of the bonnet between bias tape, and sew the bias tape in place. This will hide the raw edges of the two layers of the bonnet, the main piece and the lining piece.
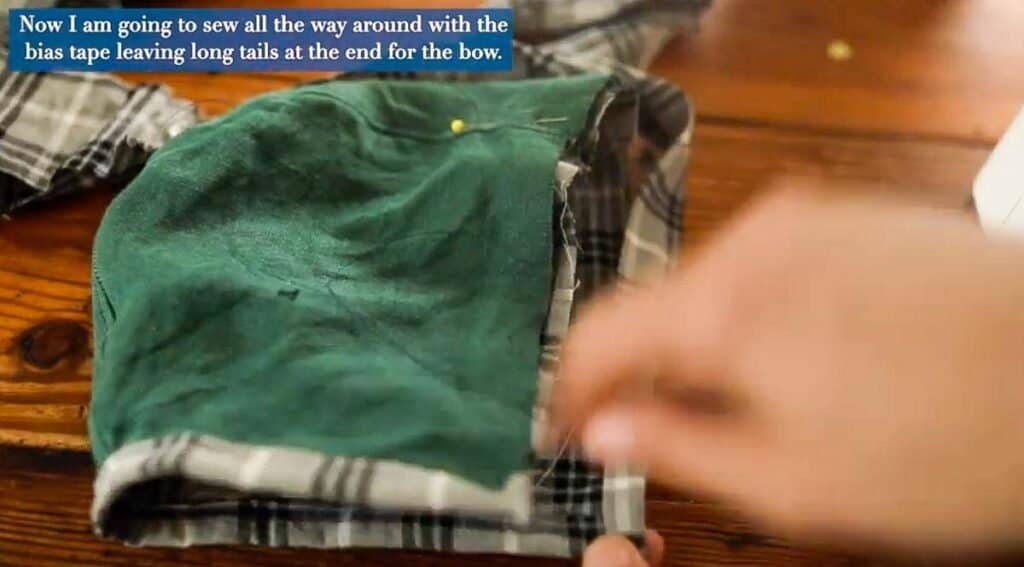
Use the rest of the bias tape to finish off the front of the bonnet.
Start by centering the 48″ bias tape at the top front of the bonnet, sewing it down from there. This will ensure your strings hang down evenly on each side.
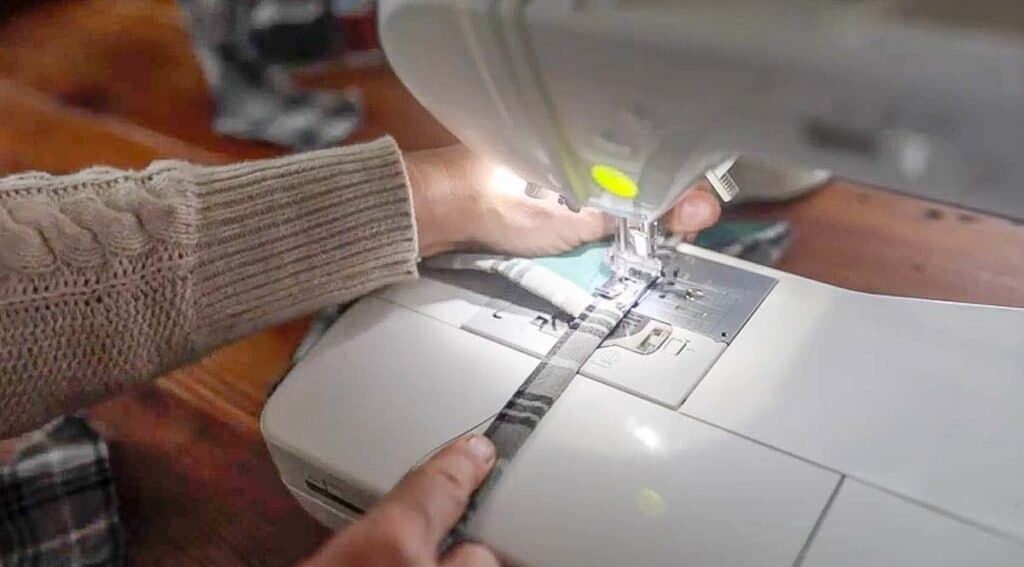
Fold the ends of the bias tape under to hide the raw edges inside.
Find More Sewing Projects:
- DIY How To Sew A Half Apron
- How to Sew a Pillow Cover
- DIY Tank Top – How to Sew a Tank Top
- How To Make A Woven Wrap
- How To Make A Mei Tai Baby Carrier
If you try this project and love it, I would love if you could come back and give it 5 stars!
DIY Baby Bonnet

Equipment
- Sewing machine
- Pins
Ingredients
- Fabric – two coordinating fabrics
- Bias tape
- Coordinating thread
Instructions
- Take the long strip of bias tape (you may have to sew several 2.5″ wide pieces together to get 61″ total, and press the outside edges toward the middle.
- Fold it in half so the pressed edges are sandwiched in between.
- Cut out fabric following the bonnet pattern and cut list.
- Starting with the main fabric, sew the two main pattern pieces to the center strip with the right sides together. Turn the right side out and top stitch down the two seams.
- Repeat with the coordinating fabric.
- Put the lining fabric hat piece inside the main fabric hat piece with the seams facing each-other, so that they are hidden inside.
- Sandwich the bottom raw edge of the bonnet between bias tape and sew the bias tape in place.
- Use the rest of the bias tape to finish off the front of the bonnet.
- Start by centering the 48″ bias tape at the top front of the bonnet, sewing it down from there.
- Fold the ends of the bias tape under to hide the raw edges inside.
Notes
- If you are new to sewing, make sure to check out my simple sewing series where I show you all the basics you need to know to begin your sewing journey.
Nutrition information is automatically calculated, so should only be used as an approximation.







Just wondering why the instructions don’t give any details on sewing the visor?
I loved making multiple bonnets with this pattern, thank you!
I did cut a bit smaller for 0-3 months.
I have been confused. When I downloaded the Bonnet 0 -3 month I got a pattern with a bonnet visor – I like t he visor but I do not find any directions for the making of this bonnet with visor?
Please advise,
Thank you I really want to make a beginner baby sunbonnet.
Debbie
This is super cute, I even modified it to have some bunny ears. BUT!!! I made the size 6-12m for my 10 month old and it is HUGE! Basically fits me! Lol. I might try again using a different size but thought I would mention this for anyone else wanting to make one.
I printed at 100%, measure the test square and it matches perfectly. I went ahead and made the 0-3M bonnet. It is a very beautiful pattern, thank you so much for that. However, the finish bonnet for 0-3M is way too big. Thinking that I might downloaded the wrong size, I went back to double checked but it was correct. I didn’t know where i went wrong. But I need to repeat again, thank you so much it is a beautiful free pattern and easy to follow tutorial.
I’m trying to print the pattern but if I print at 100% like you suggest, it is too big for the paper. I’m using 8.5×11 but your document is 8.5×11.7 so it is cutting off part of the pattern. What do I do?
I just updated the patterns and all the sizes, so it should be right now!